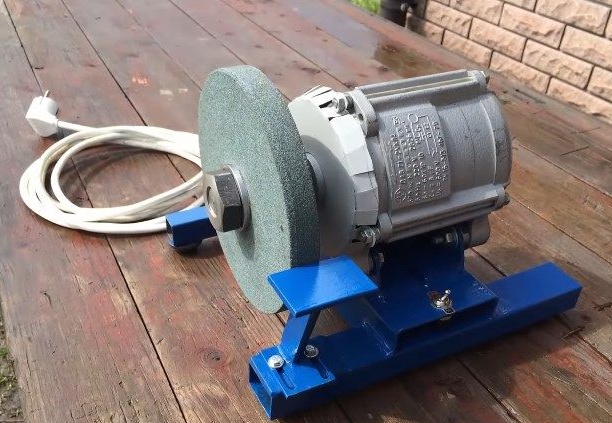
Dear visitors of the site, from the material presented by the author, you will learn how to independently make a full emery out of the engine from a washing machine and install, for example, in your workshop, or in
the garage.
For a craftsman, this stanochka is simply irreplaceable, because constantly something needs to be sharpened, sharpened). Buying a factory emery of good quality today will be a little expensive, and buying a cheap emery does not make sense, because its age is not long. The best option to do emery on your own, the tradition of using engines from washing machines to manufacture this machine, went back to the times of the USSR. Surely many still have such emery and work fine for several decades)
So our author decided to make his own grinder, and not spend money, moreover, in the garage stocks there was just an engine from an old washing machine.
And so, let's look at what exactly the master needed to assemble the emery?
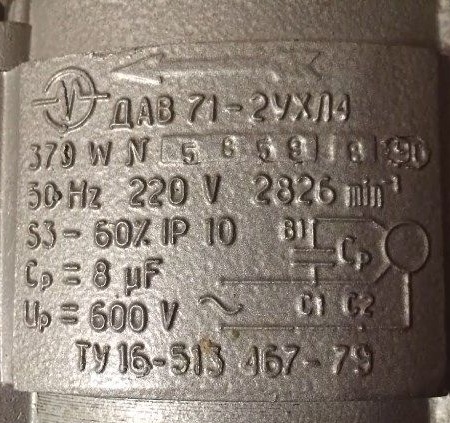
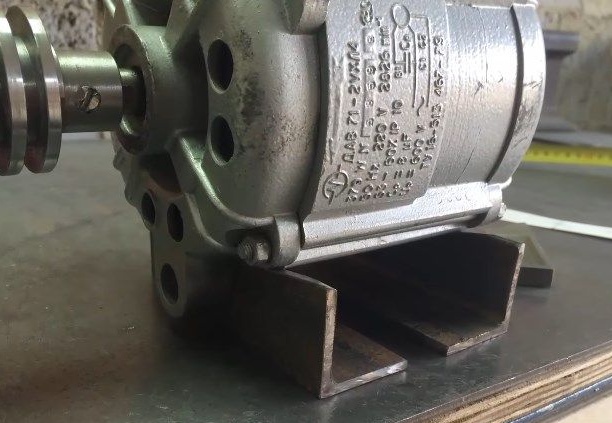
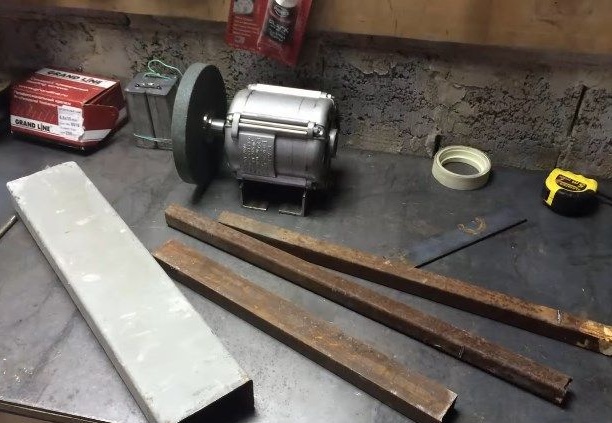
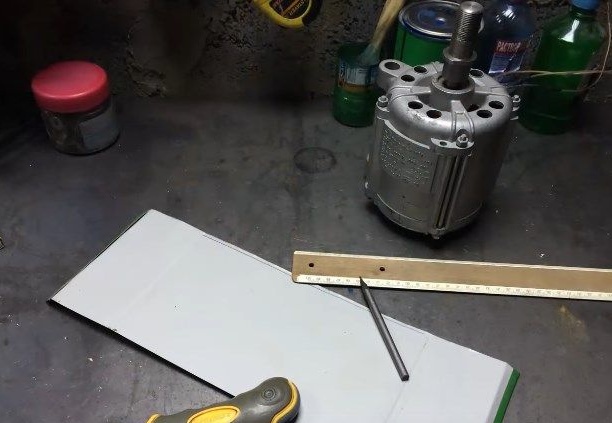
Materials1. The engine from the washing machine. 220 at 2826 rpm 370 W
2.2 condensers with a capacity of 3 uF
3. grinding wheel
4. corner
5. professional square tube
6. rubber caps from antibiotic vials
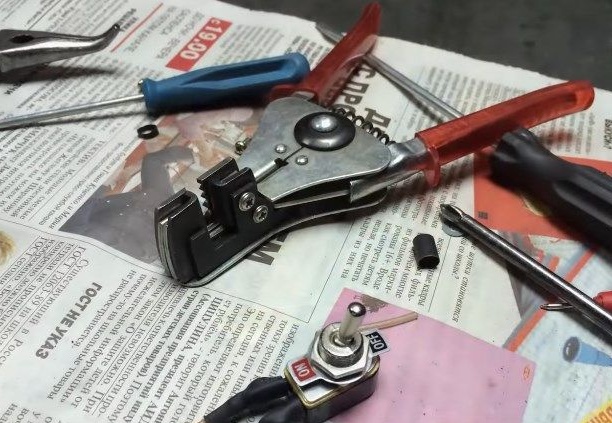
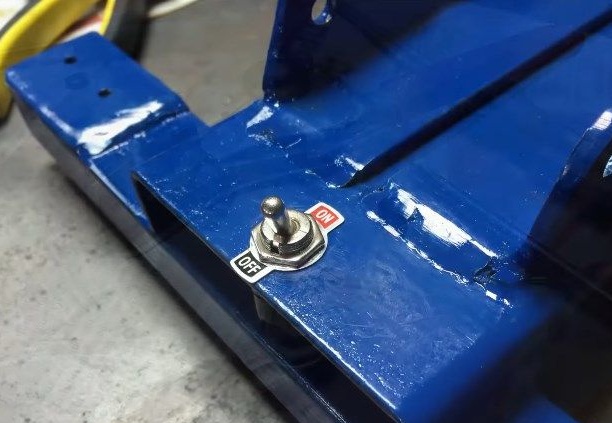
7. switch (toggle switch)
8. wires
9. fork
10. galvanized sheet
11. flange for engine mounting
12. bolts, nuts, washers, grovers
13. paint
14. solder
15. electrical tape
Instruments1. Bulgarian (angle grinder)
2. welding machine
3. drill
4. vise
5. metal ruler
6. marker
7. hammer
8. scissors for metal
9. screwdriver
10. wrench
11. soldering iron
12. pliers
13. knife
14. brush
15. tap
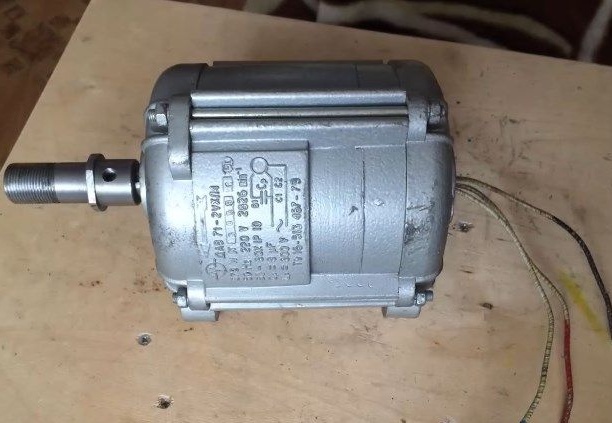
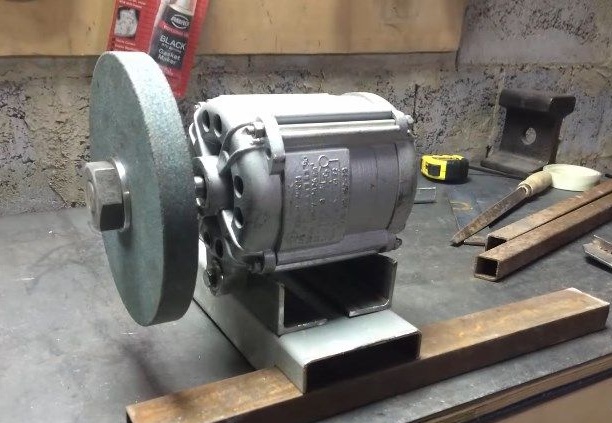
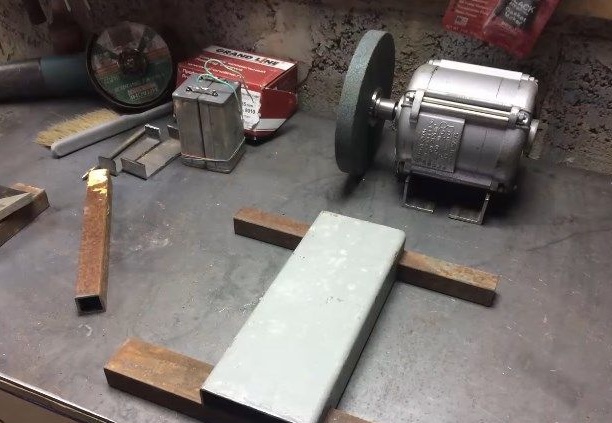
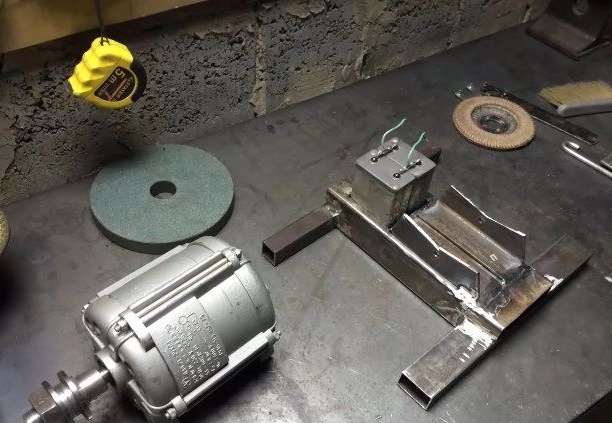
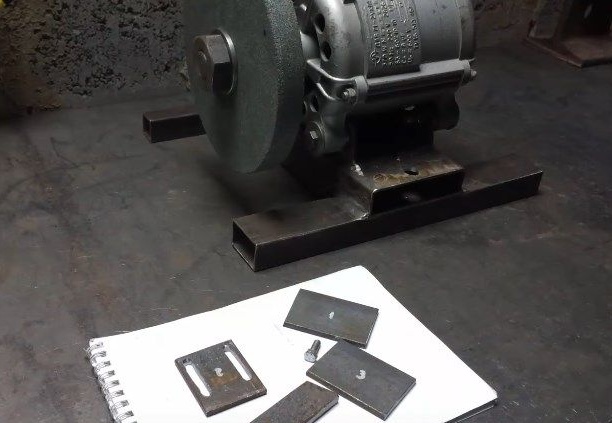
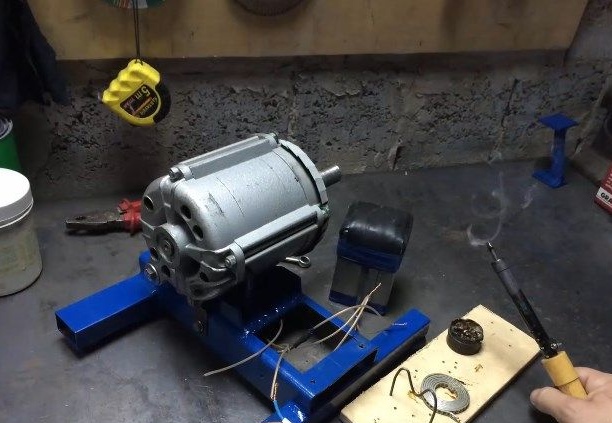
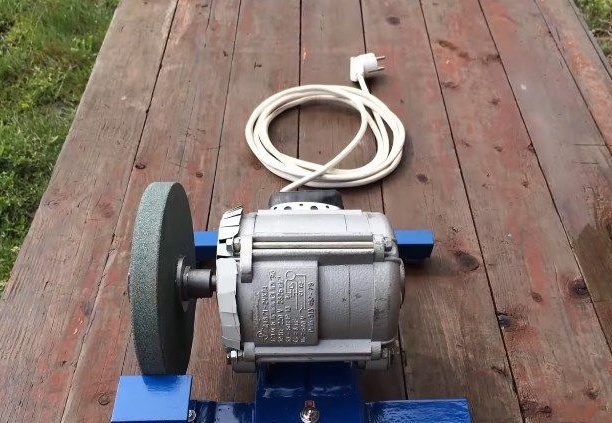
Step-by-step emery assembly instructions do it yourself.As mentioned above, the best option is to use the engine from the washing machine, many probably have old washers that are still a pity to throw away or throw into scrap metal), so remove the motor and make a grinder) This is what the heart of the machine looks like.
TTX must be indicated on the case, or on a plate screwed to it.
The grinding wheel can be purchased at the store, but many thrifty owners, such stuff is full in the garage.
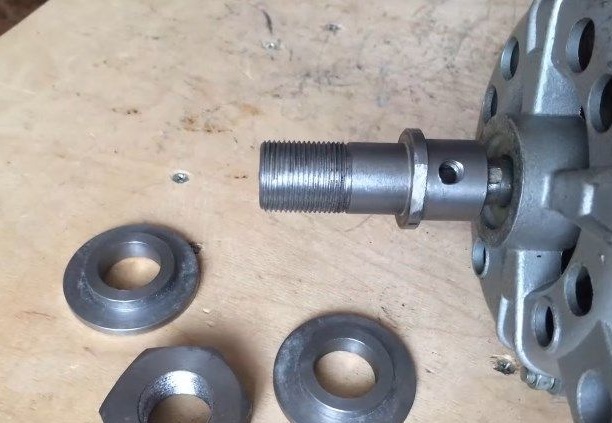
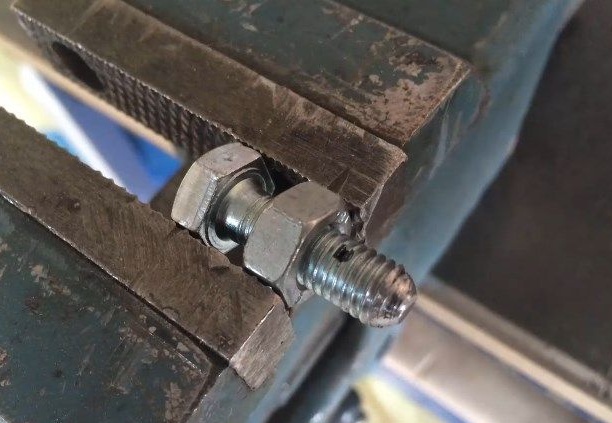
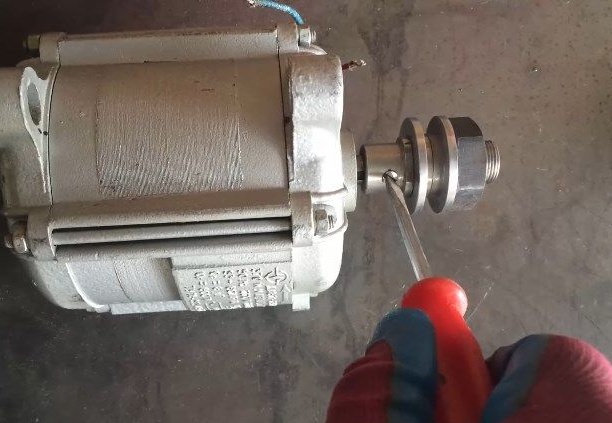
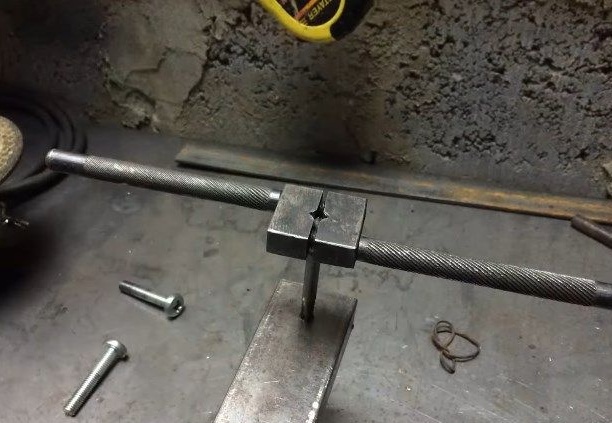
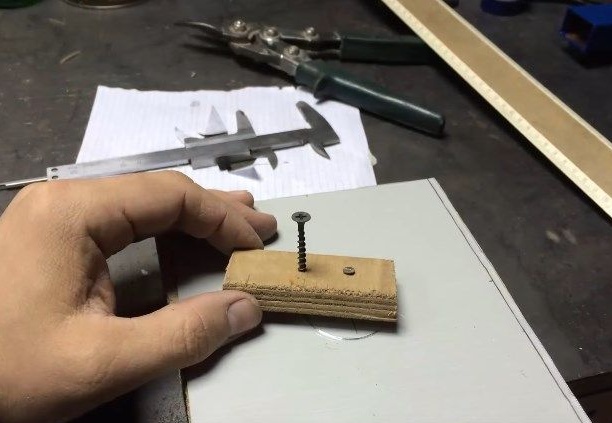
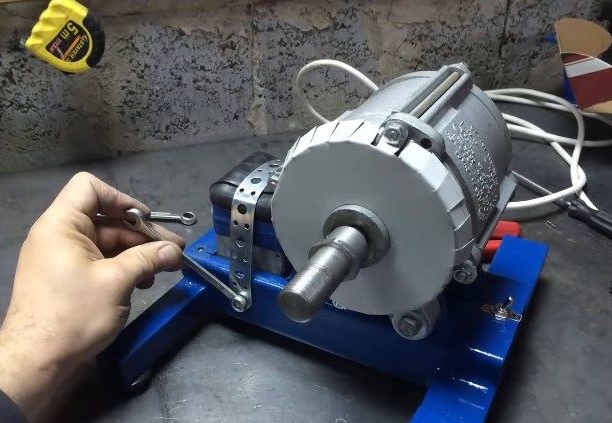
The author made such a chuck on the motor shaft, which is put on and locked by a bolt in the place of the key insertion.
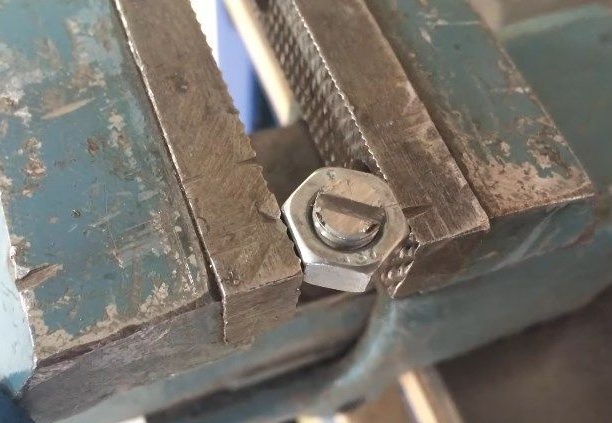
Making a counter bolt.
Sawed risk under a screwdriver.
Twists.
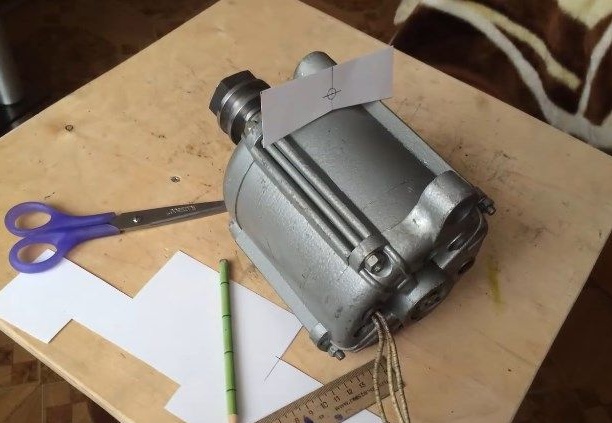
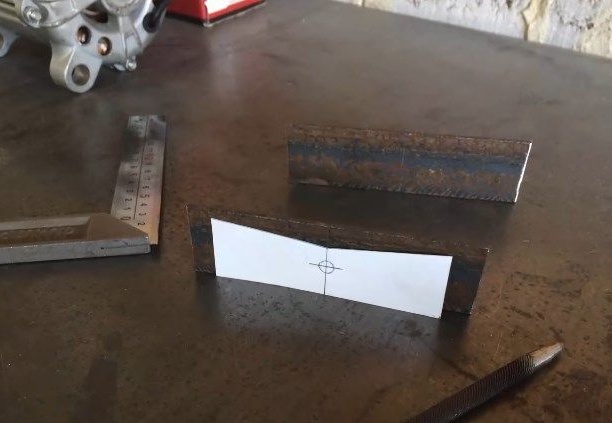
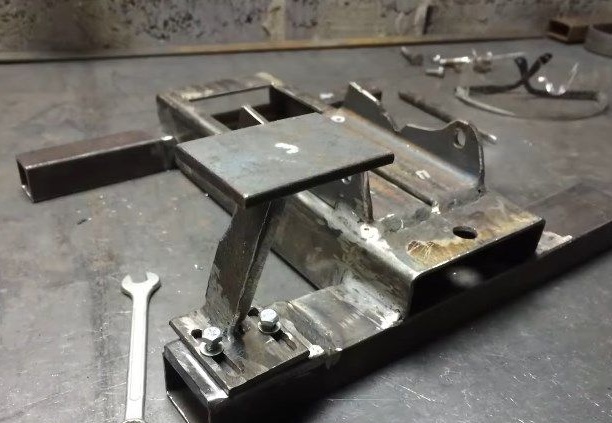
After which the author makes a pattern for the manufacture of engine mounts and its attachment to the frame.
It transfers the pattern to a metal corner.
Saws with a grinder.
Trial fitting and fitting.
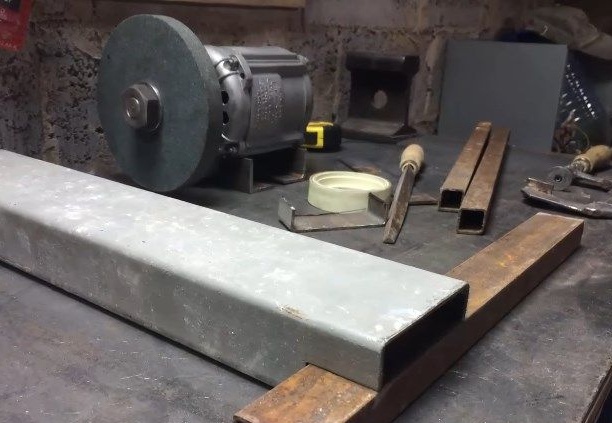
The supporting frame of the grinder will be made of rectangular and square tubes.
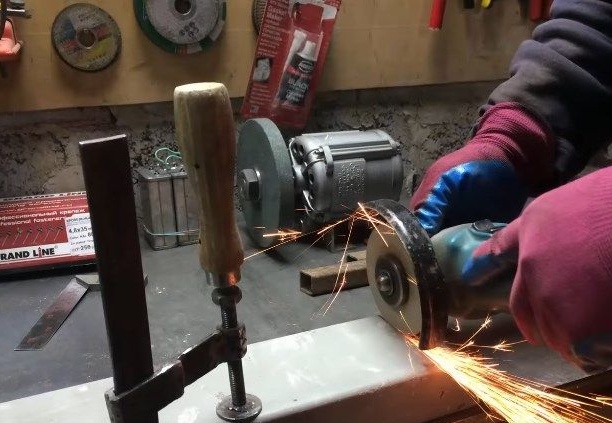
The workpiece is attached to the workbench using a clamp, the author makes a cut using a grinder.
Trying on to the ratio with another pipe.
Something like this will look in the future.
A piece of metal is cut off at the edges to fit to the supports.
Trying on again.
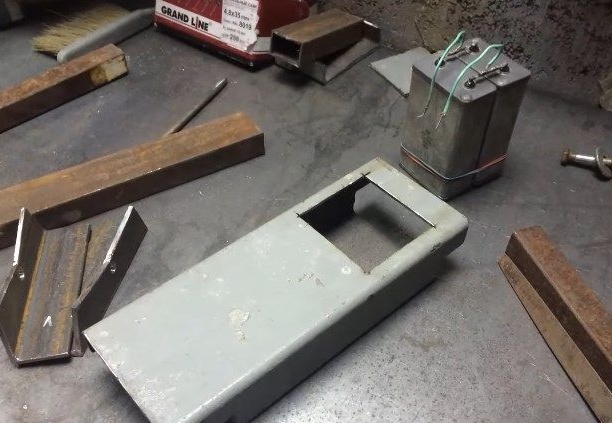
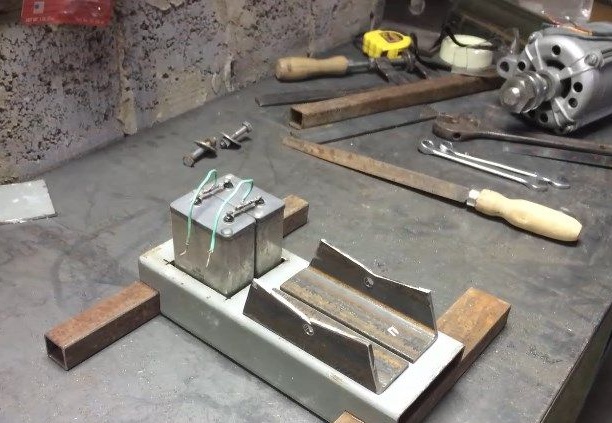
Then, at the base, the author makes a technological hole for installing capacitors.
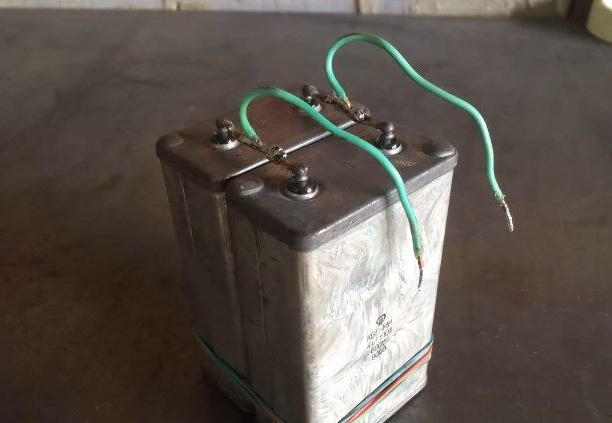
For the smooth start of the engine, 2 capacitors were taken and interconnected like this.
Tries to insert elements in their rightful place.
Everything went well, reassembles the design again for evaluation.
The surface of metal parts is carefully ground with a grinder and a metal brush.
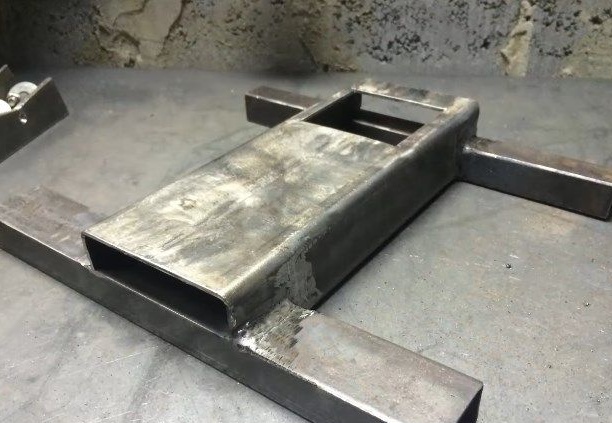
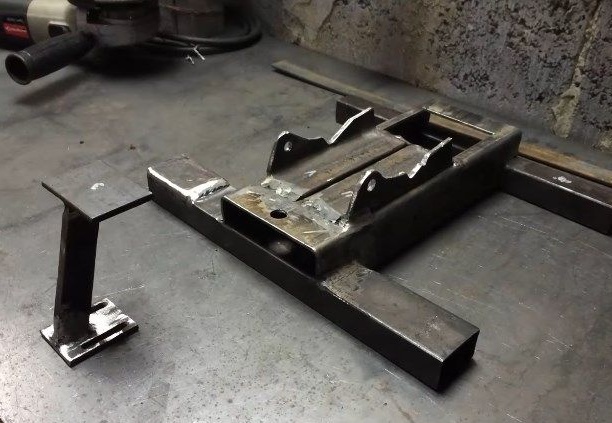
After that, the master starts welding directly the machine frame itself.
Welds engine mount.
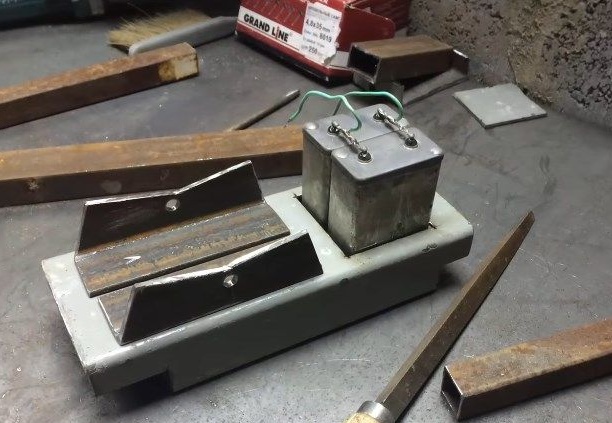
Installs capacitors.
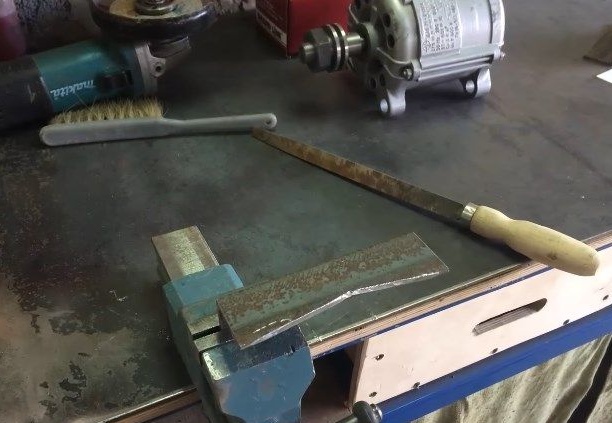
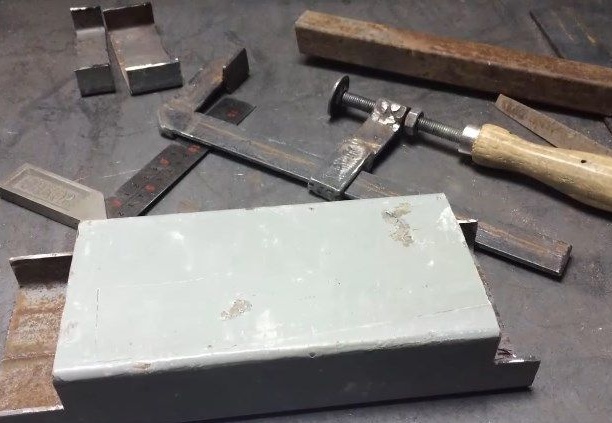
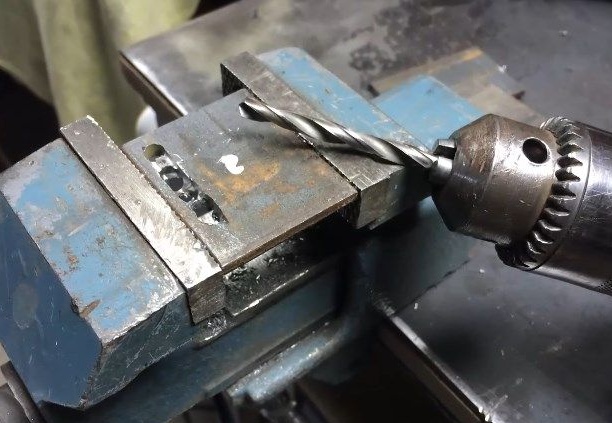
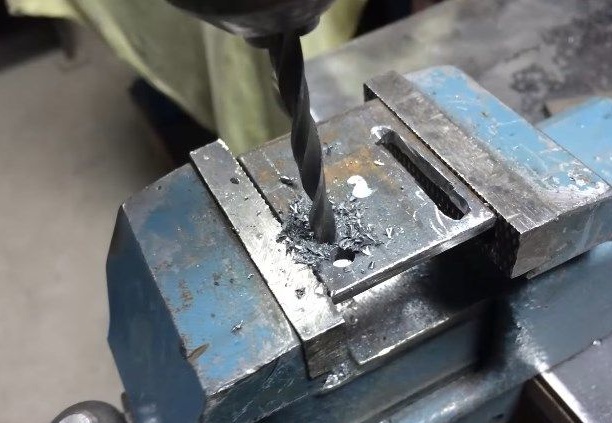
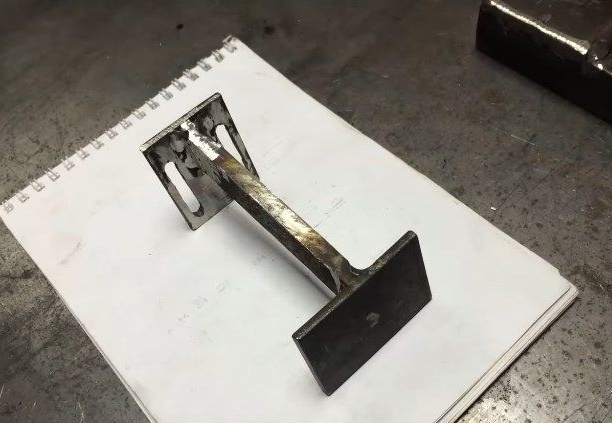
Next, the master proceeds to create a supporting - auxiliary table for emery, for which he takes a piece of metal 3 mm and clamped in a vice drills holes.
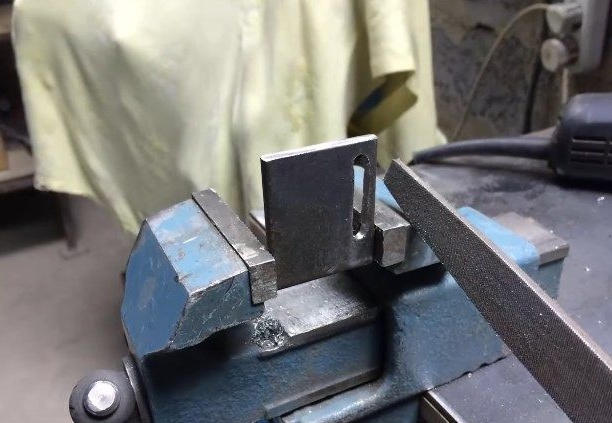
Then it grinds with a flat file.
The same operation is carried out on the other hand.
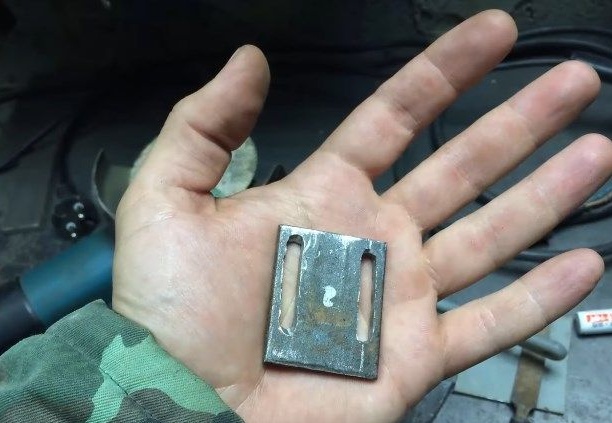
Here is such a detail in the end. These holes are used to move the table along the rails,
and the working surface of the table will be smooth.
Additionally, the stand and the tabletop itself are cut.
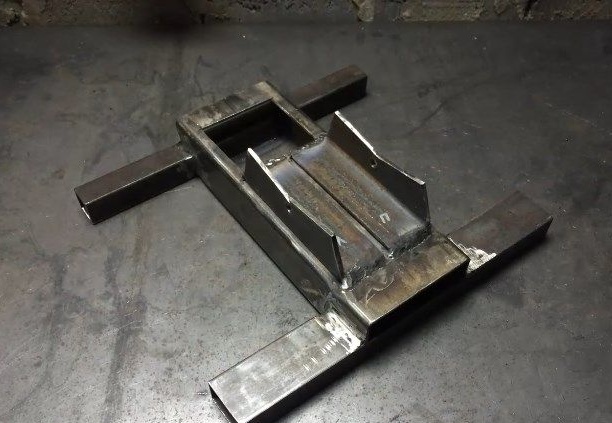
It is welded into a single design.
It is cleared.
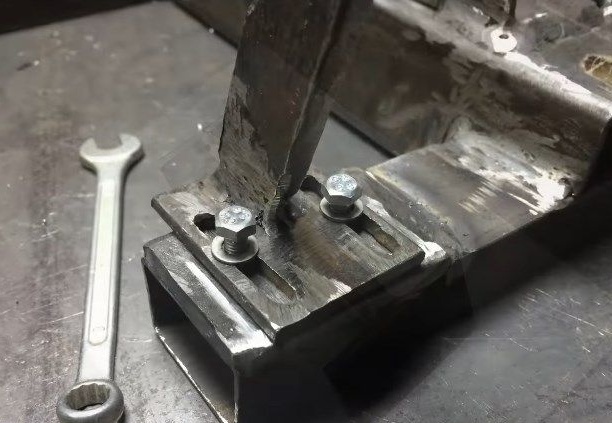
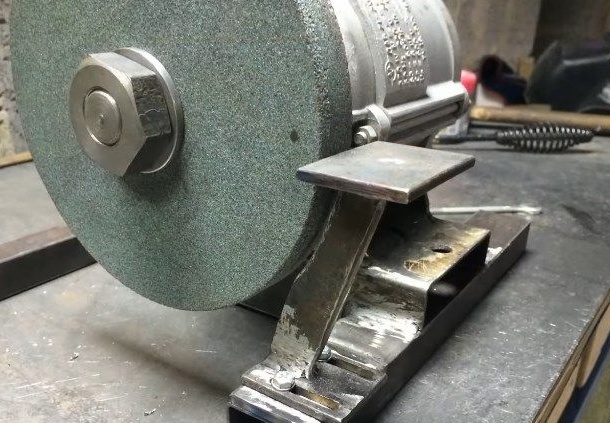
Trial installation.
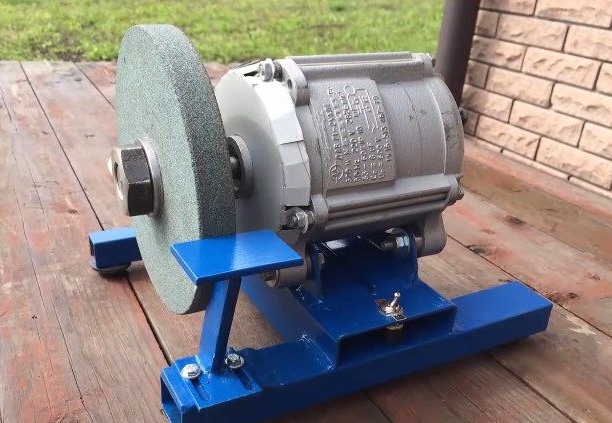
So it should look like.
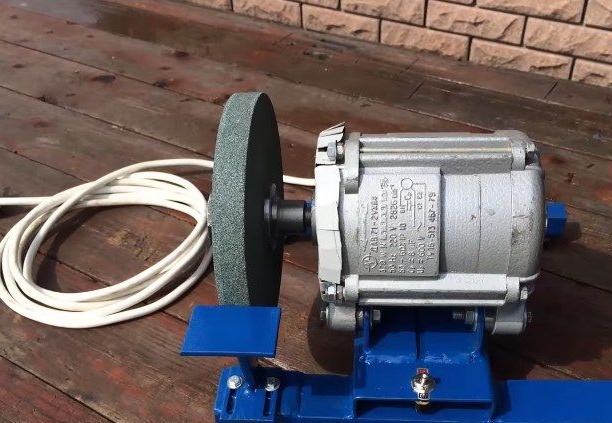
With mounted grinding wheel.
As you understand, the table can be moved and pushed back, after loosening the mount.
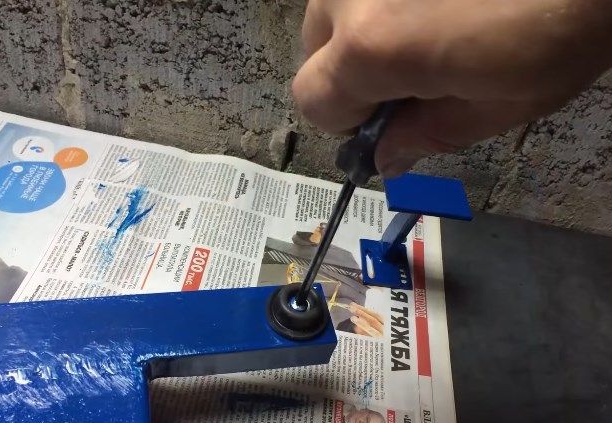
After that, the threads necessary for the installation of rubber plugs are cut into the legs.
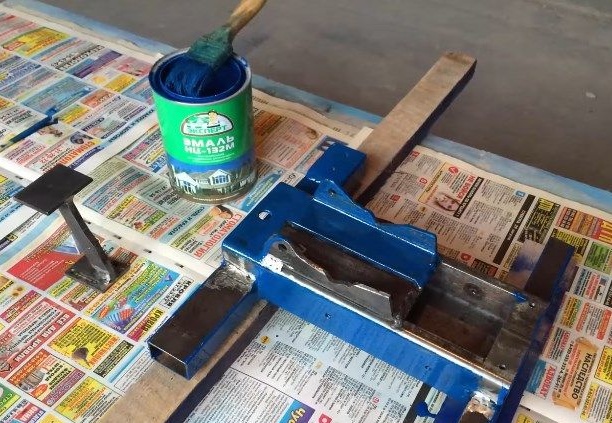
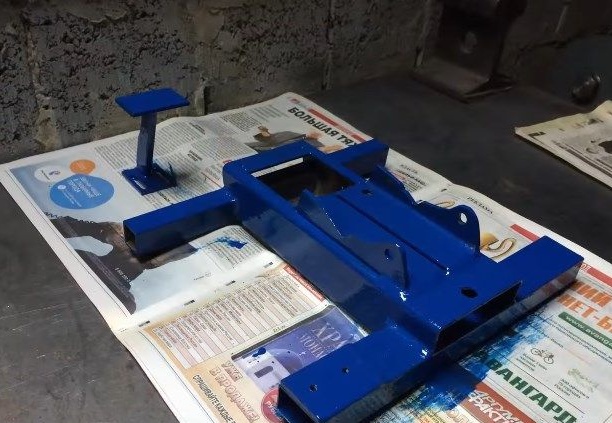
Next, the master proceeds to painting the bed.
In order not to stain the workbench with paint, it is necessary to put a newspaper under the object to be painted)
Here they are rubber corks from bubbles.
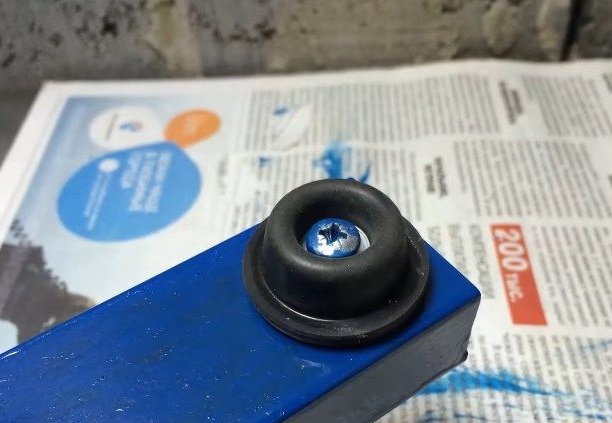
Screwed directly to the legs.
This is what we get in the end.
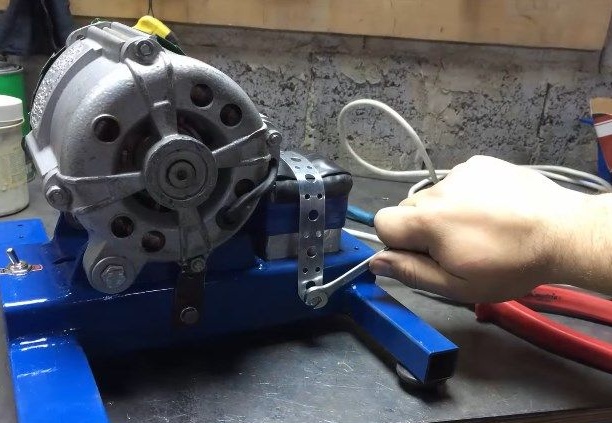
To turn on and off the emery, the master connects a switch.
Connects wires.
Attaches to the machine body.
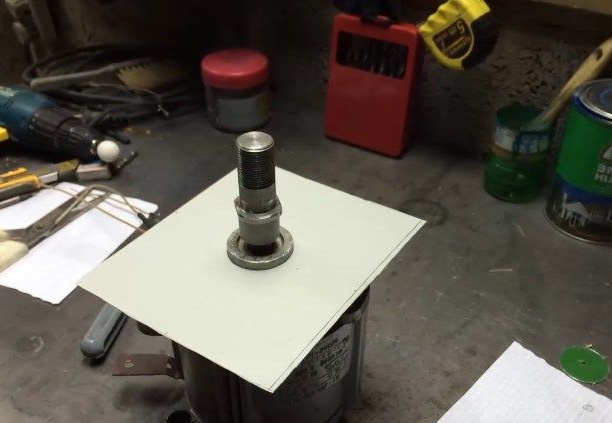
After that, the author makes a galvanized sheet protective cover for the washing machine motor housing, so that sparks and dross do not get through the holes.
Outlines the center.
Drills and tries on.
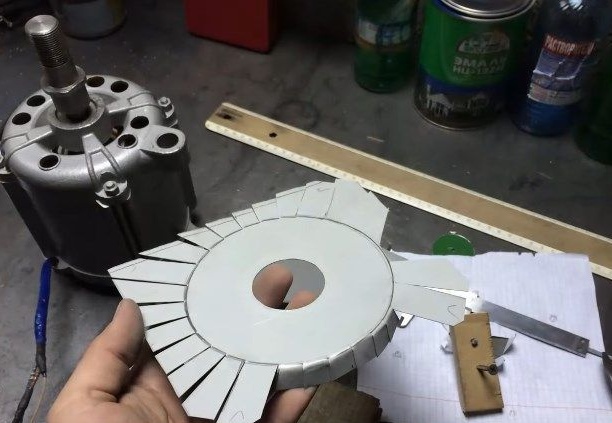
The edges are cropped as in the photo.
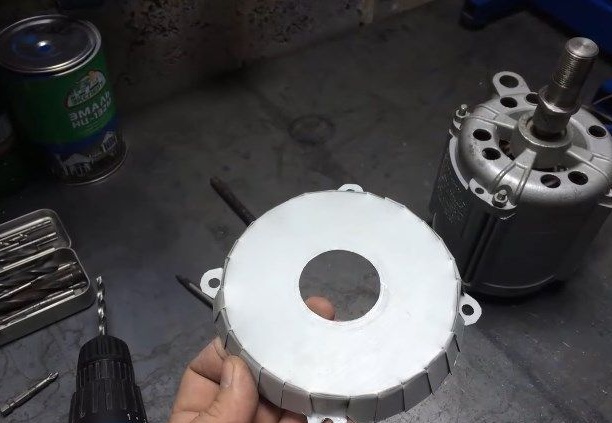
Bends and makes fastening.
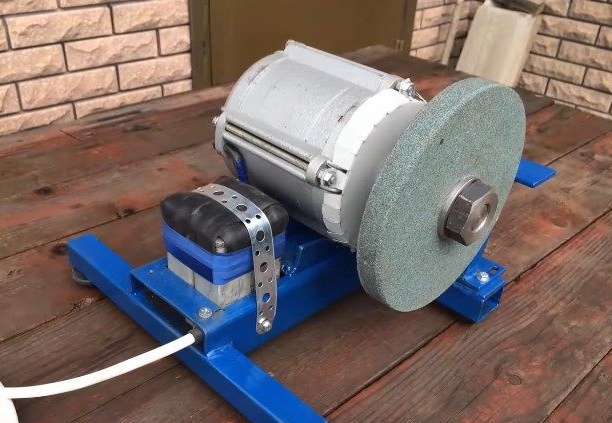
Here is such a casing.
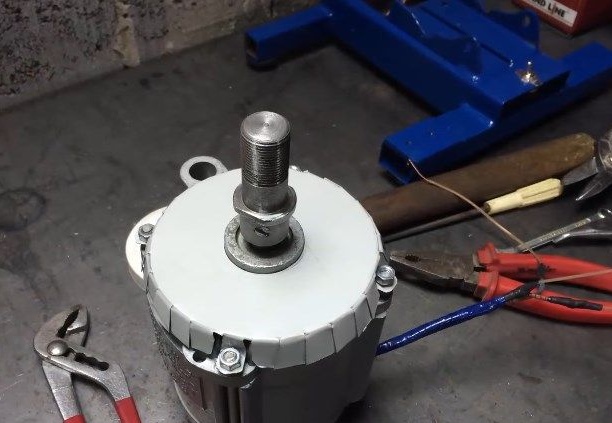
Installed and pulled with bolts.
Next, the author collects an electric circuit, solders the contacts with a soldering iron.
Fastens capacitors.
And on the other hand, the same.
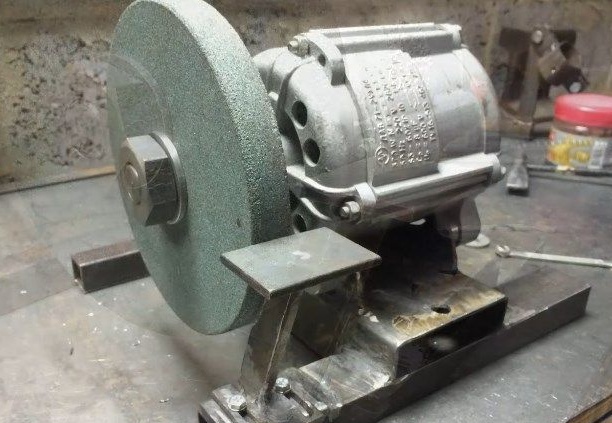
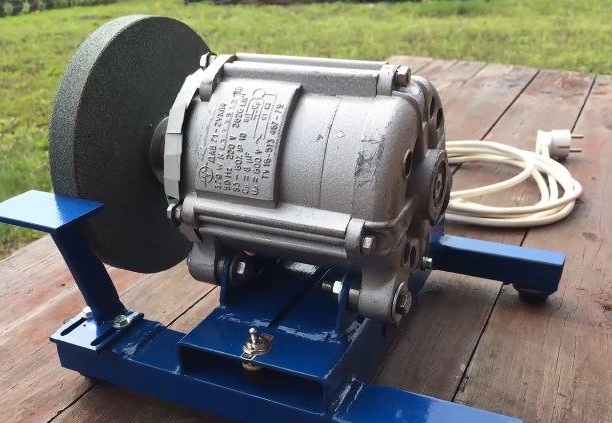
After everything was done, the author took control photographs of the finished product.
Thus, the master acquired another budget machine for his workshop and garage. such an emery can be made by a craftsman who will serve him for many years. Also, the design can be simplified and a frame made of timber and boards, so as not to use a welding machine, but as they say "This is a completely different story"
This concludes the article. Thank you very much for your attention!
Come visit often, do not miss the latest in the world of homemade goods!
This article is for informational purposes only!