Dear site visitors, from the presented master class, you will learn how to independently make a children's playhouse in your summer cottage, or near the house if you live in the private sector.
The first step is to choose the right place for
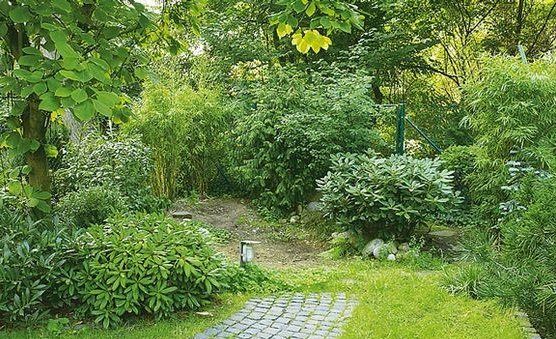
construction, mainly the house should be located on a sunny and not shaded space. In no case should there be a through wind. It would be nice if a small shrub, trees and flowers grew nearby, this creates coziness and kindness from Mother Nature herself.
Material for construction is best used natural origin: wood. Particleboard and plastic are also often used, not so environmentally friendly of course, but cheaper. It will also be important to take care of the path leading to the house, it is best to pave it with antique pavers, this will create a fabulous look that will be interesting for the child.
And so, let's look at what exactly the author needed to build a children's playhouse?
Materials1. beam
2. board
3. polycarbonate
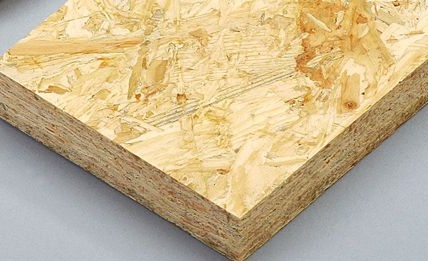
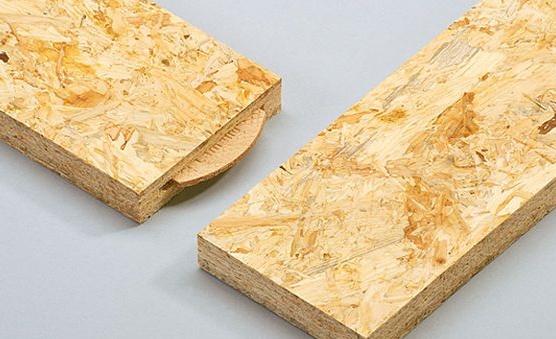
4. Particleboard
5. cement
6. sand
7. screws
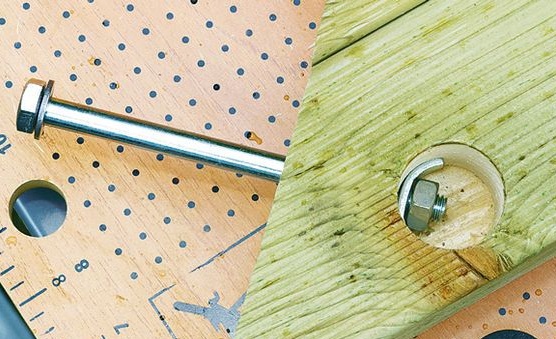
8. bolts
9. nuts
10. nails
11. loops
12. pens
13. round timber
14. plastic slide
15. anchor bolts
16. paint
17. metal fasteners
18. corner
Instruments1. jigsaw
2. screwdriver
3. drill
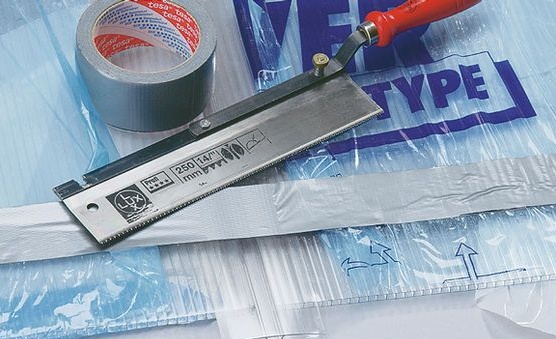
4. hacksaw
5. punch
6. roulette
7. level
8. corner
9. construction pencil
10. ruler
11. hammer
12. spade
13. container for kneading the solution
14. screwdriver
15. chisel
16. mallet
17. circular hand saw.
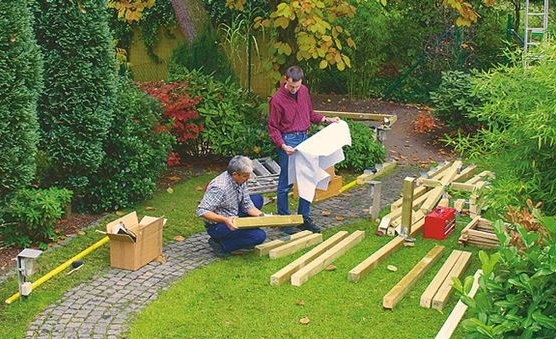
Walkthrough for building a children's playhouse do it yourself.To begin with, you should choose a place on your site for future development, then clear branches and shrubs from existing debris. Pave a path, preferably cobbled down. It can also be made of tiles with rubber crumb in it, which is less traumatic when a child falls.
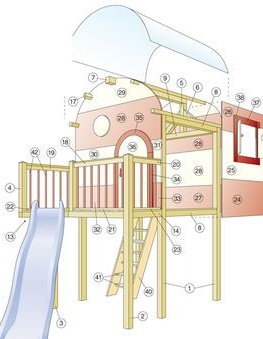
Before starting the construction, it is necessary to draw up a diagram and a drawing, and already guided by the plan, get down to business.
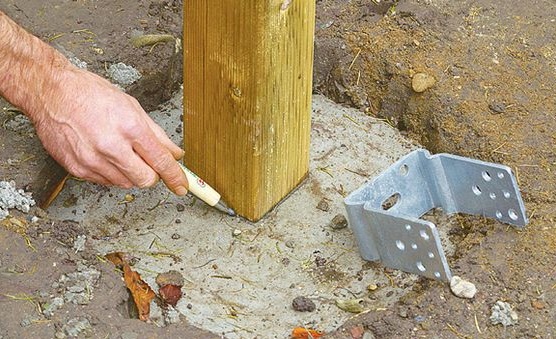
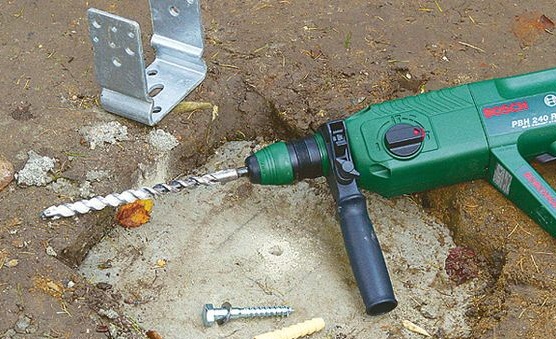
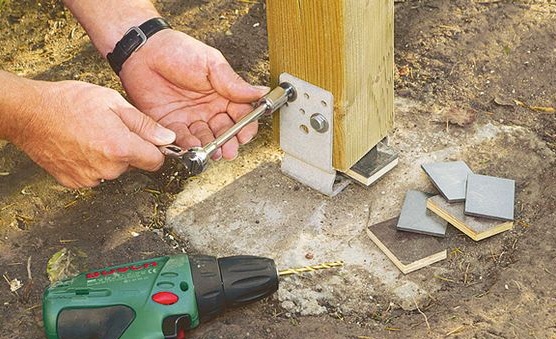
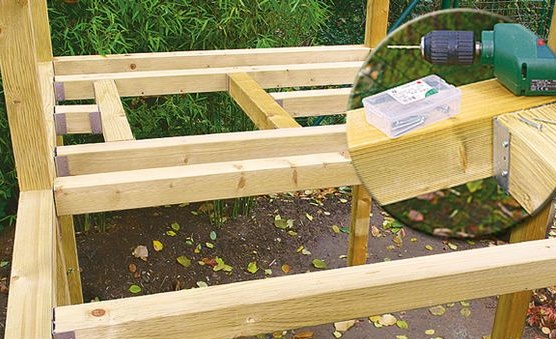
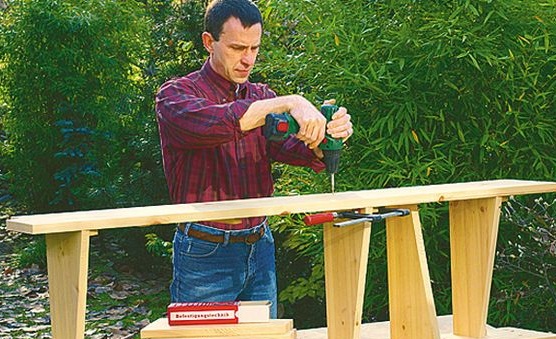
But already after you can get to work) As in any other construction, here, too, everything starts directly from the foundation, since the house will be of light construction, then the basis for it will be simple. 4 recesses are dug around the perimeter and cement mortar, such a columnar foundation, is poured into them. After the concrete dries, a hole is drilled in it using a hammer drill for the anchor bolt that will hold the metal fasteners.
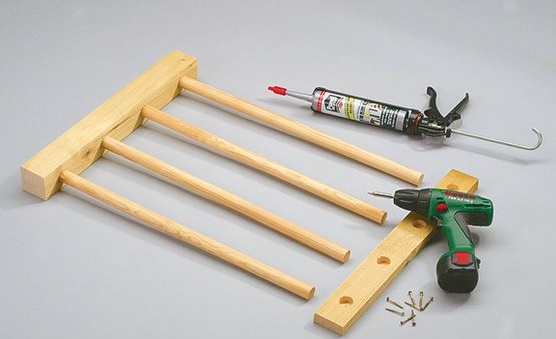
In the meantime, all the necessary material is being prepared.
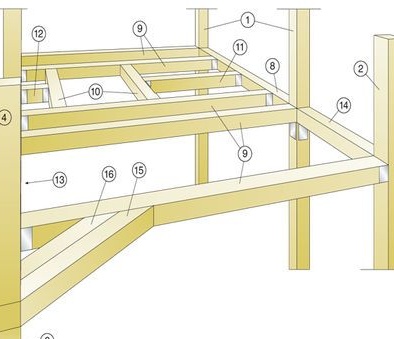
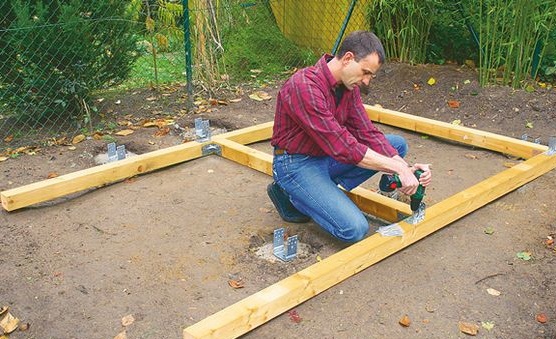
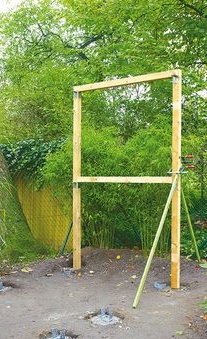
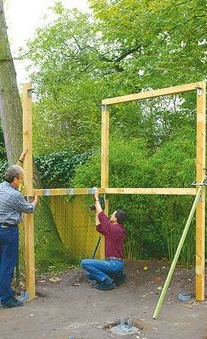
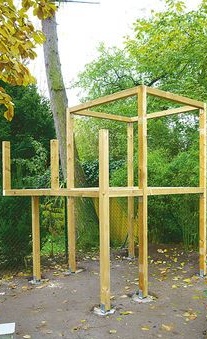
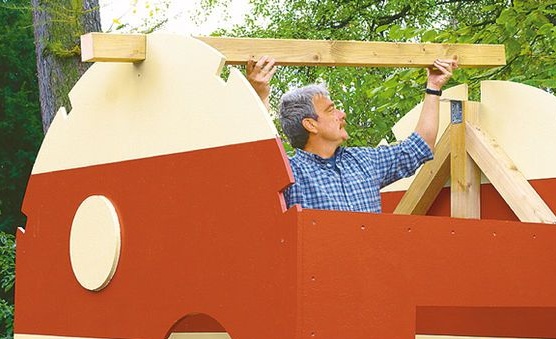
The frame of the house is assembled from the beam.
A beam is placed on the foundation and its outline is outlined with a pencil.
A hole is drilled for an anchor bolt and metal fasteners.
Installs the first bars.
Next is the 3rd.
And accordingly 4th.
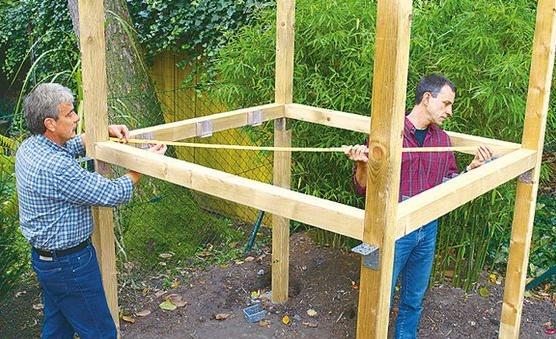
Fastening the beam to the foundation is as follows.
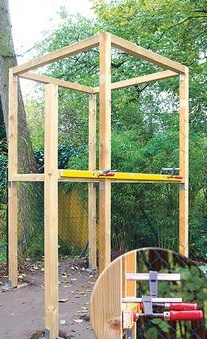
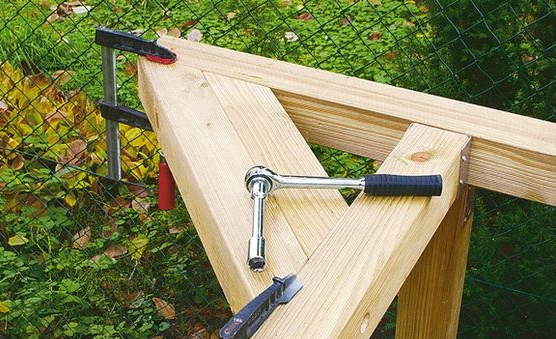
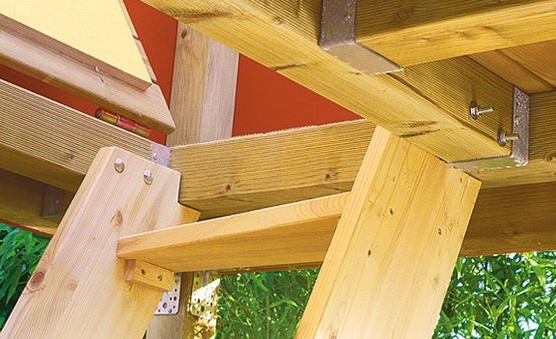
The frame is fastened with cross members to the corners.
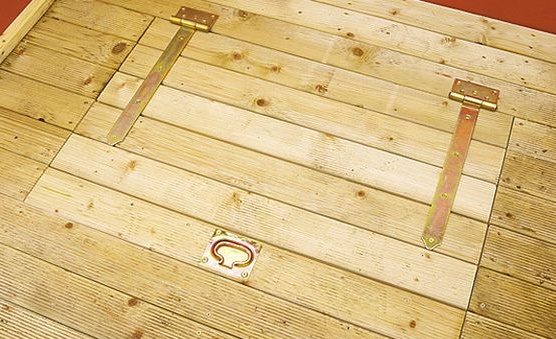
The author also fastens the logs of the second floor with the help of metal corners. As a precaution, an opening under the hatch is left.
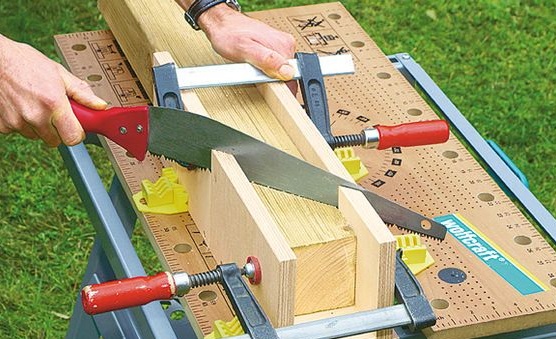
Saws workpieces at an angle.
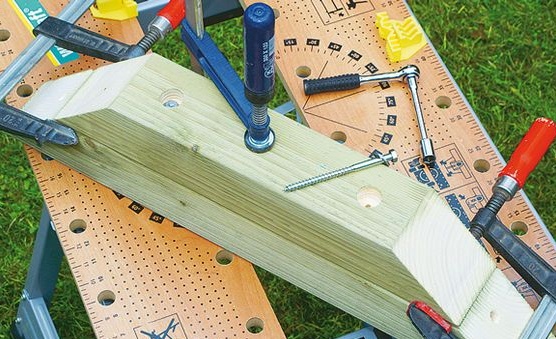
Drills holes and twists with a threaded connection.
Tightens.
It also uses this method.
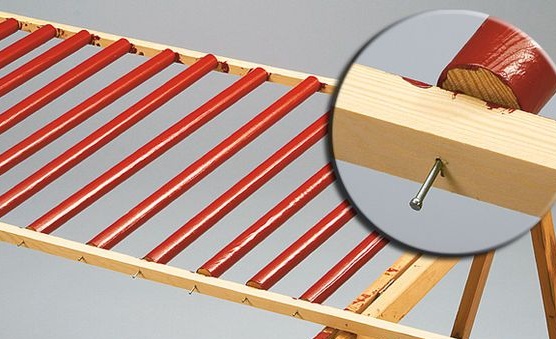
Additionally installed a pair of bars under the plastic slide.
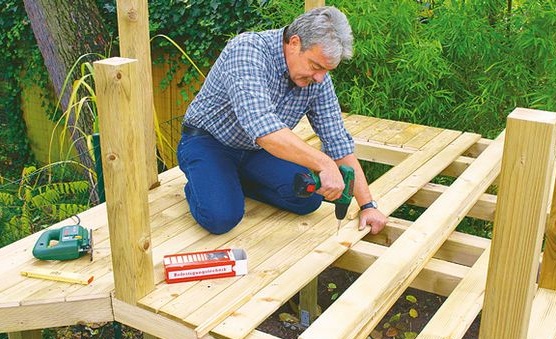
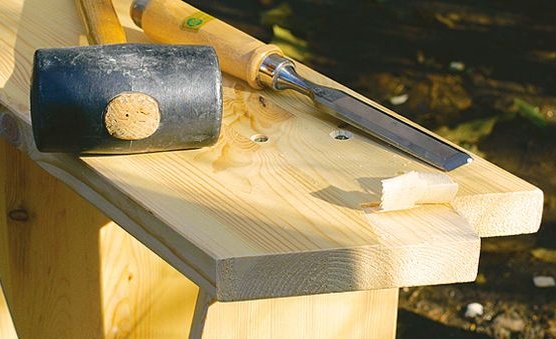
Floors the floor.
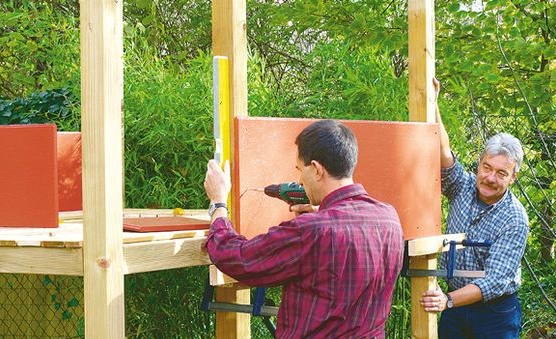
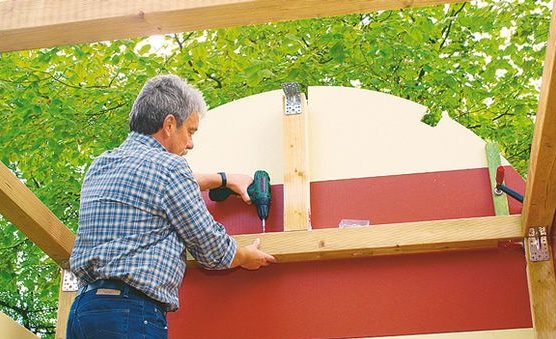
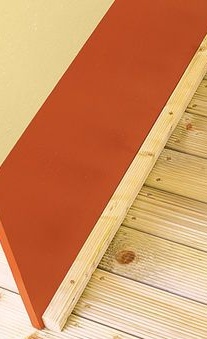
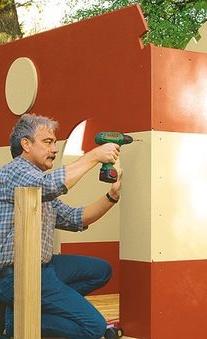
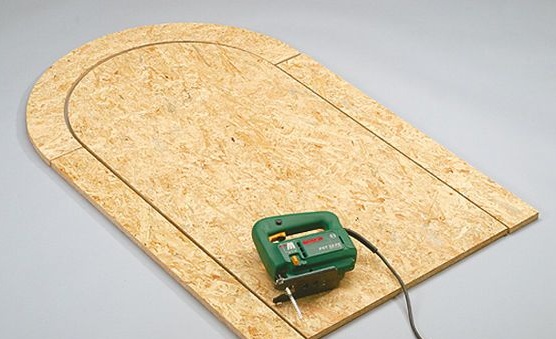
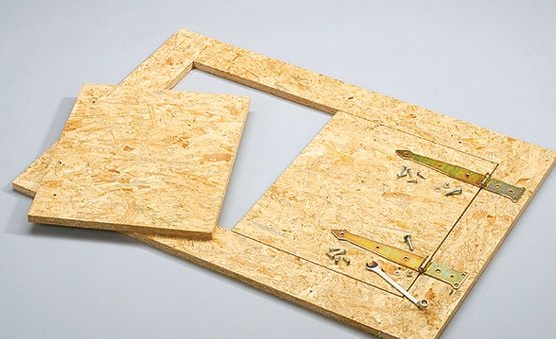
The walls are sheathed with a pre-painted particleboard.
The arch is attached.
Cuts are placed.
Here are almost the walls are ready.
Plinth is laid.
They also did not forget about the doorway.
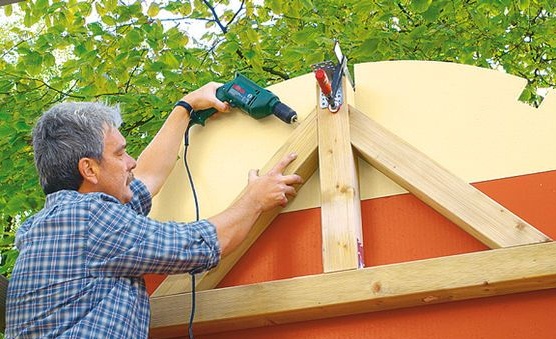
Creating a rafter system.
The beam is also fastened with a metal corner and screws.
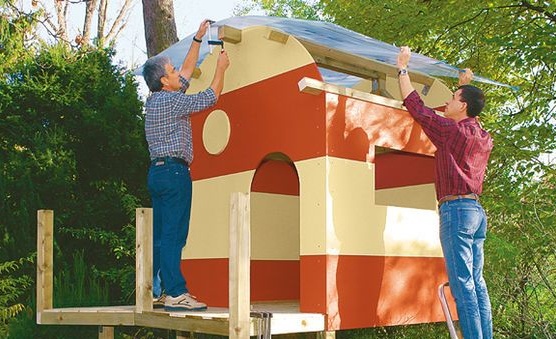
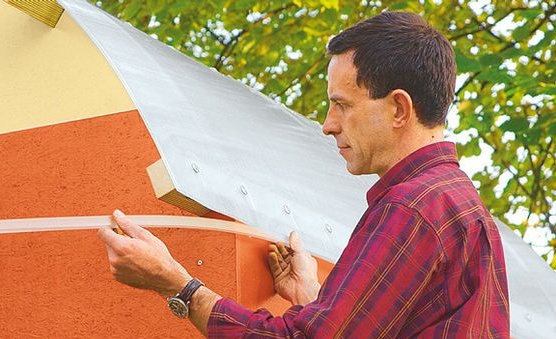
After the rafters are ready, the master proceeds to sawing a sheet of polycarbonate.
Lays and bends under the necessary form of an arch.
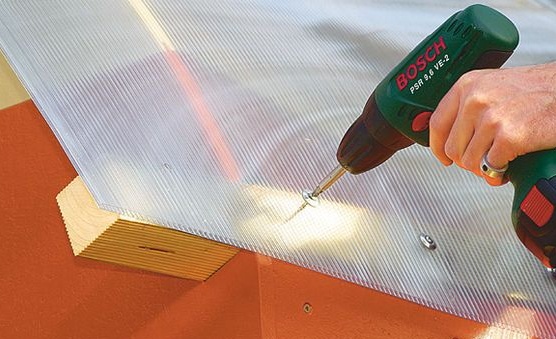
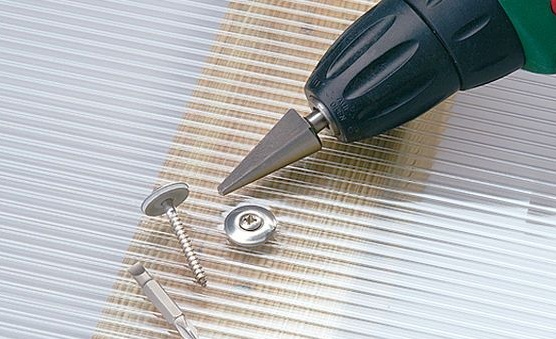
Screws on the bottom.
Why use a self-tapping screw with a press washer.
The edging is inserted below.
Here is a transparent roof turned out)
After the house is fitted under the roof, the master proceeds to secondary works, namely, makes frames and handles.
Sawing with a jigsaw from chipboard.
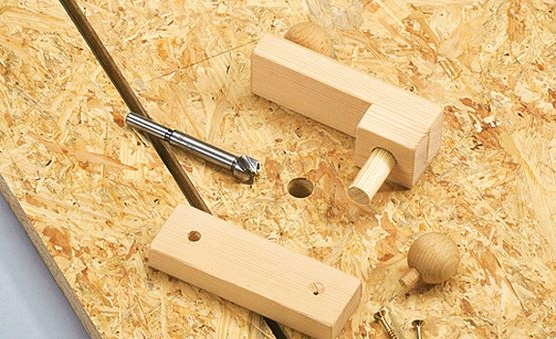
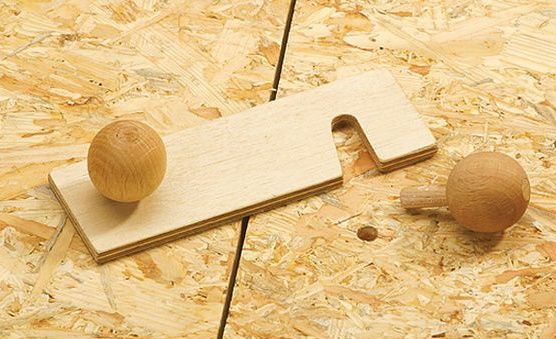
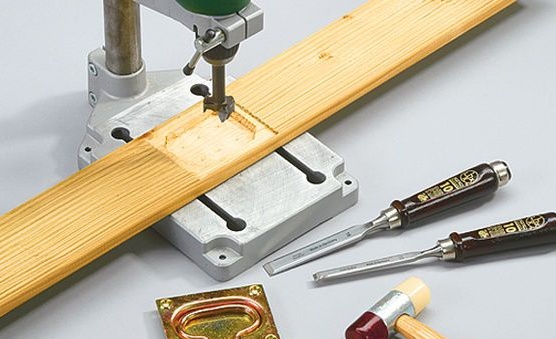
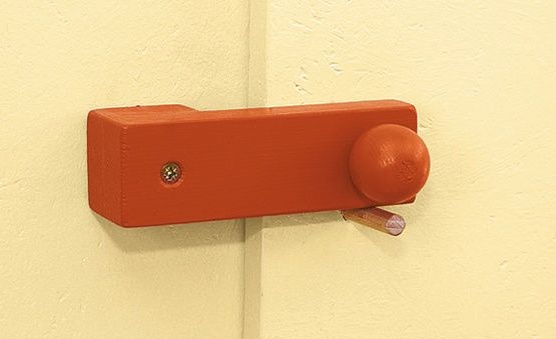
Makes wood handles.
Round with a latch.
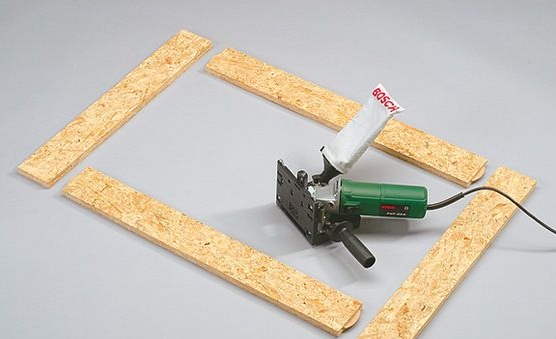
Assembles a square frame (spike groove)
This way.
Doors hangs on hinges.
Makes the base for the hatch.
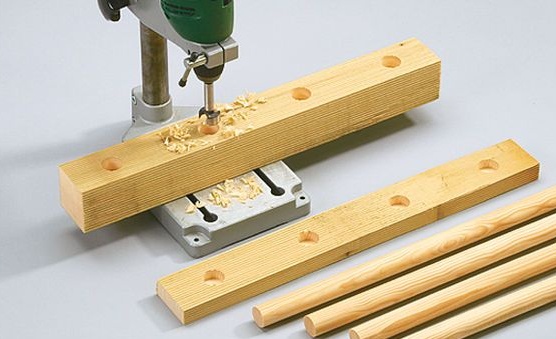
Then he drills holes in the timber.
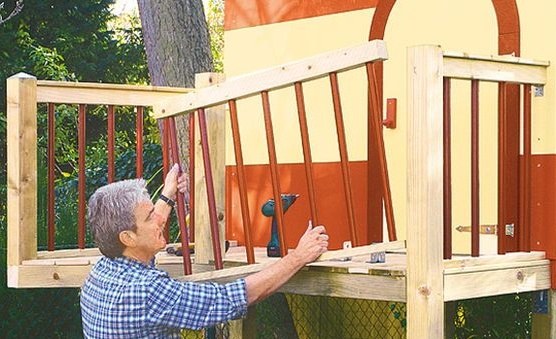
Gathers the railing.
It stains red and temporarily fastens with finishing cloves.
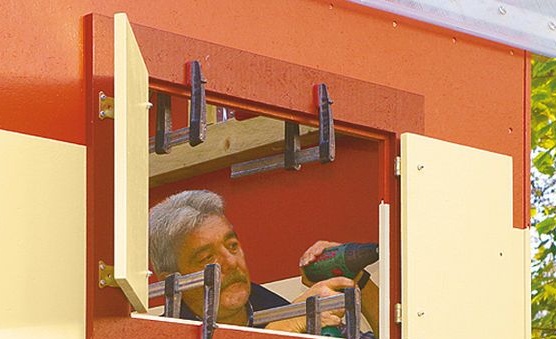
Mounted frame with shutters.
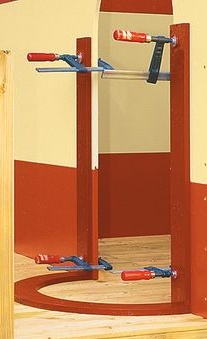
Doorway.
For convenience, the author uses clamps.
Hangs the door.
He puts such a pen made of wood.
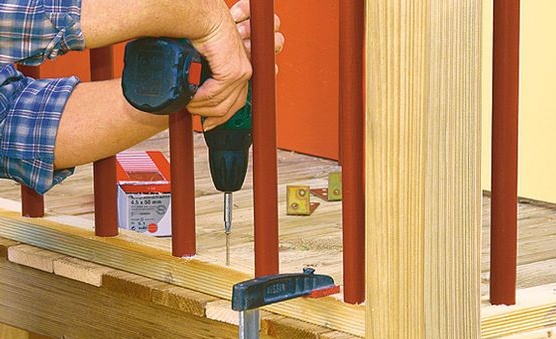
Mounts the railing.
Fastens with self-tapping screws.
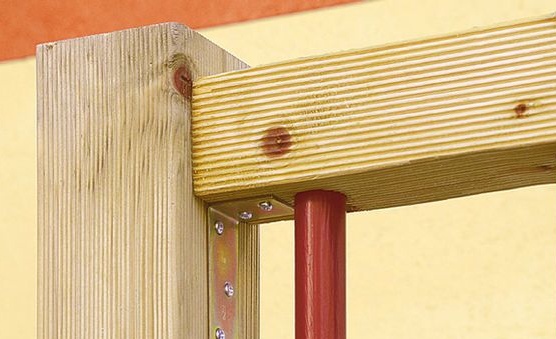
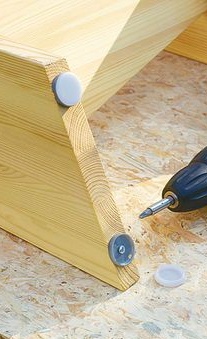
For the reliability of the design added a metal corner.
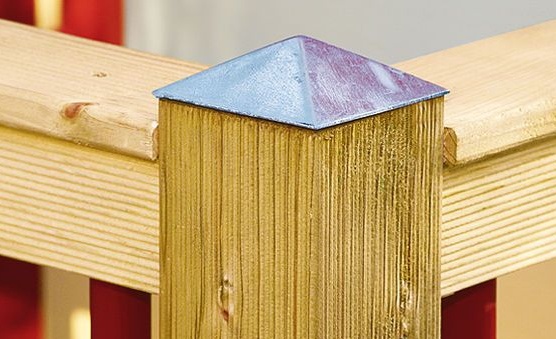
A metal cap is dressed on the end of the beam.
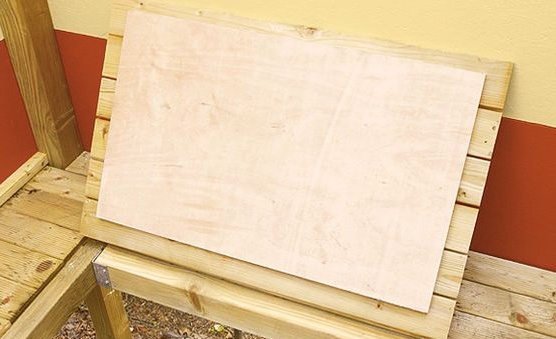
The hatch from the bottom is upholstered with plywood.
A metal handle recessed into the beam is installed.
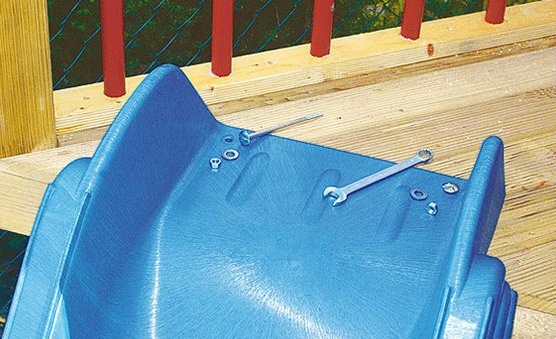
Fastens a plastic slide.
Of the board makes a ladder.
There are non-sliding elements at the bottom.
It drives and removes excess.
Fastens 2 bolts on each side.
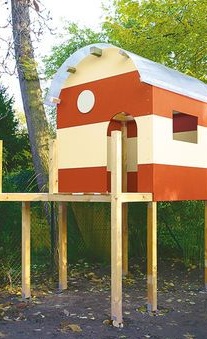
That's actually such a wonderful children's playhouse turned out by our author, his children are in a frantic enthusiasm for happiness. Well done Father! Skillful fingers!
This concludes the article. Thank you very much for your attention!
Come visit often, do not miss the latest in the world of homemade goods!
This article is for informational purposes only!