Hi, I hope this article will be useful to you.
Today I would like to share my experience in creating a microphone. I always used cheap buttonholes, and they very quickly failed. And he decided to buy a more serious device, but with a budget of up to two thousand rubles. Studying their characteristics, I realized that in budget microphones we pay not for sound, but for the microphone body. And it was decided to collect his own.
Let's start with the accessories.
1) Capsules
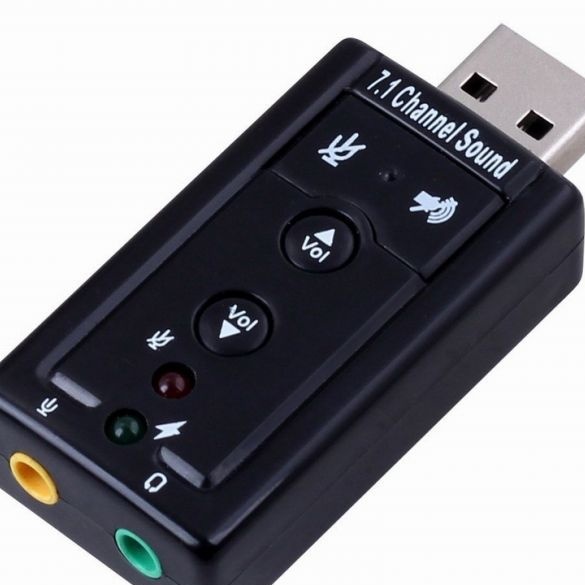
2) Sound card
3) Tripod
4) USB extension cable
5) Sponge for washing dishes
6) Stationery erasers 2 pcs.
7) And something like a tube
Assembly.
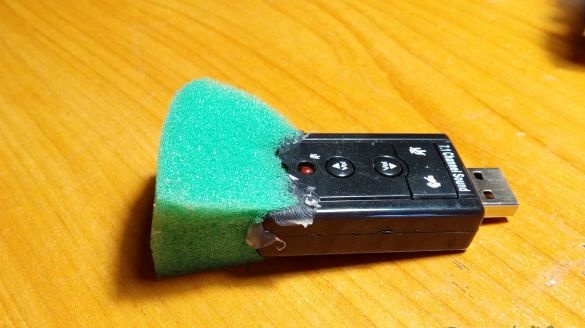
1) Let's start with the most important sound card and capsule. I bought them from the Chinese. The sound card cost me 60 rubles, and the capsules for 10 pcs. 50 rubles. We will analyze the card and solder the capsules there to the microphone output (yellow). The card is needed so that the sound does not go through the cable to the computer thereby creating an extra background, soldering capsules directly to the card, we made a minimal background
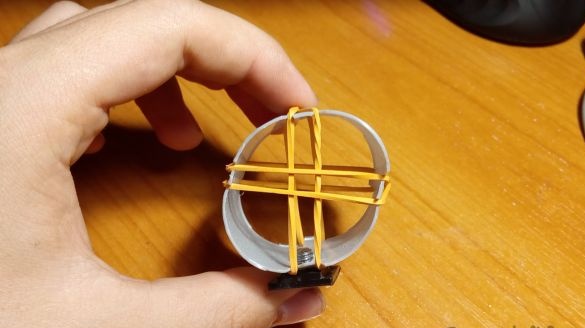
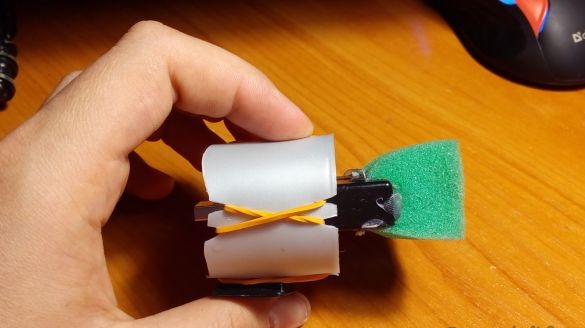
2) We take a tube or something like that, I personally took the cap from the hairspray. Cut the top, as in the picture and cut along the edges of the small slots of 2 pcs. parallel to each other on each side and put on elastic bands, as shown in the picture, this is necessary to suppress vibration.
3) We will make a hole for the tripod screw from the bottom of our tube, but this is for those who will use a three-leg tripod.
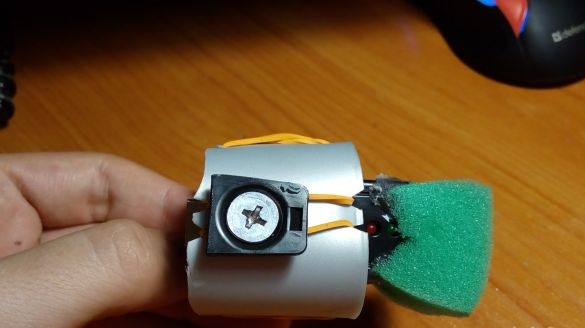
4) Insert our blank with the map, as in the picture
5) We cut off the cup and glue it to the card so that it acts as a wind of protection
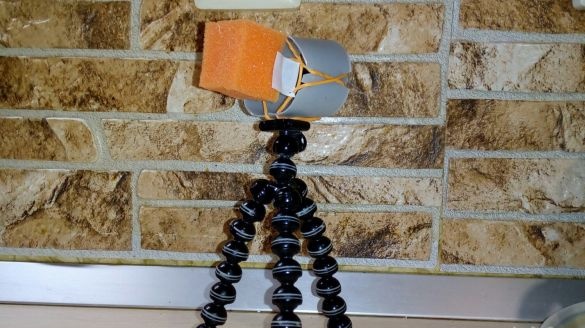
6) And fasten to a tripod
Conclusion
Well, in the end, we connect our microphone to the PC via a USB extension cable, we should automatically install the drivers for our card. If they are not installed, then look at them on the seller’s page where you purchased it. You can evaluate the sound quality on video
I hope this information was useful to you.


