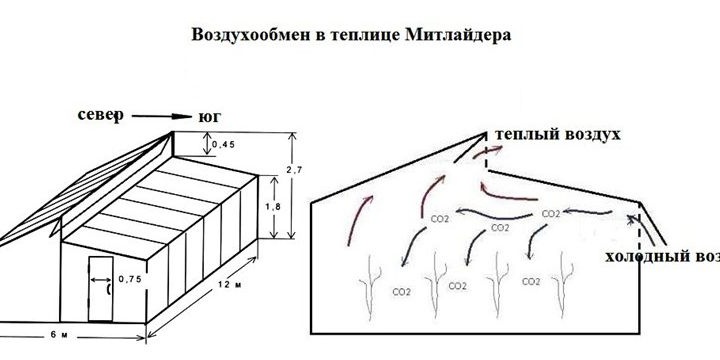
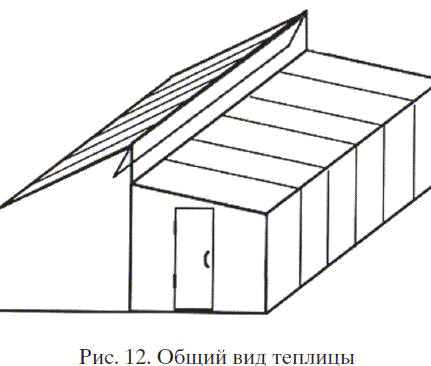
Dear site visitors, from the material presented by the author, you will learn how to independently build a greenhouse according to the Mitlider. The design feature is that the shape of the roof has 2 slopes, while they are not symmetrical and are located at different angles. The main feature is that due to this geometry a gap is formed between 2 slopes, where it is necessary to place transoms for ventilation and natural air circulation in the greenhouse.
Attention! Ventilation windows should be located and look exclusively at the south side so that cold air does not blow out. The opposite side of the roof is naturally to the north.
As everyone knows very well, a lot of carbon dioxide accumulates in greenhouses.
2 which adversely affects plant growth. That is precisely for this reason that the American professor of Agricultural Sciences, Joseph R. Mitlider, developed and successfully implemented this feature in the design of greenhouses in professional vegetable growing.
Also in the greenhouse it is desirable to have a warm floor and narrow beds with a width of about 45 cm, this will also give an undeniable plus during the cultivation of vegetables. To cover the greenhouse, you can use a plastic film, glass or polycarbonate rather good material.
And so, let's look at what exactly the author needed to build a greenhouse?
Materials1. beam 100x100
2. polycarbonate
3. 30 mm board
4. nails
5. self-tapping screws with a washer
6. foam
7. corrugated pipe
8. furniture and door hinges
9. latches
Instruments1. shovel
2. jigsaw
3. drill
4. screwdriver
5. hammer
6. roulette
7. level
8. corner
9. hacksaw
10. stepladder
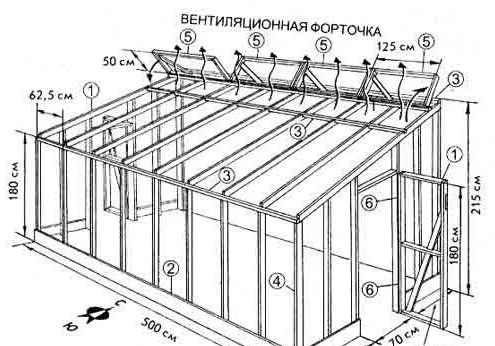
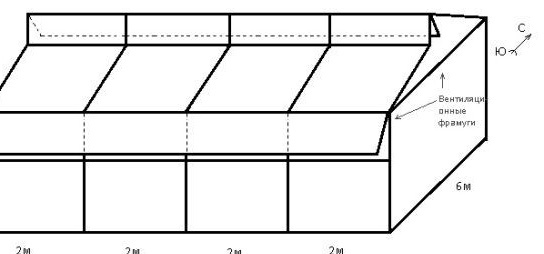
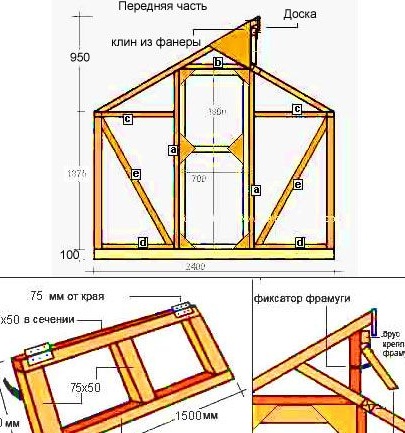
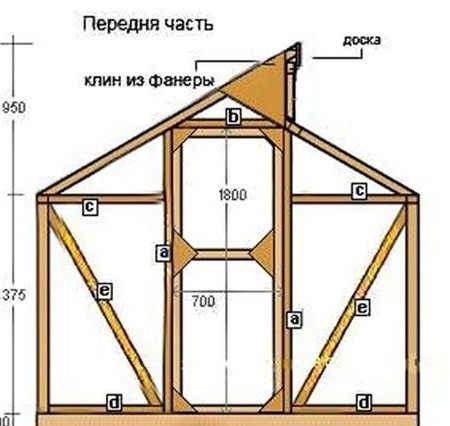
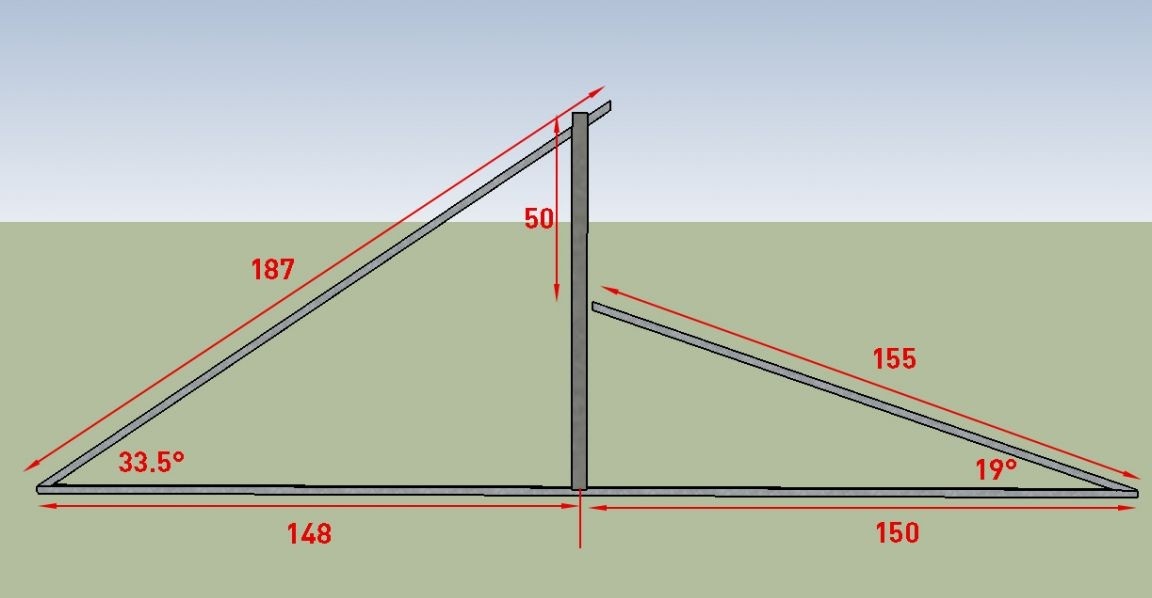
Step-by-step instructions for building a greenhouse according to Mitlider.And so, the first step is to study the drawings and diagrams presented by the author, the most important thing here is the angles at which the slopes are located, they must be observed, because it is very important.
In each individual case, the sizes will naturally be different, because someone has a large plot and needs a large greenhouse, and on 6 acres, of course, they need a compact and small greenhouse, the main thing here is to observe the slope angles and location, with transoms in the south and the opposite side naturally to the NORTH, this is necessary so that the cold wind does not get into the greenhouse through transoms.
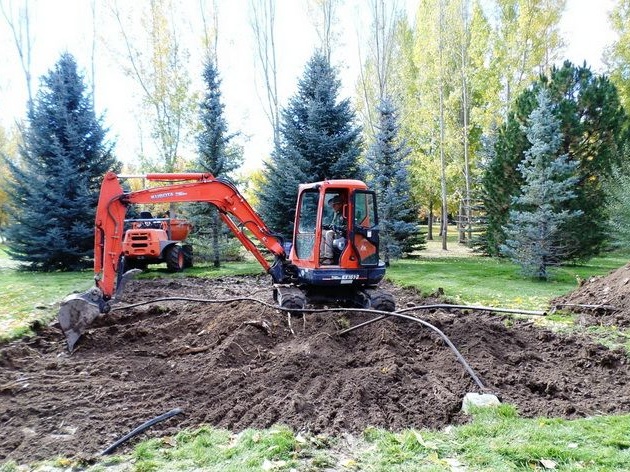
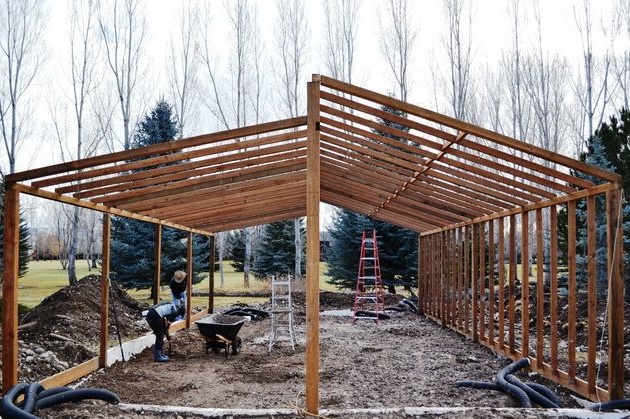
After the diagrams and drawings are drawn up, it is required to choose the best place on the site, naturally it should be sunny and not darkened. Next, you should clear the perimeter of the building from shrubs, rubbish, stones and other things, as well as remove the turf layer (if any). The author used special equipment for this, because he plans to build a large and solid greenhouse 12 x 6 m.
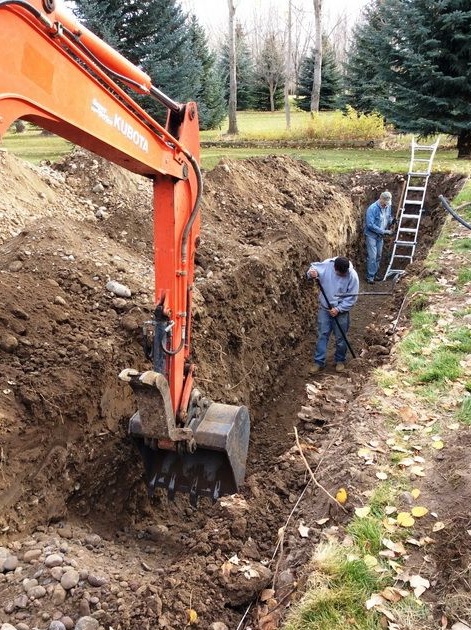
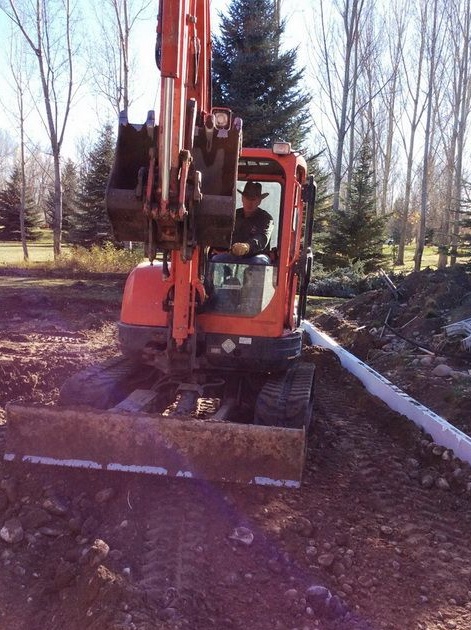
As mentioned above, it is advisable to lay warm floors in the greenhouse. Since the author has grandiose plans, he paves a whole heating main))) Digs a trench with an excavator.
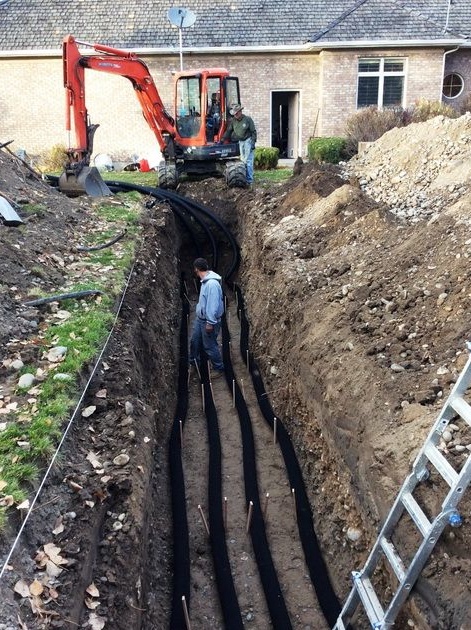
Lays pipes.
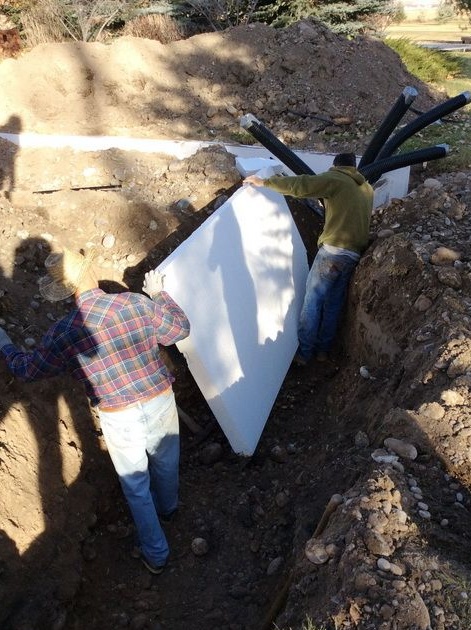
Walls are covered with polystyrene foam.
He fills the pit with soil and levels the surface.
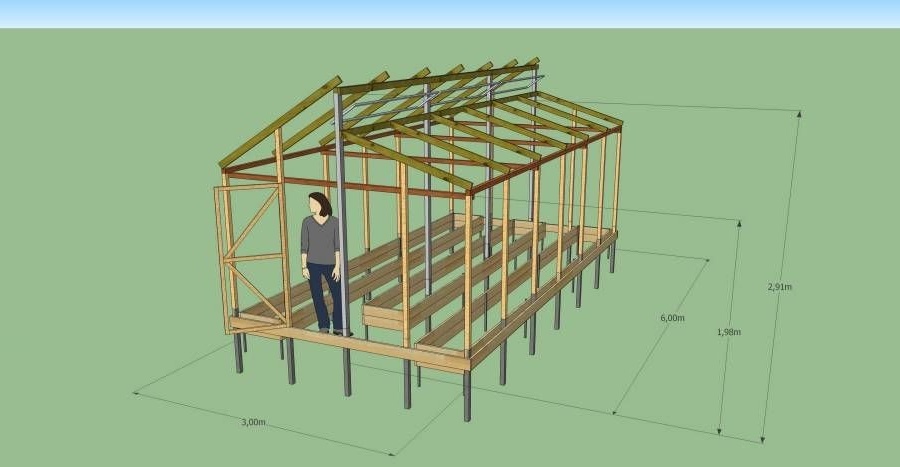
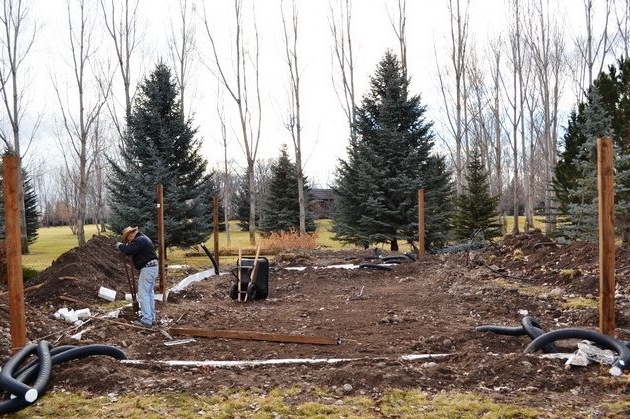
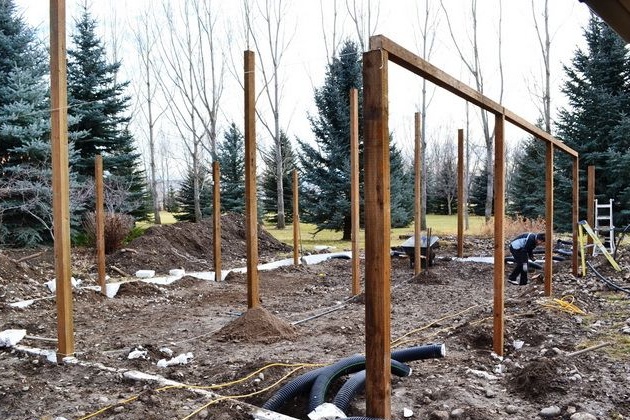
After the work, the author proceeds to dig wooden pillars. In the best way, of course, make a shallow foundation, and build a wooden frame on its basis, so it will last much longer. But well, as they say, "Master Barin" or, as M. Zadornov put it, "Well, you understand")))
The posts should be flush with a white rope.
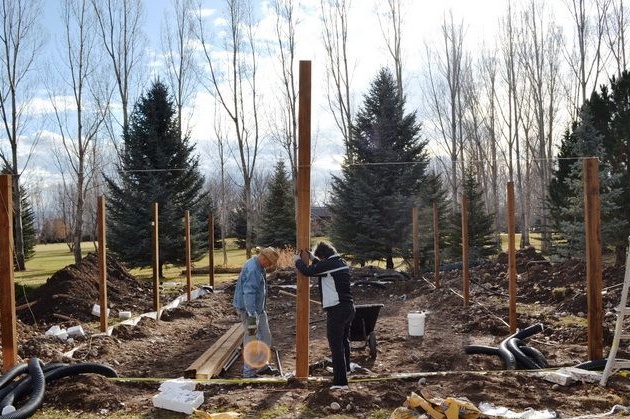
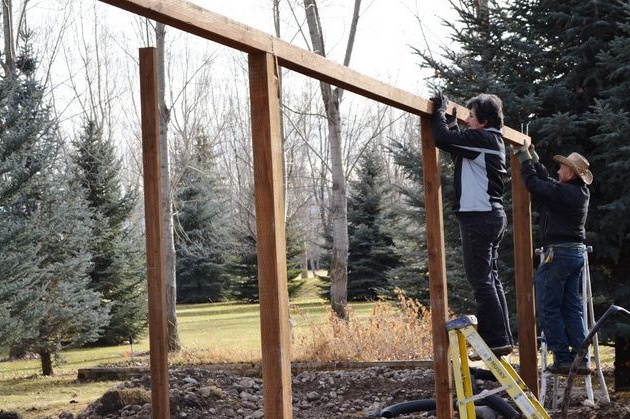
Next, the master proceeds to fasten the beam of a smaller section.
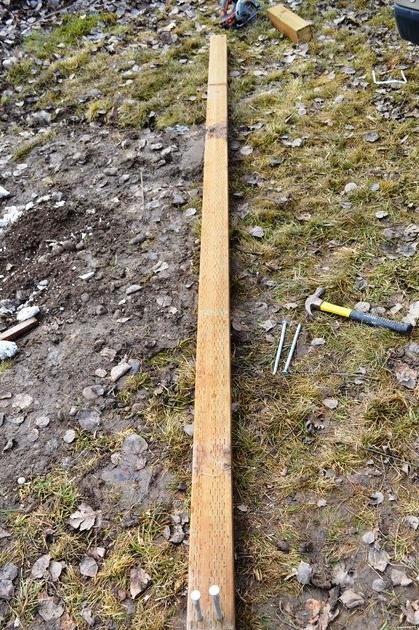
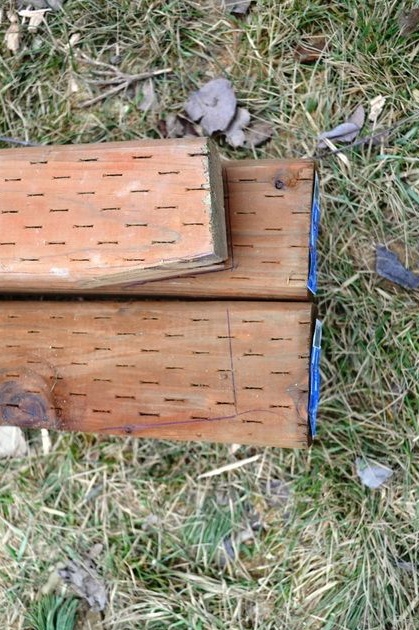
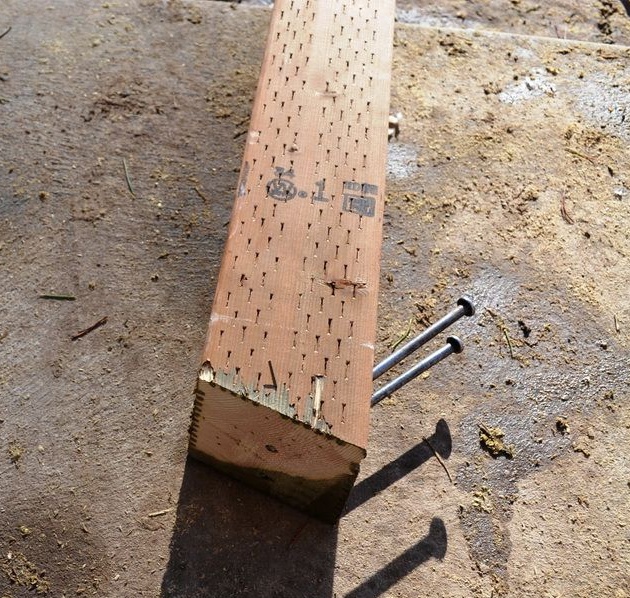
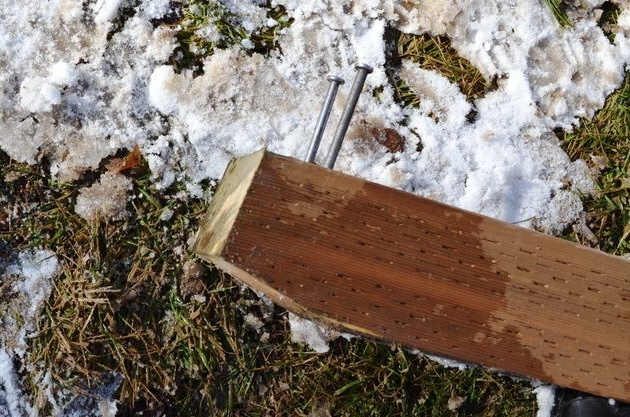
In the edges of the beam, you should first drill holes for driving nails into them, thus avoiding cracking of the wood. It is also advisable to use galvanized nails, because they do not rust after some time.
The beam is fixed with an assistant, one edge will need to be kept, otherwise it will simply fall to the ground from the impact of the hammer.
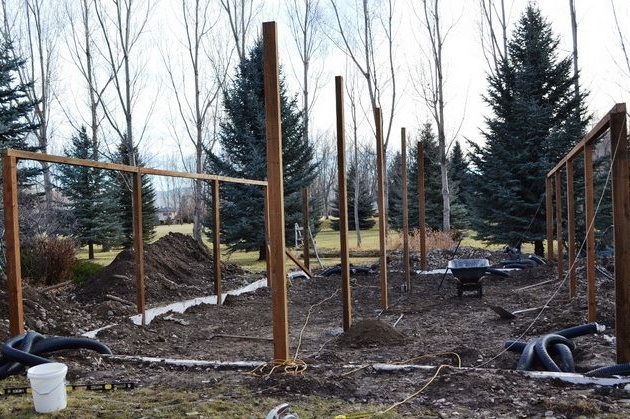
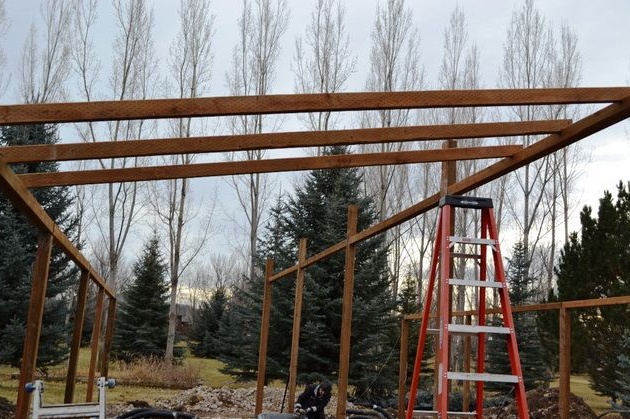
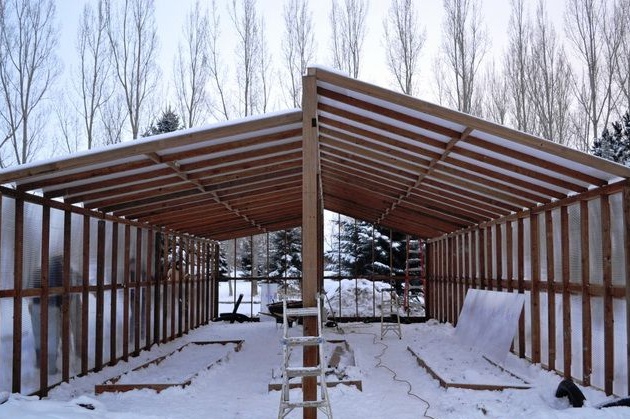
And so, it turned out 3 rows of columns from a wooden bar.
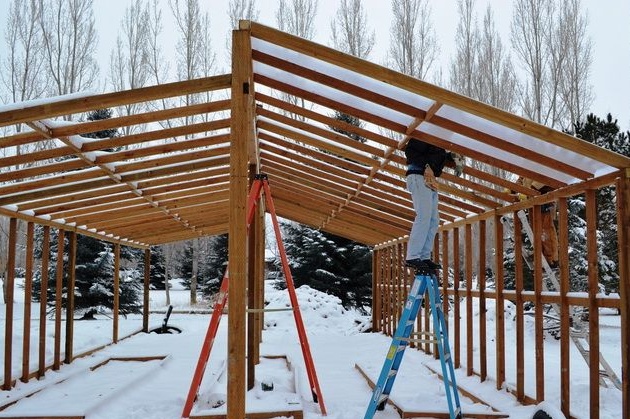
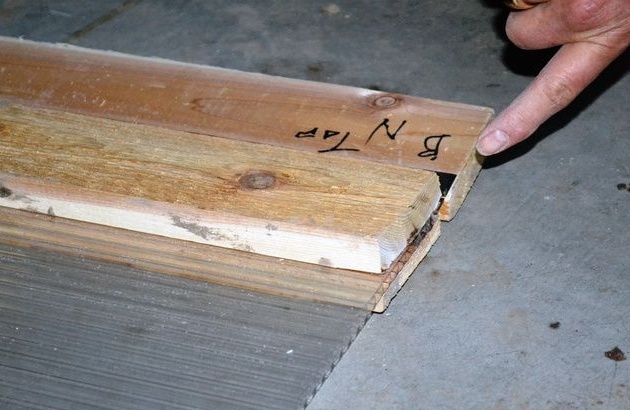
Then the rafters are stacked.
The edges are cut at an angle.
Holes are drilled and nails are clogged.
On the opposite side at a different angle indicated in the drawing.
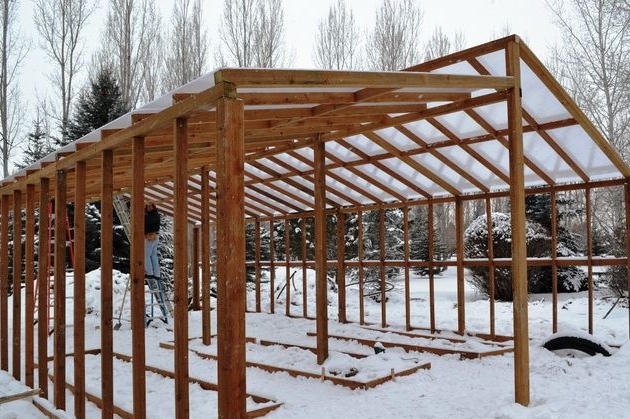
That's actually such a 2-pitched roof is obtained.
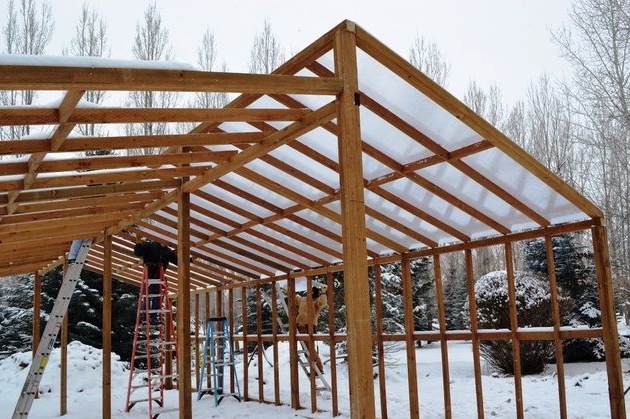
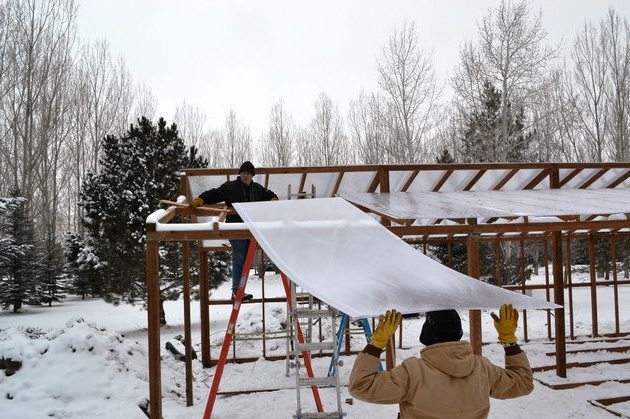
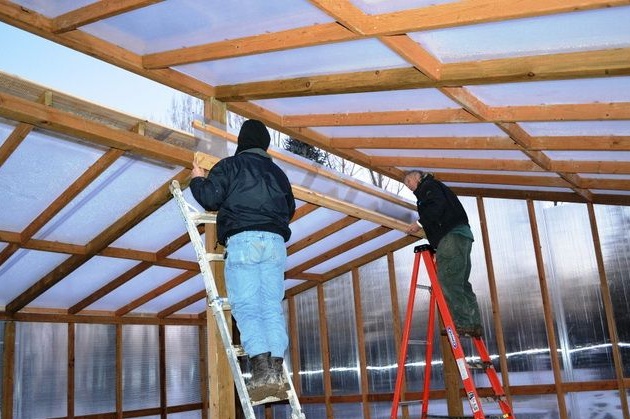
Then on the prepared surface begins laying polycarbonate foxes.
First of all, the author is covering the roof.
One ramp, then another.
The work is carried out together, so handier and more fun.
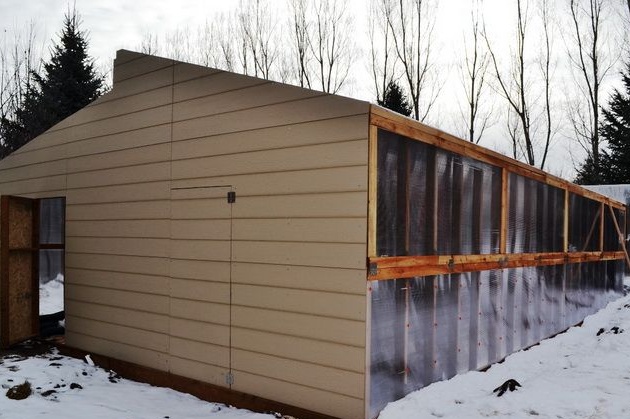
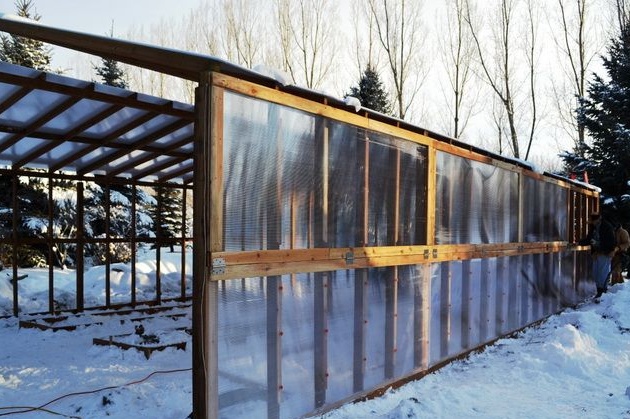
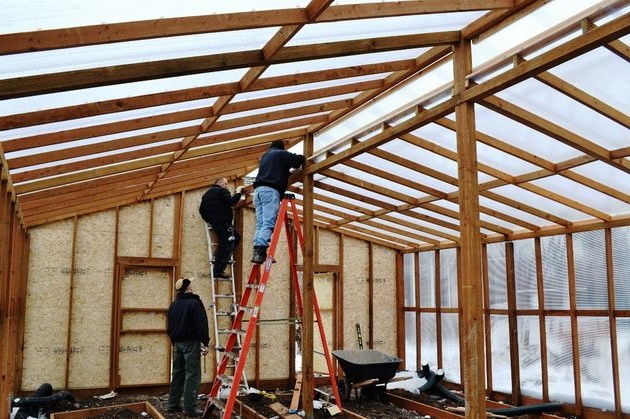
The walls are also sheathed with polycarbonate.
The greenhouse is finished with polycarbonate. Pay attention to the walls also have vents, this is necessary for better ventilation.
The wall where the front door is located will be deaf from the board.
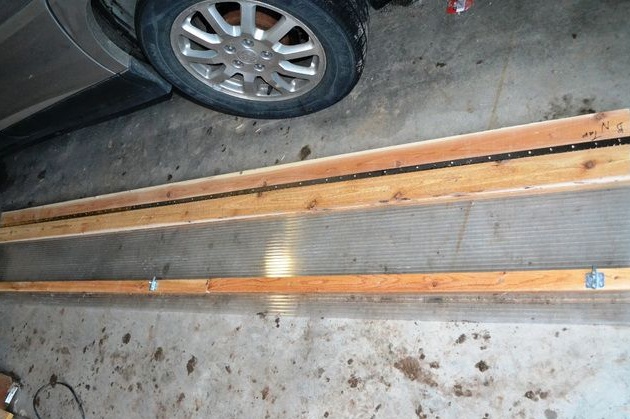
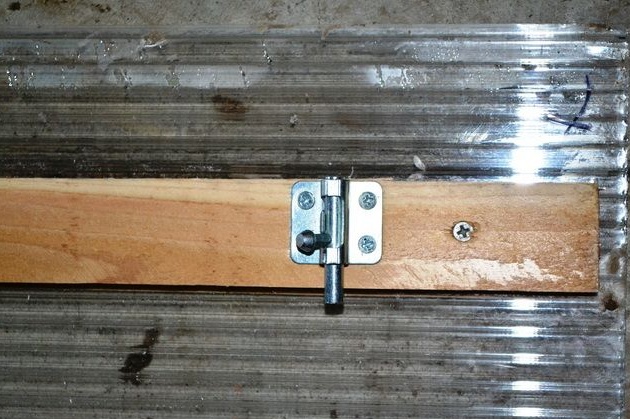
The master makes transoms also from polycarbonate and a board.
Installs latches to fix the window in the closed state.
The hinges from the old cabinet came in handy)
Fastens like this.
Installs ready-made transoms in place.
And thus the entire gap between the slopes of the roof.
Such a wonderful greenhouse was obtained by our author, now he will be able to grow a lot of vegetables and herbs, both for his family and for sale, thereby replenishing the family treasury)
The tree used as a frame also plays an important role, because it does not produce condensate, unlike metal or plastic.
This concludes the article. Thank you very much for your attention!
Come visit often, do not miss the latest in the world of homemade goods!
This article is for informational purposes only!