

Good day lovers of Arduino! On the Internet, I saw a rather interesting and spectacular robot (or device, call it what you want) that “plays” the Stak game, using the same operating principles you can make a robot that can play games such as geometry dash, piano, and others where you just need Poke into the screen with a certain sequence. What I did, please evaluate in the survey below.
If anyone is interested, here is a video of the work of this robot:
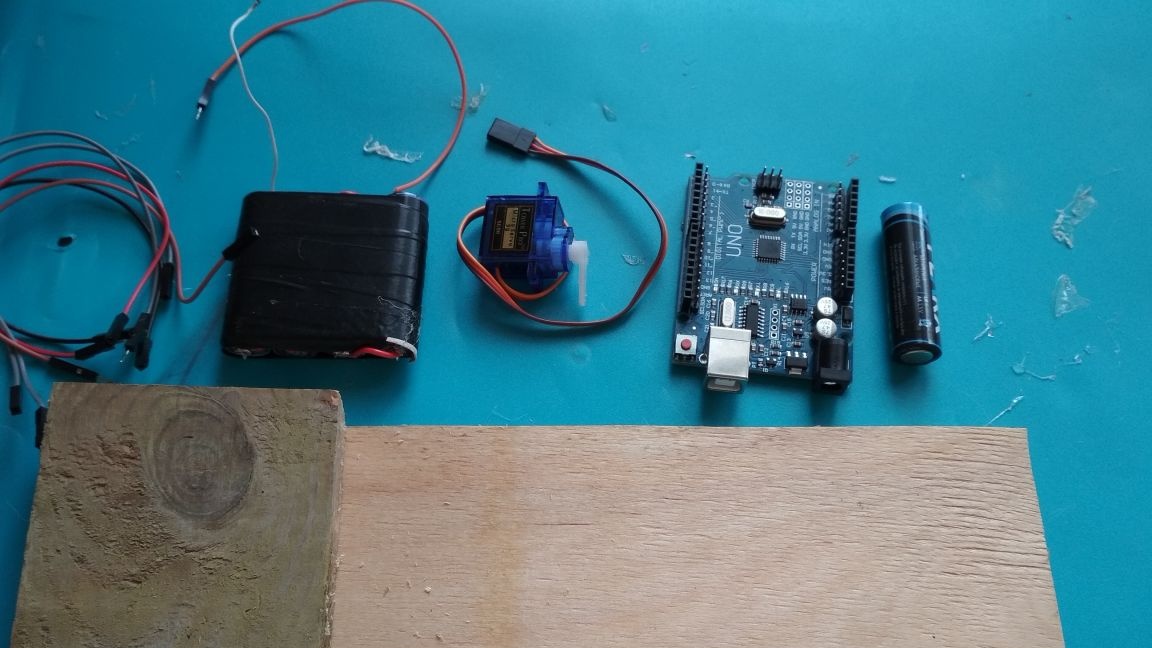
And so for this "robot" we need:
-pay Arduino Uno
- connecting wires like "father-mother" or "father-father"
-servo
- a piece of plywood
- a piece of board about 1 cm thick, the main thing is that twice is thicker than plywood
ice cream stick
-stylus
Foil (if there is no stylus)
-battery (if there is no stylus)
- power supply for 6-12 volts (I use 4 finger batteries connected in series)
From the tools we need:
-scissors
thermal glue
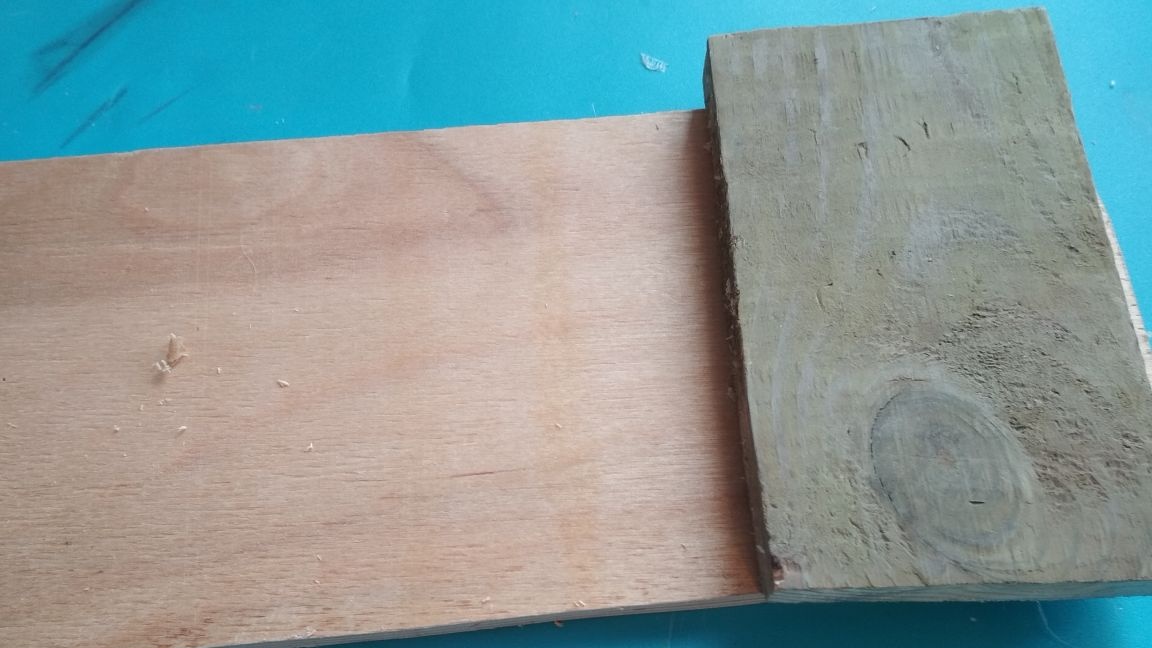
And so the first thing to do is to cut a piece twice as large as your phone from a piece of plywood, you can larger, and you need to cut a piece the size of your phone from the board (I made slightly different sizes, but this is not critical at all). Then we glue our blanks as shown in the photo:
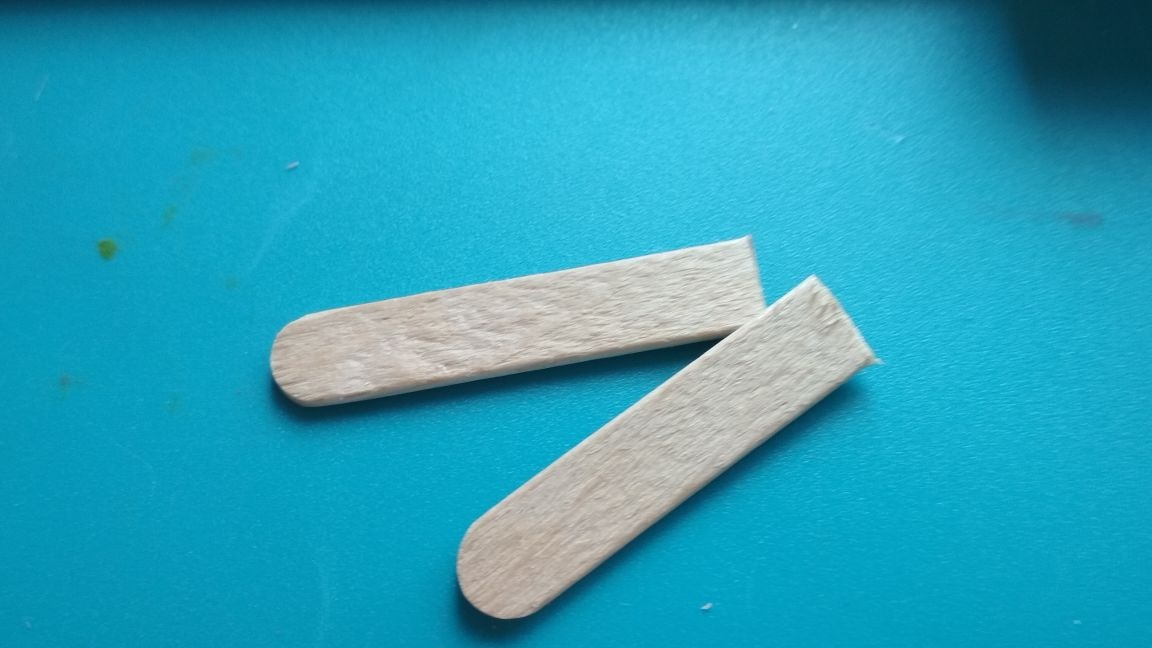
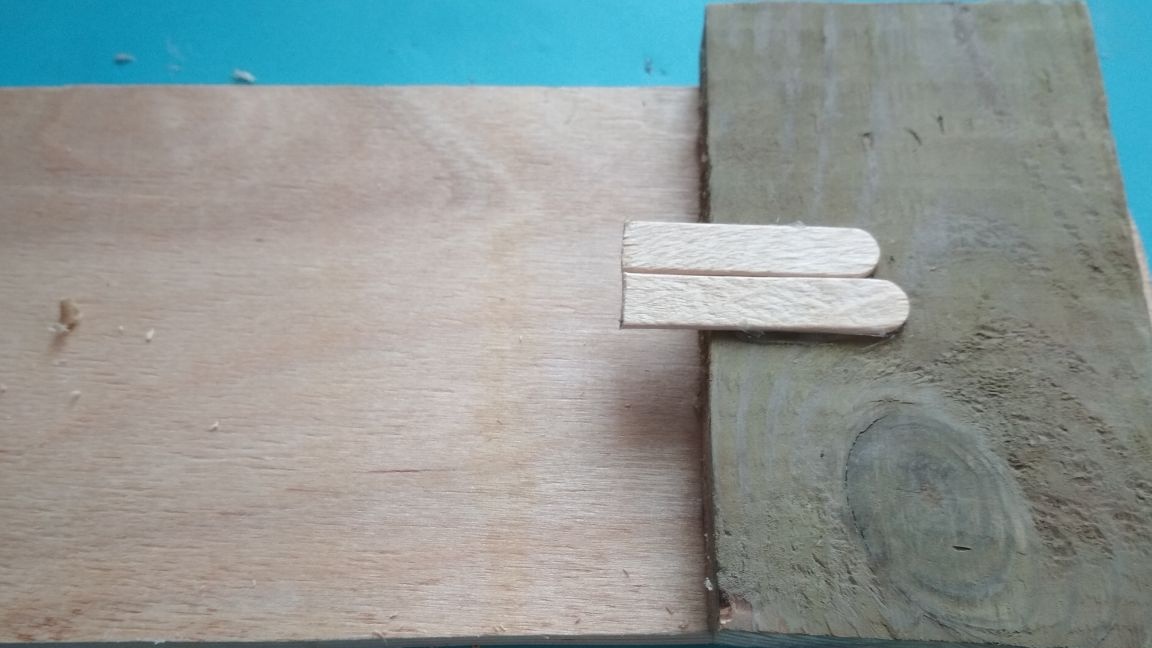
Take the ice cream stick and cut it in about half:
Glue them in the center of the board, from the plywood side, as shown in the photo:
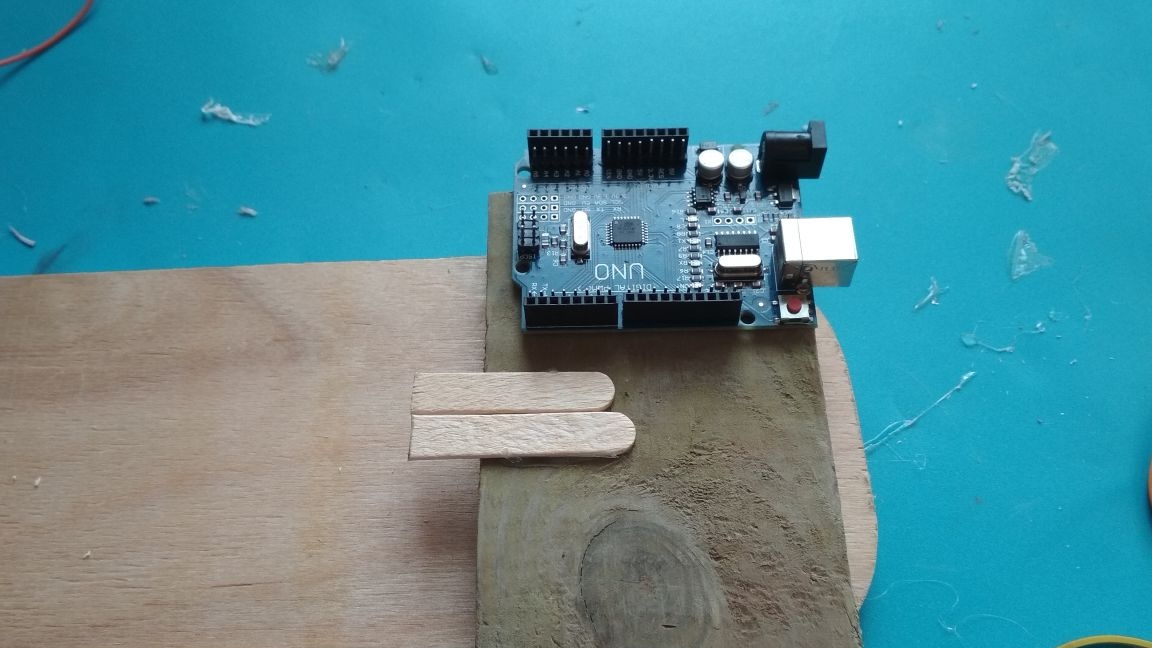
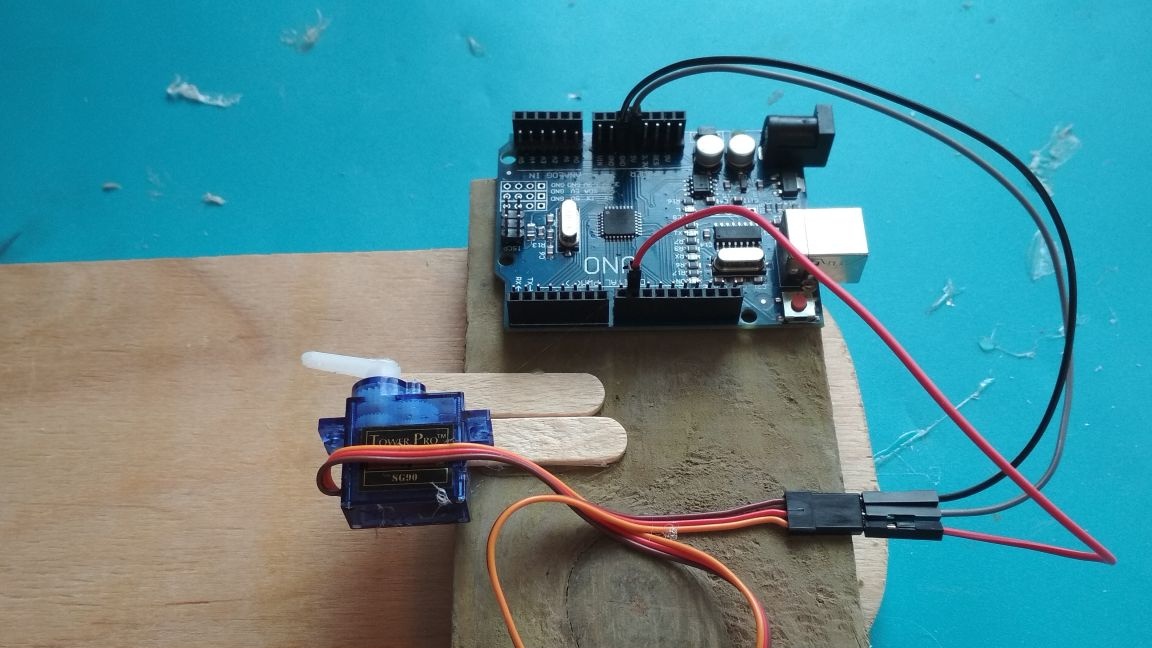
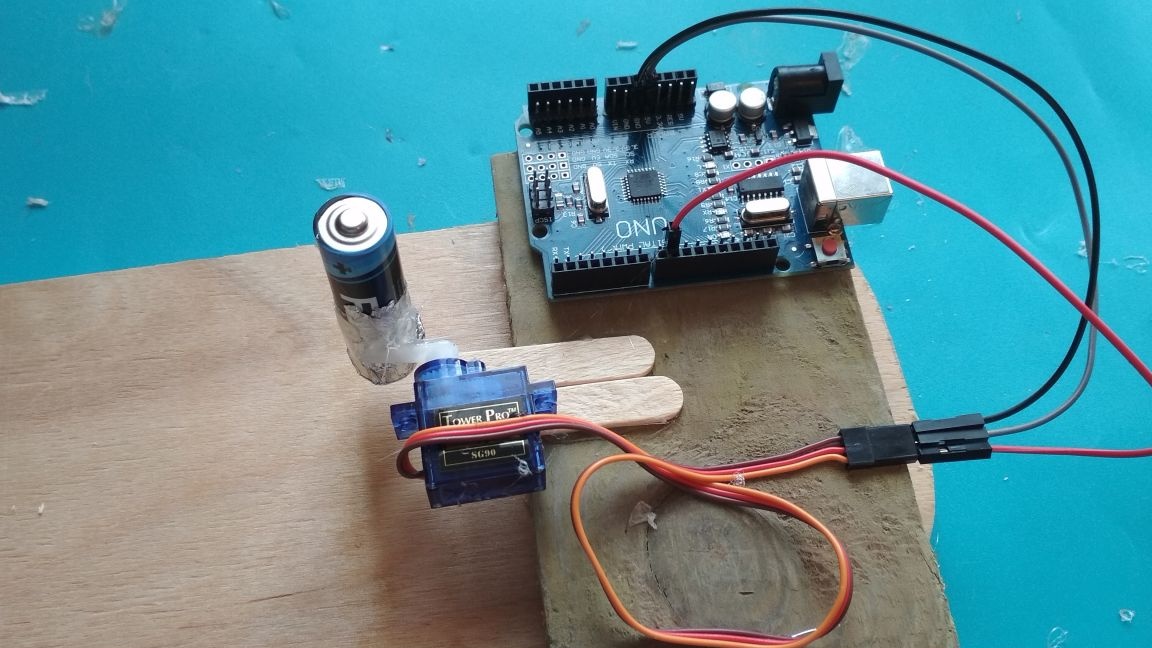
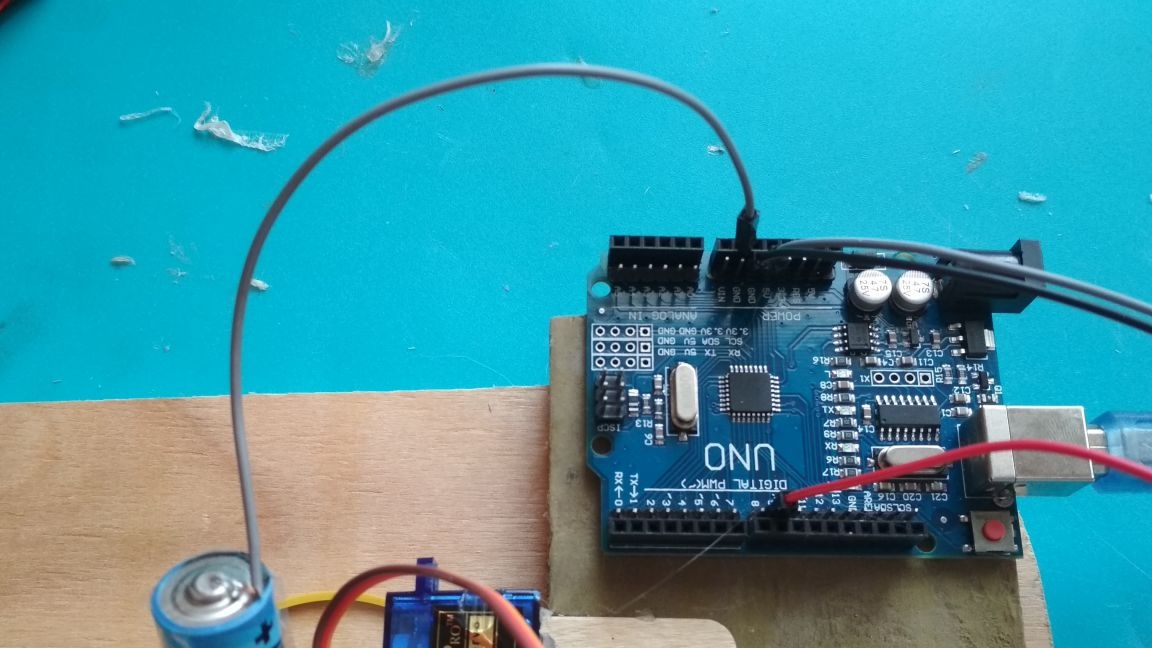
We glue the Ardino Uno board from the edge of the board:
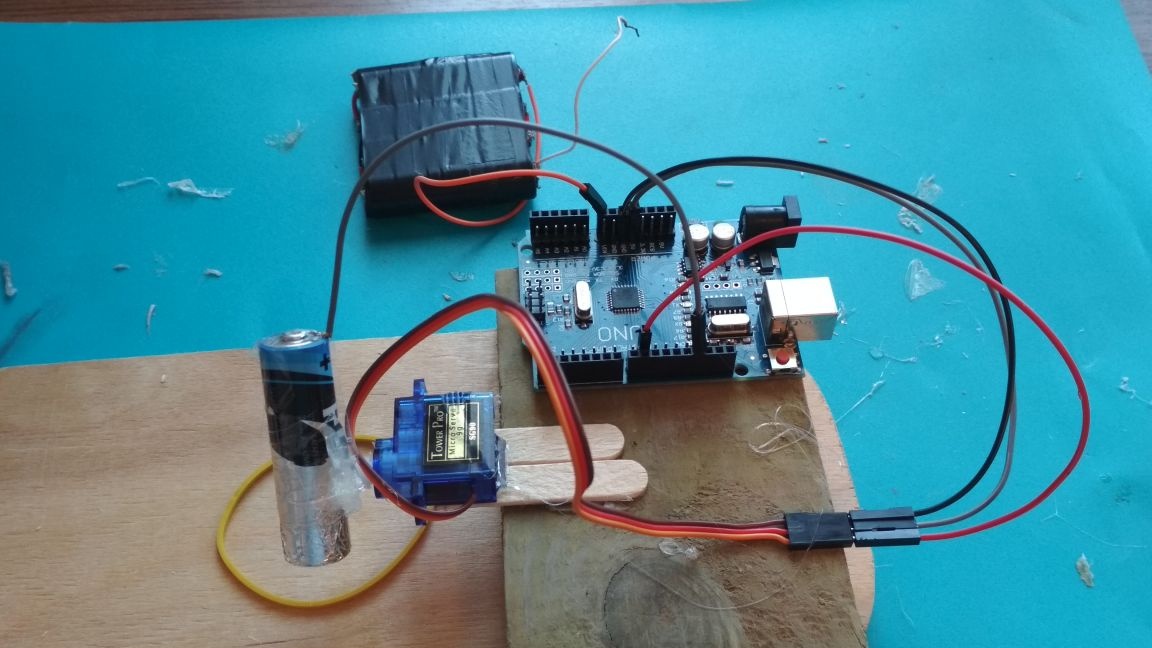
We take the servomotor and glue the wires so that they do not interfere:

Glue the servomotor to the end of the halves of the ice cream sticks:
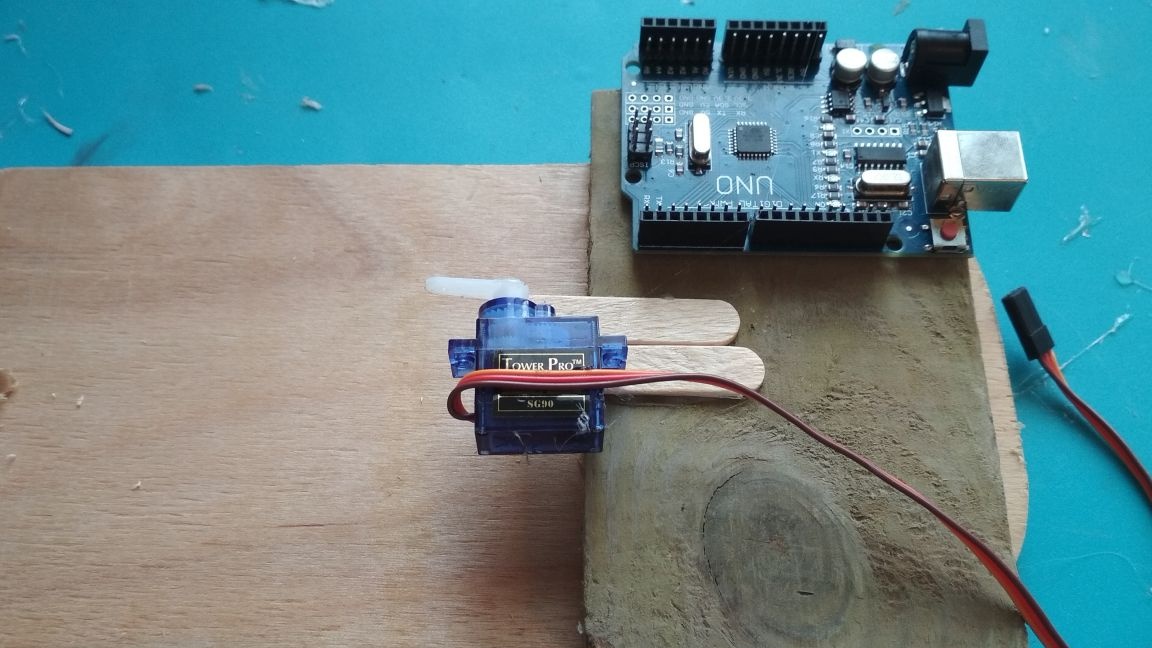
We lay the wires and glue the servo motor output to the edge of the board:
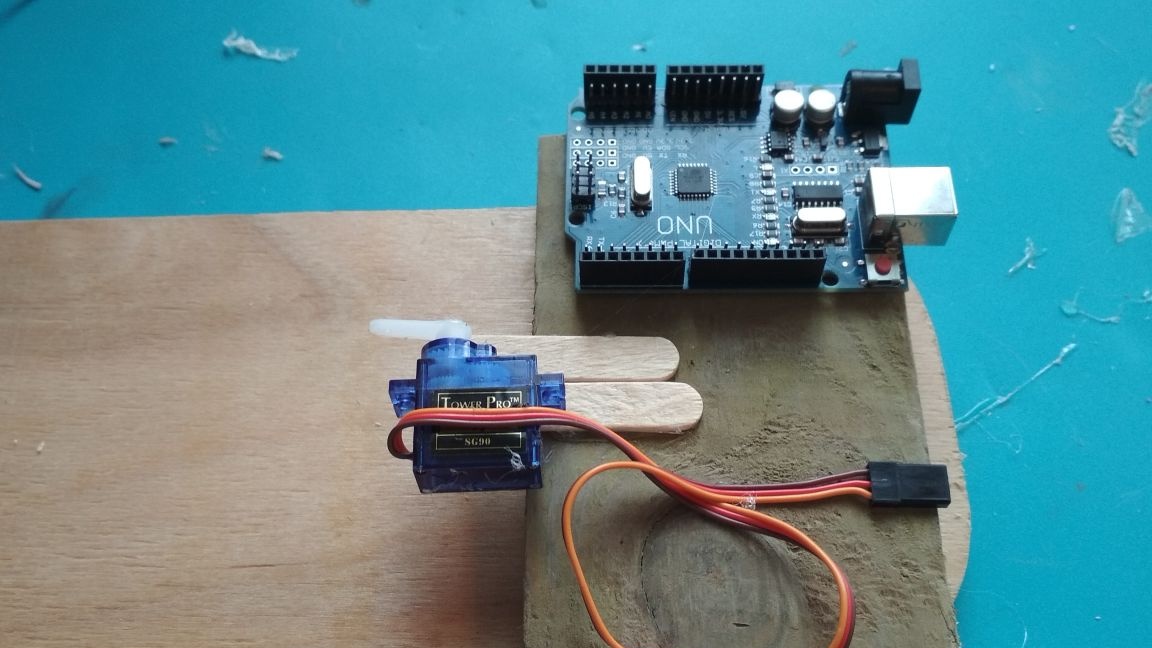
Add 3 dad-mom wires, preferably in different colors, so as not to get confused
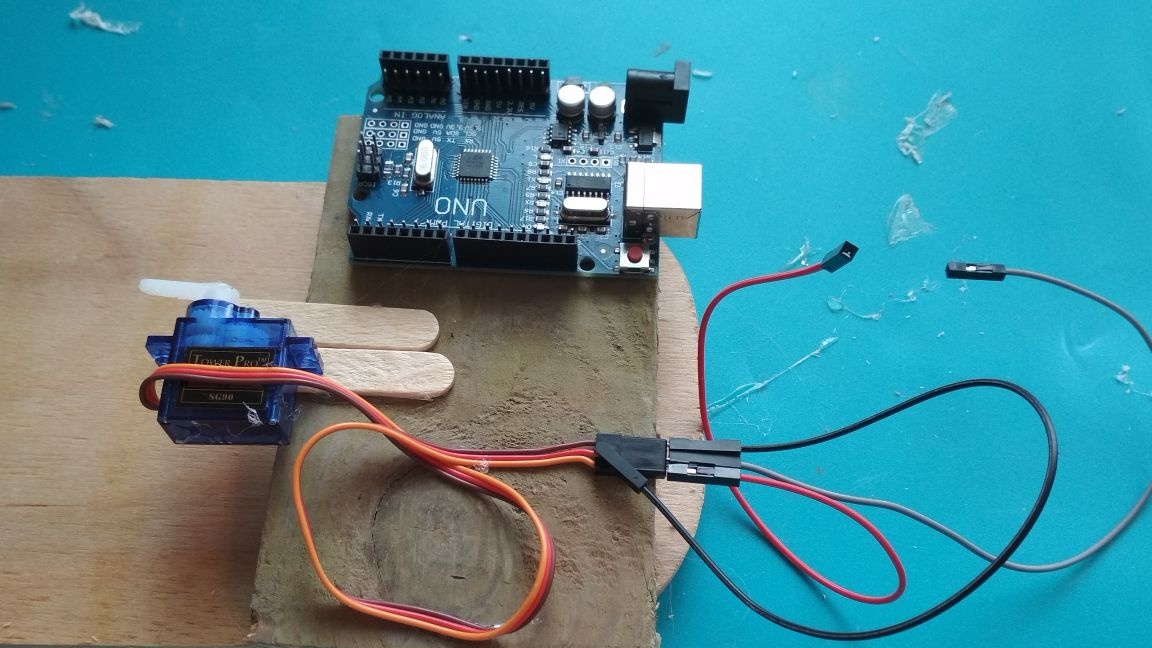
We connect the servo drive to the Arduino board as follows:
brown wire to gnd
-Red wire to 5v
- orange wire to 9 "digital pin"
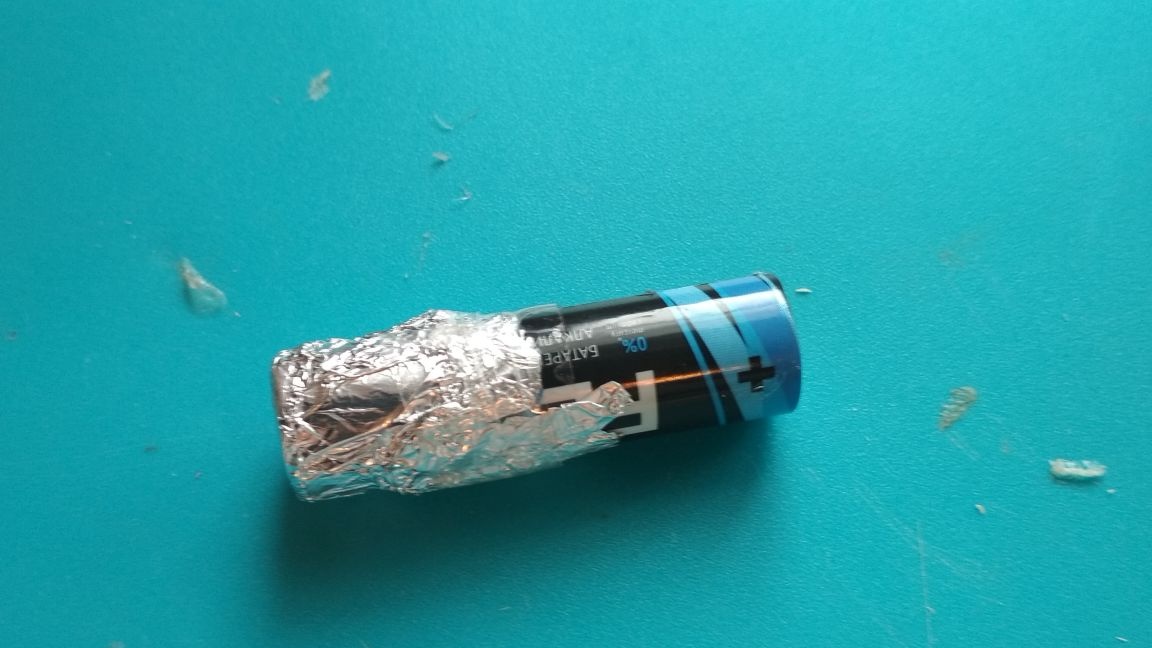
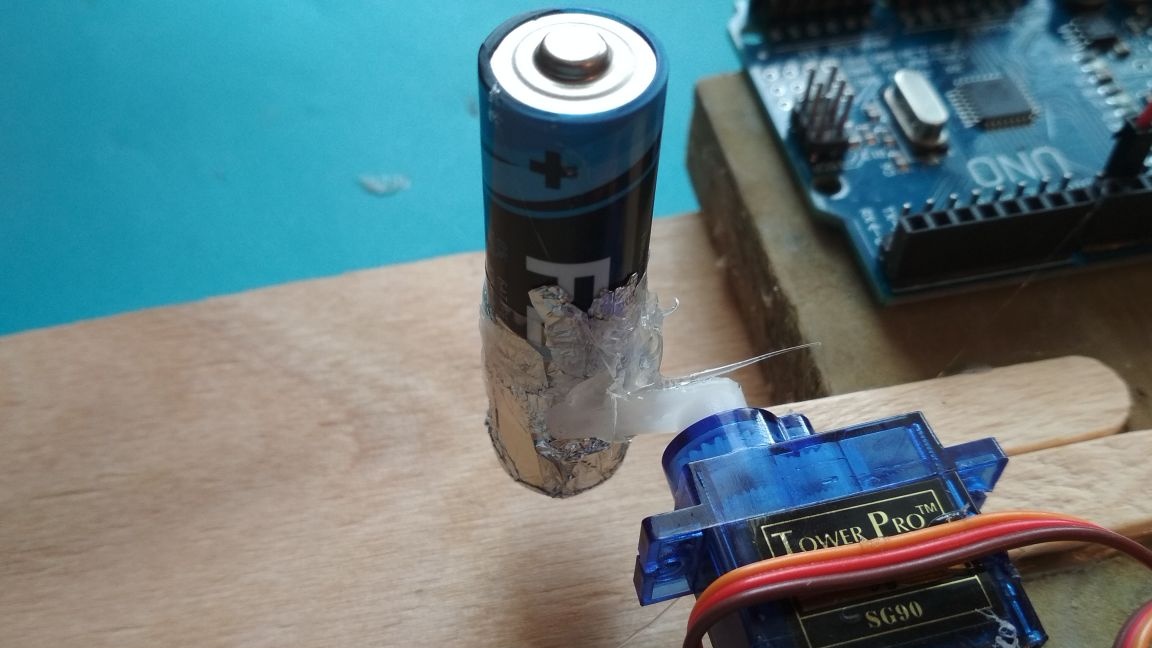
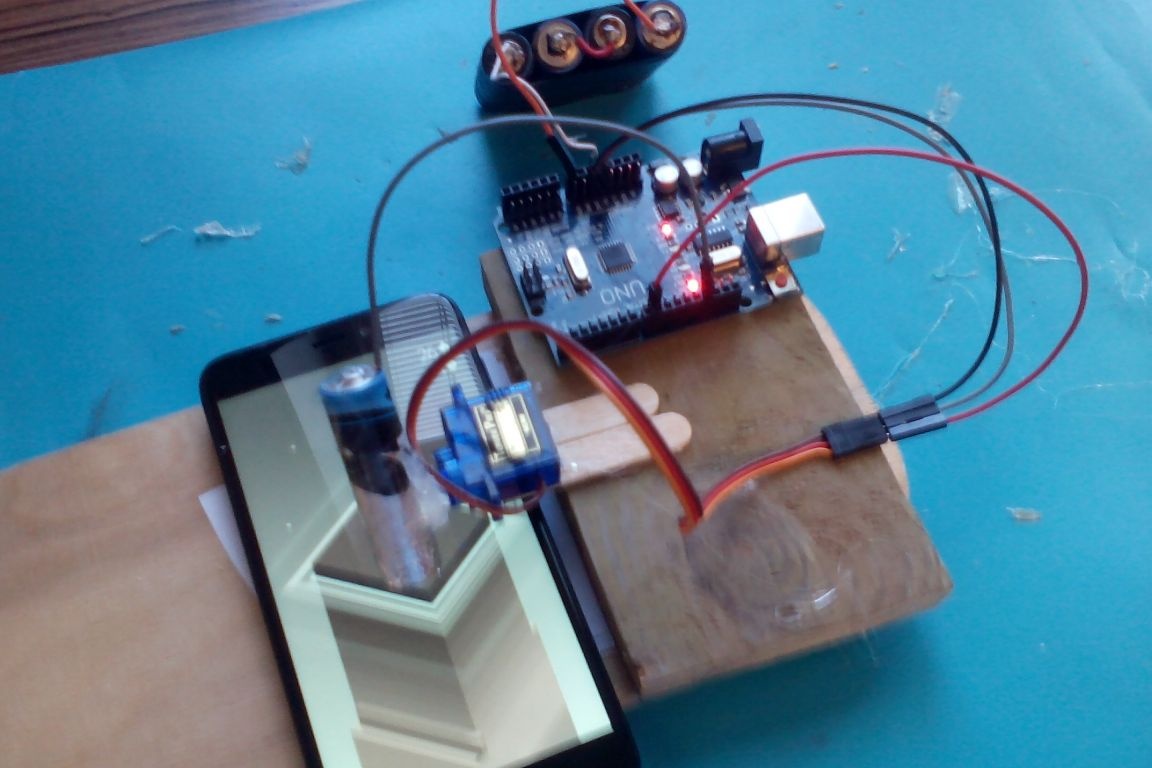
If you do not have a stylus, like mine, then do not despair, it is very simple to do.
We take a regular finger battery and negative side as tightly as possible, wrap it with foil, and then we tape it very tightly:
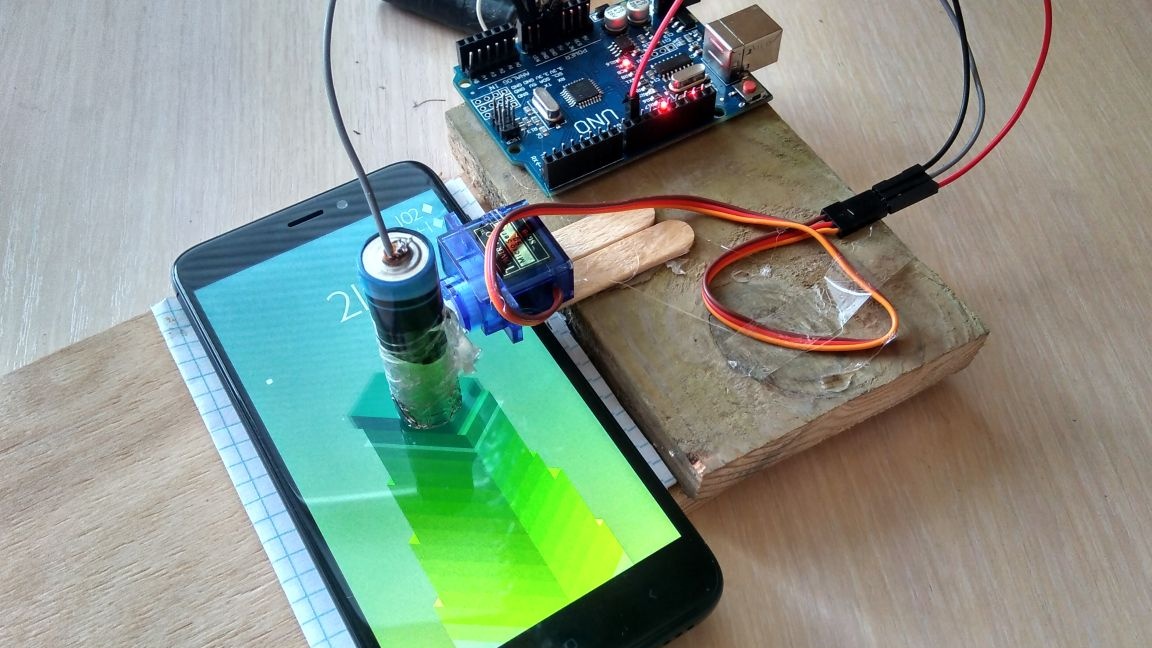
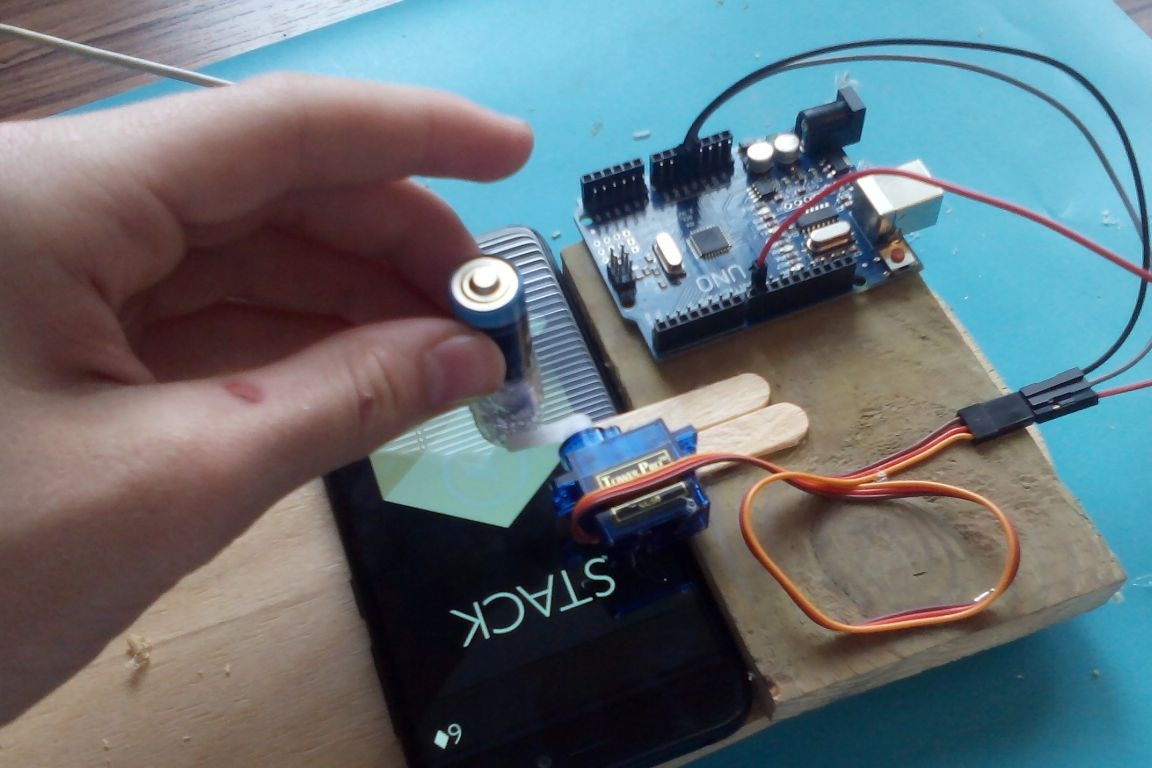
Now you need to put the phone on the plywood under the servomotor, attach the battery on top and note at what level we will stick our "stylus". After we have noted everything, firmly glue the “stylus” to the lever of the servomotor, strictly at an angle of 90 degrees (the same angle should be when applying the “stylus” to the phone when we measured it). Everything should work out as shown in the photo:
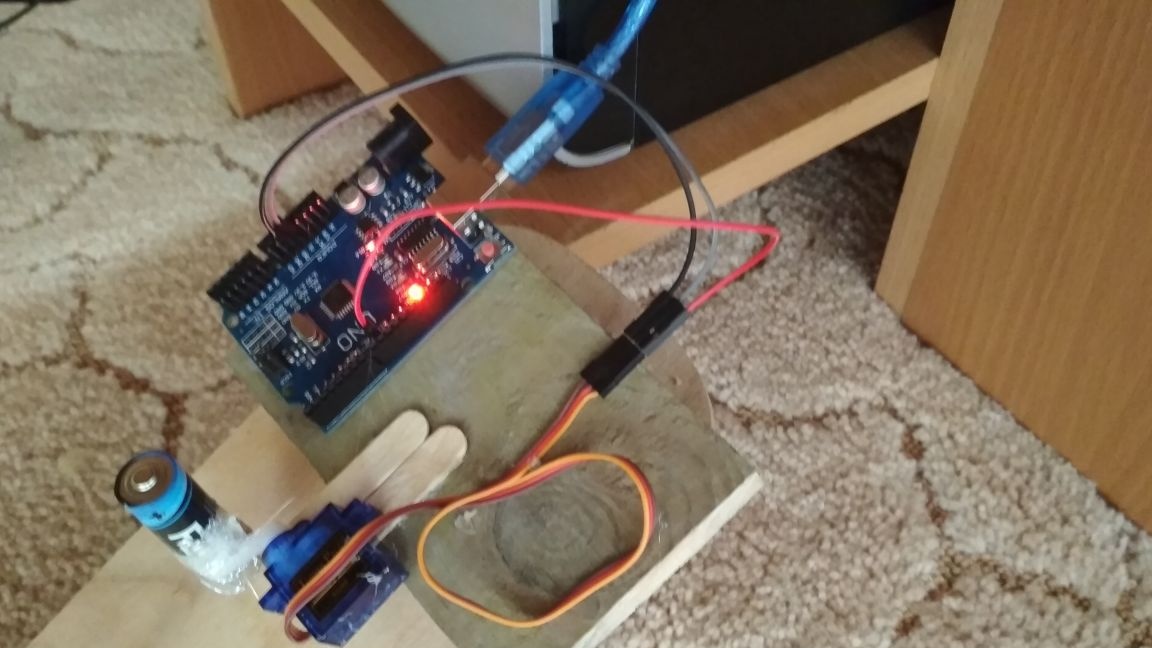
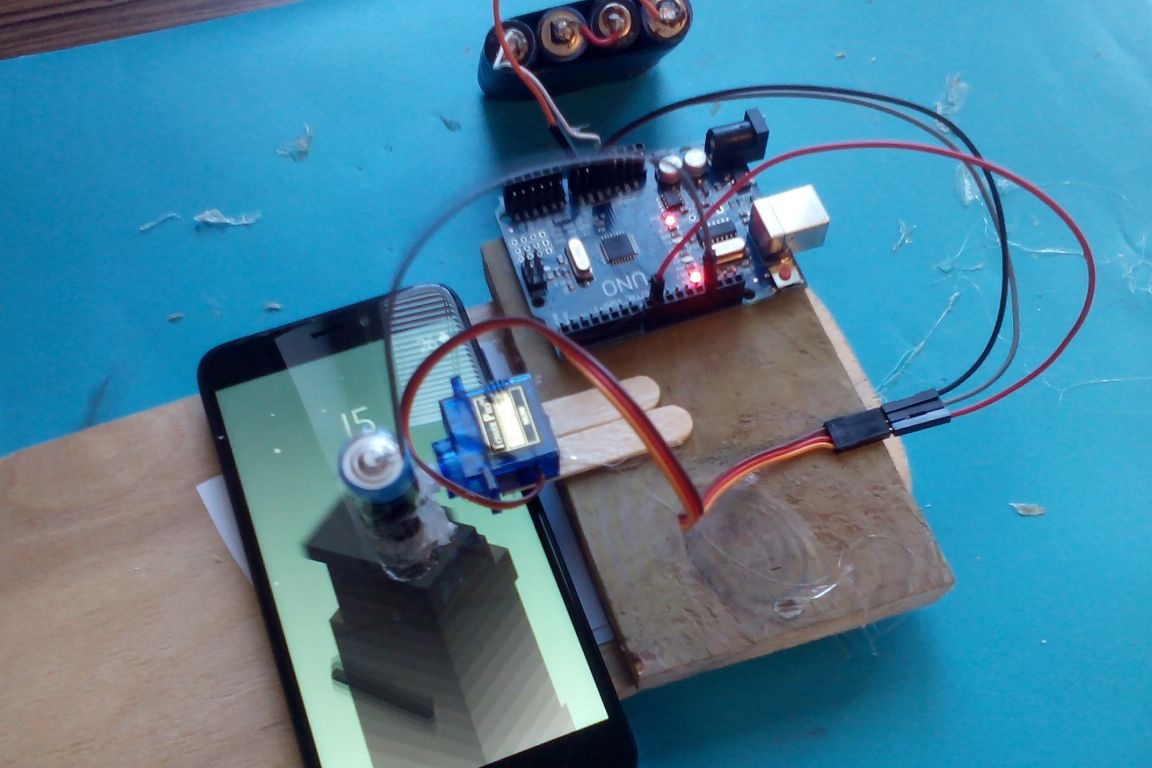
Now we connect our "robot" to the computer through the port that is configured in the Arduino IDE, run the previously named Arduino IDE and copy the sketch below, then click the "download" button. If everything is done correctly, the sketch will load without any errors and after a few seconds the servomotor will begin its work. If you have significant differences in the sizes of the stylus and servomotor, then make this sketch for yourself, it is quite simple.

Here is a sketch:
#include
Servo servo1;
void setup ()
{
servo1.attach (9);
servo1.write (125);
delay (5000);
servo1.write (90);
delay (200);
servo1.write (125);
delay (750);
}
void loop ()
{
servo1.write (90); //1
delay (200);
servo1.write (125);
delay (600);
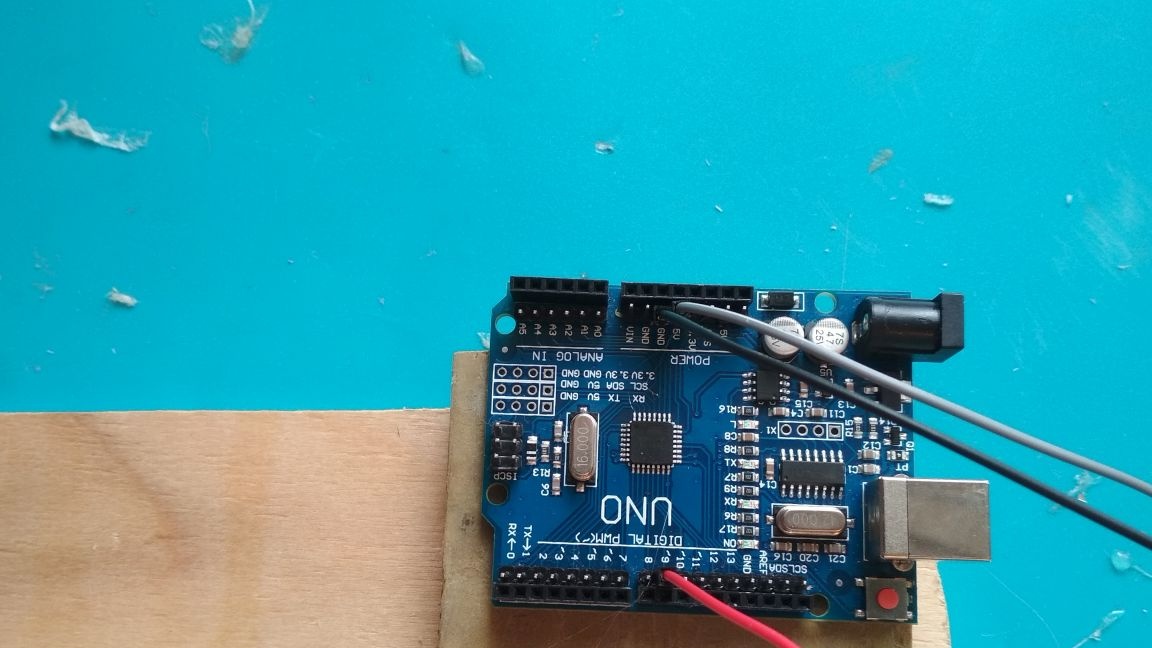
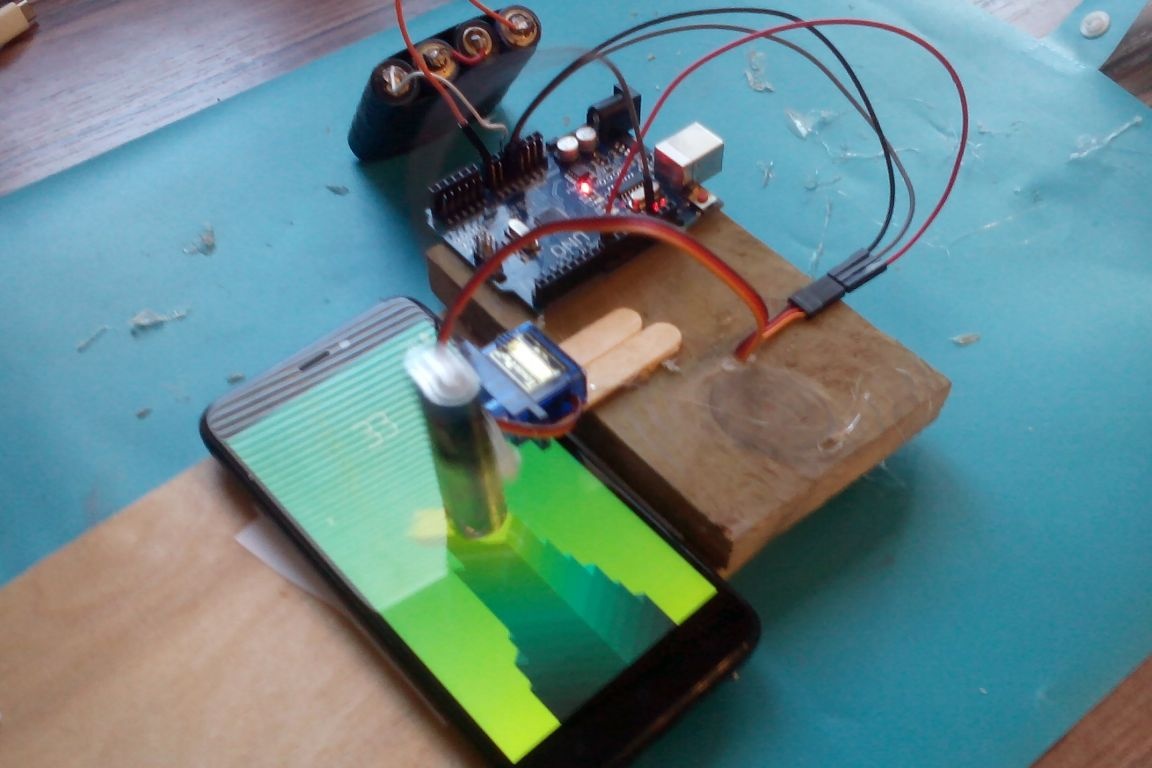
}Using adhesive tape or electrical tape, we wind the stripped side of a “mother-to-mother” type wire with a cut-off “mother” output to the plus side of our “stylus” and output this wire to Gnd on Arduino:
That's it! Our simple robot ready and it remains only to test it! To do this, put the phone under the stylus, launch the Stak application and place the phone so that it is above the “play” button, which is indicated by an arrow, we connect power to the arduino either using a special adapter or we’ll output the plus from our “battery” to Uin on Arduino, and minus to gnd. after connecting the power, our robot immediately begins to "play". And although due to the fact that I used not a normal stylus, but a Battery, our robot quite often did not get into the pace and missed, it "played for a long time. If everything is done very accurately, it will generally play until the phone goes down.
Thank you all for your attention!