Good day lovers of robots and other self-propelled homemade! Today I decided to assemble a rather interesting homemade product, namely a robot moving along metal walls. In principle, I am almost satisfied with the result of my work, but if I had a smaller and more powerful battery, the result would be just excellent, but I had to use what I had, I think in the near future I will still get a small battery for my needs.
And so for this robot we need:
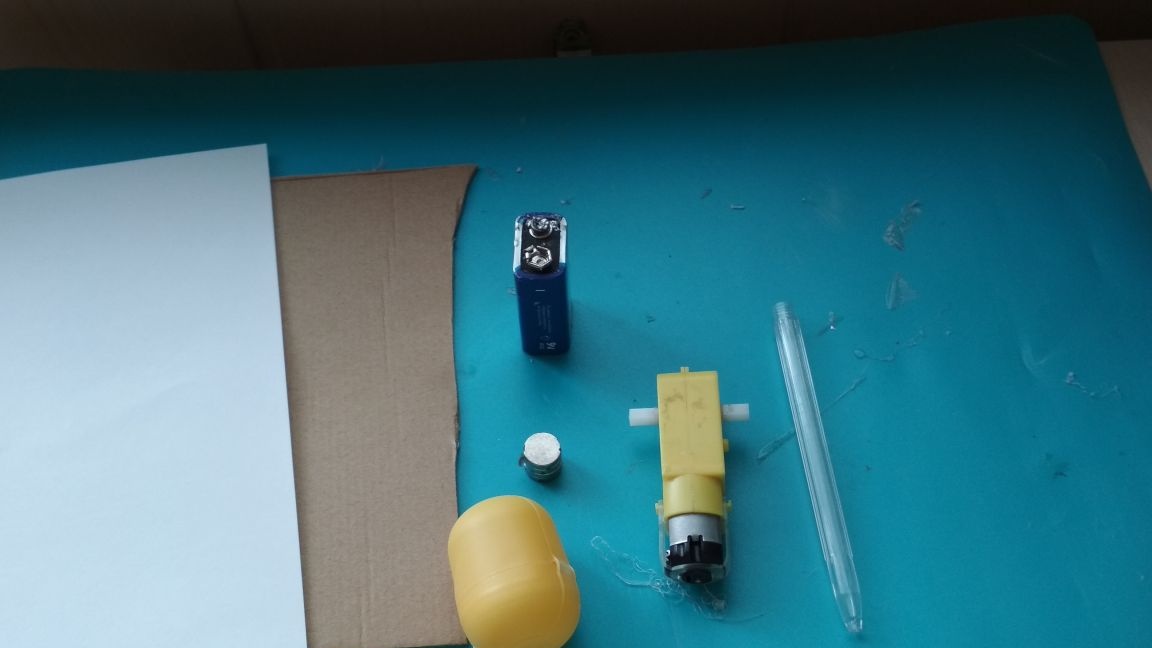
motor gear
-cardboard
-paper
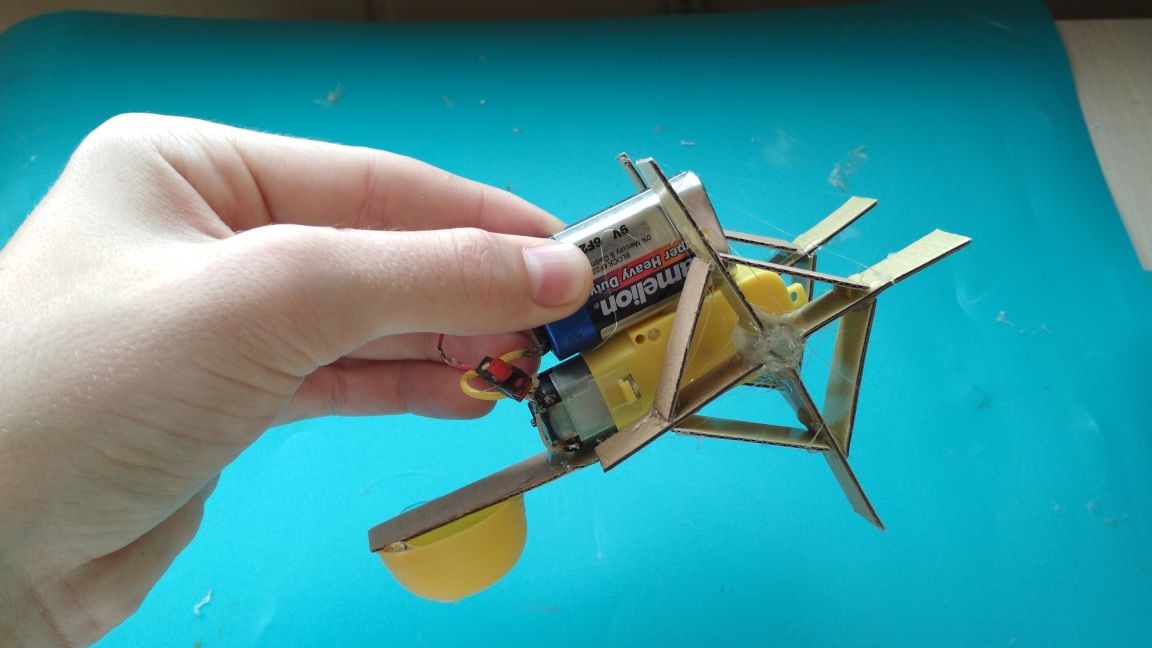
- a power source of 3.7-9 volts (in the beginning I used the crown, but due to lack of power I had to replace it with a 18650 battery)
-tubules from the handle
neodymium magnets
wire
-switch
-kinder from kinder
Of the tools we will also need:
thermal glue
soldering iron
-scissors
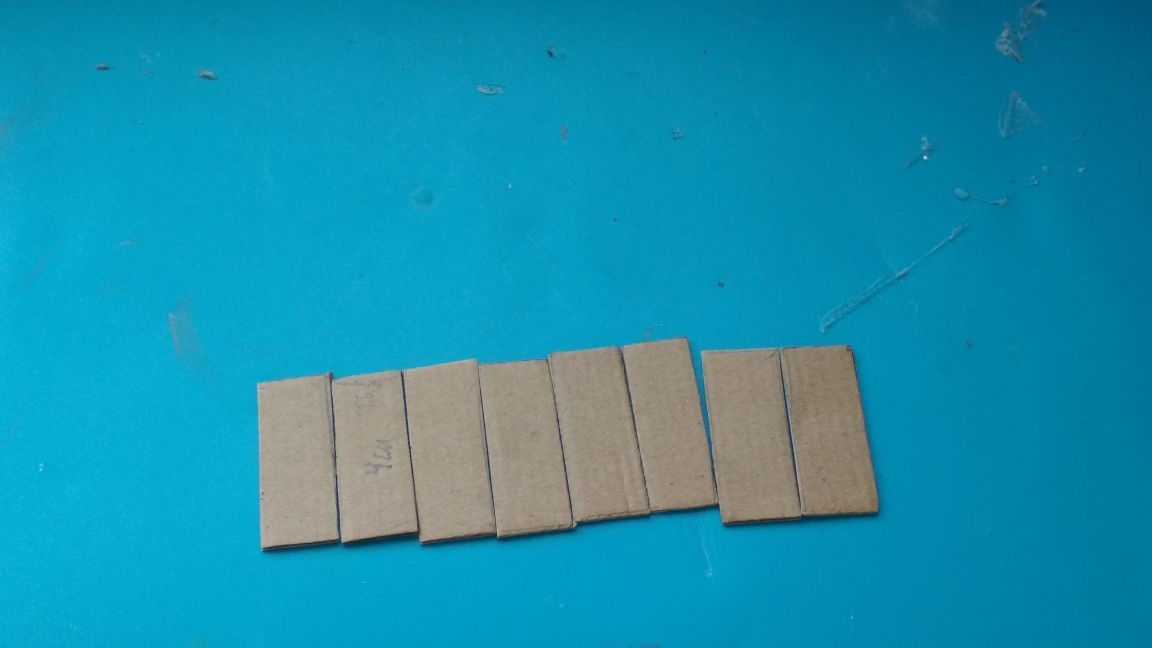
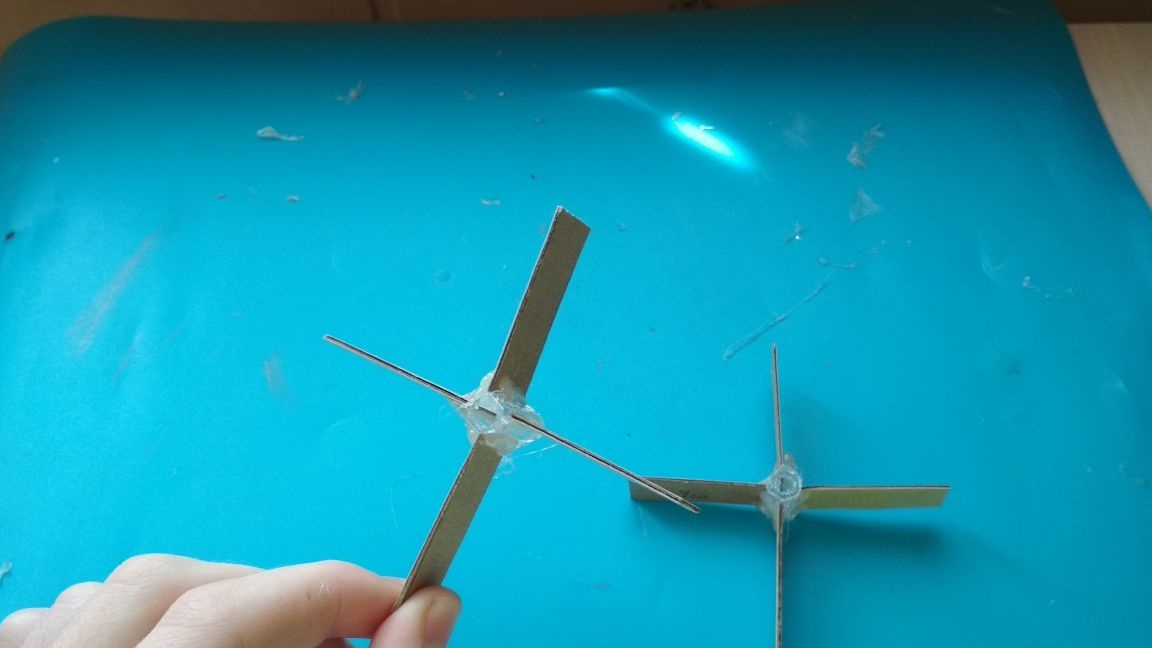
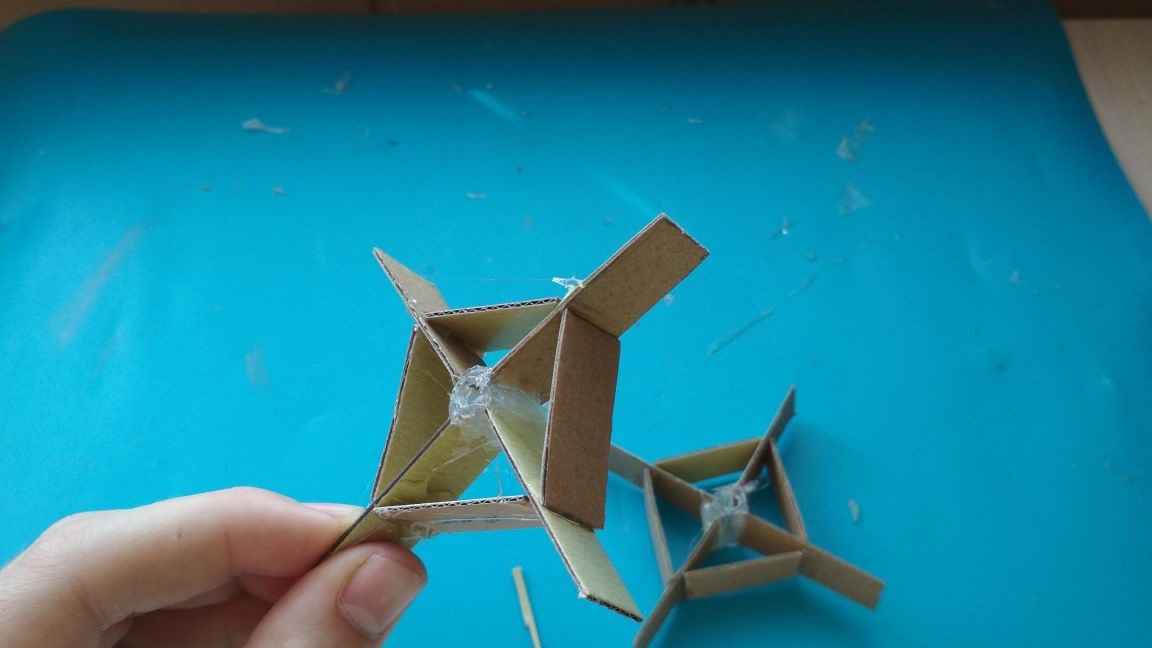
And so the first thing to do is to cut out eight equal-sized pieces from cardboard, 4 cm long and 1.5 cm wide:
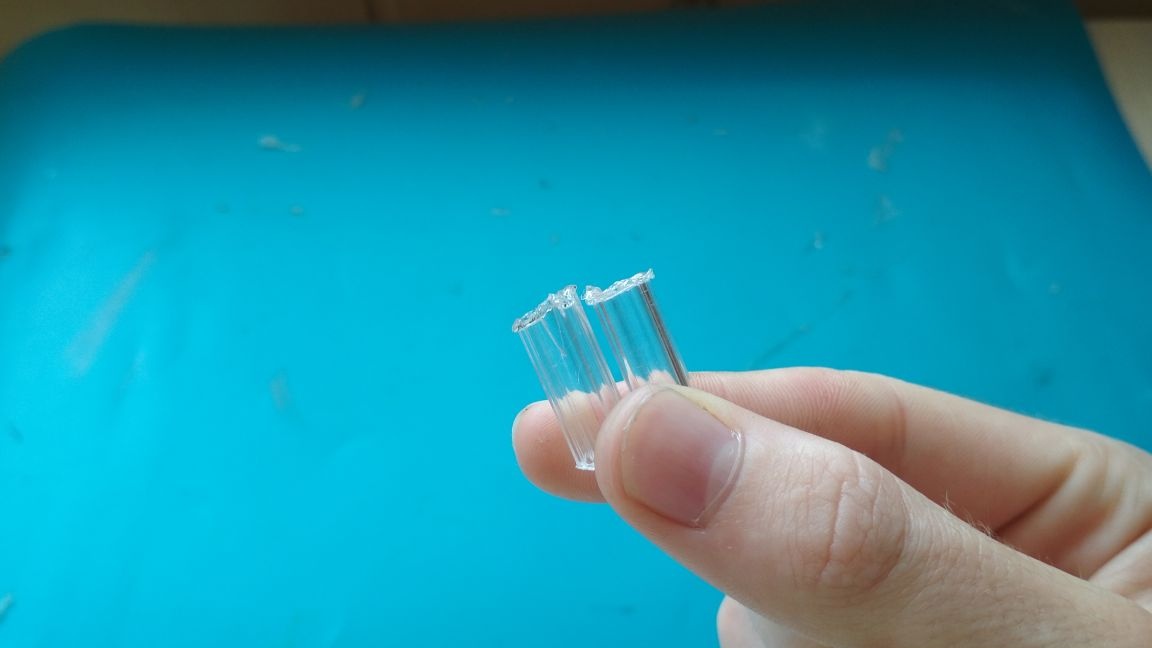
Then from the tube from the handle we cut two identical pieces about 1.5 cm long:
We glue our past blanks to each piece of tube 4 pieces, as shown in the photo:
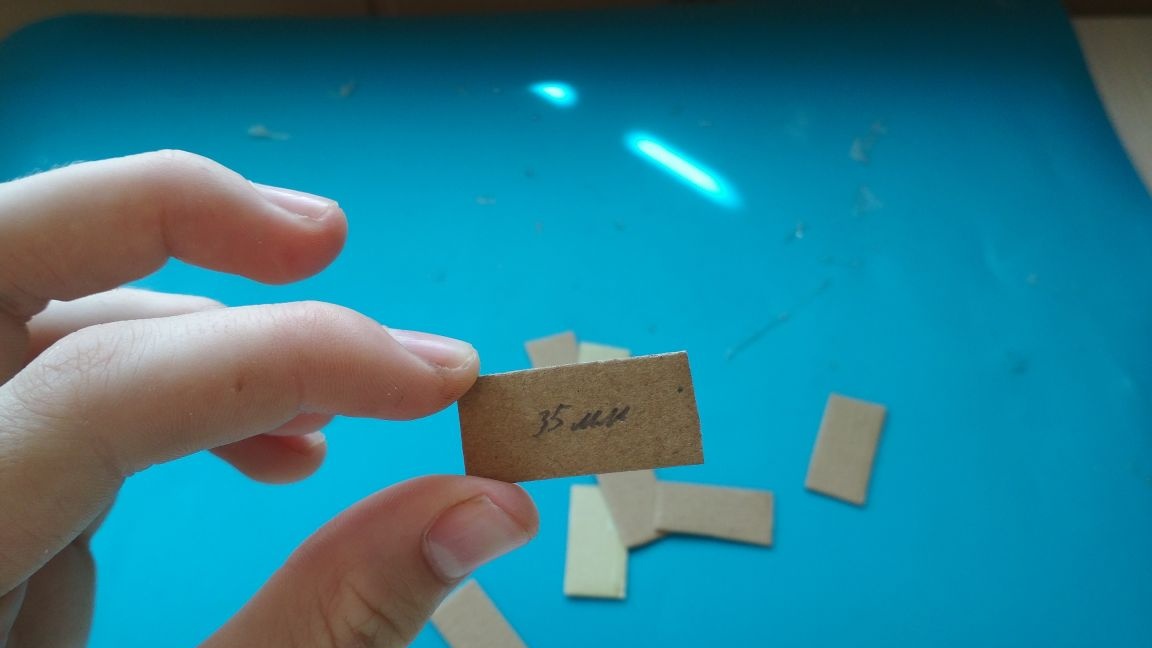
Now from the same cardboard we cut 8 pieces 35 mm long and 15 mm wide:
We glue them like this:
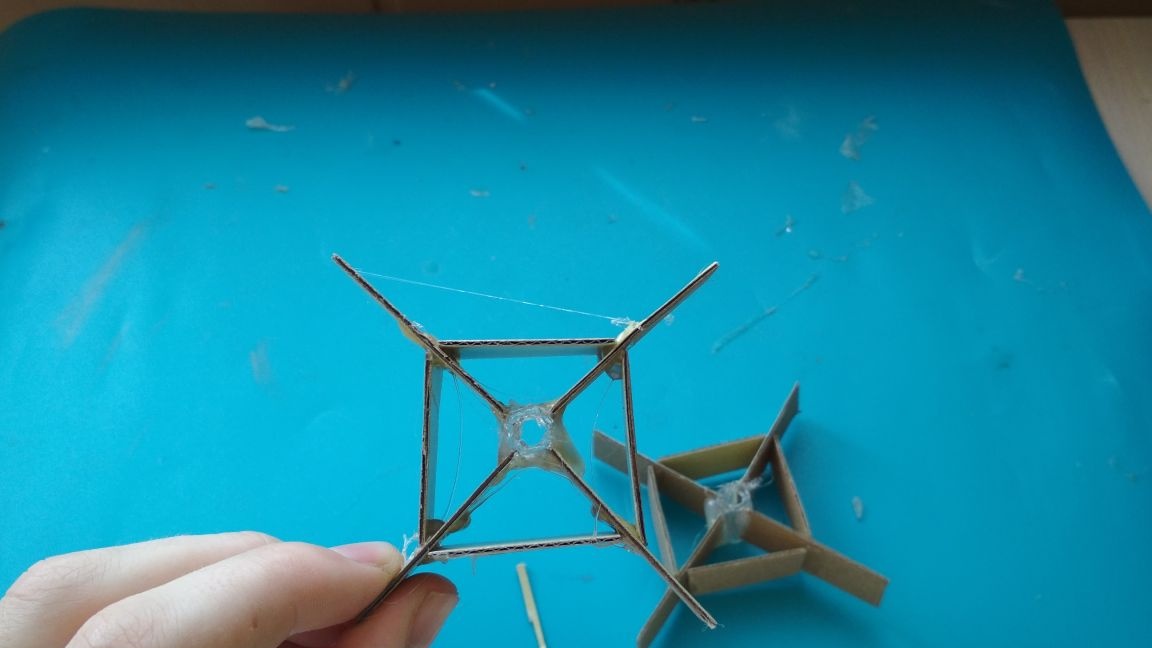
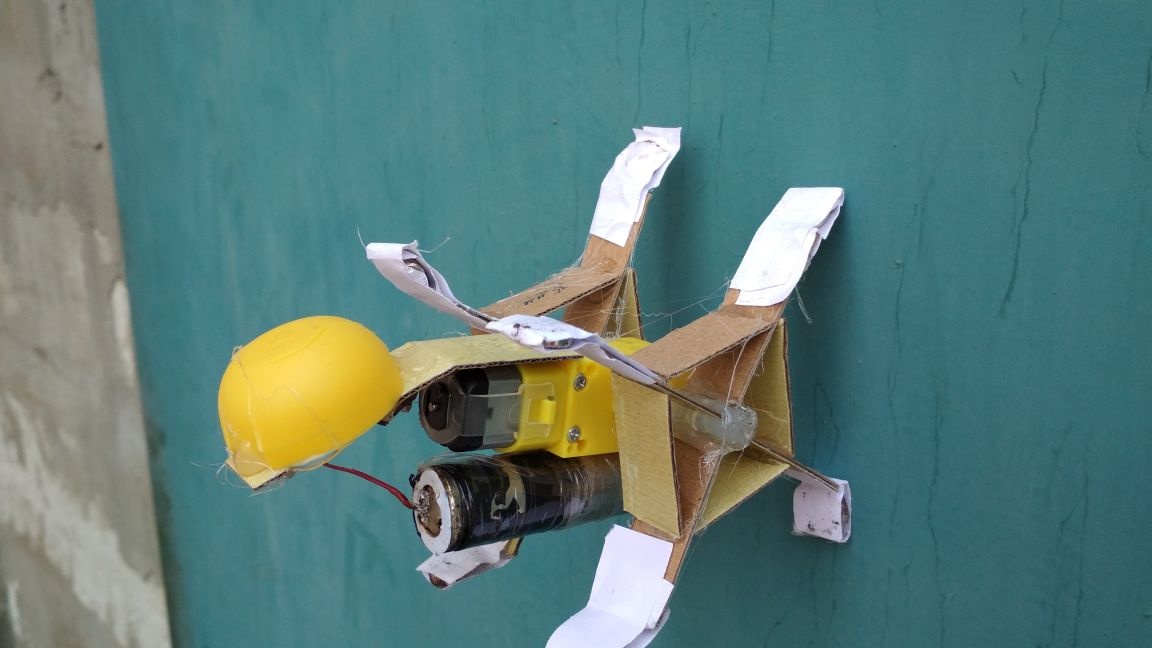
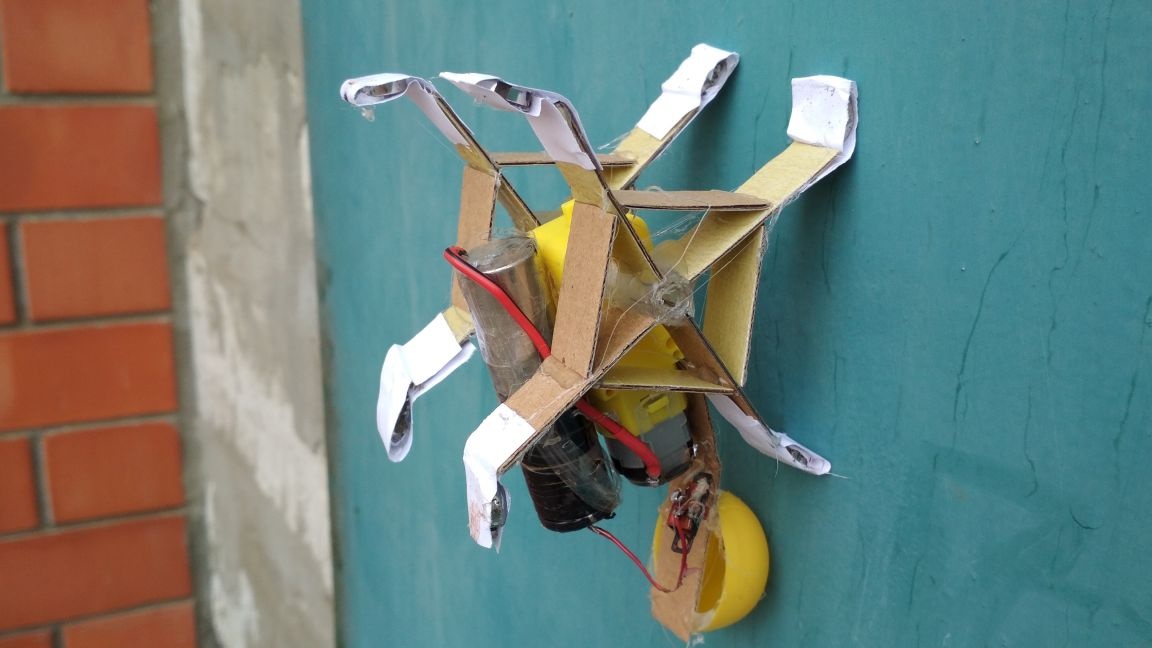
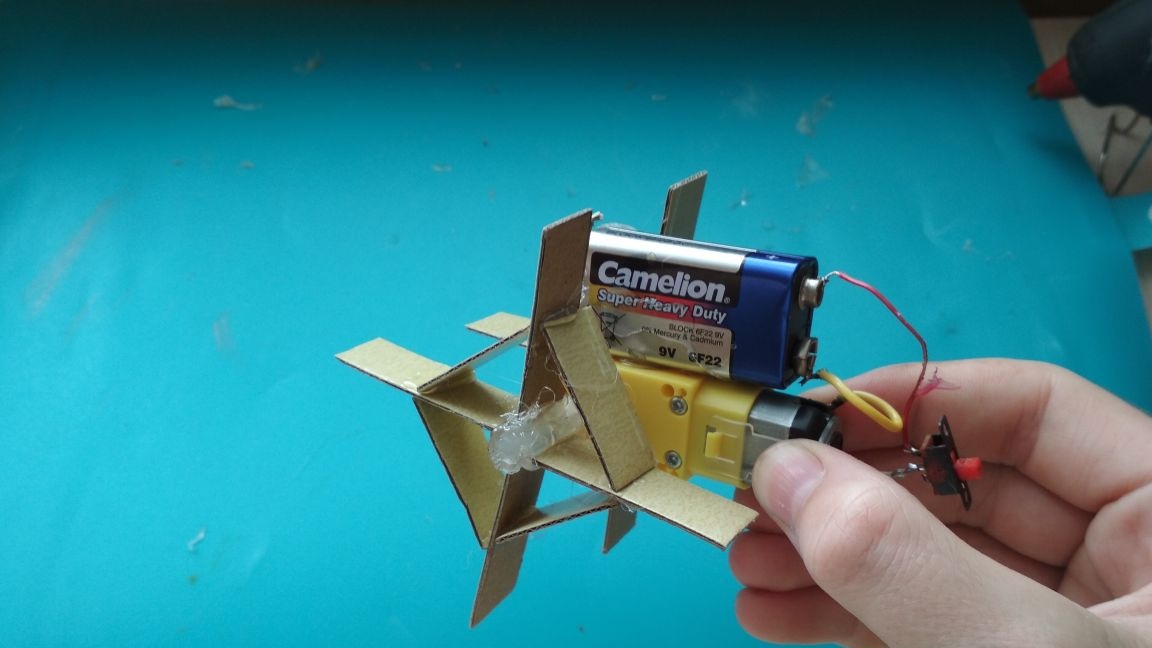
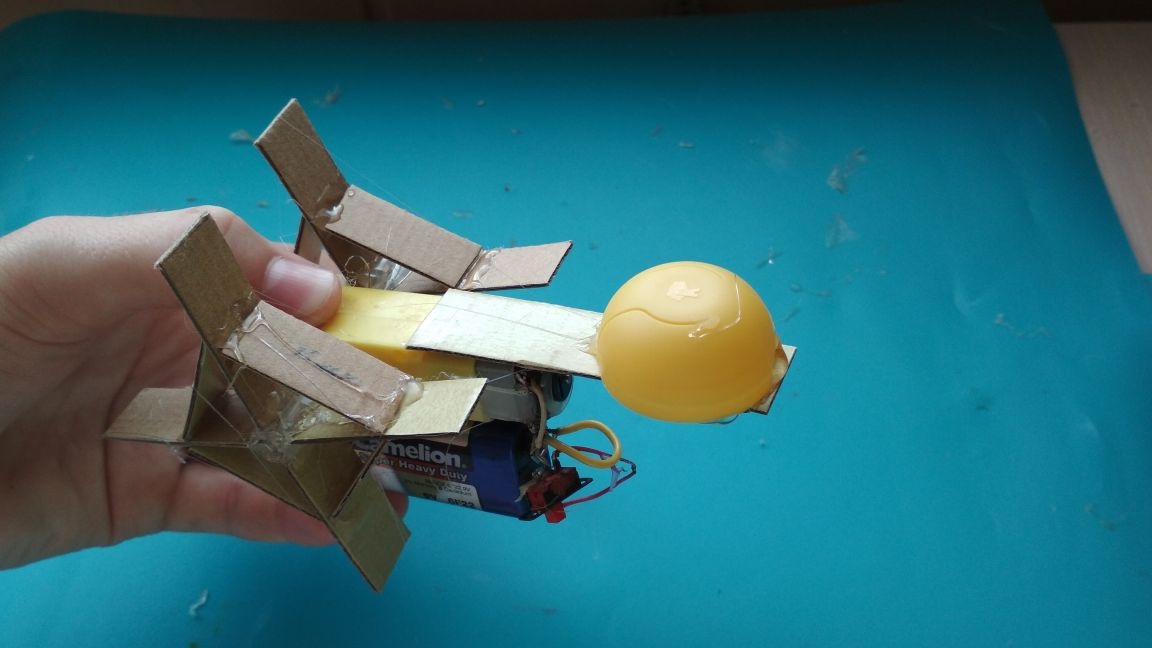
Then we put them on the axis of the gearbox, so that they are parallel to each other:
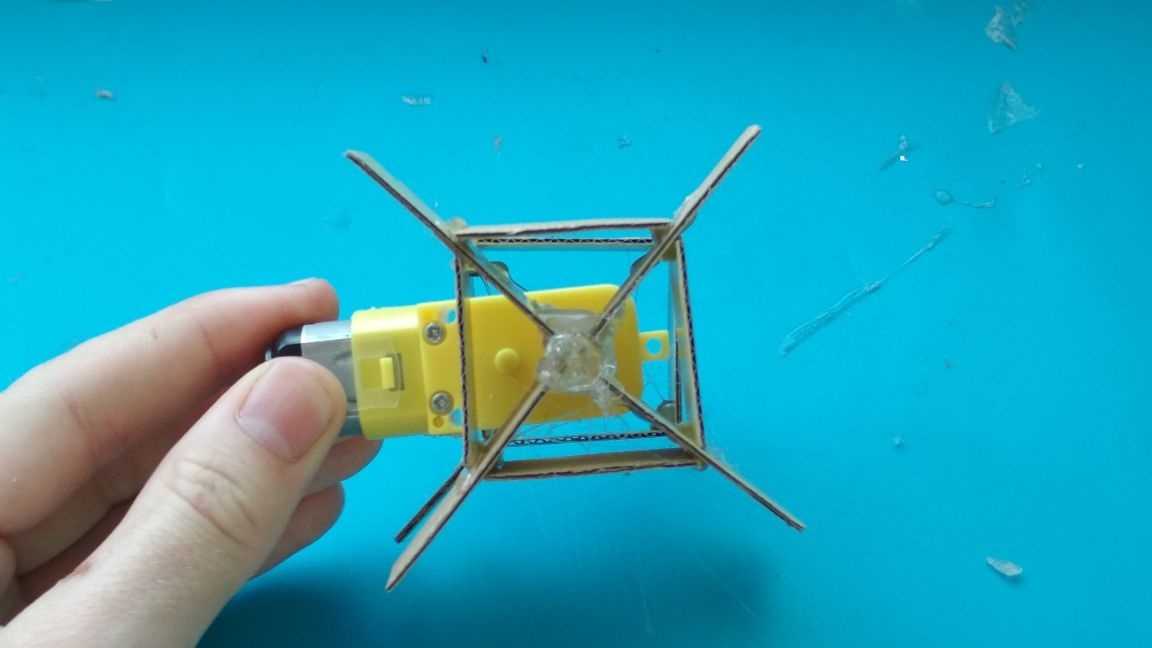
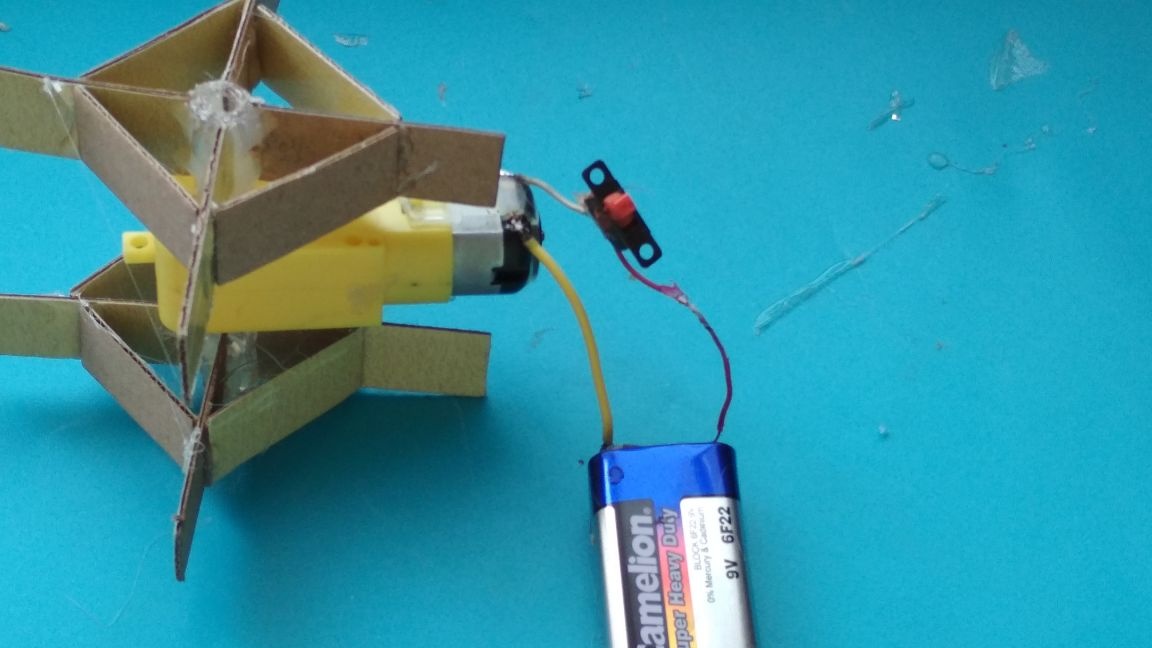
We take our power source and connect it to the gearbox through the switch:
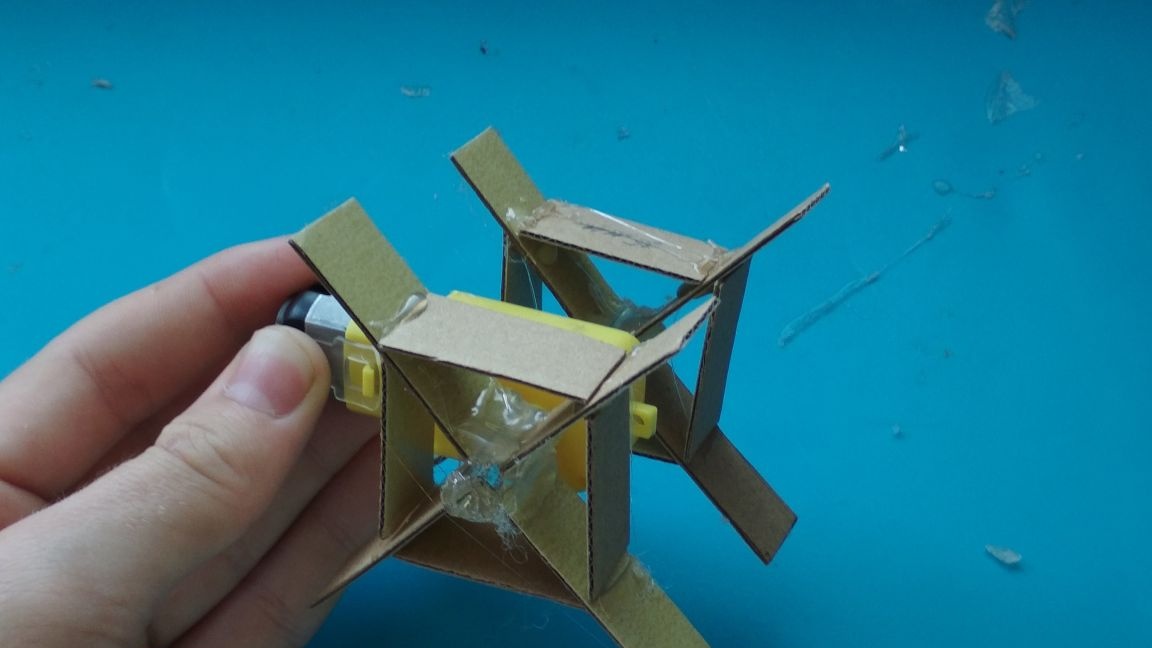
We glue the power supply over the gearbox so that our "wheels" do not touch it:
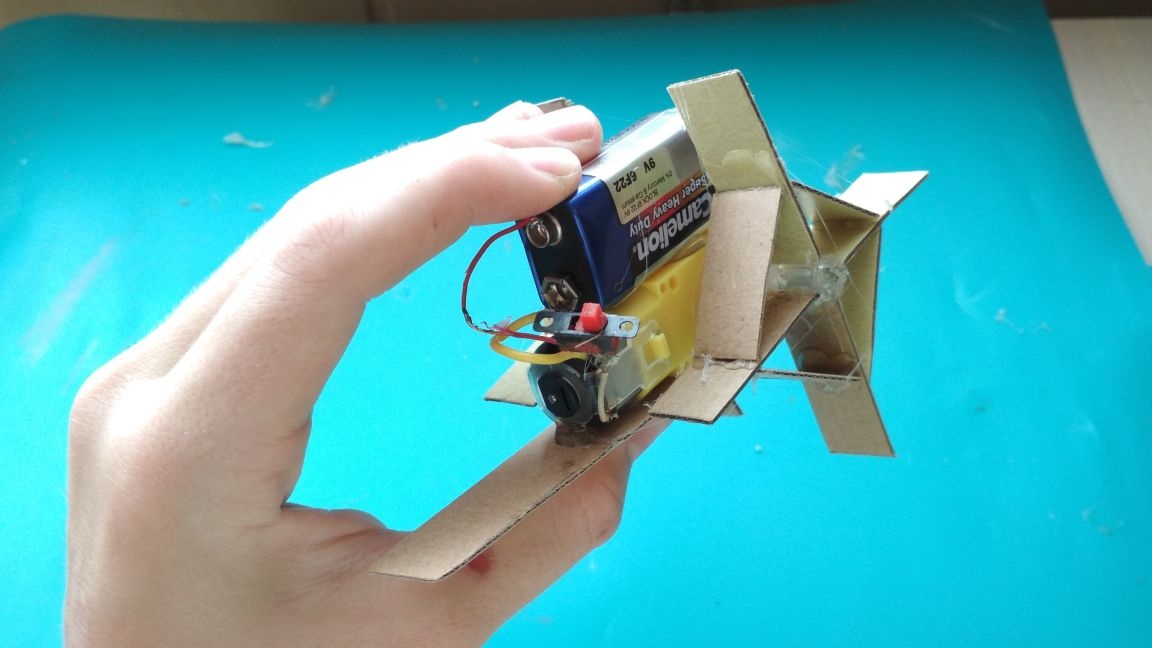
Cut another piece of cardboard about 5-7 cm in length:
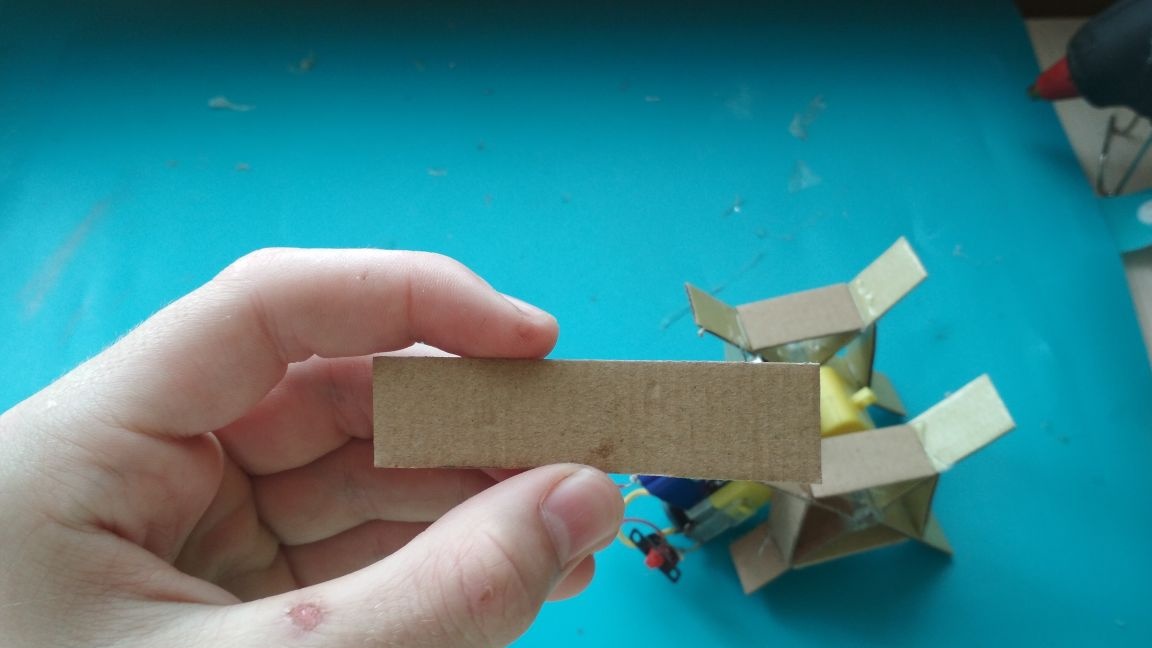
Glue it to the bottom of the gearbox, so that approximately 4 cm protrudes:
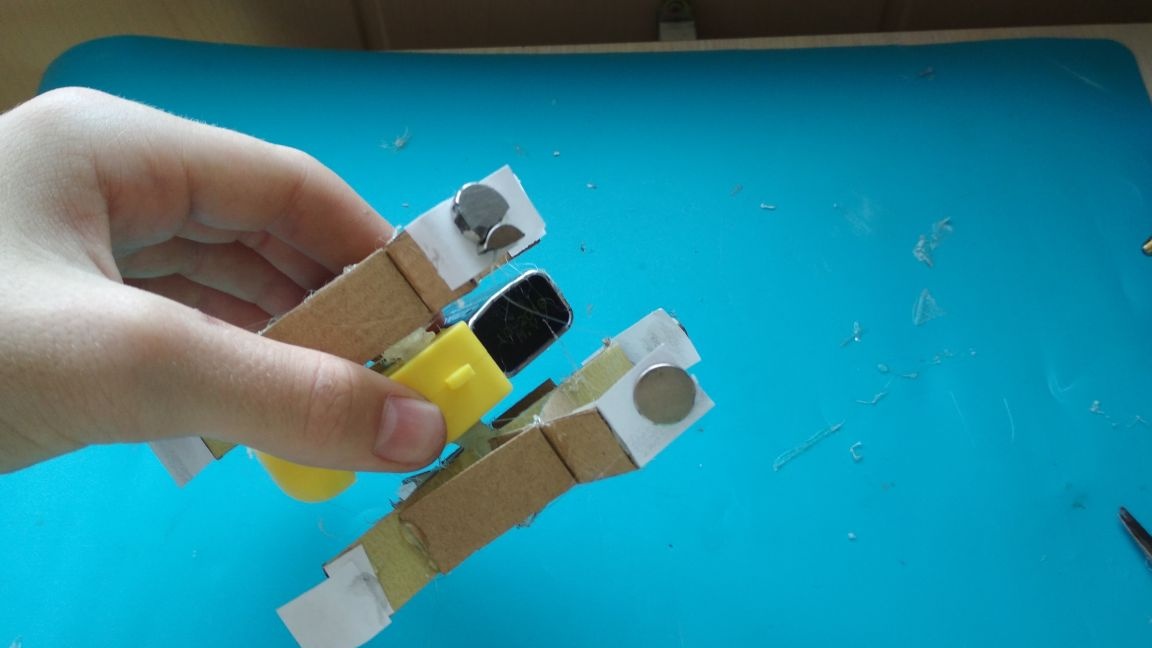
We take a jar from the kinder and cut off the lid from it, then make two small incisions and bend as shown in the photo, this is necessary so that the lid sticks better to the cardboard
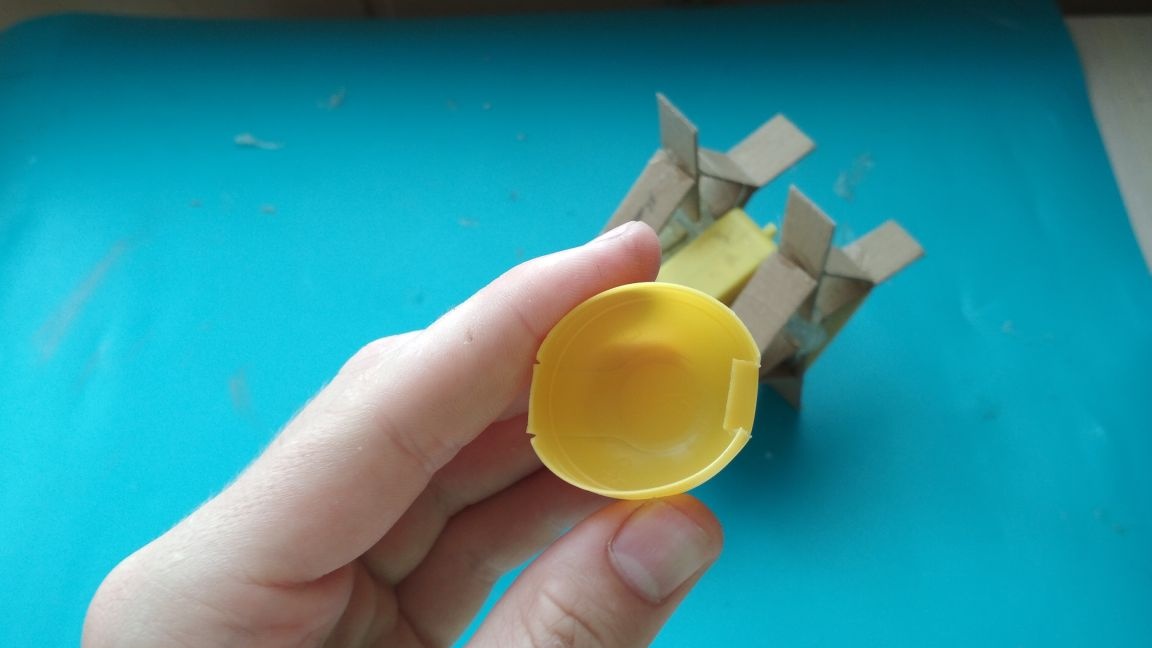
We glue it like this:
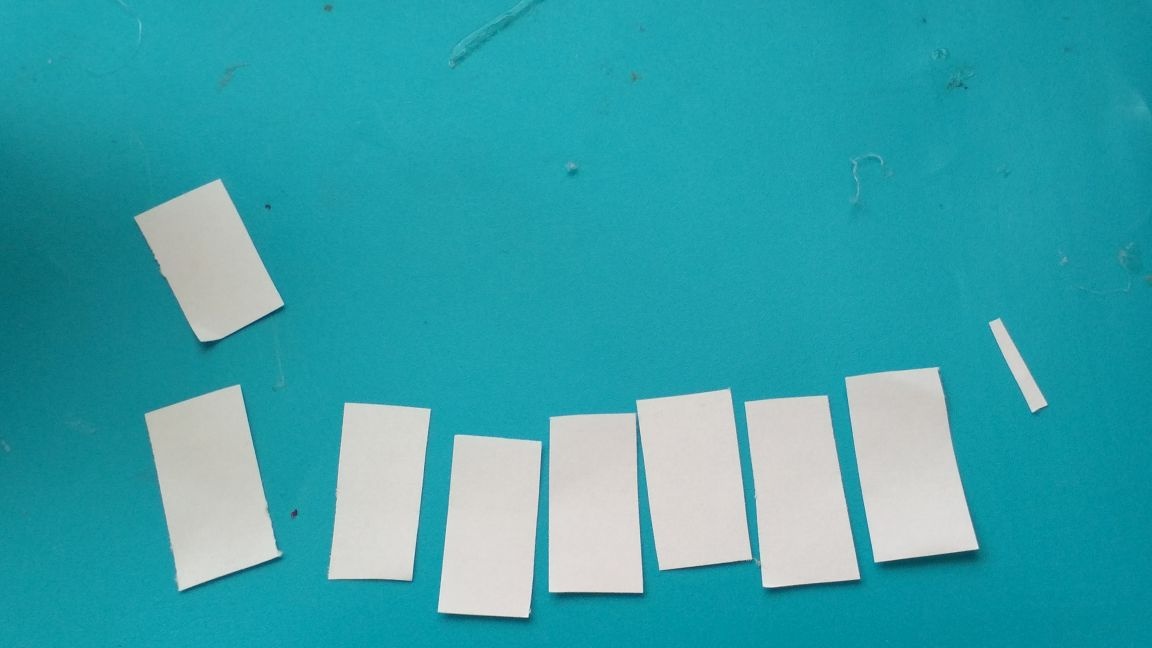
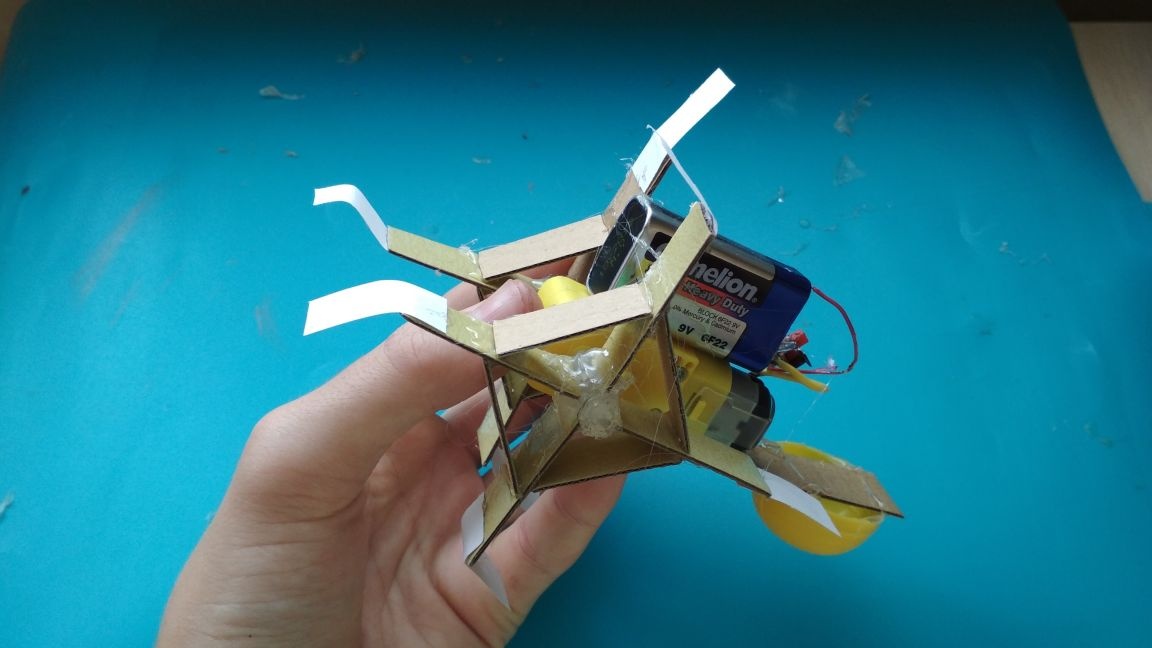
We cut 8 approximately equal pieces of paper of 4-5 cm out of paper (in the photo they are smaller since I made a mistake and in the first model of this robot I made 2 cm segments and then just glued the magnets to them, but because the magnets were open , they simply magnetized to the surface, and then came off, so I came up with a kind of "envelope" of paper into which magnets were placed, then our "envelope" should be glued to each protrusion of the "wheels" as shown in the lower photo)


After several tests, it became clear that the crown is not enough and something needs to be more powerful, so I changed the crown to a 18650 battery, but its main disadvantage is that it is too heavy, so ideally use small batteries, like those that are in quadrocopters and radio controlled aircraft

Well, that’s it, ours robot "stenolaz" is ready and it remains only to test it! This robot, due to the severity of the battery, moves along the wall very slowly, but it moves! In addition, he moves quite quickly on the ground, I think such a toy will appeal to children.
I hope this article was useful to someone.