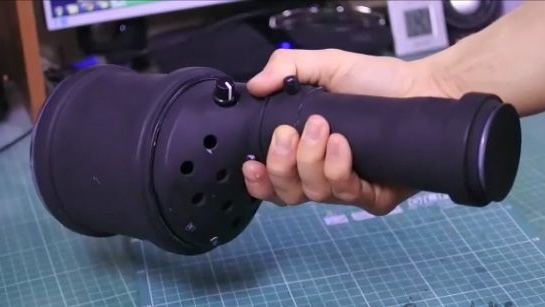
Hi, I want to share with you not my, but a very cool idea. This one, going in handy for those who need a powerful flashlight. Such lights cost about 5 thousand rubles, but the project will come to us a maximum of a thousand rubles.
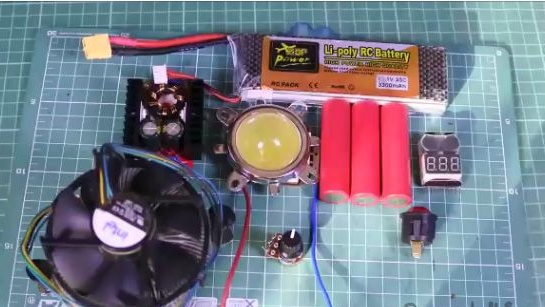
To fill the Super Lantern you will need:
1) 100W LED Matrix
2) Lens for the matrix
3) DC Converter 31-34V / 150W
4) Li-ion battery (can 18650)
5) Tweeter with a voltmeter for the battery
6) CPU cooler (so that it is the size of the case)
7) switch
8) Potentiometer (optional)
9) Power wire
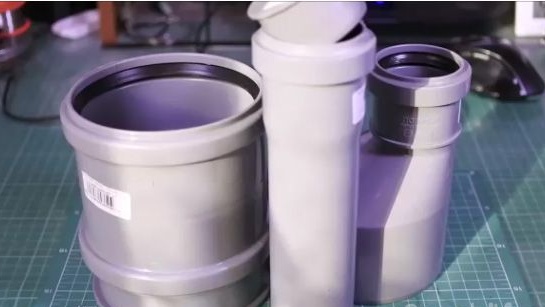
For the Super Flashlight housing you will need:
1) Sewer plug 110
2) Clutch 110
3) Adapter from 110 to 50
4) Short pipe 50
5) End cap 50
Let's start the assembly:
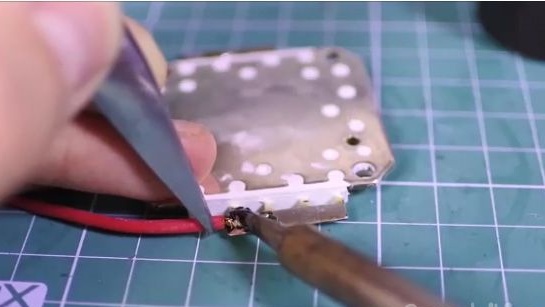
1) For starters, solder thick power wires into the terminals of the LED (“+” and “-” are marked on the LED).
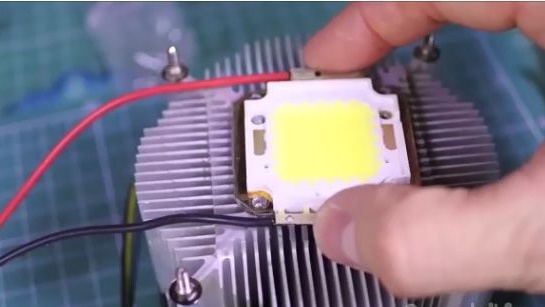
2) We fix the LED to the cooler radiator. Pre-lubricating the radiator and thermostat LED paste.
3) Now we take a cap on 110 and we will make grooves as in the picture (this is in order to be more aesthetically pleasing).
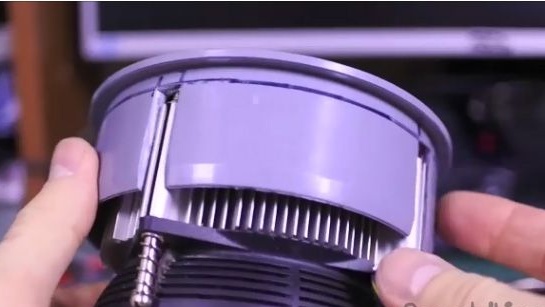
4) Opposite each groove, drill holes to screw in the radiator.
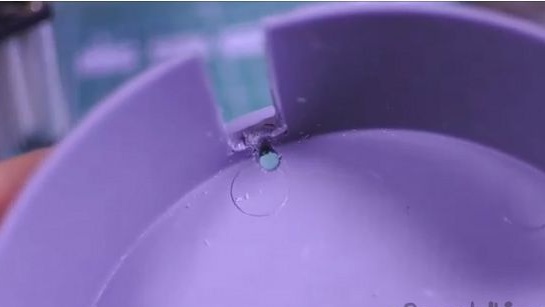
5) We find the middle and make a hole of 40 mm so that the LED lens fits tightly there and presses it.
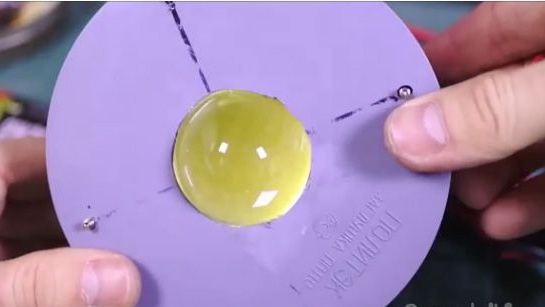
6) And we drill holes on the plug with a large drill around the LED.
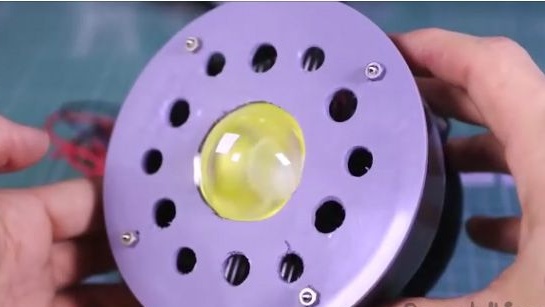
7) We try, assemble, and customize all the details so that the plug fits tightly into the coupling.
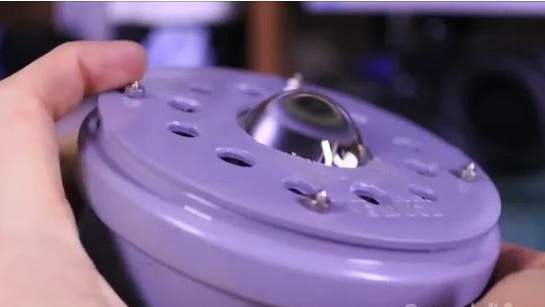
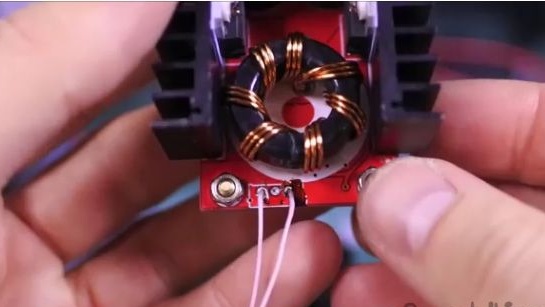
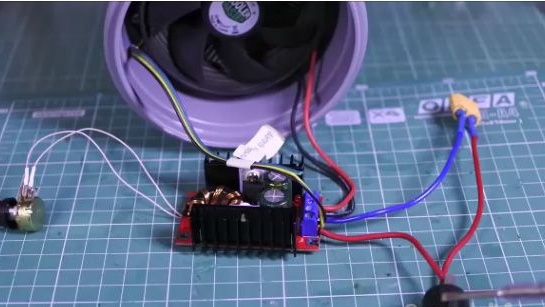
8) Let's start the assembly e fillings, solder the regulator from the raising module and solder two wires along the edges.
9) At the potentiometer, we bend one extreme leg to the middle as in the picture.
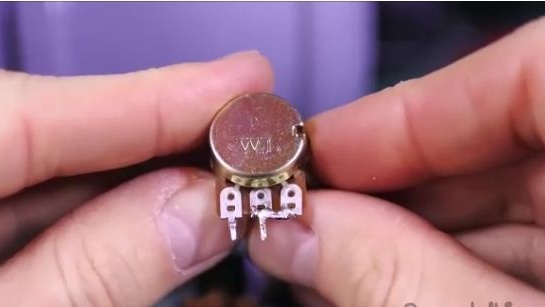
10) And solder it to the raising module to those wires that were soldered earlier.
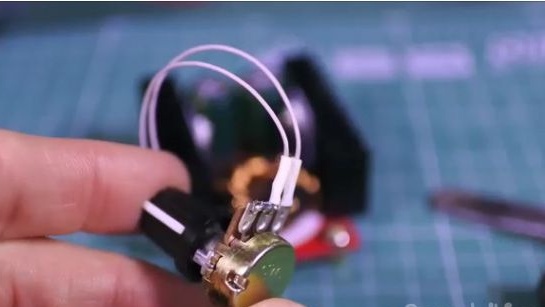
11) The module itself is fixed in the same place as in the picture.
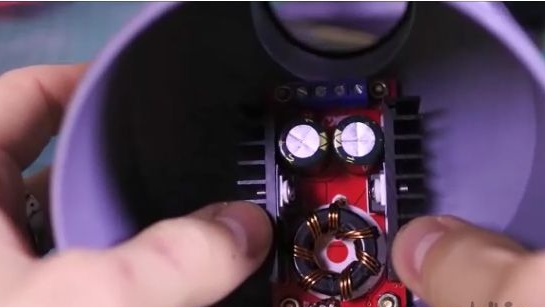
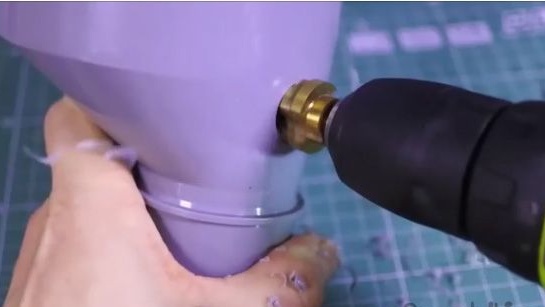
12) The button will be on top, we drill with a step drill on a 20 mm hole.
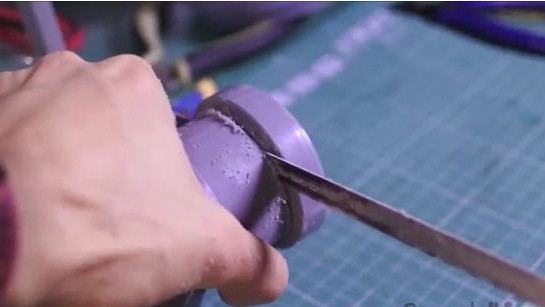
13) The side with the seal is cut off with a hacksaw for metal, otherwise it will interfere when you hold the flashlight in your hands.
14) Cut off the cooler plug, and leave + and -
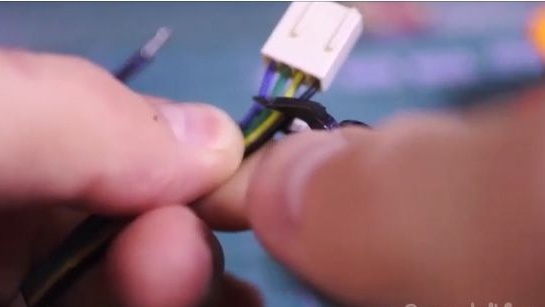
15) We assemble the circuit, Connect the battery through the switch to the input of the converter, here we also connect the cooler, the output from the module goes to the LED. Everything should work.
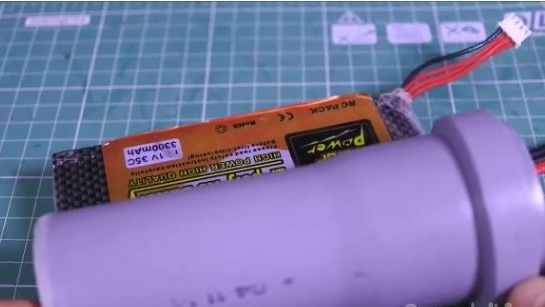
16) 50 pipe cut to fit the battery
17) Now we disassemble the case and paint it to taste, in our case, in black soil.
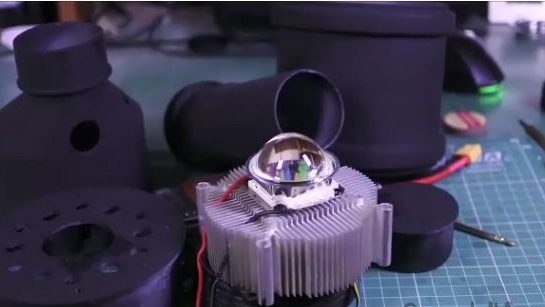
18) In the back of the adapter, drill a large drill bit for the exit of air flow. As we have a DC-DC converter located there, it will also be cooled.

19) We make a hole for the potentiometer and insert it there.
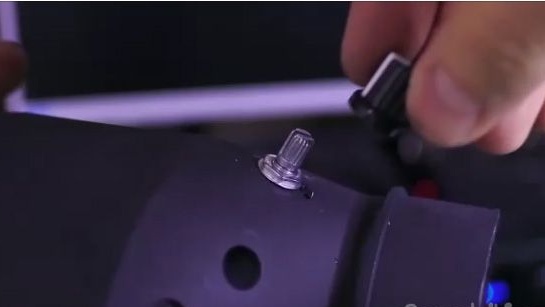
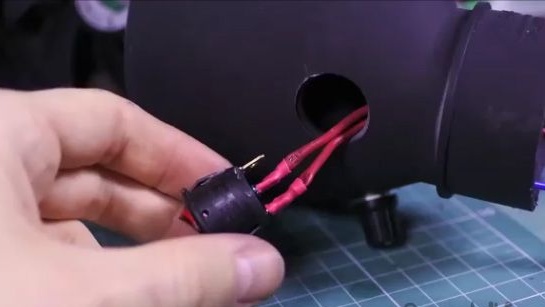
20) We bring the switch wire through the hole made in advance, solder the switch back and insert it into the hole.
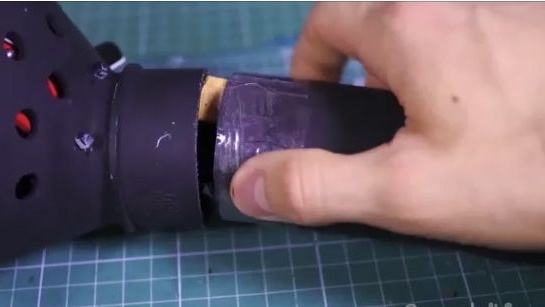
21) We assemble the handle, insert the battery and the plug, the handle can be sealed with tape
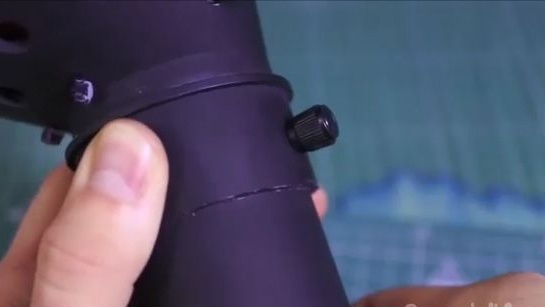
22) You can fix the handle on the screw
23) We hook the squeaker to the battery to the balancing connector, now it will beep when the battery reaches a low charge.
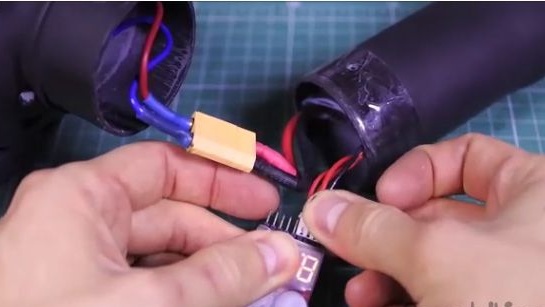
The lantern is ready.

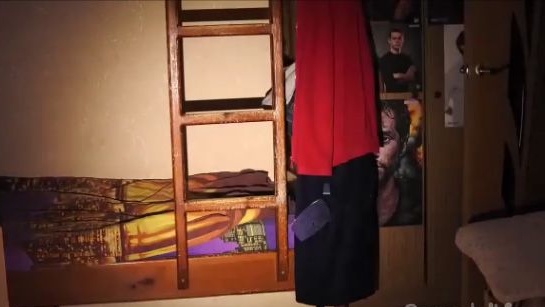
Ordinary Chinese lantern.
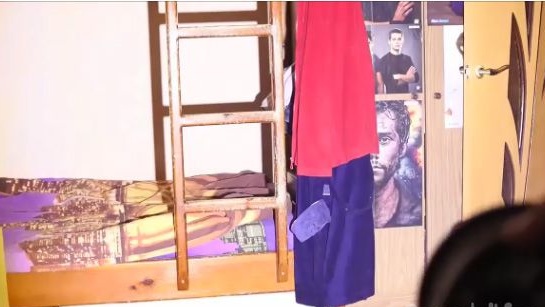
And super powerful.
Conclusion:
The lantern turned out to be very powerful in a closed room with bright wallpaper, you can catch a bunny, such as from welding only more. It turned out pretty brutal and futuristic. You can also watch the video version.
