And so for him we need:
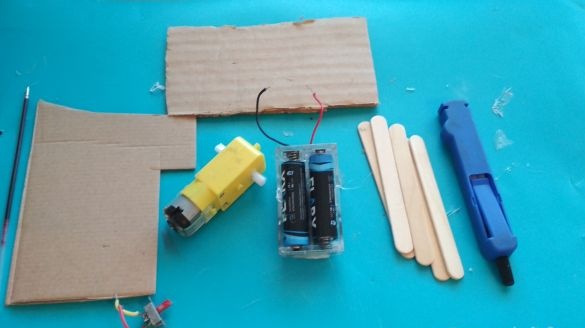
-Motor gear
-Two 1.5V batteries
- “boxing” for them
dense, corrugated cardboard
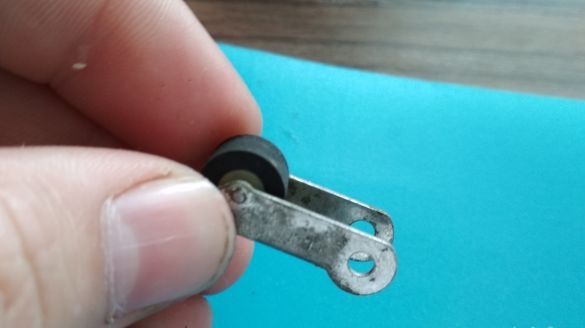
-Small wheel (I took from the old tape recorder)
- paper clip or thick wire
ice cream sticks
-switch
wire
handle rod
From the tools we need:
glue gun
soldering iron
-compass
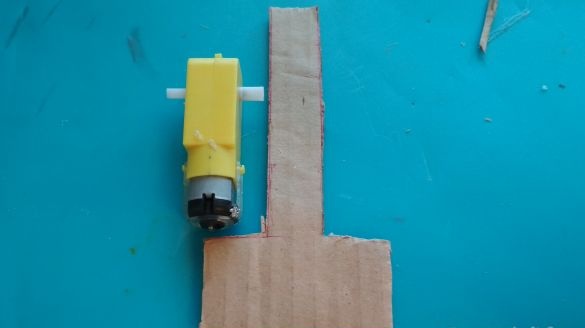
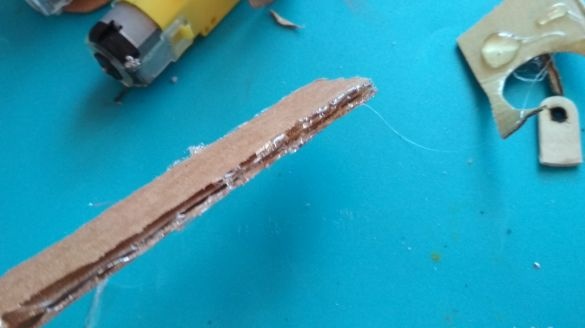
And so, first of all, we cut out a T-shaped figure from cardboard, 7 cm longer than the gearbox, the main thing is that the frame is not wider than the gearbox axis and that the gearbox and power fit on it:
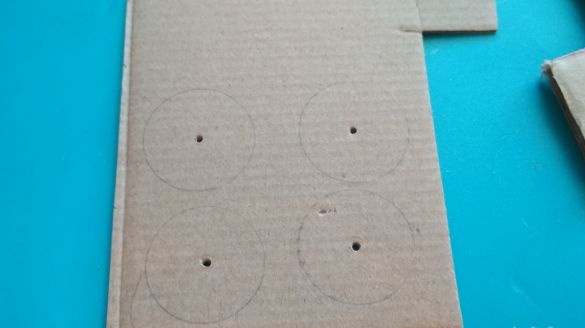
Now with the help of a compass we draw four identical circles with a diameter of 25 mm:
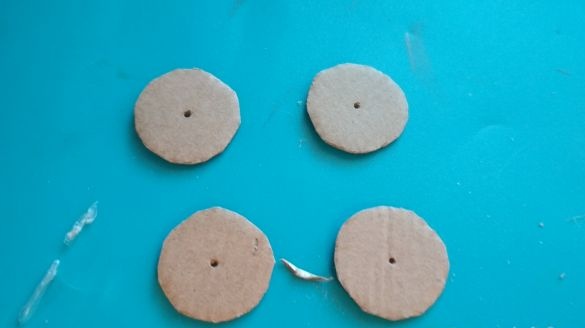
Cut them out:
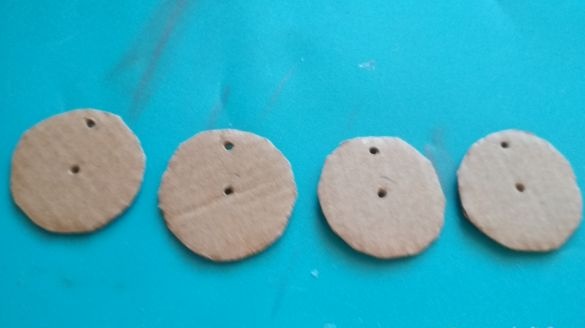
We do with a needle or sewed one hole on each of the circles, about 4 mm from the edge:
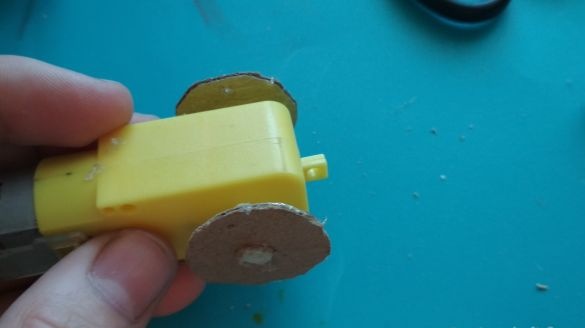
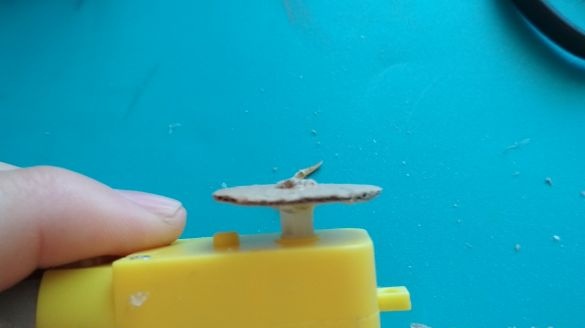
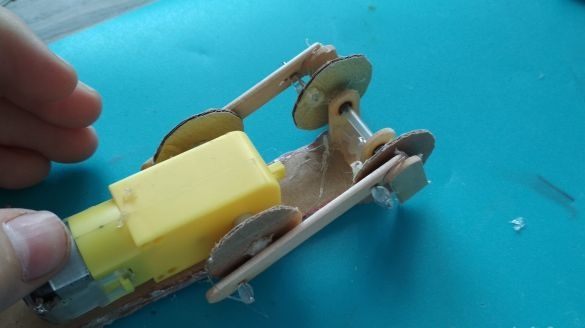
On two circles, increase the central hole and glue out onto the axis of the gearbox, so that the holes with the edge are opposite to each other. It is also important that the gearbox axis does not strongly protrude beyond the circles:
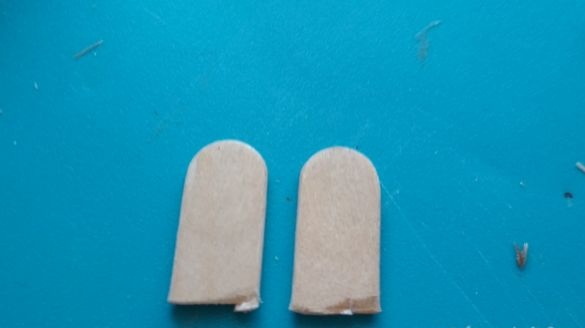
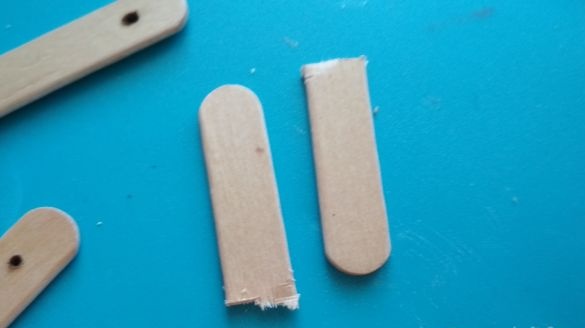
Cut two pieces from the ice cream sticks, 25-30 mm long
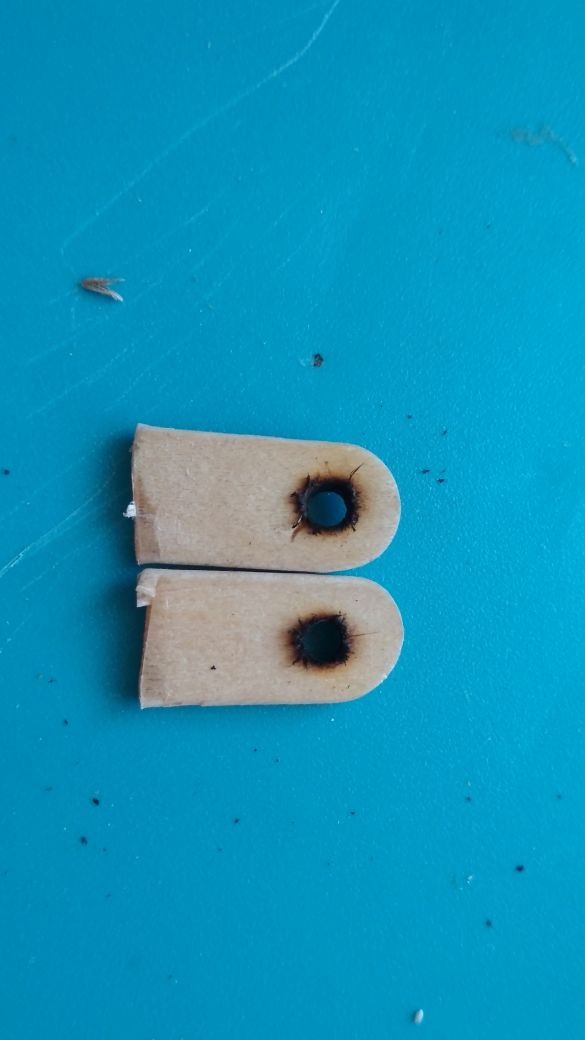
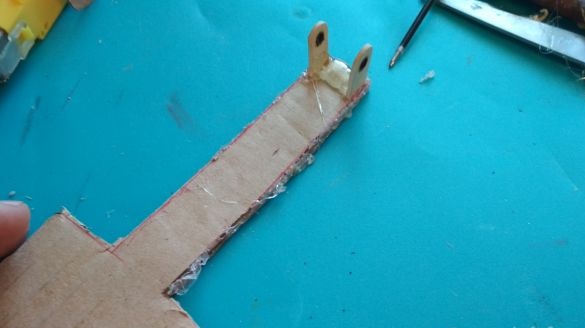
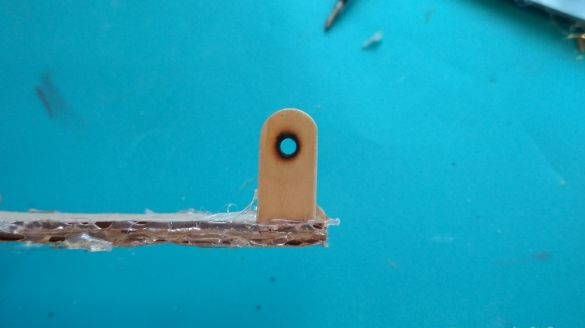
We make two through holes (slightly larger than the diameter of the rod from the handle) 2-3 mm from the rounded edge, I did this with a soldering iron:
We strengthen the edges of our frame using thermal glue:
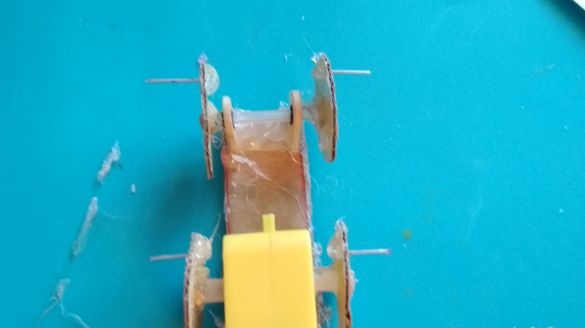
We glue our past blanks as shown in the photo (it is important that the holes are against each other)
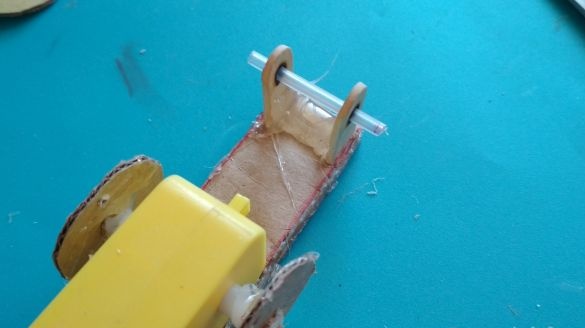
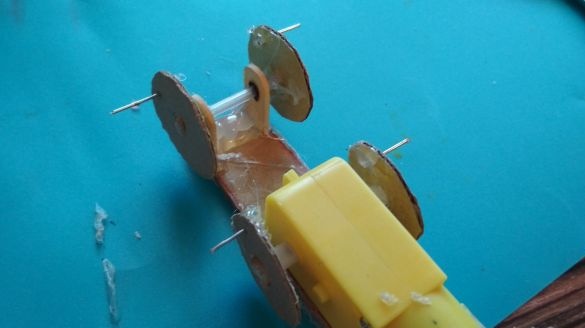
We cut a piece 30 mm long from the handle shaft and insert it into the holes of our workpieces, we also glue the gearbox. Between the gearbox and the end of the frame should be a distance of 4-5 cm
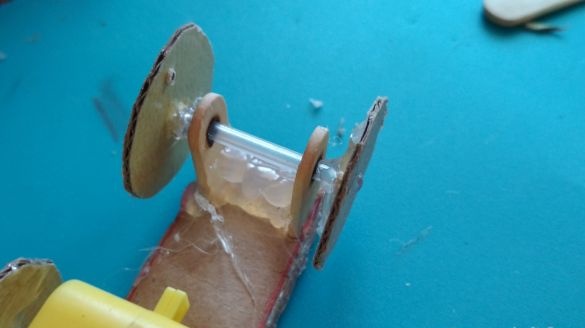
Glue the remaining circles to the rod, as shown in the photo:
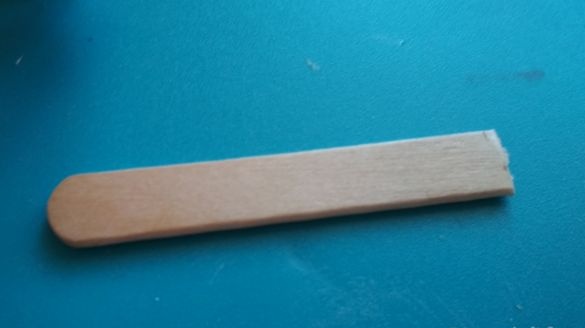
Take the ice cream stick and cut off two equal pieces of about 5 cm long from it, do not throw out the remaining pieces, we will need them later:
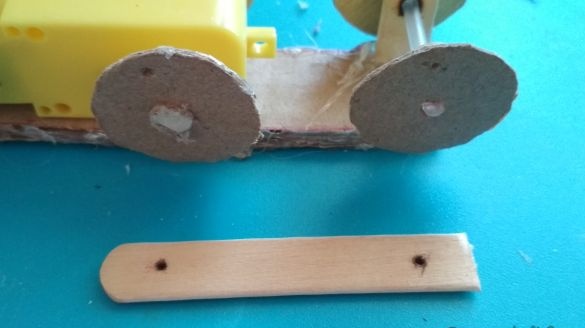
Using a soldering iron, make two holes, they should be at the same distance as the top holes of the cardboard circles:
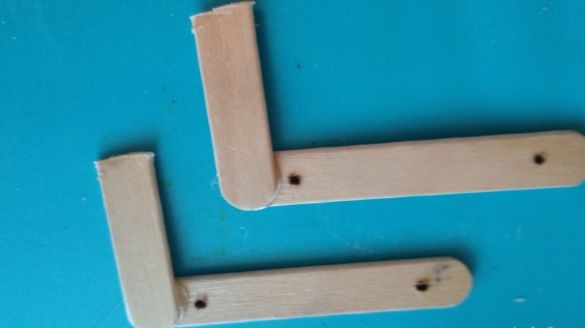
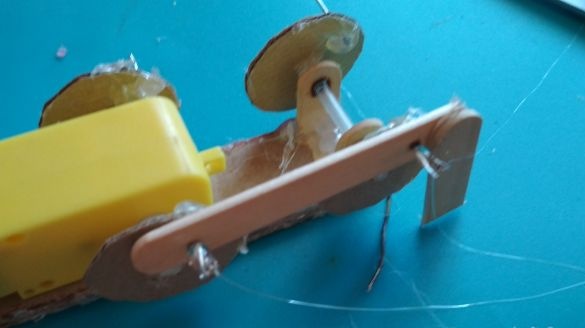
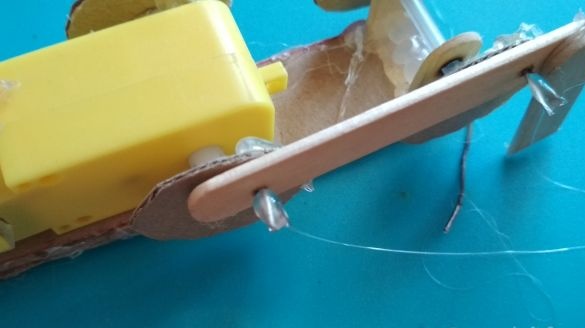
We take the remaining pieces from the ice cream sticks and glue them to the past blanks as shown in the photo, these will be the "legs" of our walker
We cut off four approximately identical pieces, 10-15 mm long, from the paperclip (there are 3 of them in the photo since I accidentally stuck one)
Glue them to our circles for the most part outward, it is important that the other end does not touch the frame and gear
We put the “legs” of our walker on the protruding part of the pieces of paperclip and drip a drop of thermo glue on the remaining edge, either weighed or put on small beads, the main thing is that the “legs” do not stick to the pieces of the paperclip
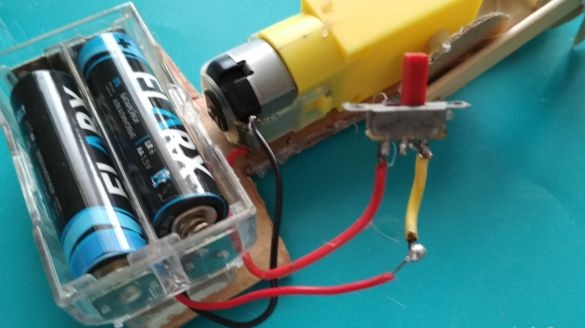
Solder our power to the gearbox through the switch:
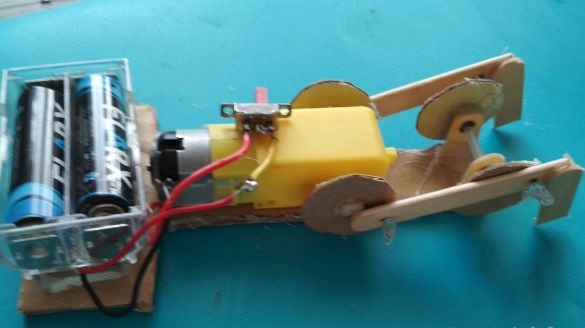
The box with batteries and the switch are placed and glued to the frame:
Now we take the wheel, which I took from the tape recorder and glue it at the bottom of the back of the frame:
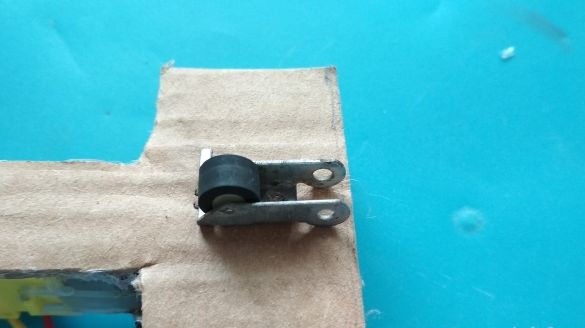 [/ center
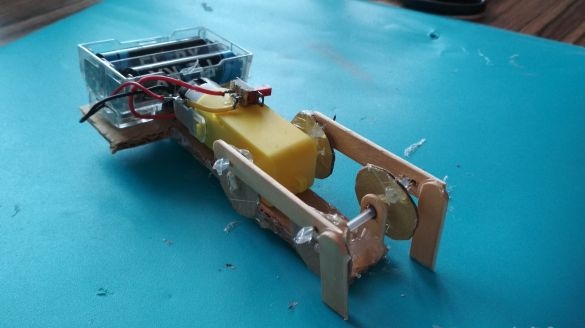
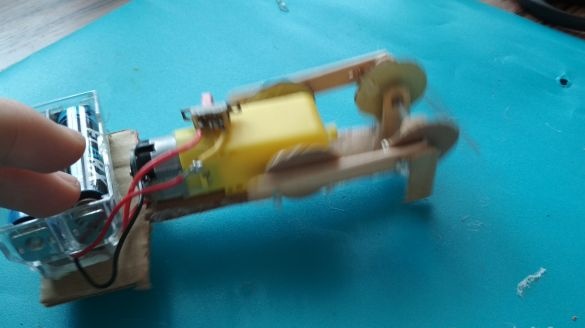
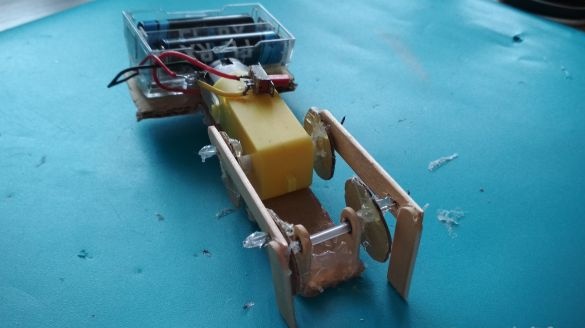
That's it! Our simplest "walker" is ready and it remains only to test it! To do this, just take it and turn it on, after which it starts to move "legs" and crawl a little! It turns out that he pushes his feet off the surface, thereby moving the entire structure. To improve the adhesion of the “legs” to the surface, I advise you to drop a couple of drops of thermal glue on their “heel”. I hope this article was interesting to you.
[center]
Thank you all for your attention!


