Dear site visitors, from the master class presented by the author, you will learn how to independently make an imitation of a brick wall in your city apartment or private house. Today, this type of wall decoration is very popular, both among young people and middle-aged. The appearance of such an imitation gives the impression that the wall was left untouched after the house was built, very interesting and unusual.
And everything is done quite simply, the first thing is the wall is prepared and cleaned of wallpaper, bumps are plastered, cleaned with sandpaper. Next, marking is applied using a pencil in the form of brickwork, after which the adhesive tape is primed and glued to the joints, first horizontal and then vertical. A solution is prepared in the ratio of 50% of tile adhesive and 50% of plaster, preferably applied with your hands (gloves) in order to create an uneven natural relief of the brick.
And so, let's take a closer look at what the author will need to work specifically?
Materials1. plaster for walls
2. tile adhesive
3. masking tape
4. primer
5. paint
6. water
Instruments1. capacity for solution preparation
2. putty knife
3. drill with mixer
4. construction pencil
5. roller
6. brush
7. ruler
8. brick pattern (cardboard or linoleum)
9. scissors
10. rubber or plastic gloves
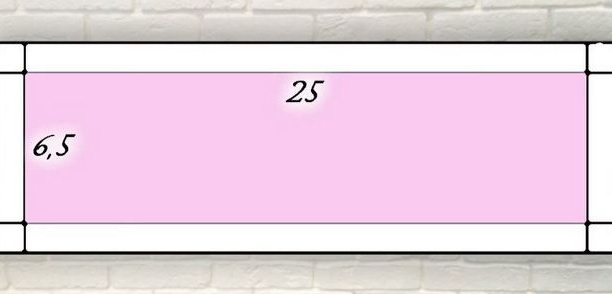
Step-by-step instructions for creating a simulated brick wall do it yourself. First of all, you need to make a template from cardboard, or linoleum, according to standard sizes 25x6.5 having it, you should mark it on the wall. Before applying the markings, it is necessary to prepare the wall, namely to peel the wallpaper and clean it, if necessary, align and putty.
The template should be equal to the standard size of the brick.
The marking of the wall should begin from the corner and from bottom to top, while on the template you need to draw a line exactly in the middle.
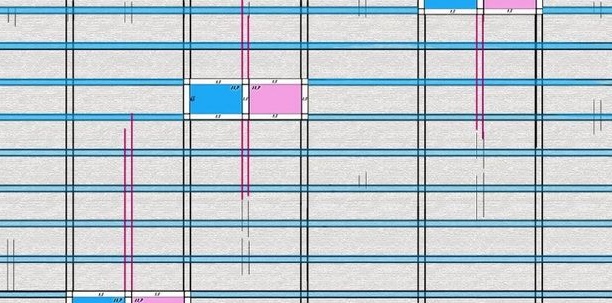
This is how markup will need to be done.
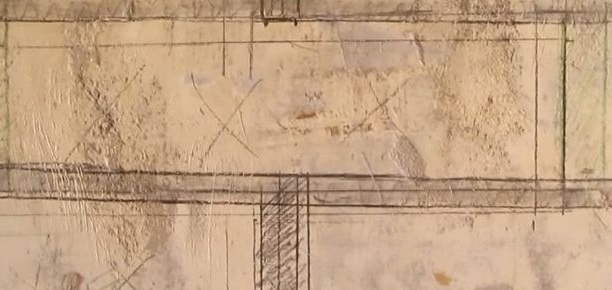
Then, using the prepared template and a construction pencil, the master draws the walls, starting from the bottom, stepping back from the floor 5-10 cm and gradually rises up. Also, the seam should be about 1.5 cm.
Bricks are marked with a cross.
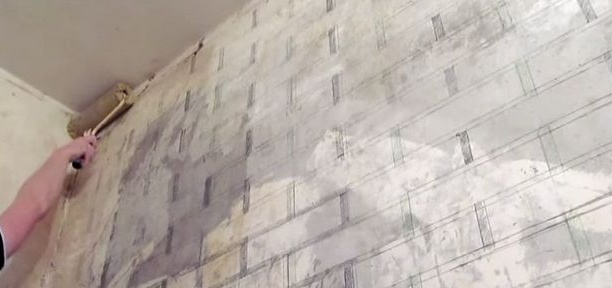
After that, a primer is applied to the prepared surface, for better adhesion of the solution to the wall.
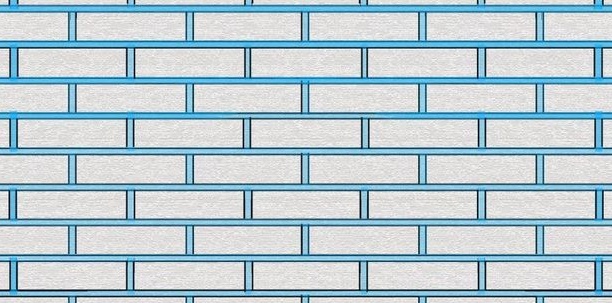
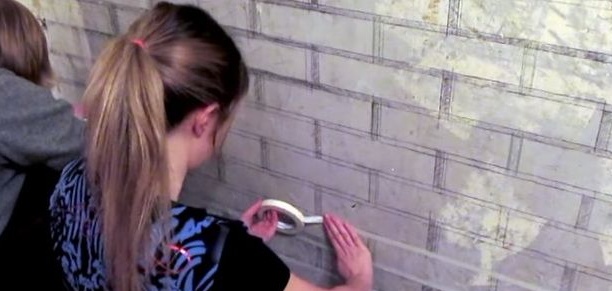
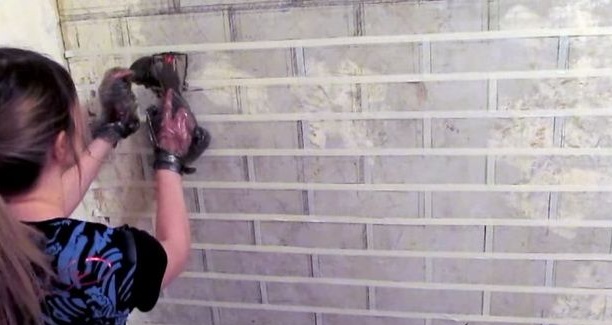
As soon as everything dries, you can start gluing the masking tape, it glues to the place of the drawn seam, first horizontally, and then vertically with an overlap.
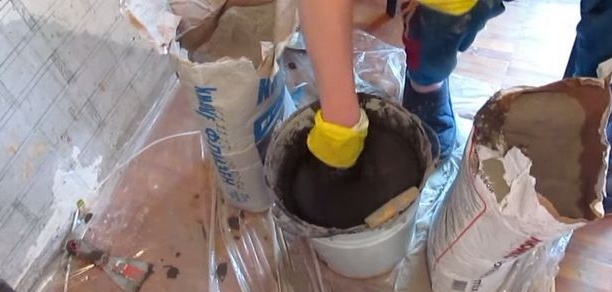
And so the adhesive tape is pasted and then it is necessary to prepare the solution, and making it is also quite simple) take tile adhesive and plaster in a ratio of 50/50 and mix with the addition of water naturally.
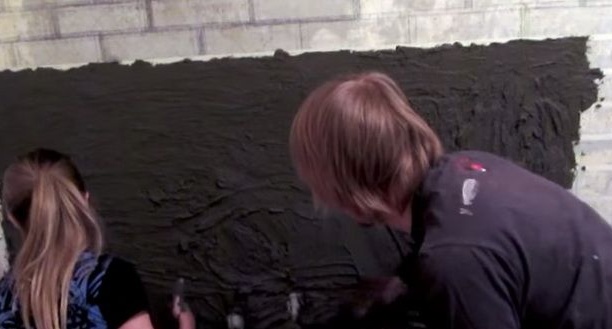
Many advise to apply the finished mortar to the wall directly with your hands, but be sure to wear gloves, so the surface will turn out to be natural and uneven, which will create the effect of aged brick.
The solution must be applied from the bottom up, and also do not delay the work so that the solution does not freeze) otherwise the adhesive tape will then be impossible to remove.
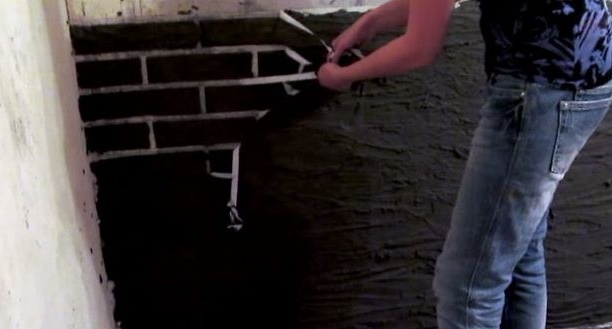
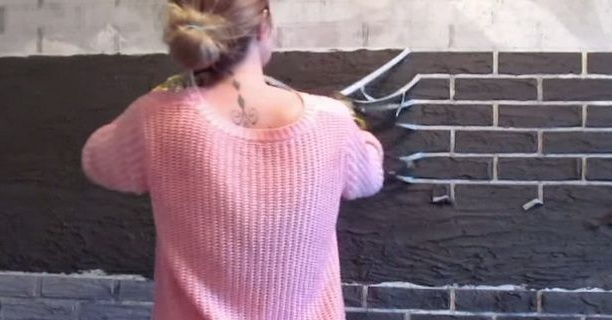
And so, the most crucial moment, the removal of masking tape. First, horizontal stripes are removed, thereby forming a 1.5 cm seam.
All this needs to be done with neat smooth movements without acceleration and jerking.
This is such a wonderful wall, but there is more to come.
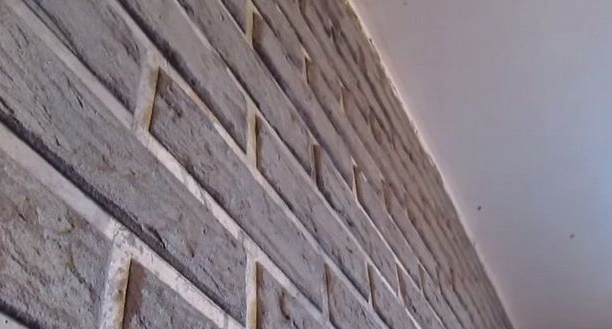
After the adhesive tape has been removed and the solution is still soft and supple it is necessary to apply bumps with a chisel, spatula, or even a tablespoon.
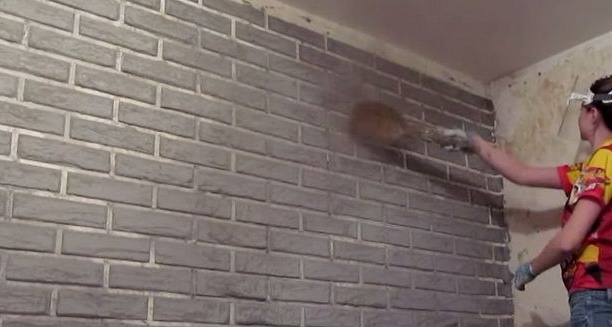
Then you need to allow it to dry until it completely hardens, then sweep off the dust and remove excess mixture.
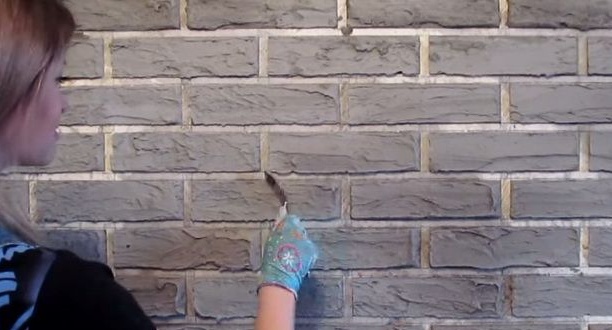
A primer layer is applied to the prepared surface, the seam can also be covered with soil.
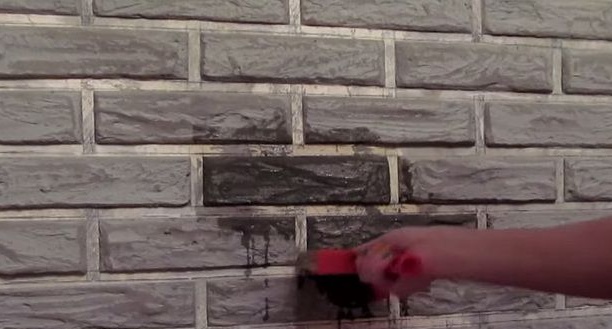
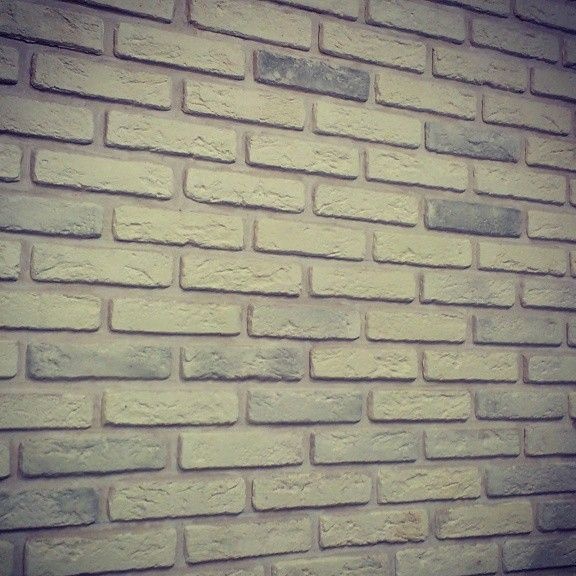
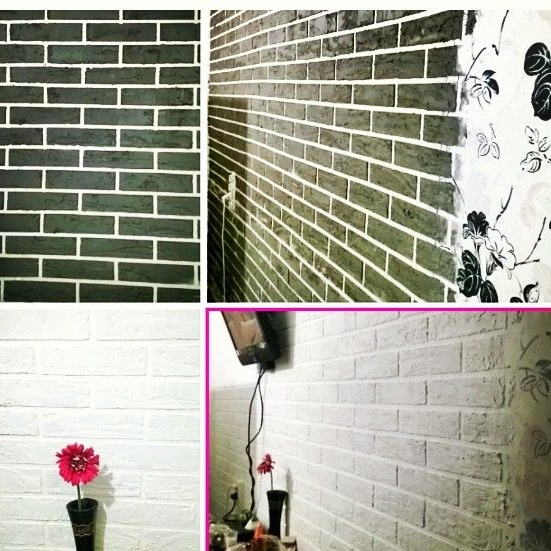
Further, if desired, you can paint in any color you like, or leave unpainted, everything of your choice.
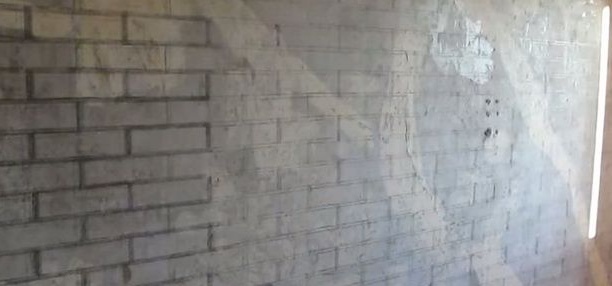
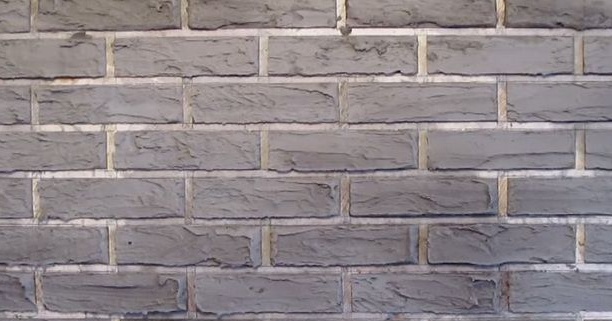
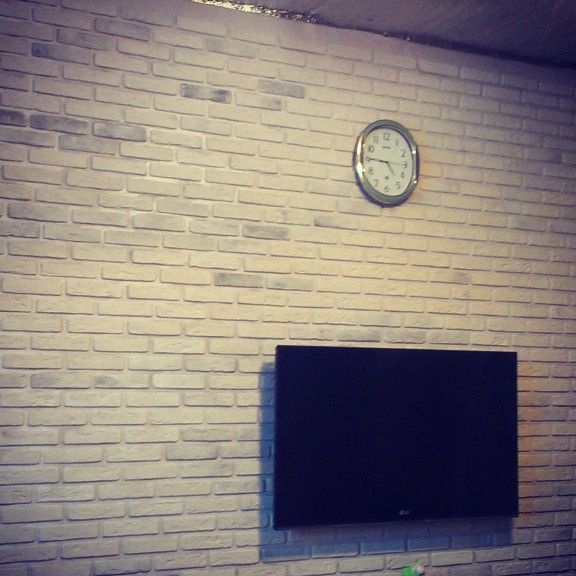
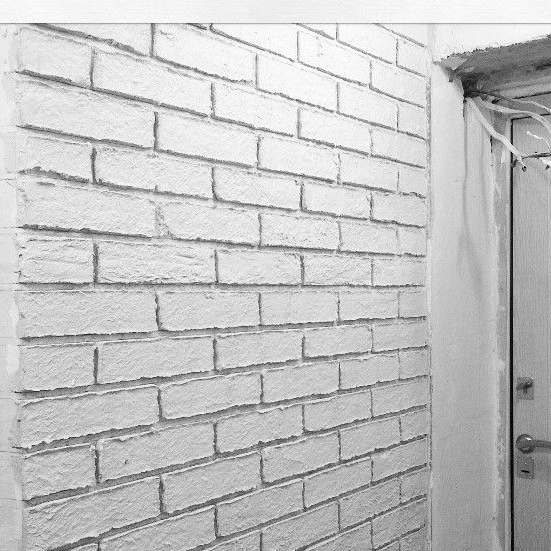
Here are examples of already painted and finished walls.
That's the way the author made an imitation of brickwork in his apartment. The result was a unique and interesting wall, which was exactly what the master wanted. As you can see, the technology is quite simple and accessible to everyone who wants to make such an unusual wall in their home. Mostly everything is budget and affordable. Go for it friends!
This concludes the article. Thank you very much for your attention.
Come visit often, do not miss the latest in the world of homemade goods!