In making this homemade The author was guided by the following tasks:
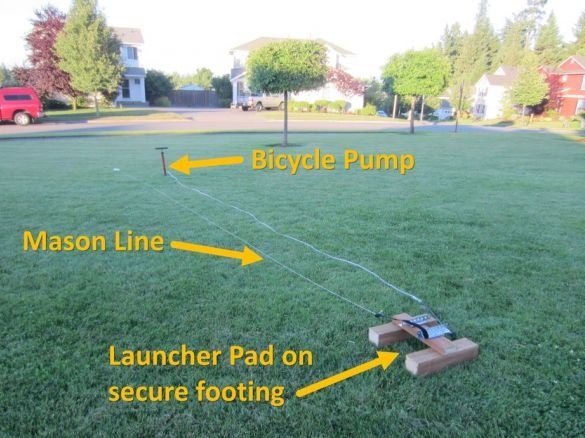
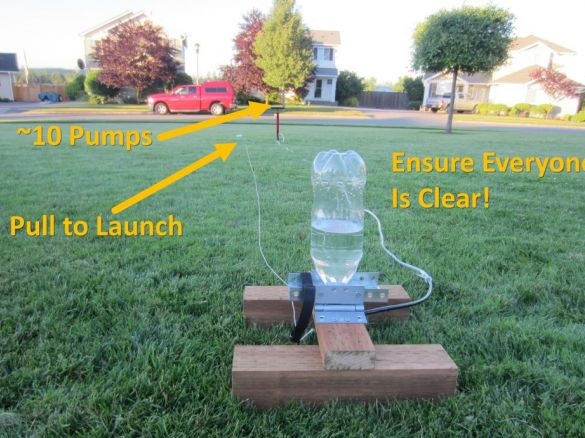
1. Security. Such a rocket will be interesting, especially for children. For their safety, the creation of pressure in the bottle and the subsequent launch are carried out remotely, at a distance of about six meters.
2. Quick installation and reloading missiles.
The whole system has three components:
1. Plastic bottle
2. Starting complex
3. The pump
For the manufacture of the device you will need the following
Tools and materials:
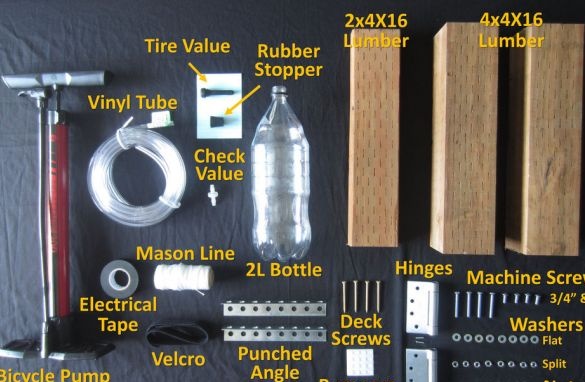
- Two-liter plastic bottle - 1 pc;
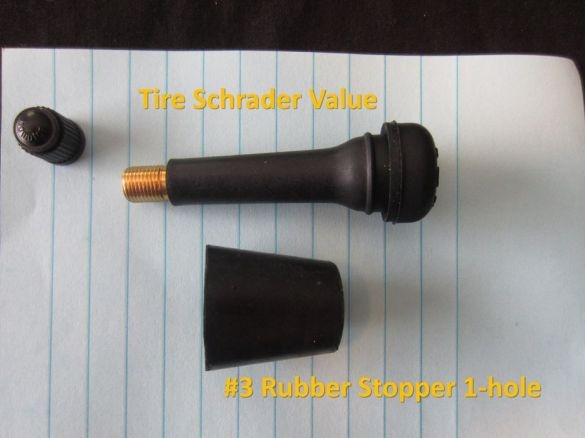
-Rubber plug with hole - 1 pc;
-Bicycle valve (Schroeder valve) - 1 pc;
-Wooden block 5 * 10 * 40 cm - 1 pc;
-Wooden bar 10 * 10 * 40 cm - 2 pcs;
- Perforated corners - 2 pcs;
- Loops with a return spring - 2 pieces;
- Velcro fastener - 60 cm;
-Cord - 6 meters;
-Vinyl bumpers - 6 pcs;
-Fasteners (optional);
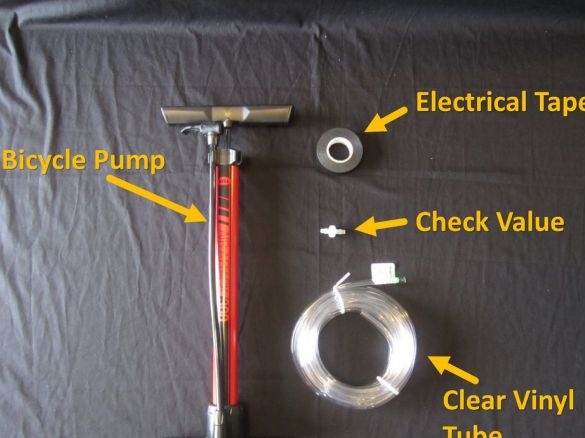
-Bicycle pump - 1 pc;
- Check valve - 1 pc;
-Plastic tube - 6 meters;
-Insulating tape;
-A circular saw;
-Drill;
- Hacksaw for metal;
-Pencil;
- Screwdrivers;
-Keys;
-Hammer;
- Nippers;
-Pliers;
-File;
-Vise;
-Drill;
Step One: Valve
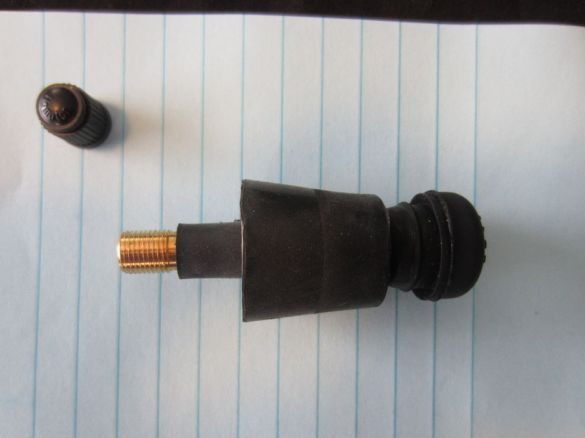
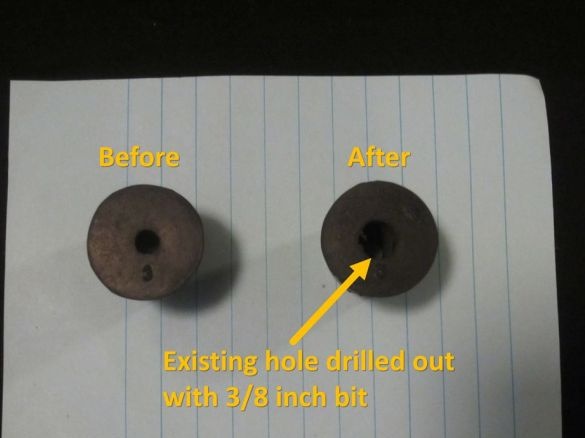
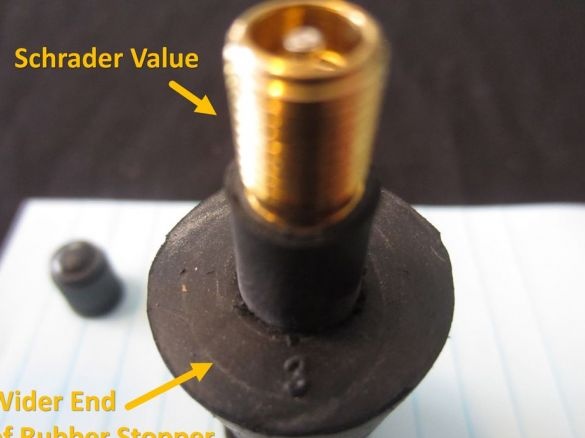
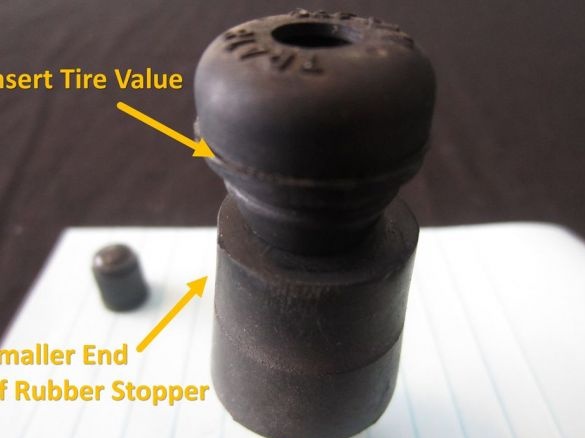
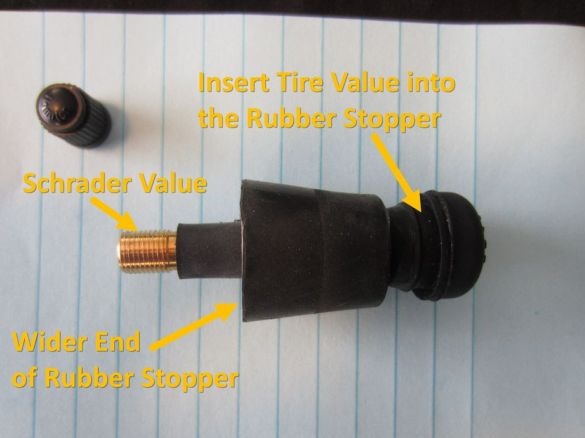
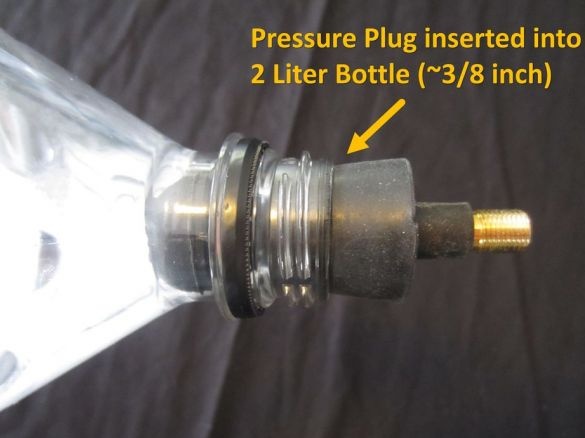
Clamps a rubber stopper in a vice. Extends the hole for the bicycle valve in it. Inserts the valve into the plug.
Step Two: Corners
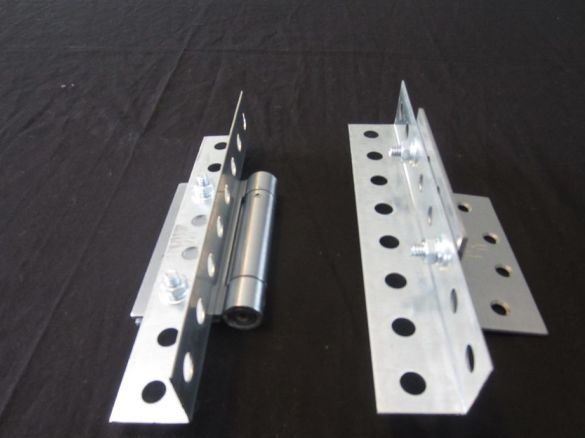
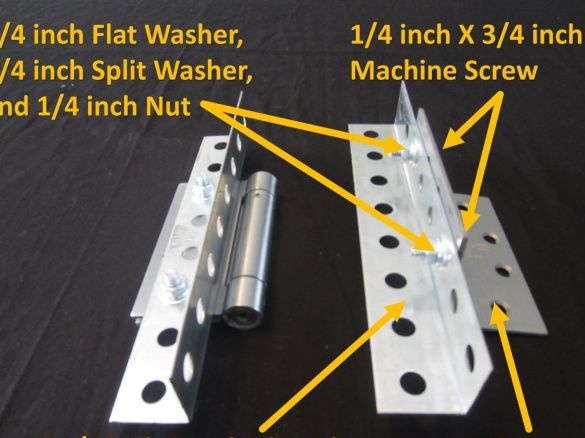
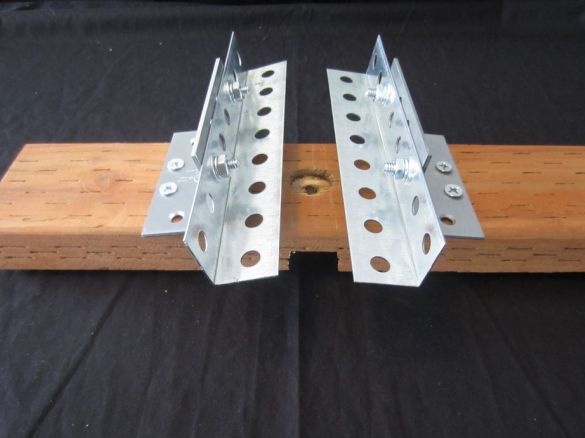
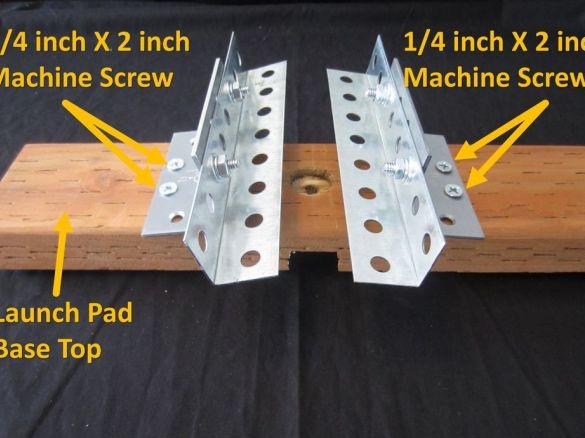
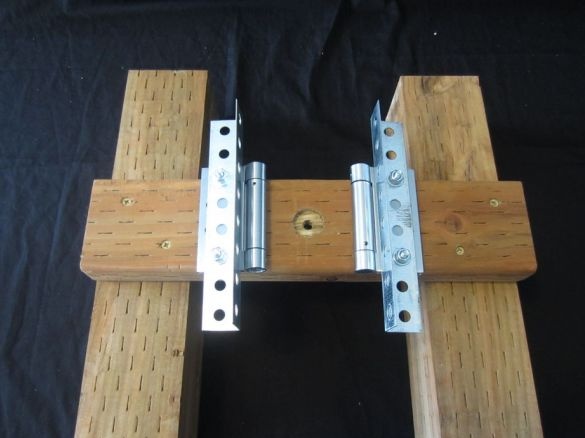
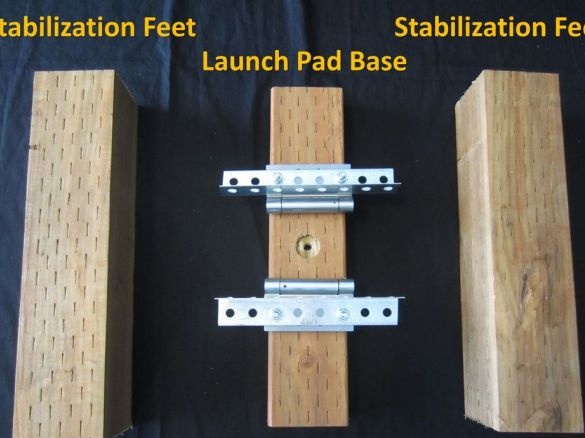
Cuts two corners of 20 cm each. Processes sharp edges with a file. Screws them onto one of the flaps of each loop.
Step Two: Bars
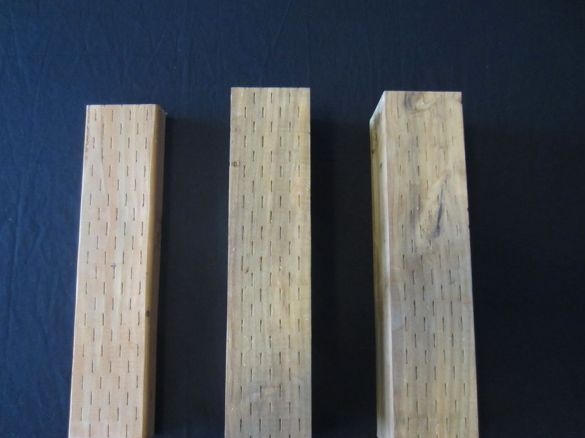
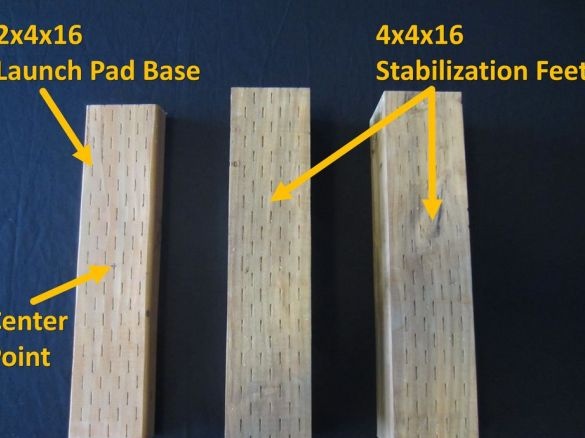
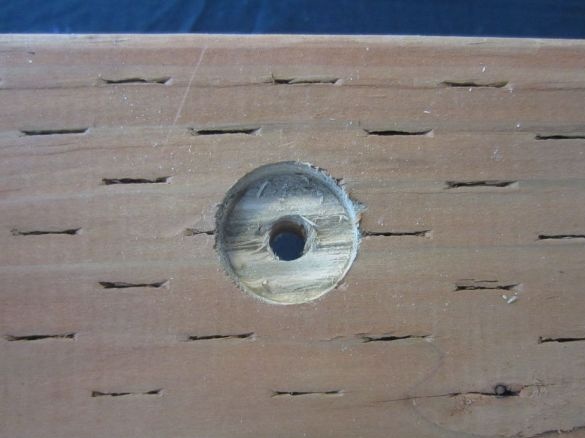
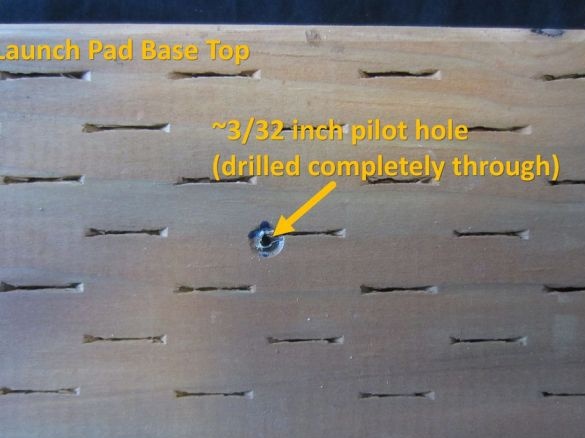
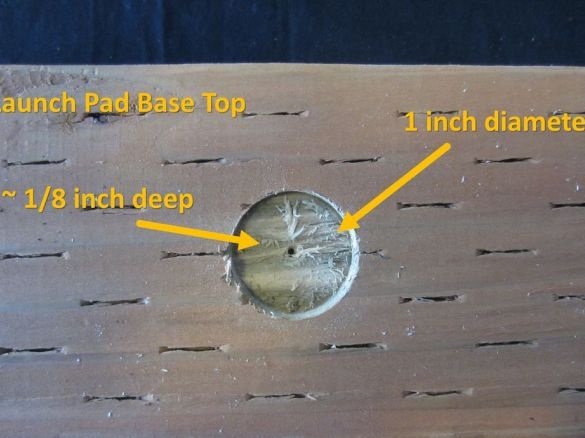
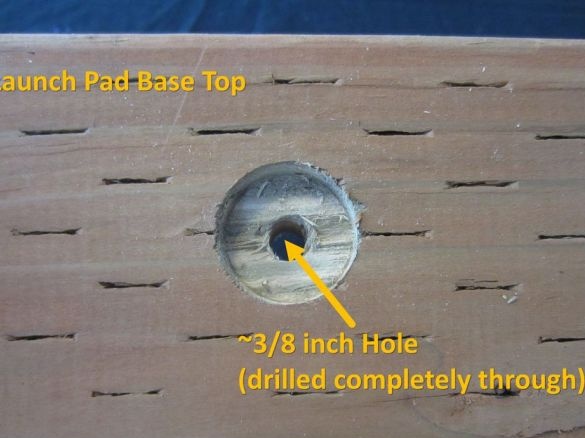
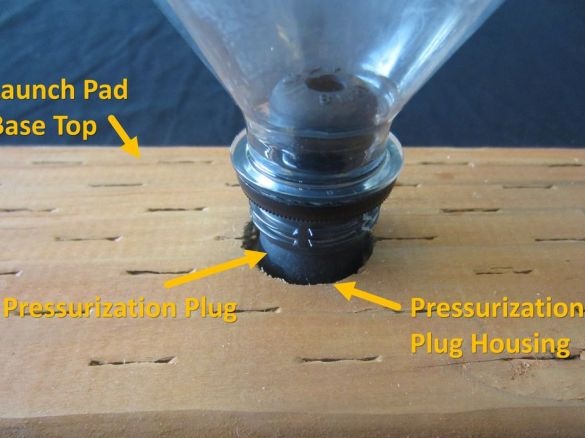
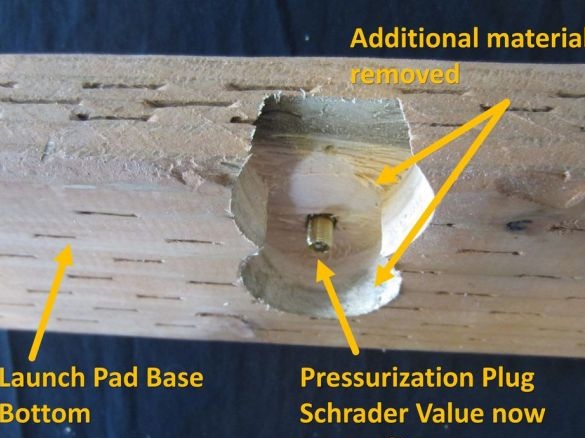
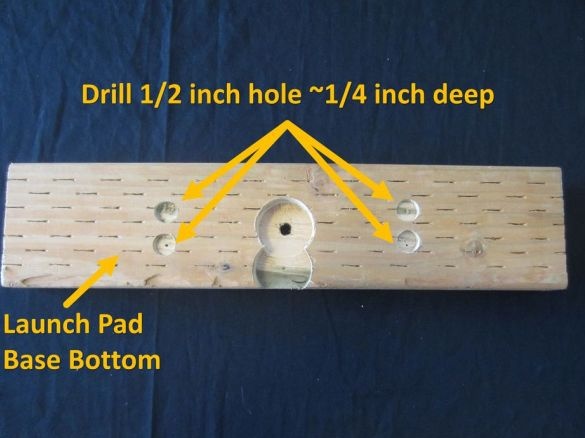
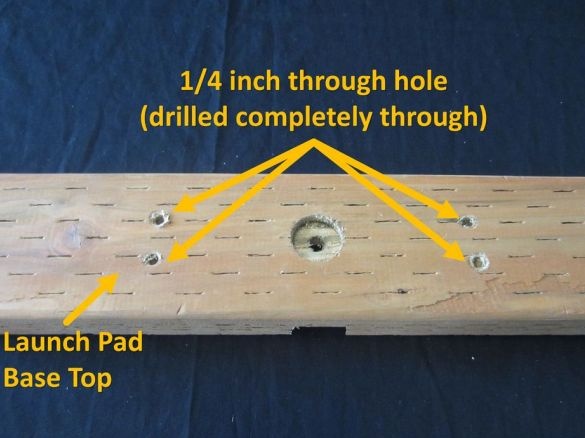
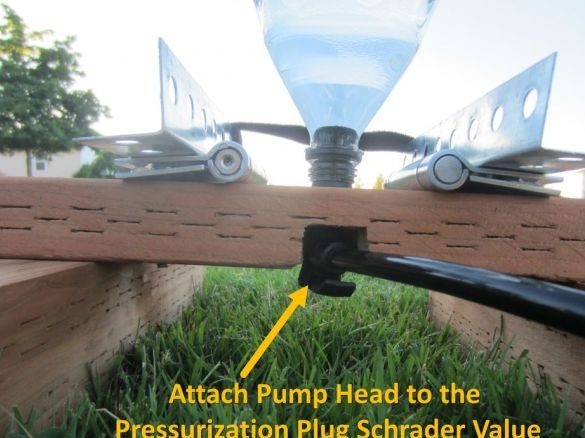
Cuts off bars of the necessary size. In a smaller block in the center, drills a hole for the valve and selects a recess according to the diameter of the plug.
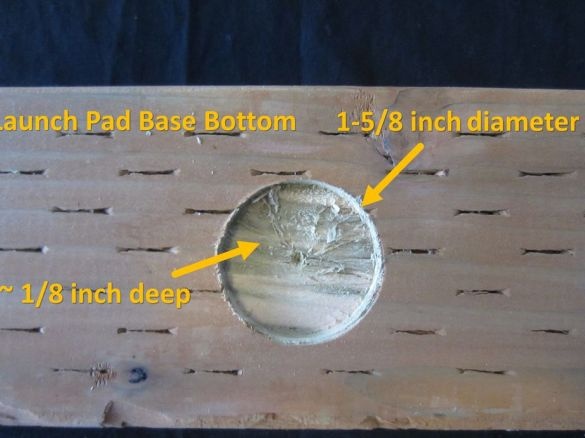
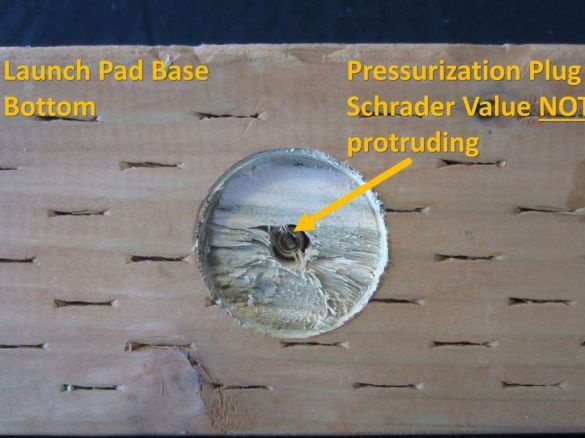
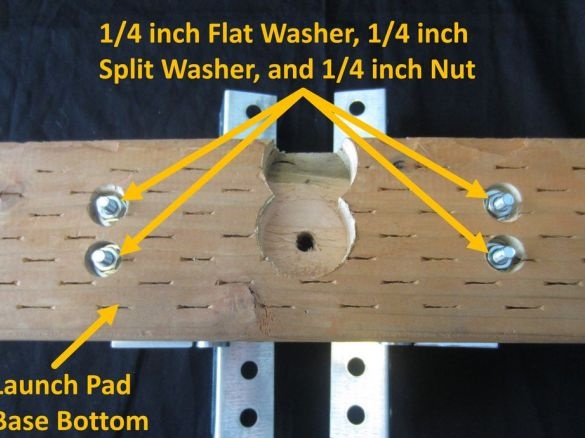
On the back of the smaller bar, it also makes a selection. At installation of a stopper with the valve on the reverse side the "nipple" of the valve should protrude. Cut a groove under a plastic tube.
Step Three: Install Loops
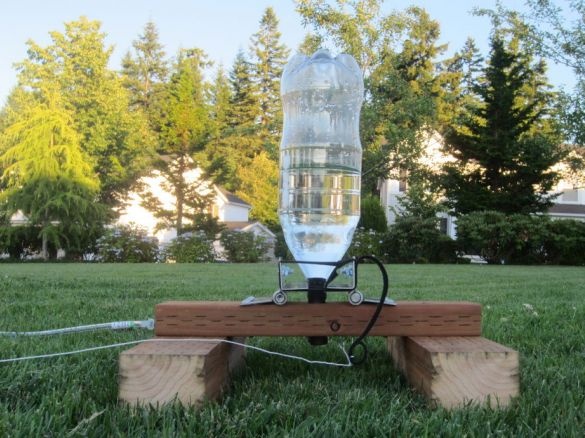
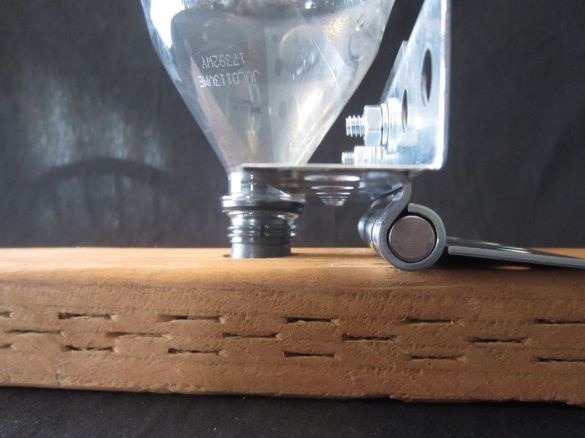
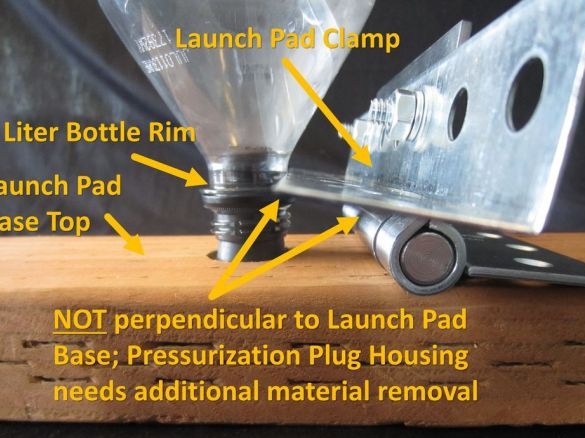
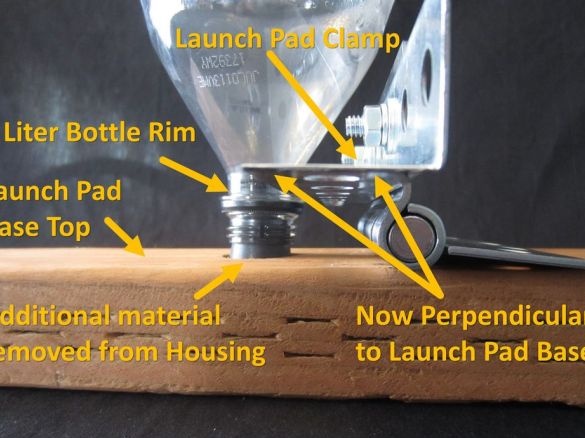
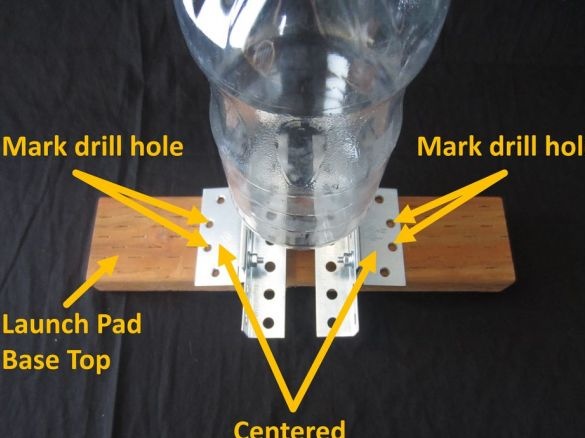
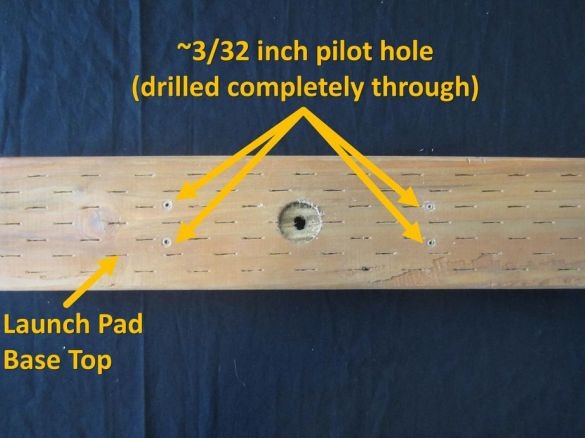
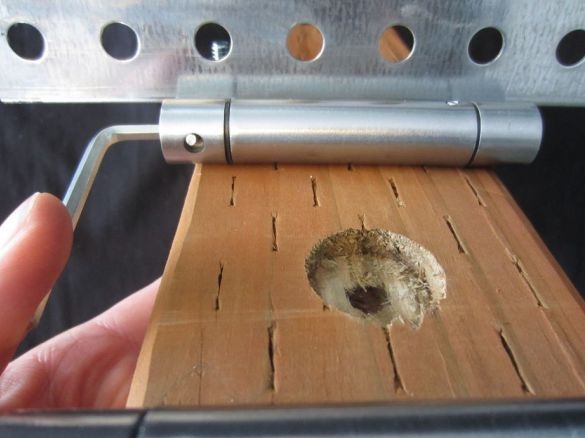
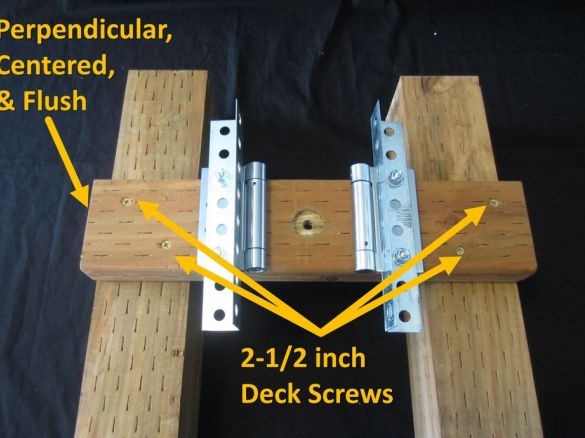
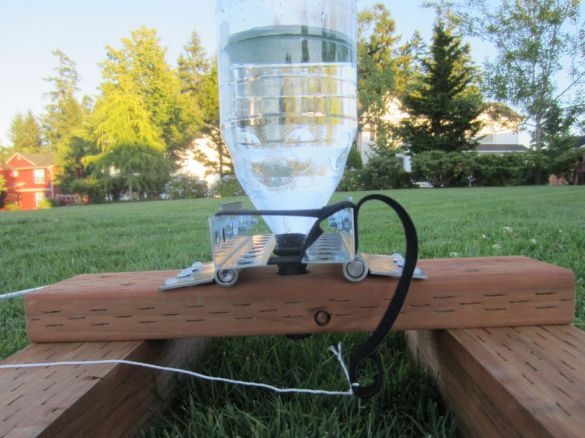
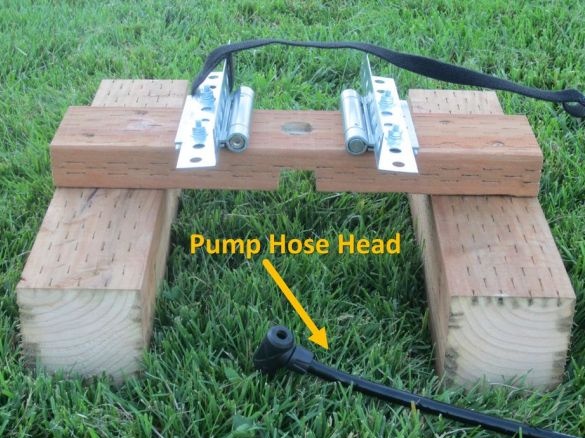
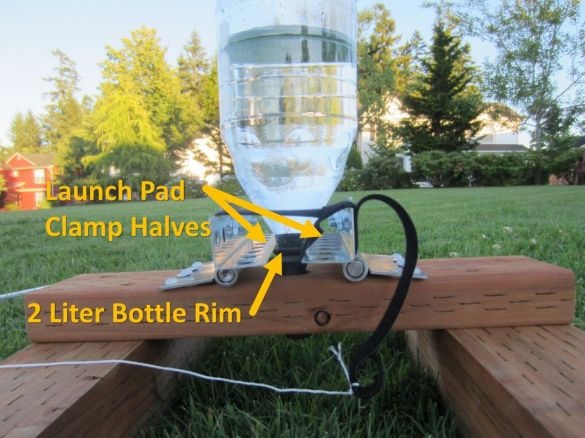
The bottle will be held by the corners screwed to the hinges. Sets the bottle with the cork into the groove. Marks where to install the hinges. Drills bolt holes. Tightens the hinges.
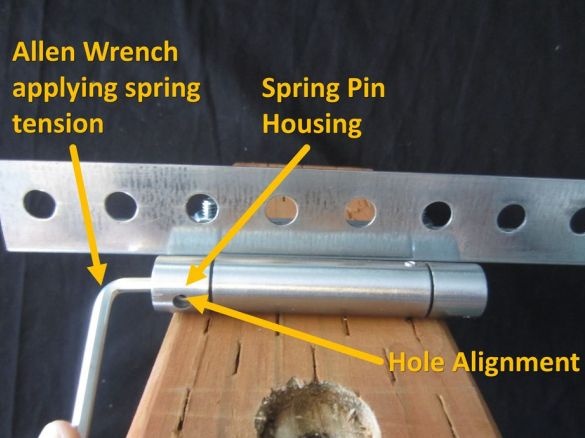
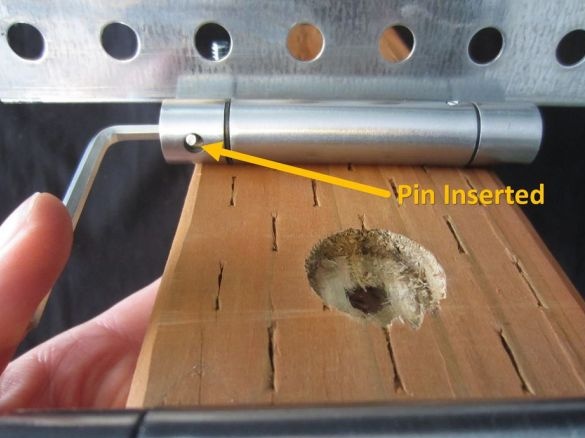
In the normal position, the hinges open under the action of the return spring.
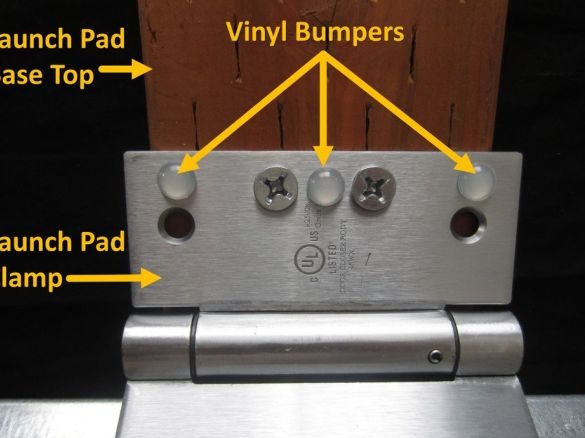
Glue vinyl bumpers to the corners.
Step Four: Feet
Perpendicular to the launch pad secures the legs.
Step Five: Velcro
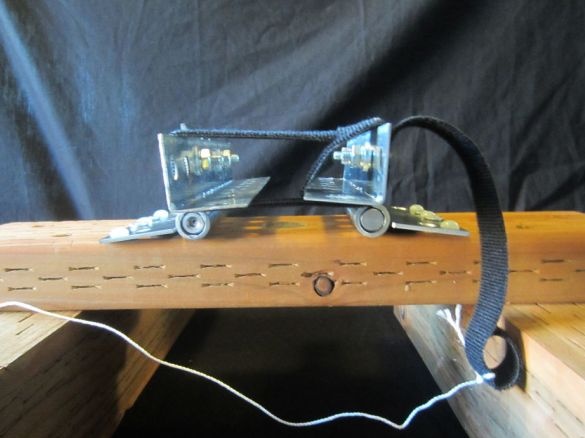
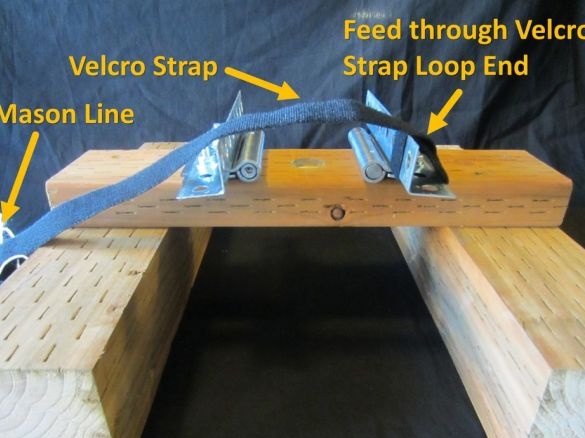
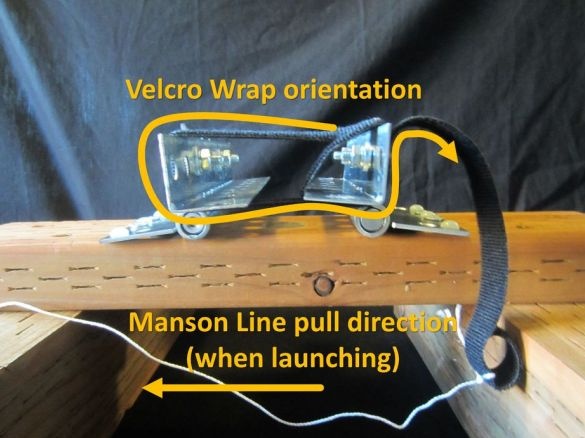
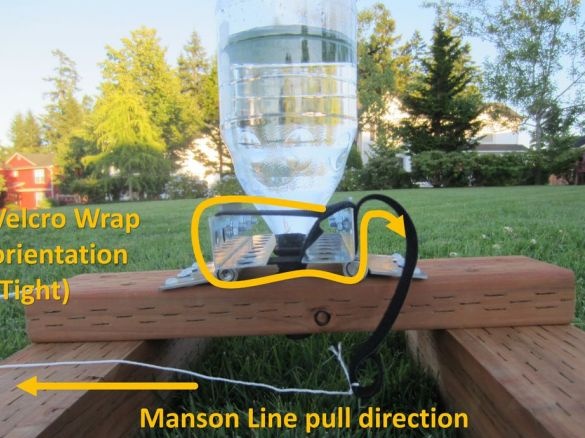
Velcro plays the role of a trigger and a fuse at the same time. Fastens one end of a flypaper under a loop. Wraps Velcro around loops. A cord is secured to the second end of the tape.
Step Six: Pump
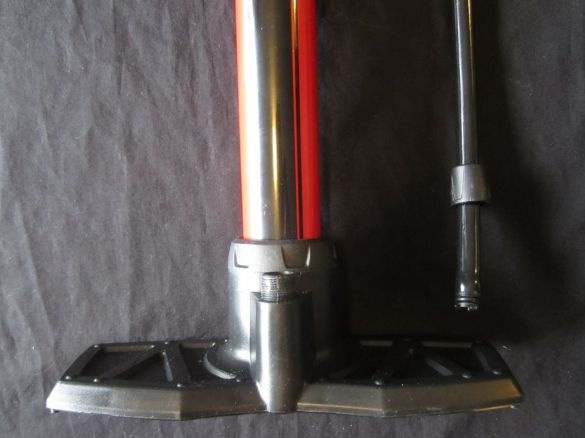
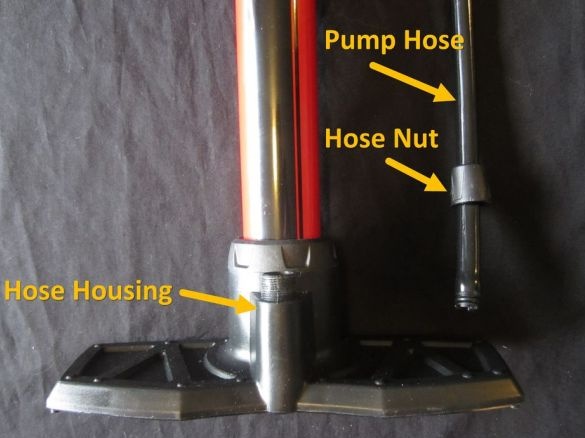
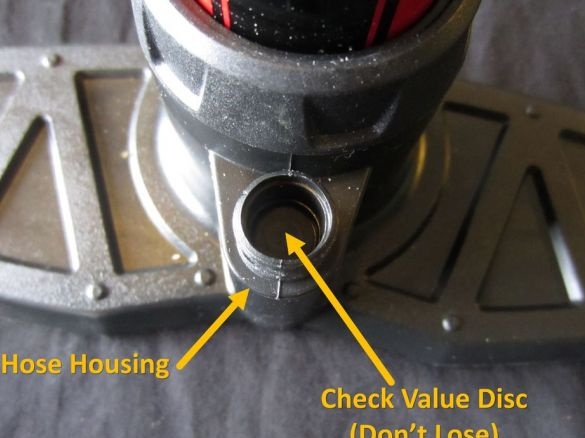
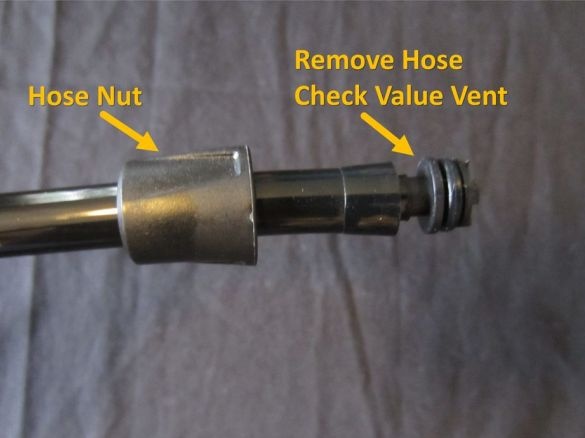
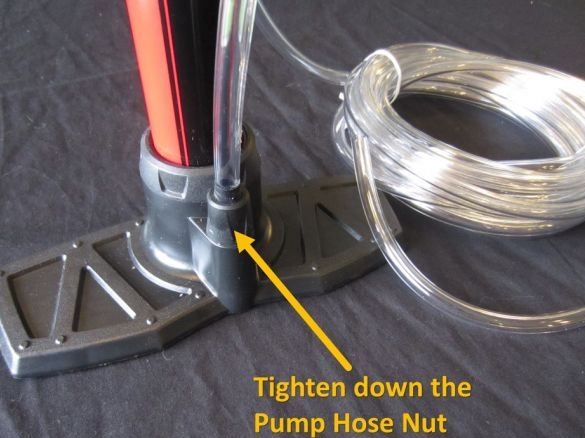
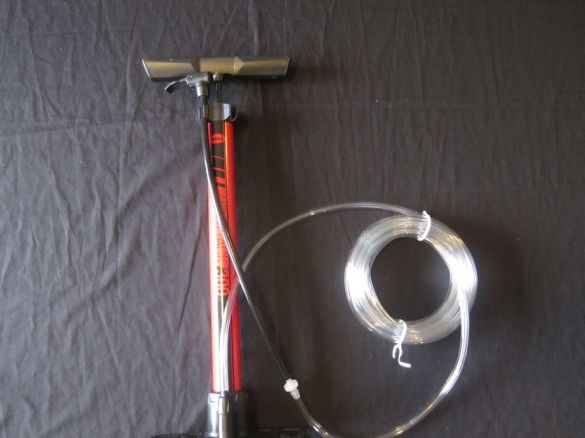
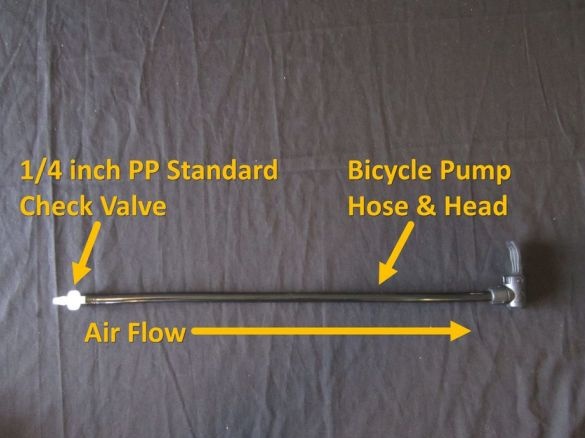
Removes a regular hose from the pump with an adapter and a clamp.
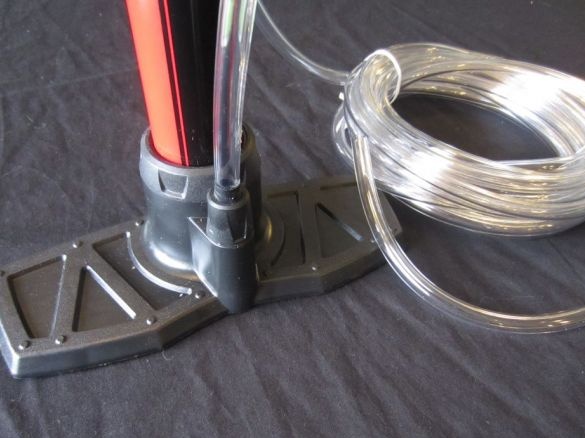
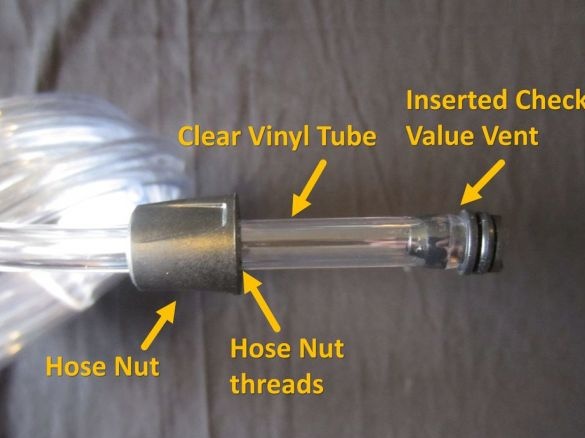
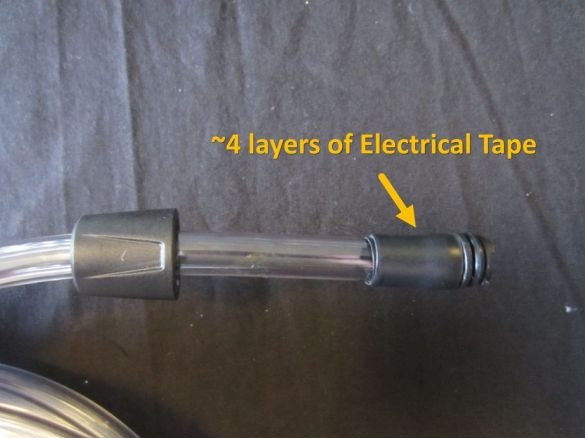
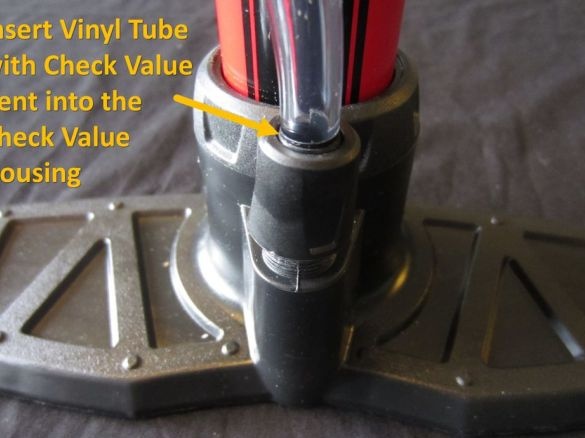
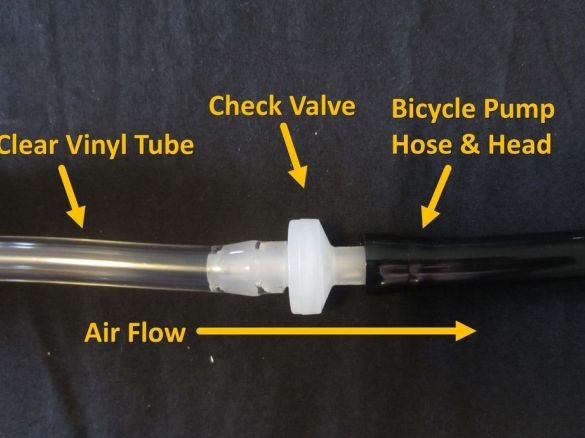
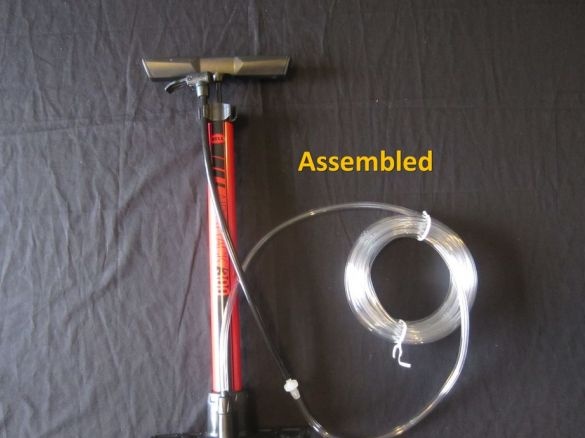
An adapter is installed on the plastic tube (pre-wraps tape at the end of the tube). Inserts it into the pump outlet, fixes it.
At the other end of the tube, a hose is attached to the pump. A check valve is installed between the pipe and the hose.
Seventh step: rocket launch instructions
A bit about safety. A rocket should only be launched under the guidance of an adult. The launch is carried out on an open flat area, away from trees, wires, etc. To launch a rocket, make sure that there is no person within the danger zone.
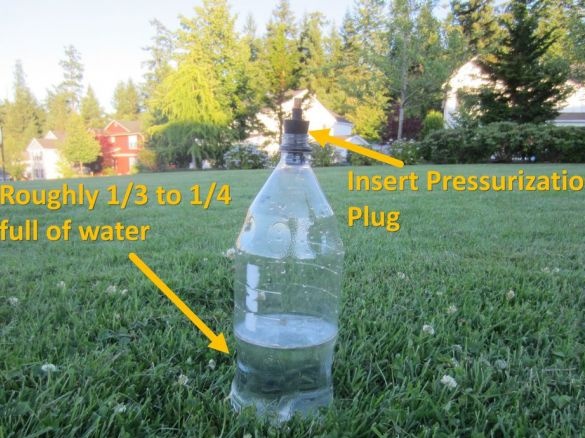
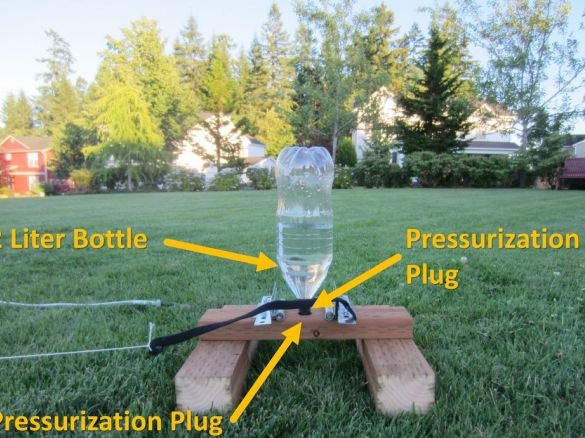
Installs the launcher on a flat open area. Fills a third of the bottle with water. Corks the bottle. Sets the bottle on the launch pad. Fixes the bottle with corners. Wraps Velcro around corners (as pictured). Fastens a cord, a hose. Unwinds them to the specified distance. According to the author, ten pump strokes are enough to launch a bottle rocket. After creating pressure, you must pull the cord, the loops will be released and the rocket will take off.

