

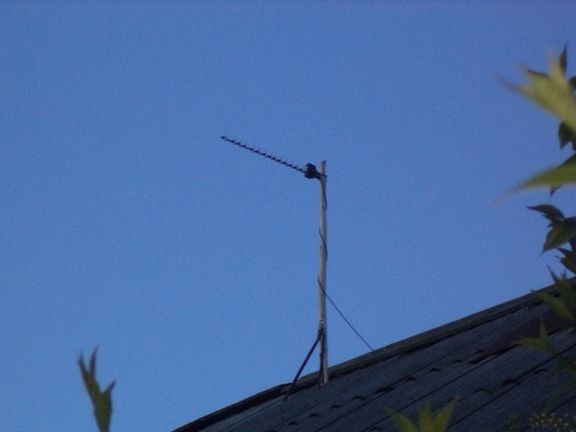
Greetings to all lovers homemade. When you relax in the country, or you are just a villager, you may encounter such a problem - the Internet does not work well or does not catch a signal at all. In this case, there are ways to solve this problem, for example, usb extension cords with which you can raise the 3G modem to some height. But the most effective way to amplify 3G or even 4G Internet is to use Internet signal amplifiers - special antennas and repeaters for modems. But after buying such amplifiers, a problem arises - how to fix them. There are many ways to fix the antenna. You can use the brackets to fix it on the wall of the house, but it is low on the wall, and the higher the amplifier, the better the Internet signal and the higher the Internet speed, so it will be better to fix the antenna on the roof of the house itself. So the antenna will be located higher, and, accordingly, the signal will be better and the speed will be higher. That's about such a bracket will be discussed in this article. And in order to make such a roof bracket for an Internet amplifier, we need:
Instruments:
1) Hacksaw for wood,
2) Planer,
3) Saw for metal,
4) Electric drill and drill,
5) screwdriver,
6) Ax,
7) Wrenches for bolts and nuts,
8) A hammer and six nails.
Materials:
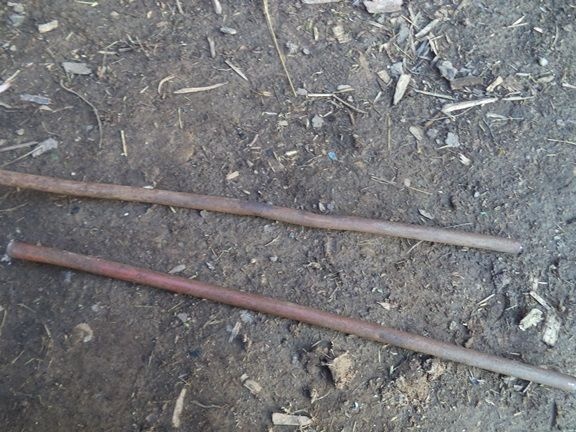
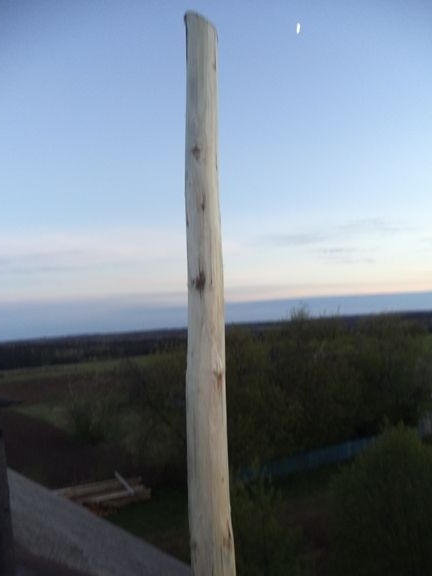
1) Not very thick pole about 1.5 m long,
2) Metal plate with holes,
3) Metal pipe.
The process of manufacturing a bracket for a 3G amplifier on the roof of a house do it yourself.
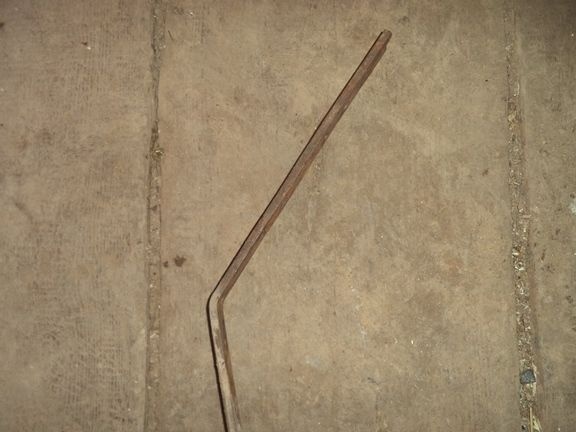
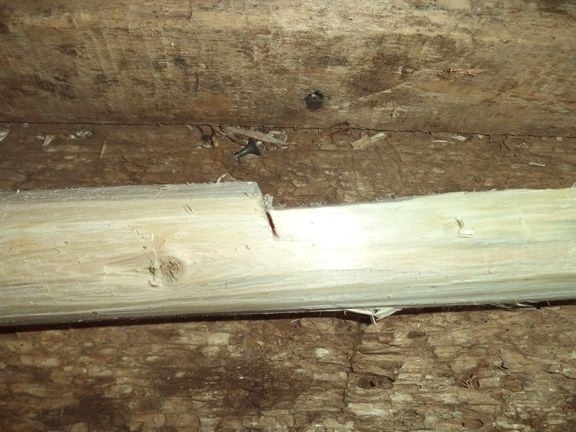
To make the bracket for the 3G amplifier on the roof of the house, we need a thick pole about 1.5 m long.
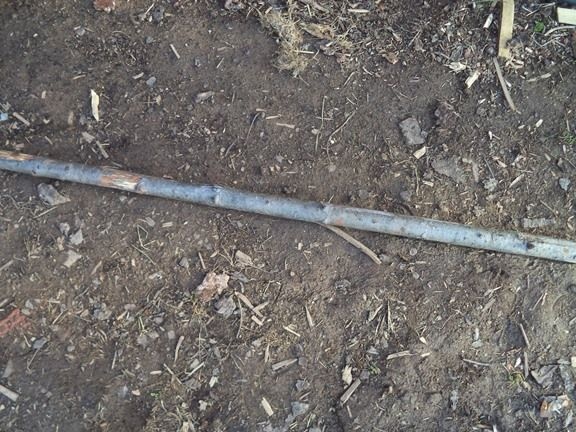
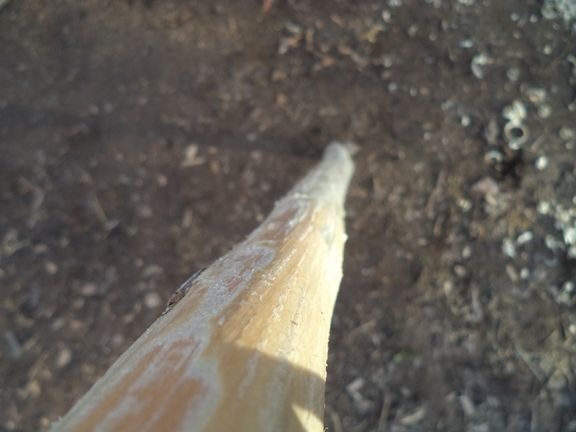
We clean it with a plane from the top layer.
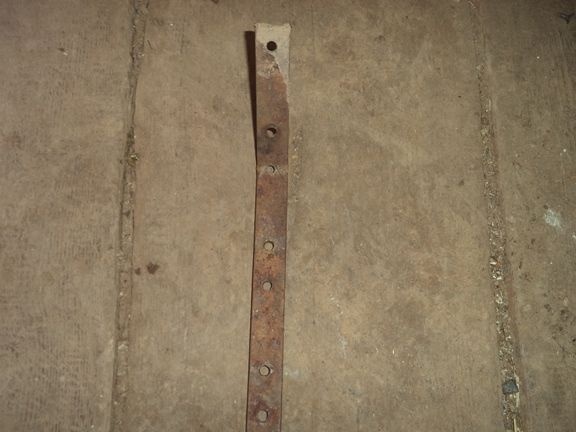
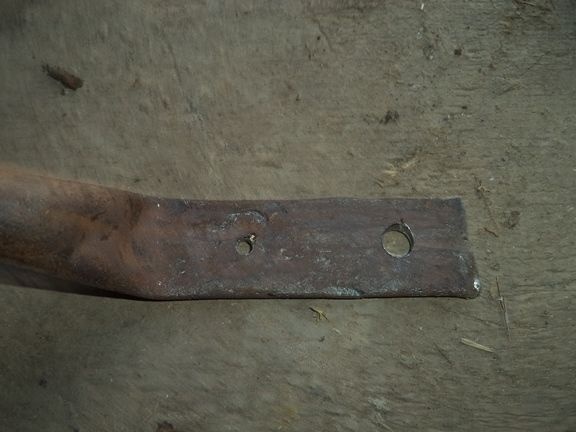
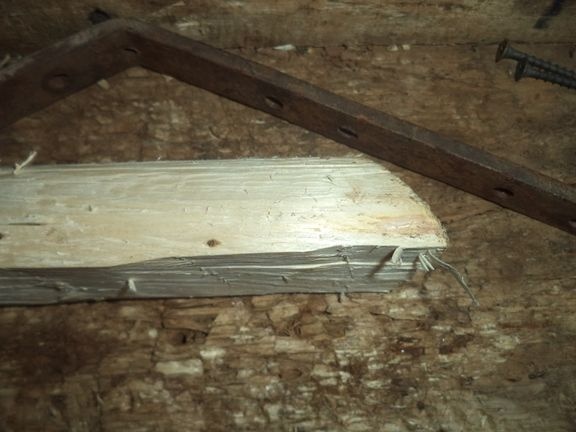
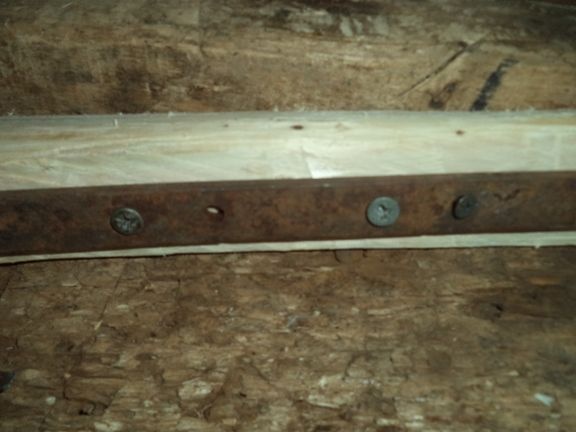
Next, we take a rigid metal plate with holes and bend it at a certain angle. With the help of this metal plate, the pole will be fixed on the roof, so the bending angle should be such that the pole on the roof is straight and level.
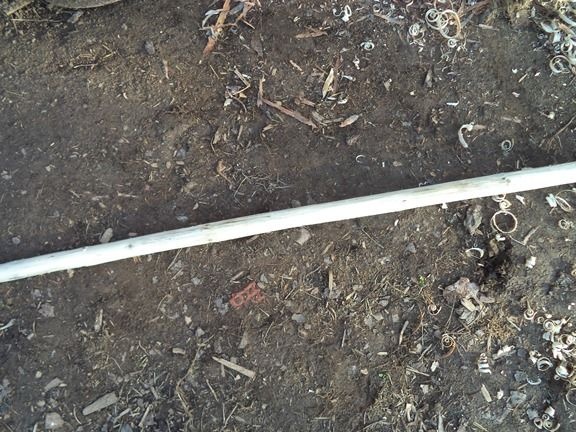
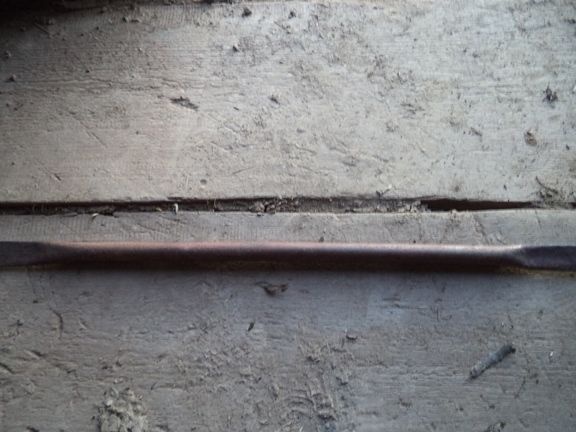
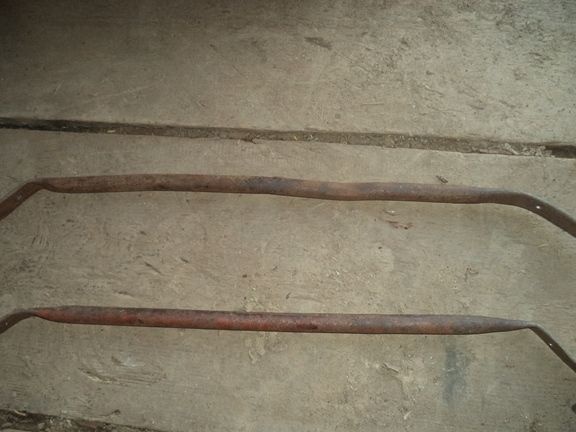
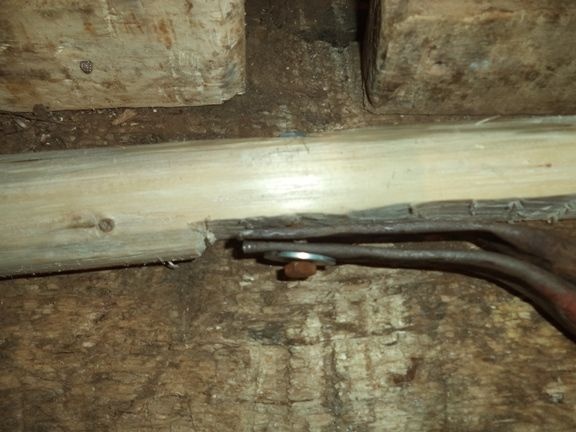
Now we need an iron pipe also about 1.5 m long.

We cut the saw for metal cutting into two equal pipes.
After we cut the pipe in half, flatten both ends of each resulting pipe with a hammer.


Now we bend the flattened places at a certain angle, also looking at the slope of the roof.
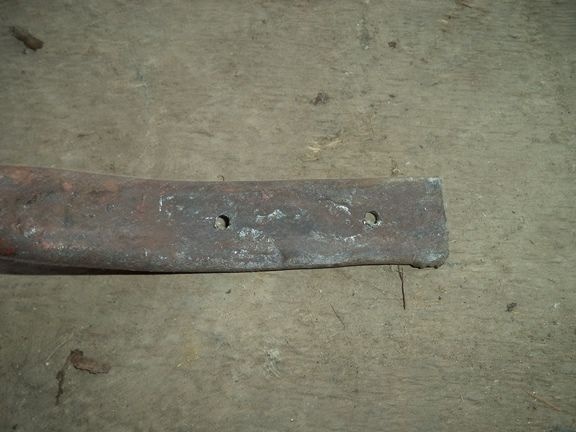
Using an electric drill, we drill holes in flattened places. At one end we drill two small holes for screws, and at the other end we drill one hole for a self-tapping screw, and one hole is larger in diameter for the bolt. We do these actions on both pipes.
Everything, all the necessary parts and components are prepared. It remains only to assemble the bracket and fix it on the roof of the house.
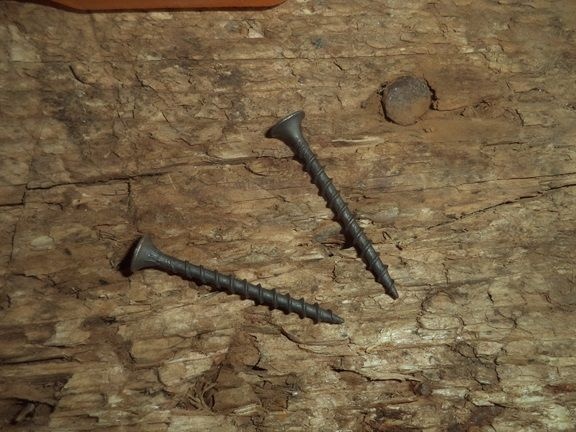
We take the screws and screwdriver we fix the metal plate with holes on the poles, but before this action with the help of an ax we make a recess on it to fix the plate.
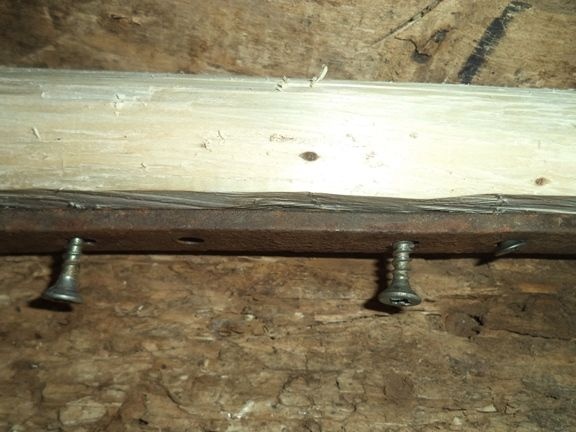
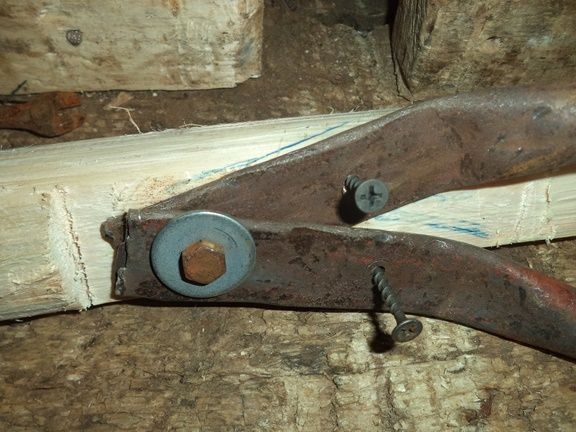
In another place on the pole, we make a hole for the bolt to secure the holders from the pipe.
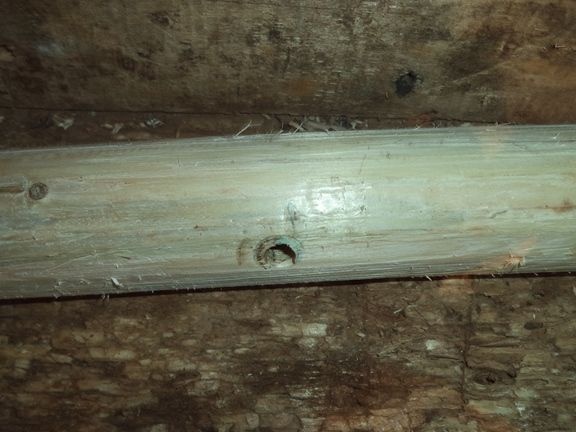
We also make a small depression at the place of drilling the hole.
We take a bolt, two washers and two nuts for fixing the struts of the bracket.
Using the keys we fix them. I took two nuts, because it will become more reliable. Next, we also fasten the screws so that everything holds tight.
The bracket is ready. Now we need to fix it on the roof of the house. To do this, you can use simple nails.
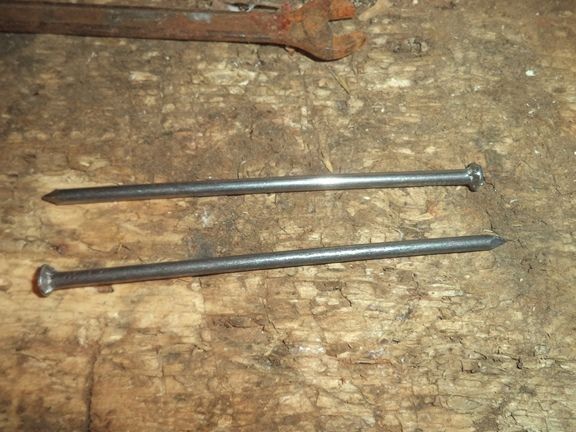
Carefully climb onto the roof and nail the bracket with a hammer.
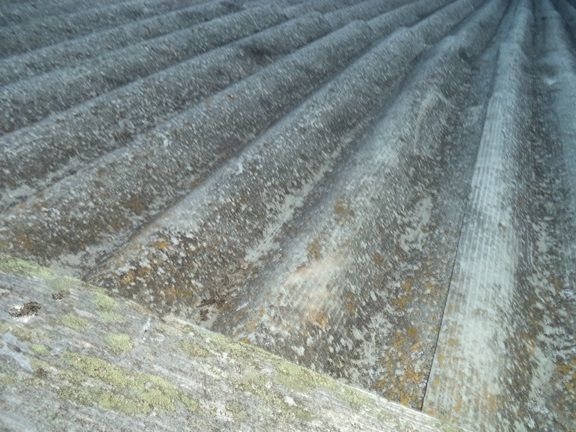
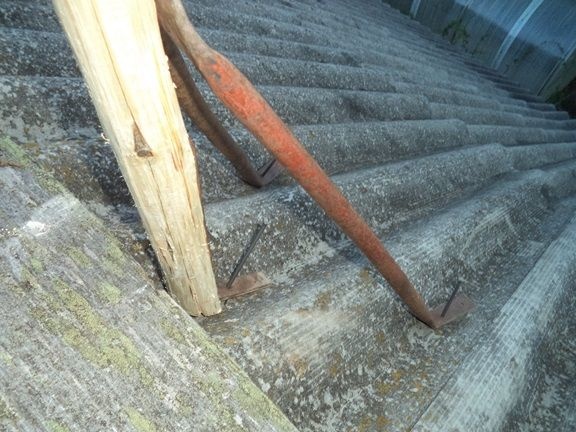
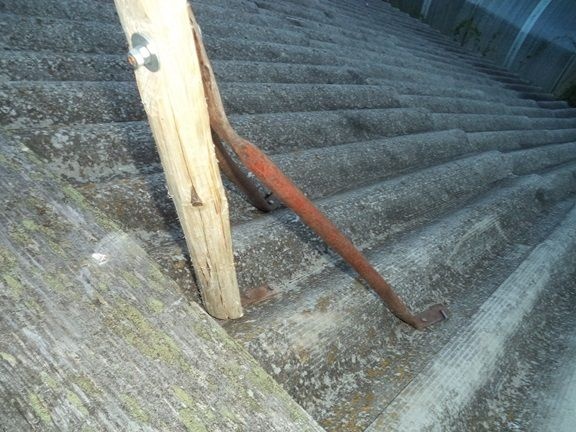
That's all, the bracket is mounted on the roof. Next, fix the amplifier to it.
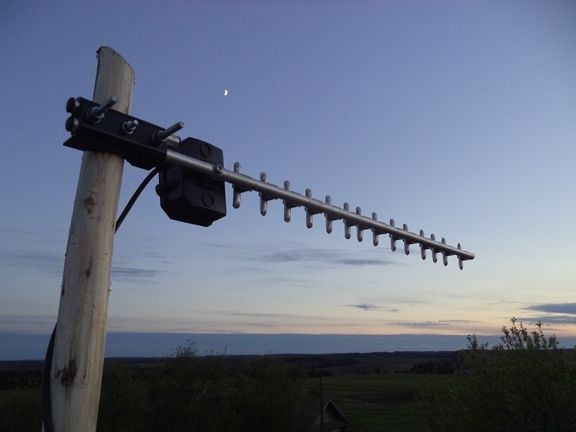
If you know where the base station and the operator’s tower are located, then we direct the amplifier directly to the tower, so the Internet can be better. But if you do not know, then you will need to turn the amplifying antenna a little.
And that’s all for that, I hope this article helps you. Thank you all for your attention. Good luck to everyone and bye!