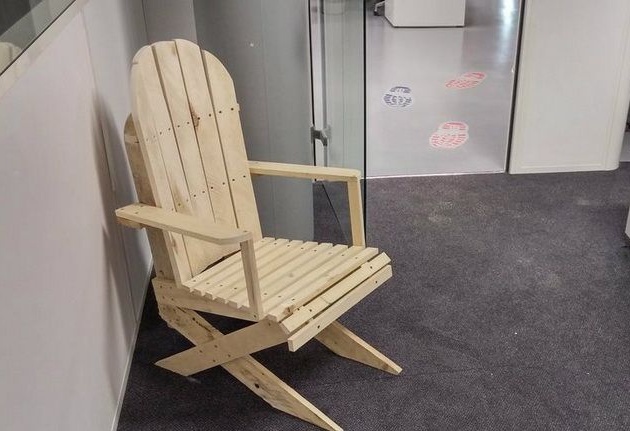
Dear site visitors, from the master class presented by the author, you will learn how to make a garden chair from boards yourself
do it yourself.
It is quite possible to use pallets as the source material, having previously disassembled it into separate boards. Then they need to be round and polished, it turns out quite suitable. Pallets nowadays very often began to be used as a material for the manufacture of various
of furniture, sheds, fences, even houses began to build the truth while the "country" but as they say, "Dashing trouble to the beginning" maybe someone will soon build a residential)
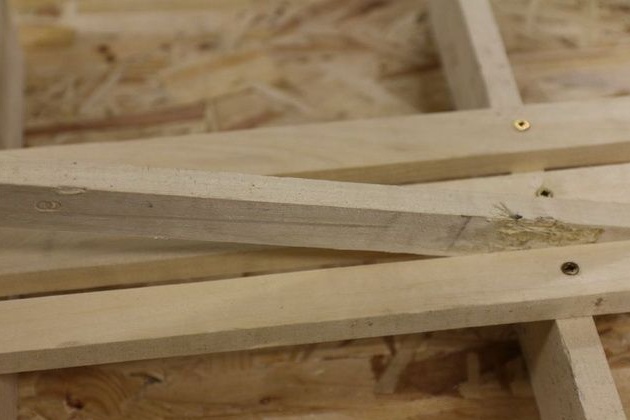
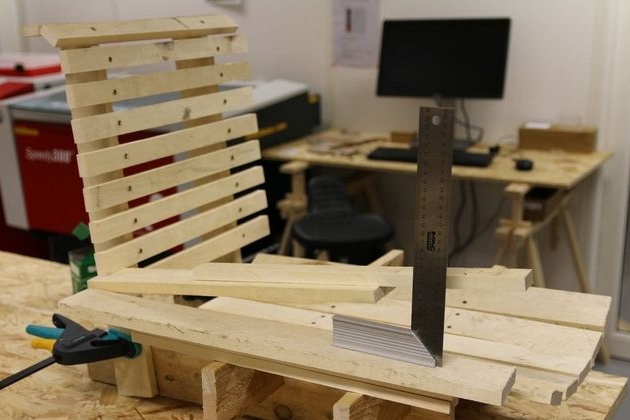
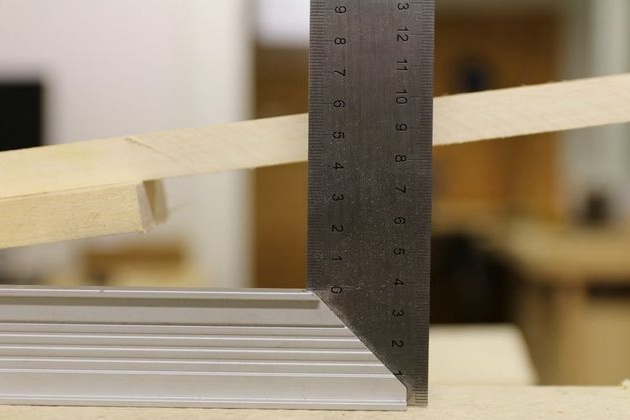
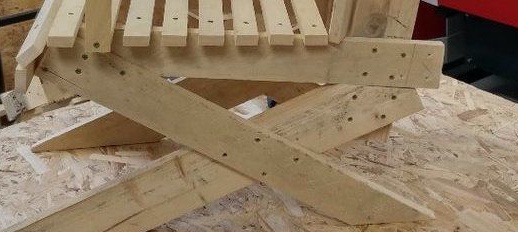
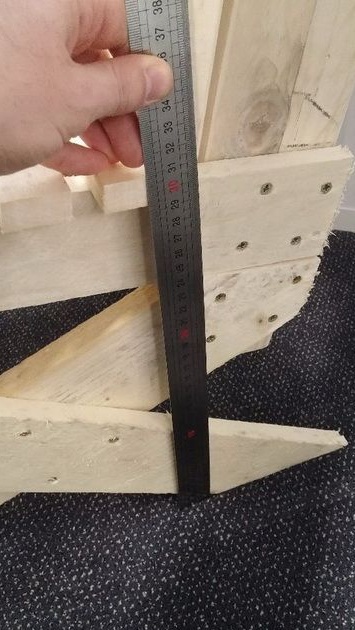
The design of the chair is very simple, all fastening is carried out using self-tapping screws. The back is a curved repeating contour of the back of a person, the seat is rounded to the beginning. The legs are crossed, fastened with 4 self-tapping screws at the crosshairs, at the base sawed at an angle.
And so, let's look at what exactly the author needed to create a chair with his own hands?
Materials1. 25 mm board or pallet (pallet)
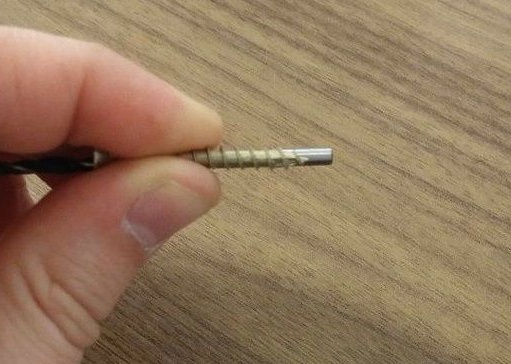
2. screws
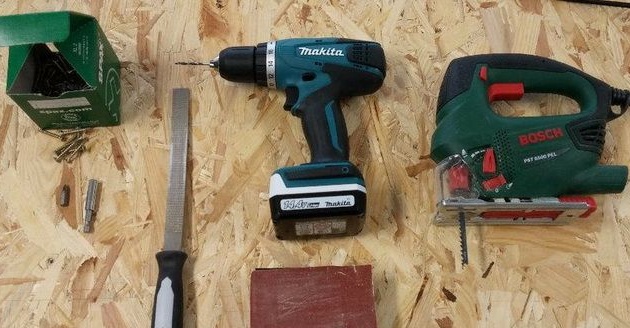
Instruments1. jigsaw
2. screwdriver
3. sandpaper
4. file
5. Planer
6. construction pencil
7. metal ruler
8. circular saw
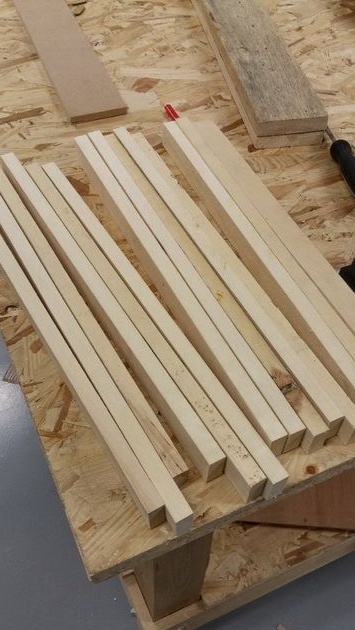
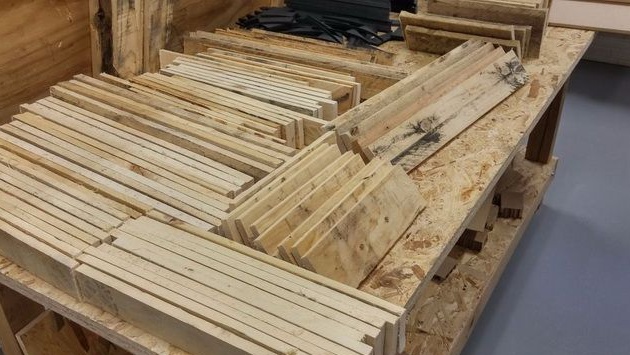
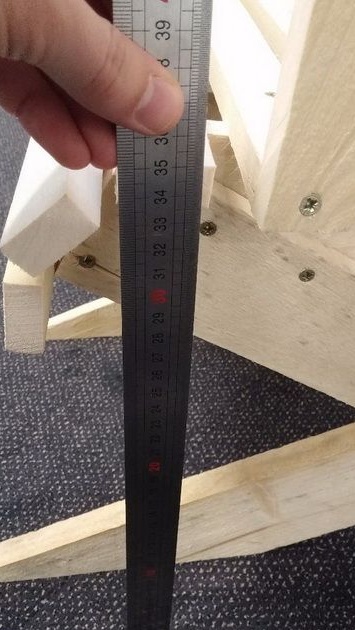
Step-by-step instructions for assembling a garden chair with your own hands.The first step is to prepare the material, namely, disassemble the pallets on the boards and dissolve them with a circular saw into the following sizes.
70x9 cm 2 pcs.
55x7 cm 4 pcs
70x7 cm 13 pcs
45x3 cm 11 pcs
The author took 2-3 pallets to do it all, you can also use the planks remaining after repair or construction. Do not throw away scraps, they are quite useful for making homemade products useful in everyday life and economy.
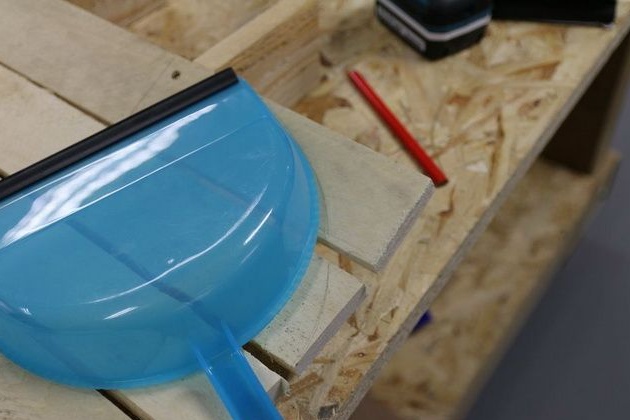
Also, the author prepared all the necessary tools and fixtures in advance.
Note! The thickness of the self-tapping screw should be slightly larger than the diameter of the drill with which holes will be made for twisting them.
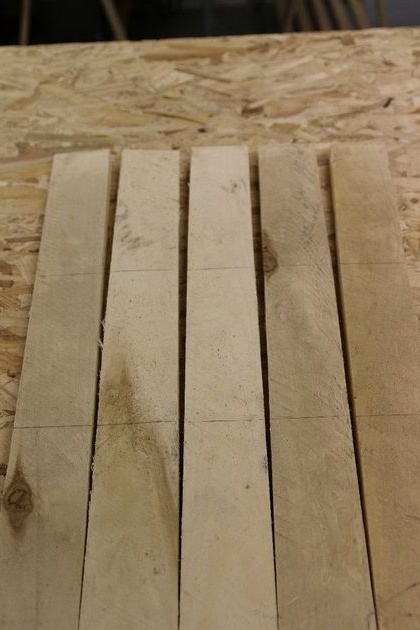
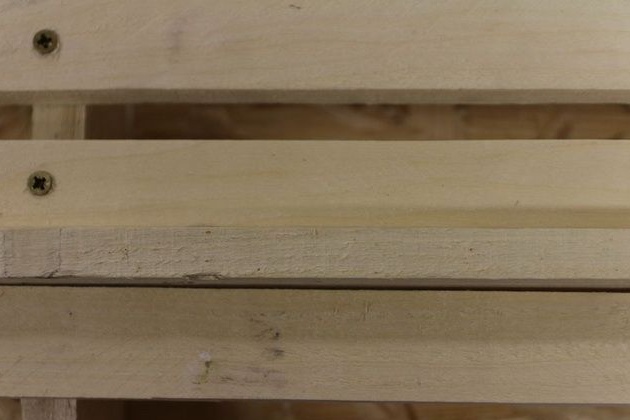
Boards open according to size.
As you can see, the author has a good supply of this board.
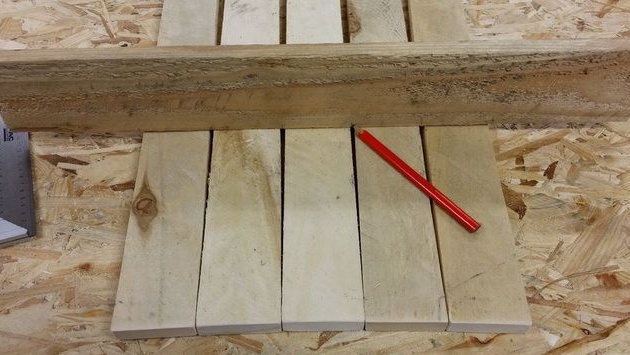
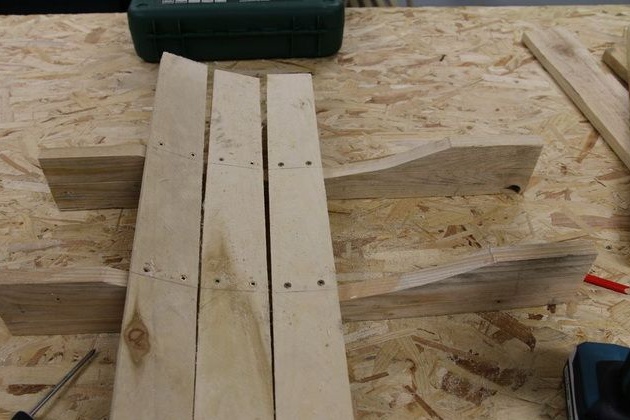
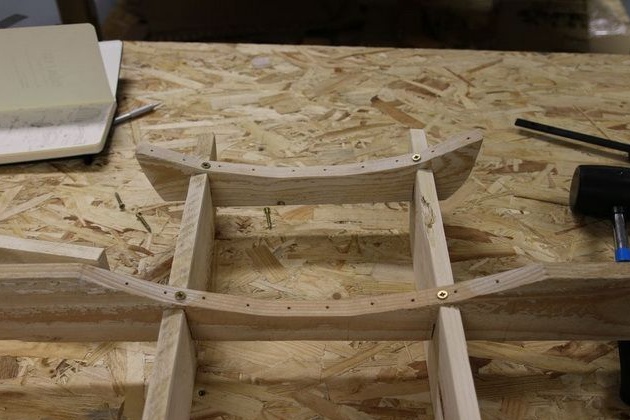
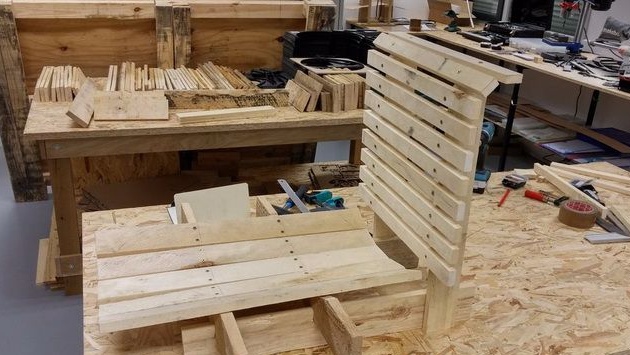
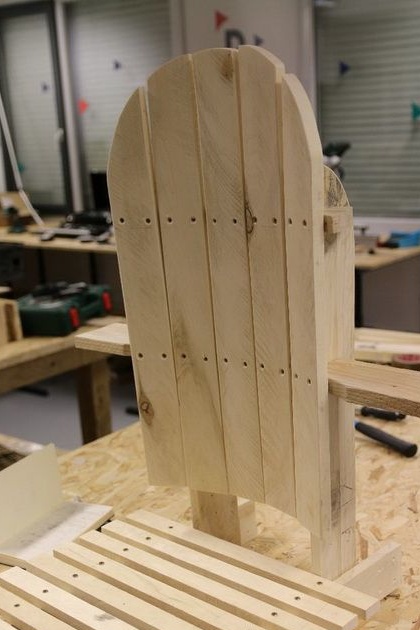
After which the master proceeds to manufacture the back of the chair.
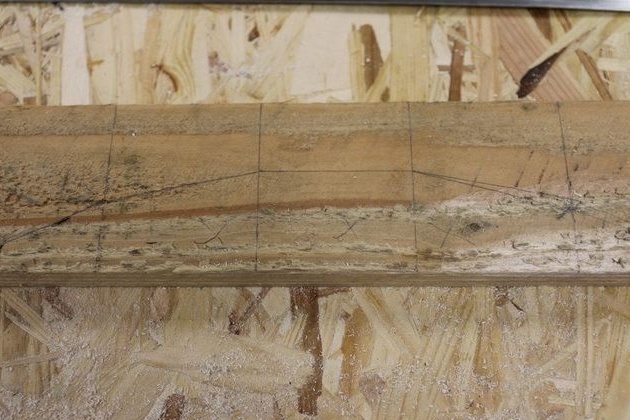
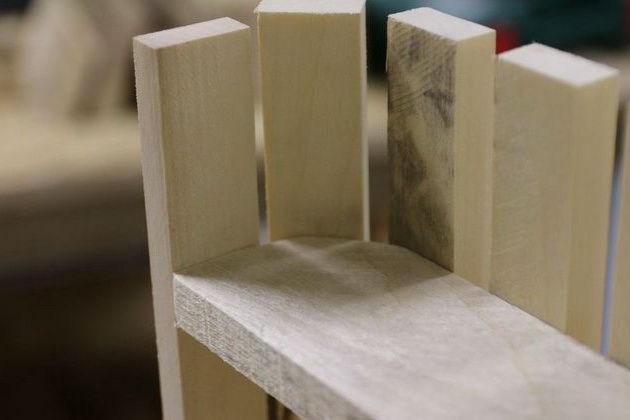
5 equal-sized boards are taken and markup is made.
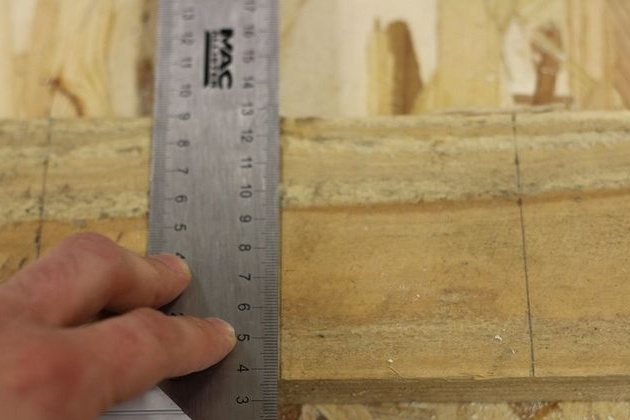
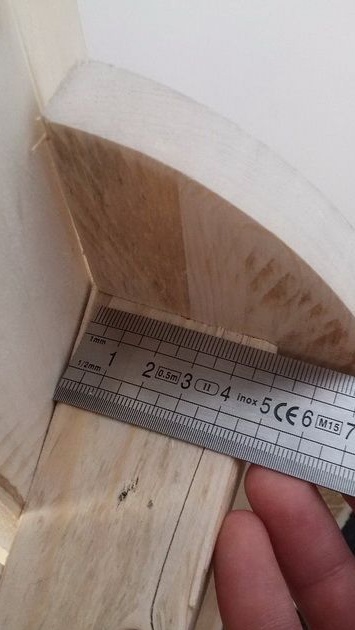
The lines on the attached board are drawn.
Then you need to draw and draw a circle.
The place to be sawed off is then marked with a cross.
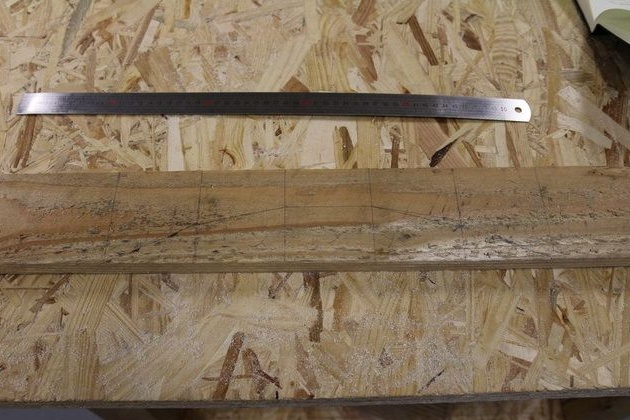
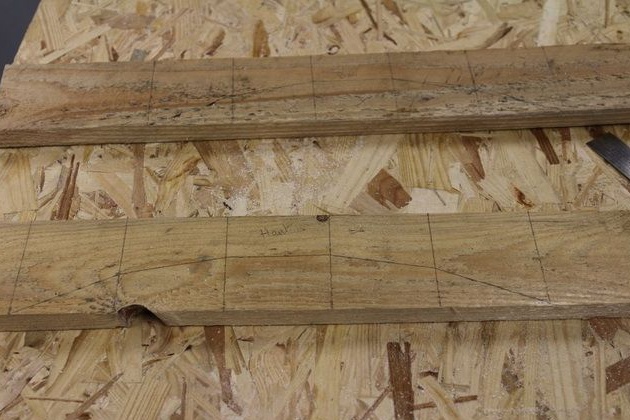
The boards are laid out again, as you can see, there will be a narrowing in the lower part, and small gaps will form at the top.
Thus, the markup on the second board will be less.
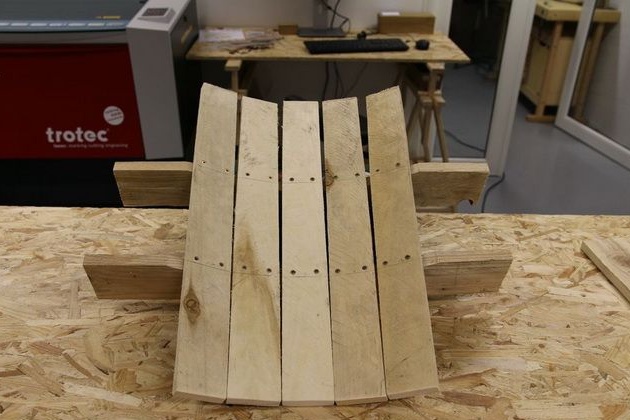
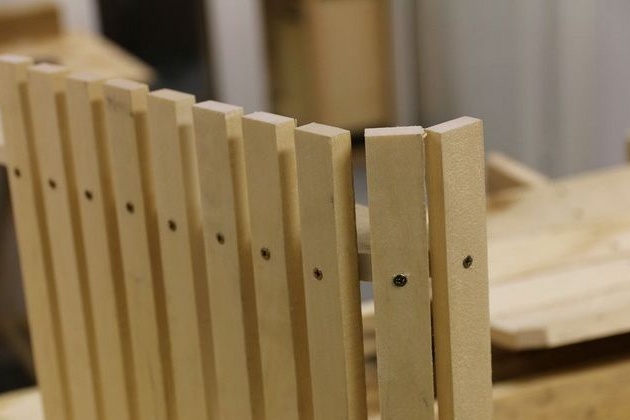
It is cut out using an electric jigsaw.
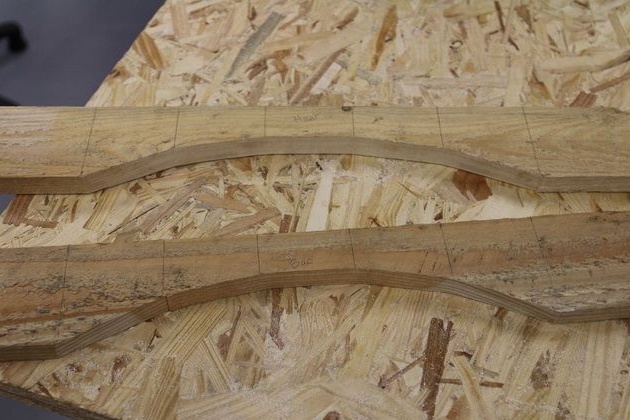
Trying on.
Then he drills holes and twists self-tapping screws, 4 pieces in each board.
Thus, the back will be concave, which is quite convenient for the back, rather than a straight one.
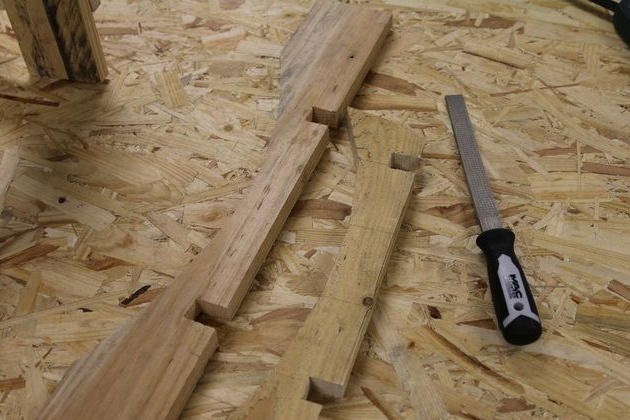
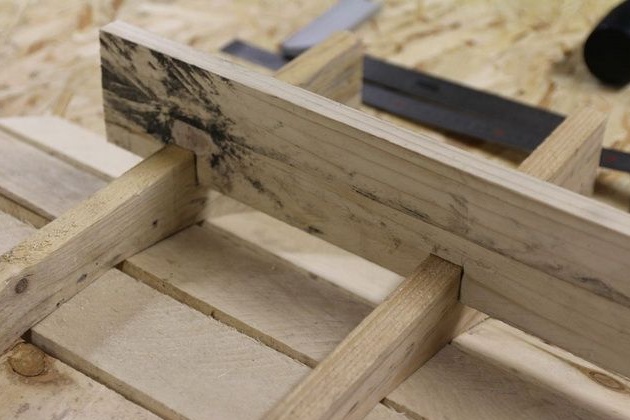
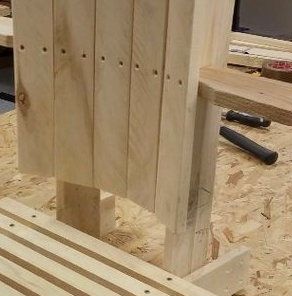
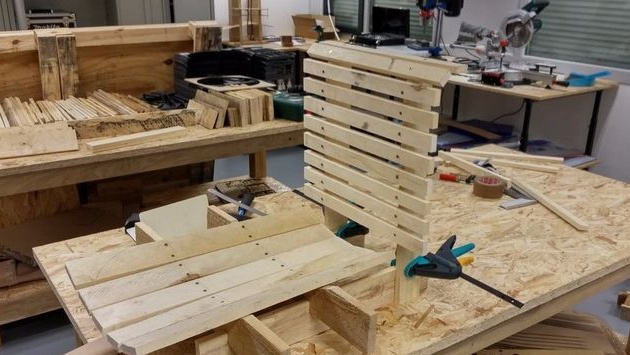
Next, boards with cuts are prepared.
They are also fastened with self-tapping screws.
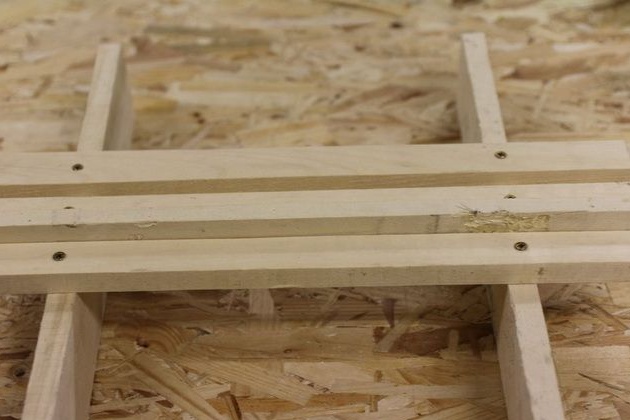
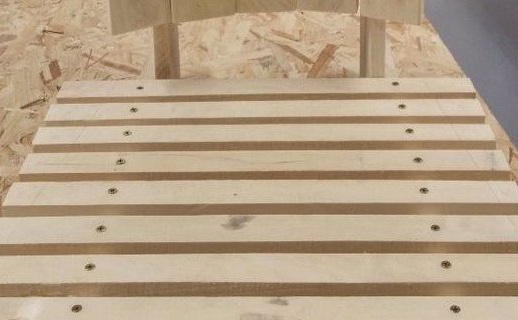
The author makes a seat out of racks.
To the distance between the planks was the same, you can use the rail.
Just before you screw in the screw you need to drill a hole.
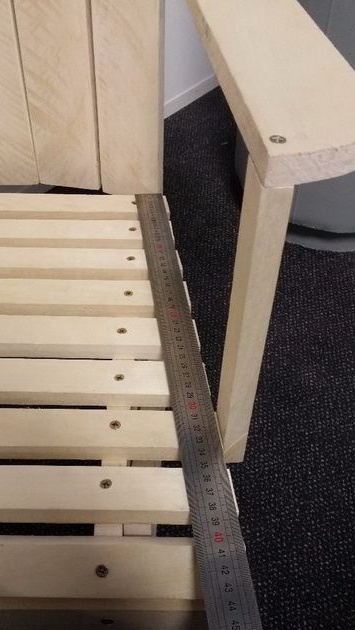
By the beginning, the seat will be rounded.
This adds convenience.
The seat is ready.
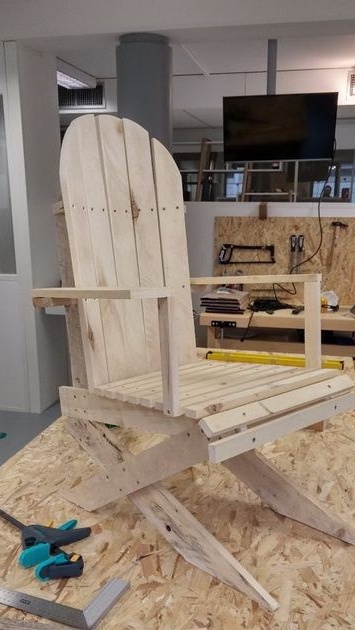
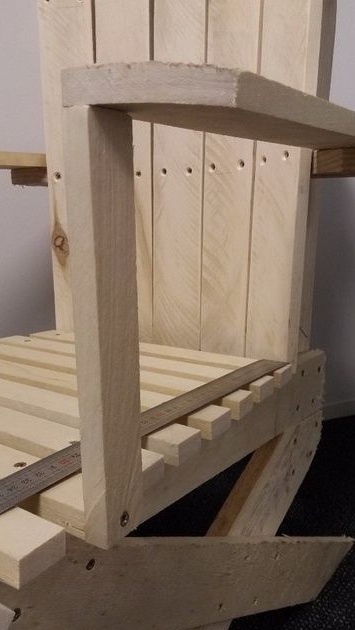
Next, you need to assemble and twist the back and seat between each other.
Fastening also on self-tapping screws.
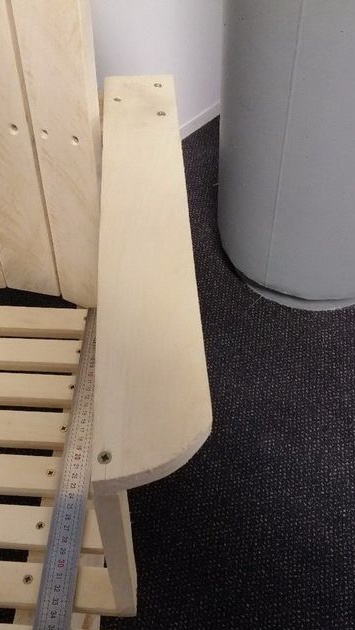
The legs are screwed.
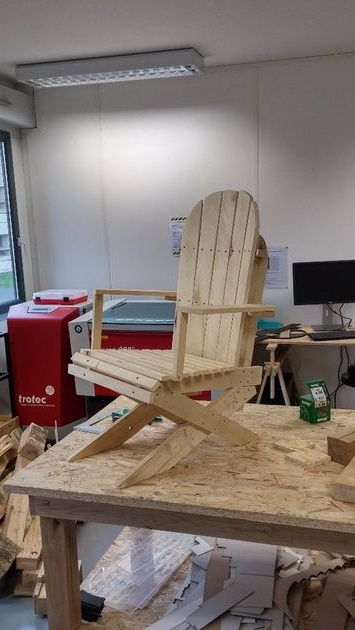
Thus, the author turned out to be a simple and budgetary chair, to betray a more aesthetic appearance it should be covered with stain or varnish. Such a chair can be placed in the gazebo, on the veranda or terrace, sitting in such a chair will be nice to read the newspaper and drink tea in the fresh air. As you can see, the design is simple and does not require special knowledge in the carpentry, anyone can make a budget garden furniture.
This concludes the article. Thank you very much for your attention!
Visit us often, do not miss a novelty in the world of homemade goods!