Put the cockroach not edged boards, chase away one edge, then the other, and you get a trim, beautiful board. Well, another walk with a plane, so that it was generally smooth.
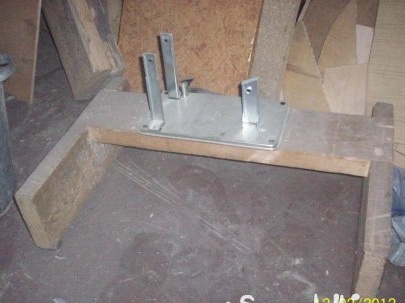
An ordinary, purchased, circular saw is not very convenient if you install it with the disc to the top. Previously, my circular was installed here on such a device, fasteners are visible in the photo, well, this is not from her, now I’m fastening the plane.
At the circular saw itself, the countertop is small and when you drive the planks off more authentically, the board walks a little along the small countertop and the edges are not quite even, wavy.
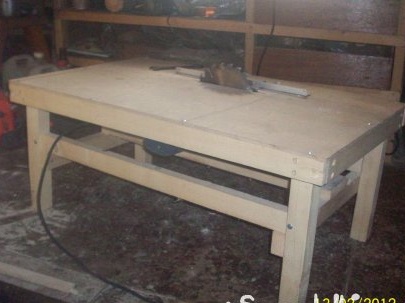
Now he has made such a table, it has become much more convenient and even.
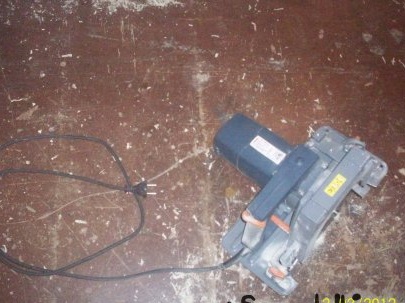
Take an ordinary circular saw. 1.
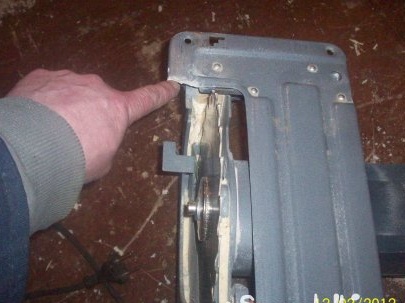
Then, with a grinder, he carefully sawed off a narrow piece of the countertop, it will interfere in the future, the rail along which to set the width of the board, not close to the disk. 2.
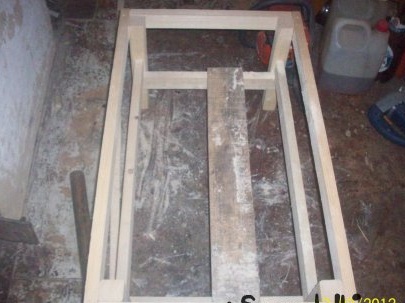
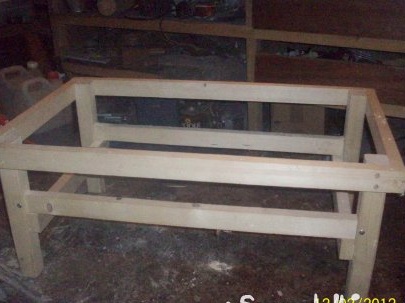
I made, from sawn out on the same circular, rails here such a frame. 3.4.
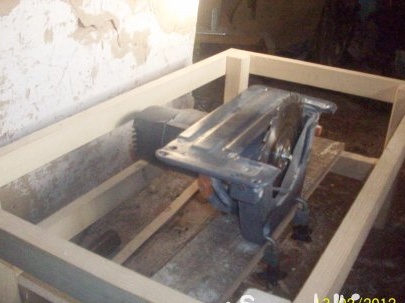
After that, I screwed the circular to the board inside the frame with special clamps. 5.
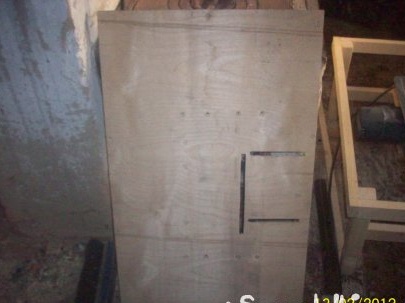
I sawed a seven-layer plywood with dimensions of 50 by 80 cm. and sawed through it with a jigsaw such stripes of photo 6. One longitudinal, for
disk and two transverse, they will be inserted bolts, clamps for the guide rail.
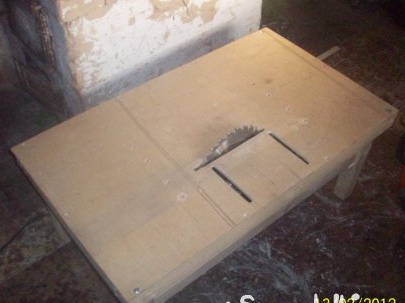
I installed a sheet of plywood on the circular and screwed it with screws to the frame itself. 7.
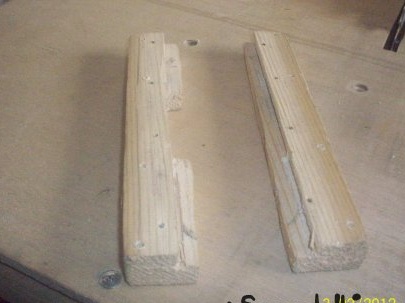
In order for the plywood to be firmly bolted to the countertop, I cut out two of these sticks, shown in photo 8. and from the bottom they pressed the circular to the plywood, screwing them with screws.
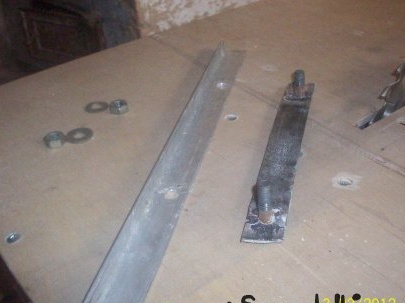
He made the guide rail from a corner that used to serve as runners on children's sledges. I welded two bolts onto an iron strip. 9.
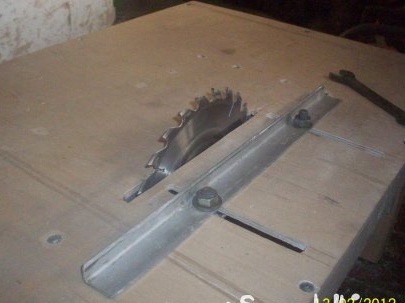
I pushed the bolts into the transverse holes, put a corner on them and screwed them with nuts. 10.
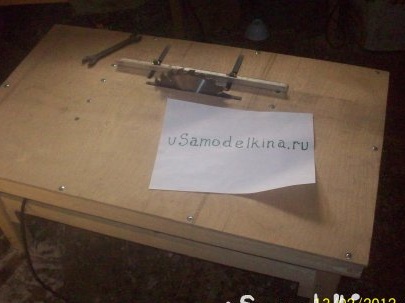
Well, our circular machine is ready. You can start working on it. 11. 12.

