Dear site visitors, from the master class presented by the author, you will learn how to make a unique lamp from ordinary driftwood.
Today, the theme of creating wood fixtures is very popular, designers create various unique and unique works, but sometimes they set the price for them sky-high.
Our author and his family have long dreamed of installing a solid wooden kitchen
furniture and a lamp made of wood in the Scandinavian style, but again it all comes down to money, and the young family has every penny in the bill. So it was decided to make a chandelier in the kitchen
do it yourself, there were a lot of thoughts on how it would look and what is the best material to choose.
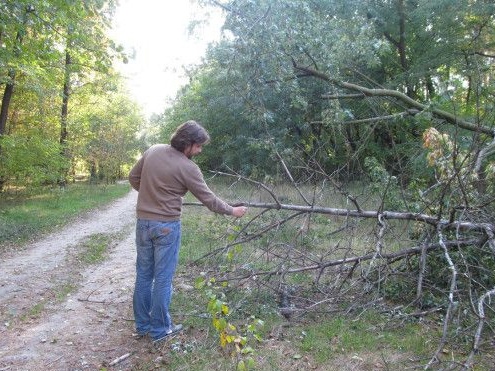
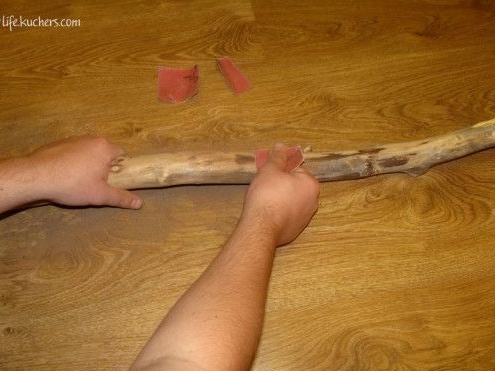
And on one of the walks in the park, a suitable snag was found.
This branch was cleaned of bark, part was sawn off for the manufacture of cartridges. Holes are drilled and a groove is made for laying an electric wire, cable. Cartridges are connected and LED bulbs are screwed in. And so, let's look at the creation process more carefully, and also find out what exactly the author needed?
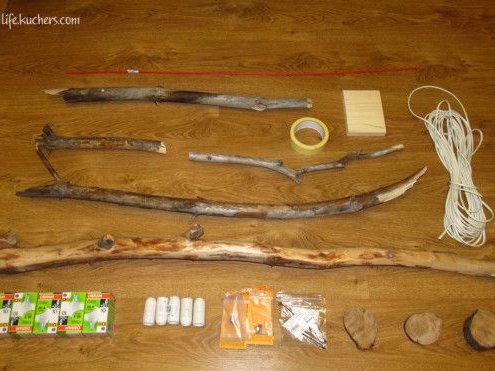
Materials1. snag (branch or crooked stick)
2. 2 pcs screws
3. putty for wood, or (sawdust with wood glue)
4. electrical wire
5. 5 rounds
6. 5 pcs LED bulbs
7. thin steel cable
8. masking tape
9. stain or varnish
10. shrink cambric
11. solder
12. plank 8x8x2 cm
13. white acrylic paint
14. long screw
Instruments1. drill
2. hacksaw
3. mini grinder
4. sandpaper
5. marker
6. ruler
7. brush
8. pliers
9. soldering iron
10. knife
11. vise
Step-by-step instructions for creating a unique lamp from driftwood with your own hands.Material for creativity, namely sticks and driftwood, can be found in the forest, forest belt, forest park, garden, and just outside, and it’s completely free. The main thing is not to touch the growing trees and do not violate the law of nature management of your Country. Dry and broken branches are fine.
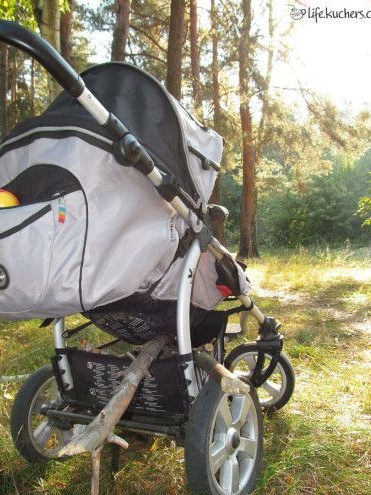
As already mentioned above, the author somehow walked with his child in the park and quite by accident he came across a suitable curved curved stick. He joyfully picked it up, put it in the trunk of a pram and went home.
She successfully approached the size of the stroller and did not have to carry it in her hands.
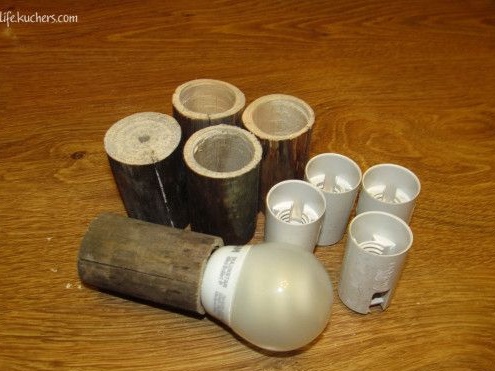
The material was brought home, dried. Further, the author prepared everything necessary, namely: E-14 cartridges in the amount of 5 pcs and the same number of LED lamps, screws, adhesive tape, cambric, driftwood, electric wire and cable.
The bark is previously removed from the stick, but not all must be left a little for a natural look.
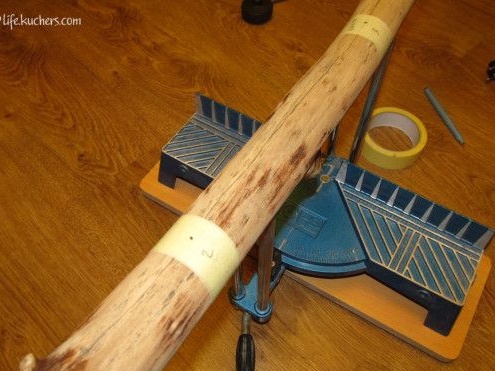
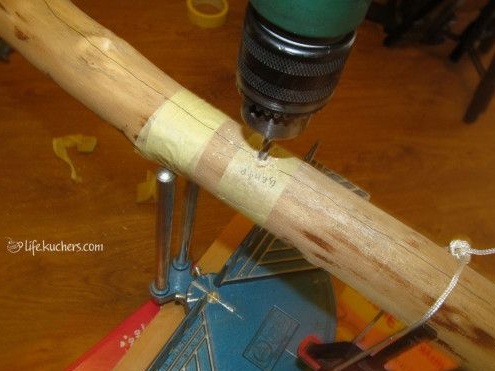
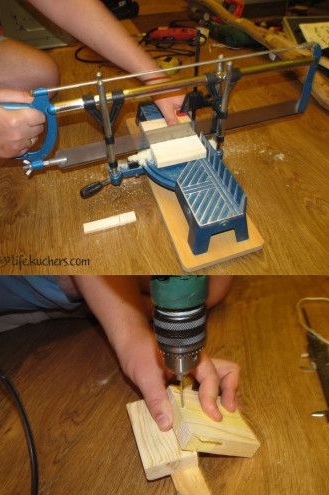
Using molar tape, places are marked for holes.
Then it drills holes at the designated points.
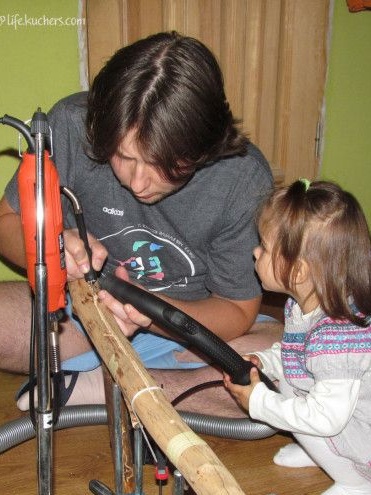
A mini-grinder makes a groove for laying the wire. Daughter helps father.
Sawing off a board measuring 8x8x2 cm drills holes for a cable and wire.
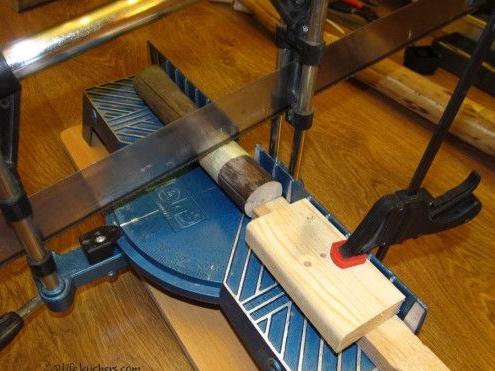
A branch is sawn into 5 cm blanks for the manufacture of wooden cartridges.
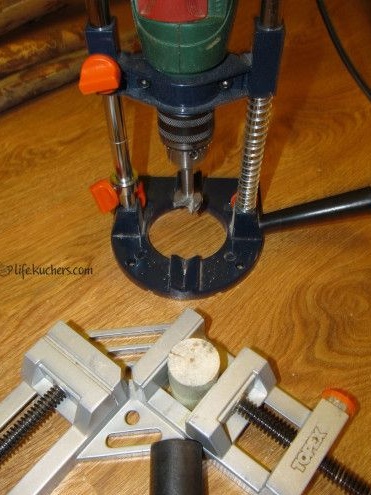
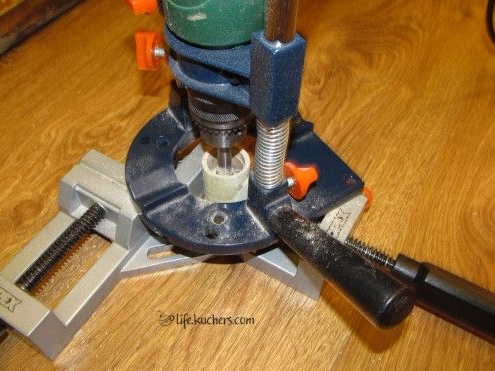
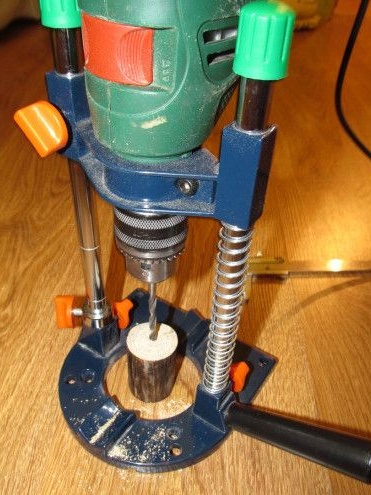
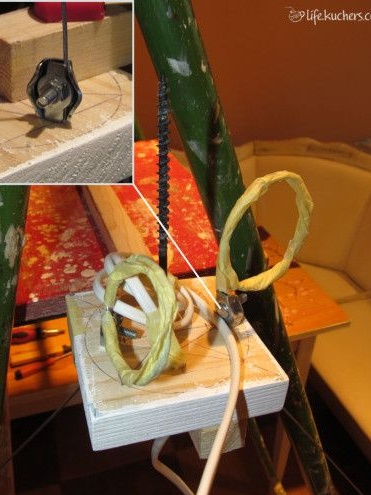
Using a drill and cutter, drills a hole under the insert of a plastic cartridge.
Clamped in a vice for convenience.
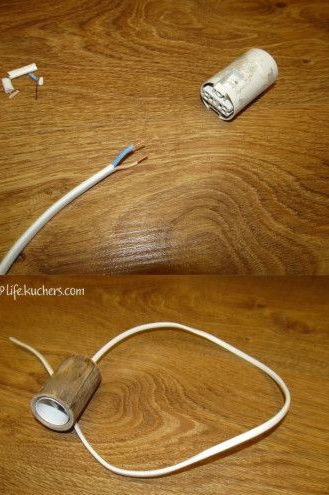
At the rear, a thin hole is made for the electrical wire.
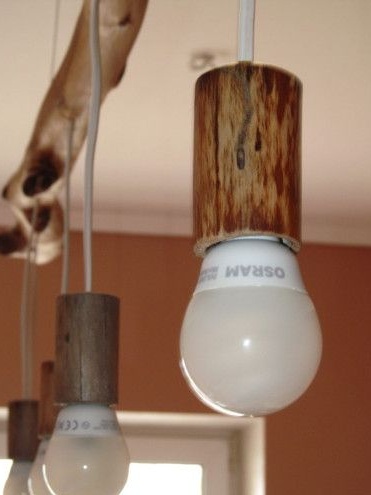
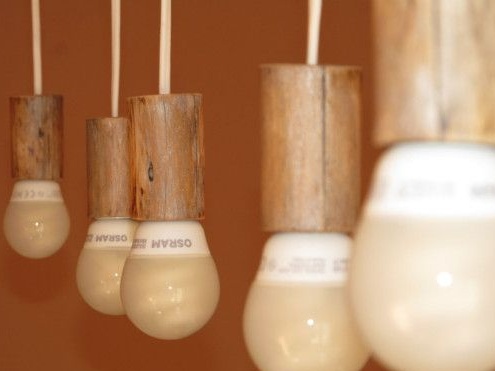
These are the covers for plastic cartridges obtained by the author.
The required length is cut off and connected to the cartridge.
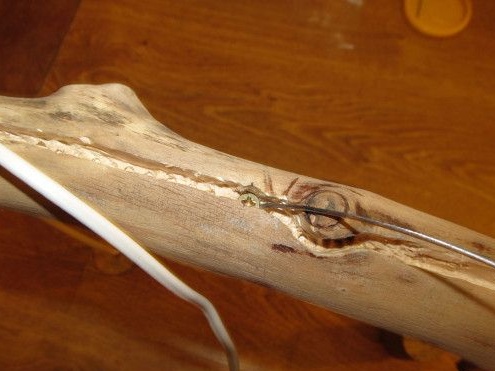
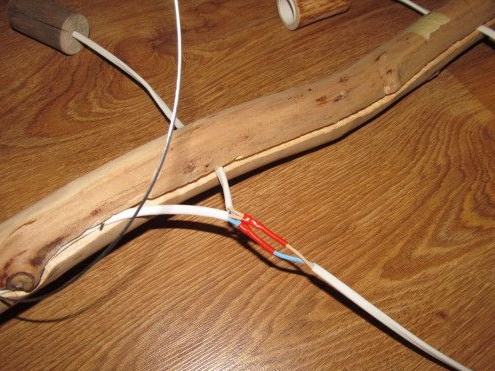
The cable is attached to the snag using a self-tapping screw.
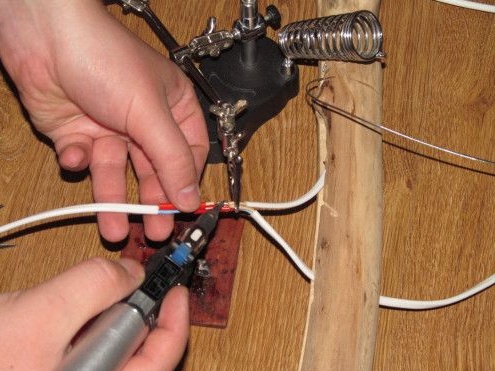
The wires are connected, and the joints are soldered with a soldering iron, all shrink cambrics are insulated.
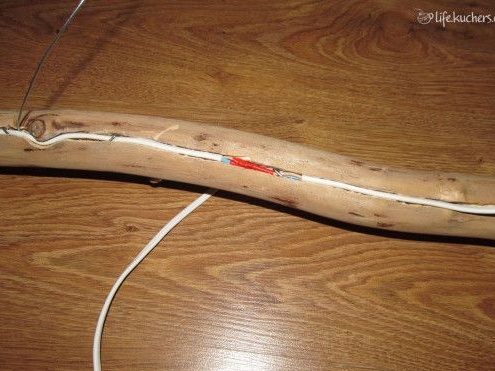
The wires are fixed in small studs.
It is also possible to hide the wire using a special putty for wood, that is, simply cover up the seam and the wire will not be visible. This putty can be prepared independently, namely, fine sawdust after grinding and carpentry glue will be needed, everything is mixed and brought to a homogeneous mass, and you can putty.
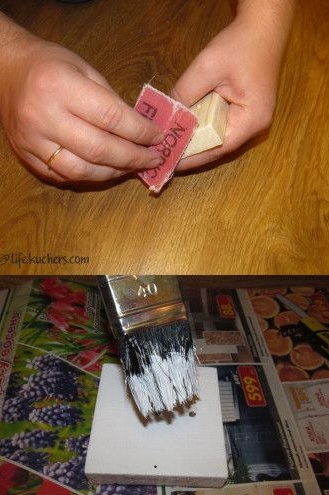
Then the author carefully polishes the wooden board with sandpaper and paints it with white acrylic paint.
To give a more aesthetic appearance, the surface is varnished.
Next, the height of the cable is adjusted and fixed with a clamp.
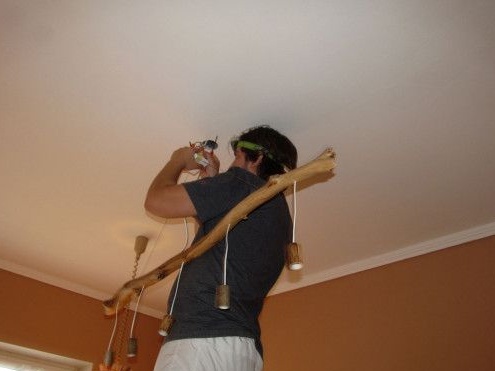
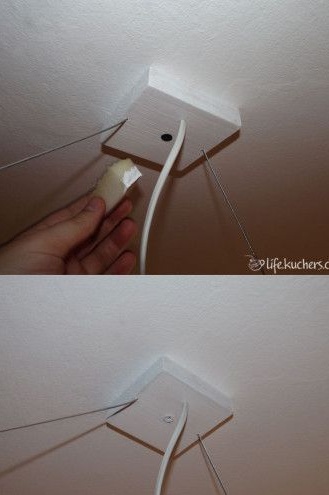
The lamp is mounted on the ceiling with a long screw.
The screwed-in screw is painted over so that it does not stand out against a white background.
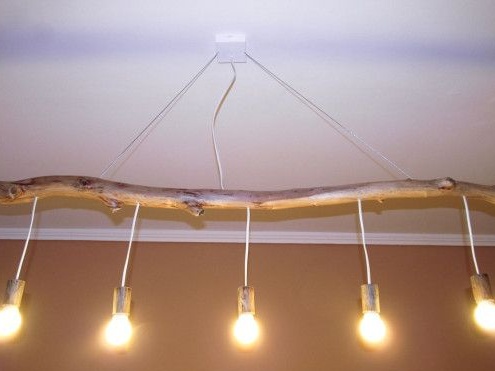
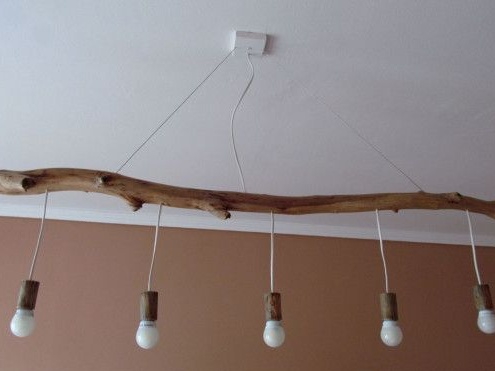
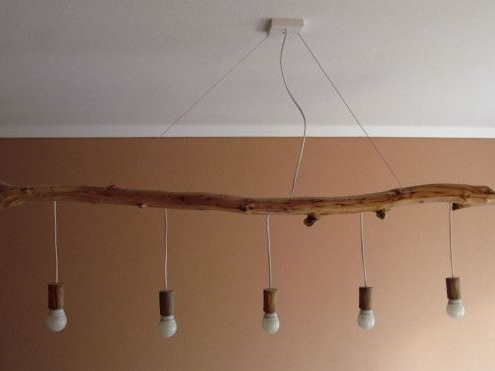
The lights are screwed in and the light turns on, in the main photo you could see it.
It looks rather unusual.
The lamp turned out economical and consumes only 25 watts. The length is 1.3 m, height 65 cm and weight 1.2 kg. The cost according to the author, somewhere in the range of 4 dollars without bulbs. Design work costs a lot more, but here the minimum cost and it turned out no worse.
Such a lamp will give a fabulous image to the room.
Thus, the author acquired a unique budget lamp, which is available in the world in a single copy, because there are no 2 identical branches in nature. In addition to the lamps from the branches, much more can be done, but as they say "This is a completely different story"
This concludes the article. Thank you very much for your attention!
Come visit often and do not miss the latest in the world of homemade goods!