Dear site visitors, from the material presented by the author, you will learn how to build an extension to the house yourself and without the help of professional builders.
Living in a private house there is always the opportunity to expand your living space, namely to make an extension. This type of outbuildings can be different, both directly under the living room, and under the secondary, for example, an entrance hall or a canopy. The material is also used differently, the choice today is large.
For example, the author created one frame-shield, has several advantages, 1 is of course quick-build, 2- thermal conductivity is not inferior to brick and block.
He cleared the place for the construction, made an unfilled foundation, assembled the frame from the timber, insulated on both sides and plastered along the reinforcing mesh.
And so, let's look at what exactly the author needed to build an extension to the house?
Materials1. beam
2. used red brick
3. cement
4. sand
5. board
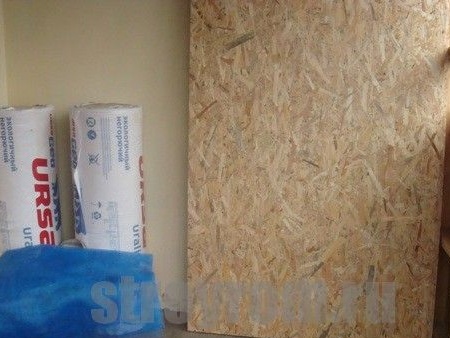
6. foam
7. mineral wool
8. mounting frame
9. plastic window
10. door
11. OSB
12. screws
13. nails
14. prof sheet
15. reinforcing mesh
16. corner
17. metal window sill
18. leather substitute (for the door trim)
19. floor tiles
Instruments1. trowel
2. shovel
3. putty knife
4. hacksaw
5. screwdriver
6. drill
7. metal scissors
8. hammer
9. roulette
10. level
11. capacity for solution preparation
12. pegs with a rope (for marking)
13. ax
14. scissors
15. garden car
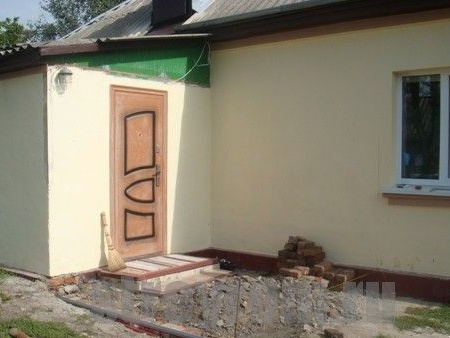
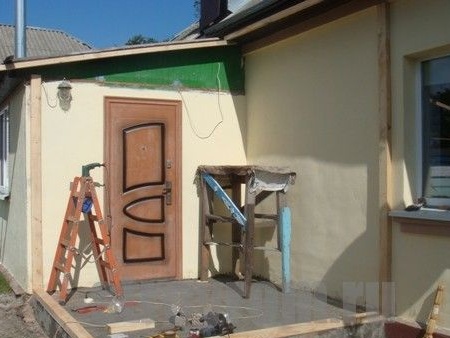
Step-by-step instructions for building attached to the house do it yourself.The first step is naturally to make the foundation, as with any other construction. The advantage of a frame construction is that it does not need a massive buried foundation, unlike brick buildings, and therefore the monetary costs will not be great. As a basis, the author used a used red brick. Having cleared the site, he laid out a number of bricks and filled it with cement mortar, then he began laying. Having made the foundation of brick, he moved to the inside, sprinkled the fragments of stone and brick and poured concrete mortar, as a result, a slab turned out.
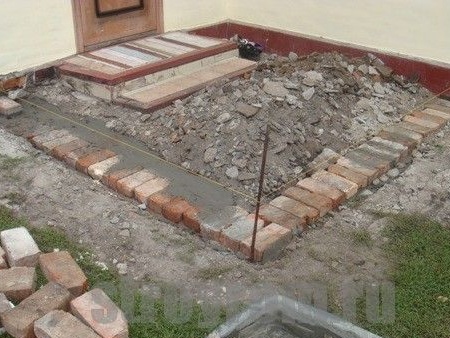
Red brick is laid out.
He puts the brickwork, starts strictly from the corner.
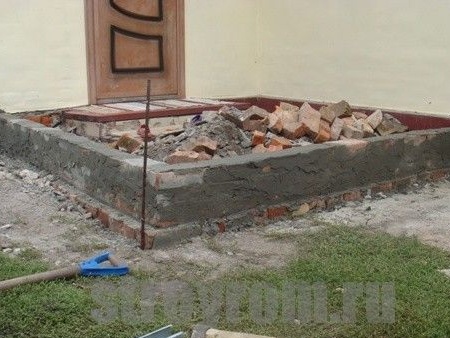
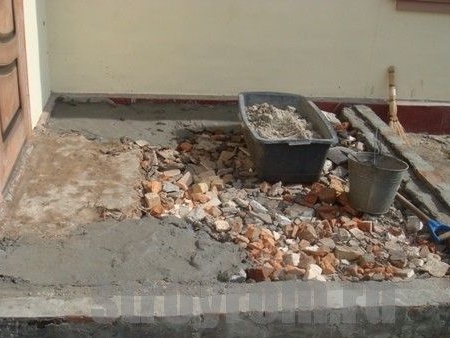
The author fills the inside with fragments of red brick and stone, and on top fills with a liquid solution of cement and sand in a ratio of 1: 3 so that everything flows and fills the gaps between the fragments.
As a result, we got such a stove here.
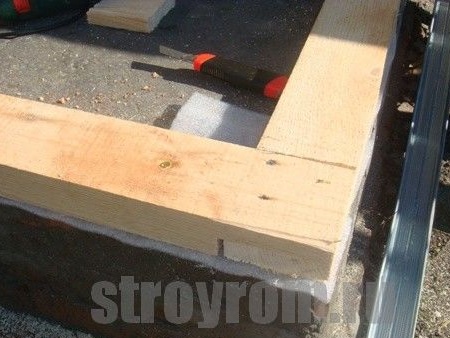
After the waterproofing layer is laid in the form of roofing material. Further, holes for fixing a wooden beam are drilled in the foundation.
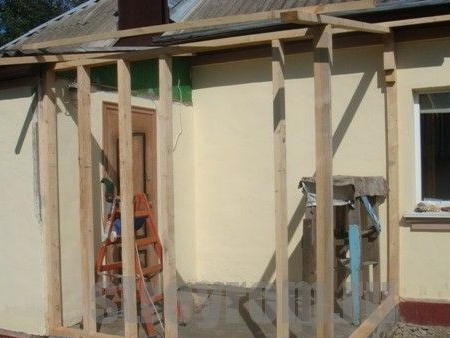
On the resulting wooden base, the author begins to install and fasten the bars vertically.
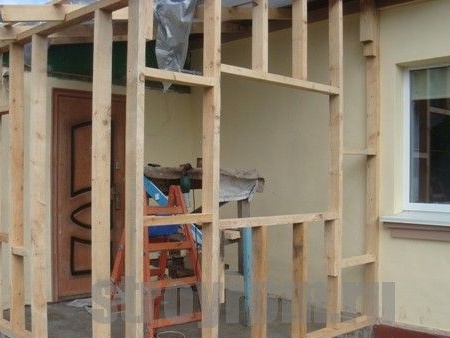
It is worth planning the location of window and doorways in advance.
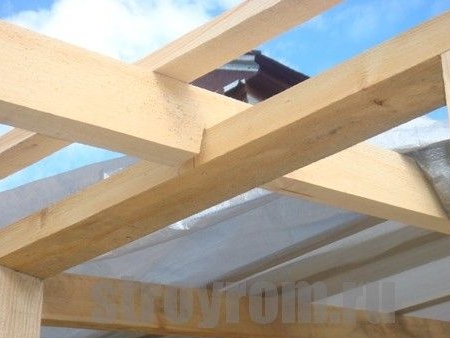
The rafter system is made.
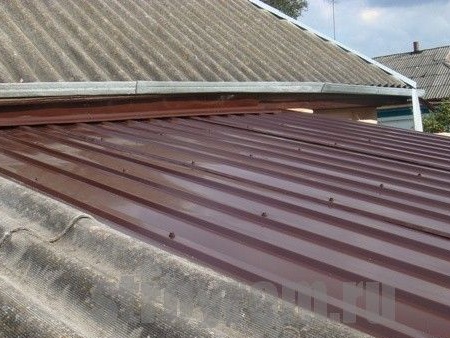
Kysha is covered with a metal professional sheet, it is important to slip the edge of the sheet 10-15 cm under the slope of the slate roof.
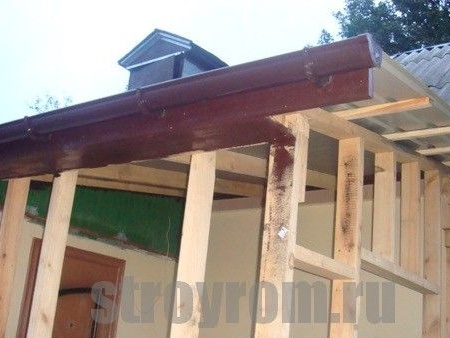
It is also necessary to organize the correct outflow of rainwater due to the metal gutter.
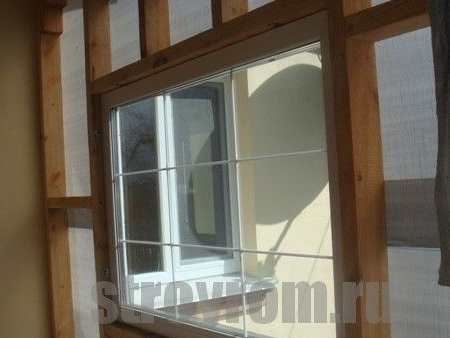
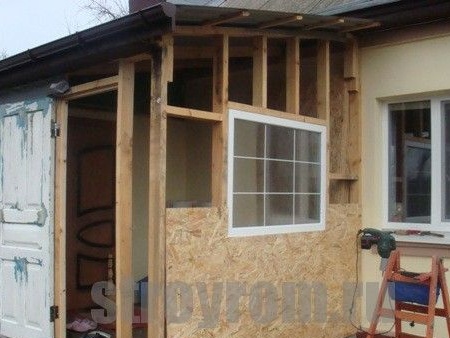
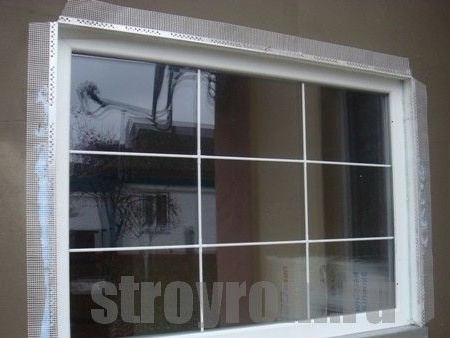
A plastic window is inserted into the window opening, the cracks are filled with mounting foam.
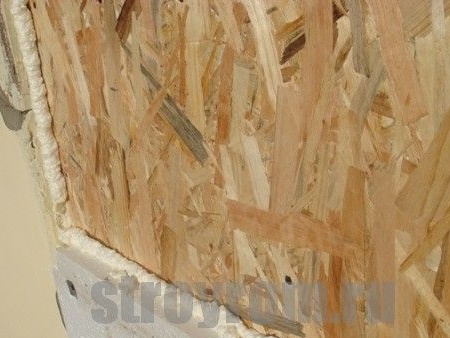
Next, the author prepared a mineral wool insulation for interior decoration, and OSB is sheathed outside.
Finishing begins from the bottom up, in advance the plate is sawn to the required sizes.
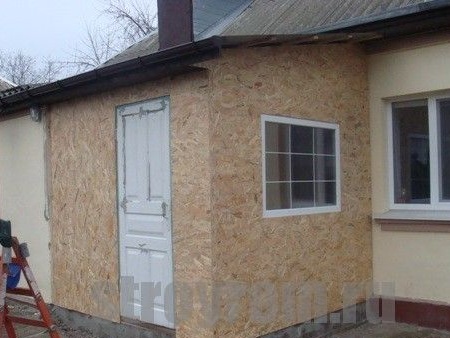
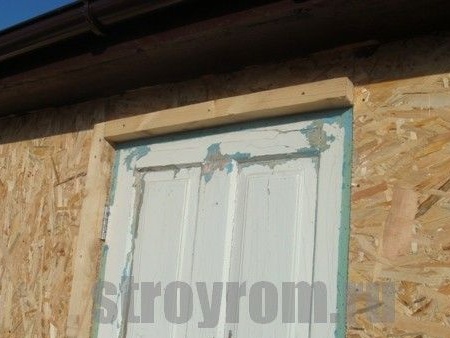
The front door is inserted and hung on the doorway, they did not begin to buy a new one, because the old one is in very good condition, despite several tens of layers of paint, the door has been well preserved, and it has been over for 40 years.
The frame is sheathed, the door and window are inserted, the roof is covered.
The door will subsequently be overwhelmed with crap outside and will become better than new.
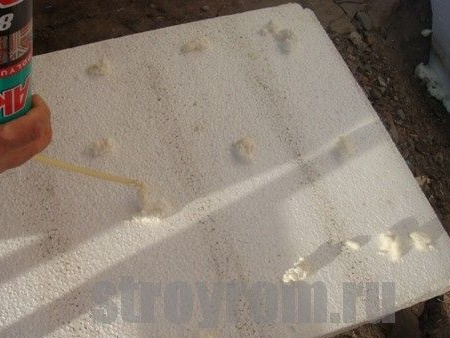
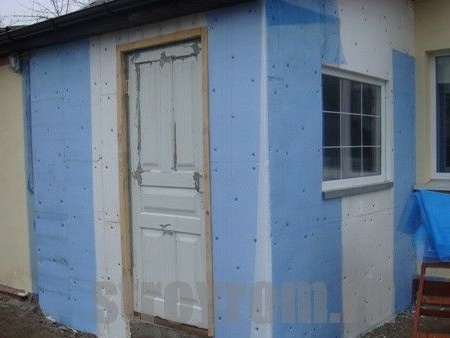
Outside, the extension is insulated with 5 cm thick foam, glued with mounting foam. Small patches of foam are applied to the surface of the foam plate, and then an annex is applied to the wall, as well, the decoration starts from the bottom up.
Then a layer of foam is applied to the edges - this is necessary to form a seam and to stick the next sheet of foam.
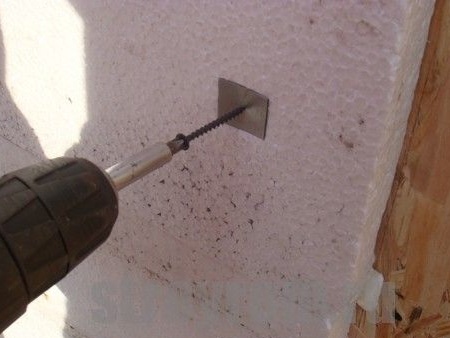
For reliability, it is screwed with screws with a metal washer from a metal sheet of 0.7-1 mm cut into square billets.
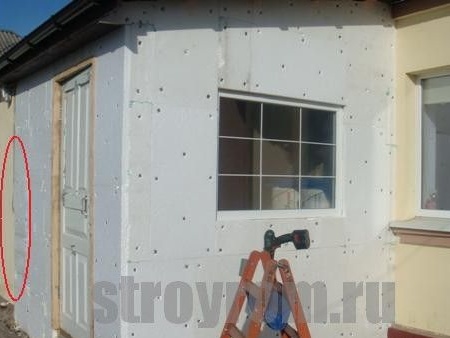
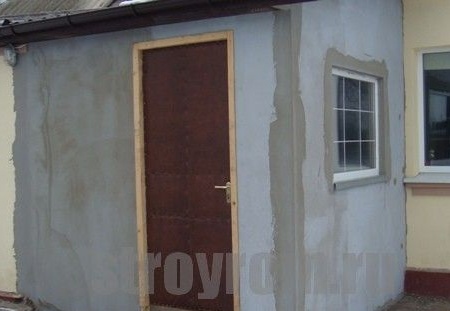
The surface of the walls is fully insulated with foam. Also note that the author adjusted the extension to the same level as the adjacent wall without transition, that is, in the future when the walls are plastered and painted everything will look like one.
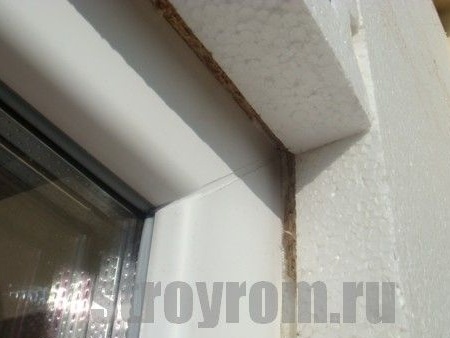
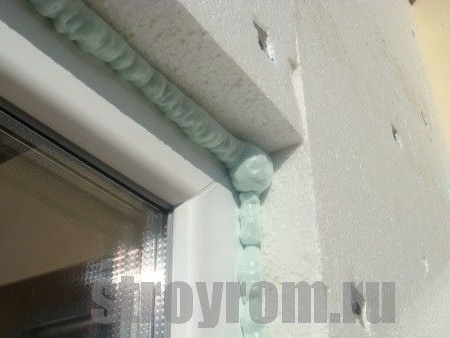
In the process of insulation between the window and the foam formed a gap.
It is filled with polyurethane foam.
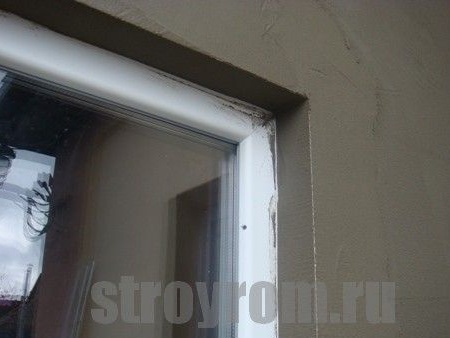
A metal window sill is installed.
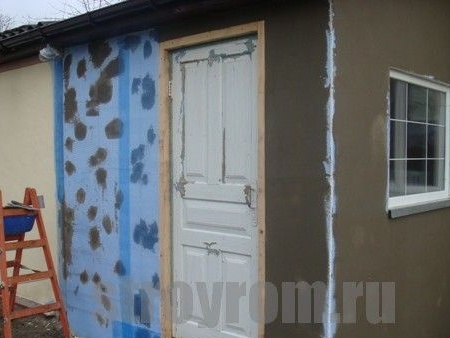
Then it is necessary to fix the reinforcing mesh and proceed to plastering the walls.
Perforated corners are attached to the corners.
Surplus foam is cut and plastered.
Ula get smooth and clear.
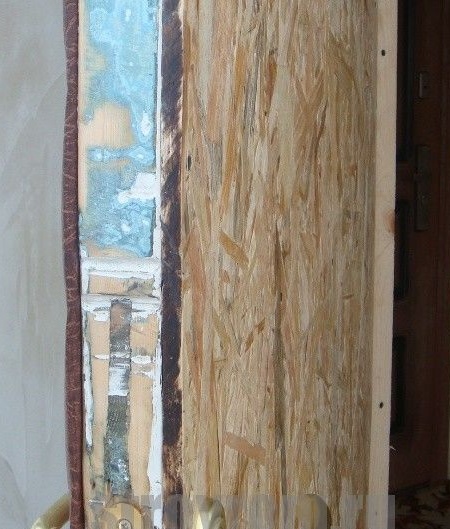
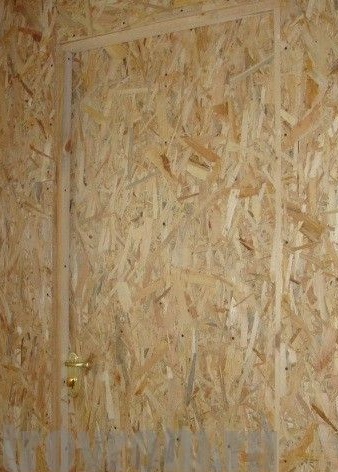
The door is sheathed on the inside of the OSB, and the sheet was sawn with a regular metal circle, due to which the saw surface was very smooth and even.
So the door looks inside the annex.
From the outside, the door is finished with faux leather, it looks no worse than a new one, or maybe even better, the main thing is free and budget)
Thus, the author acquired additional living space, the annex was built in a short time, some of the material was used, which slightly reduced financial costs. It remains to cover the walls with a primer and paint in one color, so that everything looks under one.
As you can see, everything is simple and clear, there is nothing complicated, and the simple person is quite capable of it without building experience and education. Go for it friends!
This concludes the article. Thank you very much for your attention!
Come visit often, do not miss the latest in the world of homemade goods!