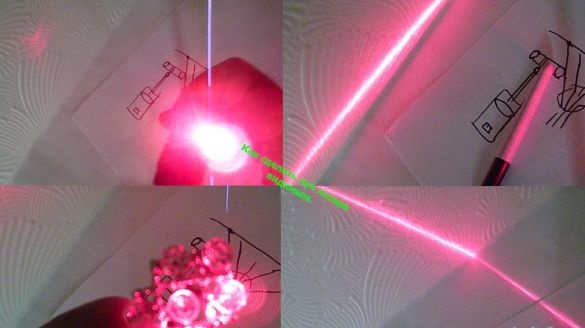
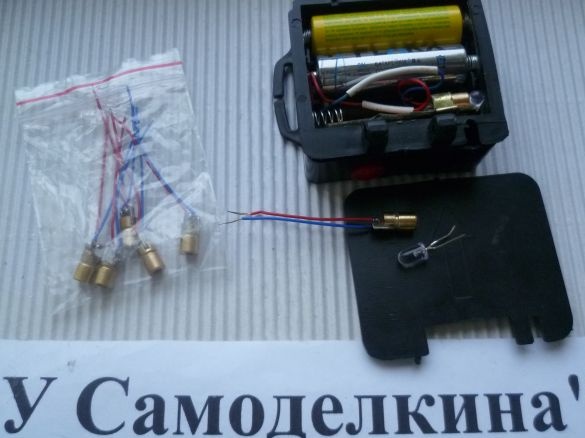
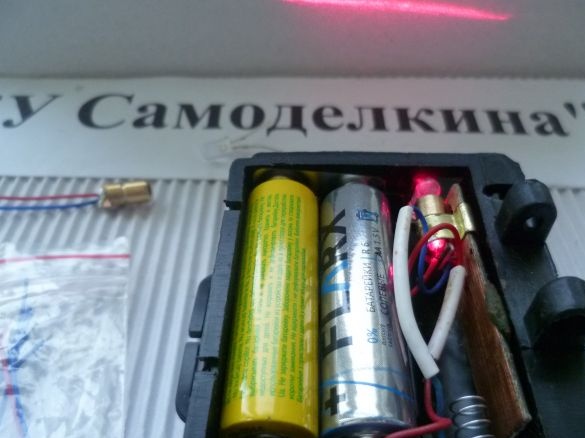
This article describes how do it yourself make an inexpensive low-power laser a linear laser. Apply this homemade it is possible to create a home-made building level, when creating lighting effects during decoration home discos, for an additional rear signal of cars,motorcycles, of bicycles etc.
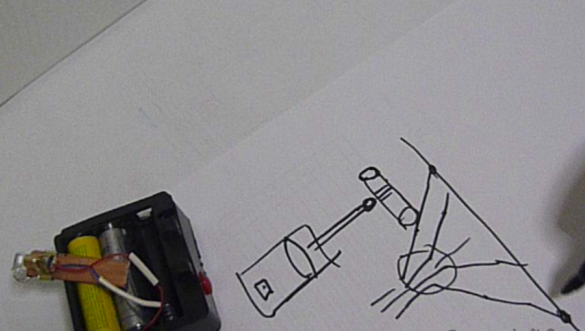
The laser diode is a semiconductor crystal made in the form of a thin rectangular plate. The beam passes through the collecting lens and represents a thin line, when crossing the surface we see a point. To get the visible line, you can install a cylindrical lens in front of the laser beam. The refracted beam will look like a fan.
The proposed homemade product can be quickly and inexpensively made even by a beginner amateur radio amateur.
I made it from a 5mW laser, with a 3V supply voltage from AliExpress. Despite the low power of the laser emitter, basic safety precautions must be observed not to direct the beam into the eyes.
See the entire manufacturing process in the video:
The list of tools and materials
5mW laser emitter, 3V ( laser link)
-screwdriver; scissors;
soldering iron;
Cambridge; foil textolite;
-Two 1.5V batteries;
-connecting wires; battery compartment housing with a power button from the headlamp;
5 ohm resistor;
LED with a transparent bulb;
strip of tin.
Step one. Making a laser board.
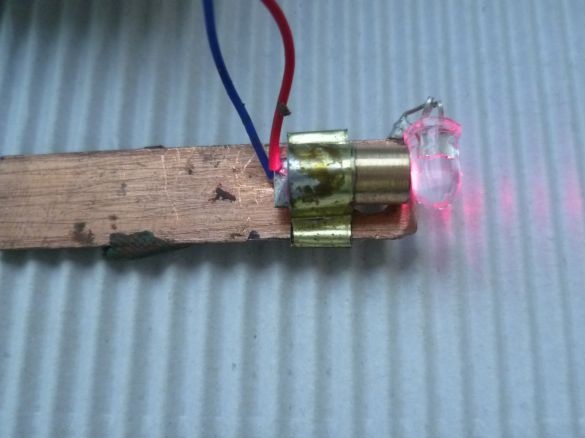
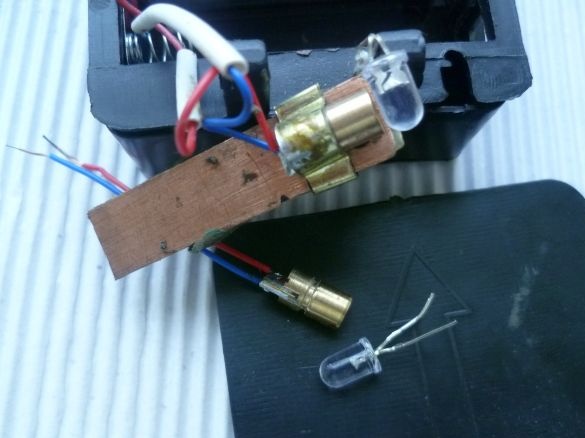
From a small piece of foil textolite we make a scarf for laser mounting. We solder a piece of tin to the PCB, having previously bent it along the laser body. Then we insert the laser itself into the clamp (it should fit tightly). On the output side of the beam, solder the LED (if you have a glass transparent tube, you can use a piece of 5 mm length) from the back of the board and bend the legs and set its position relative to the laser to get a bright and contrast visible line. It remains to place the board with the laser in a suitable case. In the body of the battery compartment with a switch from the headlamp, we make a rectangular window. To supply this laser emitter, a voltage of 3 V is sufficient. In the battery compartment, we install two 1.5 V batteries. In place of the third battery, we install our board with a laser. We solder the wires, respectively, to two batteries and connect it to the push-button switch through a 5 ohm resistor.If desired, the laser can be powered from the battery and use the step-down converter board. To extend the life of the laser diode, I set a voltage of 2.8 volts and a current of 15-18 mA.
Step Two Production of a building level.
Based on this homemade product, you can make a laser building level. The first option is by attaching the homemade body to the industrial level (of course, you need to accurately adjust the position of the beam). The second option is to attach a homemade laser case to a piece of foam, put this design in a container of water. The water level will always be parallel to the horizon. Check the position of the laser line with the industrial level. The farther the laser is from the surface, the longer the visible line.
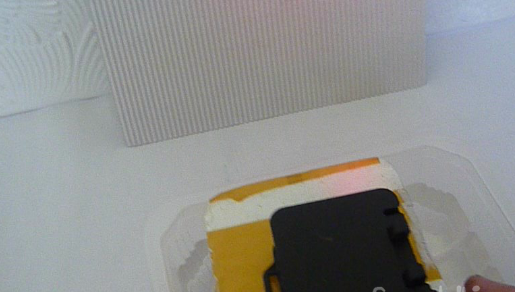
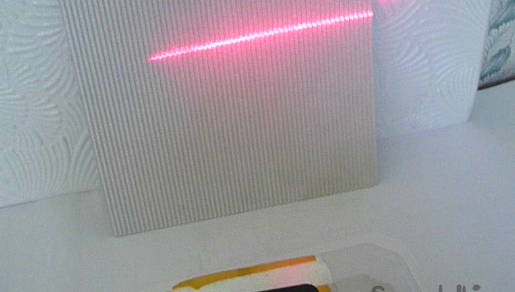
This is the design of the weekend. It was interesting to see the refraction of a laser beam with different lenses. How to apply this homemade matter is your choice. The process itself was, at least for me, interesting. It’s up to the beginner to make such a timer on his own without a lot of time and money. And where to apply them is up to you. The weekend went for all the work and 10 rubles (a bag of lasers from Aliexpress 10pcs X 10r. = 100r). The rest of the components I had were in stock.


