
Piggy bank with a coin counter.
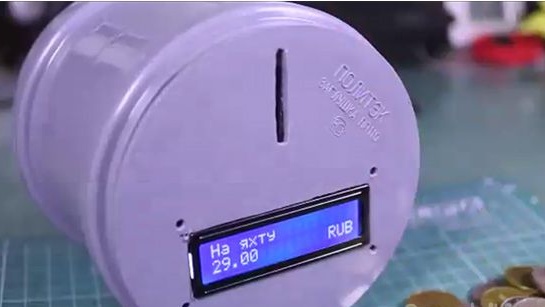
Hi, in this article I will try to describe to you how to make a piggy bank with a coin counter. You can take this idea as a basis, and the article will describe how to make a piggy bank, which is shown in the picture.
For the manufacture of this particular piggy bank we will use.
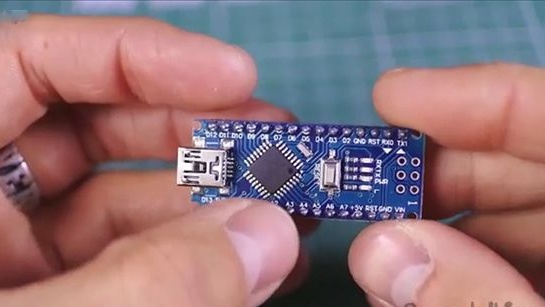
- ARDUINO Nano
- obstacle sensor
- Not a big wooden plank
- Soviet wooden ruler
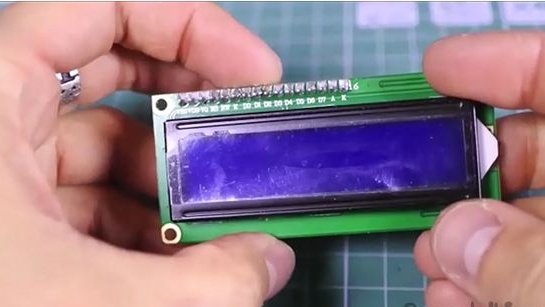
- Suitable display for ARDUINO
- Two sewer plugs 110mm
- Coupling 110mm
We will deal with the rest of the instruments and materials as we work.
Manufacture.
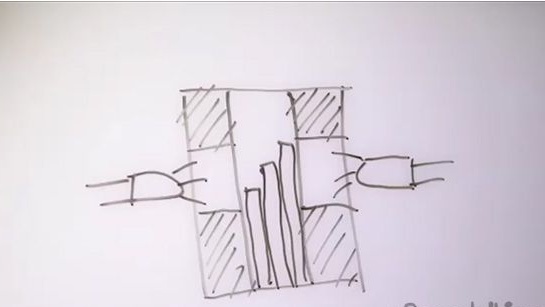
The idea is to make a narrow slot in which a coin rolls, perpendicular to the direction of its movement we make windows in which the sensor is installed, each coin obscures a different area of the window, it turns out that the sensor signal depends on the size of the coin. The simplicity of these actions inspired the author, and he went straight to the action.
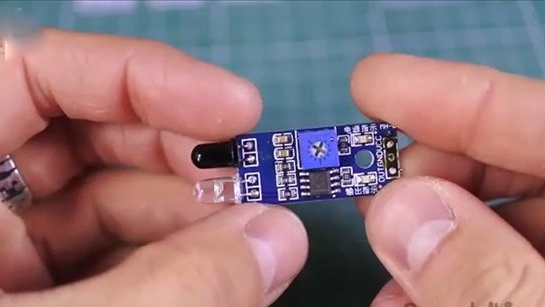
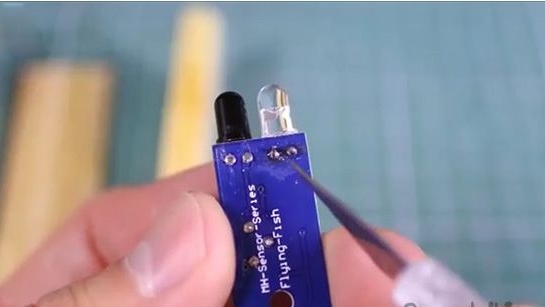
The cheapest way to find a pair for the sensor is to buy an obstacle sensor; its price from the Chinese is 20-30 rubles.
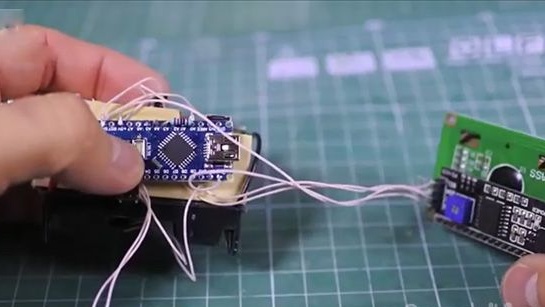
The signal will be received and processed by ARDUINO NANO.
Information will be displayed on a cheap suitable size display for ARDUINO.
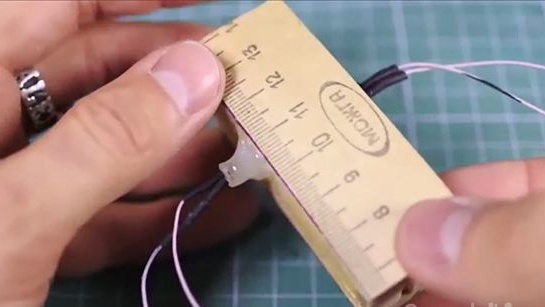
To create a measuring gap, we need a 30mm by 10mm plate and a Soviet wooden ruler.
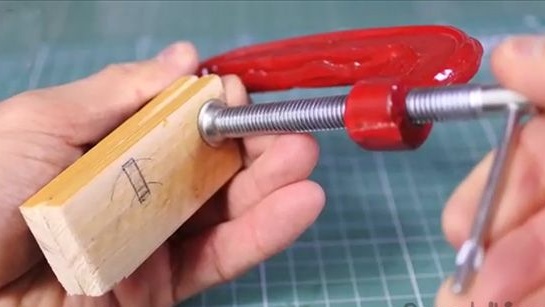
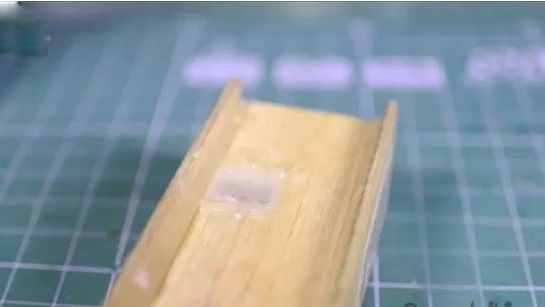
Cut two pieces from a 5 cm plank with one beveled end
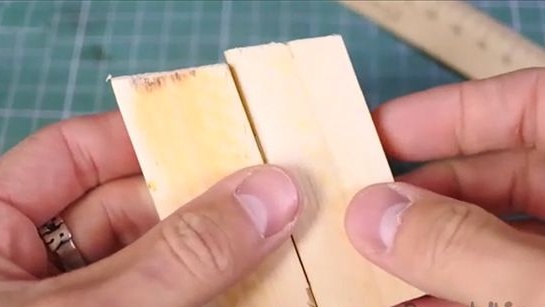
And from the ruler we make the upper and lower parts for it. Everything should work out, as shown in the picture.
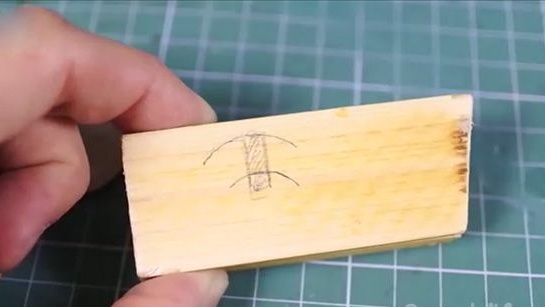
Take the smallest and largest coin and get the size of the window. The window needs to be extended up and down for more accurate operation.
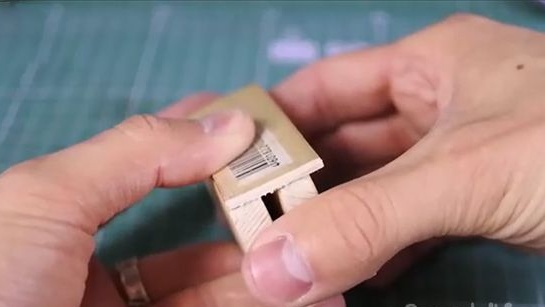
Temporarily connect the two halves with a clamp and drill a window with a 5 mm drill.
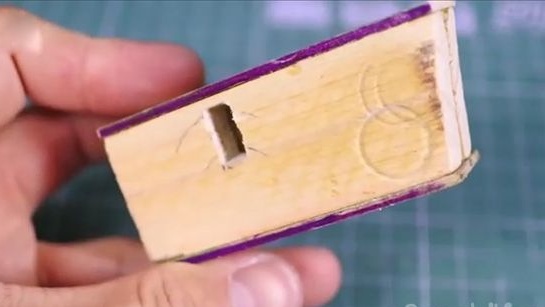
Next, we give the window a rectangular shape, this is not necessary, but it will be more accurate.
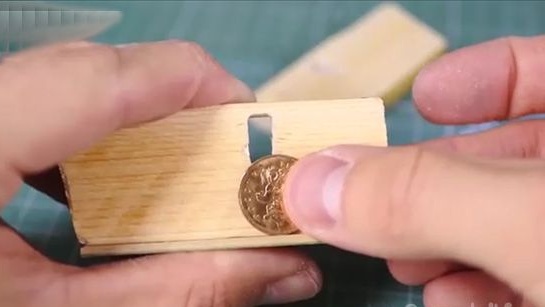
Now glue the top and bottom with a moment or terma with glue so that the slot is even so that the largest coin can move freely over it.
Now you need to remove the light and photodiode from the sensor. As we see their left legs are connected, it means this is the earth, we will remember what kind of legs it is, making scratches, and then we will remove the diodes.
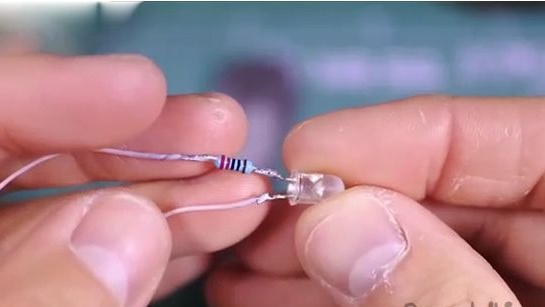
To light from the LED was scattered, we sanded with fine sandpaper.
It is connected through a 220 ohm resistor. The author decided to solder it immediately to the foot.
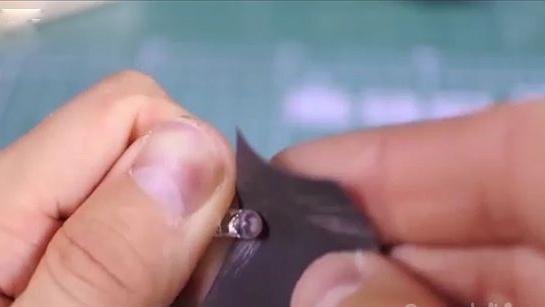
Next, we need a transparent box from the CD. Using a clerical knife and brute force, we make two small rectangles a little more than the windows, they will need to be sanded and glued to the windows.
Now, not sparing hot snot, we glue the diode on one side and the photo transistor on the other.
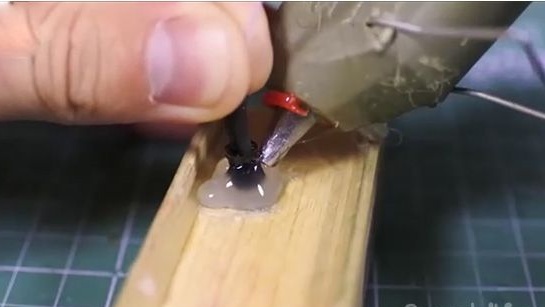
It should turn out such a thing as shown in the picture.
Those who are interested in the accuracy of this design, got such beautiful arcs from rolling coins along the slot on the test bench. At the expense of 30kop and 10 kopeks, they are so small that the sensor does not see them, but the author of this homemade says that he stacks them separately and in the event of war, they will melt them into cheap bullets.
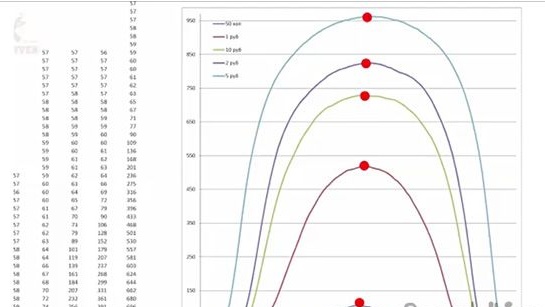
As it’s not difficult to guess the author’s written algorithm, we will find the maximum value of the coins quoted from the sensor and compare with the value recorded in the memory, and thus he will know which coin was thrown into the piggy bank.
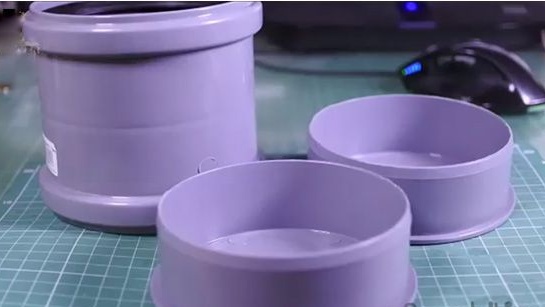
The piggy bank body will be made of 110mm sewer fittings. This is a coupling and two plugs to it.
Everything is connected according to such a scheme.
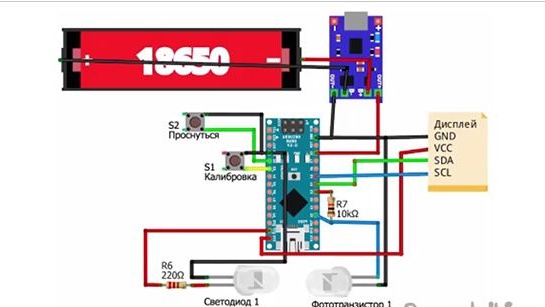
This is how it looks assembled soldered by a mounting wire.
But in the place of the button we make the contacts from the can, as shown in the picture.

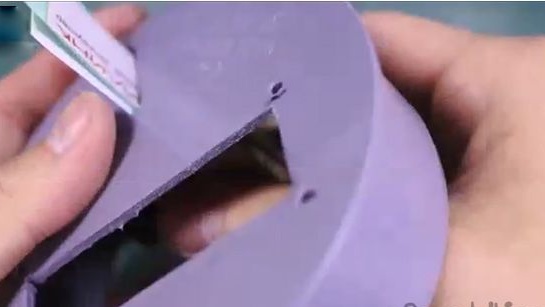
In one of the plugs at the top, you need to make a slot so that the largest and widest coin can get into it.
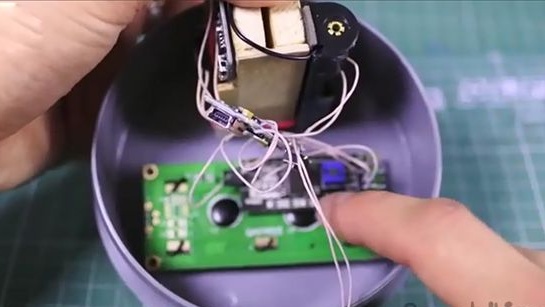
The sensor will be located opposite the slit and somewhere below the display.
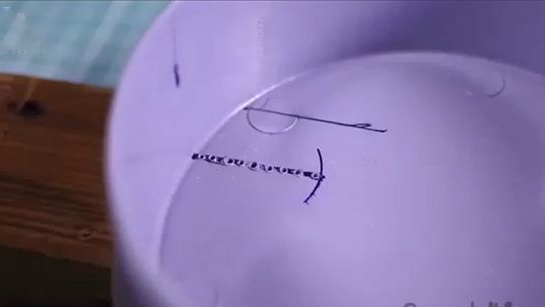
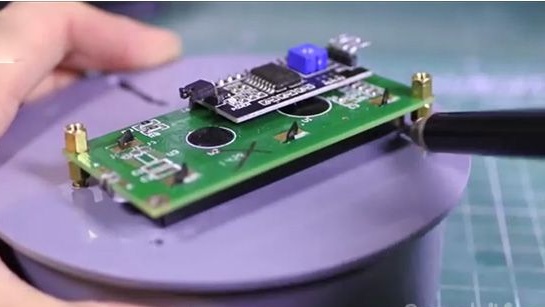
In order to precisely mark the hole for the display, we lean it against the plug and drill it inside,
Now we attach it to the racks for printed circuit boards to the plug on the outside and circle it around the office and get the exact size of the window that needs to be done
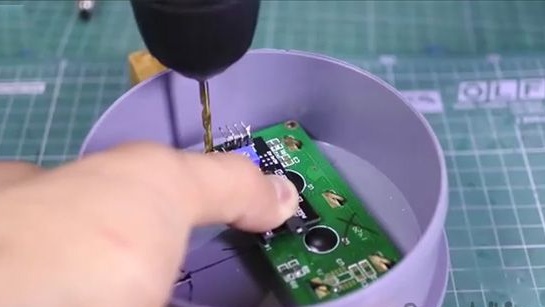
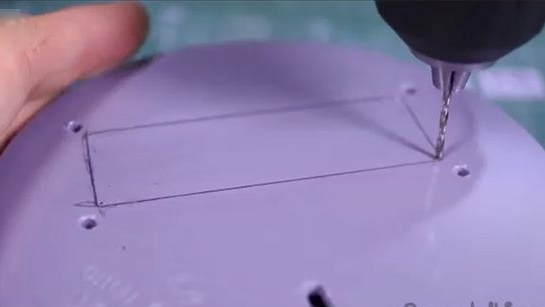
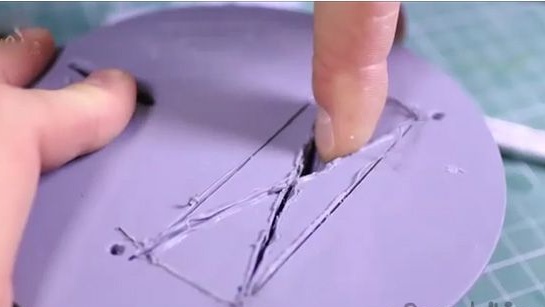
In order to carefully make a hole in any plastic, first you need to drill holes along the edges of the window,
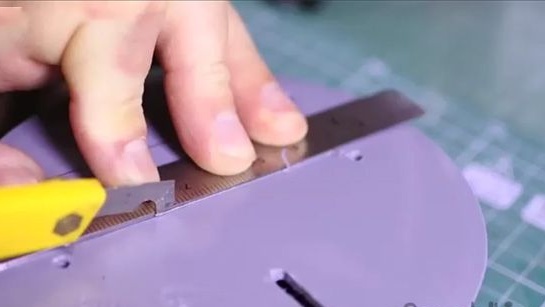
then cut the window contour with a sharp knife or a glass cutter,
now draw the diagonals and cut them with a hot knife,
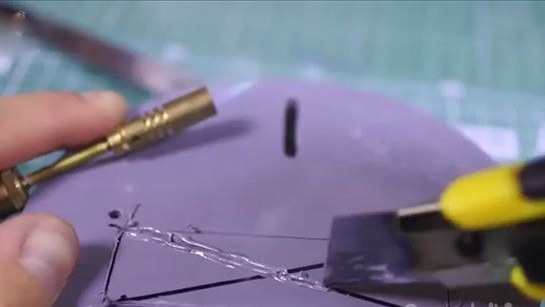
and now the resulting triangles break out simply along the cut line.
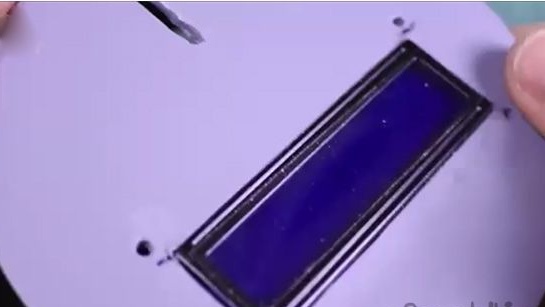
After not much work with the file, the display is inserted simply perfectly, that I do not want to screw it to the plugs.
To combine the sensor slit and the plug slit, you can simply insert the strip from the plastic card, as shown in the picture, so the slots will fit perfectly.
Next, glue the sensor with hot glue, this mount will be more than enough.
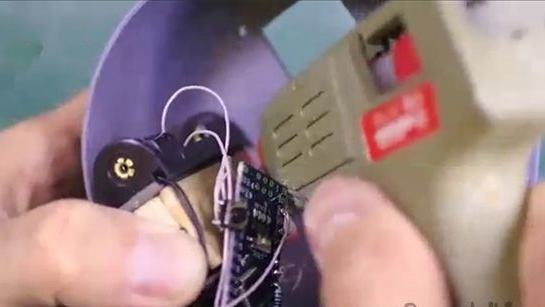
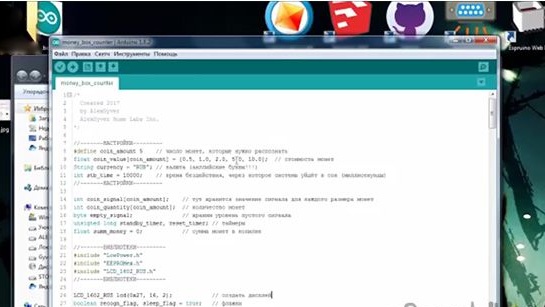
Now we connect ARDUINO to the computer via mini USB and fill in the sketch, how to do it correctly, you can find out on the project website by clicking on the link.
And here the author ran into a problem, the battery did not have enough voltage and I had to remove the USB and you can use it from the Power bank or from the network charge of the smartphone.
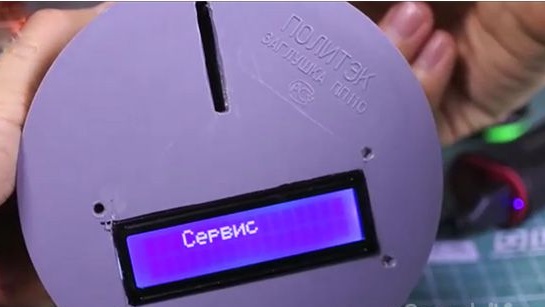
Now you need to calibrate your coins. To do this, hold down our button for calibration and restart ARDUINO but at the same time do not release the button for calibration, the message “Service” will appear on the display
hold the button for another 10 seconds until the inscription "Memory is cleared" appears
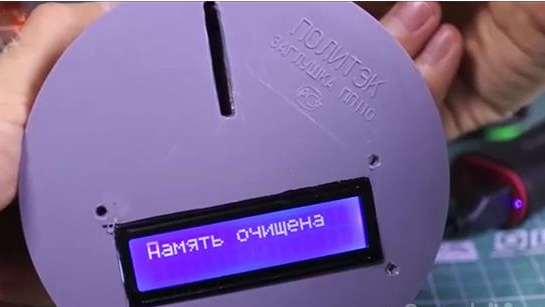
and only after that release the button. “Calibration” appears
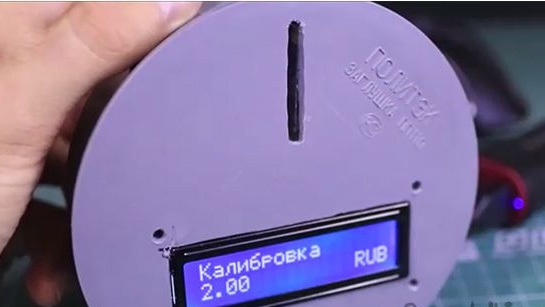
Now you need to put those denomination coins, which are shown on the display. Data is saved even after a reboot.
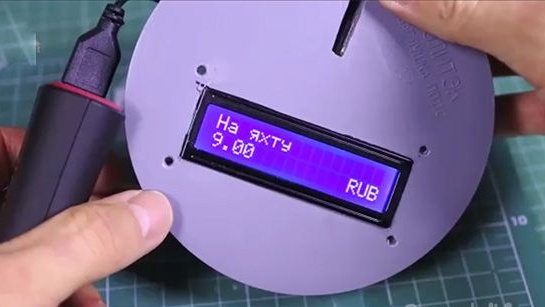
Actually all the piggy bank is ready for its functionality:
- Recognition of the size of coins with high accuracy and its binding to the value of each coin
- Calculation of the total amount of coins in the piggy bank
- Statistics on the number of coins of each type
- All settings are saved in non-volatile memory and are not reset when powered
- The accumulated amount is also stored in non-volatile memory and is not afraid of power failures
- Deep power-saving mode: in sleep mode, 0.07 mA is consumed, in a circuit without a 0.02 mA converter
- Support for any number of coins of different sizes
- Automatic calibration of coin types
- Reset accumulated quantity
You can find out more detailed information and links to all components by watching the video below.