


This keyboard, in style steampunk, was made by the author to participate in the competition. And, although the author is a teenager, he presented a decent job and took second place in the competition. To make such a keyboard, the author used the following
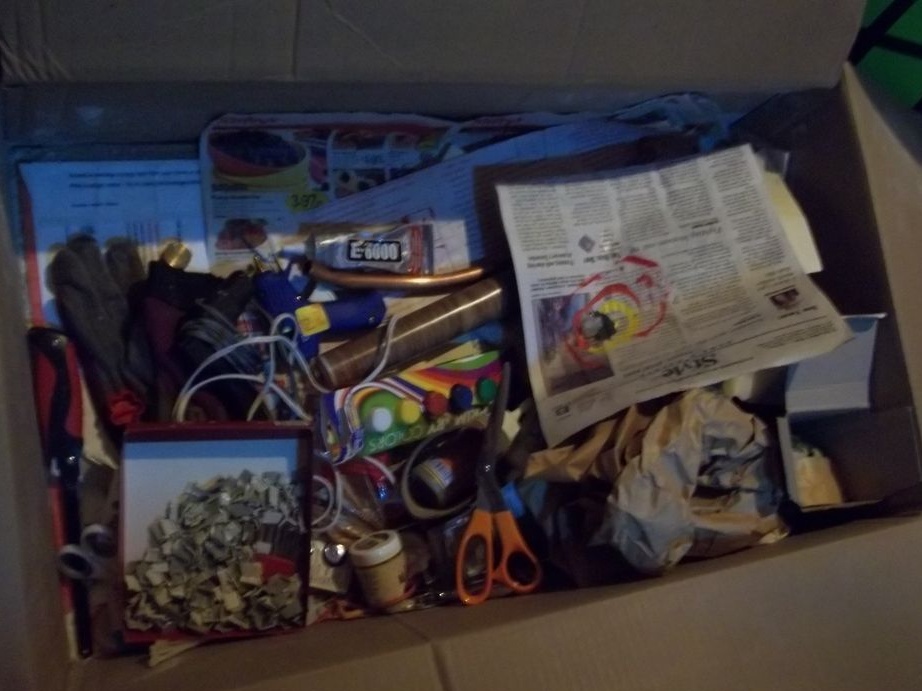
Tools and materials
-Keyboard;
- Copper or brass 1/2 "tube;
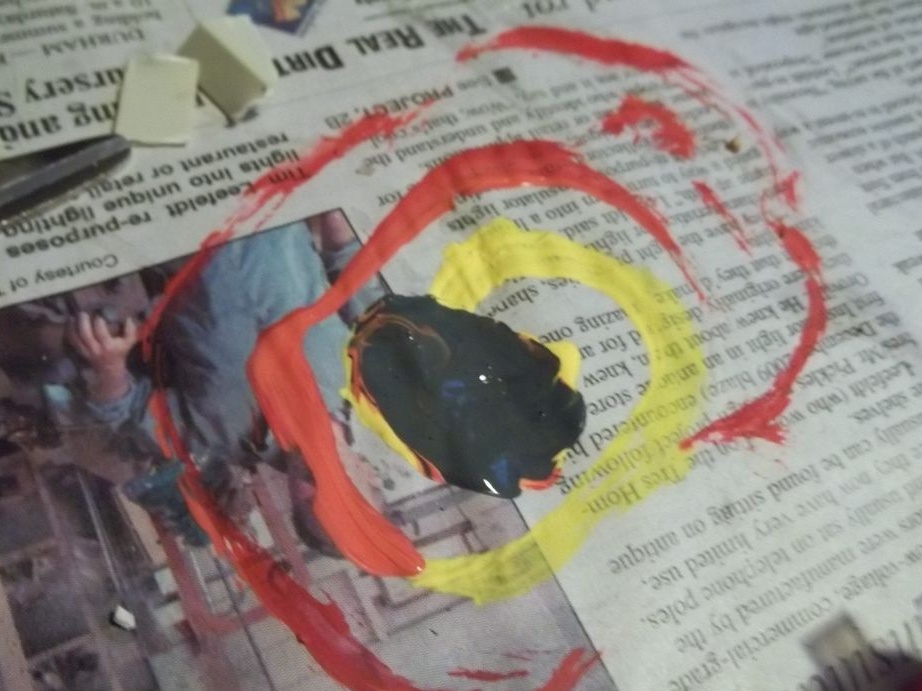
-Paint "gold";
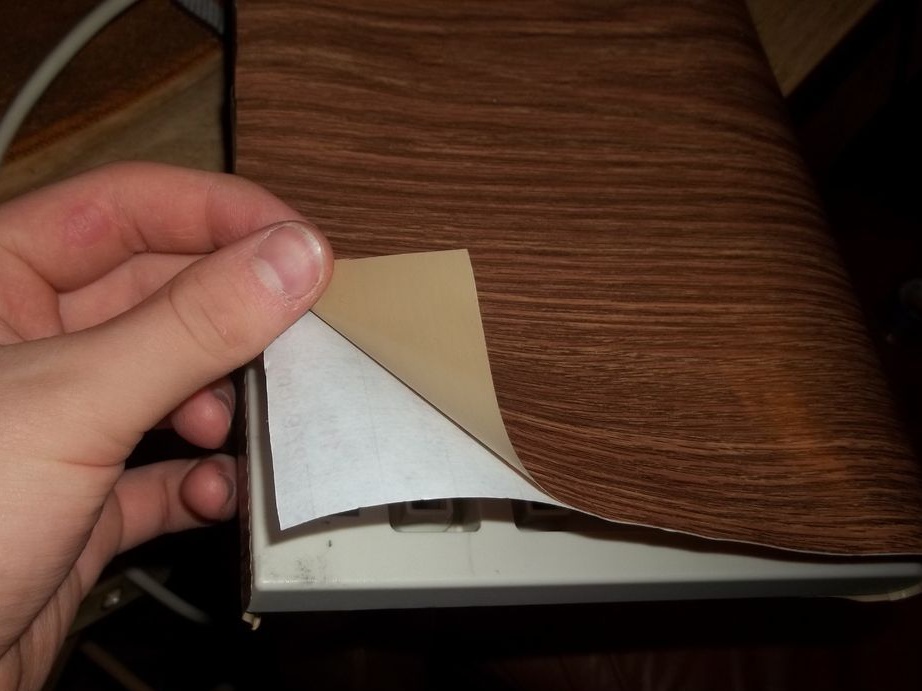
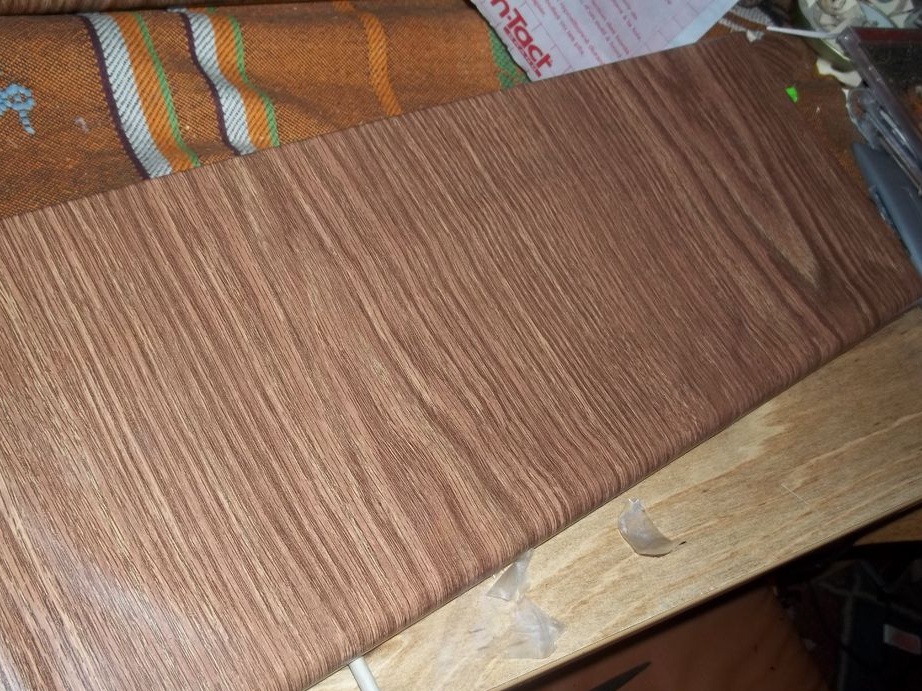
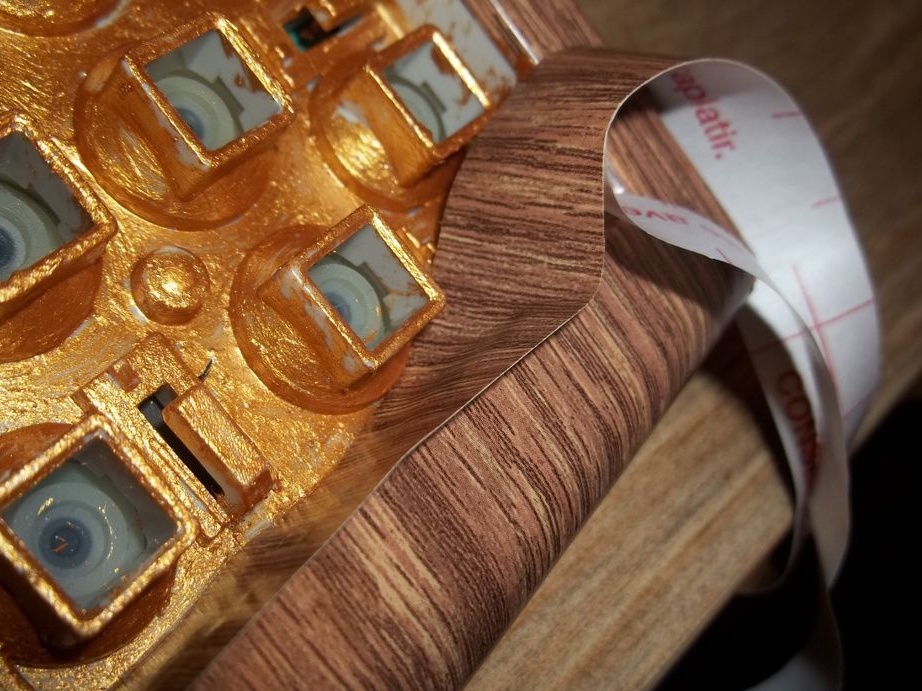
- Self-adhesive film under the "tree";
-A printer;
-Paper (preferably not quite white, antique):
-Glue (the author used the E-6000);
-Super glue;
-Shellac;
-Manual pipe cutter;
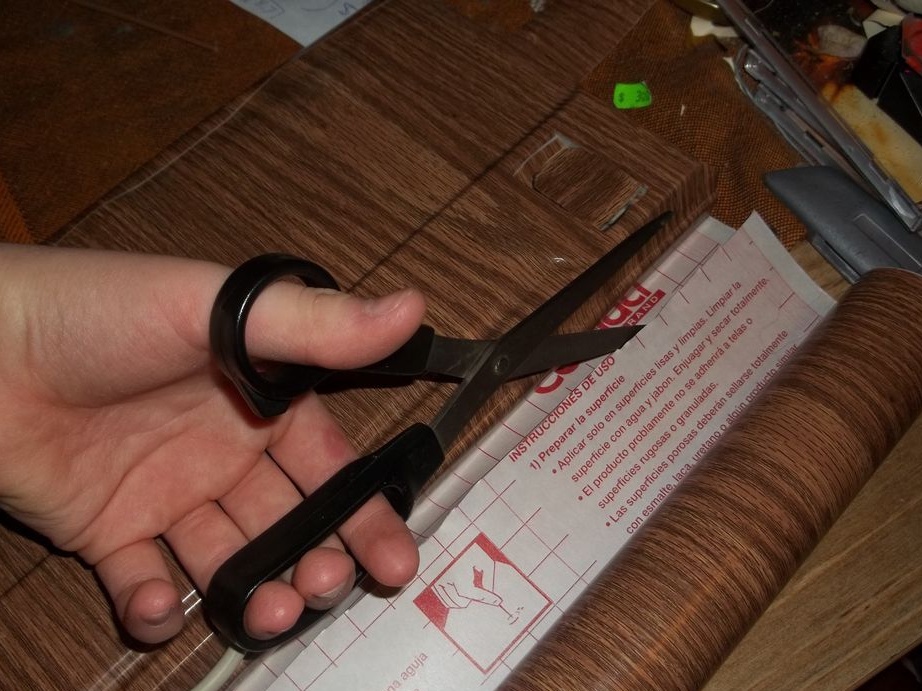
-Scissors;
-Knife;
-Hacksaw;
-Glue gun;
-Thermokley-30 sticks;
-Pliers;
- brush;
Step One: Making a Key Case
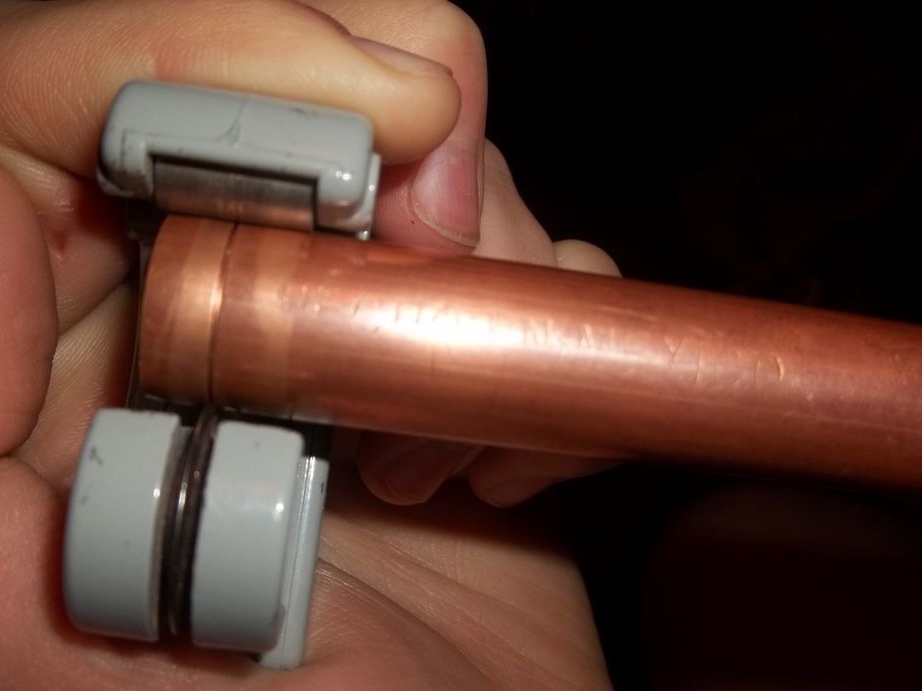
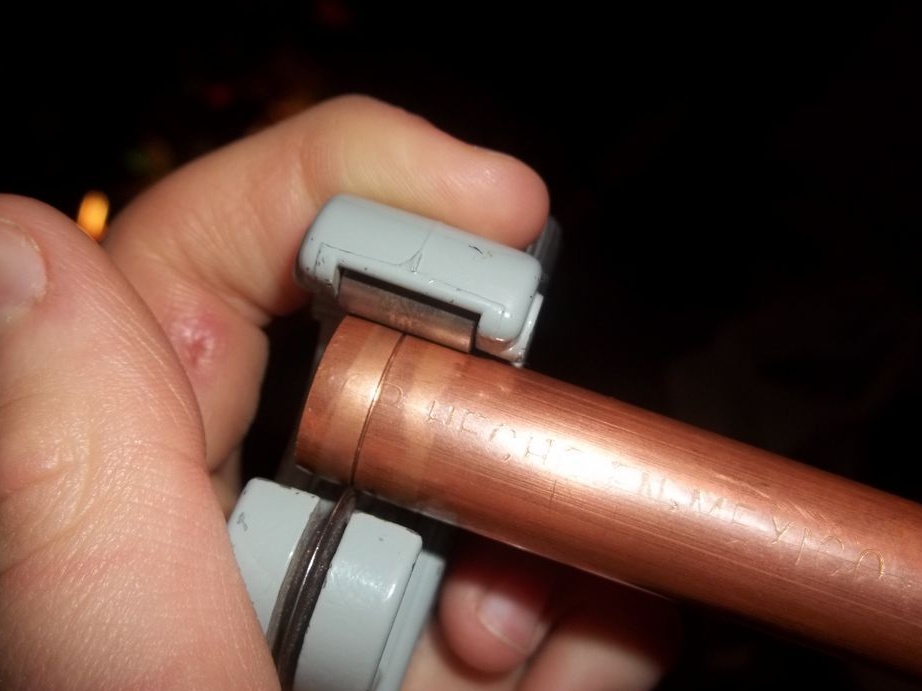
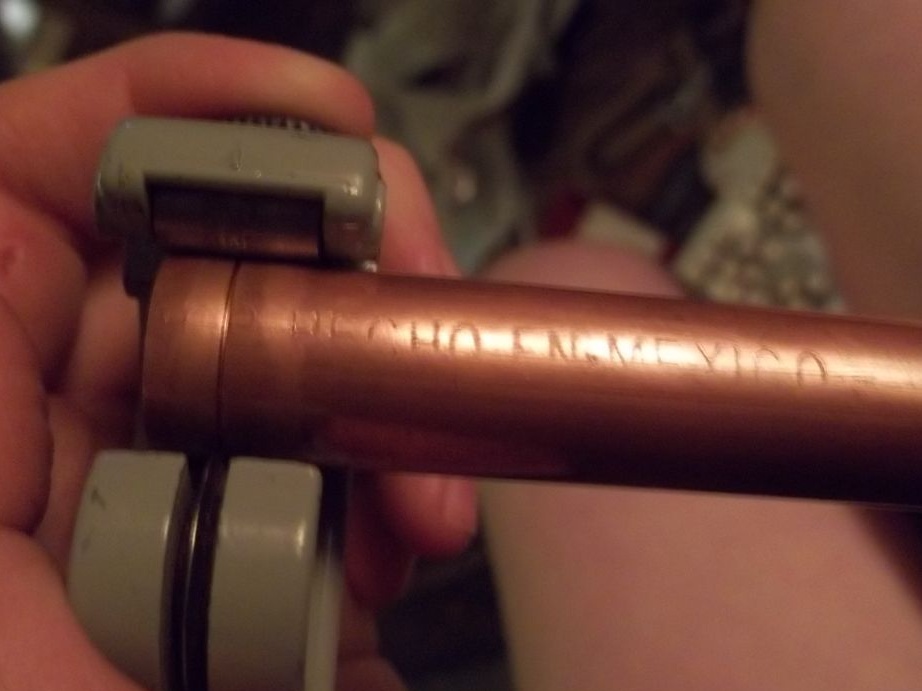
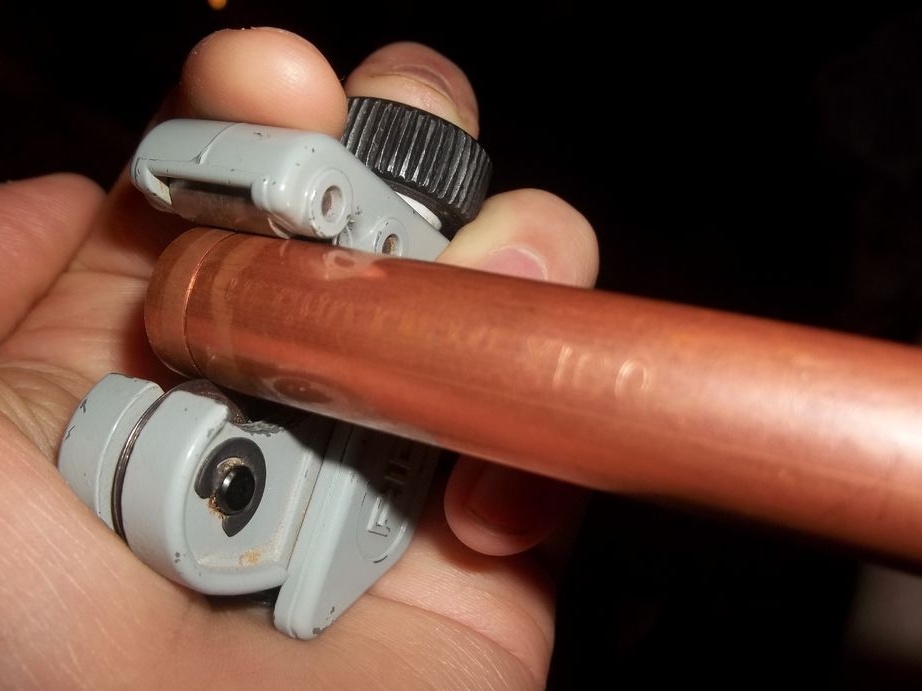
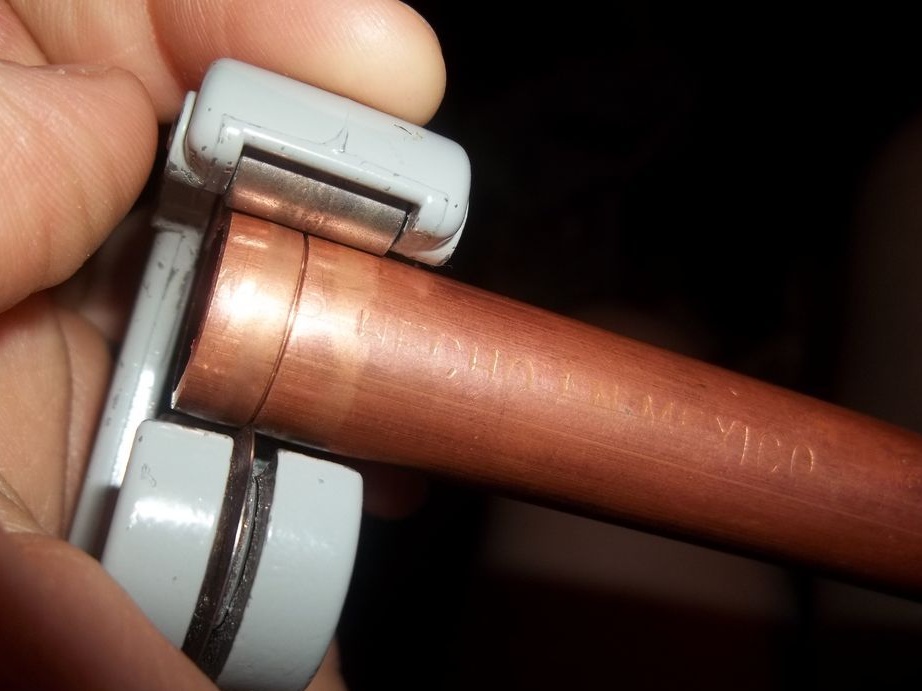
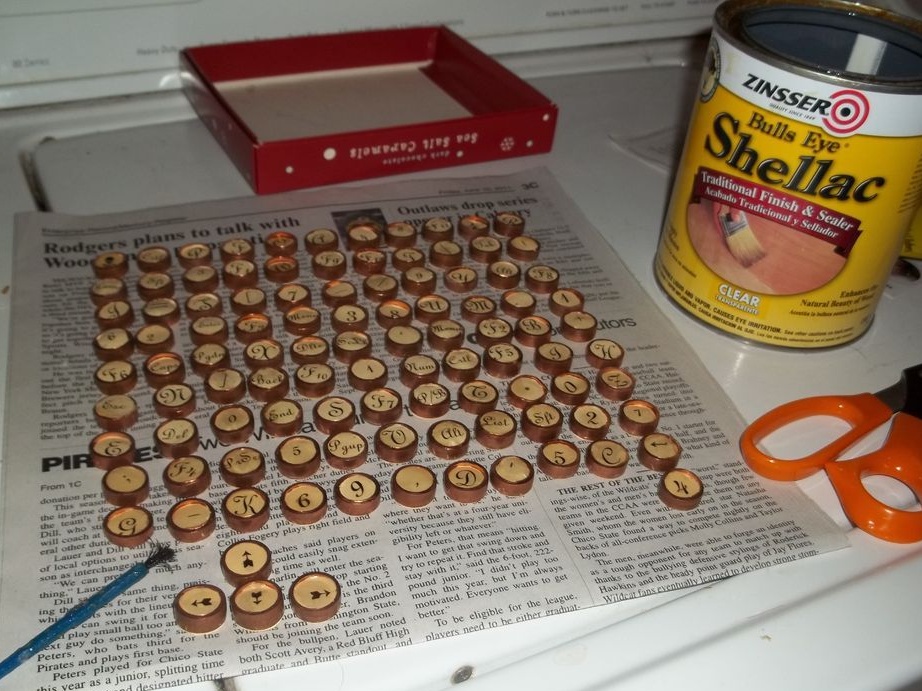
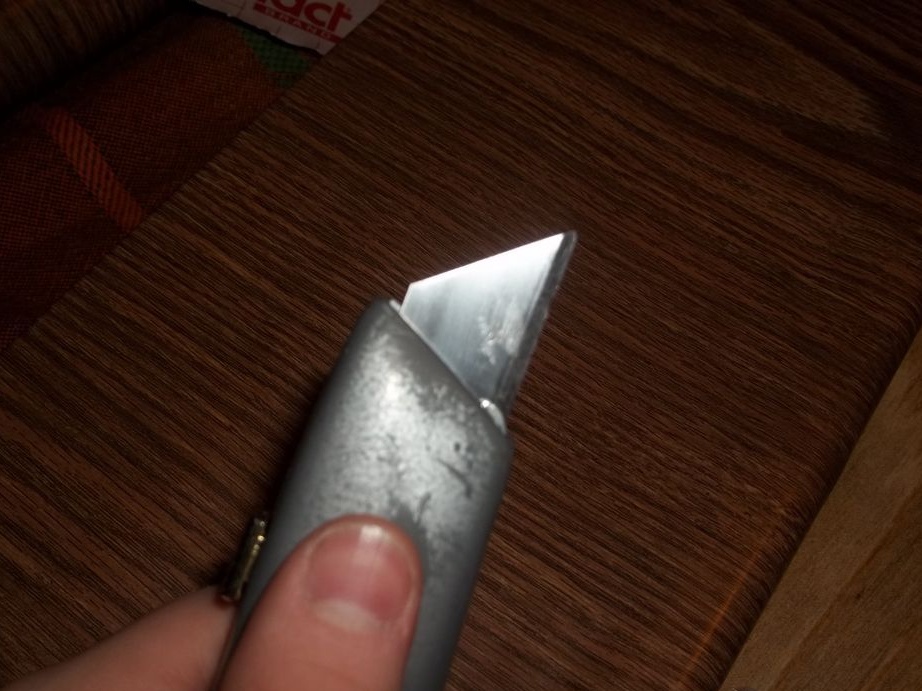
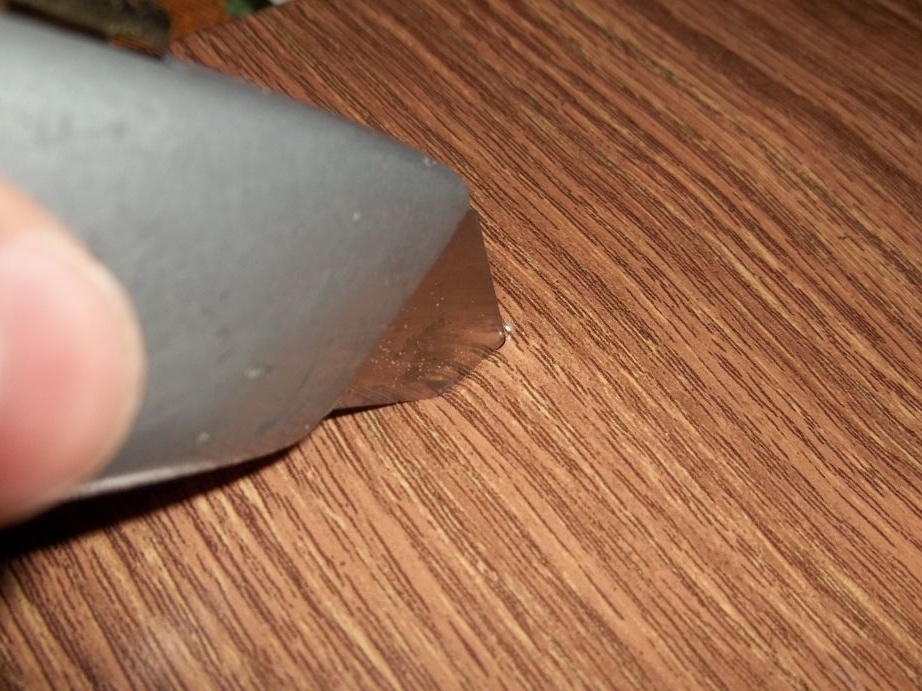
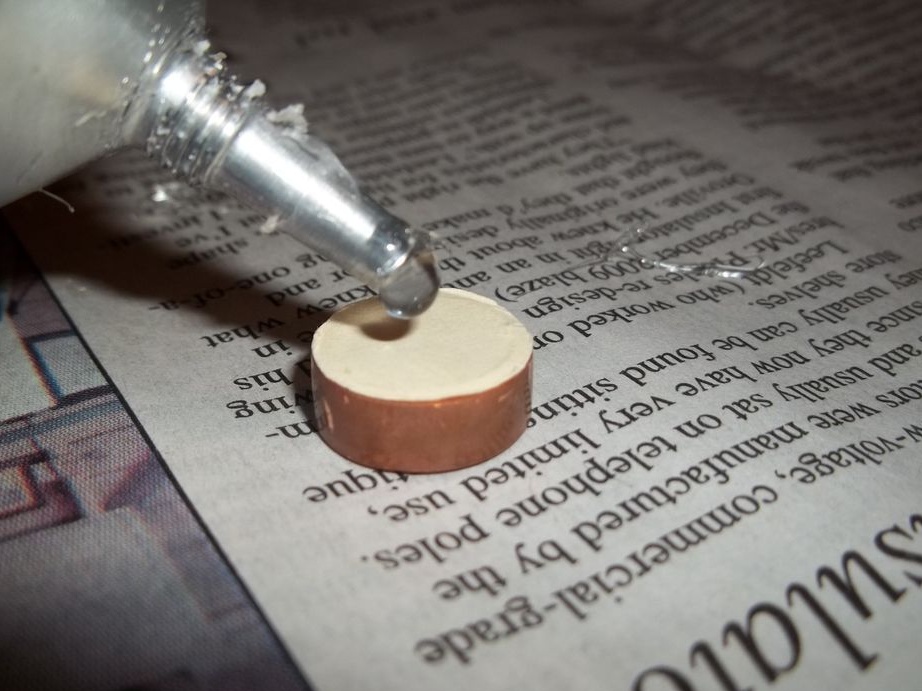
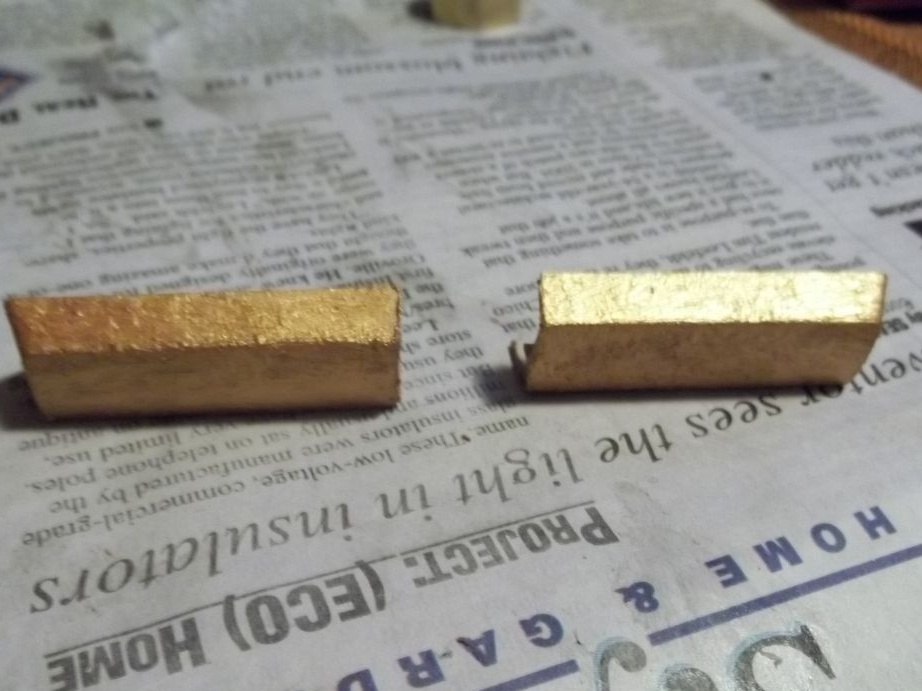
First, the author counted the number of keys on the keyboard. He got 104 pieces. Then, using a pipe cutter, he cut off from the copper tube 104 the workpiece. The size of the workpieces in height is about 6 mm.
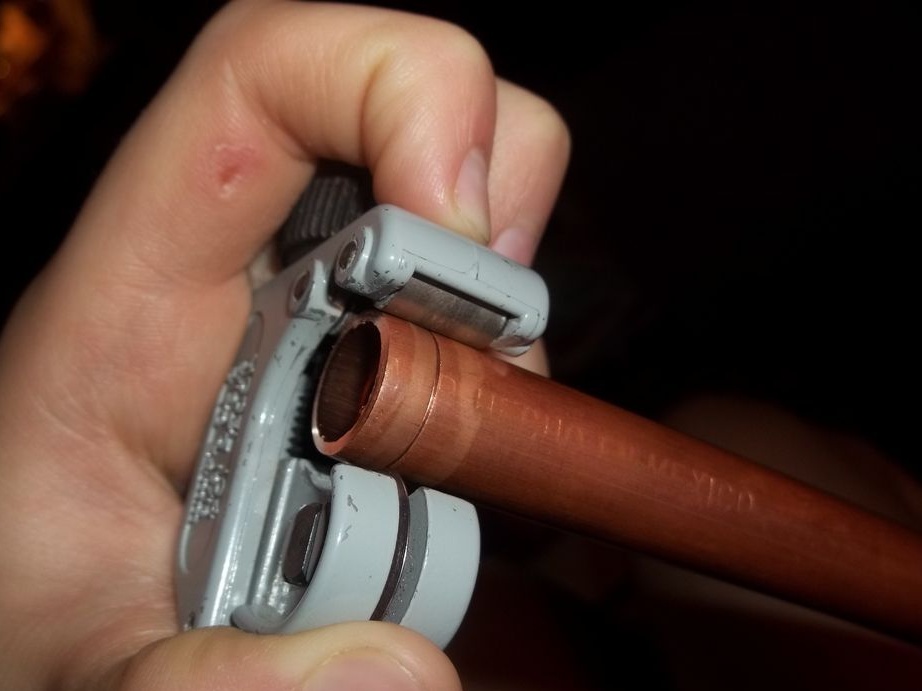
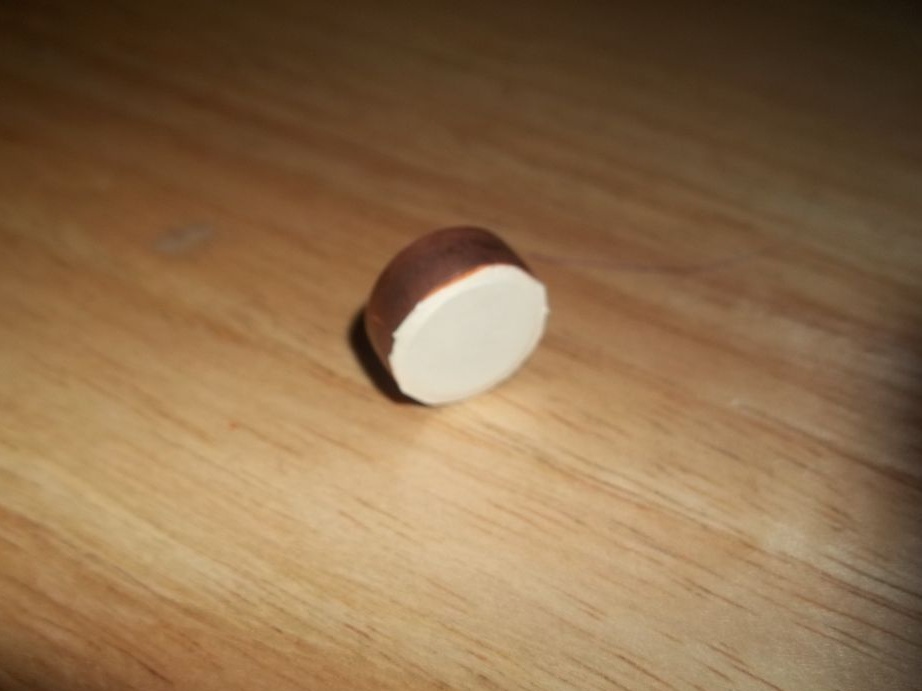
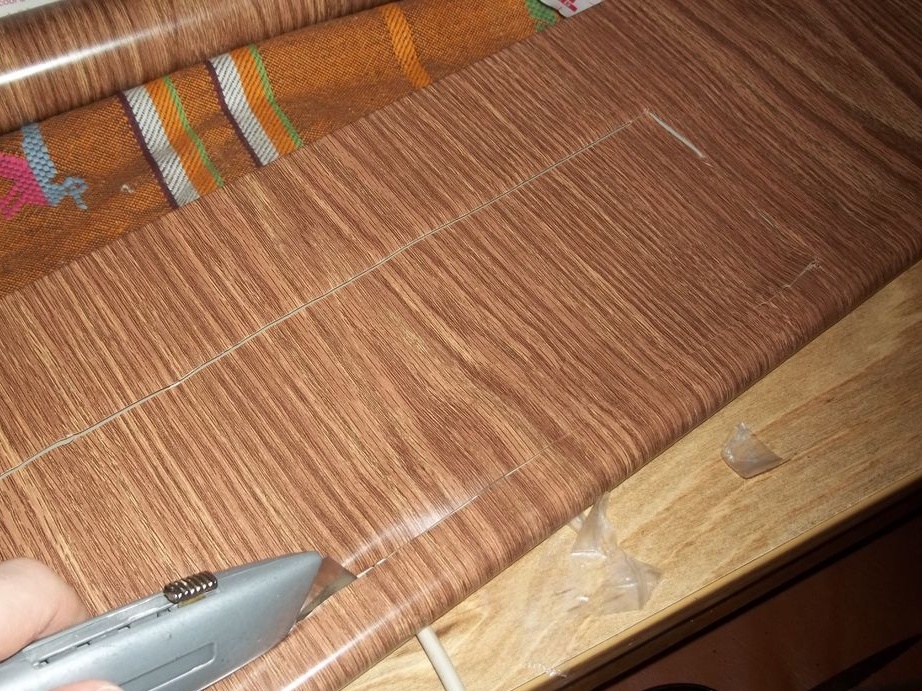
He puts the blanks on a sheet of white paper and fills the internal key space with hot-melt adhesive. After cooling the hot glue, cuts the paper along the edge of the keys. If the paper does not stick well enough, it uses super glue to fix it.
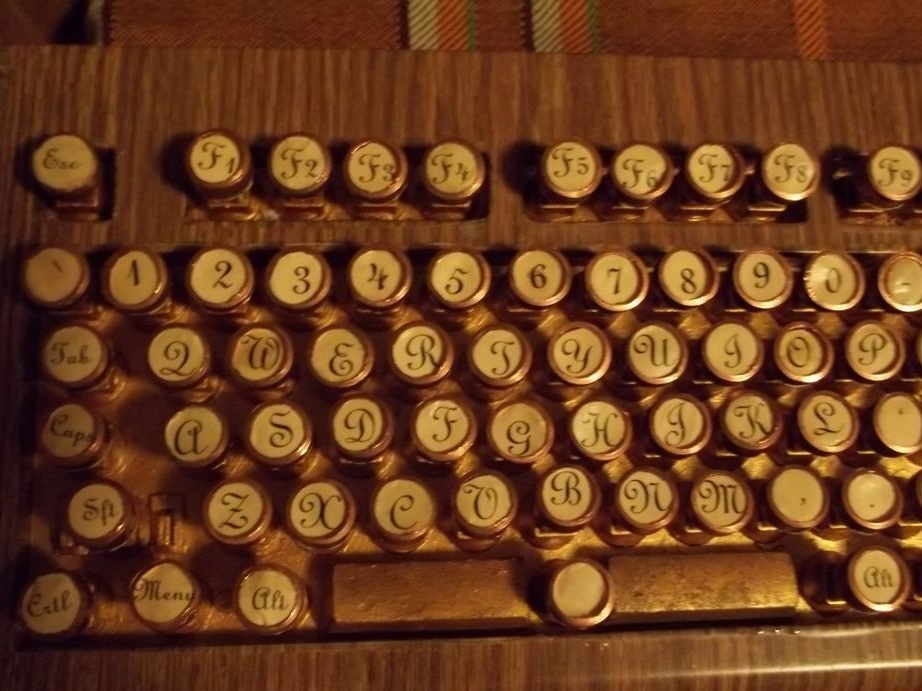
Step two: letters, numbers, symbols
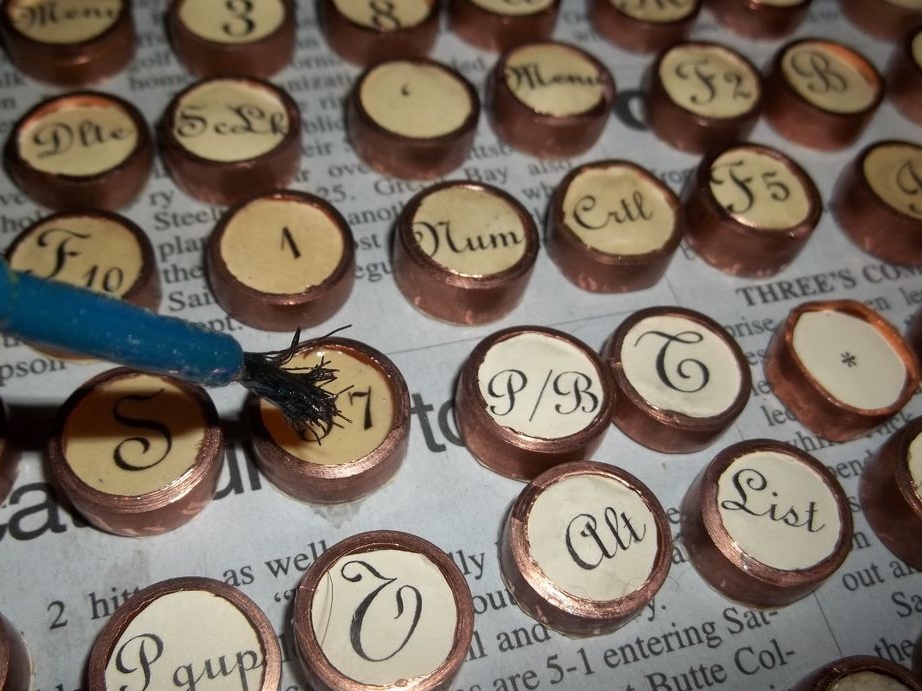
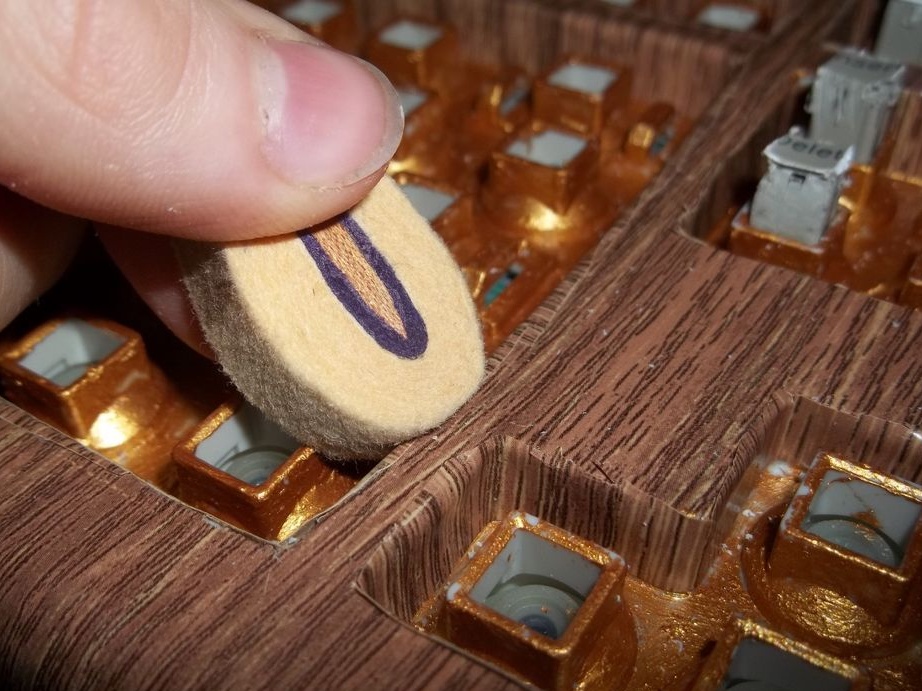
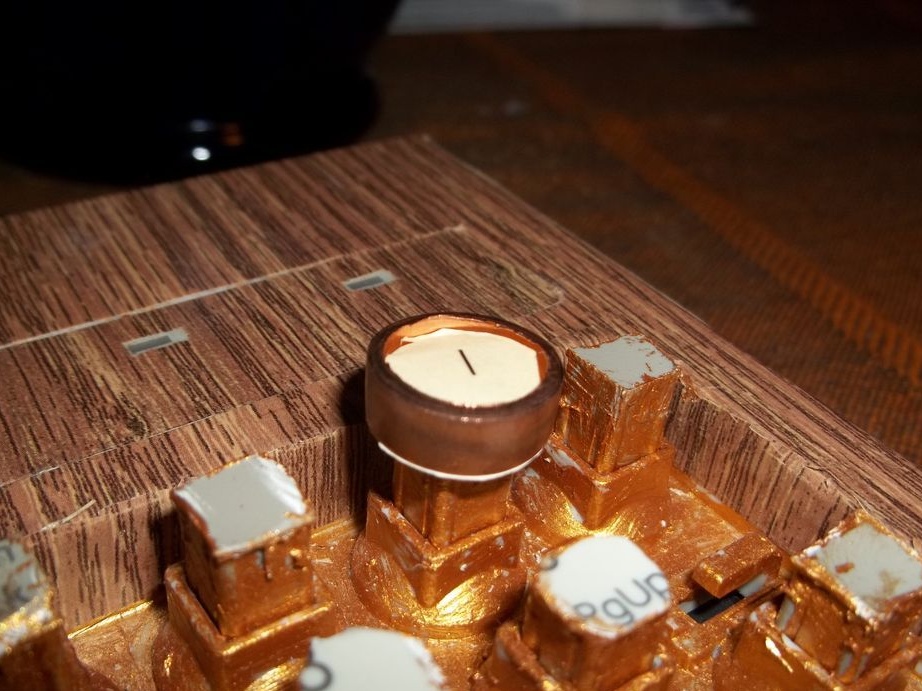
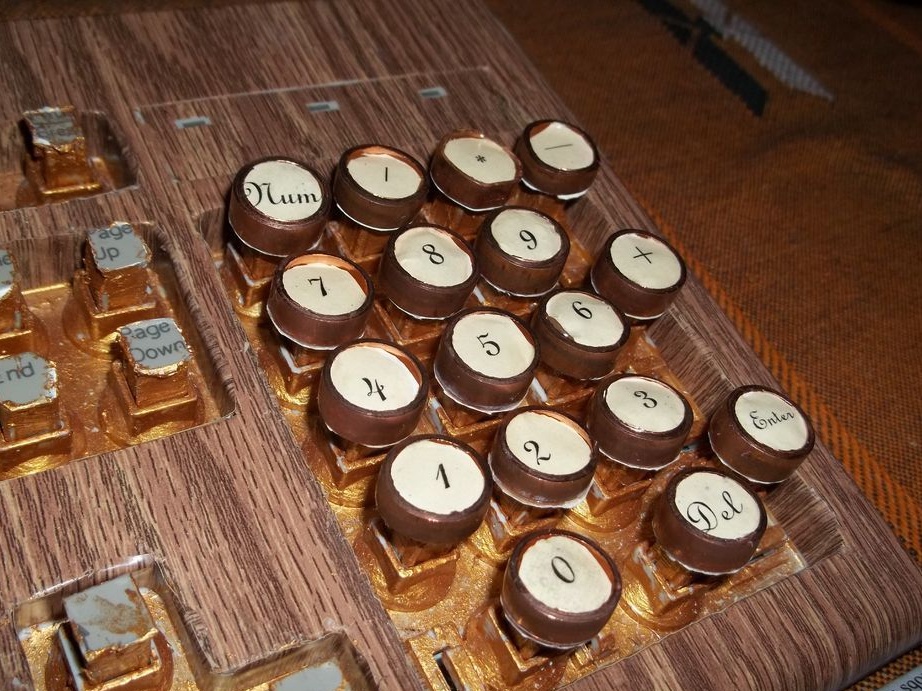
In a text editor, the author typed the necessary characters. For signs, the author used the font "TypoUpright BT". The author typed letters and numbers in upper case. I printed out the characters and cut out the size of the keys.
When cutting the tube, its edge, on the one hand, is bent. Sticks signs to the keys, turning the edge of the paper behind the bend. After drying, the glue covers each key with shellac and leaves to dry for 12 hours.


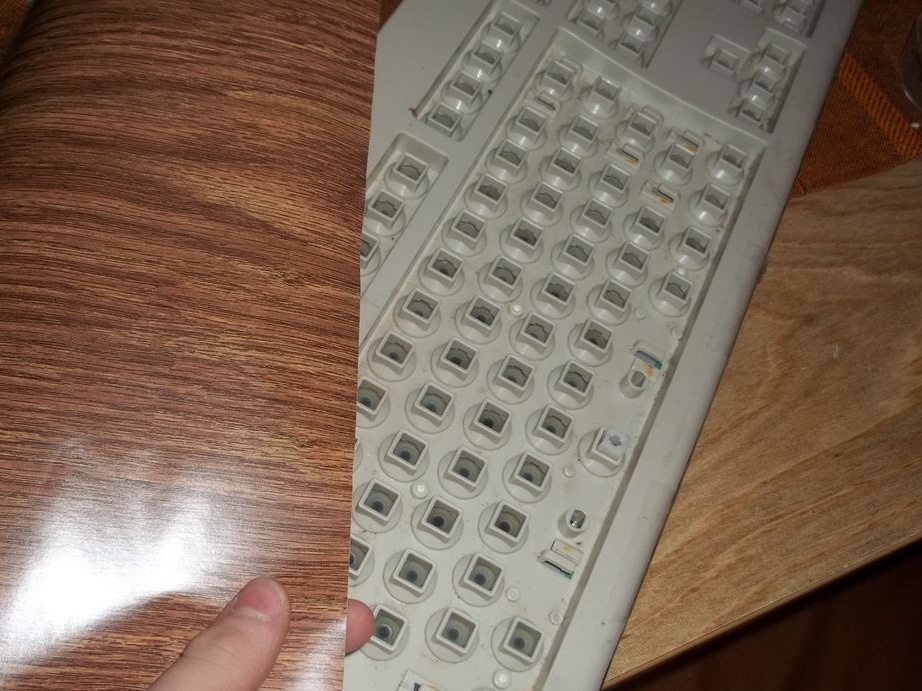
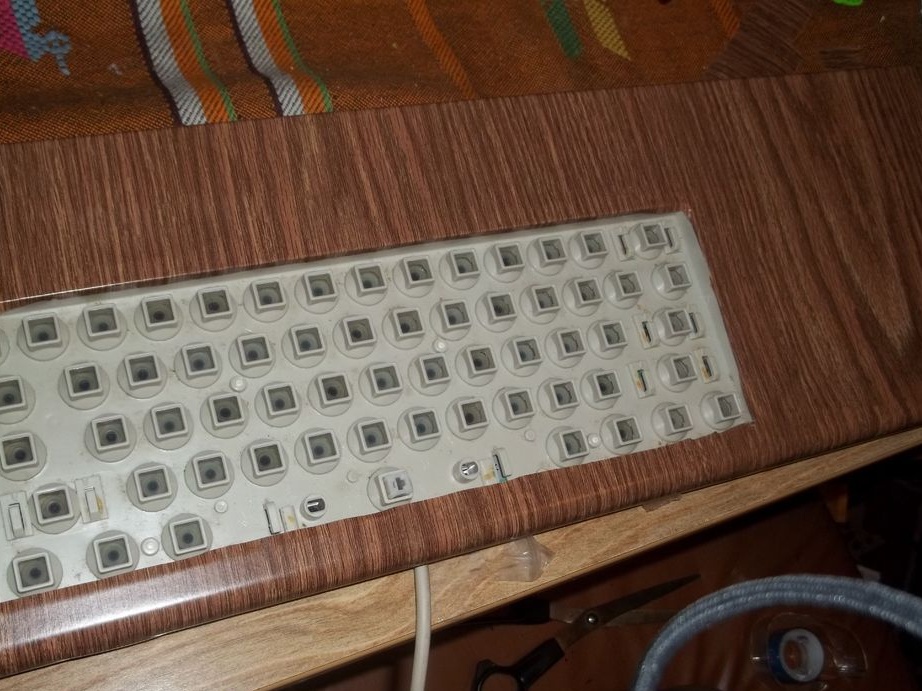
Step Three: Keyboard Preparation
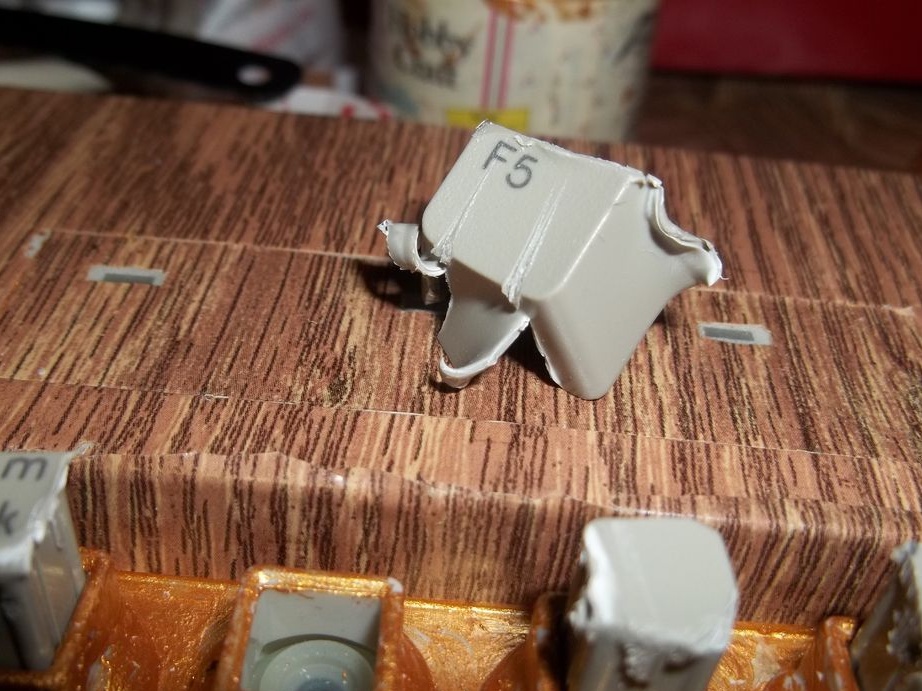
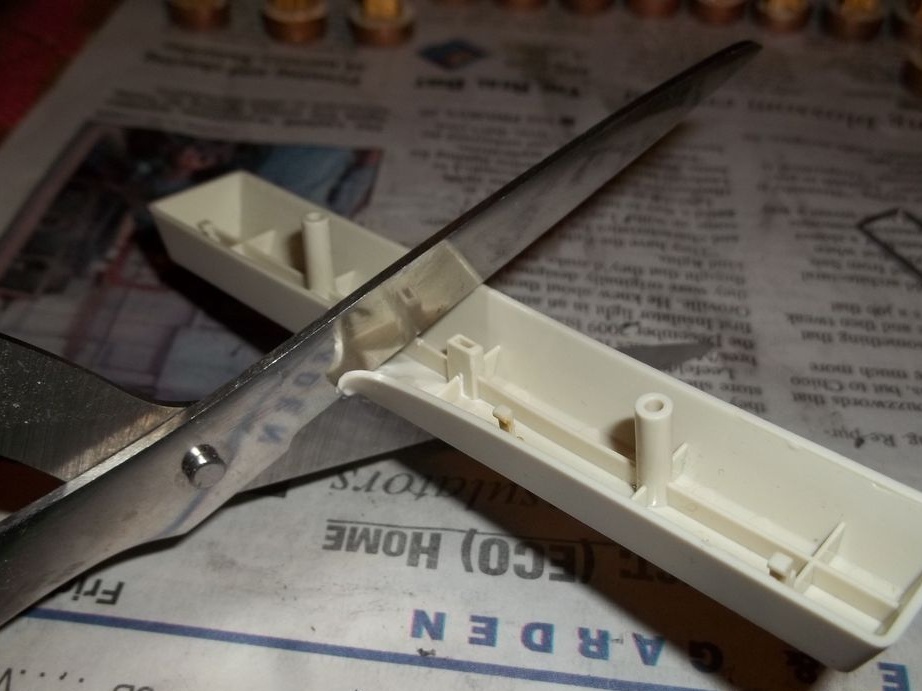
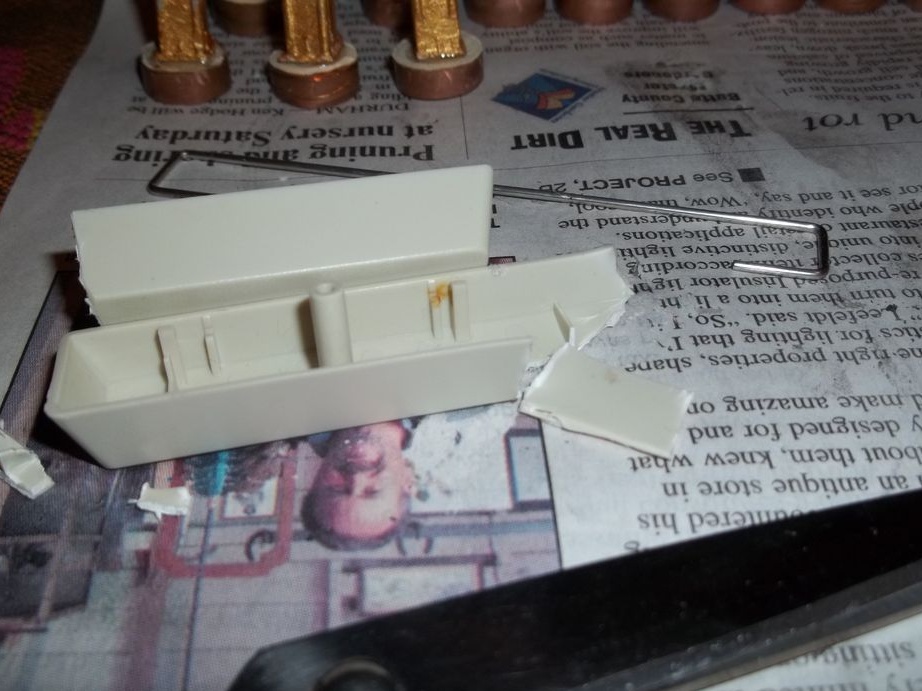
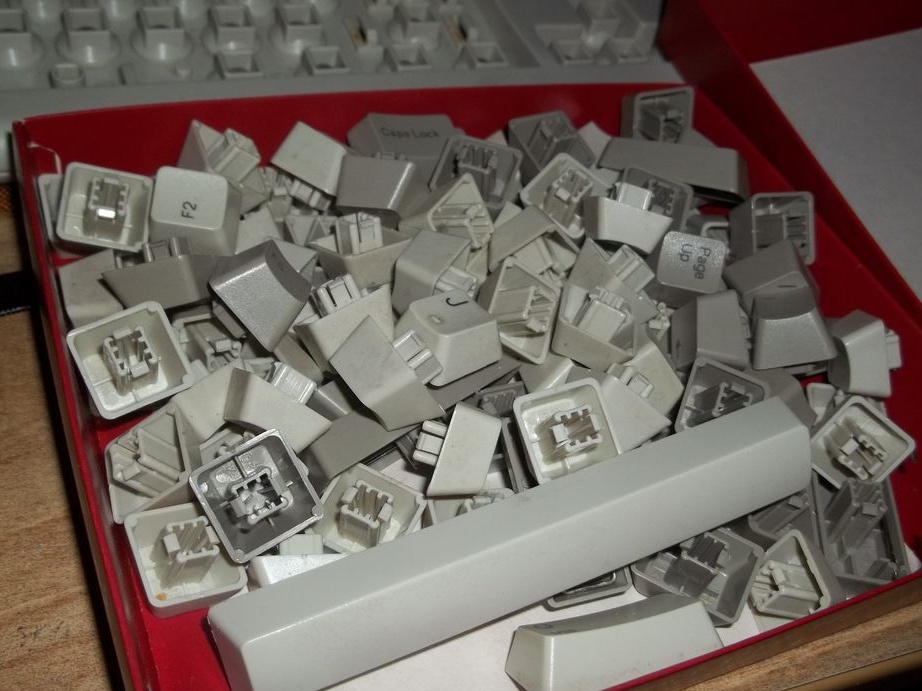
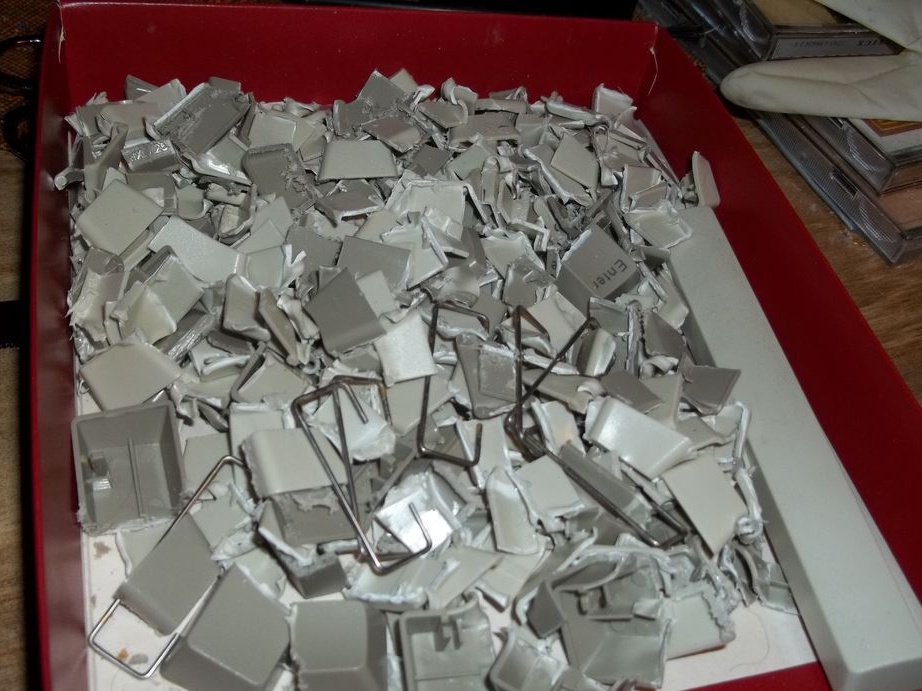
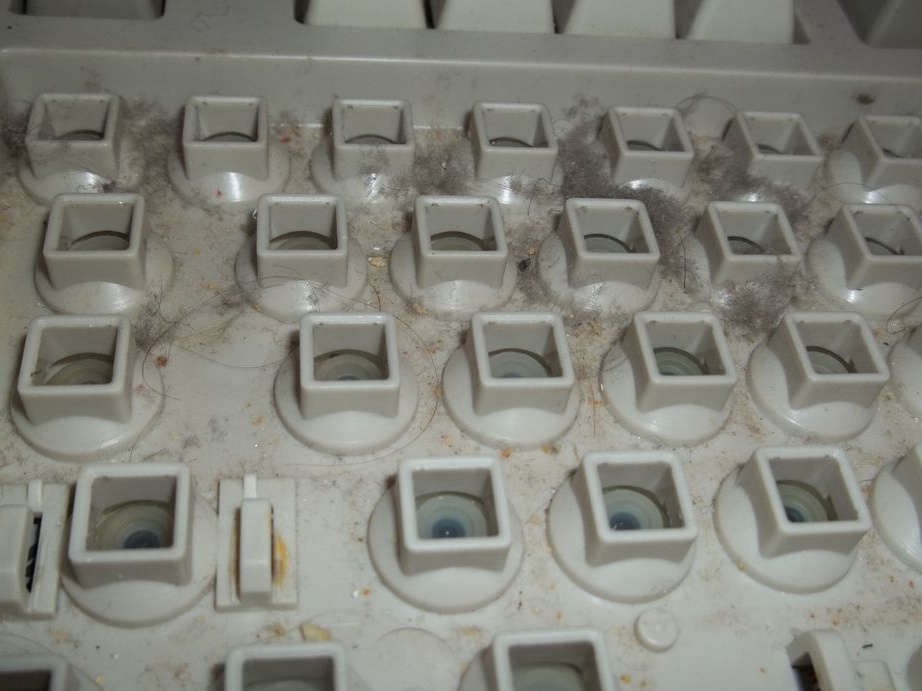
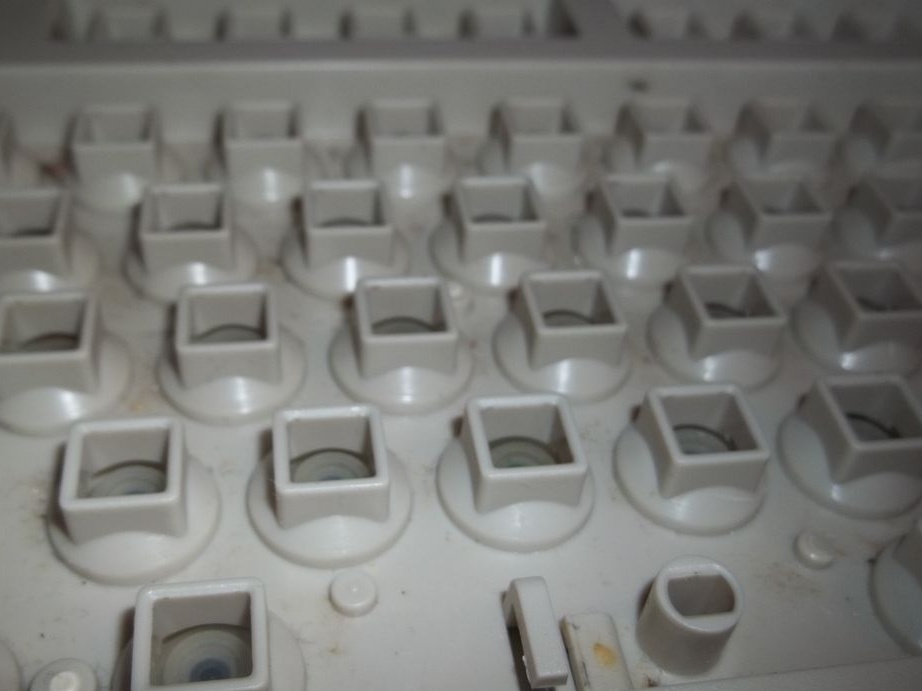
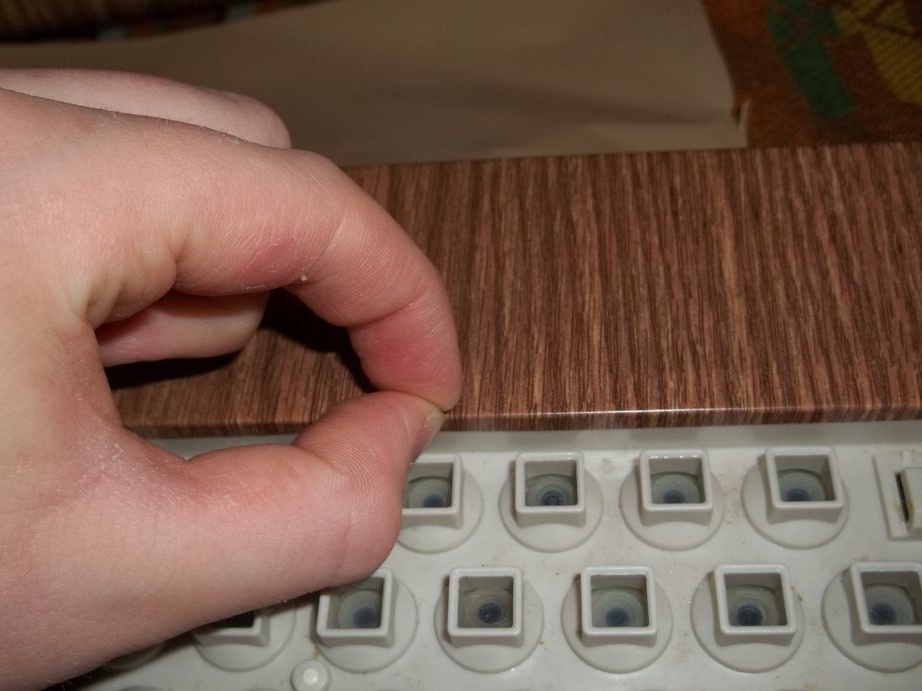
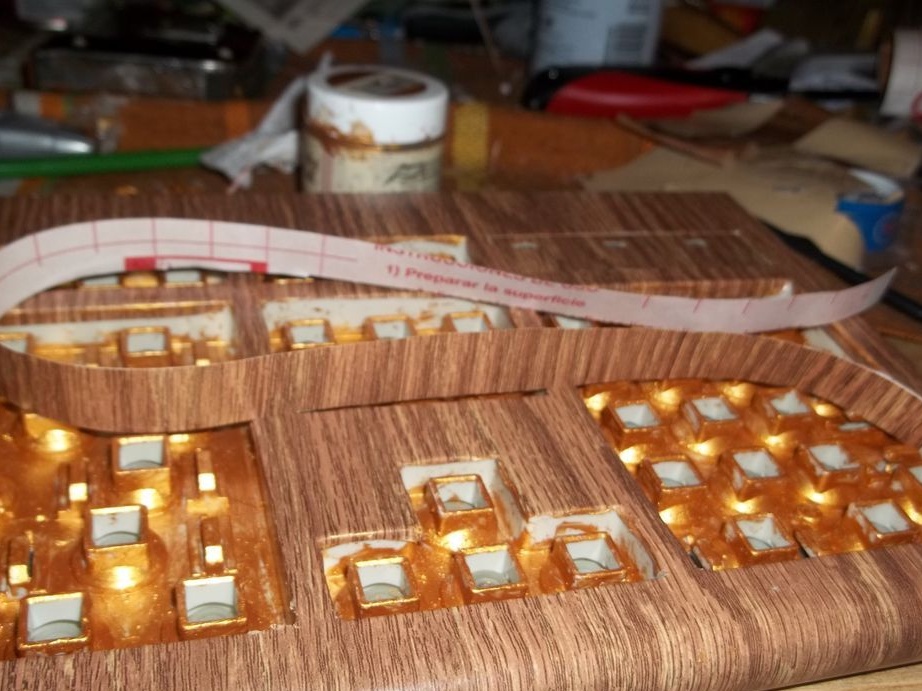
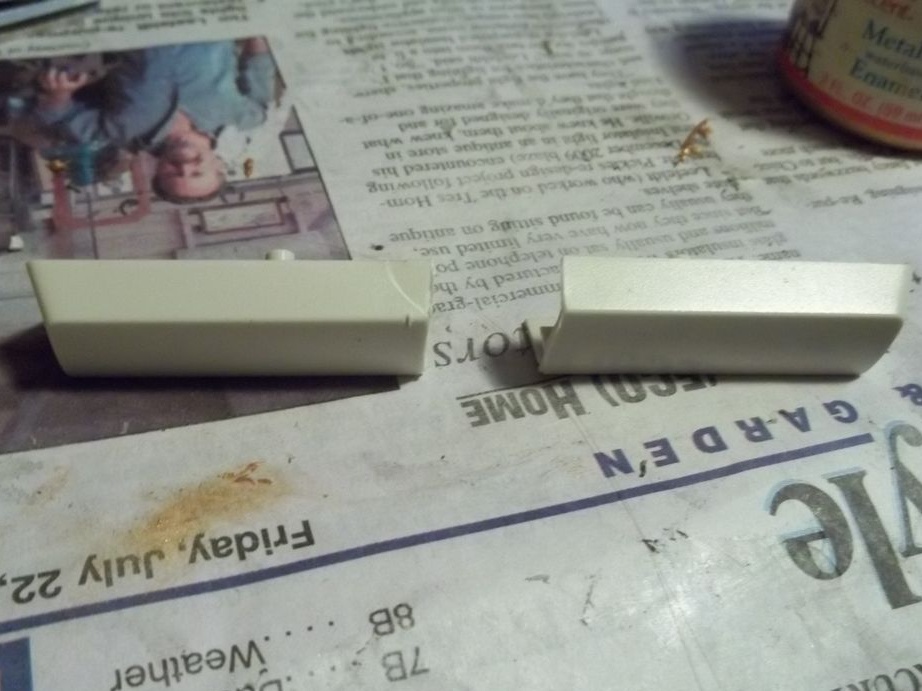
The next step is the author prepares the keyboard. You need to remove all the buttons from the keyboard. Then trim the edges of the buttons so that only one middle part remains. From the space bar, cut out the middle part and crop it in the same way. The remaining halves of the gap are not truncated.

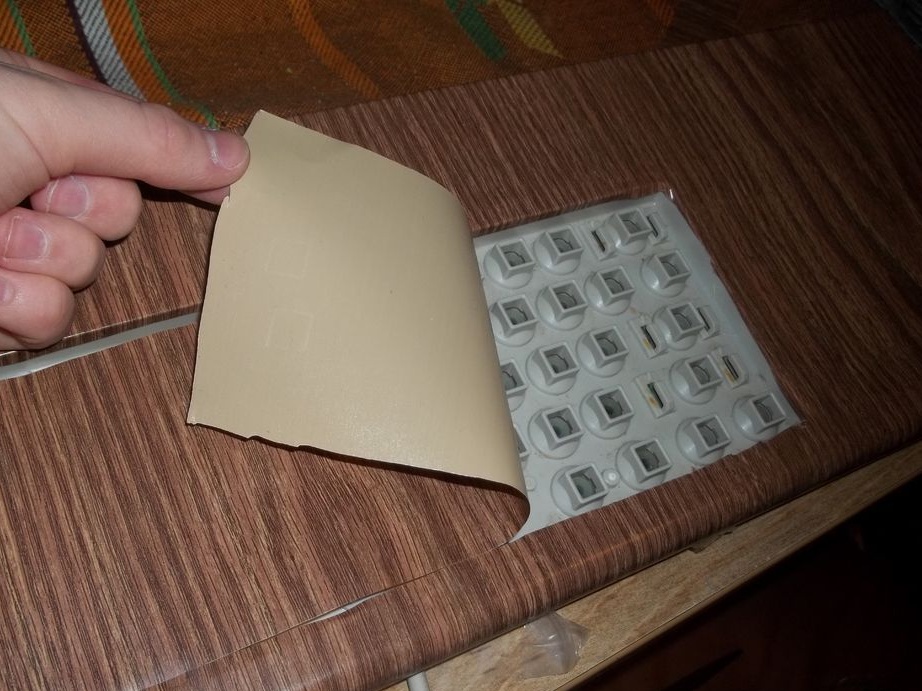
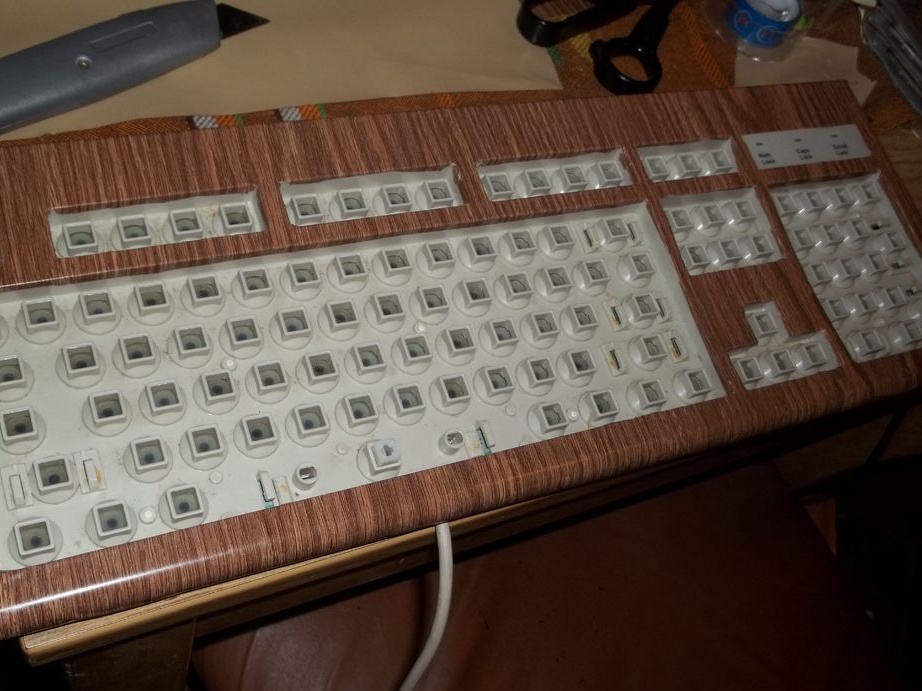
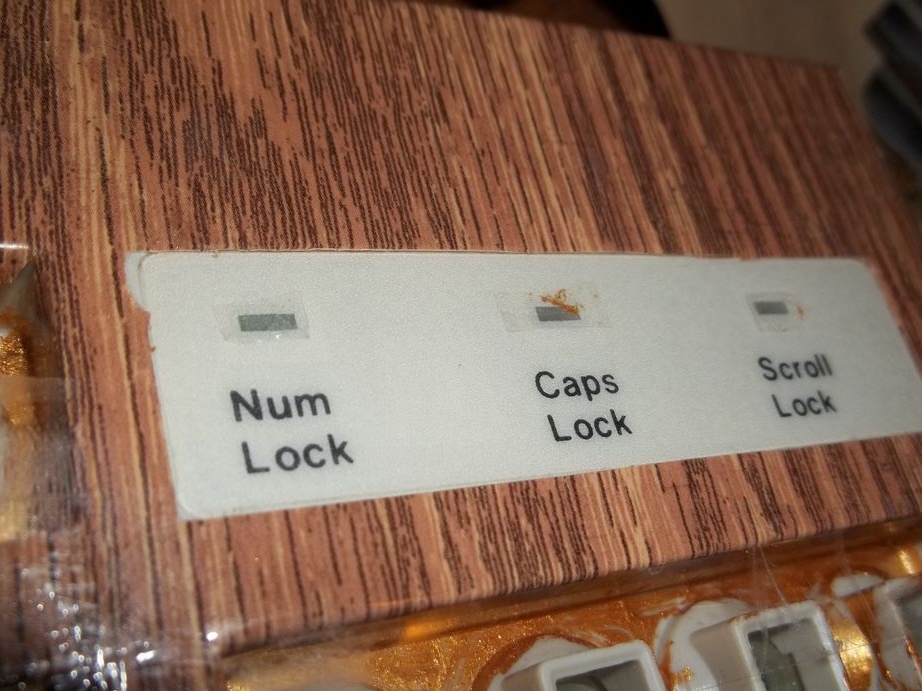
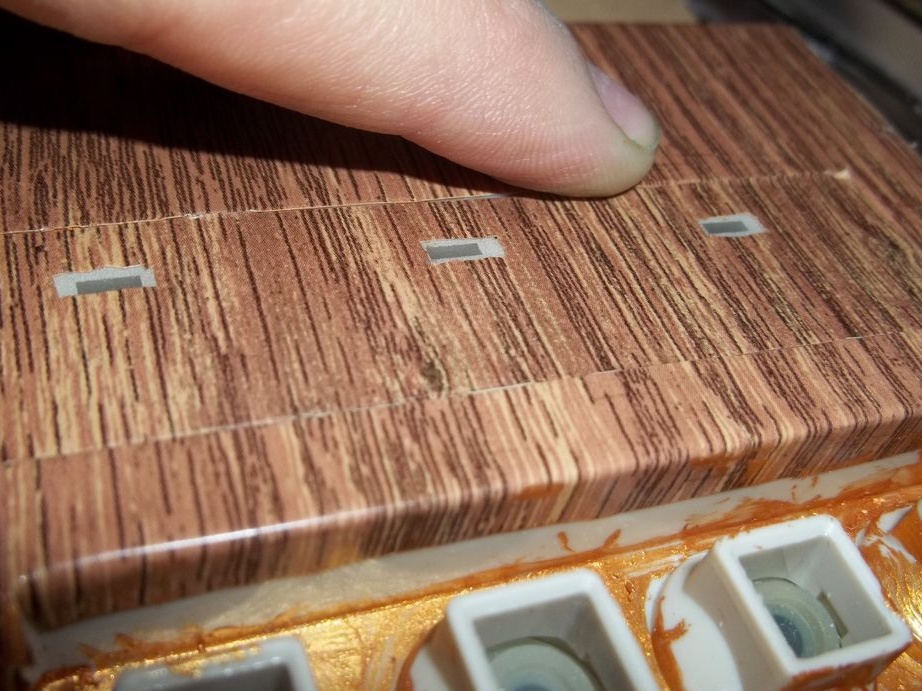
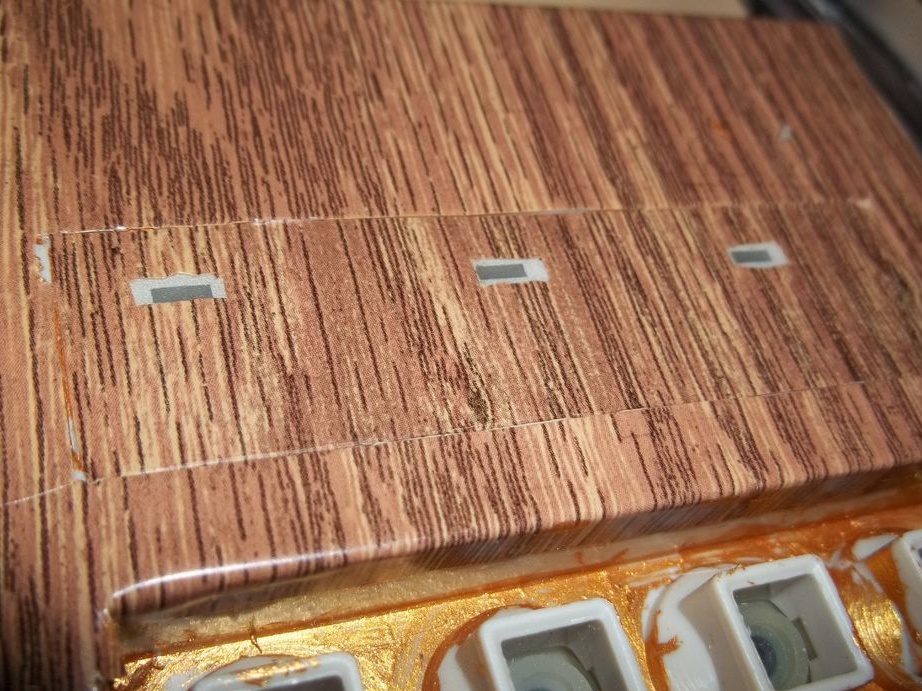
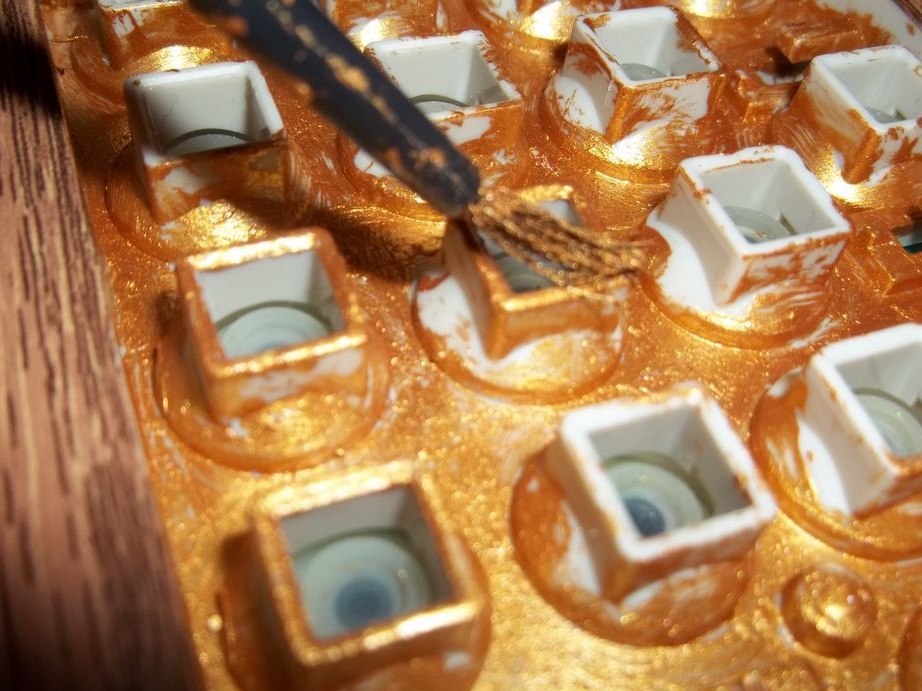
Tape the keyboard with adhesive tape. Cuts out the space for keys and LEDs. Covers non-glued parts with paint (except for the inside of the key mounting locations).
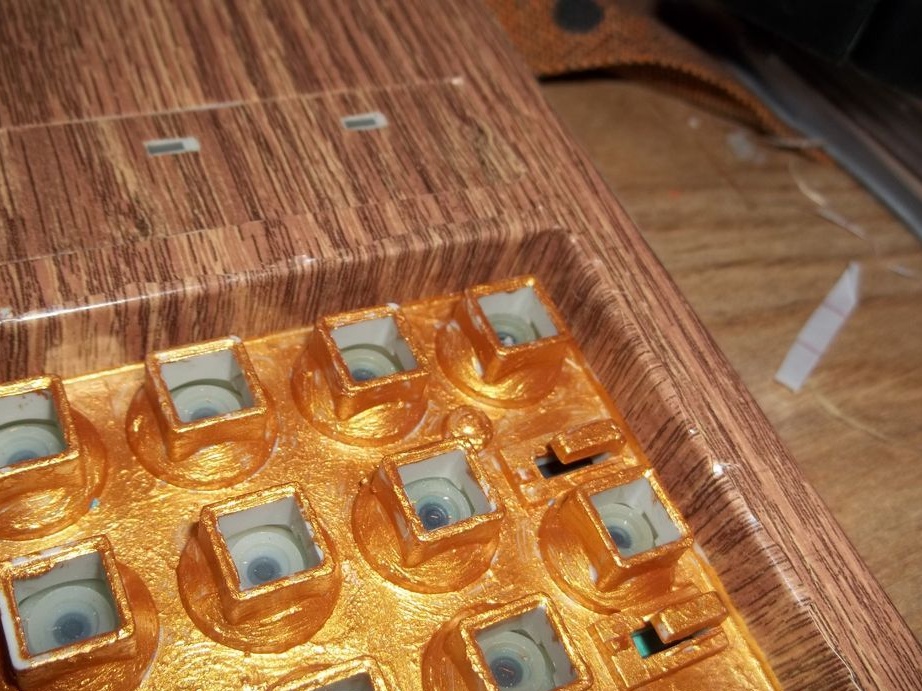
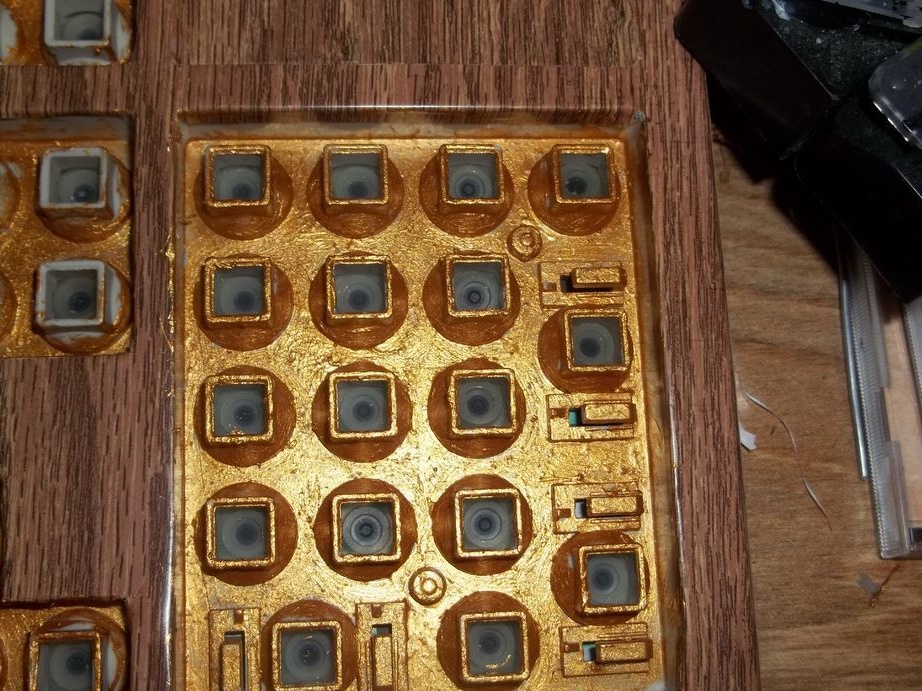
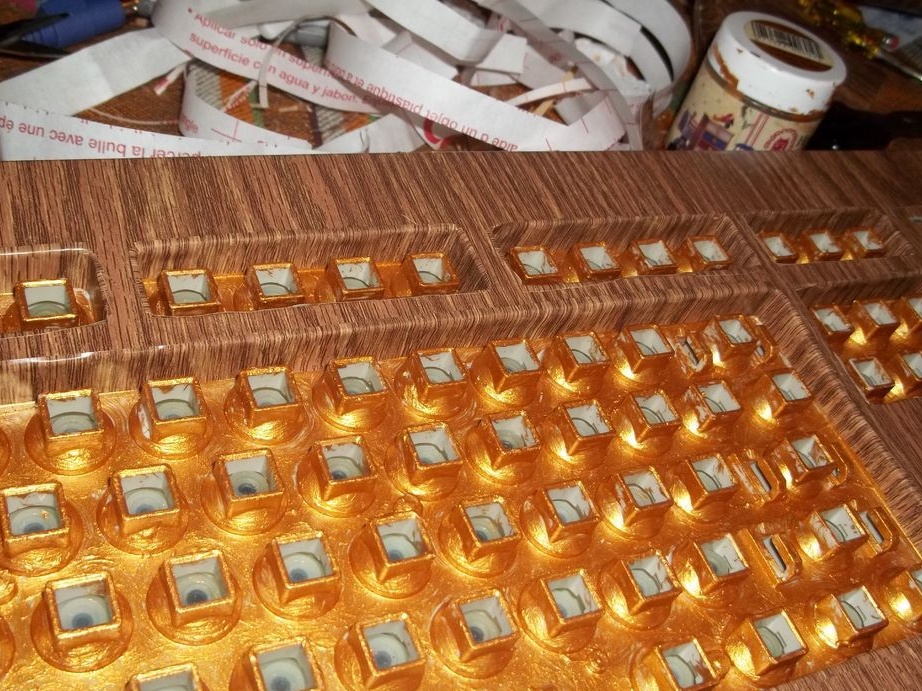
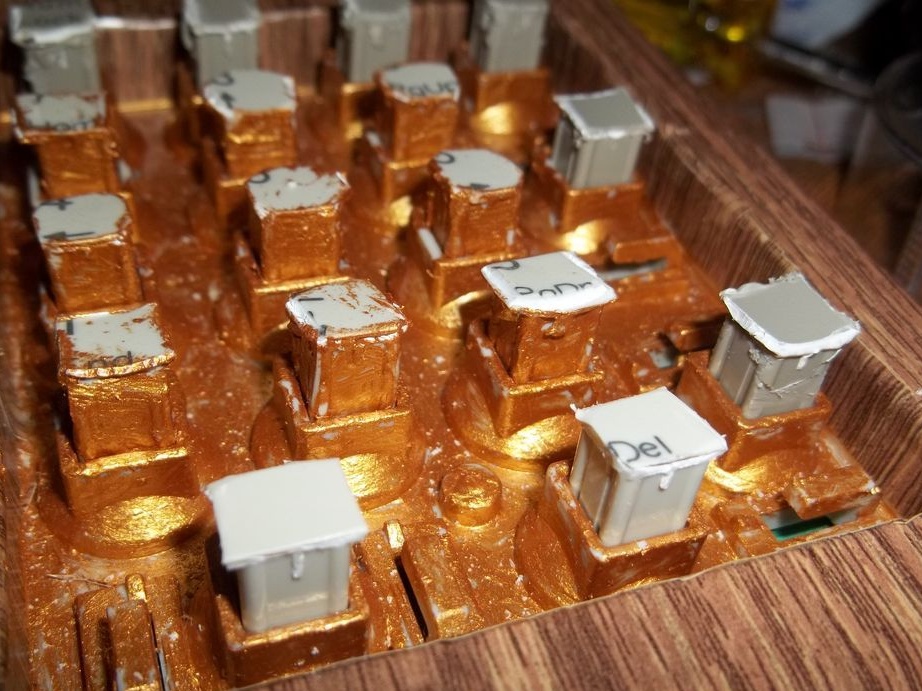
Step Four: Install Keys
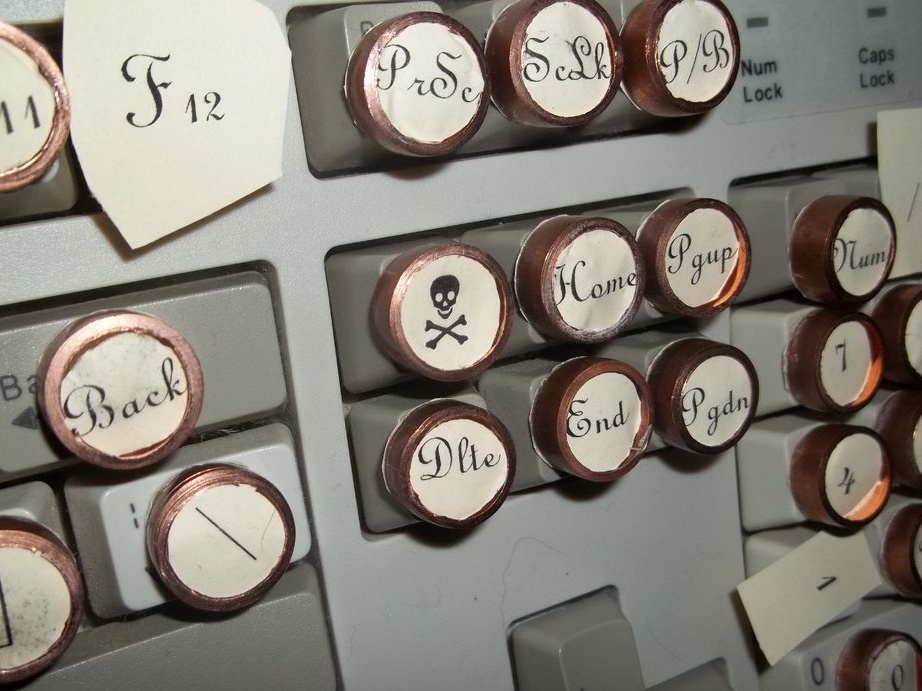
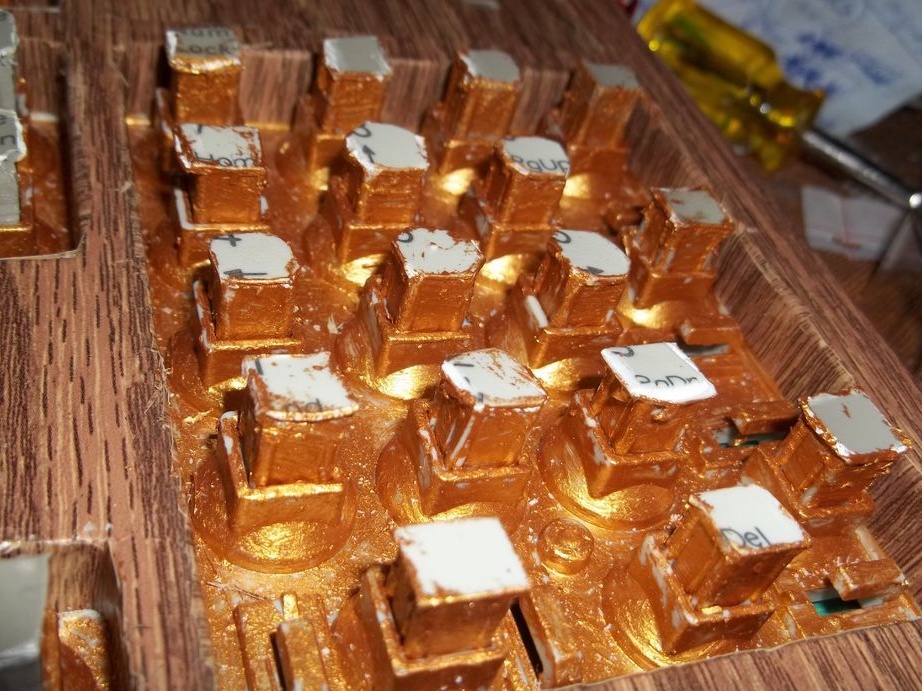
Sticks to the cropped keys made of the tube.Installs each key in its place according to the layout.


Coat the trimmed halves of the “space” with paint and glue them on the sides of the key.


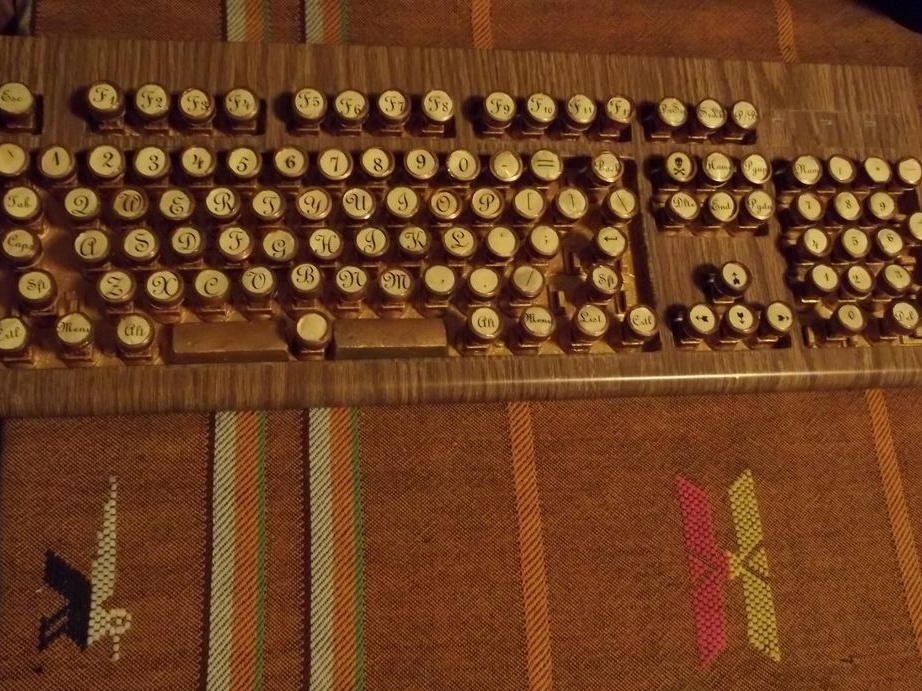
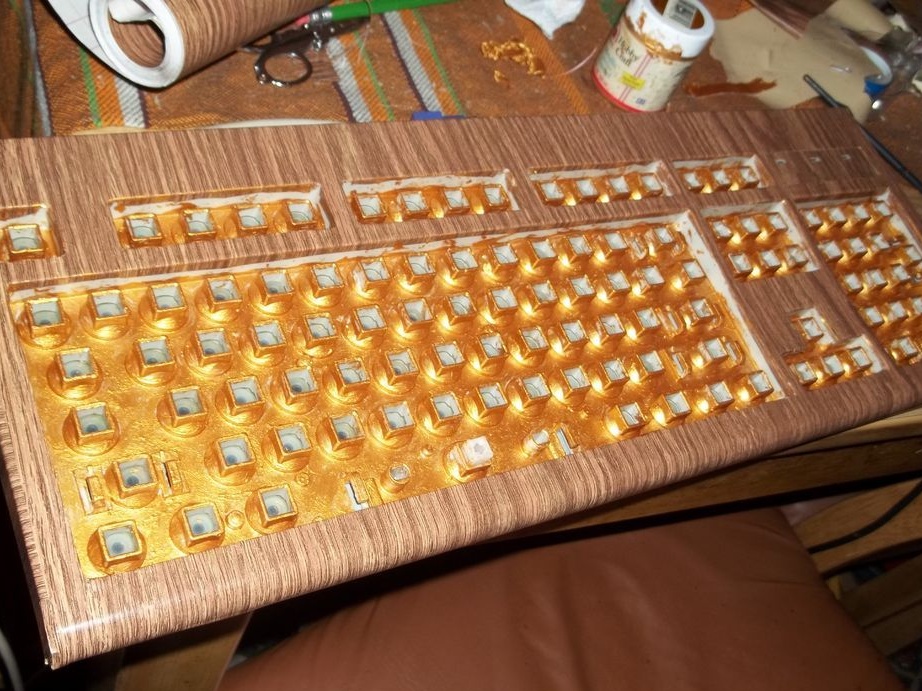
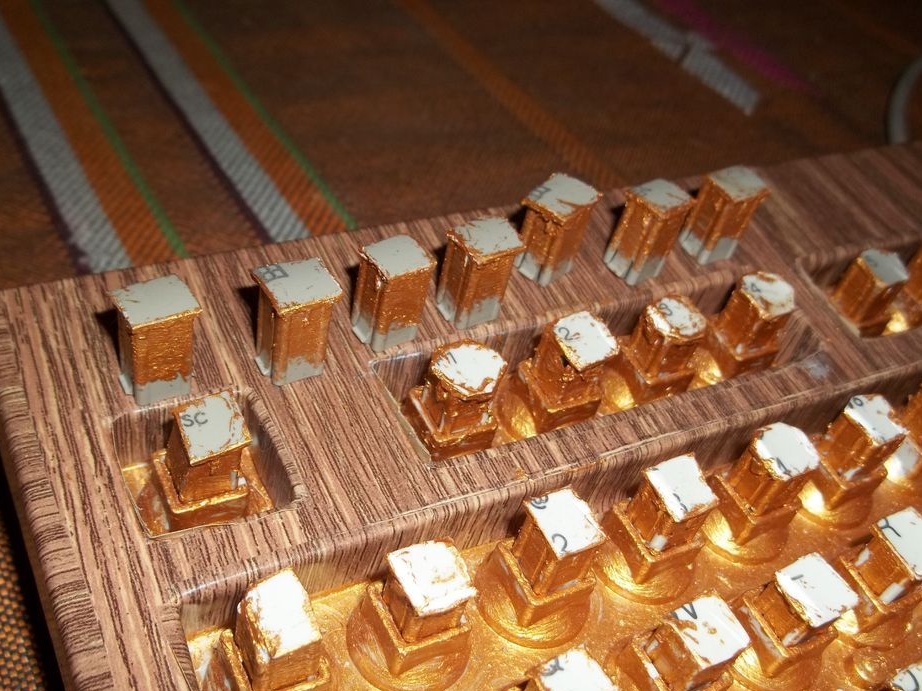
The keyboard in the style of "Steampunk" is ready, let's look at the result.


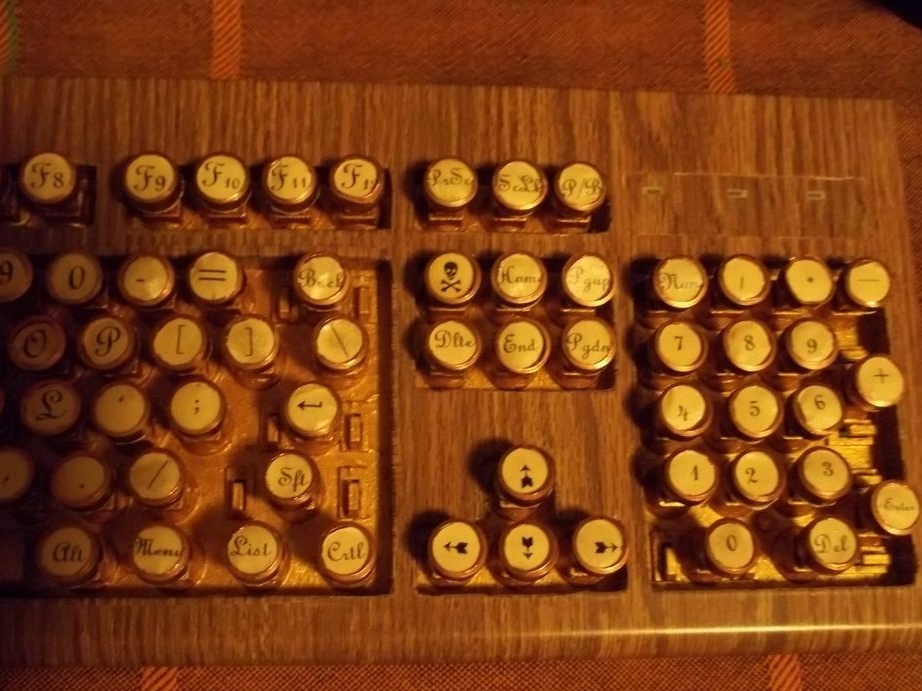
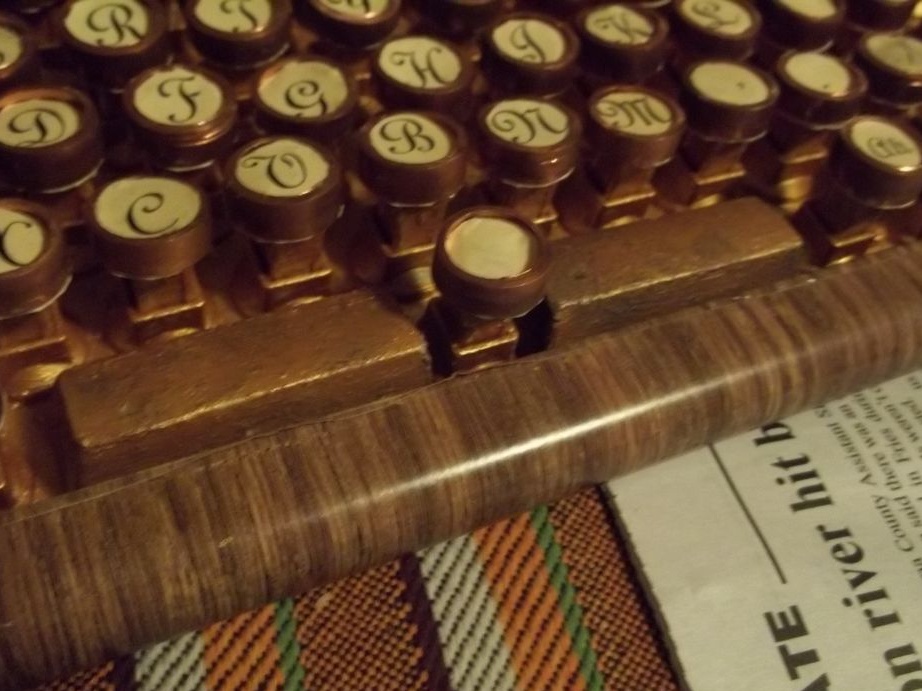

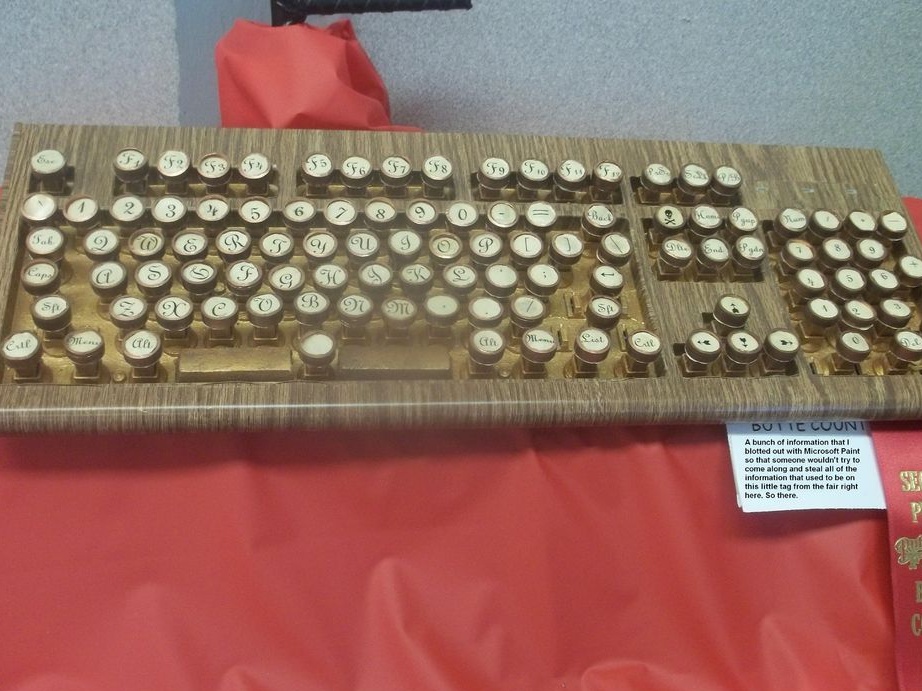
It turned out not bad. The only thing needed to be more careful approach to staining.