Dear site visitors, from the master class presented by the author, you will learn how to independently make a gate for the fence.
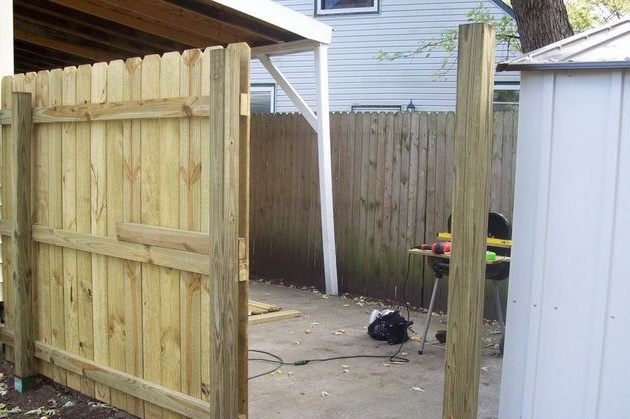
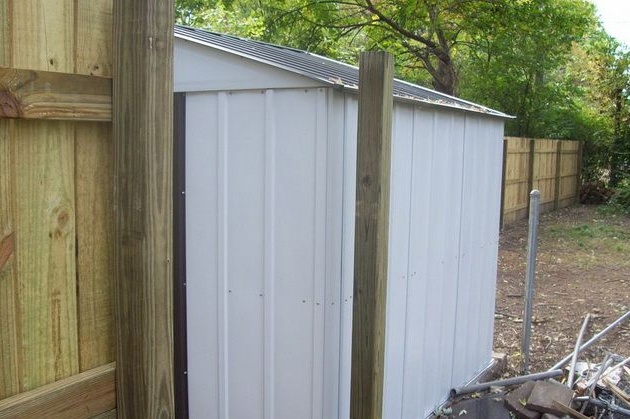
As everyone knows perfectly, a good way to protect your home from uninvited guests is to build a good and solid fence. It will also be important to make a high-quality gate or door. Naturally, the material should be used the same as for the main fence: wood, metal, professional sheet. Wooden fences from a board are always in fashion, no matter the time, it is better to find better and more beautiful material.
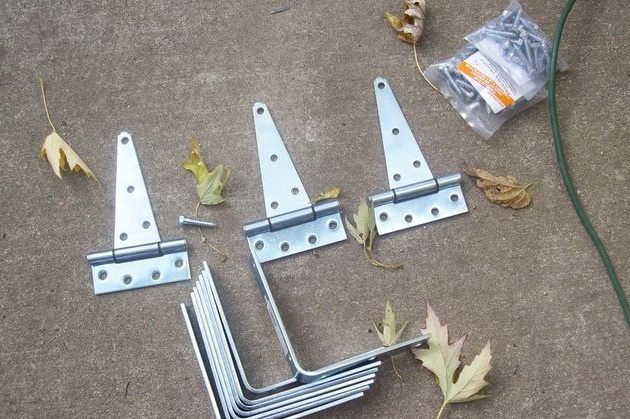
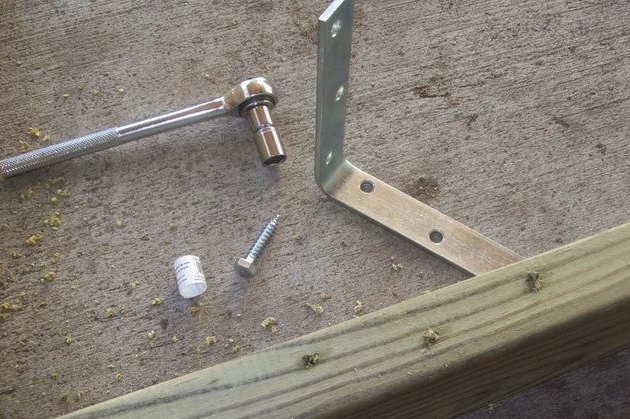
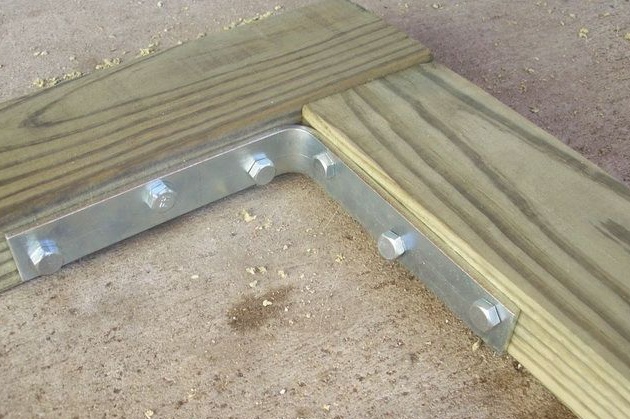
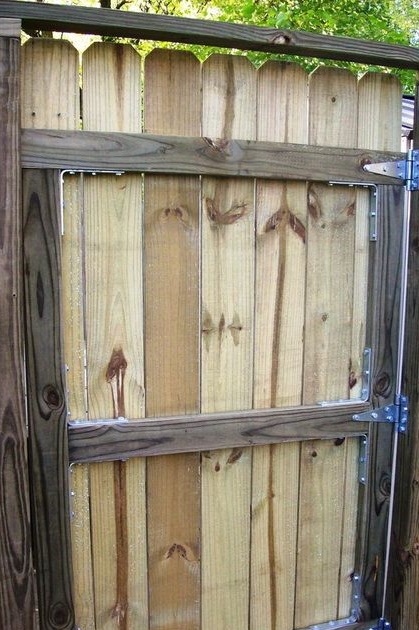
For the base of the gate, a beam is best suited, and it should be beaten with a board. It will also be wise to strengthen the structure with metal corners, because over time the tree will dry out, sag, and thanks to the corners the door will remain unchanged for many years.
And so, let's look at what exactly will be needed to create a gate
do it yourself?
Materials1. beam
2. board 25-30 mm
3. screws
4. loops
5. metal corner
6. self-tapping screws with 6 facets
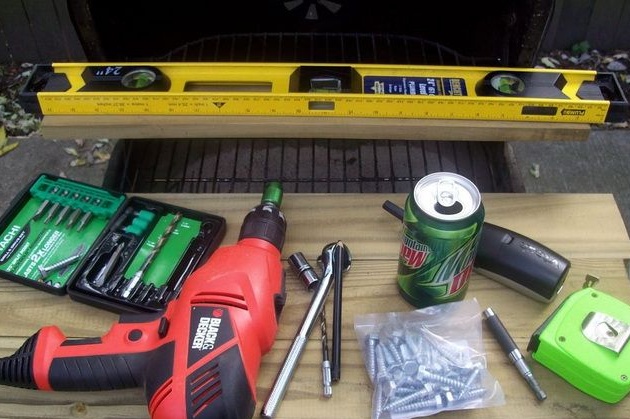
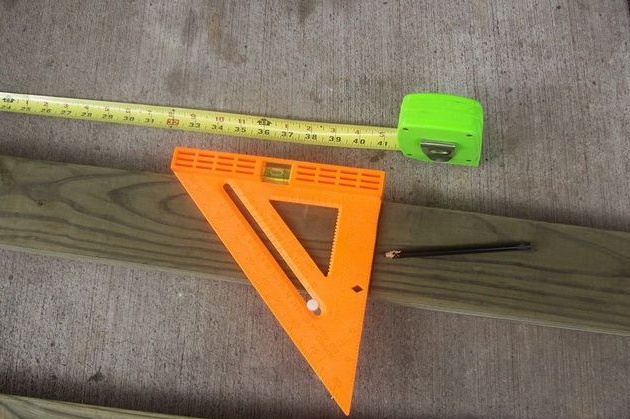
Instruments1. hacksaw
2. level
3. drill
4. screwdriver
5. ratchet wrench with head
6. hammer
7. angle
8. ruler
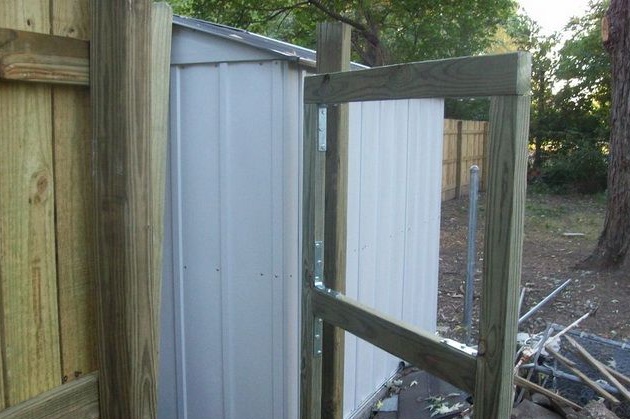
Step-by-step instructions for creating a wicket for a fence with your own hands.The first step is to take the dimensions between the fence posts where you are going to make the entrance, if the distance is large, you need to dig another pillar in order to reduce the distance, thereby making the door smaller.
Then you should prepare all the necessary tools.
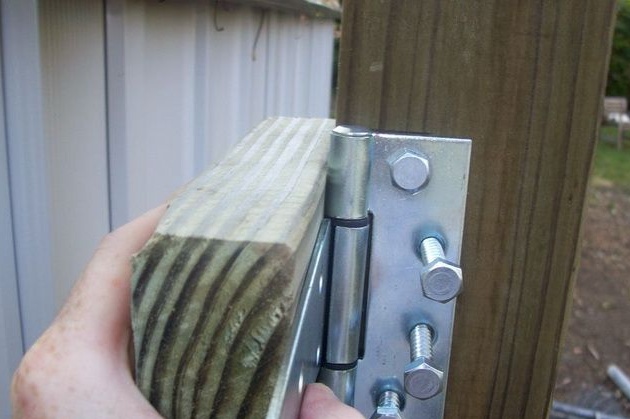
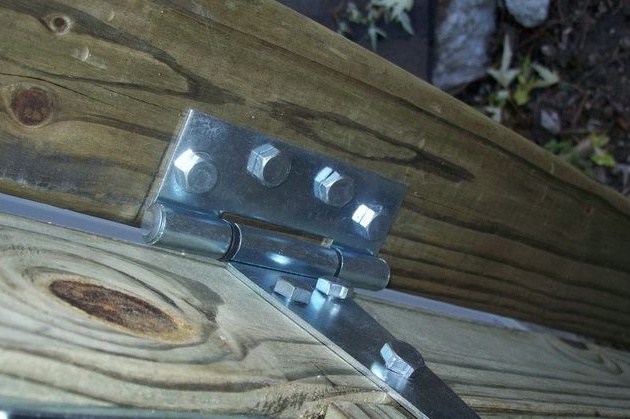
It is better to use 3 loops for the gate, thus it is less likely that it will sag over time, that is, 3 points distribute the door weight in equal parts and the load on 1 loop, respectively, is less.
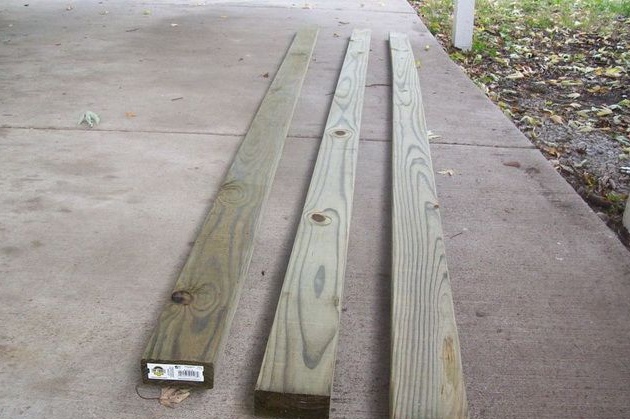
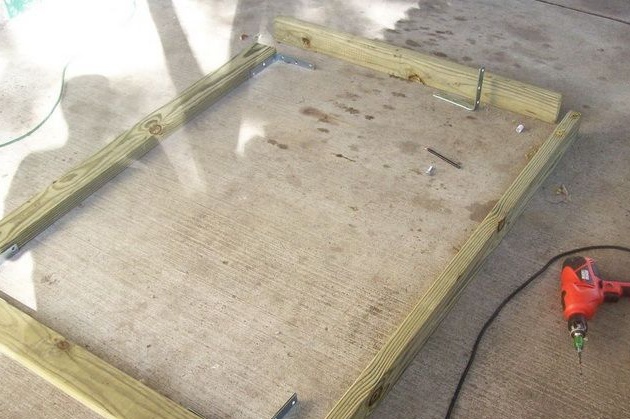
We also prepare a bar or a thick board for the manufacture of the base.
Then you should take the size between the posts.
The distance should not be too large, it is enough for a person to enter with 2 buckets of water, as they used to do in villages when there was no water supply and carried water in buckets.
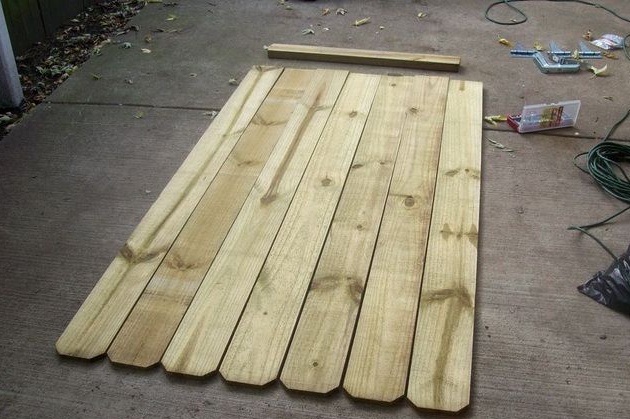
After removing the size, you need to prepare the boards and lay them on a flat surface.
Next, we proceed to the manufacture of the base of the gate, the saw cuts must be even, so you should use a ruler and a square.
The beam is sawn according to the sizes (in each individual case they will be different, that is, we customize our physiological characteristics as well)
The design is best fastened with metal corners, so the door will last a very long time.
2 beams are fitted and pulled together with self-tapping screws with 6 facets.
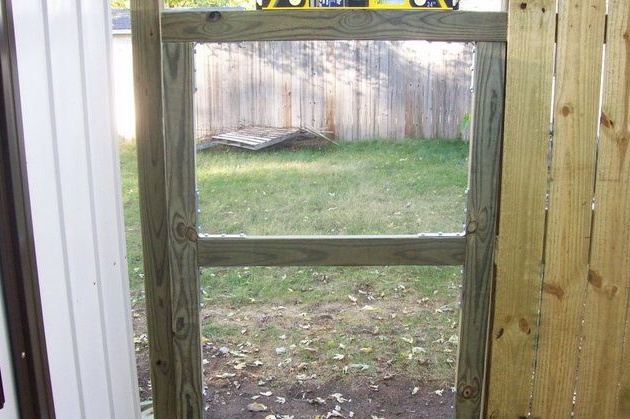
And in this way the whole gate is assembled, then it must be tried on in the opening.
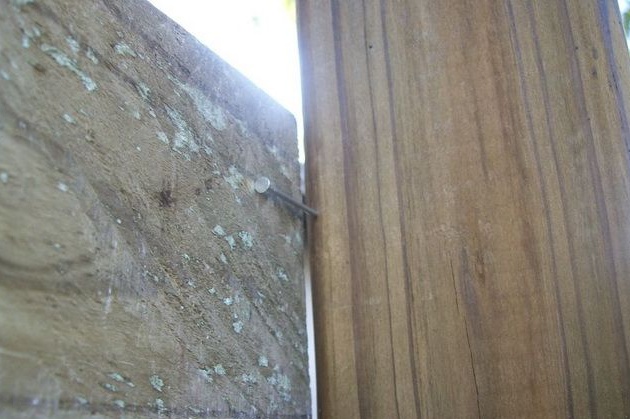
Before direct installation, it should be adjusted in height, as well as drive in a nail-limiter.
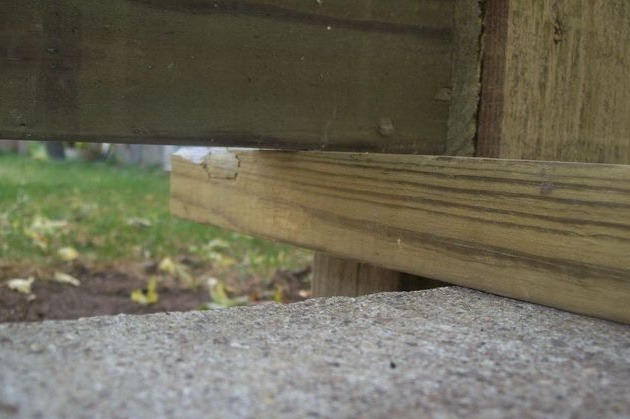
In the lower part there should be a clearance of the order of 5-10 cm, for which you need to put a board or a beam.
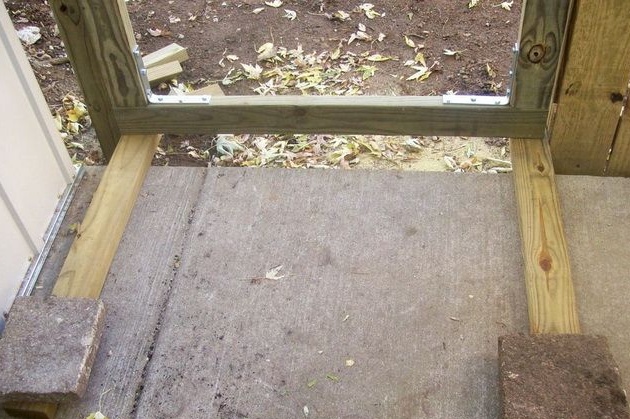
The author acted as follows, namely, he placed the bars and put them on the edges on a brick, thereby fixing in one position.
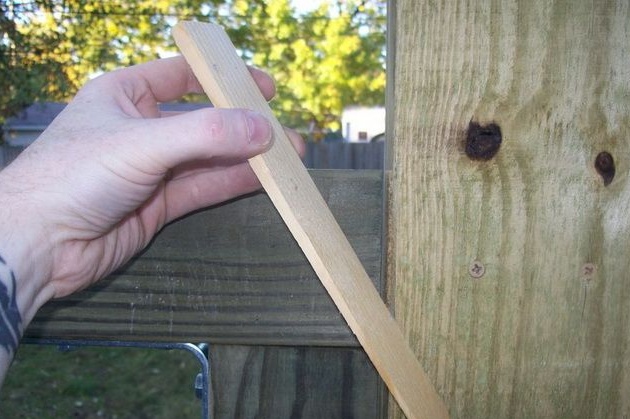
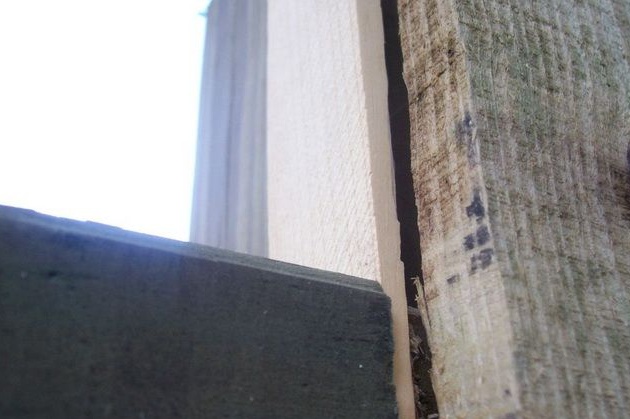
There should be a small gap between the fence post and the door, for which a small sliver or plank should be placed.
Be careful and do not miss this moment, a gap is required!
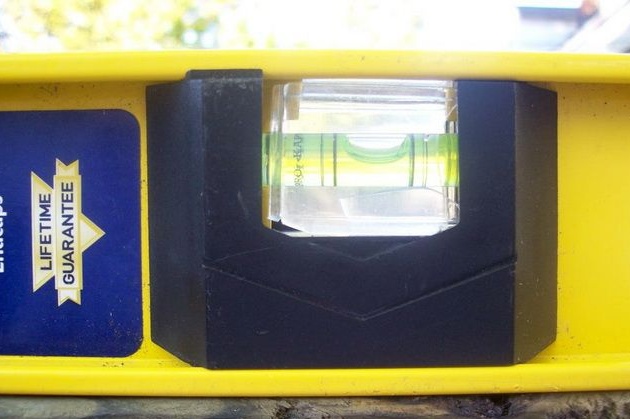
Next, you still need to check and set the level.
After which it is already safe to screw the hinges of the gate to the fence post.
It is better to use serious fasteners, because it will be reliable and practical.
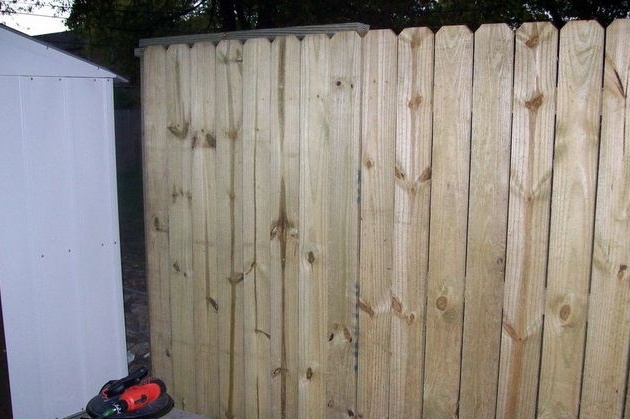
Next, the base is finished with a board, it should be 10-20 cm smaller than the board. This installation option allows you to do everything alone without outside help, because the weight of the base without the board is quite light, and putting a board on the finished surface will not be difficult.
That's actually the fence is ready.
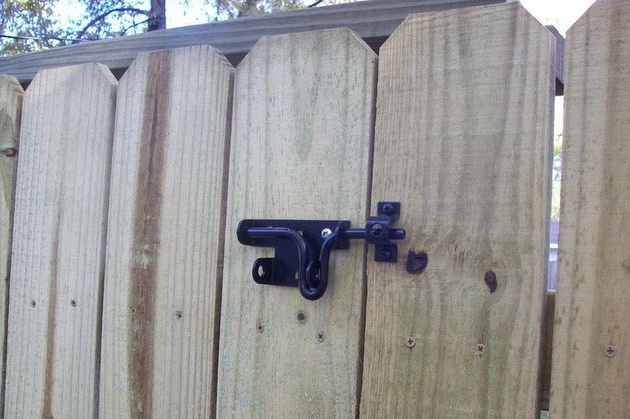
It remains to screw the lock and handles.
Thus, the author made the gate alone and without outside help. As you can see, there is nothing particularly complicated in this matter; anyone who wants to and who knows how to hold the tool in the hands of a person can handle it. So go ahead Friends!
This concludes the article. Thank you very much for your attention!
Come visit often and do not miss the latest in the world of homemade goods!