Dear visitors of the site, from the material presented by the author, you will learn how to independently insulate the facade of a private house using polystyrene and reinforcing mesh, followed by plastering and painting.
Today in construction stores there is a huge selection of all kinds of materials for insulation, wall decoration of houses and household buildings. Of course, in the first place is polystyrene, the material is lightweight, it retains heat well, it has a good noise isolator, but there is a drawback, because of its fragility with excessive exposure, you can break the sheet or crumble. Polyfoam is widely used in construction, industry, even the food industry, that is, a fairly versatile material. For decoration is available in the form of sheets of various sizes and thicknesses. These slabs are easy to mount due to their low weight, because 90% polystyrene foam consists of gas enclosed in separate foam cells.
And so, let's look at what specifically the insulation of the walls of a private house will be needed?
Materials1. polystyrene
2. plastic foam fastener (fungus)
3. fiberglass reinforcing mesh
4. screws
5. beam 50x50
6. glue
7. mounting foam
8. perforated corner
9. primer
10. putty
11. facade paint
12. nails
Instruments1. spatula
2. ax
3. stationery knife
4. hacksaw
5. punch
6. ruler
7. roulette
8. brush
9. roller
10. container for glue
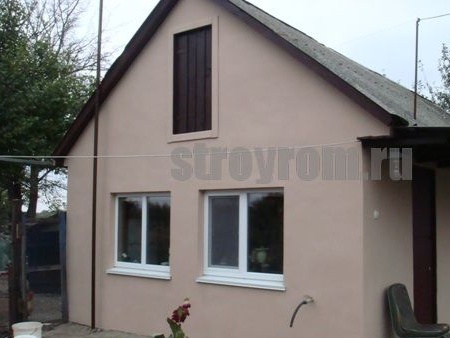
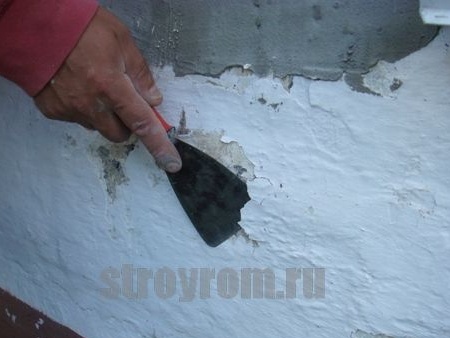
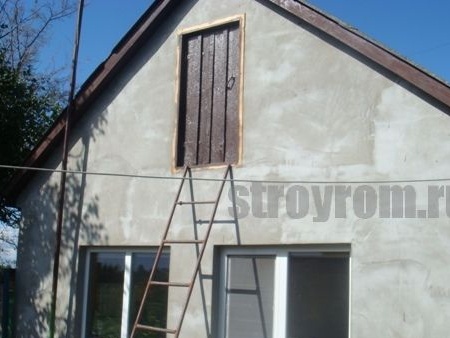
Step-by-step instructions for warming the walls of a private house do it yourselfFirst of all, it is necessary to prepare the surface of the walls of your home, namely to get rid of the old whitewash, paint and plaster. In the author’s case, his house was well over 30 years old and during that time the walls were covered with a decent layer of whitewash and oil paint in the corners. The house is built of cinder block and partially red brick.
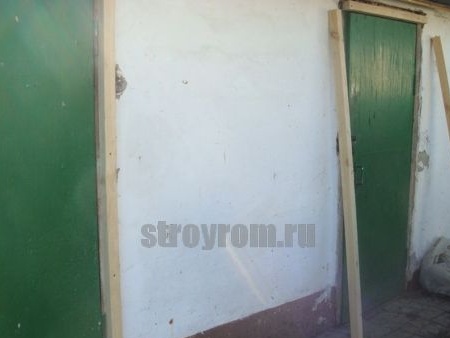
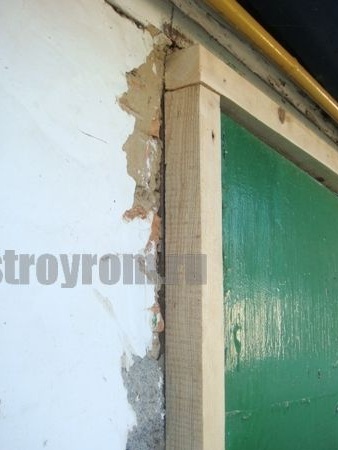
Doorways should be increased by the thickness of the insulation used, in this case, 5 cm foam sheets. That is, the author used a beam with a section of 50x50 and found them on top of the door jambs. This is necessary so that in the end the walls are under one with the doorways, it is also necessary to take into account the layer of plaster with a reinforcing mesh. But there is a drawback, namely the door will not open at 180
0 only 110-115
0 which, in principle, is quite enough.
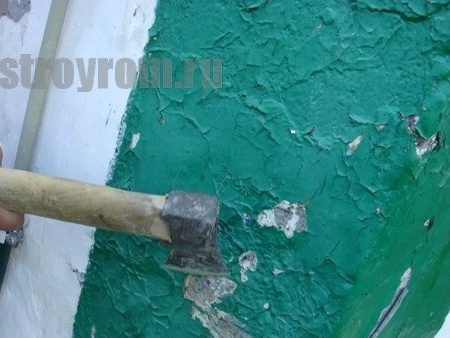
Next, you need to remove the layer of whitewash and paint, the author does this with an hatchet, according to him, the paint does not have to be peeled off entirely, but it is enough to make notches with an ax so that you can plaster the surface later on.
The master also advises that before you start to remove the lime whitewash, you need to thoroughly moisten it with water from the hose and wait a bit, and then calmly remove layers with a spatula.
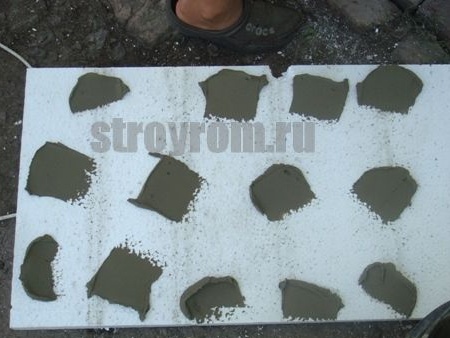
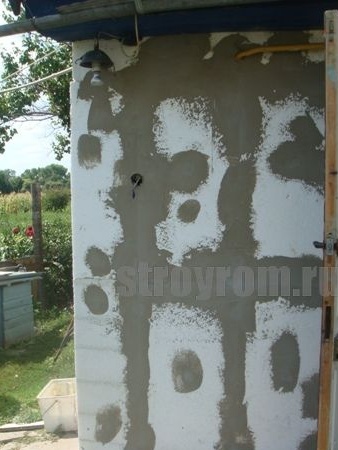
Then the prepared surface is putty and primed. Next, it is necessary to apply glue to the foam sheet, the spatula makes the digs along the sheet area, and after it is applied to the wall, the composition will spread over the surface. Glue should not be afraid of temperature changes!
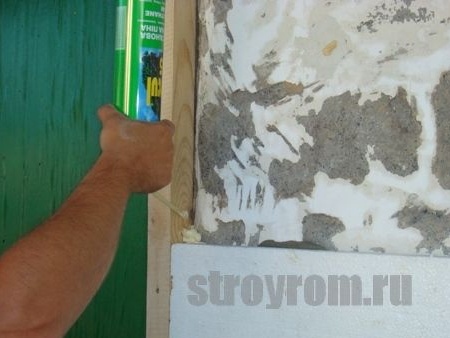
The joints must be passed with a mounting layer of foam in a thin layer, this will give a seam tightness and strengthen the design.
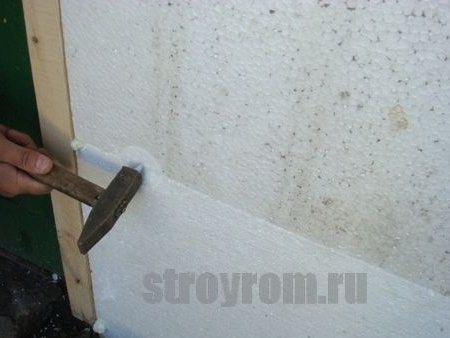
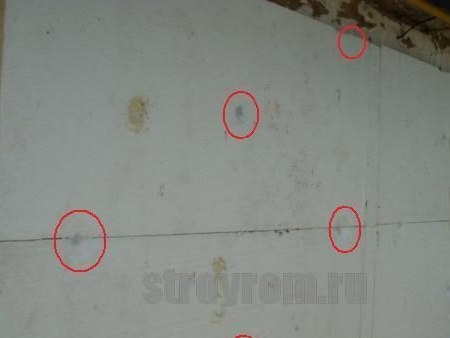
An additional fastening will be a plastic fastener (fungus or umbrella). Holes are drilled with a puncher.
A fungus is inserted into the drilled hole and clogged with a hammer.
On one sheet must have at least 5 fasteners.
Then you should plaster the joints of the plates and small irregularities.
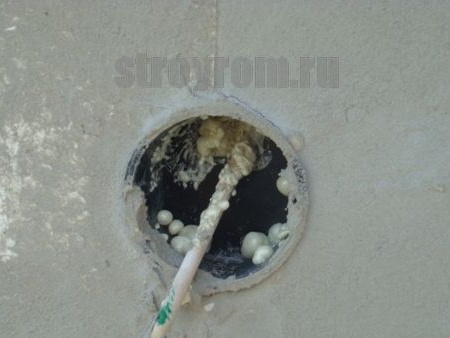
The box for switches or sockets is mounted directly into the foam using mounting foam.
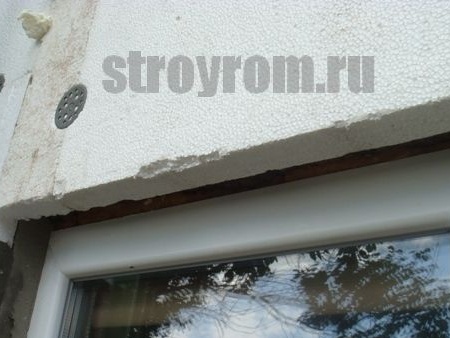
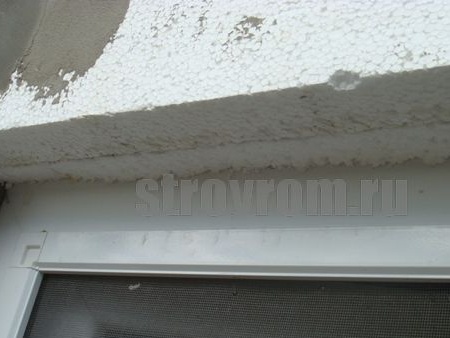
The author advises when installing foam sheets at window openings that the factory cut should be directed towards the window, so it is easier to align and fix the corners.
In the process, a void was formed between the insulation and the window frame.
We cut off a piece of polystyrene according to the size of the resulting emptiness, we pass with mounting foam and fill the opening.
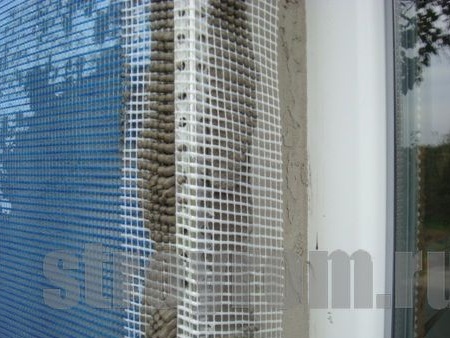
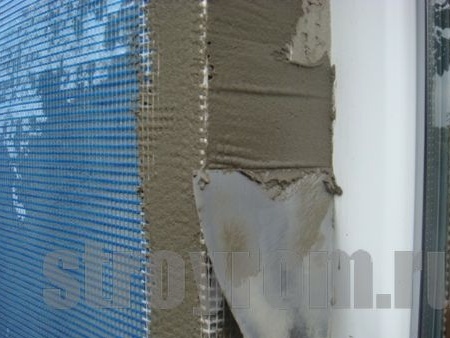
Next, a fiberglass reinforcing mesh is attached to the surface of the foam, the author did this with the help of studs and screws.
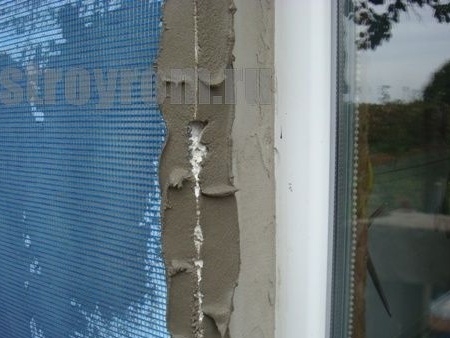
It is very important to install a metal perforated corner on corners and slopes.
Glue is applied and a corner is already applied to it.
Glue is applied over the corner and the net.
It is leveled by means of the pallet.
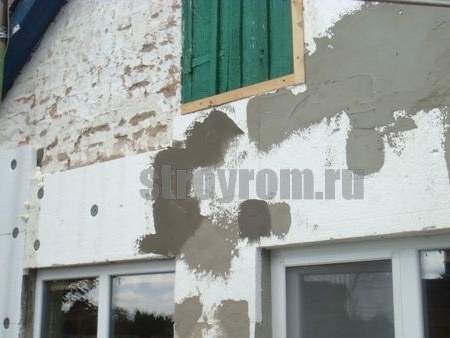
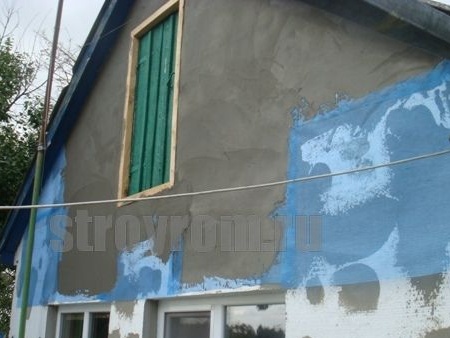
Then, a solution layer is applied to the entire prepared surface of the reinforcing mesh and stretched over the entire area.
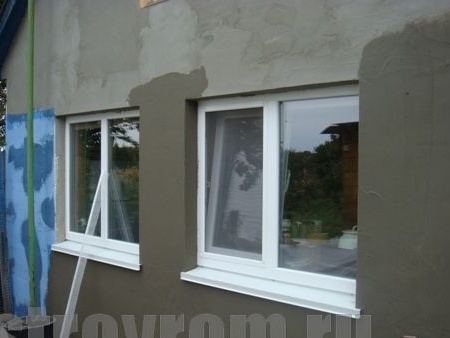
After the walls have dried on them, it is advisable to apply another leveling layer of the facade mortar.
Further, it is necessary to apply a primer layer on the walls that have dried after finishing, this will save several liters of facade paint. We paint the walls.
Thus, the author insulated the walls of his house, now in the winter season the house will be warmer, and the owner will save on heating, which will positively affect the family budget. As you see, there is nothing complicated in this matter and any person who wants to cope with at least a little ability to hold the tool in his hands can handle it. Everything is simple and affordable! Go for it friends!
This concludes the article. Thank you very much for your attention!
Come visit often and do not miss the latest in the world of homemade goods!