Dear visitors of the site, from the material presented by the author, you will learn how you can independently build a cellar in your house or summer cottage.
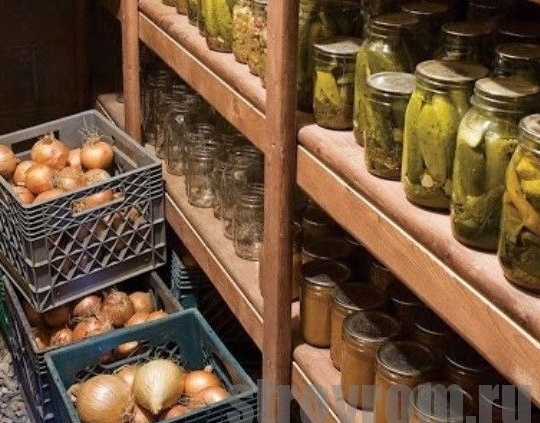
The cellar serves a person to store and save food: vegetables, fruits, grains, the room temperature is optimal for long-term storage and is kept in the range from 0 to 8 ° C
0. Mankind has stepped far forward in its development and has come up with many ways of long-term storage of products, as well as refrigerators and other installations, but the cellar is still an integral part of the village house. The main thing is that the cellar does not consume any energy, while it is environmentally friendly and completely safe for human health.
Also, if you make another “Glacier” in the cellar, then you can store meat, lard, milk in it. This kind of freezer. In general, the cellar is cool!
And so, let's look at what is specifically needed to build a cellar
do it yourself.
Materials1. cinder block
2. cement
3. sand
4. fittings
5. metal pipe 16-20 mm
6. waterproofing
7. board 25-30 mm
8. roofing material
9. ventilation pipes
10. wooden beam
11. ceramic plate
12. nails
13. screws
14. floorboard
15. stain
16. varnish
17. bitumen
18. rubble stone
19. grand screenings
20. plaster
21. whitewash for walls and paint
Instruments1. shovel
2. trowel
3. putty knife
4. hacksaw
5. drill
6. Bulgarian
7. hammer
8. roulette
9. level
10. mallet
11. trowel
12. ruler
13. corner
14. brush
15. roller
Walkthrough for building do-it-yourself cellars.First of all, you need to determine the location of the future cellar, it is desirable that it is located not far from the house, so that it is convenient to go into it for groceries or vice versa to make supplies and place them on shelves. Then decide on the type of construction, there are only 3 of them: underground, semi-underground and land, the latter option is suitable only for the southern regions, where the depth of freezing of the soil in winter is small. For the northern regions, underground and semi-underground are best suited, because the freezing depth can be more than 1 meter, and in the underground storage it is completely fearless and the supplies will not freeze.
According to the law, the cellar belongs to household buildings and it can be built without coordination, but it should be borne in mind that the buildings and structures on the site should not exceed 30% of its total area.(see legislation of your country)
In short, we build and do not worry))
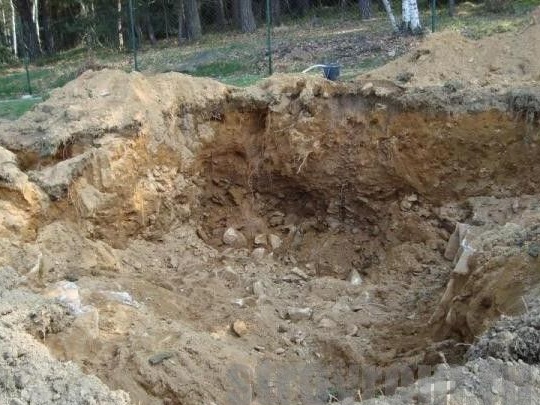
Next, we begin to dig a pit. Its depth, as usual, should be at least 2 meters, and the remaining sizes will be individual depending on your preferences. We take a shovel and dig)) "Take more, throw further while the rest flies"
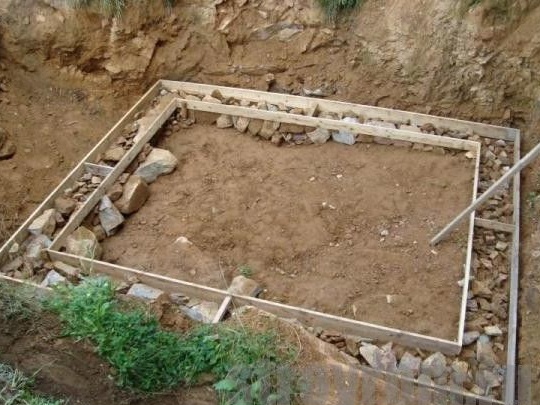
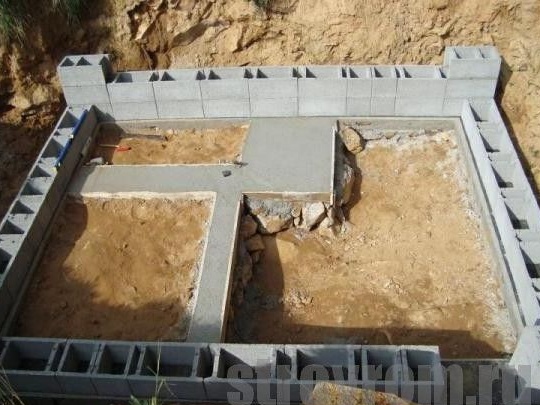
The work is hard and time-consuming, you have to sweat pretty. After the pit is dug up, you should begin to form the formwork from the board for the subsequent pouring of the foundation. We put rubble stone at the bottom, maybe you are lucky and pick up enough stones directly when digging a hole, a small saving.
After which the formwork is poured with cement mortar in a ratio of 1/3, that is, one part of cement and 3 parts of sand.
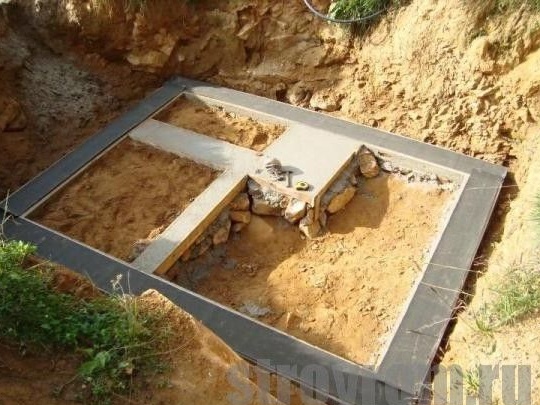
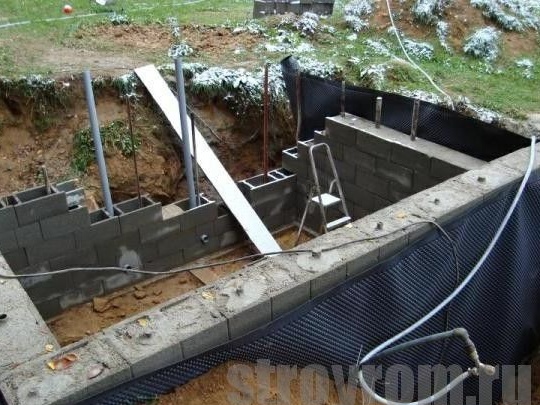
The poured foundation must be allowed to harden and grow stronger, according to the standards, this process takes 28 days, according to custom, they are already starting to build in a couple of weeks, because the deadlines are running out and everything needs to be completed over the summer. A waterproofing layer is laid on the foundation (2 can be) and we begin laying the walls from cinder block.
Since the cellar is high humidity and groundwater, it is imperative to waterproof the external sides of the wall, since there are plenty of materials today.
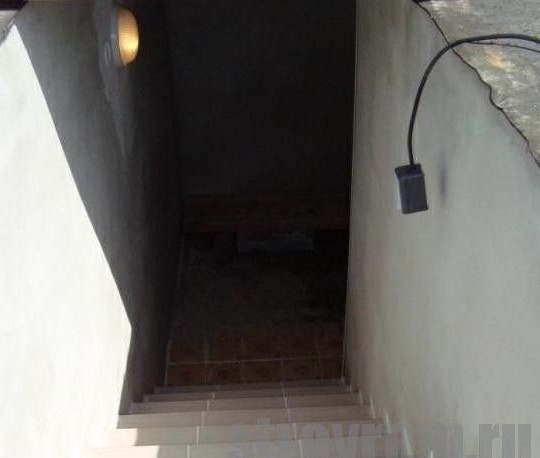
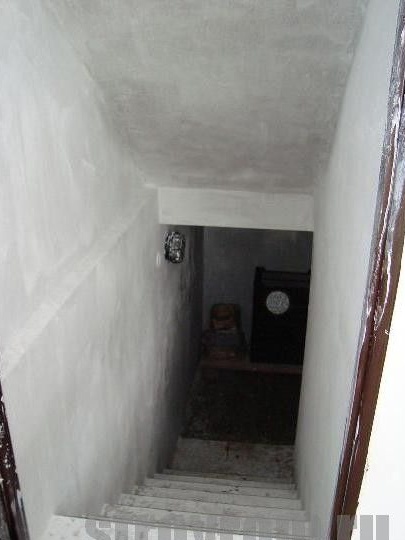
As the wall is being erected, the construction of the stairs must also be taken care of, the author decided to make it concrete and prepares a wooden formwork.
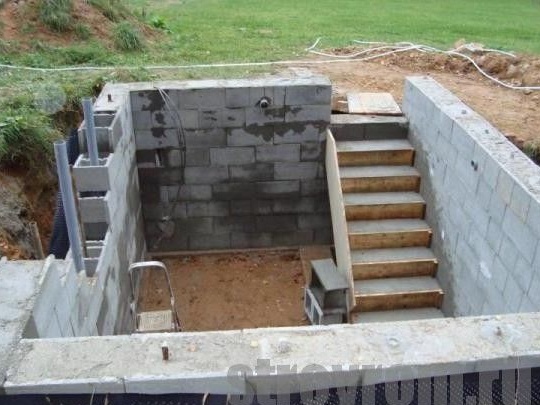
Fills steps with concrete.
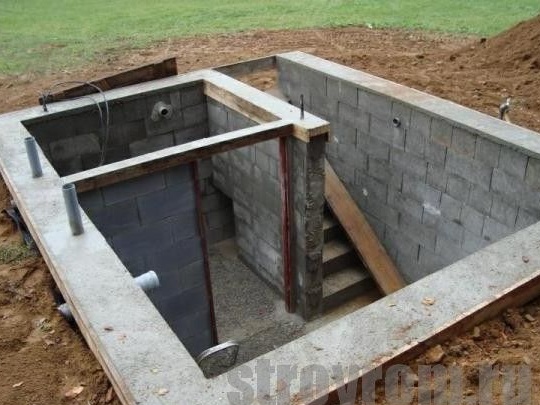
Builds partitions indoors. Also, for additional waterproofing, the floor before concreting can be poured with molten bitumen, or you can buy modern materials for this purpose.
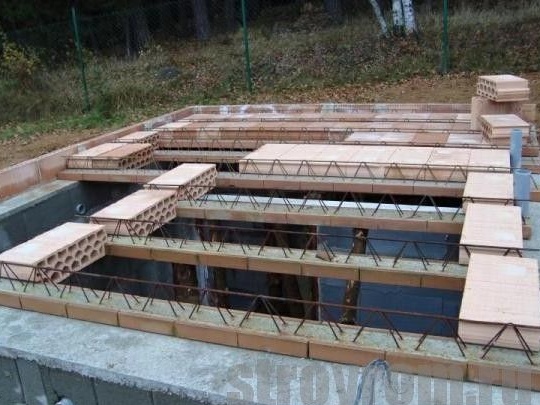
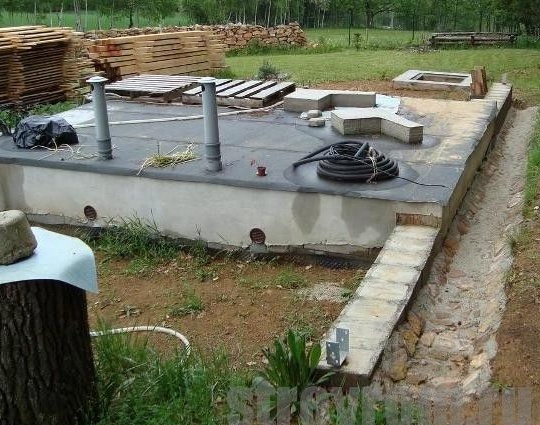
The walls are completely ready, reinforcement is inserted into the cavity of the blocks and filled with mortar. Further, the author proceeds to create the overlap, here also uses a welded construction made of reinforcement and hollow ceramic blocks.
The result is a flat platform of blocks.
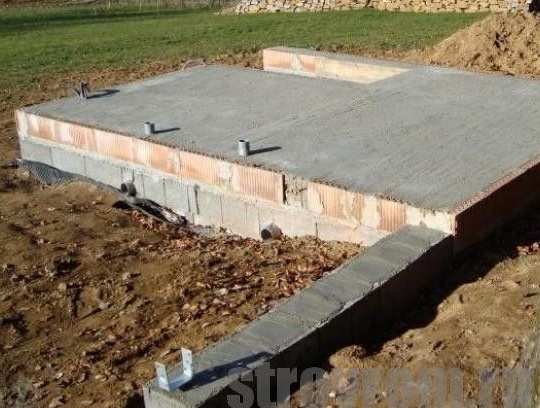
After which everything is poured with cement mortar and leveled.
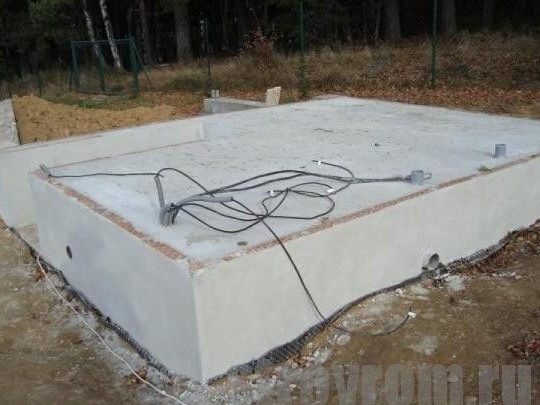
At the construction stage, you must immediately worry about the supply of electricity.
Important!The cellar must be equipped with a ventilation system so that dampness and odor do not accumulate in the room. In this case, 2 pipes are installed, one on the air supply (50 cm from the floor level), the second on the air outlet from the cellar (50 cm from the ceiling), shutters should be located inside to regulate the draft and complete overlap.
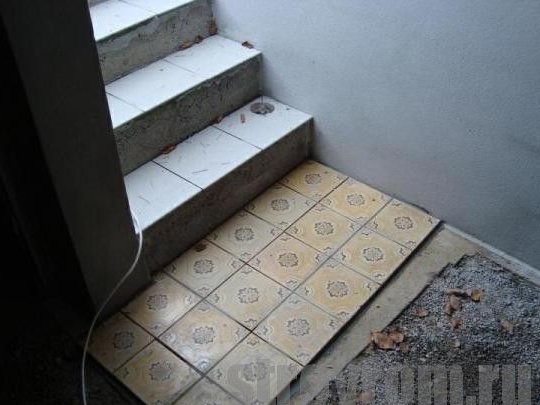
The staircase and floors in the cellar should preferably be tiled with a rough surface.
Blocks should be made around the storage area to divert water.
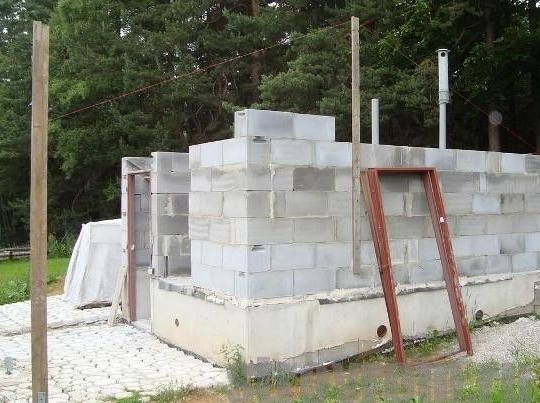
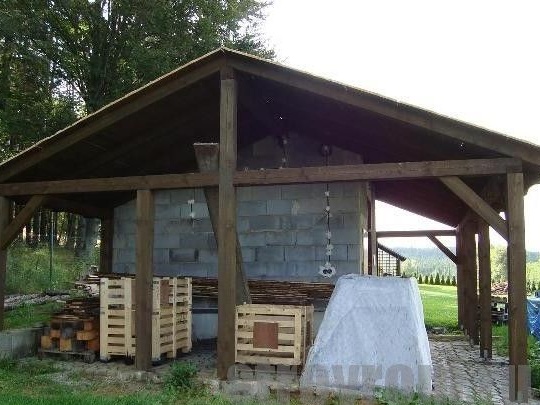
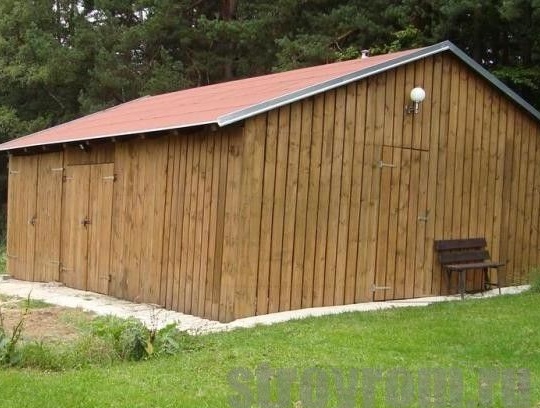
After which the author begins the construction of the house.
This building is necessary for a smooth temperature transition, that is, it’s cold in the cellar “Yak on the seabed))” And the heat is +30 on the street, so that so that the heat does not enter the cellar sharply, a small house is being built.
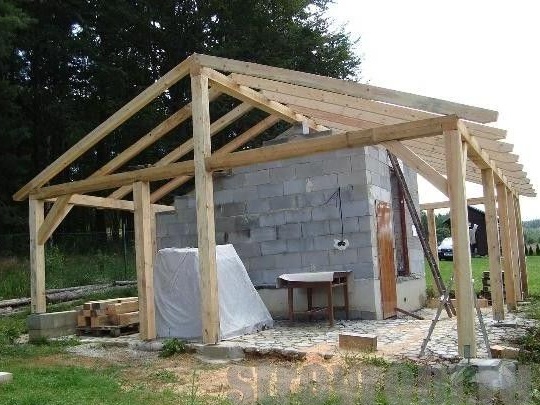
The owner decided to expand and build on a wooden building, which can also be used for household purposes.
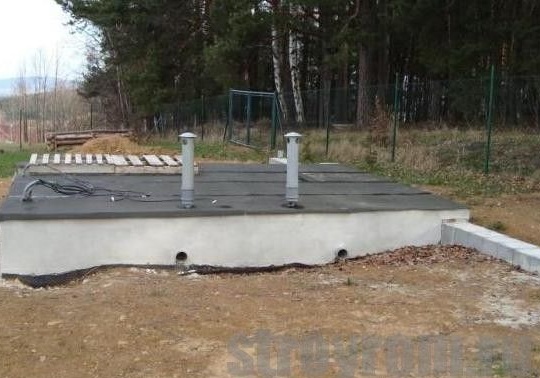
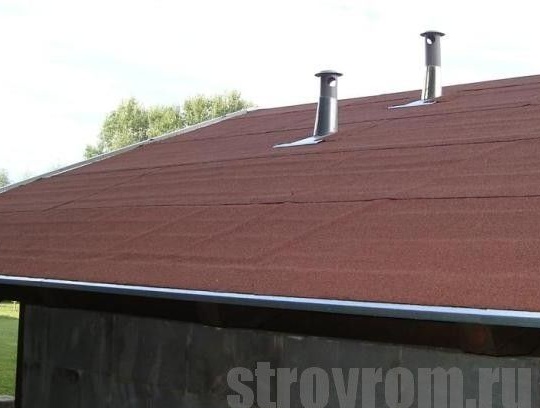
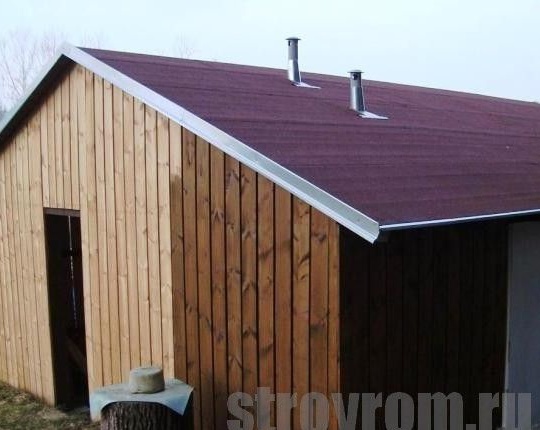
Note! Ventilation pipes were extended and led to the roof, protective caps were also installed. The roof is covered with a soft roof (you can use any)
The walls must be covered with a protective compound, so you will extend the life of the building for many years.
The floor is made of a board under which a layer of mineral wool is laid.
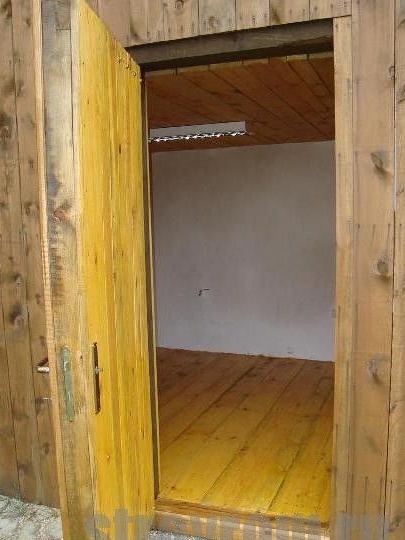
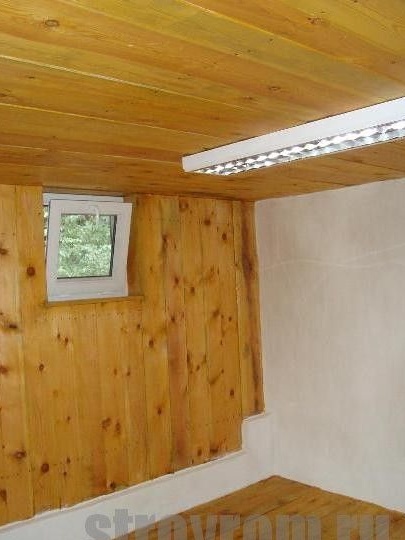
The house inside can be finished with clapboard, and the walls of the blocks simply plaster and whitewash.
The walls inside the cellar are also plastered and whitened.
Tiles are laid on the floor.
For convenient storage of vegetables, fruits, jars of jam and pickles, you need to make racks and shelves, the simplest thing is to make them from wood.
That's actually such a wonderful cellar turned out in our hero.
The work has been done very difficult and time-consuming, but believe me it’s worth it, now you can store products for years and not be afraid that they will deteriorate, And most importantly, the cellar does not require energy and will save your supplies for free. So this is a reasonable investment of forces and means. You have step-by-step instructions. Go for it friends!
This concludes the article. Thank you very much for your attention!
Come visit often and do not miss the latest in the world of homemade goods!