

Hello to all lovers homemade. This article will be interesting to those who are engaged in or plan to do video shooting, as it will be about softboxes. do it yourselfthat are needed in lighting. In this case, to create a homemade product, it is best to purchase parts from Chinese sites, since they are much cheaper.
Most of the details were ordered from the aliexpress website, links to which you will find in the description under the video and in the list of materials.
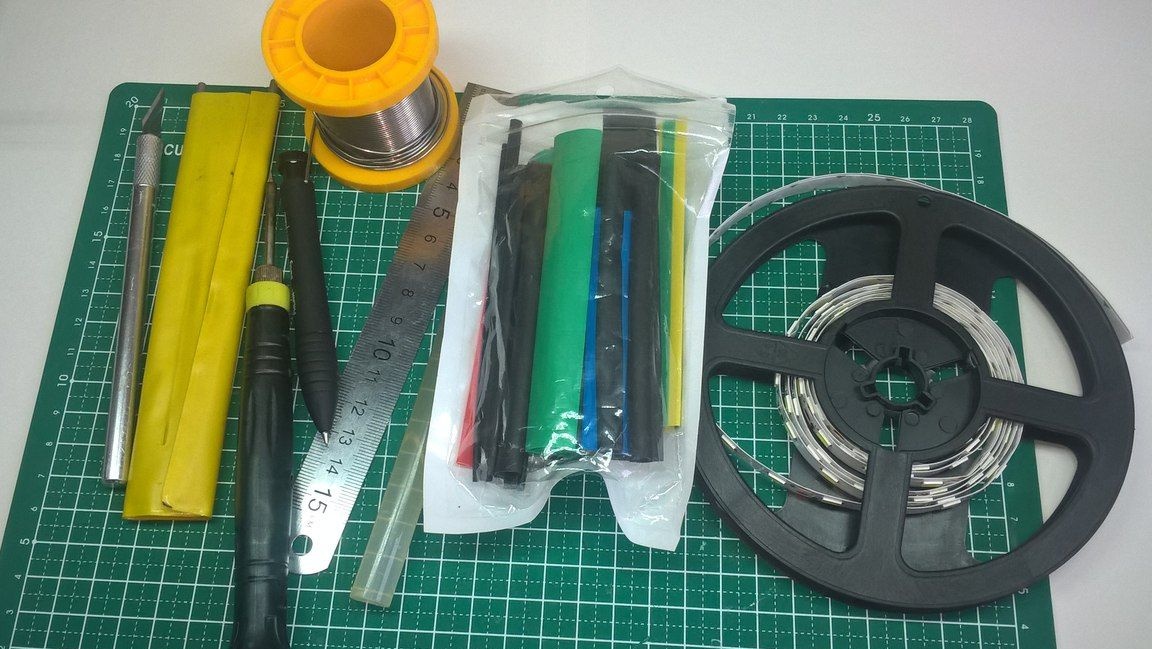
Before proceeding with the assembly of the LED softbox, you need to decide on the necessary details.
In order to make this homemade product you will need:
* A pair of halogen spotlights 150 watts (each 250 r)
* LED Strip Light ()
* Modules that increase 2 pcs from 3.7 to 13 in at 2.5 A ()
* 3-position switch 2 pcs 6 output ()
* Two switches to turn on the module ()
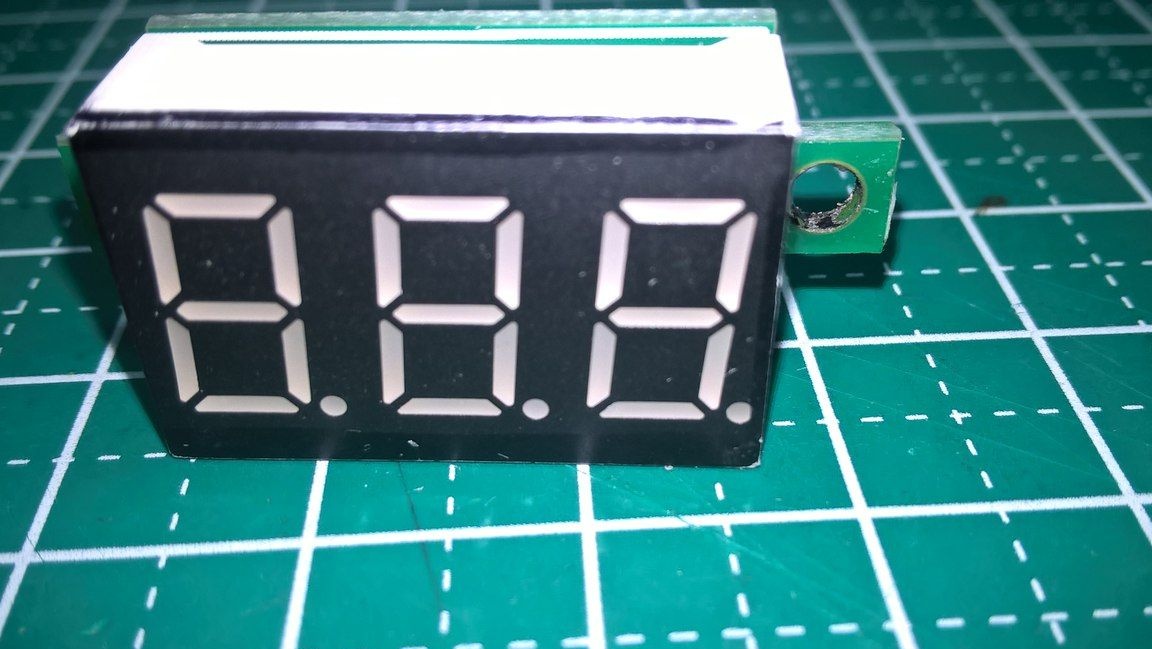
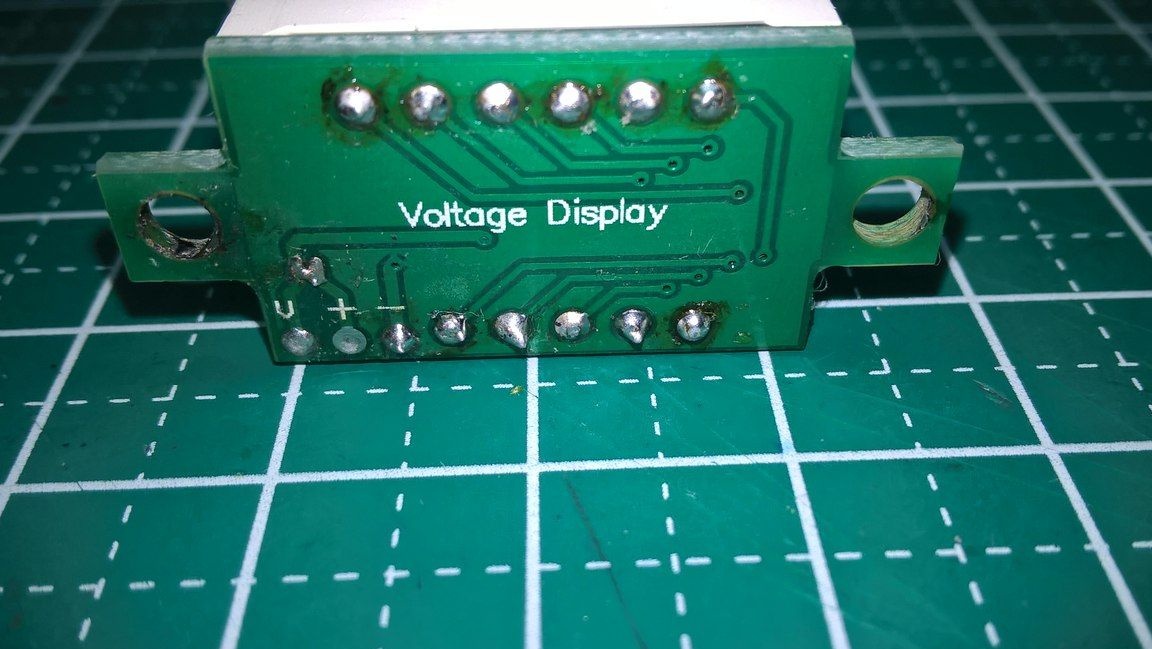
* Voltmeters 2 pcs, any color, with measurement from 0-30 V ()
* Variable resistors for 500 Ohms 2 pcs (bought at the radio store)
* LEDs 2 blue and 2 green () and resistors for them 1 kOhm 2 pcs and 5 kOhm also 2 pcs, pulled out of a burned-out computer
* Holders for 18650 ()
* Heat shrink in various diameters and colors ()
* Transistor CT 815 bought 2 pcs in "CHIP and DIP" for a penny
* Power socket 2 pcs () and the same plug ()
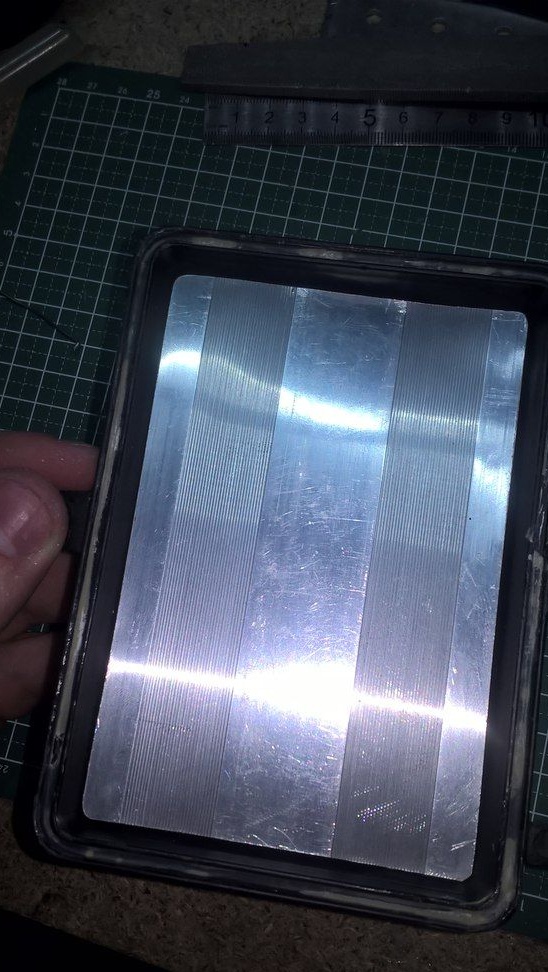
* Heat transfer adhesive and aluminum plate or other similar material
* 6 screws 4mm 6 mm long (cogs and racks purchased on Ali,)
* 2 batteries 18650 purchased in the market
From the tools you need:
* Drill or drill
* Set of files
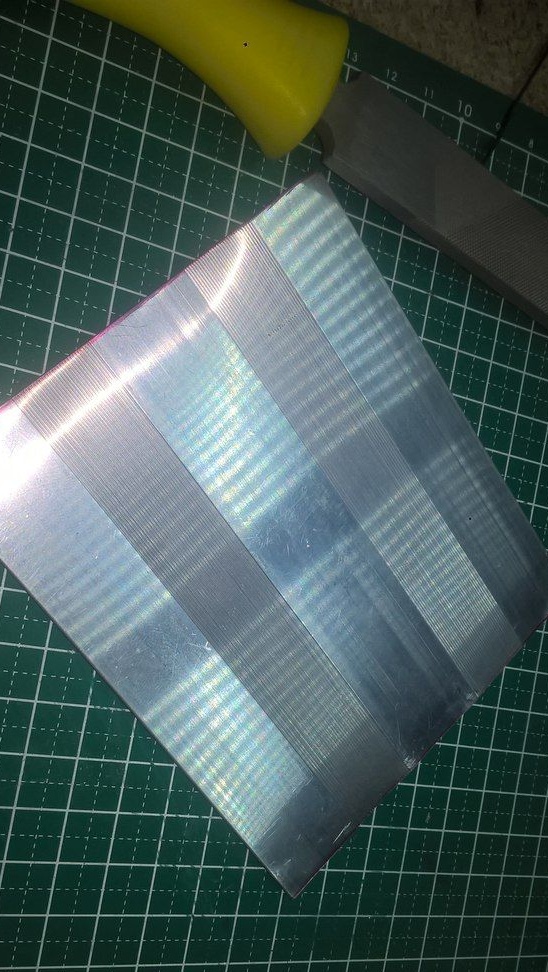
* Large flat file or sandpaper of different grain sizes
* Soldering iron, rosin, solder, "third hand"
* Screwdriver
* Pliers
* Side cutters
* Scalpel or stationery knife
That's all the details you need to make studio lighting at home.
Getting to the assembly.
Step one.
We unwind the spotlight and see how it will be most convenient to arrange the parts inside the case.
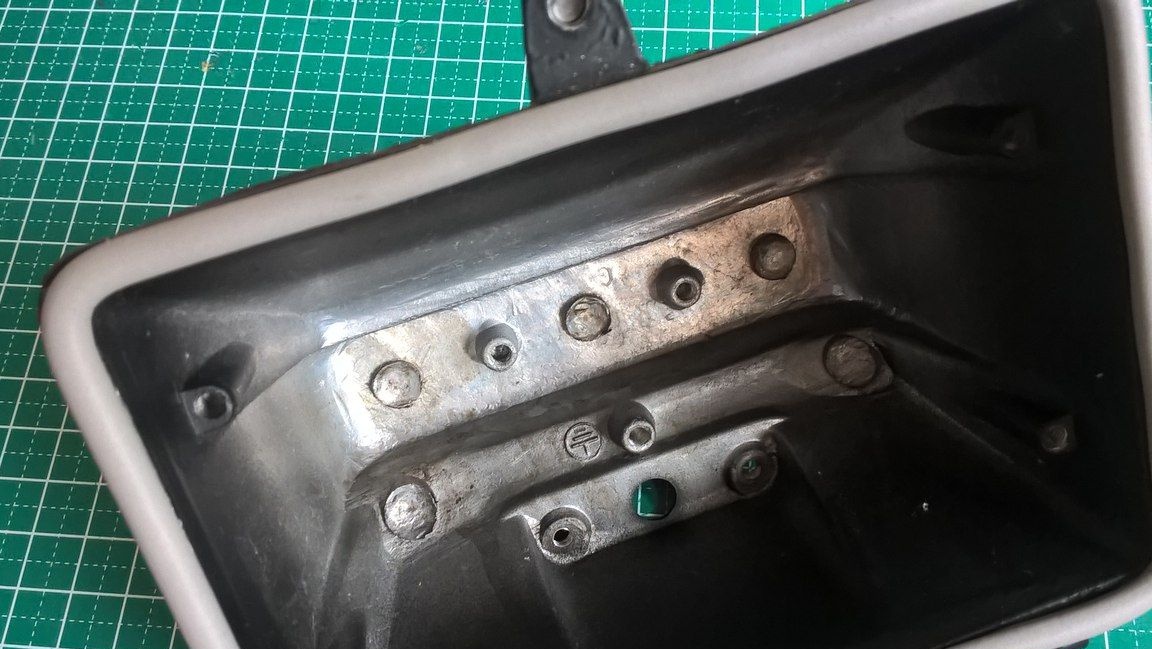
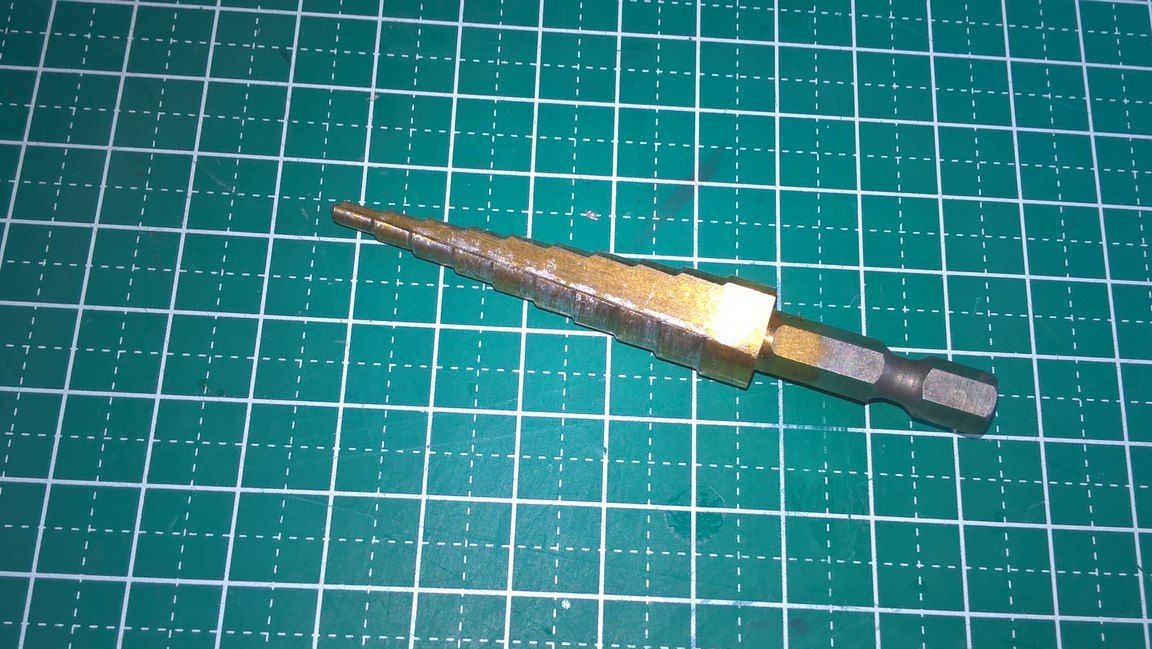
On the edges of the body we drill holes with a step drill using a screwdriver.
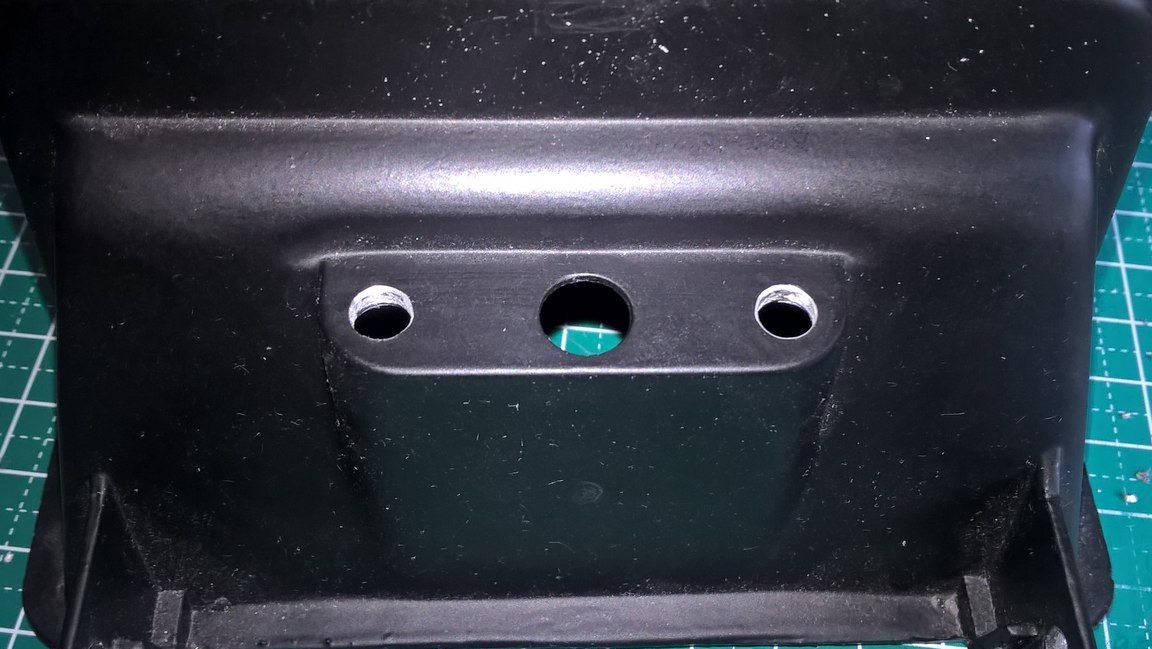
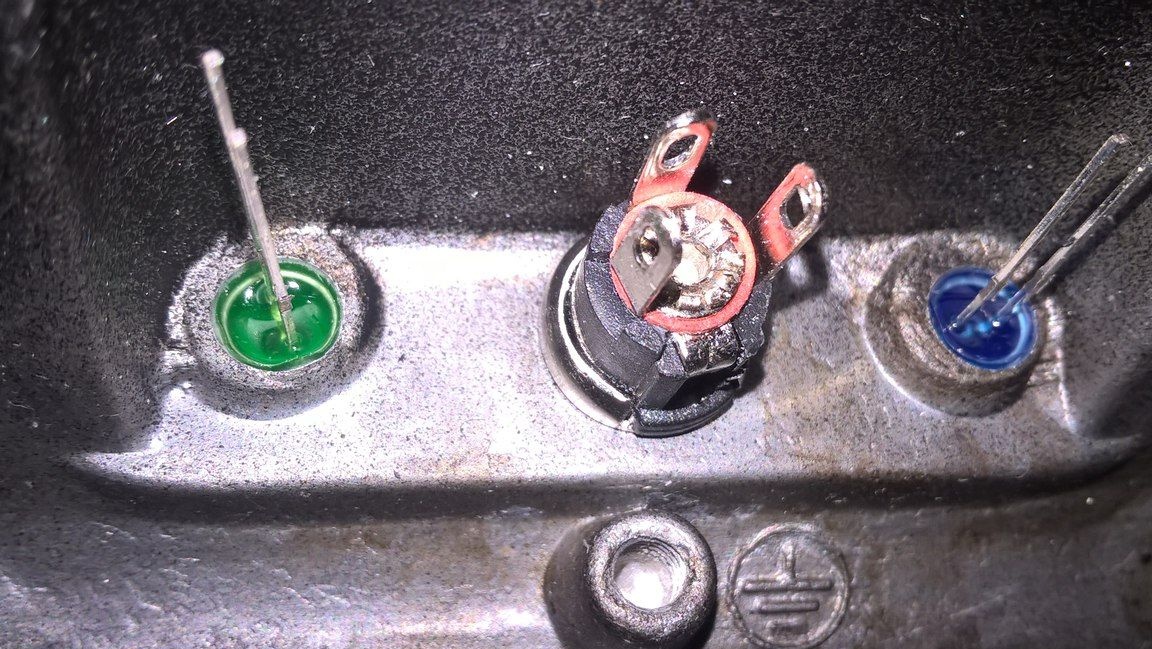

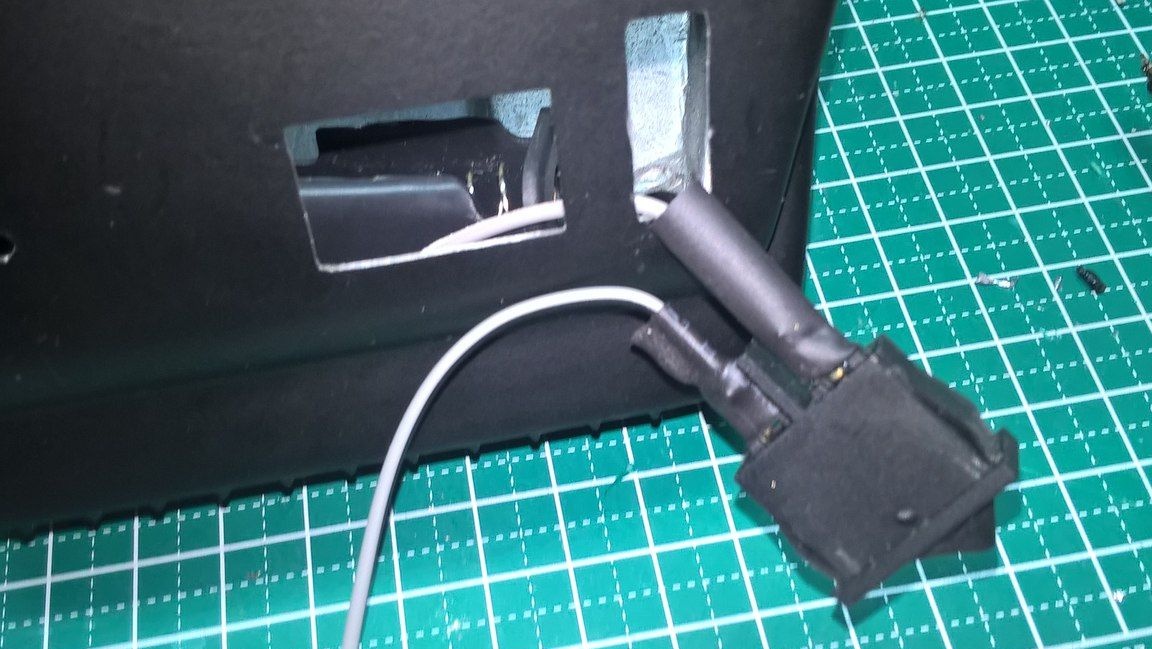
These holes are necessary for installing informing LEDs in them about charging and about connecting stationary power. Then we drill one more hole in the case for the three-position switch. Using a file, we make a place for installing the charging module, or rather for its slot.
Step Two
Now we install the charging module on a plastic plate and fasten it in the case.
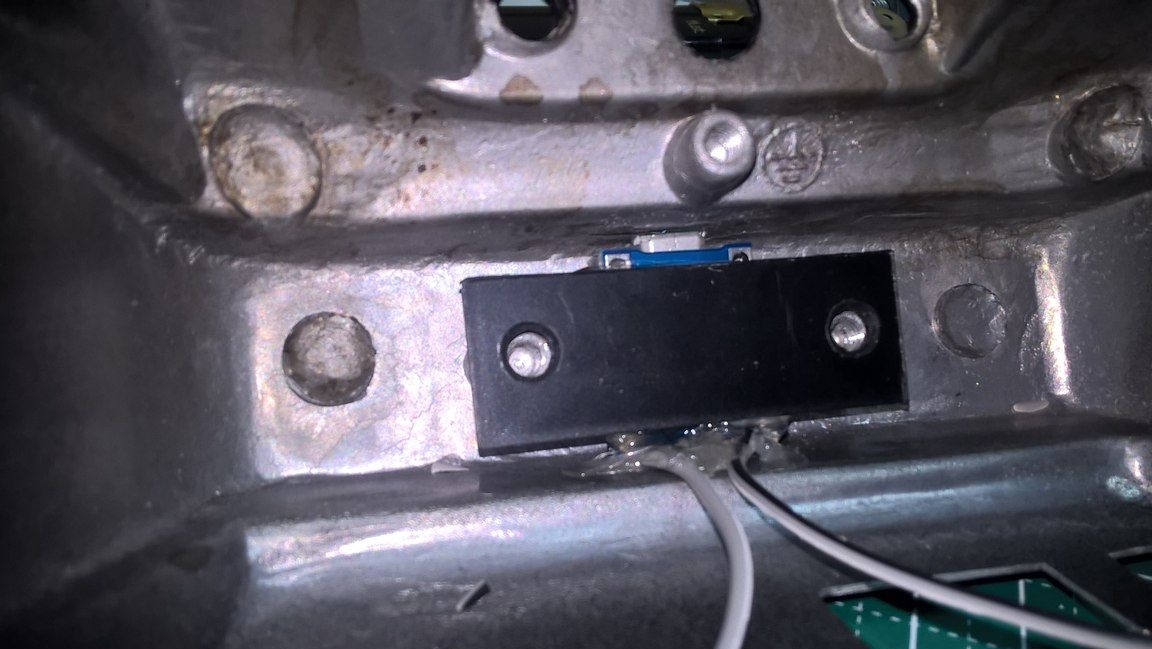
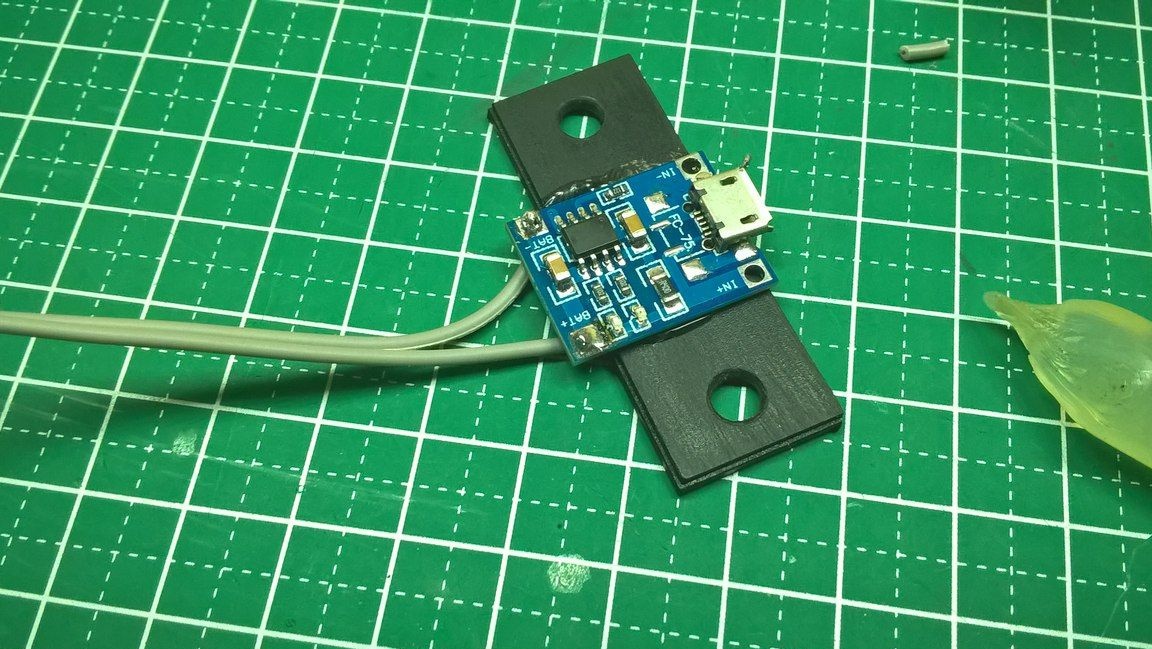
Then you need to fix the holder for the battery, for this we drill holes in the holder and screw the metal mount to it through a plastic spacer, on which the charging module rests, they need to be connected together.

Step Three
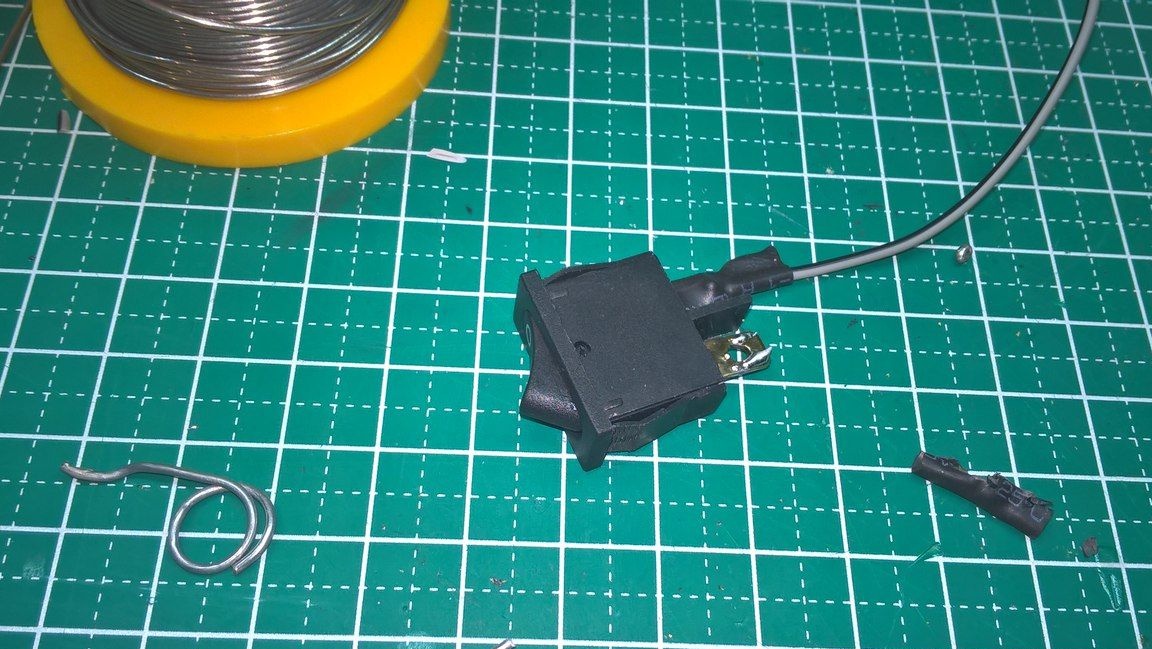
Set the three-position switch to its rightful place and tighten the nut. Then we solder the wire to each terminal and hide the connection in heat shrink.
Step Four
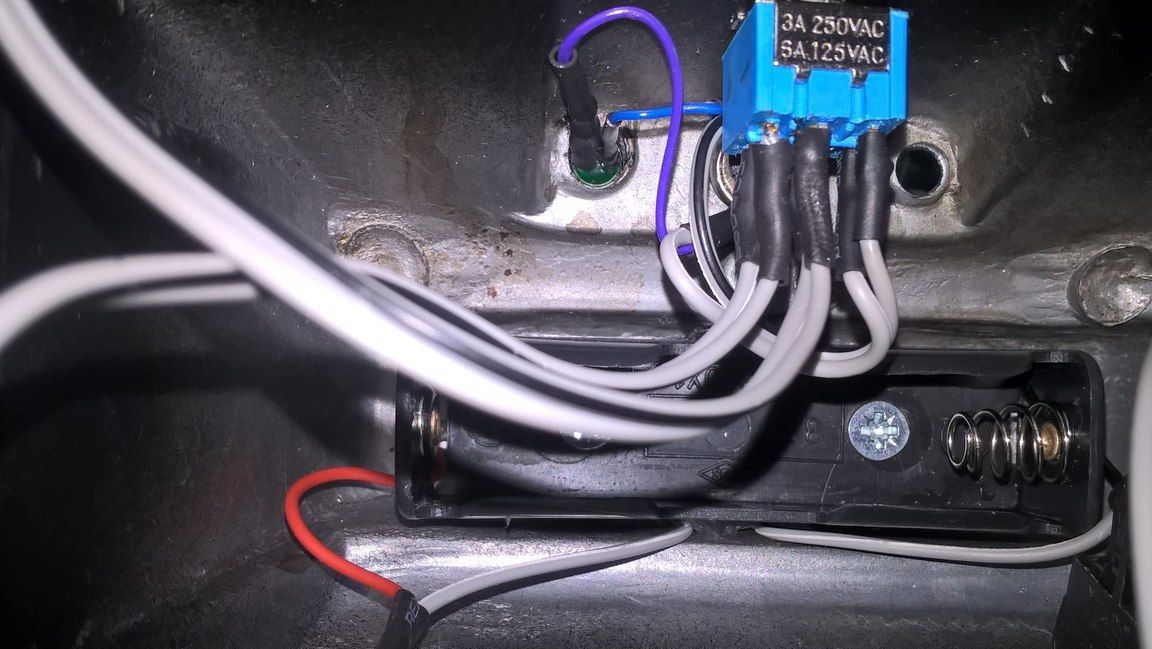
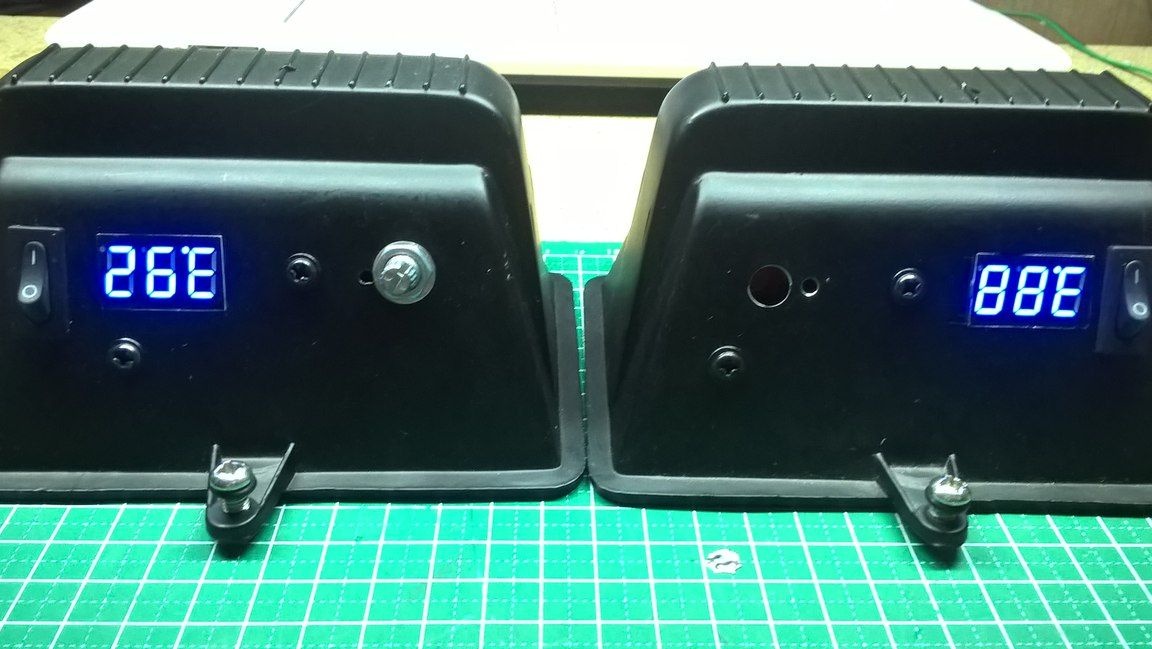
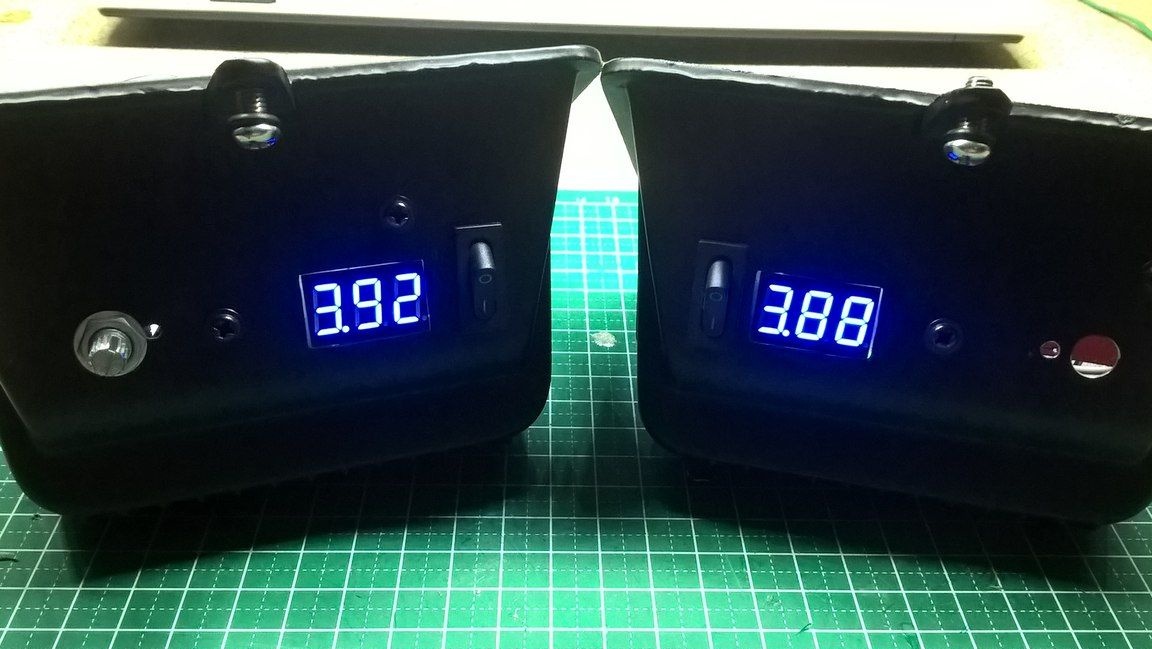
It's time to install a voltmeter that will show how much our battery is drained and when you need to go to charge it, its connection is very simple, solder its conclusions to our battery installed in the holder.
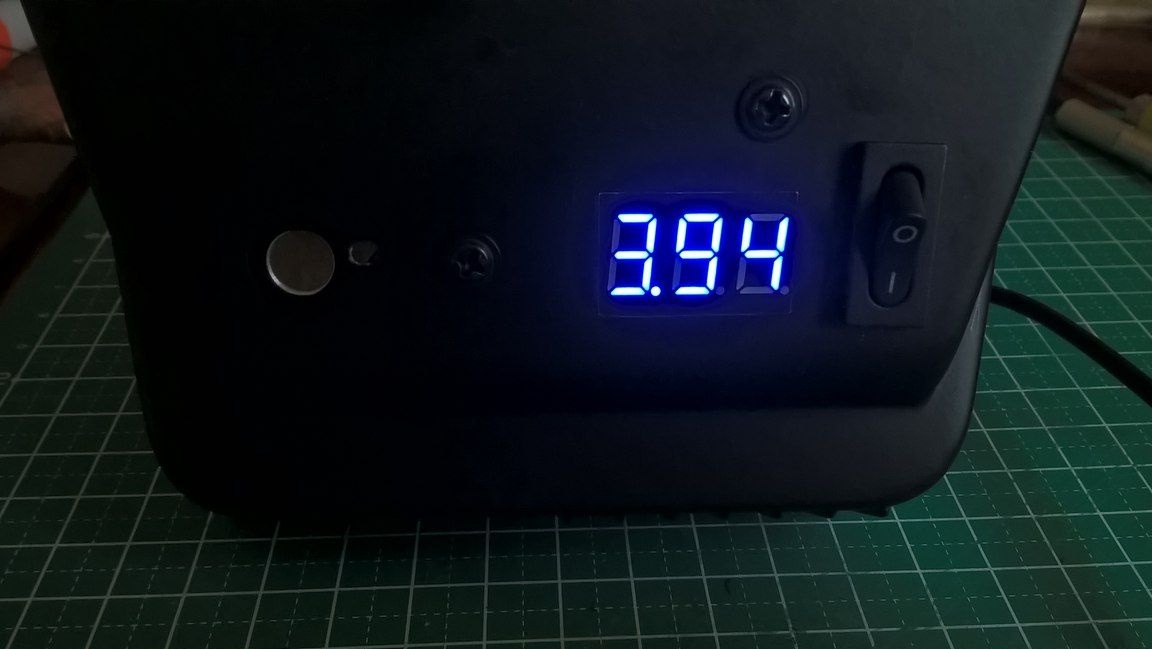
Also, on the right of the voltmeter, we install the module switch in the case and solder the wire into the gap to the power supply.
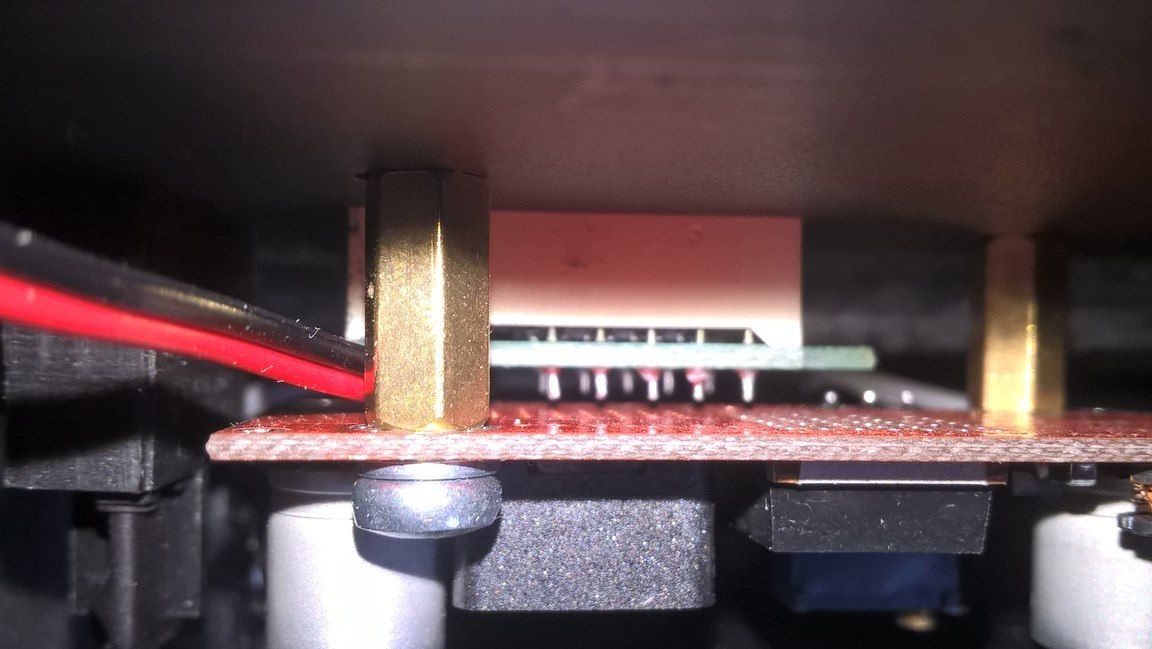
We install a step-up module on the threaded spacers, the power will come to it from our 18650 battery through a switch.
The blue LED on the right means that the spotlight is on, it is soldered to the module that was installed earlier. And the green LED on the left means that the spotlight is currently powered by a stationary power supply, i.e. a power supply, rather than a built-in battery.

We install a plug for stationary use in the case and solder its conclusions to a three-position switch in the gap module, which will be responsible for the searchlight mode, of which we have three: off, on from the battery, on from the stationary power supply.
Step Five
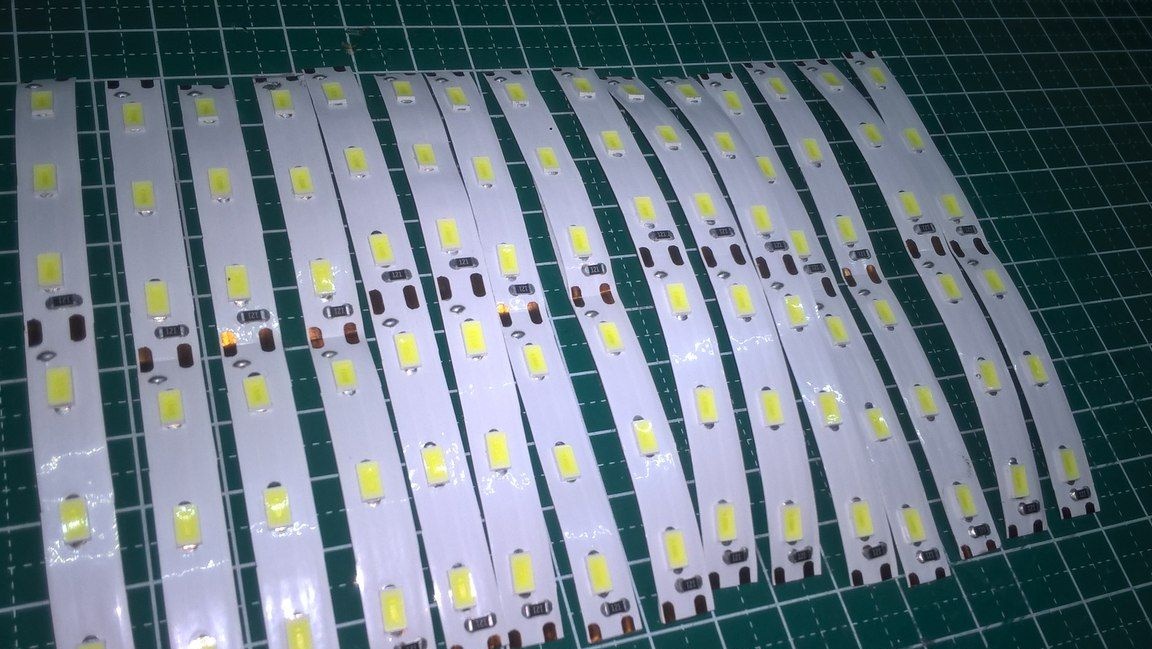
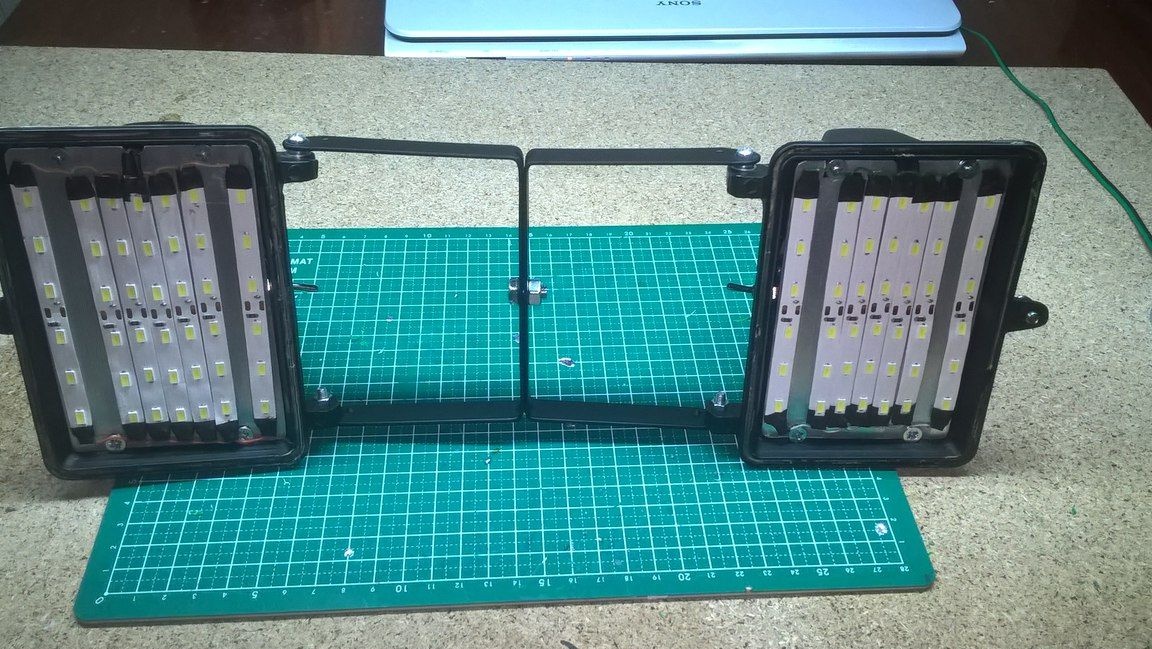
Now you need to install the main element, this is an LED strip, which must be cut into pieces of the desired length and glued to an aluminum plate, which will serve as cooling for them, but before gluing them, you need to stick an electrical tape in order not to short-circuit the terminals of the tape.
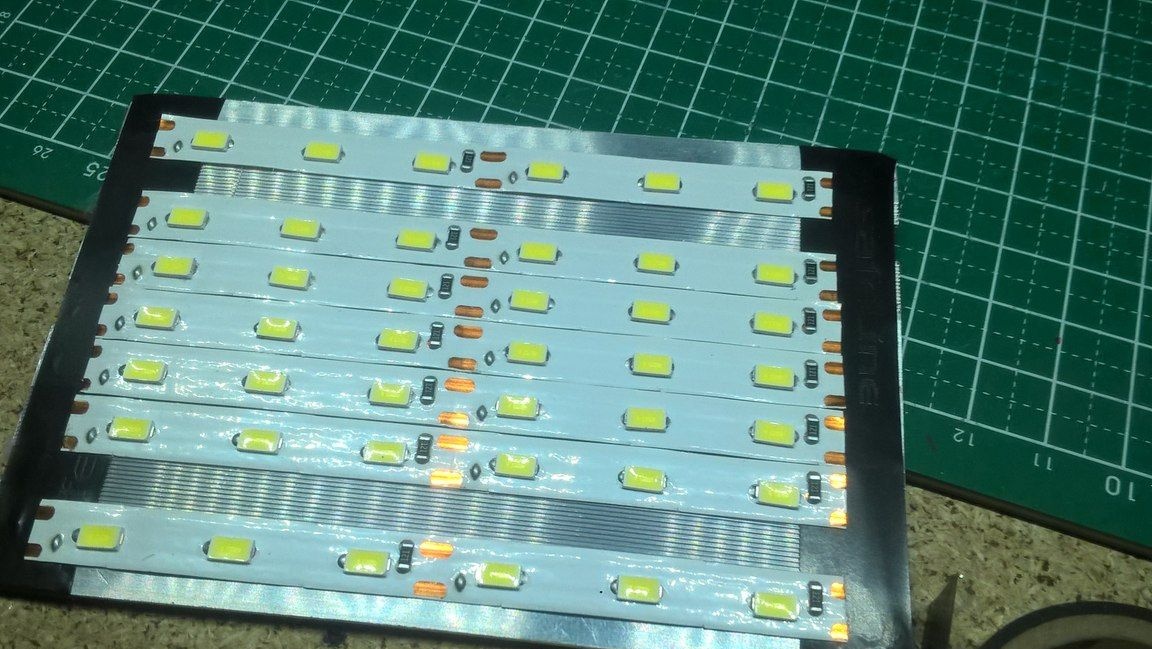
We fix the plate to four screws at the edges.
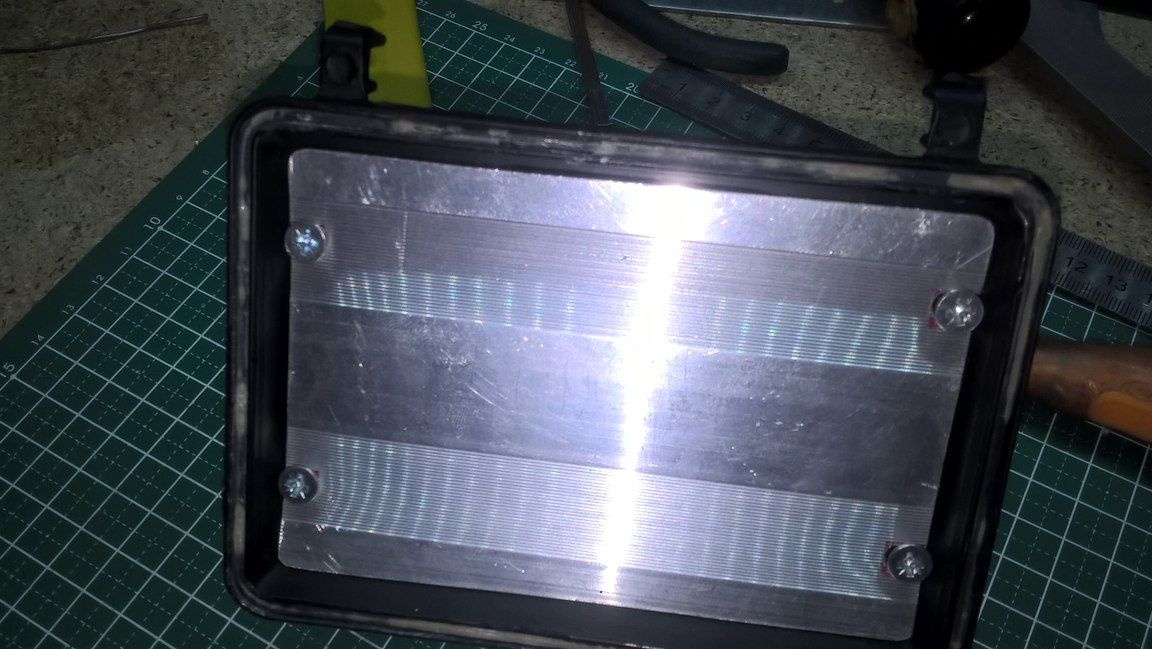
Solder each piece of tape to another and hide everything in heat shrink. The LED panel is connected quite simply, it is enough to solder one wire to the boost module, and the other to break through the switch.
Step Six
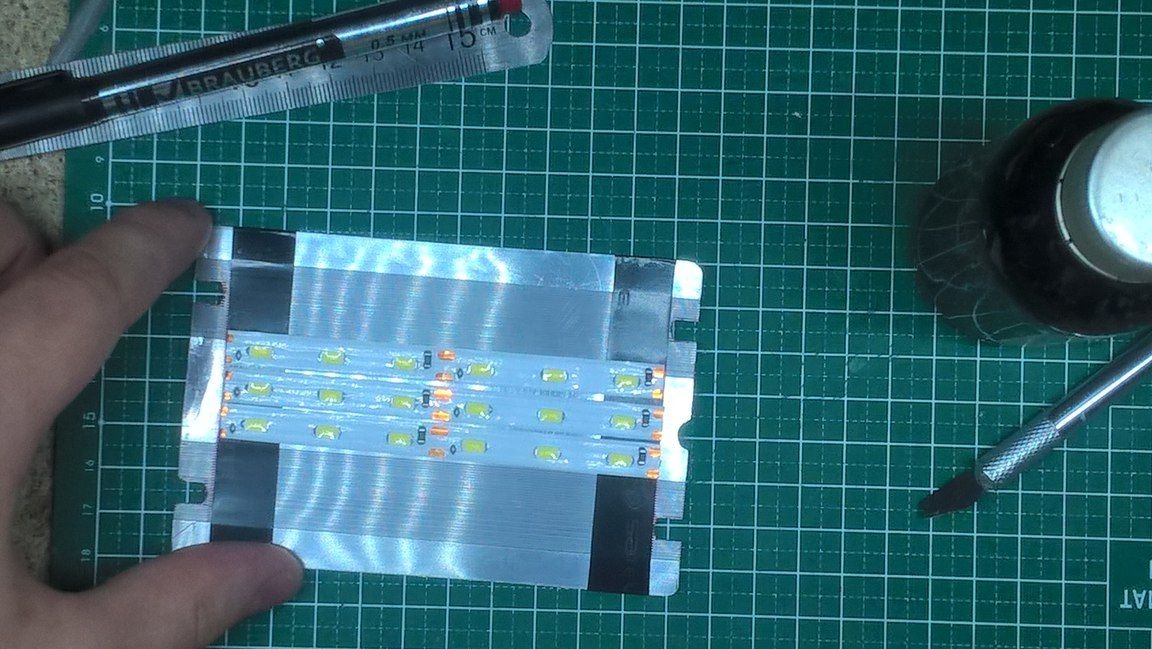
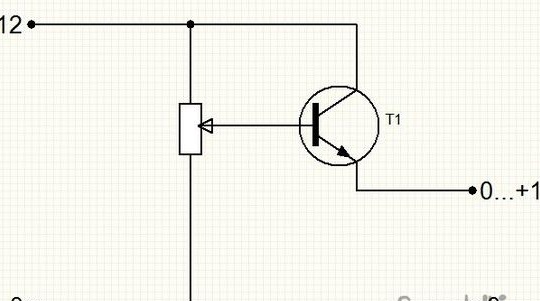
To smoothly control the brightness of LED strips, you will need a 500 Ohm resistor, as well as a KT 815 transistor. A brightness controller is assembled according to this scheme.
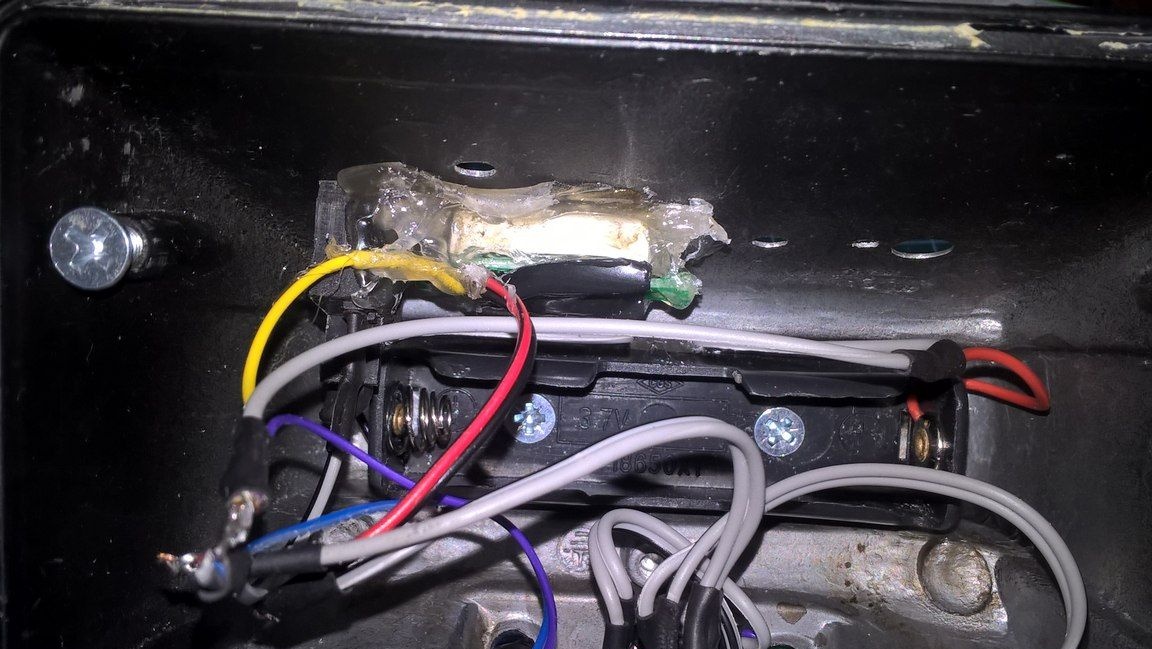
This is how the insides of the spotlight look.
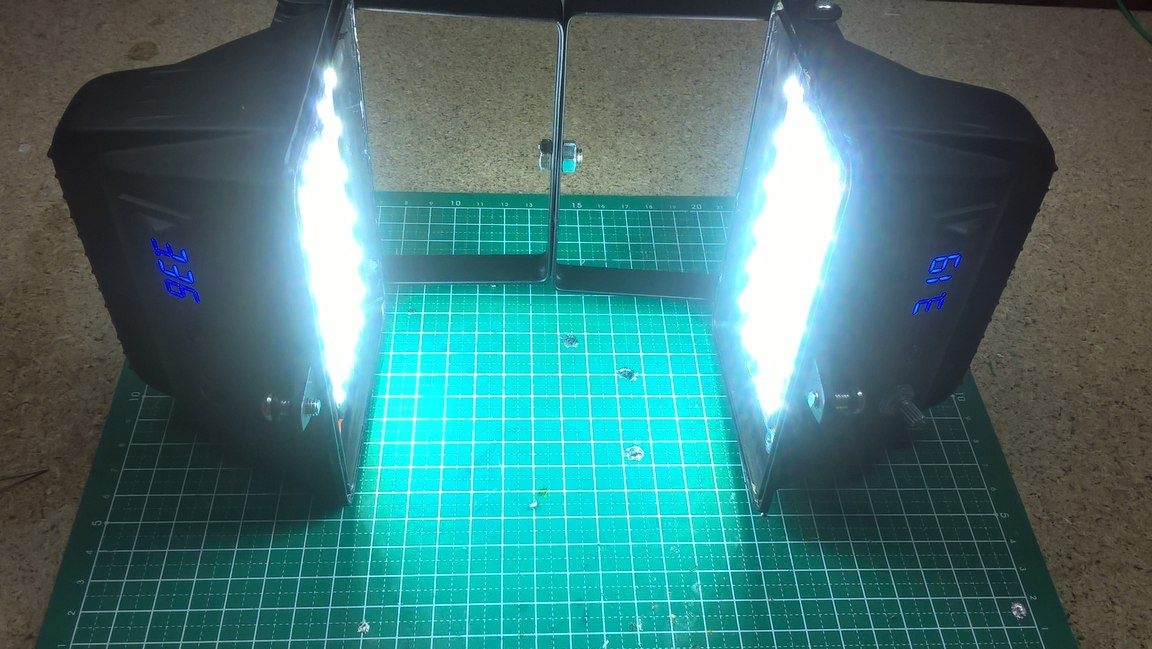
So our homemade spotlight is ready, it remains only to check how well the homemade work turned out. For myself, I made the same second spotlight, since one spotlight is good, and two is better.
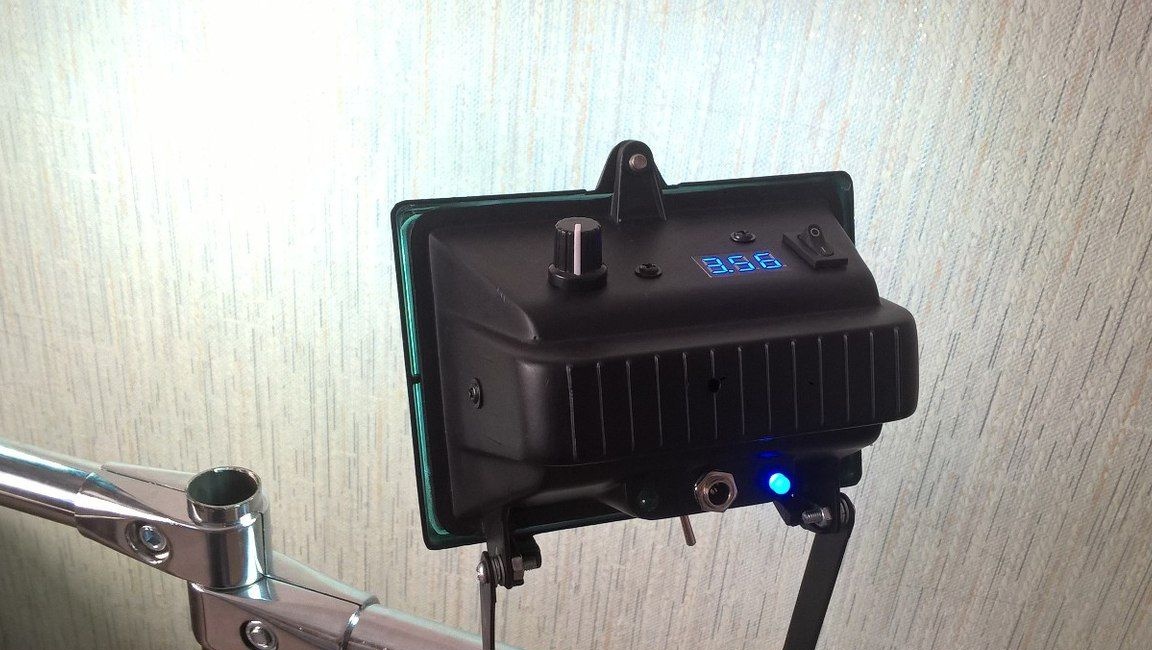
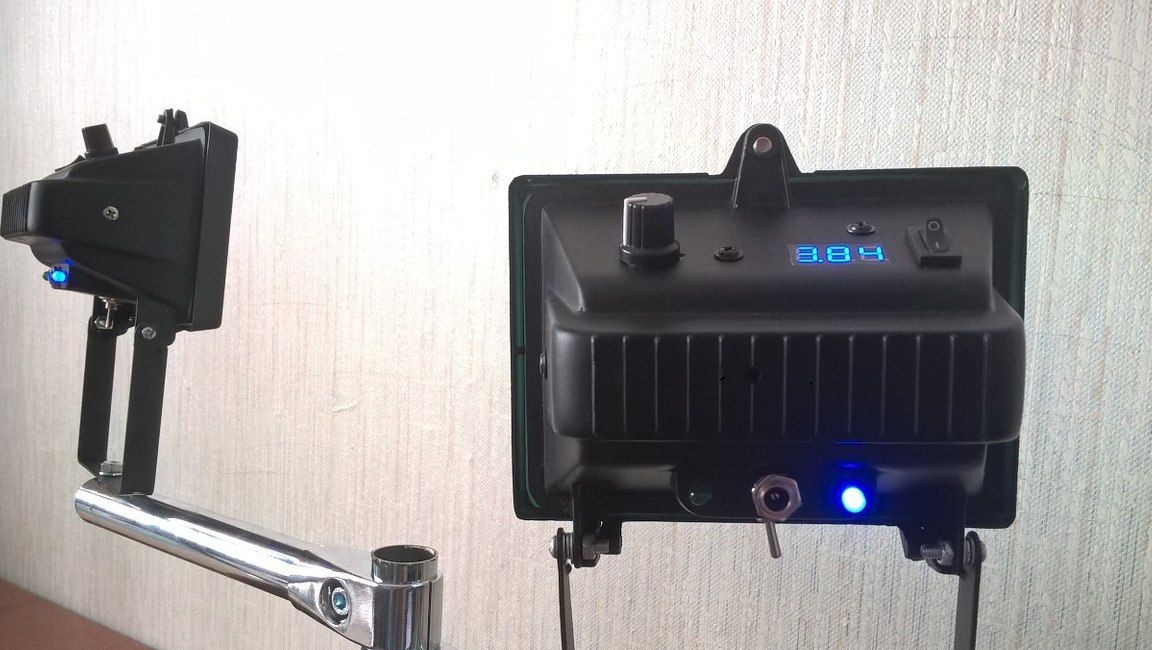
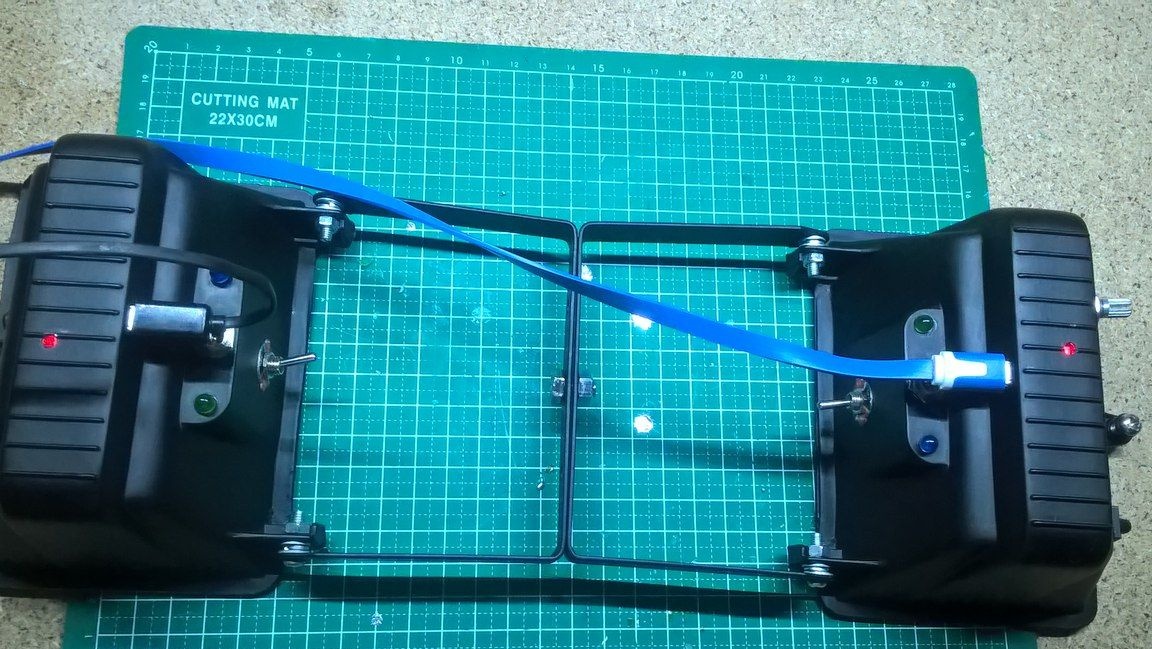

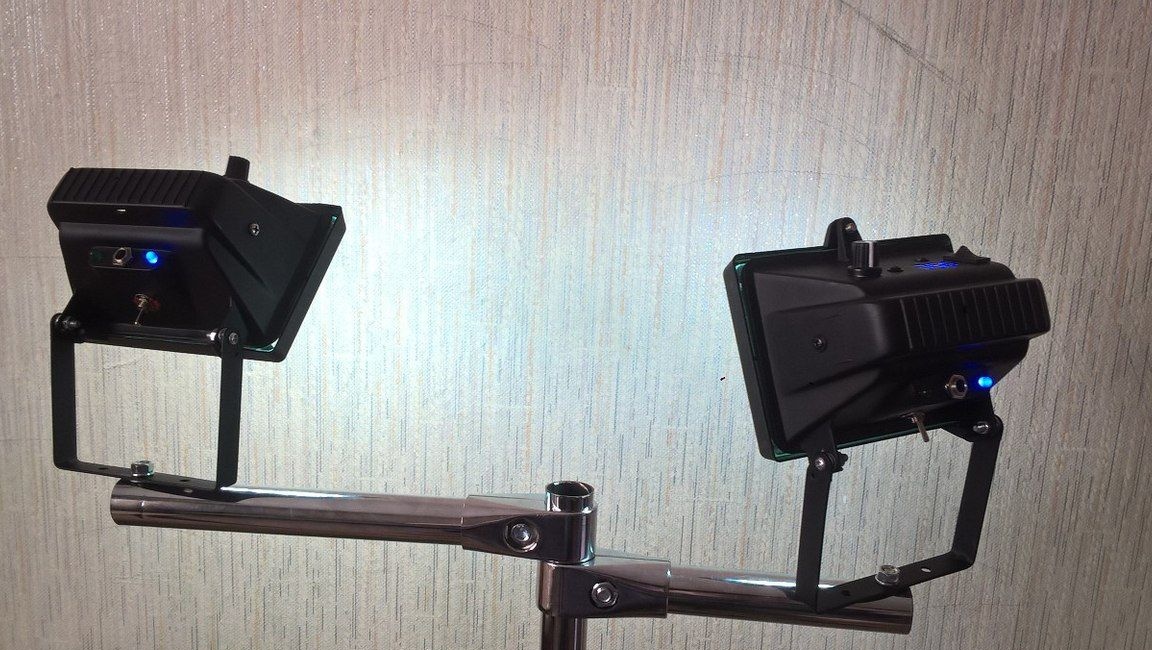
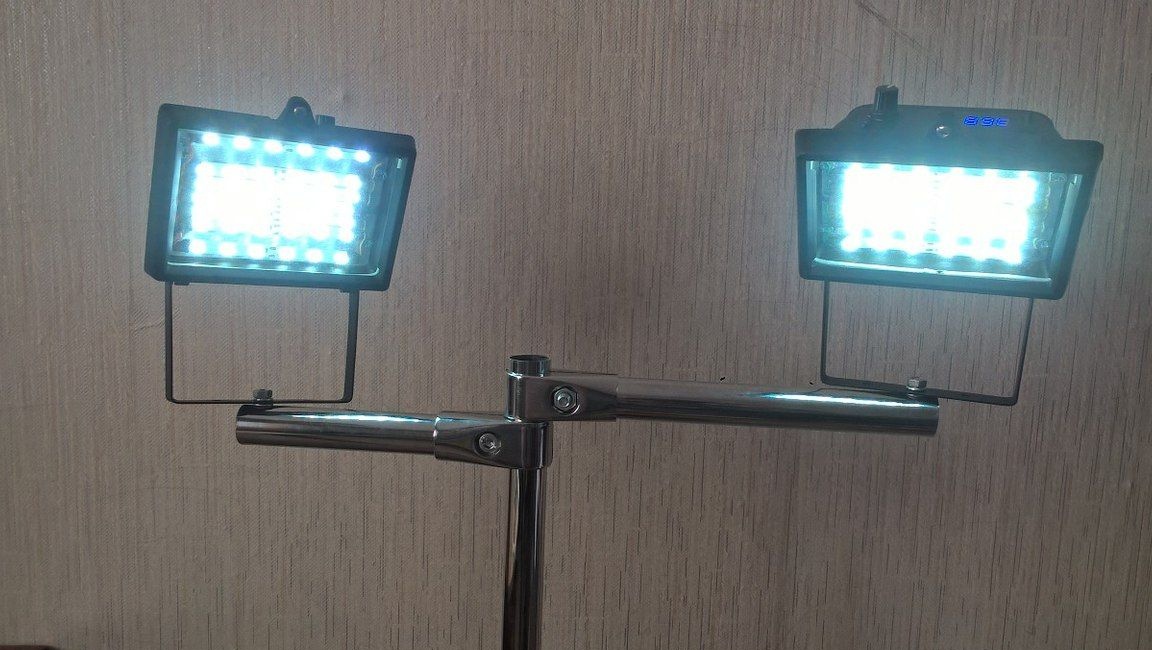
And there will be less shadows with two spotlights, and the illuminated area can be doubled.
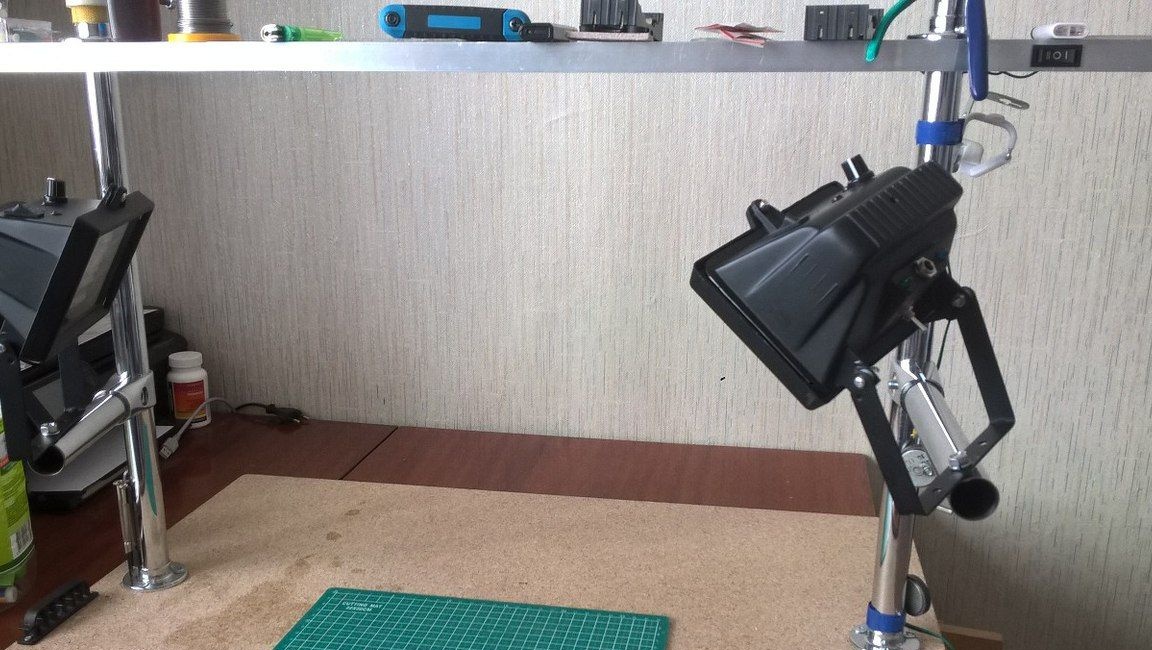
And for convenience, you can install a spotlight on tripods or come up with your own mount.
Thank you all for your attention and successful homemade products.