

... who did building, or improvement of its territory, knows that with concrete work it is almost impossible to prepare exactly the required amount of concrete. Almost always there remains some amount that has to be thrown away.
Throw away, firstly, it is a pity, and secondly, there is not always where! After all, it is necessary to throw away with the expectation that the mortar, or concrete, will harden after a while, and we will get a heavy monolithic block!
And now, I thought after several such times that it would be nice to make some form into which these residues can be laid, and then get a concrete figure that is useful for decoration in a summer cottage.
... But nothing came to mind ... After all, it is not known in advance exactly how much solution I will have left! And therefore, I don’t know what sizes a figure I can make of it ...
... chance helped. I once worked at my construction site in the winter. The foundation was poured inside the building under the fireplace, for which concrete was mixed. A little bit left. But, anyway, it was necessary to throw it somewhere, because it is necessary to wash the concrete mixer. The room in which I worked was heated, although there was still no floor in it. But there was snow on the street. And throwing it into the snow was somehow .... not a camilleph)))). He cracked into crumbs, then, in the spring, rake it ..... And I decided to make a hole, throw concrete into it, and then, when it hardens, take it out into the street. And then use it somewhere to backfill.
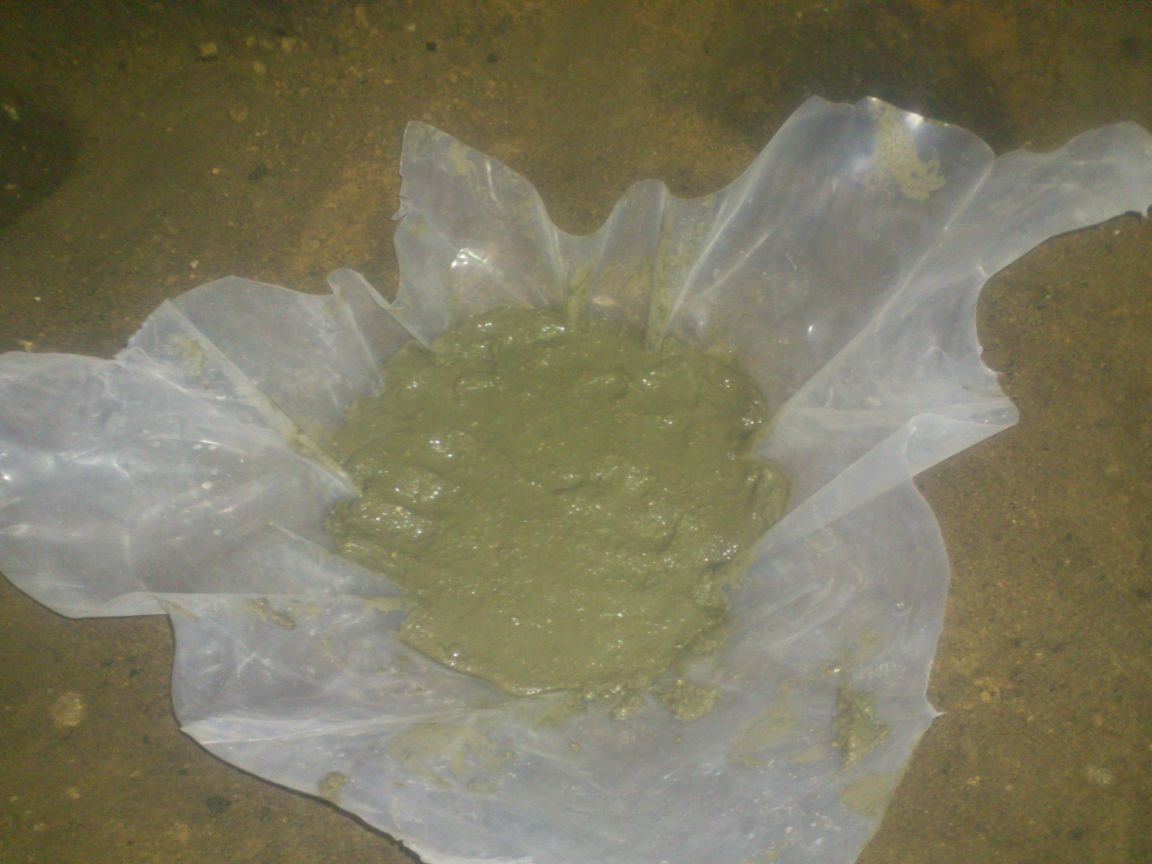
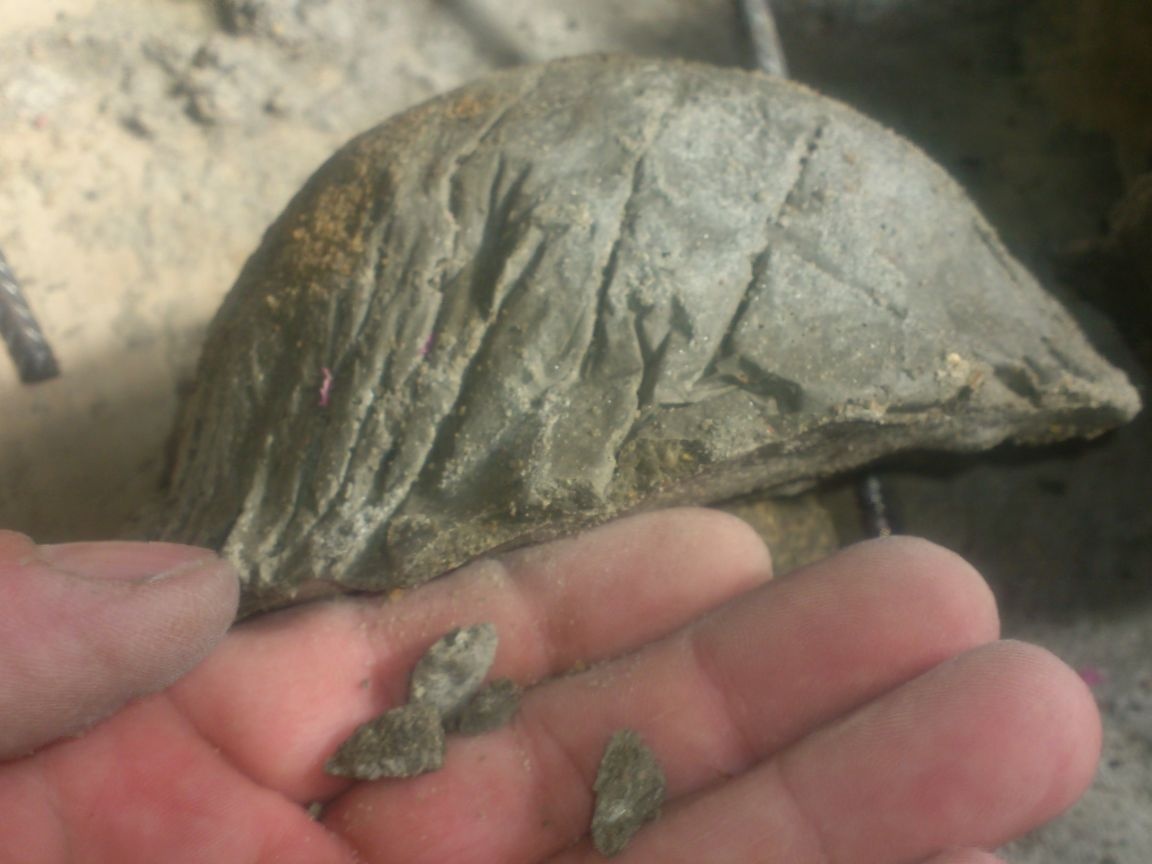
I made a deepening in the ground, and so that it would be easier to get frozen concrete tomorrow, covered it with a piece of plastic film, and put a piece of rusty wire in the center of the “plush” - to pick it up later. And so, the next day, lifting this lump, I saw that it was strikingly like a huge mushroom hat !!! Wrinkles from polyethylene and the uneven shape of the pit helped create a very realistic shape.
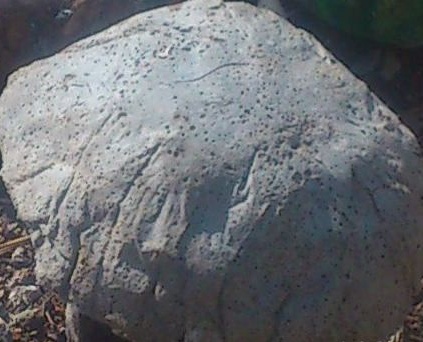
So after this incident, I decided that it is possible to make "mushrooms" from concrete, which will then decorate the cottage, or the playground ...
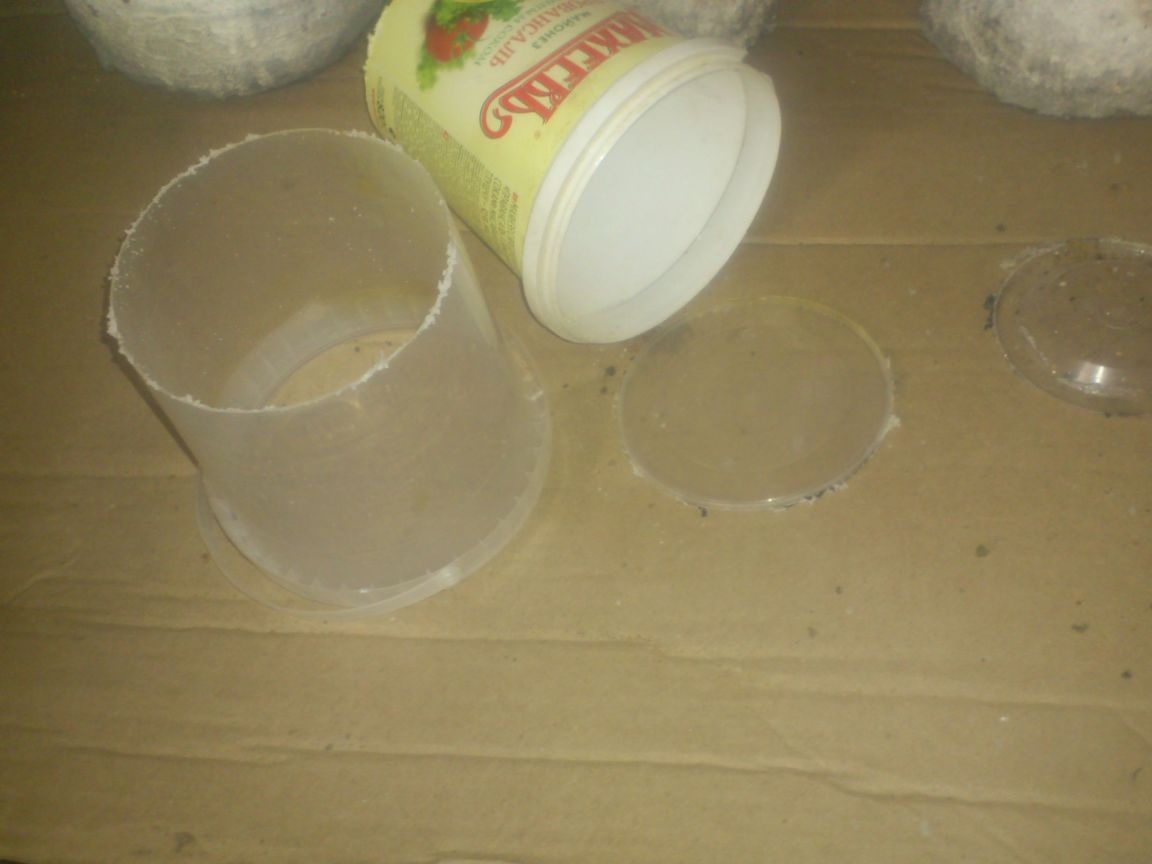
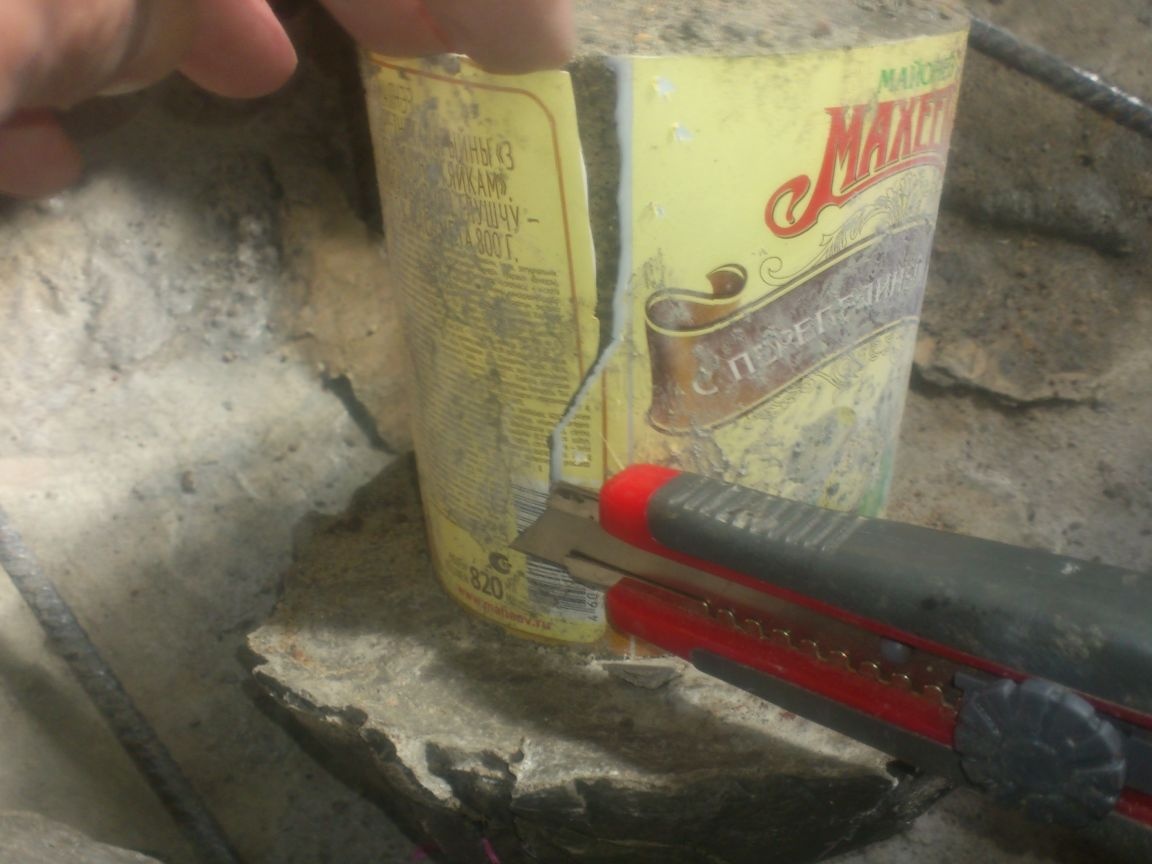
Indeed, it is precisely all conditions that are observed - the form is made easily, right in the ground. And at the same time, you can make it the right size. I don’t use a pipe as a formwork anymore - it’s difficult to remove it! Therefore, in preparation for concrete work, I prepare "disposable formwork" - buckets of mayonnaise, disposable glasses, plastic bottles and more. From all this, I first cut the bottom, leaving only the "cylinder". And then I just cut the "formwork" with a knife and take it off.
Here, watch a short video:
[media = https: //www.youtube.com/watch? v = Jo4sSmRCzMY]
... In this video I showed how I make "mushrooms" from a liquid solution. If this is a “cool” mortar, or concrete, then you can make a “mushroom” at a time - immediately with a leg. (If the solution is liquid, the formwork will "sink" and fall off to the side.)
So, what do I need for this:
1. Mortar, concrete, cement-adhesive composition, plaster .... Yes, any building mixture.
2. Formwork for the leg (it can be made from disposable containers, glasses, or, plastic bottles)
3. Fittings. (wire, unnecessary electrodes, or any long piece of iron)
4. Scraps of polyethylene. (Bags, pieces of film, etc.)
5. Paint.
Let's start ...
First, I estimate the amount of concrete left and prepare the required number of holes in the ground. I dig holes simply with a gloved hand. It is not necessary to align it strongly - mushrooms in nature are also not very even!)))) The main thing is to give it a spherical shape:
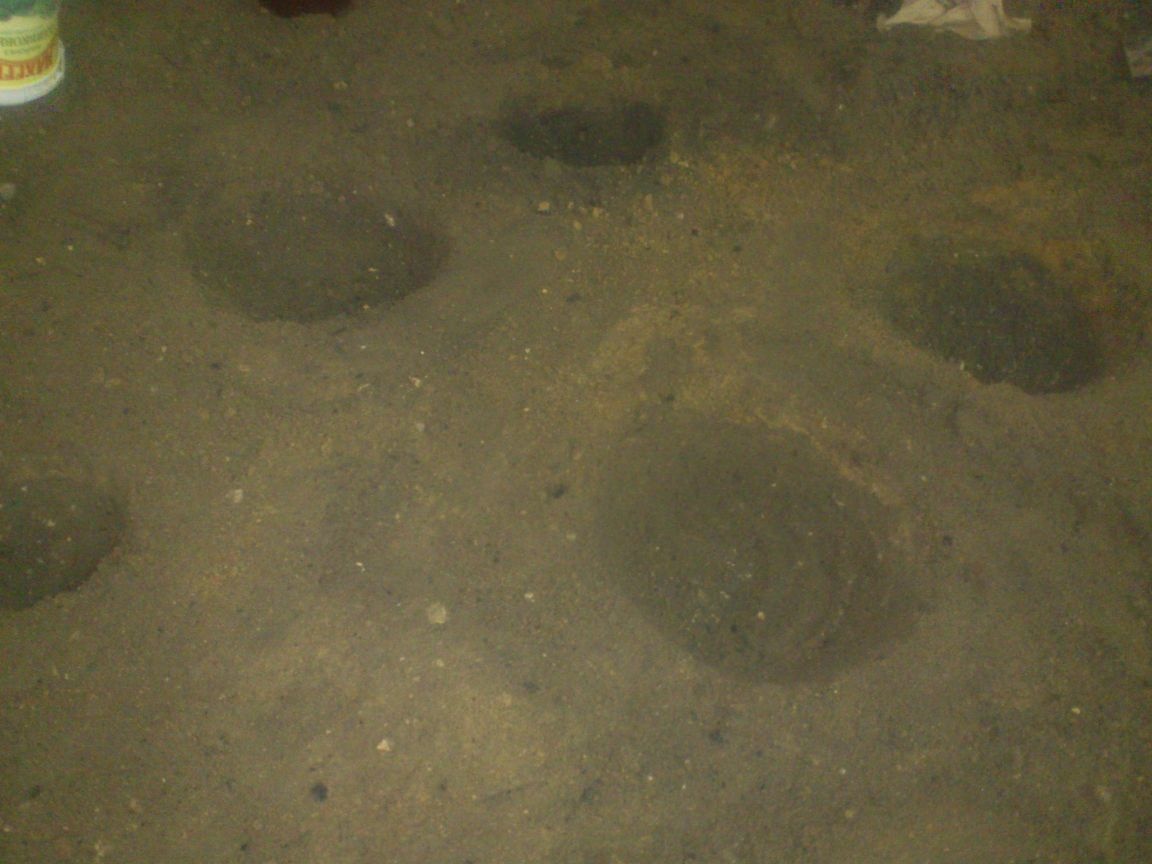
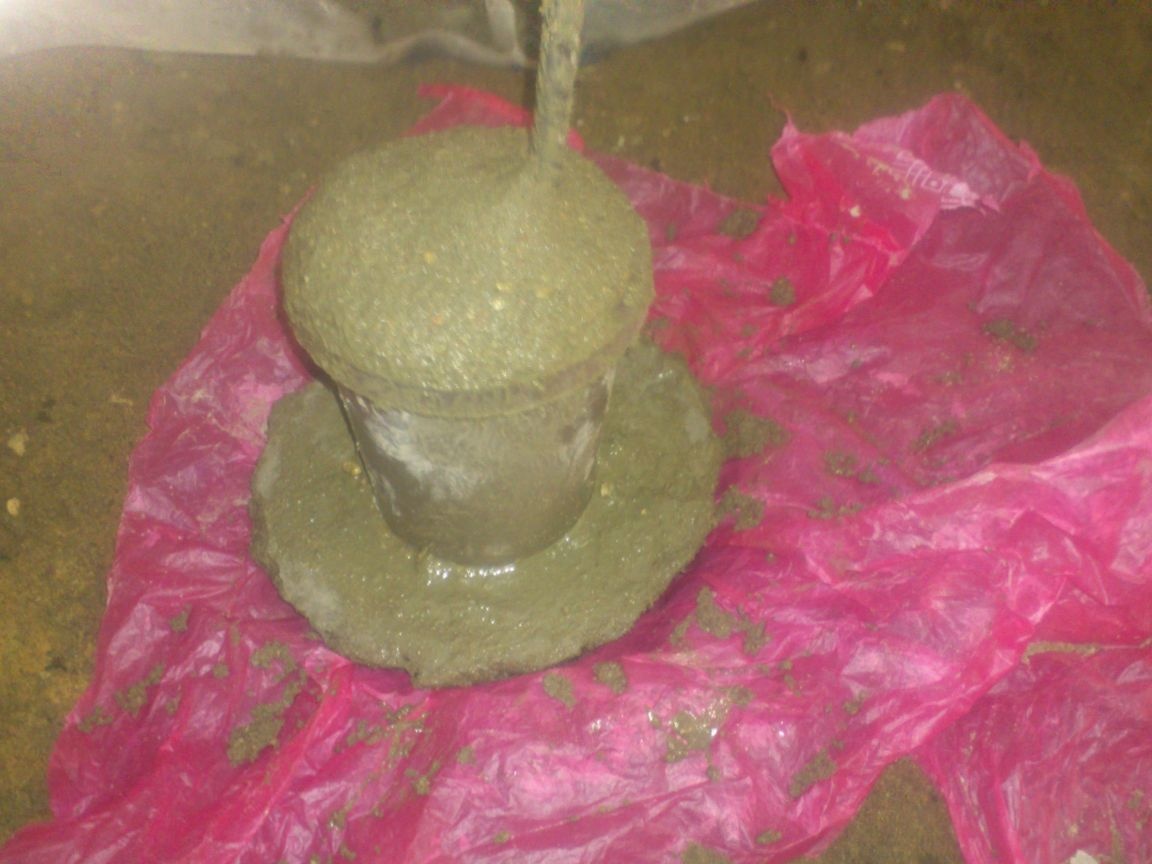
After that, we cover the hole with polyethylene, and we put a solution into it
... A little hurried ....)))) ...
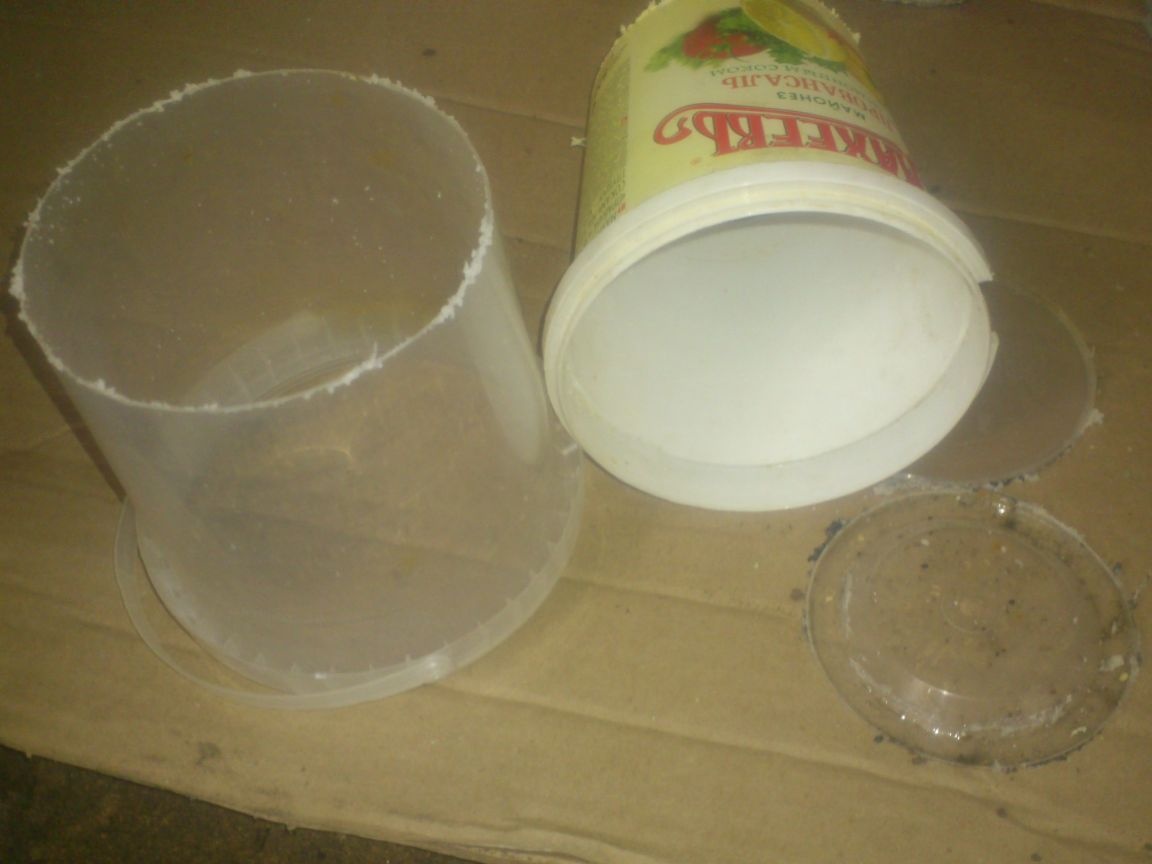
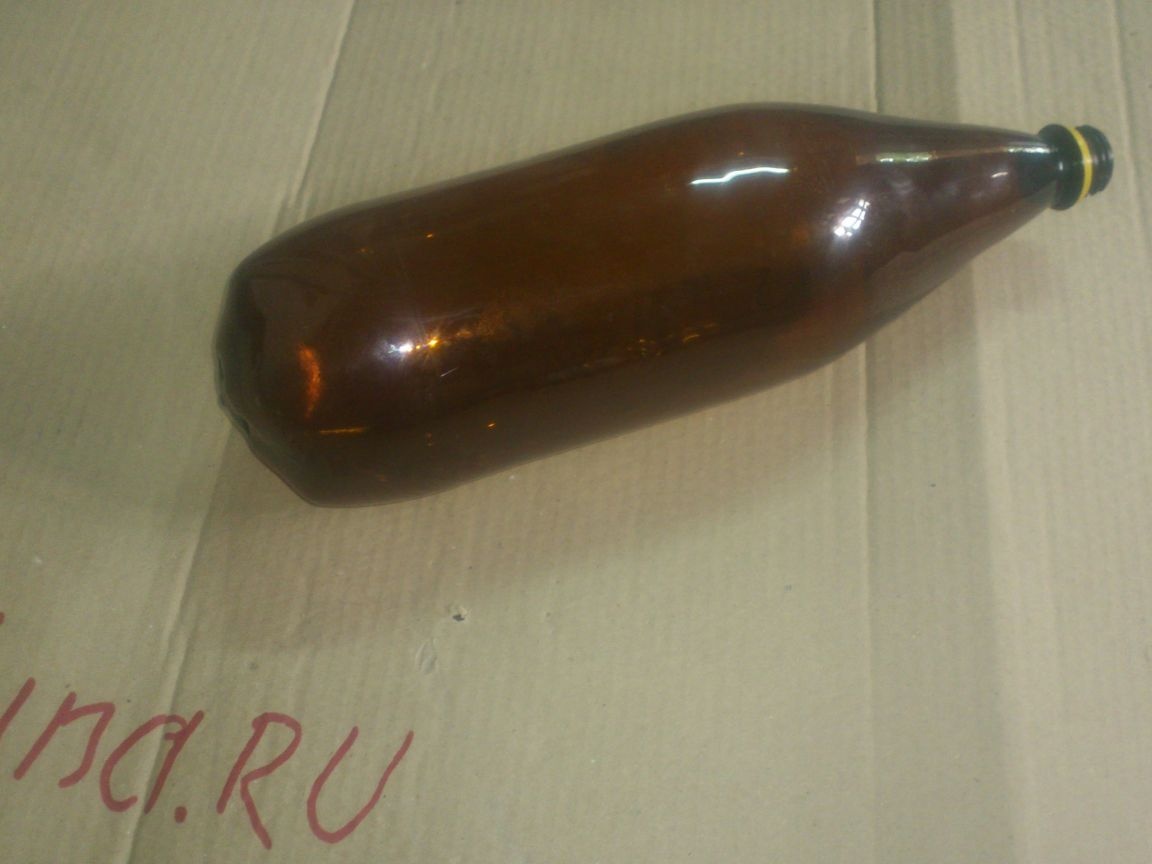
At that time, I should already have “formwork” for legs in stock. As a rule, they can be made from plastic bottles by cutting the bottom and neck
Or, from buckets of mayonnaise, or from any preserves:
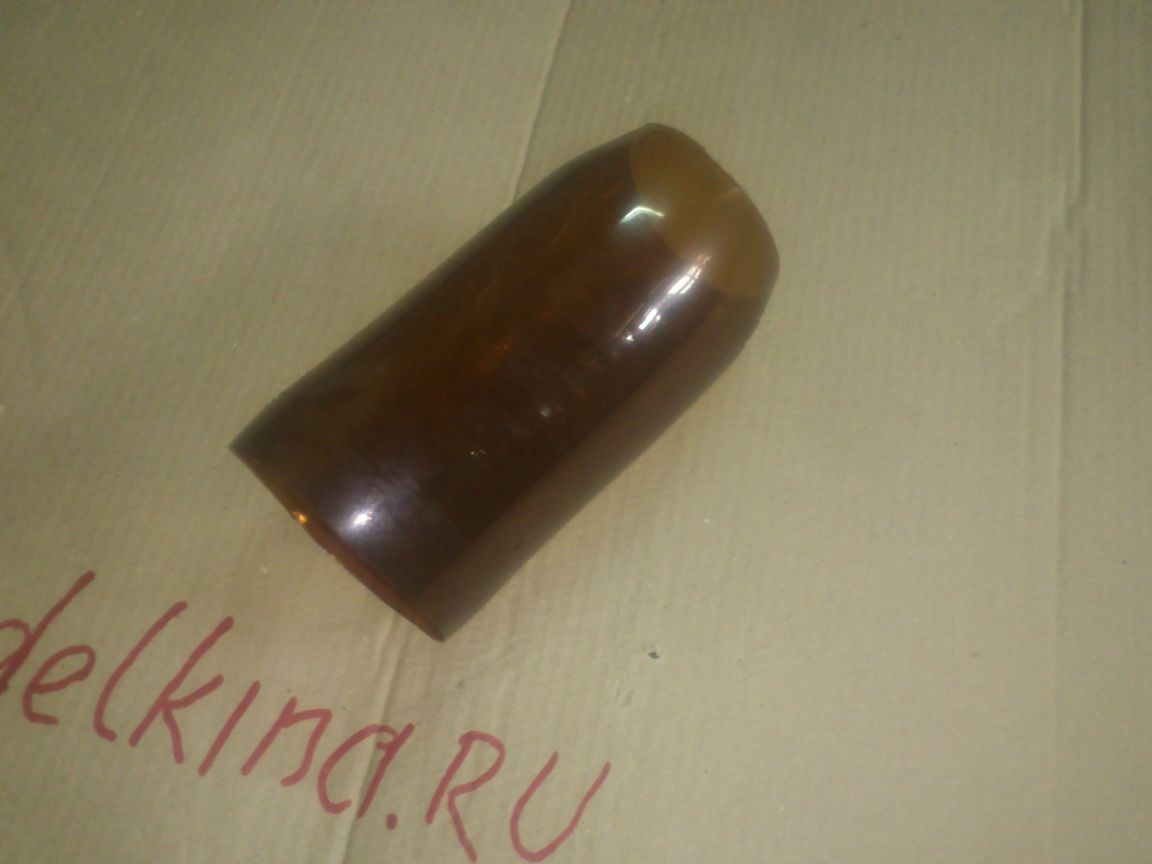
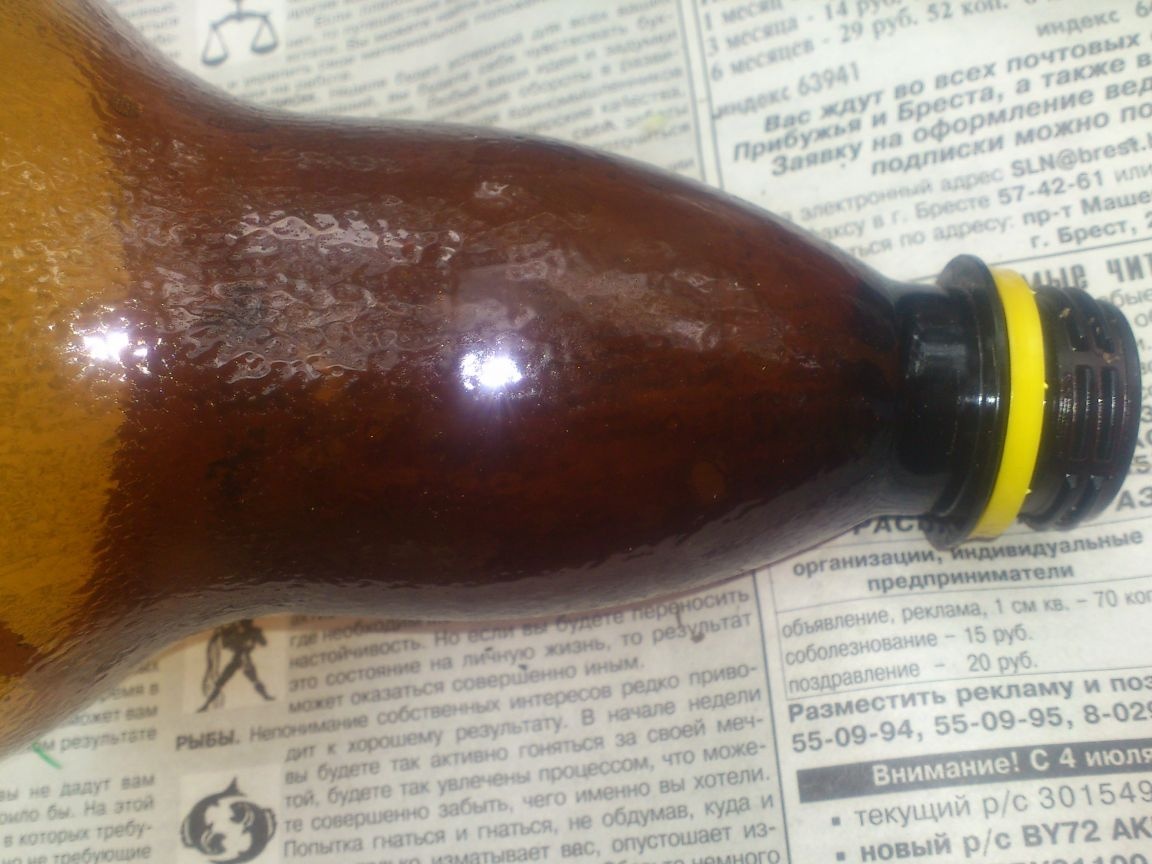
By the way, for those who don’t know (you never know! ....), I’ll tell you a way to “straighten” a plastic bottle - remove all irregularities, “steps” from it, make its shape smooth and round. It is necessary to close it very tightly (a small amount of water remaining after washing should not be shaken out). After that, you need to hold it over a lit gas stove, constantly rotating! Rotating is important! Because there is such a mechanism - the shrink plastic of the bottle tends to shrink, but the warming air inside expands very much and tends to “inflate” the bottle. Over time, during rotation, the bottle walls soften evenly and air still bursts and makes its shape smooth and rounded, removing all the "ribs":
Without waiting for cooling, the bottle should be opened and relieve pressure so that the cooling air does not squeeze it. All! Such a “smooth” bottle can be used almost completely for cutting ribbons in a bottle cutter, or, like me, as a mold for a mushroom leg.
However, distracted ...
So, the solution we have put in the "hat", we begin to make the "legs" ... It is very simple to do this so - fill the form with the solution:
And then just add a little solution below and install in place:
And fasten all this with fittings:

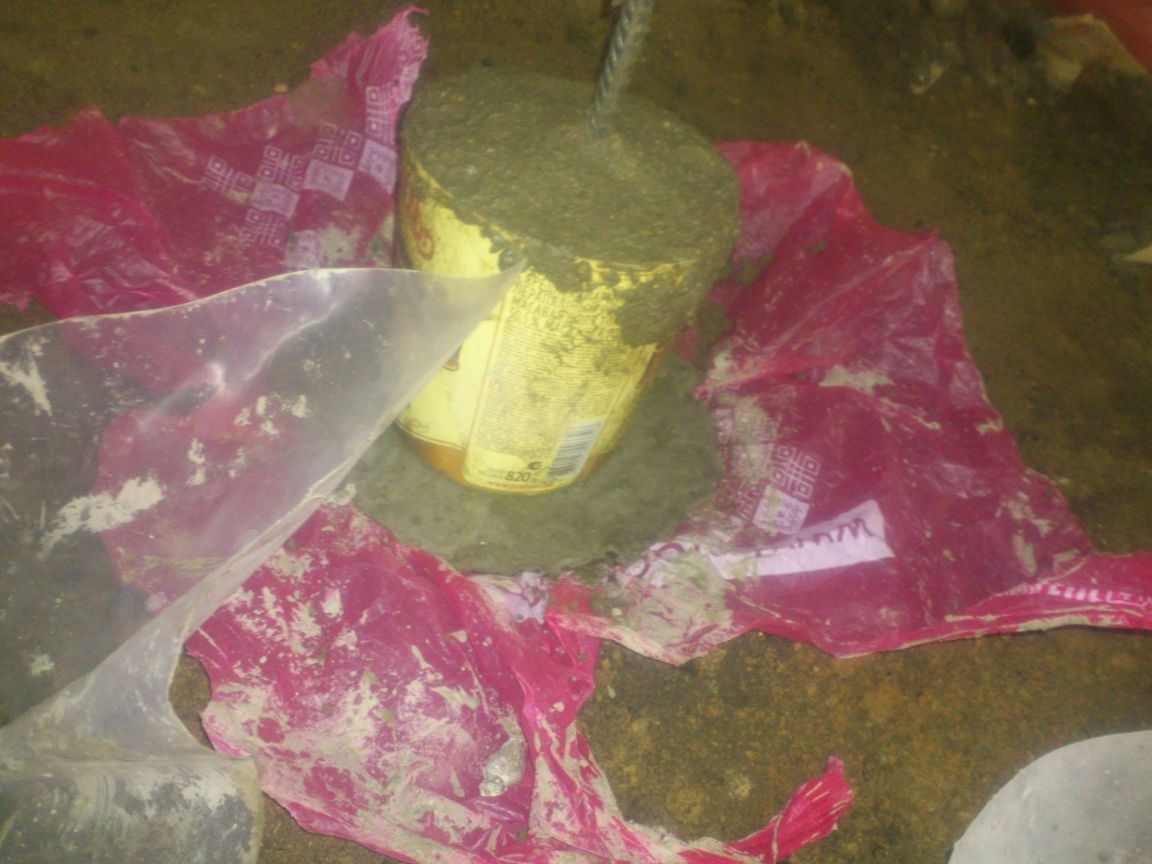
After some time, when it hardens, we take out the almost "mushrooms" ready, and carefully break off the blemishes along the edge of the hat:
We cut our "formwork":
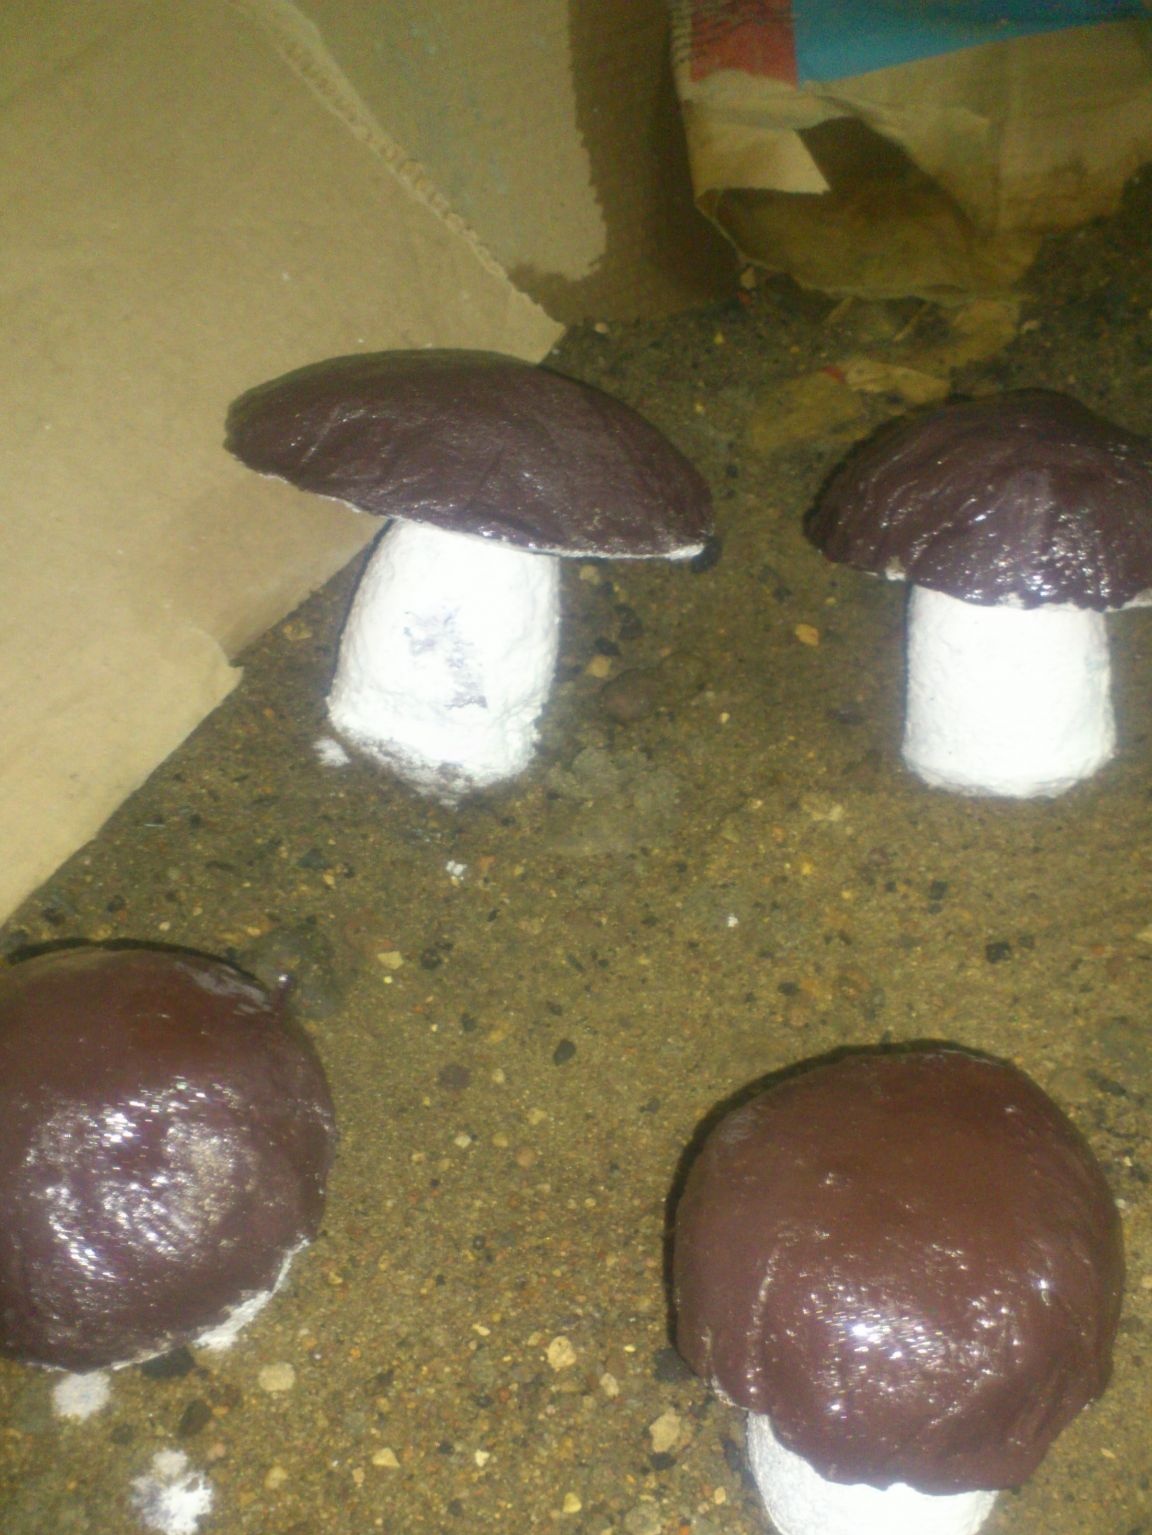
All. Our "mushroom crop" is almost ready. I stick them with reinforcement in the ground somewhere where they will dry out and wait for painting:
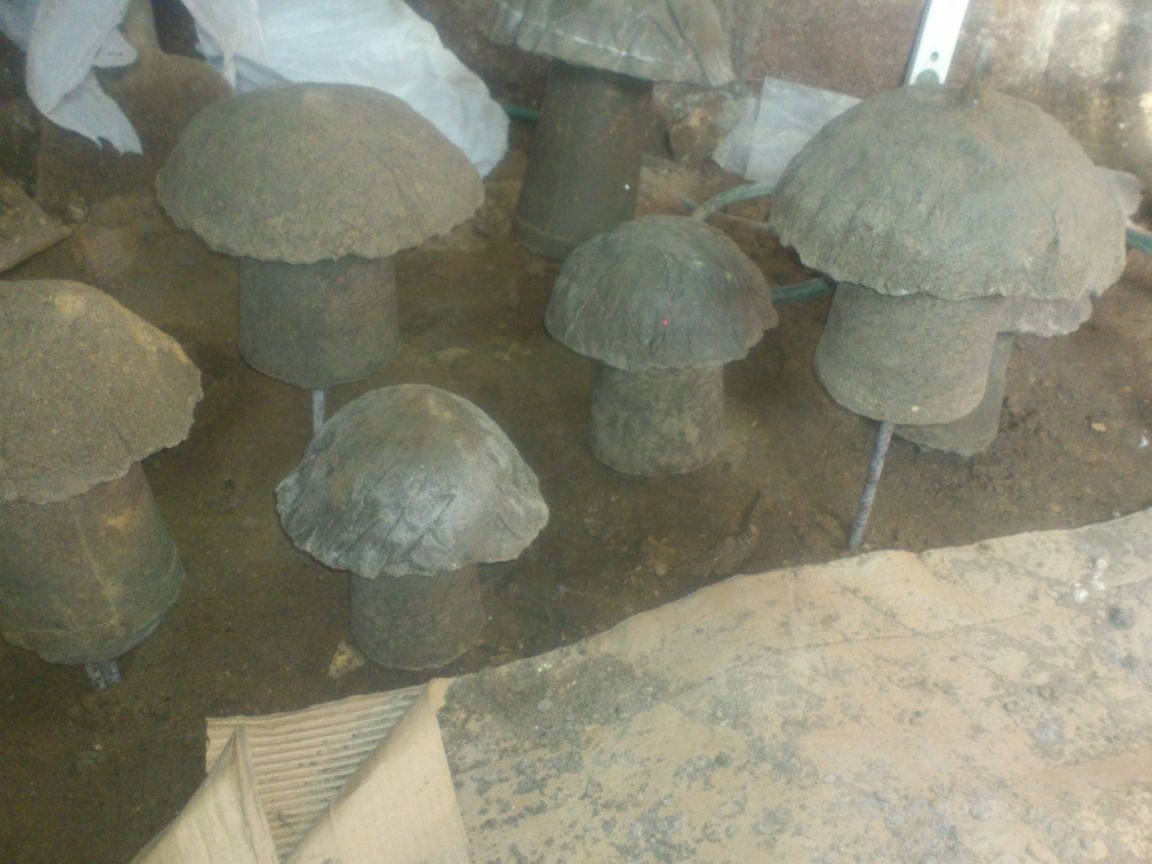
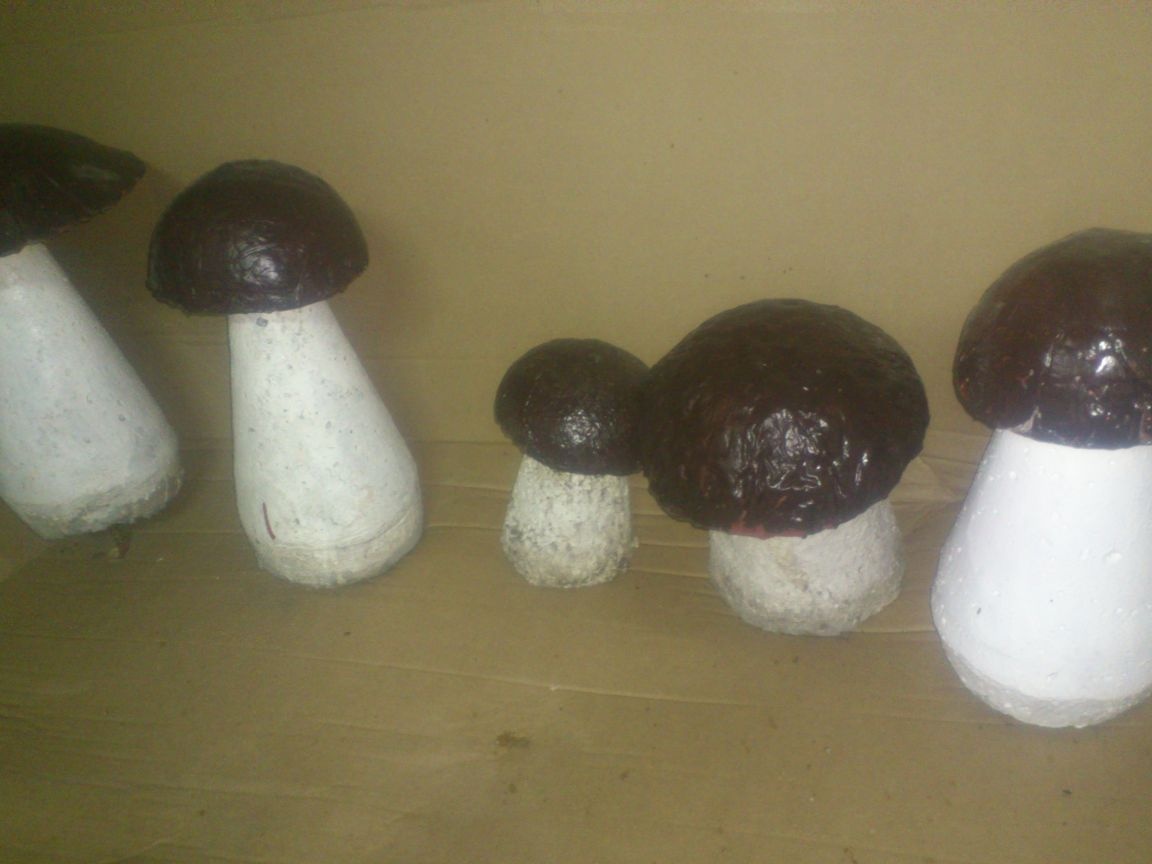
After painting, they will be ready:
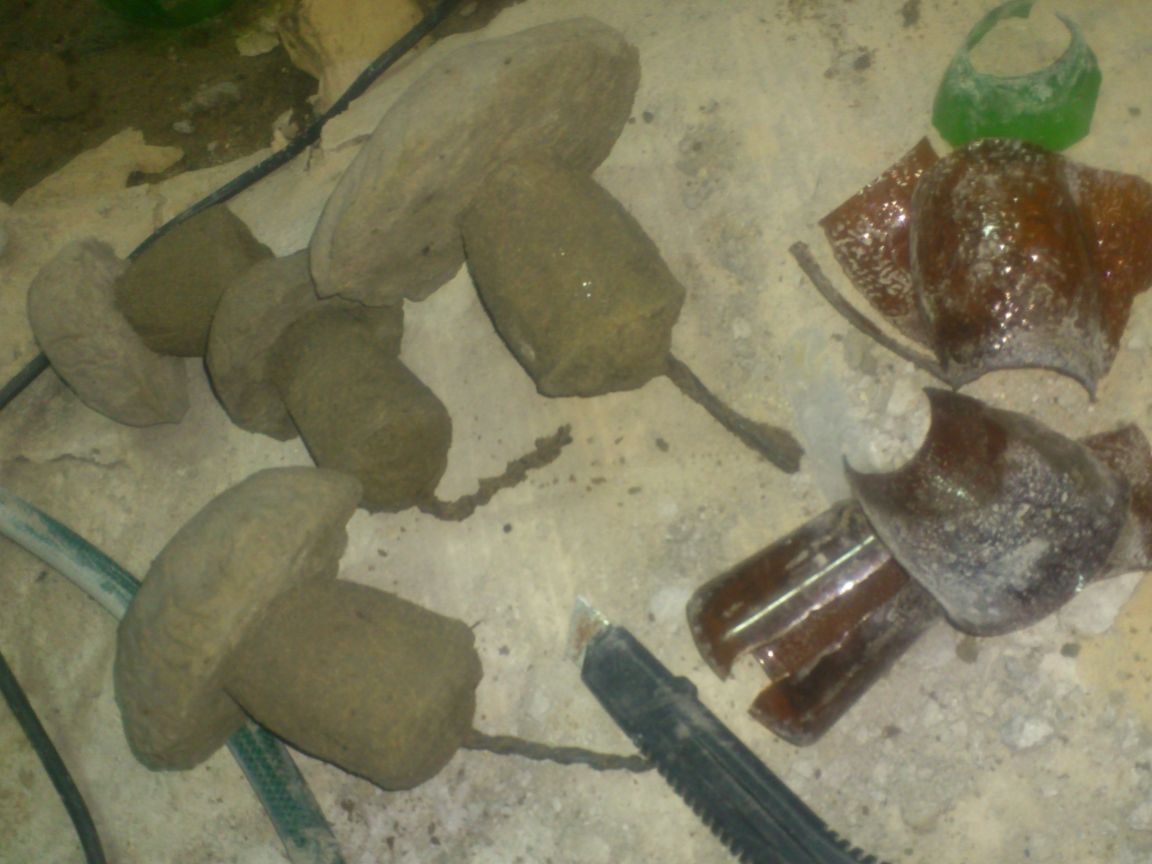
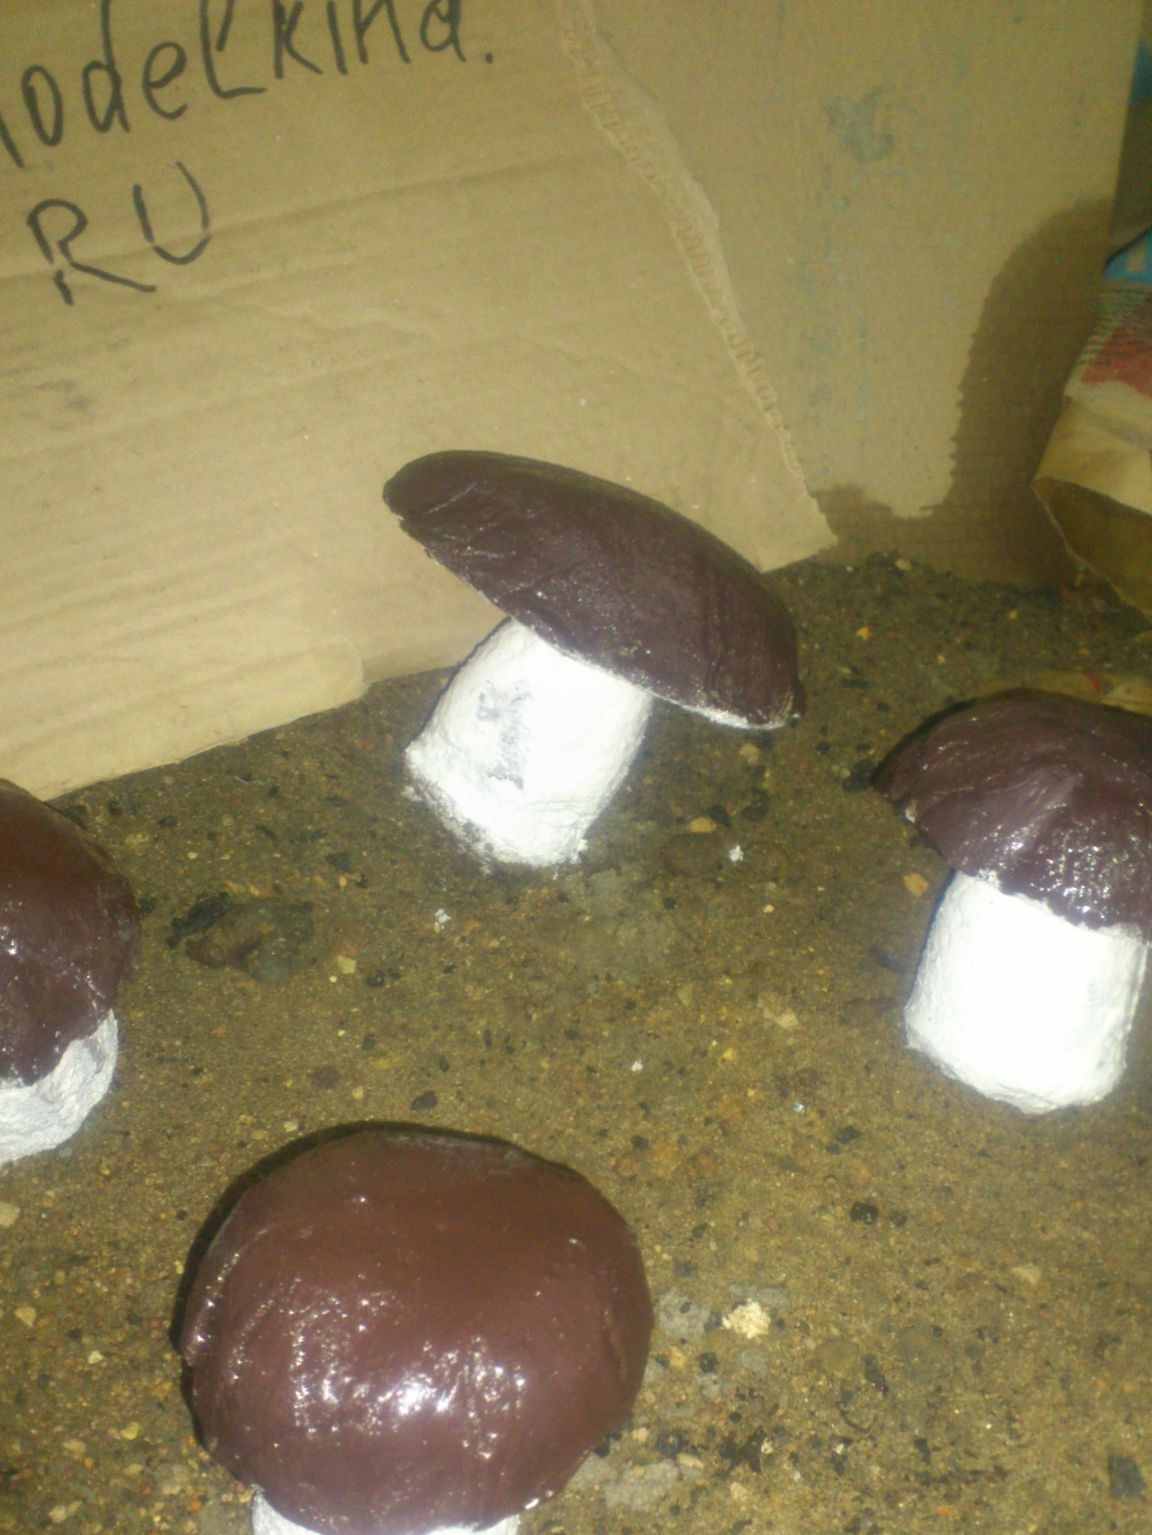
In addition to such "stylized-kindergarten" huge mushrooms (which I usually distribute to friends later, mother-in-law and so on, sometimes I make small, more similar to real ones. (This is when there is little solution left, and, most importantly, if there is time to fool with five to six figures instead of one!))))
In this case, the neck of beer bottles acts as a form for the legs, which I previously cut with a grinder and cut off the threaded part from them:
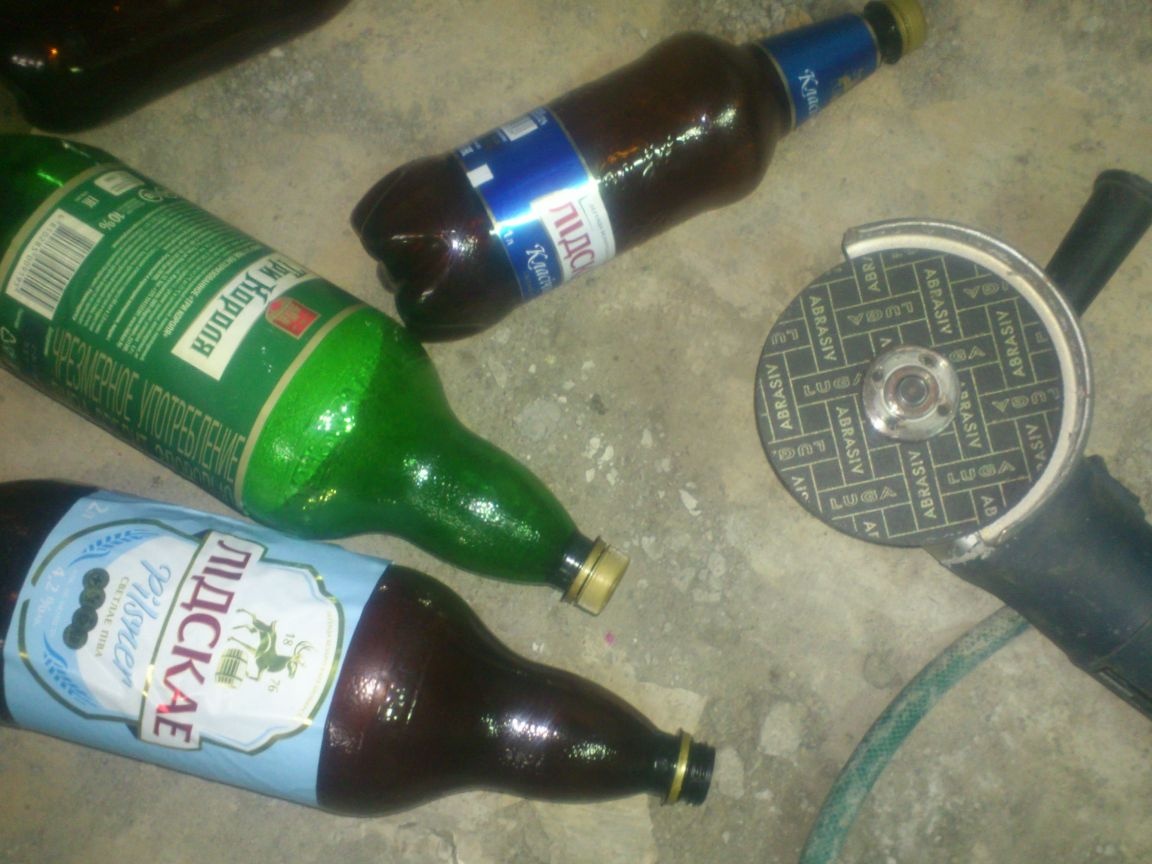
Further technology is the same. Only this time, the fittings are thinner and the film softer - from the "rustling" packages from supermarkets. And the rest is the same:

I paint them later, when a lot of them accumulate. First, putting on a hat, I paint a leg:
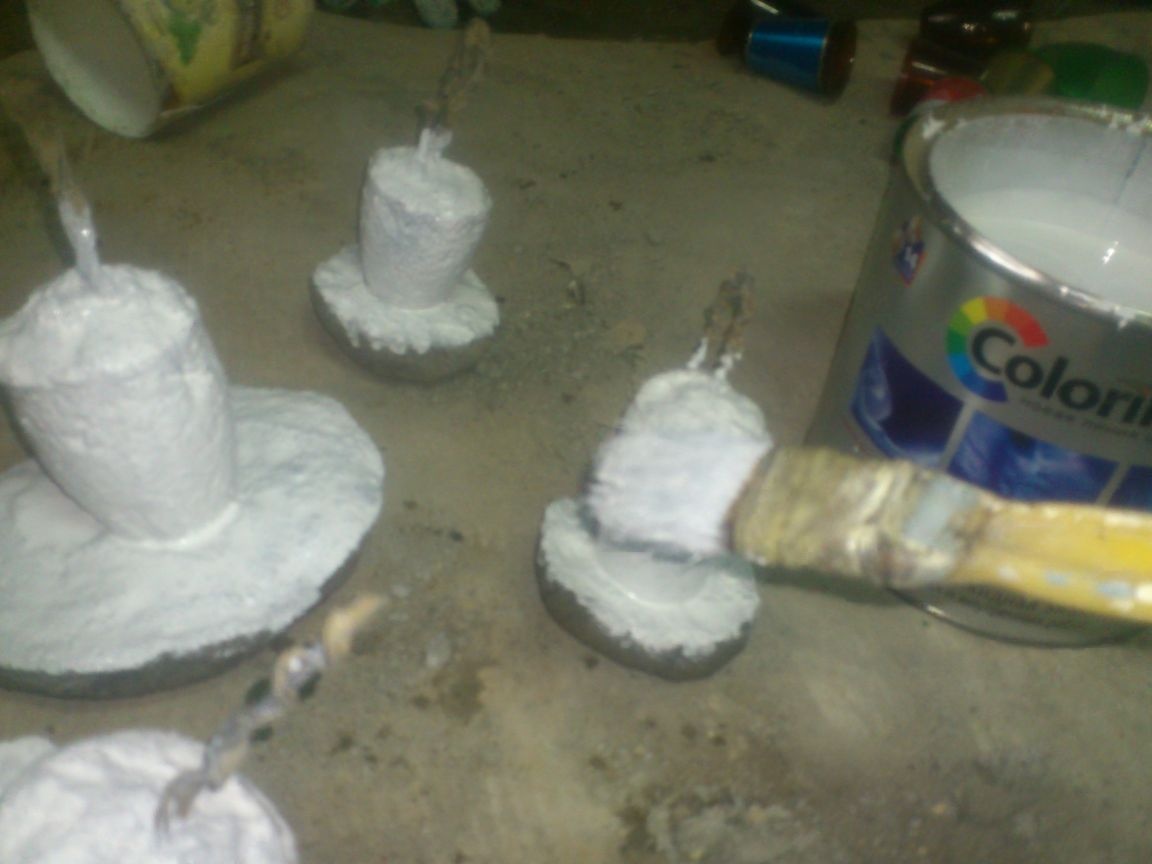
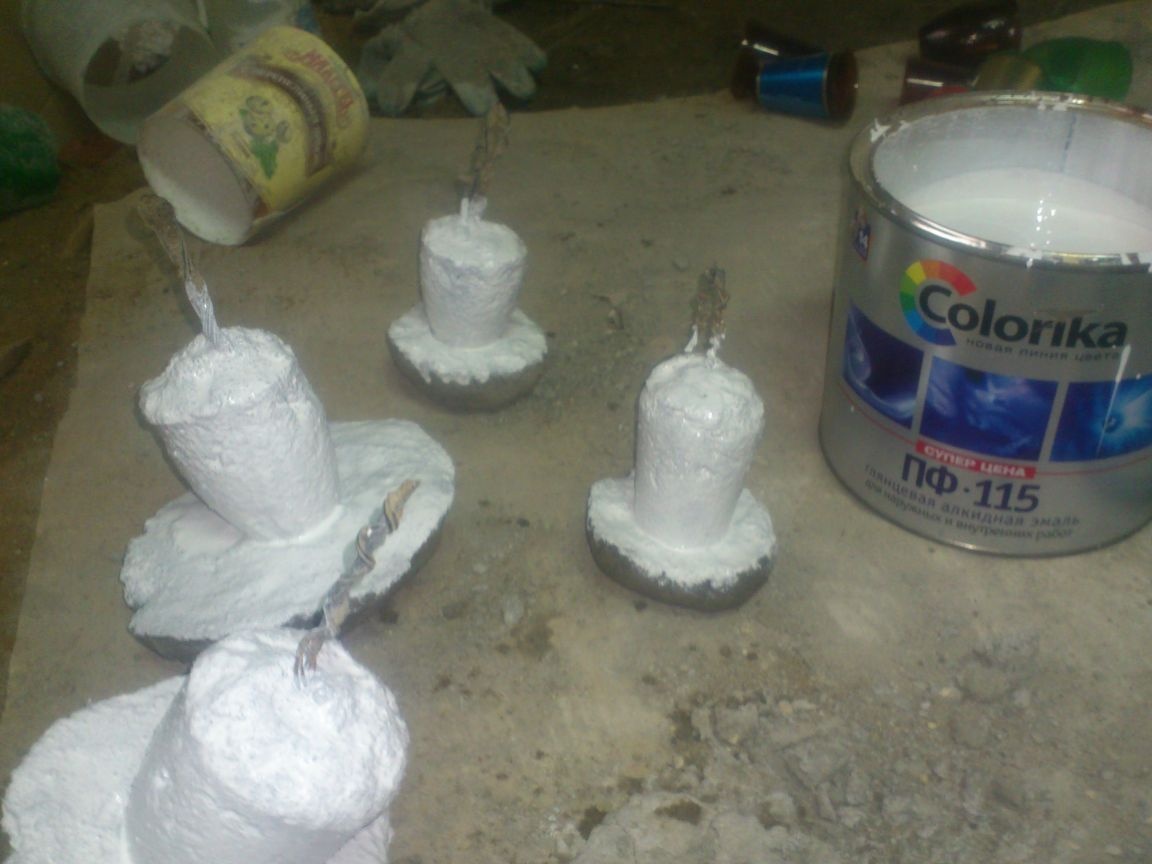
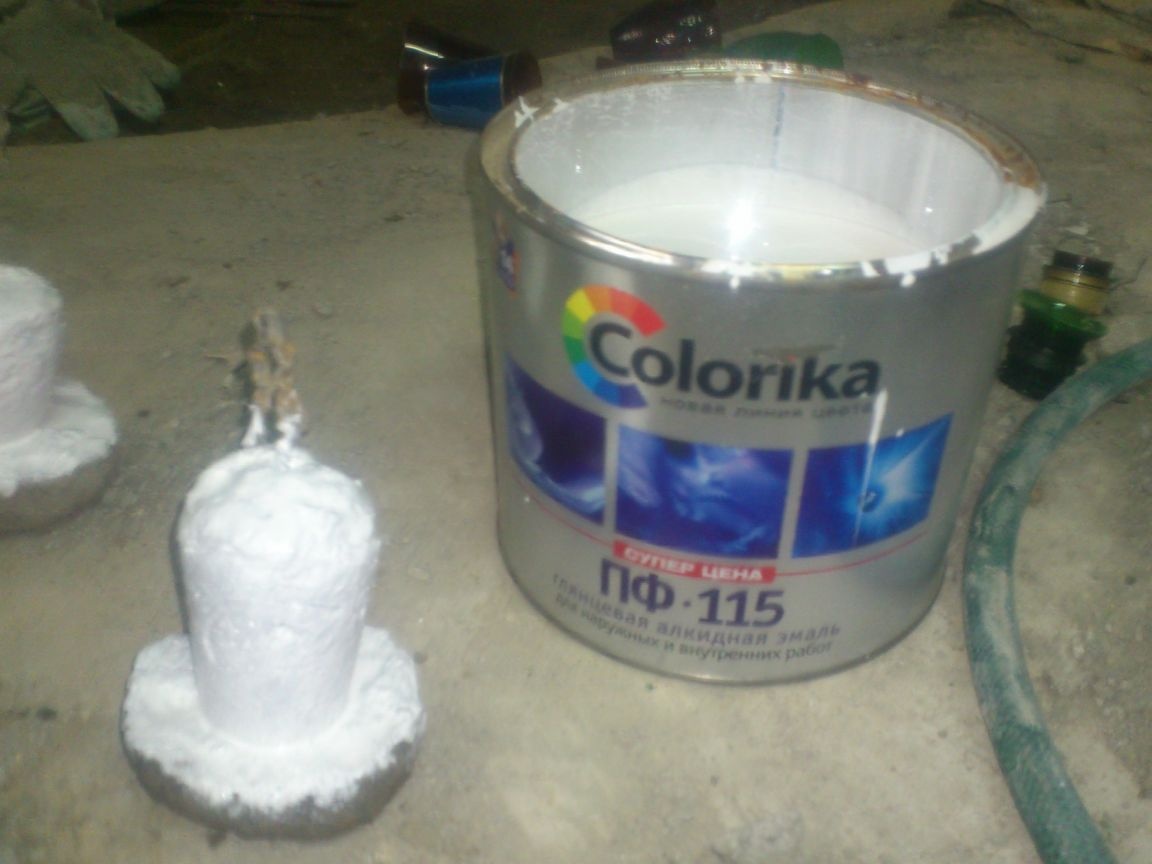
You can probably paint with water-soluble facade paints, but I use PF-115 enamel. It is resistant and not afraid of temperature effects. In addition, painting has not only a decorative purpose - the paint seals all micropores and caverns. We did it without a vibrating table, so there are a lot of pores! And in winter, water will go in, then it will freeze .... And the mushroom will crumble .. And PF-115 will reliably glue the entire porous surface:
The bottom of the hat should be yellow to make .... But who will look there! ))))
After that I turn the mushrooms over, stick the armature into the ground, and paint the hat .... We should have a brighter color. But such a PF -115, the color RAL 8017 I almost always have in the leftovers - and the gate and benches and pergolas for flowers I have this color.
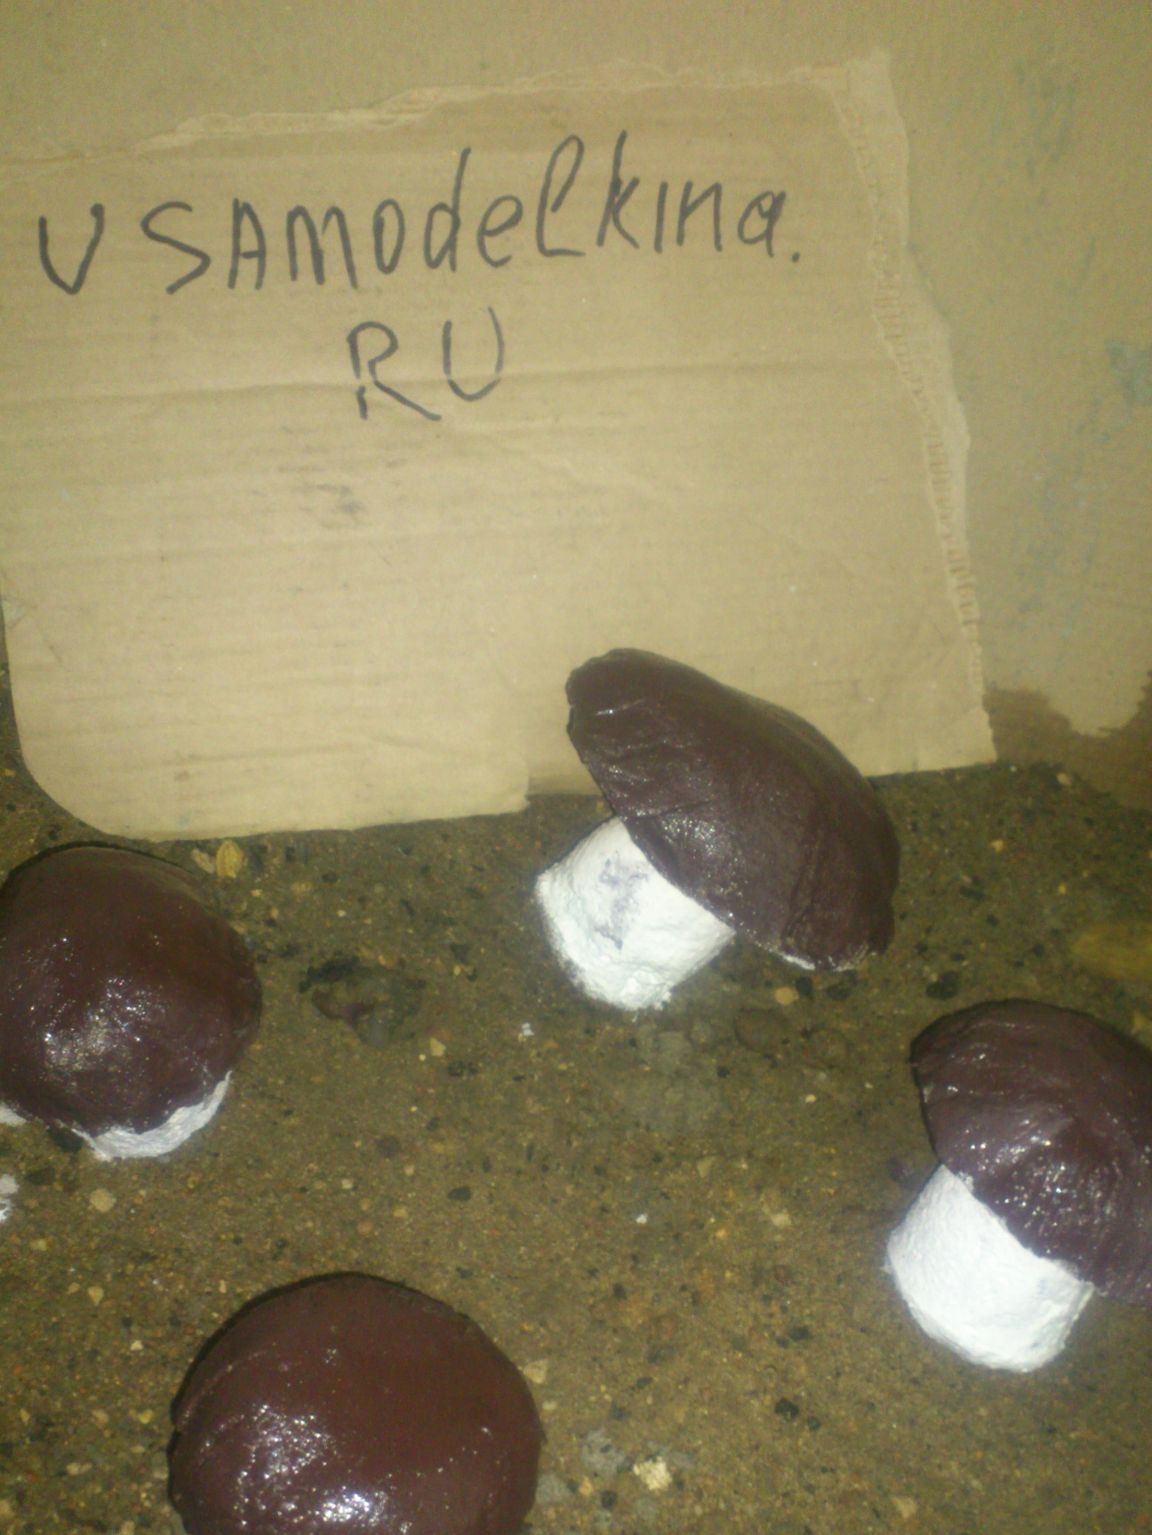
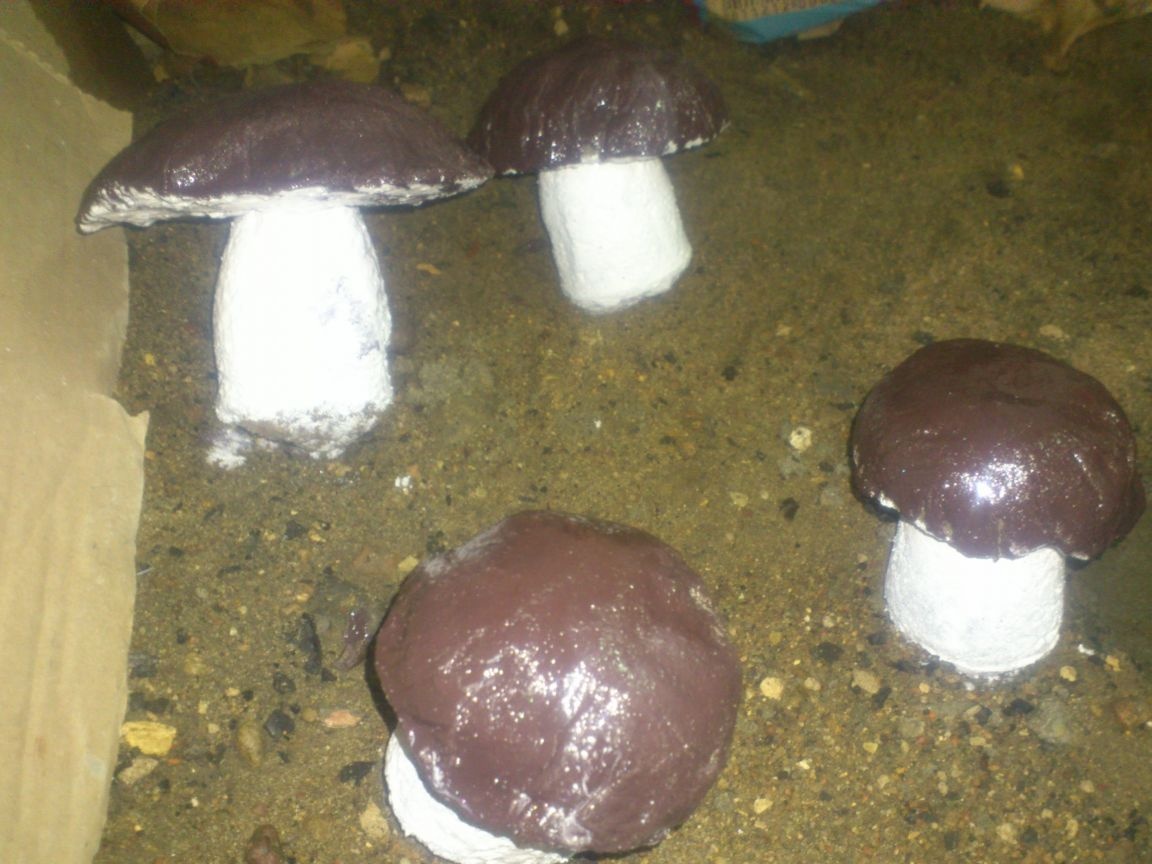
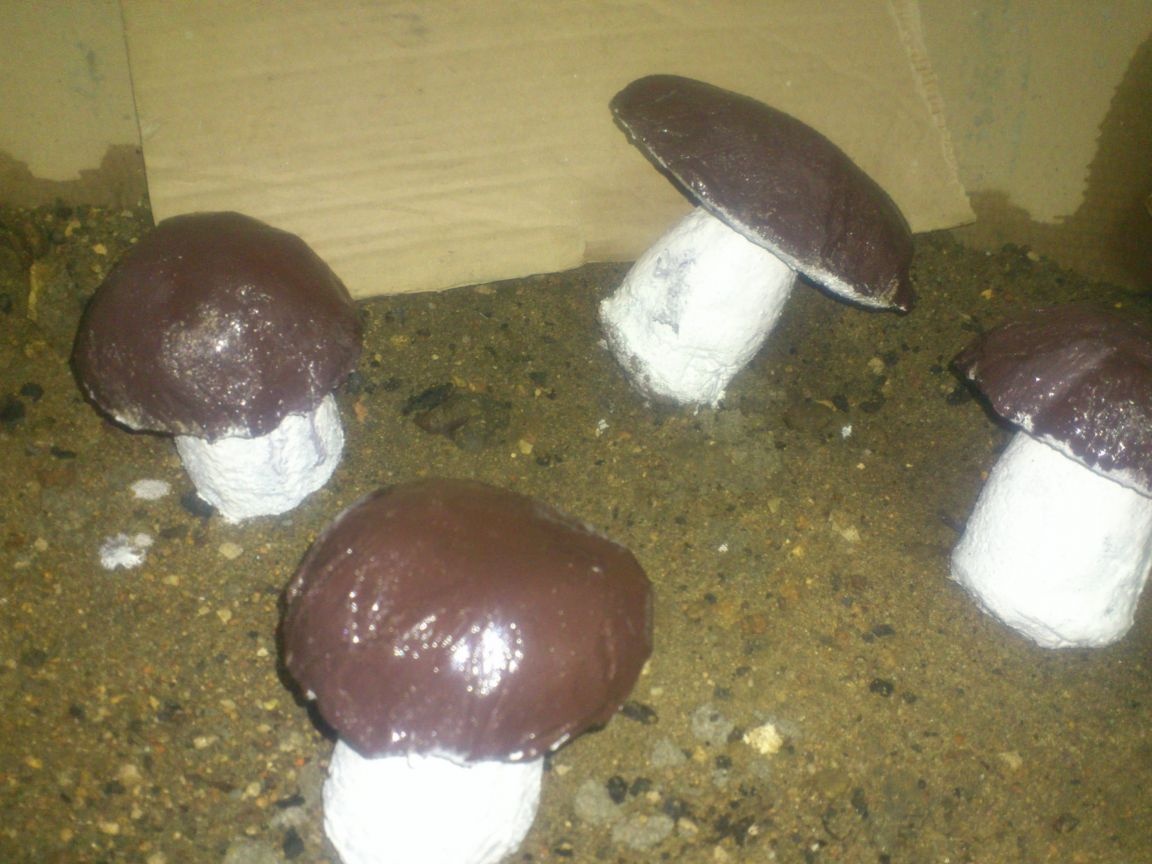
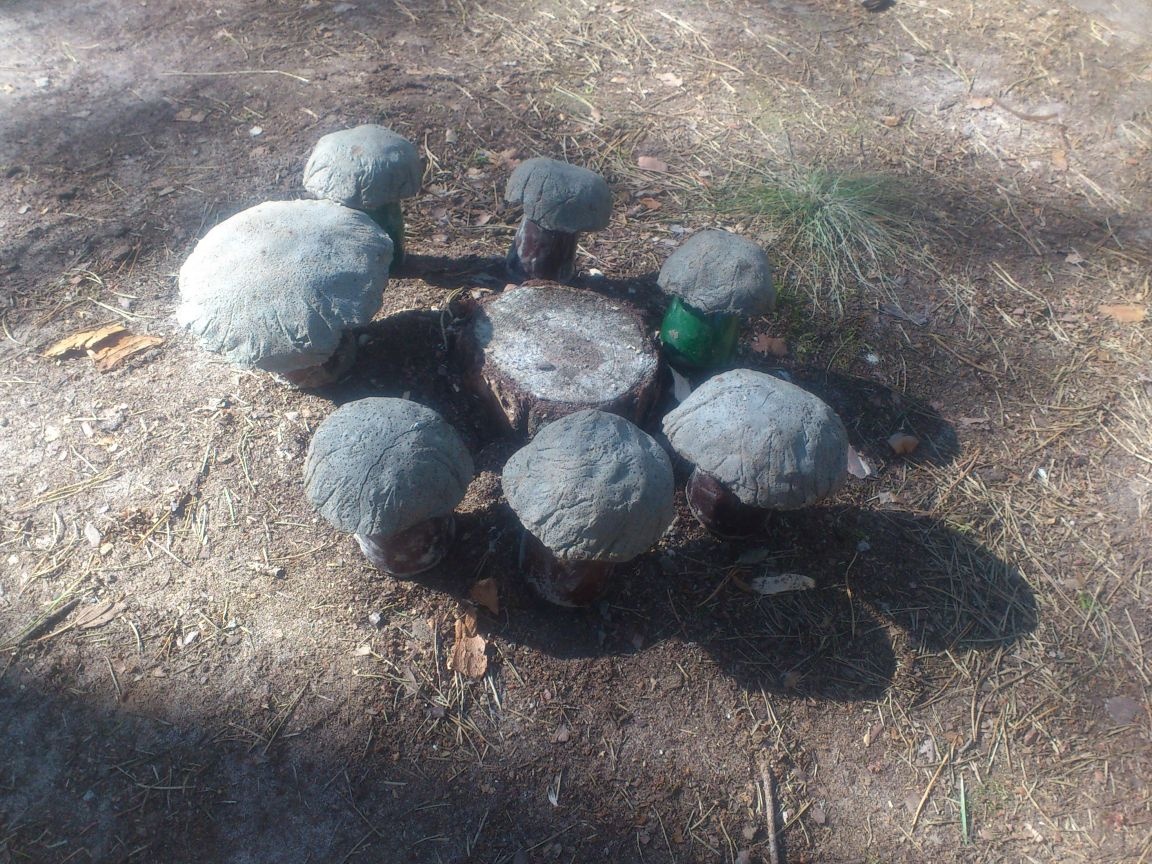
These are the mushrooms I have scattered throughout the site ..... After the first rain, the legs are covered with sprayed mud, which, having dried, gives them the look of real ones! A very interesting solution for decoration, and, most importantly, do not have to throw away concrete!
...Bye. I hope this information will be useful to someone ....