Dear site visitors, from the master class presented by the author, you will learn how to independently make a full-fledged weather vane and install it on the ridge of your house to determine the direction of the wind. The weather vane also has a decorative function, because it is performed mainly in the form of various animals and animals, but the most popular and recognizable is of course the rooster.
The main material for making a weather vane
do it yourself, is metal 1-3 mm (iron) can also be made of non-ferrous metal, for example (copper, brass, aluminum), they will be more expensive in price, but it will be easier to process and cut the figure.
an integral part of any weather vane is of course the arrow and the swivel mechanism. In the manufacture of an iron product, it should be coated with a primer at the end and painted in the desired color, thus protecting against corrosion.
And so, let's look at what exactly is needed to create a weather vane?
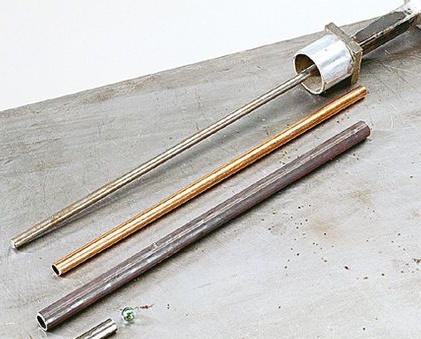
Materials1. sheet metal 1-3 mm (iron)
2. 60 mm pipe
3. steel ball
4. copper pipe
5. steel wire 3 mm
6. metal bar 8-10 mm
7. primer
8. paint
9. steel ball 80 mm
10. metal tube 16-18 mm
Instruments1. jigsaw with a metal file
2. drill
3. cutting machine
4. Bulgarian (angle grinder)
5. sandpaper
6. welding machine
7. vise
8. clamps
9. brush
10. marker
11. chisel
12. ruler
13. file
14. core
15. welding mask and special clothing
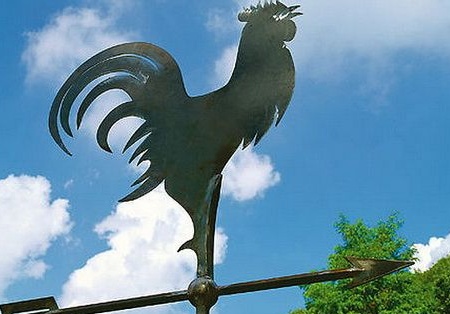
Step-by-step instructions for creating a weather vane with your own hands.The weather vane as a decorative element for determining the direction of the wind came to us from European countries, as in many Tales and colorful children's books you can see on the roofs of the famous golden golden cockerel. The direction of the wind is especially important for the fisherman and hunter, so leaving the house you can easily determine where the wind blows.
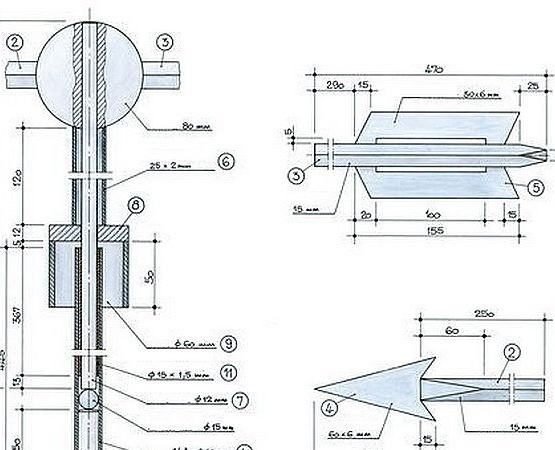
Before starting work, you should study the detailed drawing and diagrams.
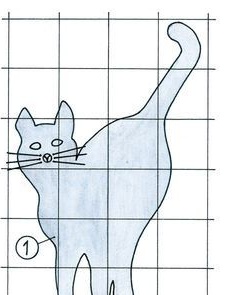
Cat.
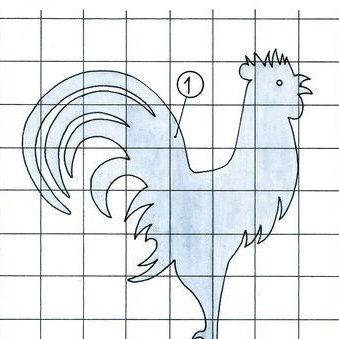
Cock.
Drawing.
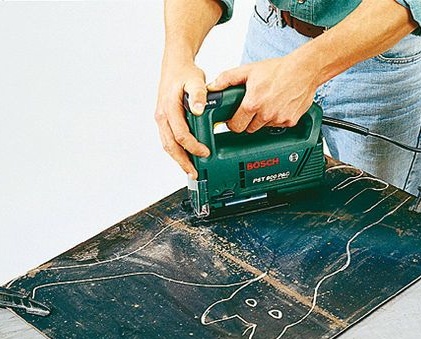
This image can be enlarged to the size you need and converted to metal, circle the contour with a marker, and then use an electric jigsaw with a saw for metal to saw off the resulting image. First, you should attach the sheet of metal to the table with clamps or clamps to work comfortably and the sheet lay motionless.
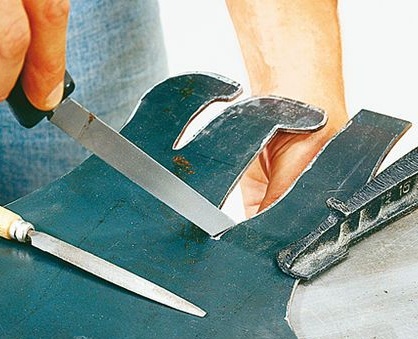
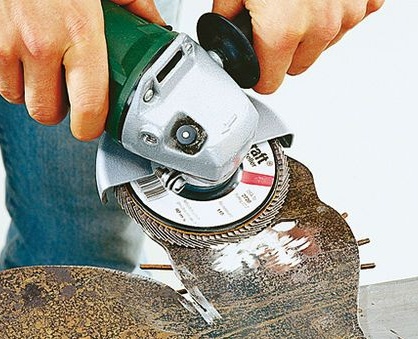
After you cut the workpiece in the shape of any animal, you will need to grind the edge, faster and easier to do this with a grinder (angle grinder) with a grinding wheel, that is, the resulting sharp part with notches should be rounded.
Hard-to-reach places need to be filed.
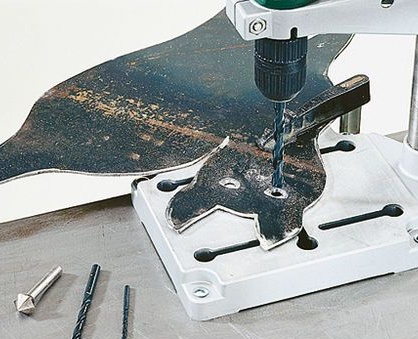
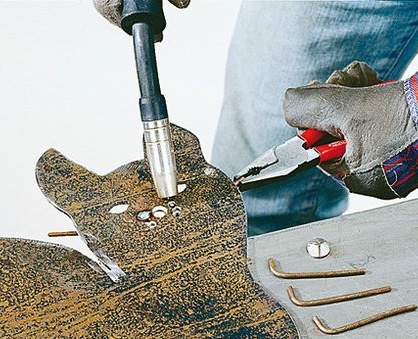
Next, our cat needs to drill its eyes, with a core, make serifs in places of future drilling, so that the drill immediately begins to drill a hole, and does not walk on the surface)
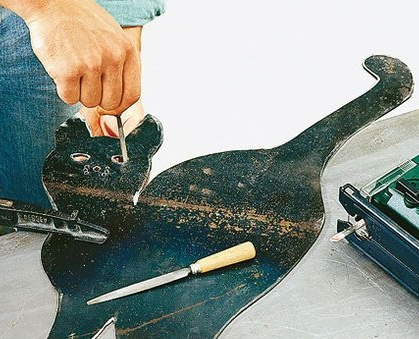
Round holes must then be made in the form of eyes, again we take a file and work through.
A mustache for a cat is made of 3 mm thick wire, and bent at the edges, as shown in the photo.
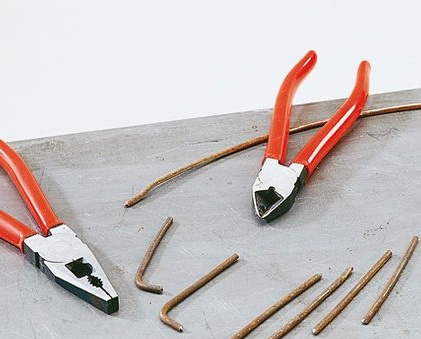
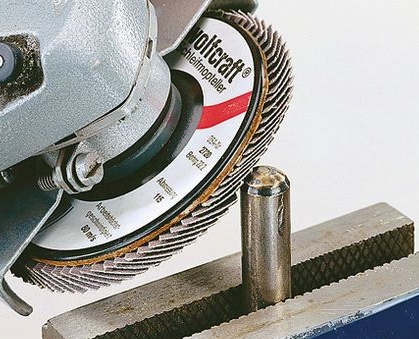
A cat nose is cut out from a steel bar 8-10 mm thick.
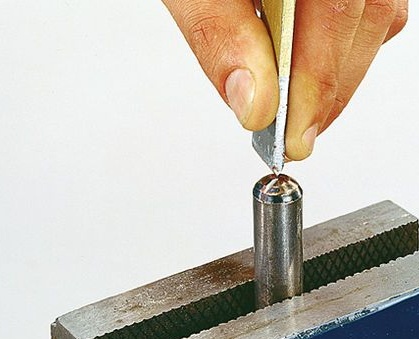
It is clamped in a vise and a notch is made with a chisel.
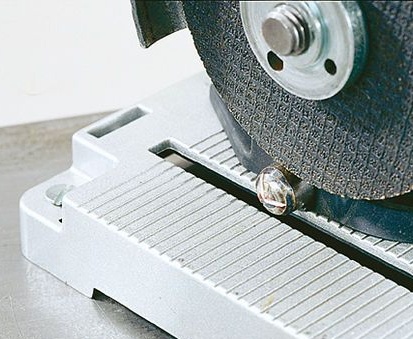
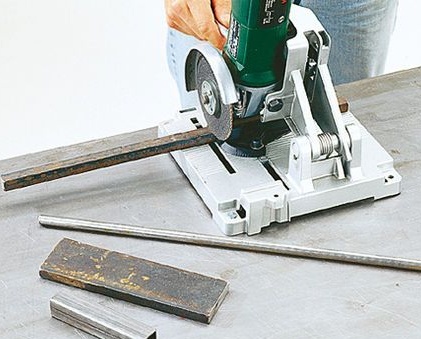
Sawed off using a grinder or a cutting machine.
Next, the mustache and nose are inserted into the drilled holes.
Attention!Welding of the mustache and nose is done on the back of the cat.
Then everything is carefully processed using a grinder with a grinding wheel.
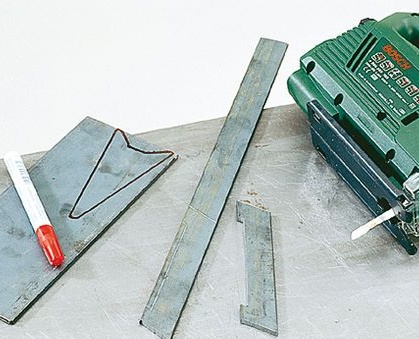
After which the author proceeds to the manufacture of the boom and plumage, the same sheet metal is used on which the contour is applied with a marker and sawed with an electric jigsaw.
The arrow will have 2 parts, this is the tip before the ball and the plumage after the ball, so the master cuts 2 pieces from a bar with a square section.
Welded by welding and cleaned with a grinder.
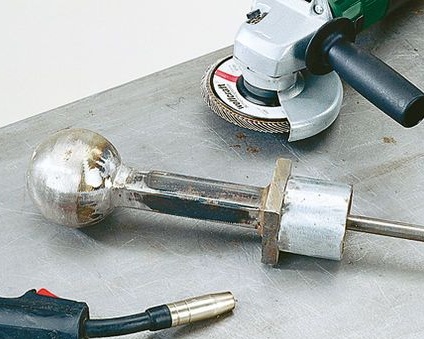
Then, holes with a diameter of 13 mm are drilled in the lid and steel ball.
A piece of pipe with a diameter of 60 mm is welded to the plate.
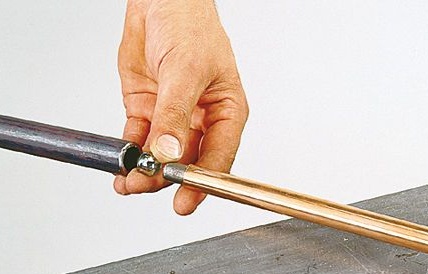
A rod is welded onto the ball.
That's actually what happens in the end.
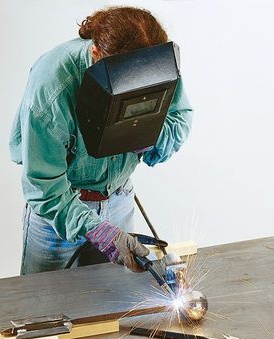
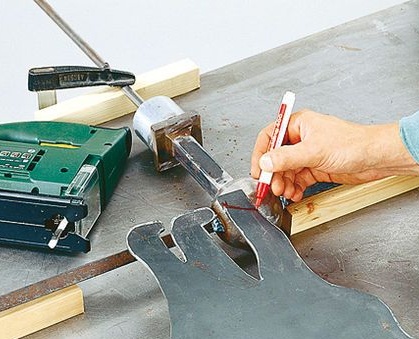
Next, it is necessary to weld all the parts obtained into a single design, and care must be taken in the work, because the weather vane should turn out smooth. Why should I put wooden blocks and secure with clamps.
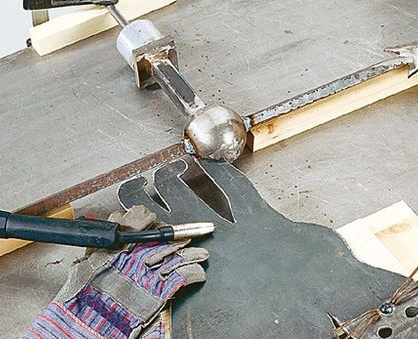
The animal should be centered so that there is no displacement. Mark the place of cutting and welding with a marker.
Welded to a metal ball and boom base.
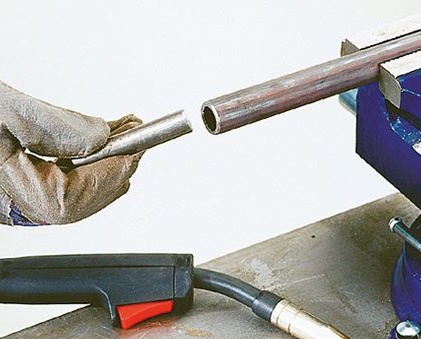
The swivel mechanism consists of 2 copper and metal pipes, a rod, a steel ball.
The author welds the supporting rod at the end of this pipe.
A slightly rounded metal rod is also inserted into the copper tube.
After that, it remains only to install a weather vane on the roof of your house. Today it has become very fashionable to decorate houses of this kind with animals for determining the direction of the wind, but they just are not very cheap, but you can do it yourself as you can. Well, the instructions and drawings you now have, you can safely get to work. Go for it friends!
This concludes the article. Thank you very much for your attention!
Come visit often and do not miss the latest in the world of homemade goods!