
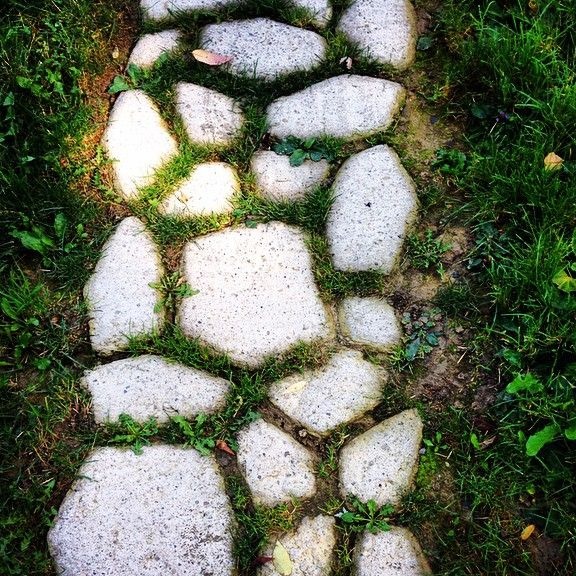
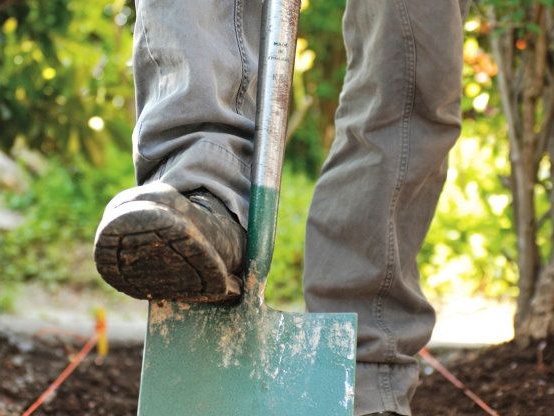
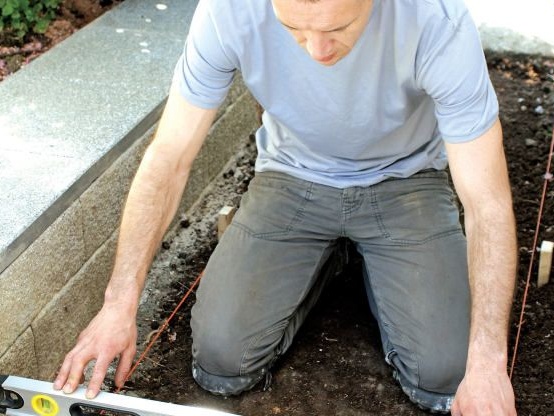
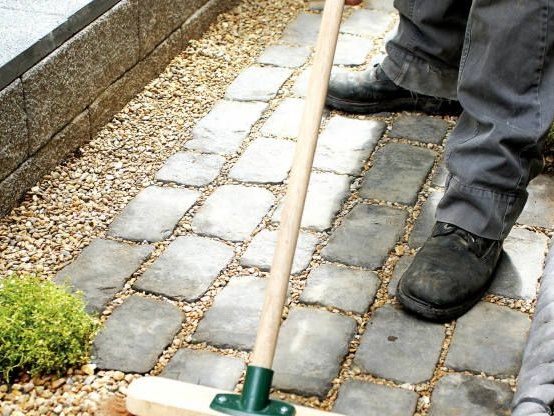
Today, most of the summer residents and country people are passionate about landscape design, that is, they ennoble, divide into zones, decorate, and generally bring warmth and comfort to their 6 acres. One of the main things in garden design is, of course, paths; various materials are used for their paving, but the principle is the same everywhere. First of all, you need to determine the direction and location, then make markings with the help of pegs and a rope. Next, a layer of turf or the upper layer on the bayonet of a shovel is removed and the lower part of the recess is aligned with the edges. At the bottom, gravel filling is laid out, and on top of the sand cushion, depending on the occurrence of groundwater, that is, if close to the surface, then drainage from gravel filling is necessary. And then on a flat sandy surface is laid stone, pavers or tiles.
Let's look at what exactly the author needs to pave the garden path?
Materials
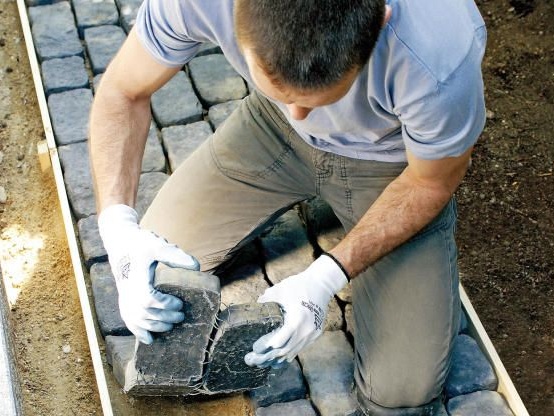
1. stone
2. sand
3. gravel
4. board 25-30 mm
Instruments
1. shovel
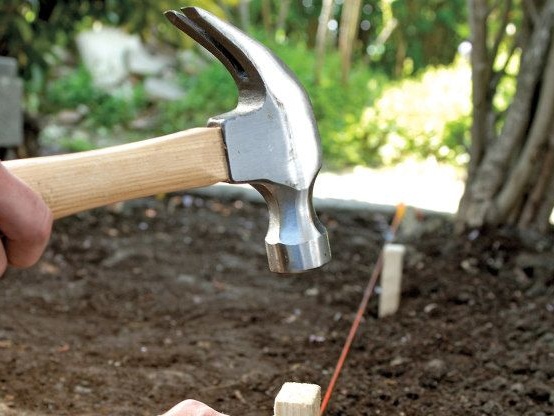
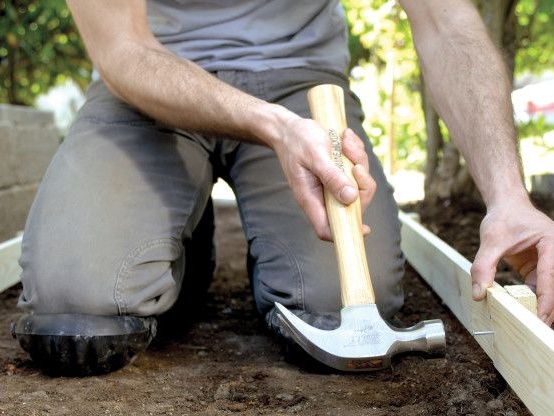
2. mallet
3. roulette
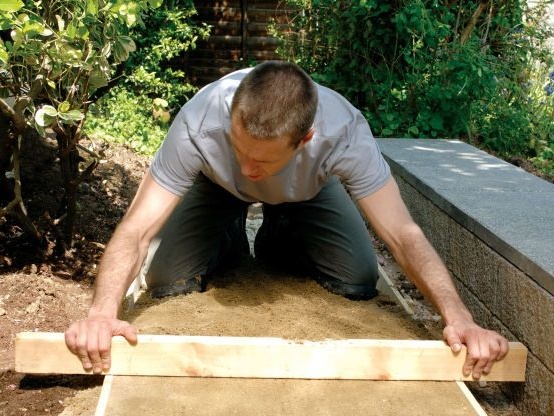
4. sand leveling board
5. pegs
6. rope
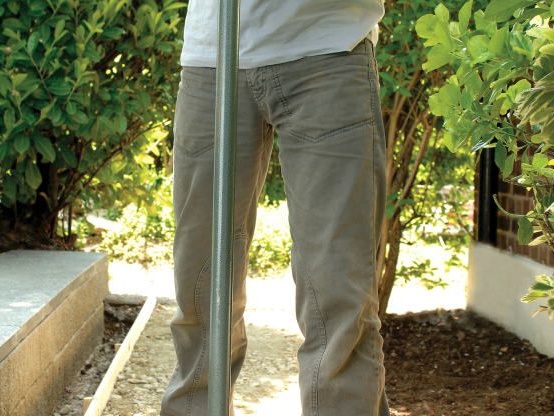
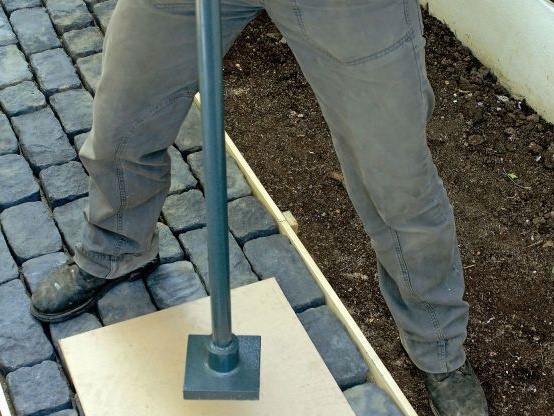
7. vibrating plate
Step-by-step instructions for paving a stone garden path do it yourself.
As already mentioned above, the first step is to mark the future path with a rope and pegs, having previously measured the length and width.
The intricacies of laying a garden path.
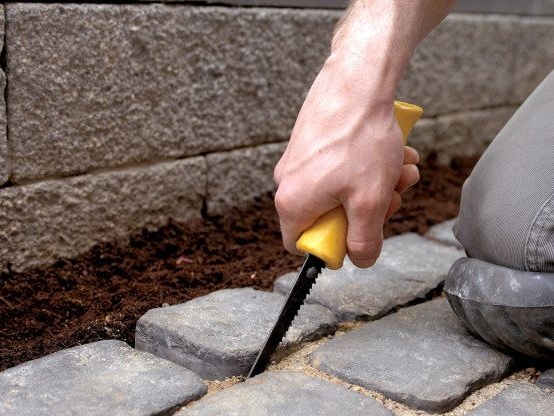
1. the path should be slightly inclined in both directions — this is necessary so that rain and melt water quickly flow from the surface and do not linger.
2. stones or tiles should protrude 1cm above the ground.
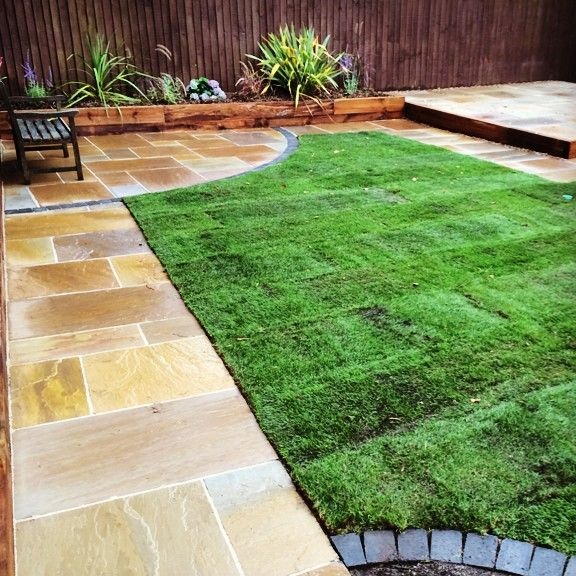
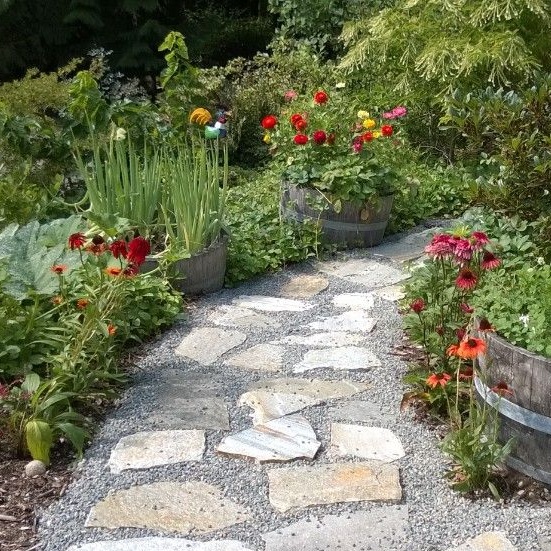
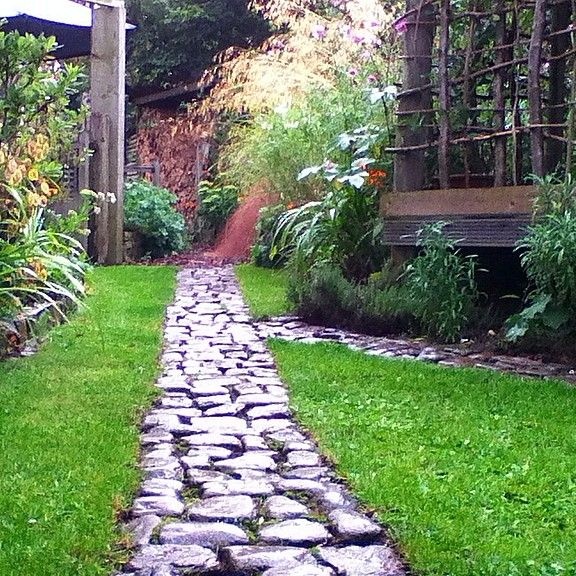
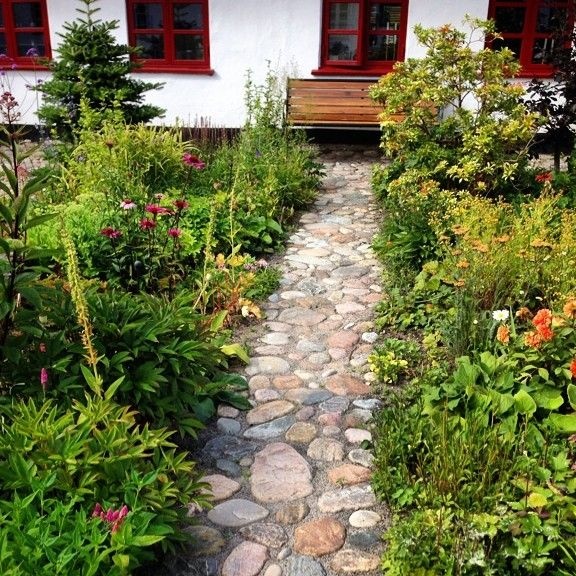
Also, let's look at examples of similar wizard works.
This concludes the article. Thank you very much for your attention!
Come visit often and do not miss the latest in the world of homemade goods!