

In this article, I will describe in detail the manufacturing process of the so-called bodyboard - a development board for a child. The materials are the most accessible, for the most part collected in the country house and in the barn in a pile of “necessary” things.
Materials:
- Shelf from the cabinet from chipboard
- Thin plywood
- Reiki
- Self-tapping screws, bolts, nuts
- Paints
- Varnish
- Steel bar
- PVA glue
- Stickers with animals
Instruments:
- Hacksaws for wood and metal
- Jigsaw
- Sandpaper
- Dremel or grinder
- Screwdriver
- Drill
- brush
Step 1. Assembling the components
Having rummaged through the boxes or having gone shopping, we collect the details of the future bodyboard:
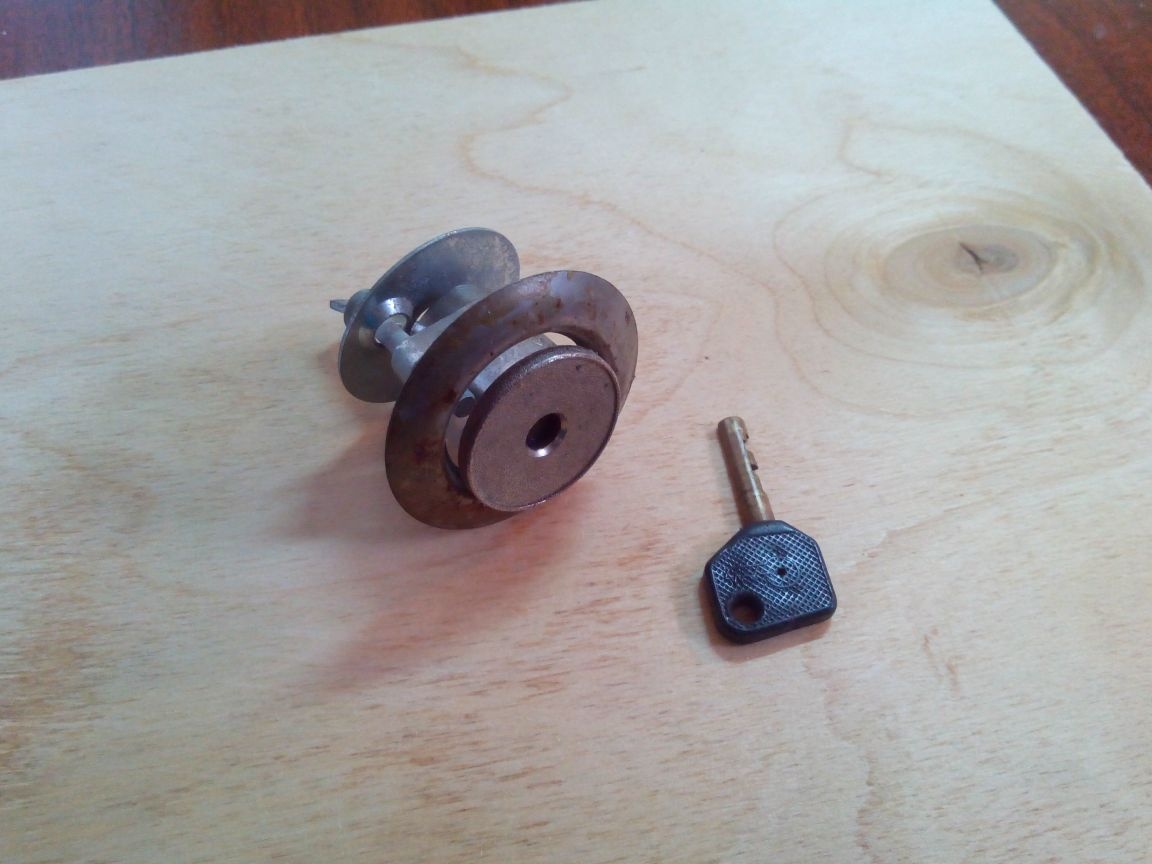
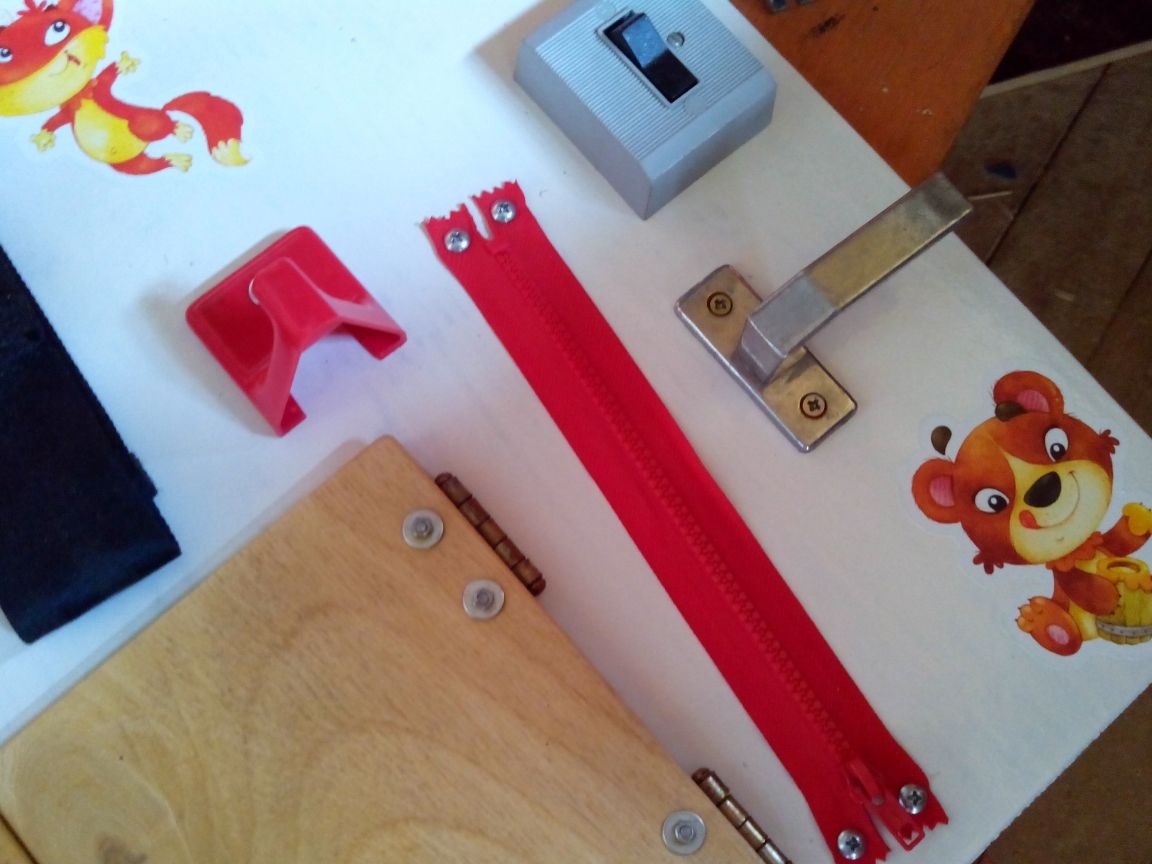
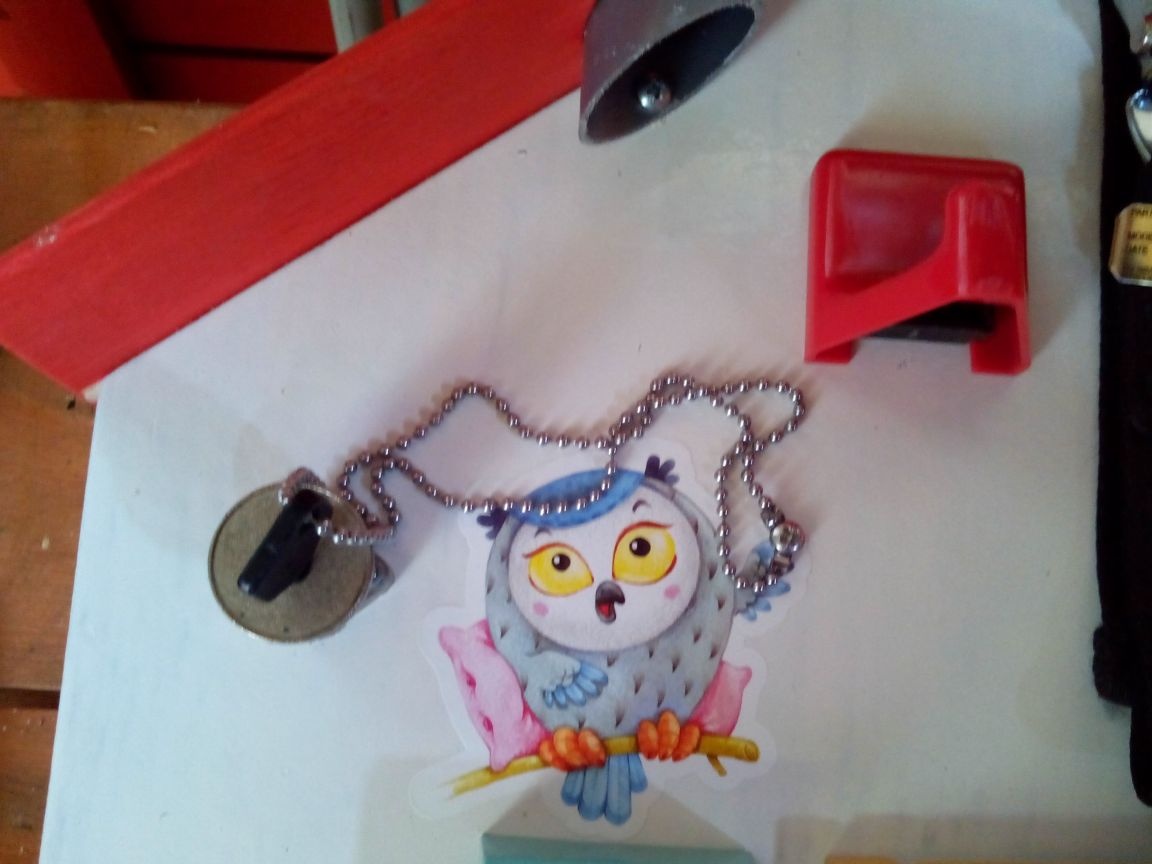
The old "larva" from the lock and the key to it.
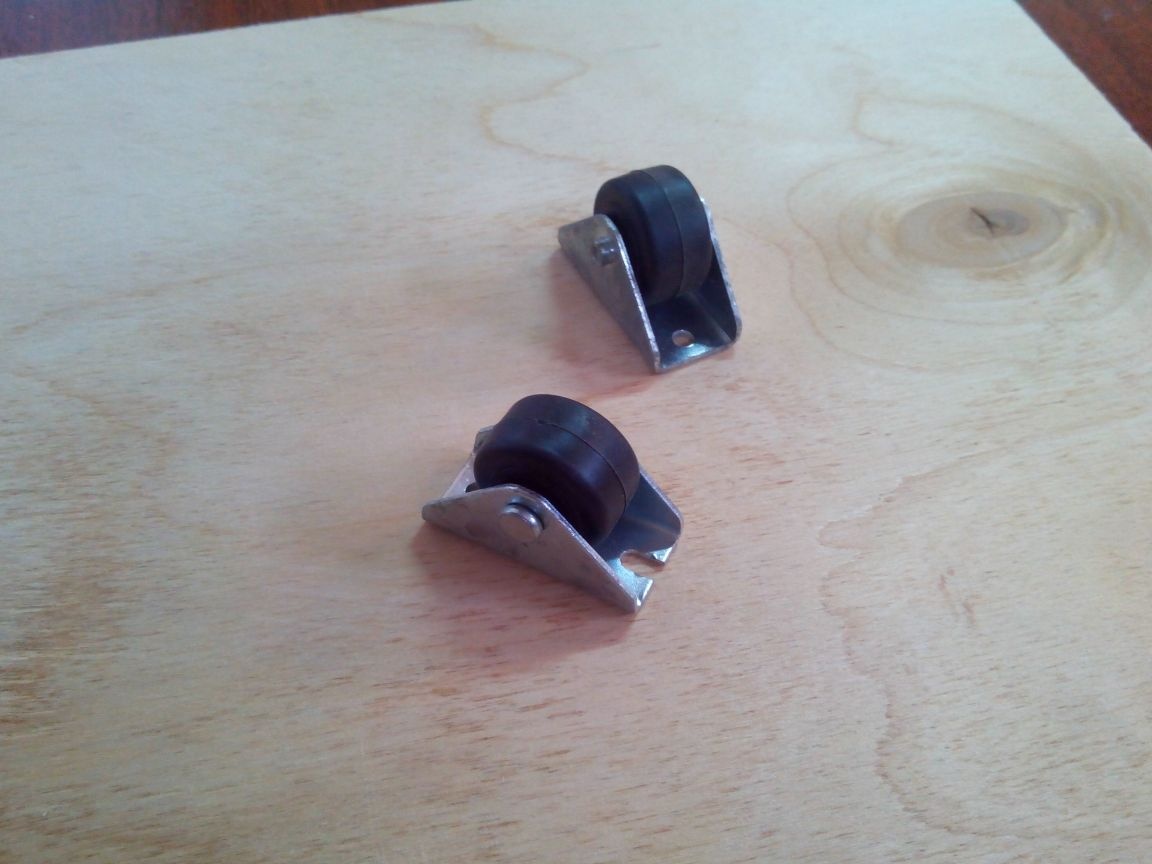
Wheels from of furniture.
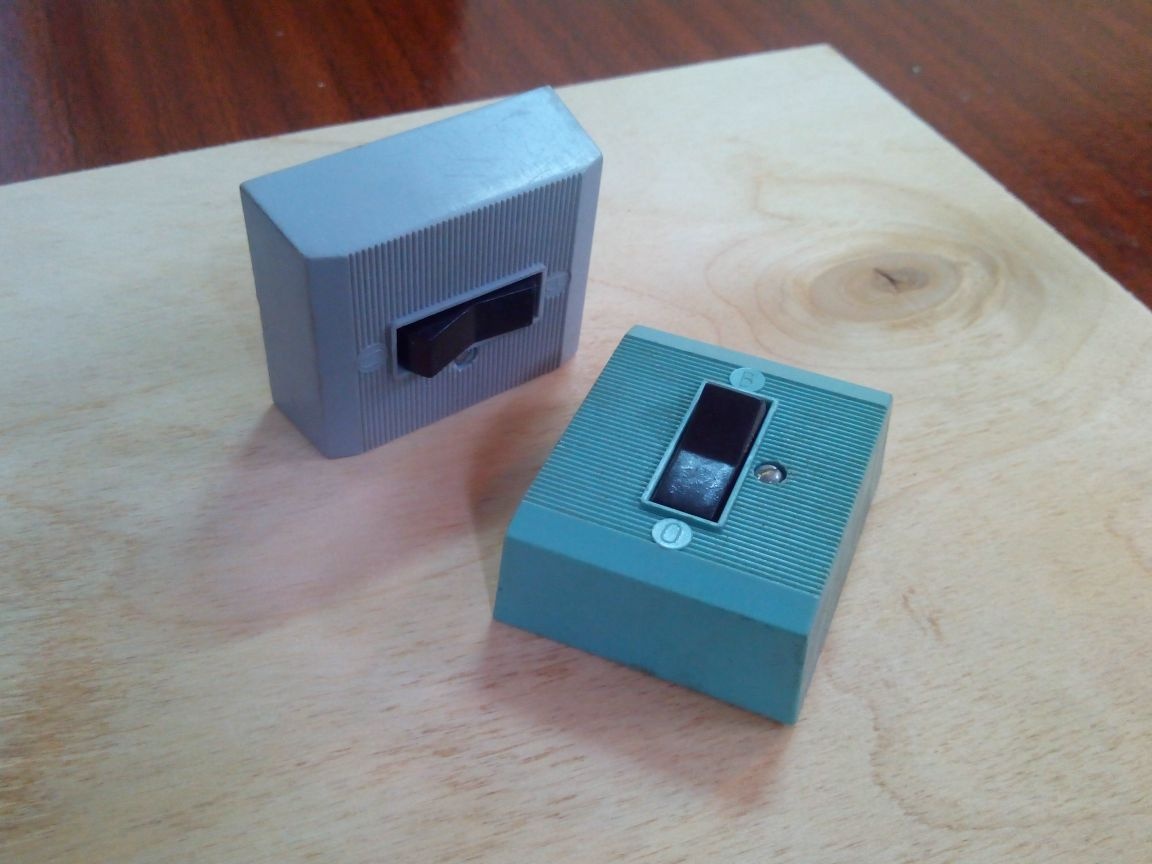
Circuit breakers.
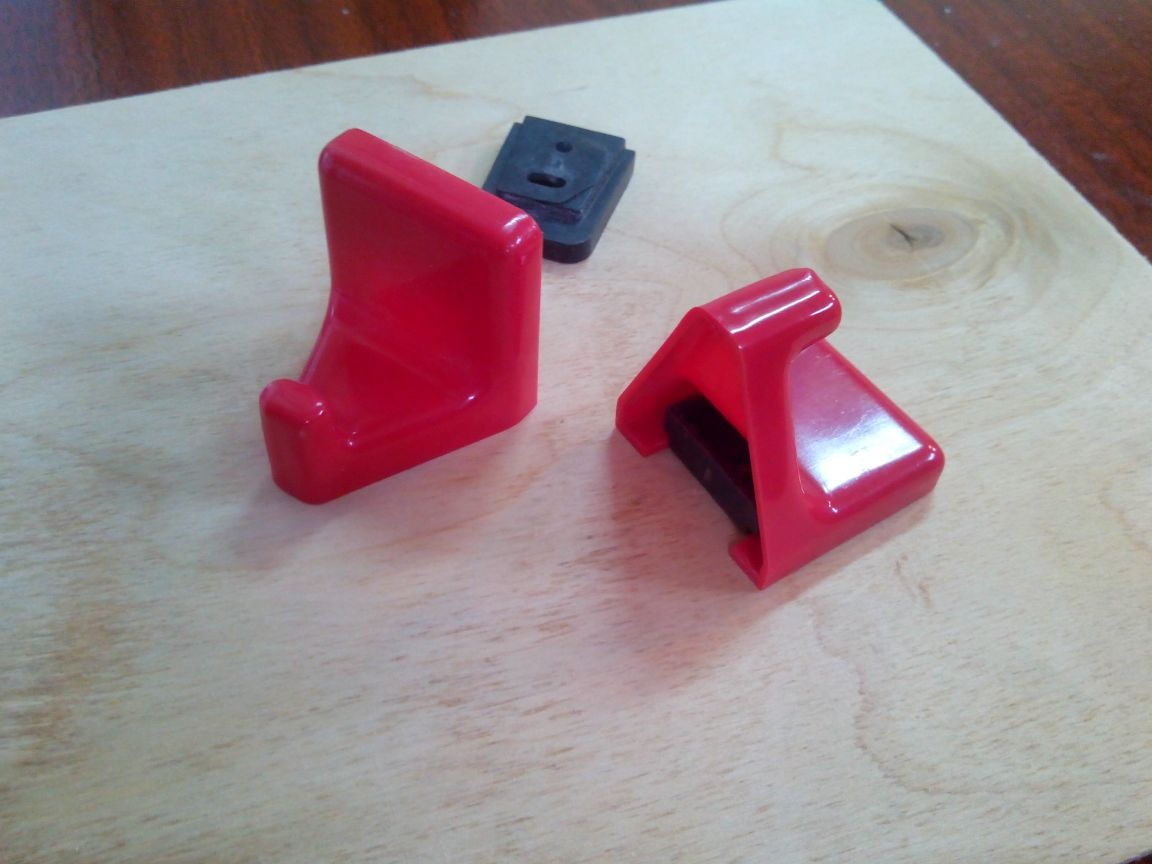
Hooks for towels.
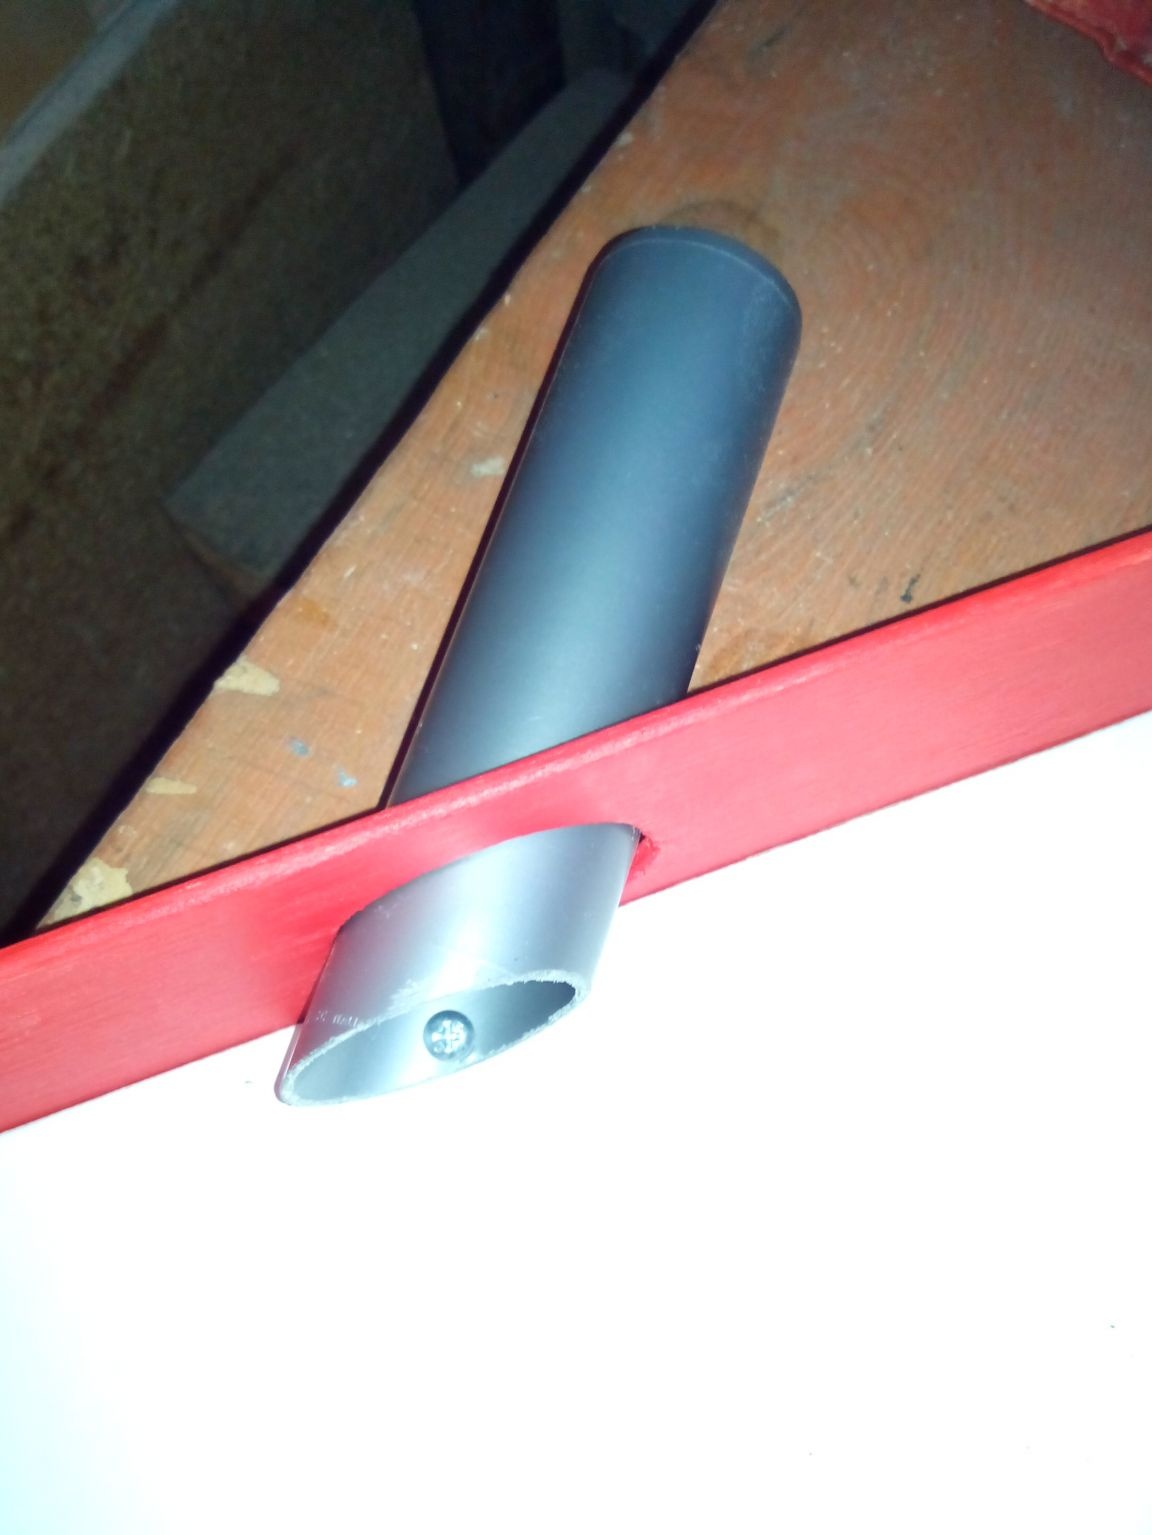
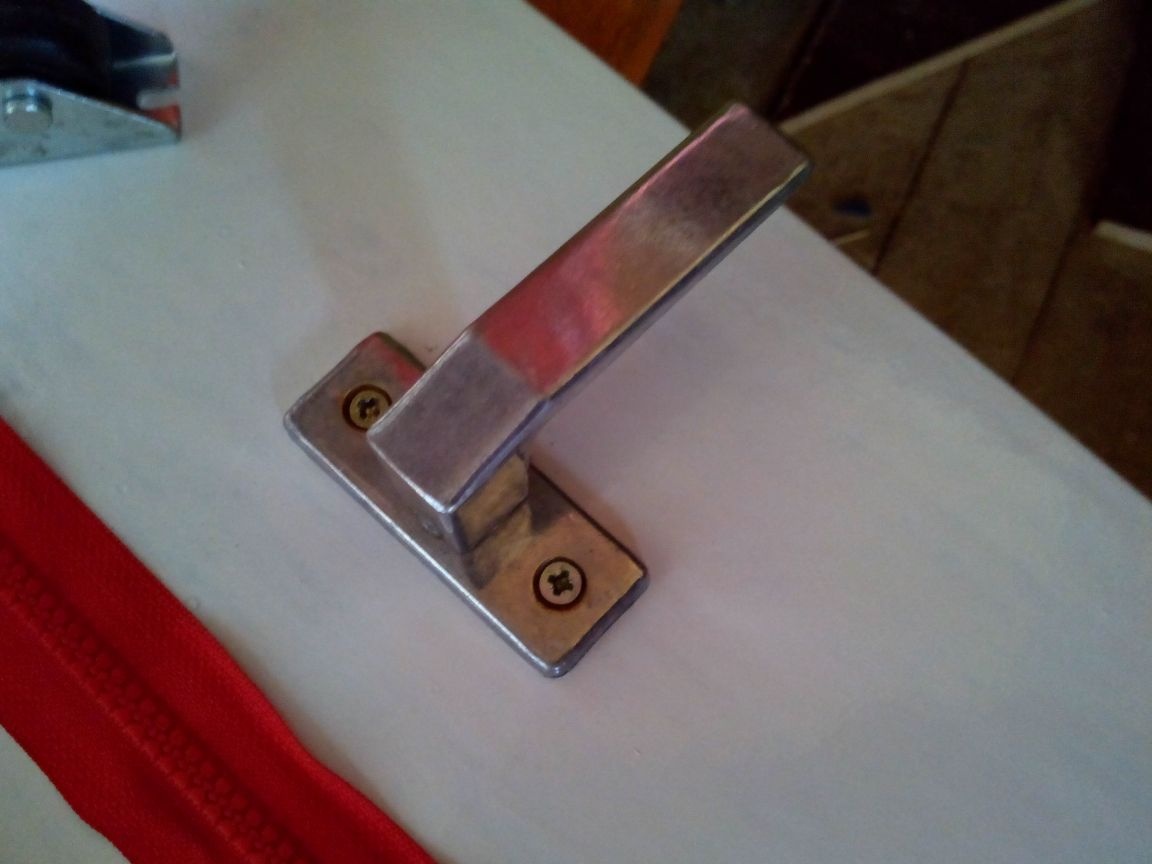
Aluminum handle from the window.

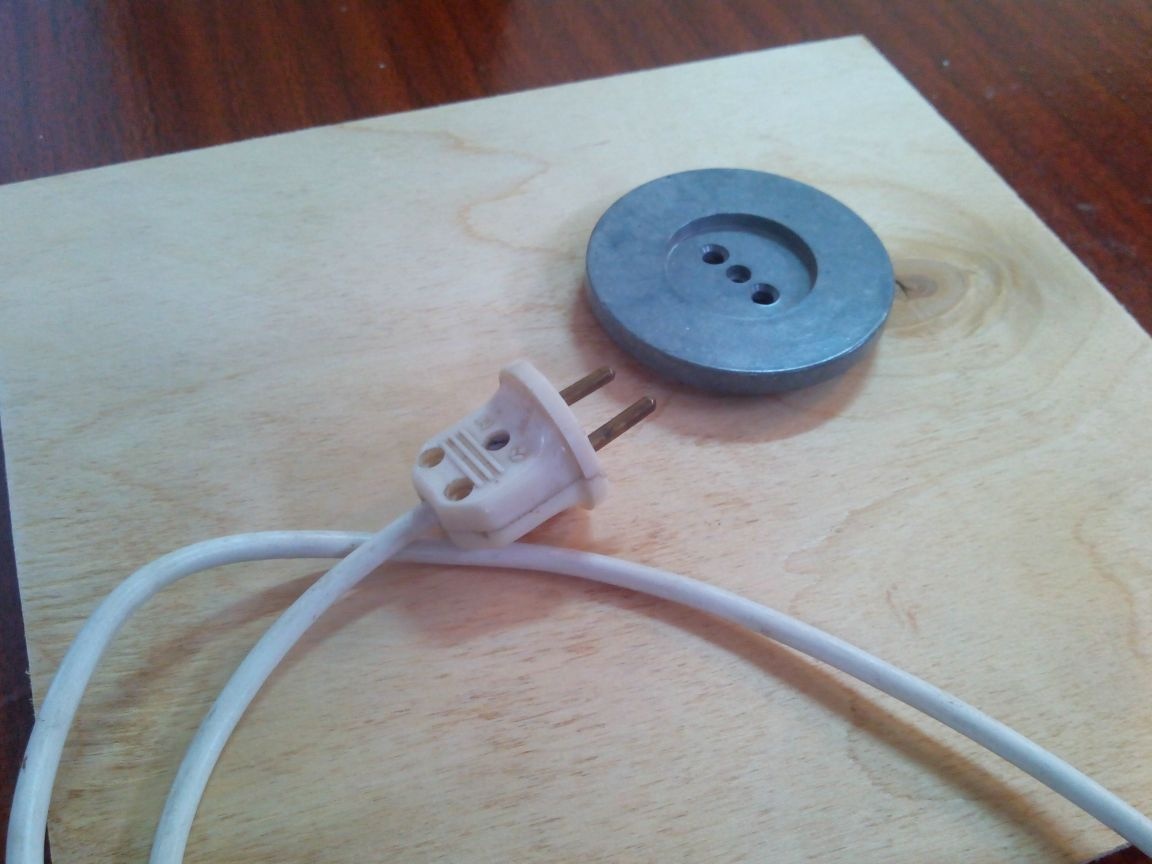
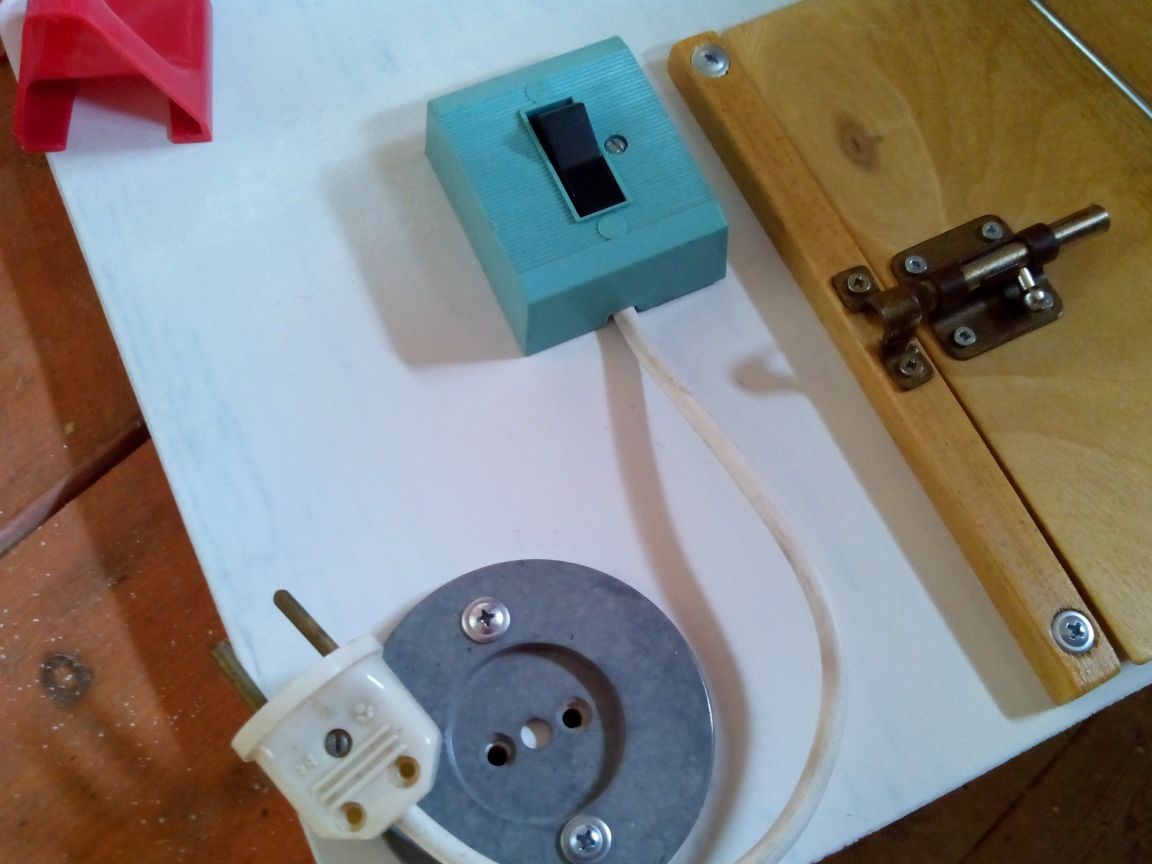
Socket, cord and plug.
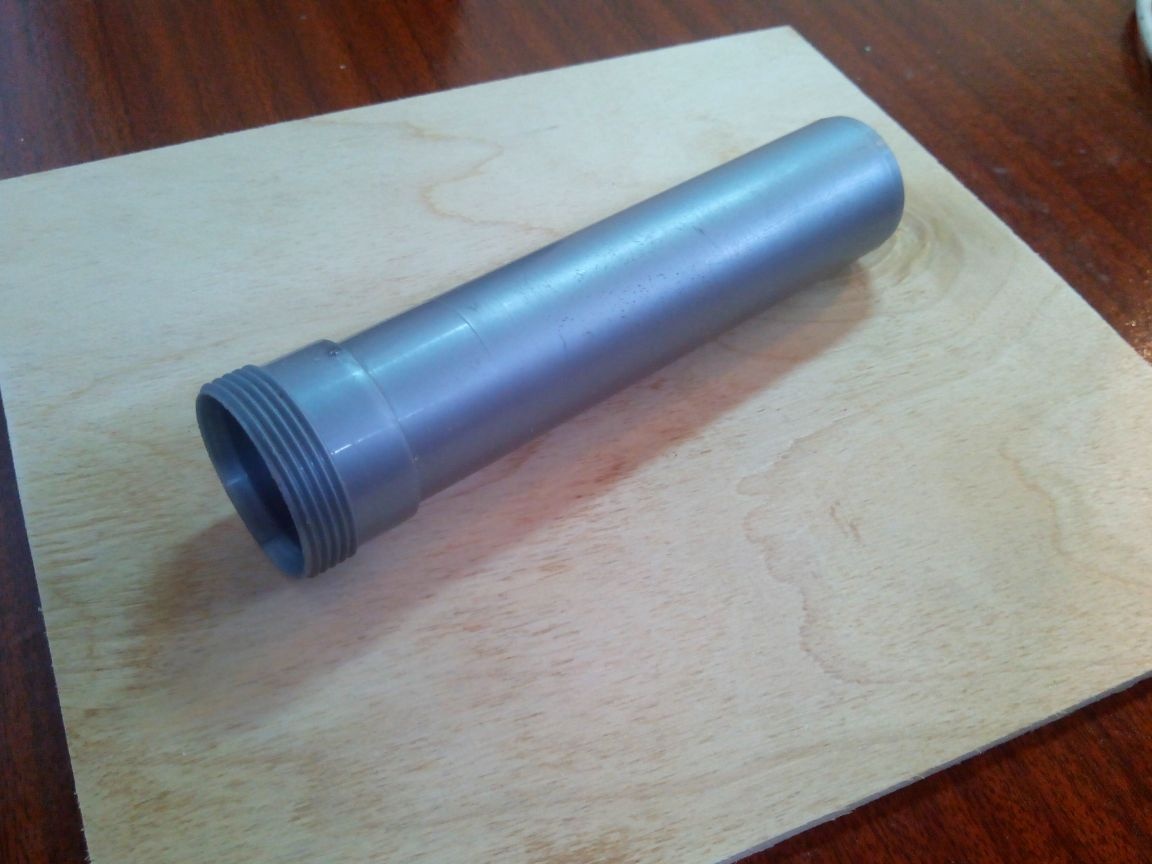
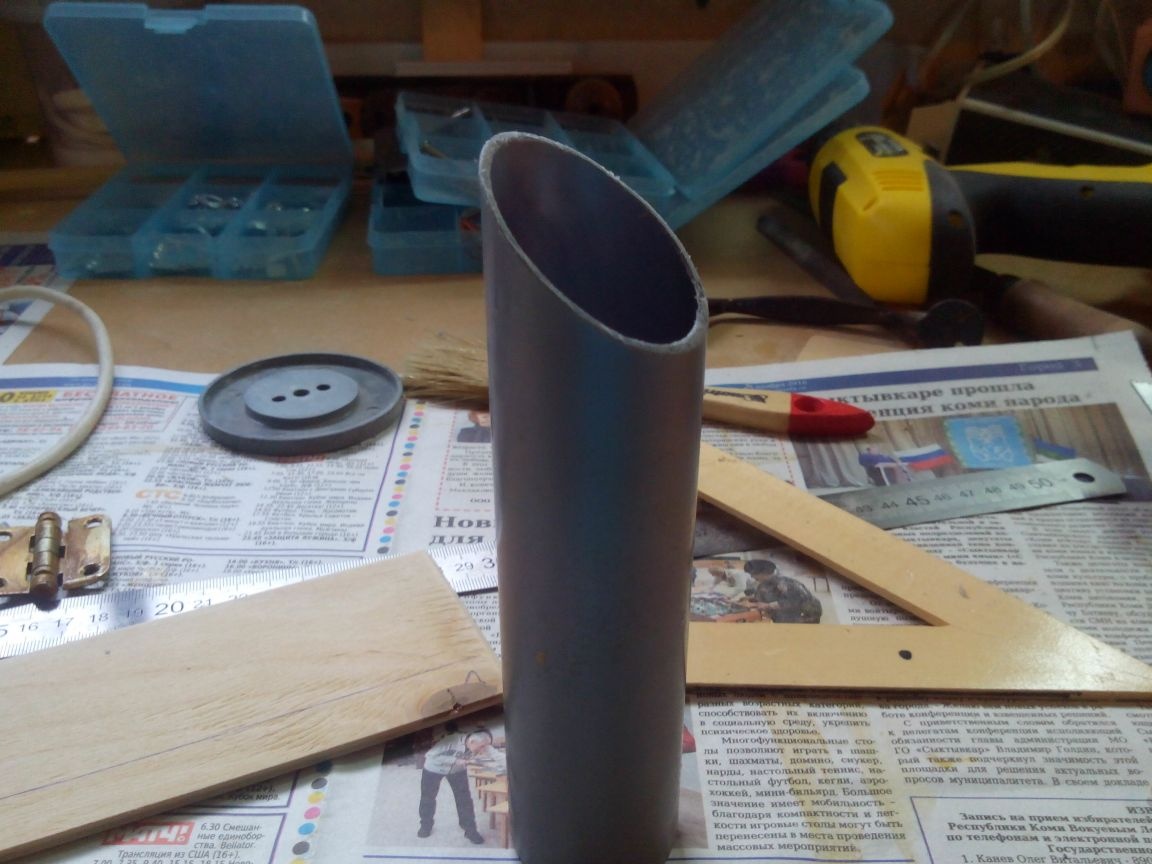
Plastic pipe from plumbing.
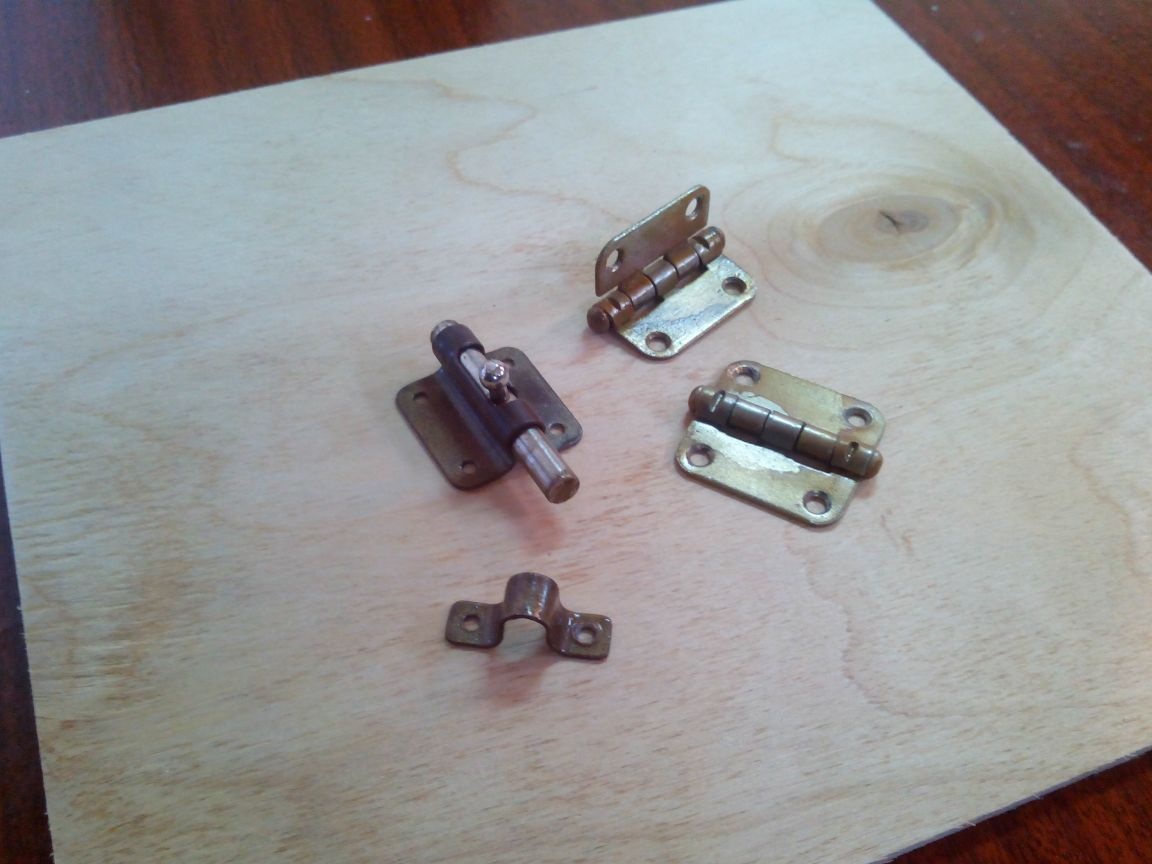
Latches and loops.
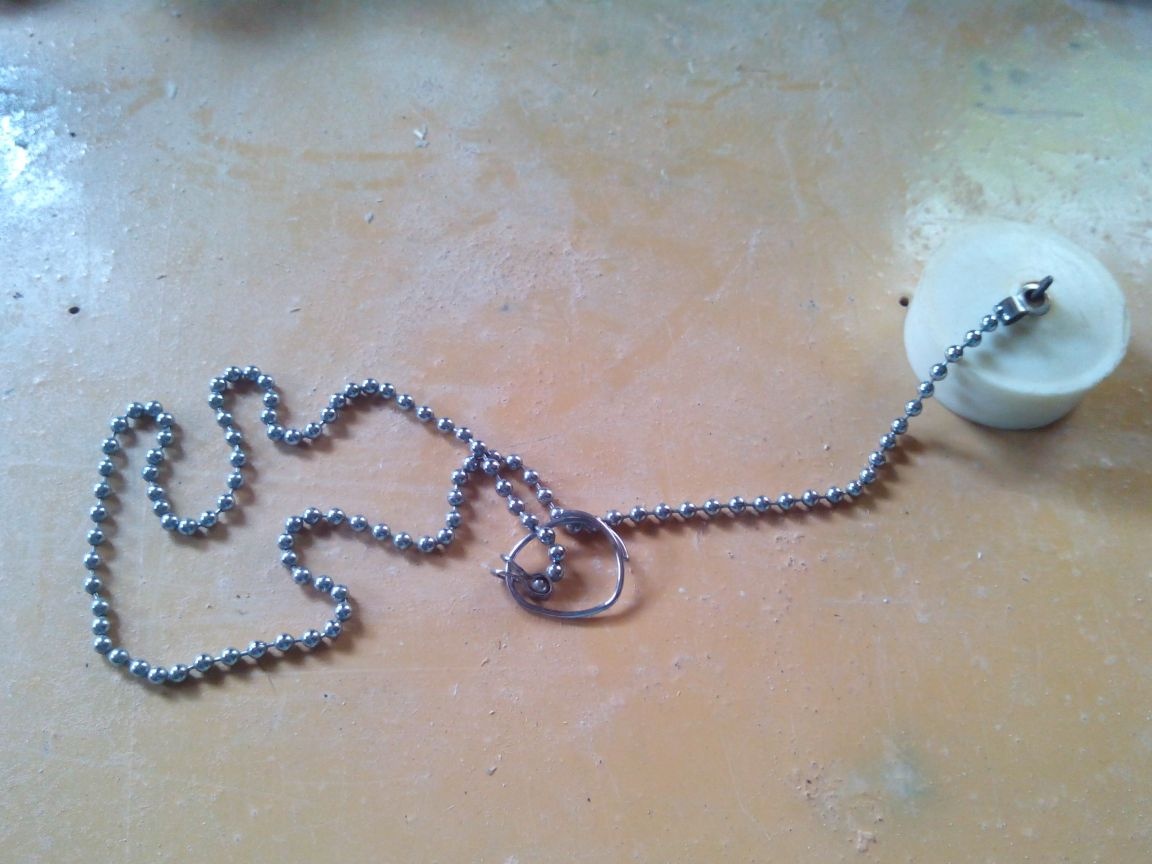
A chain from a cork for a bathroom.
Zipper fastener.
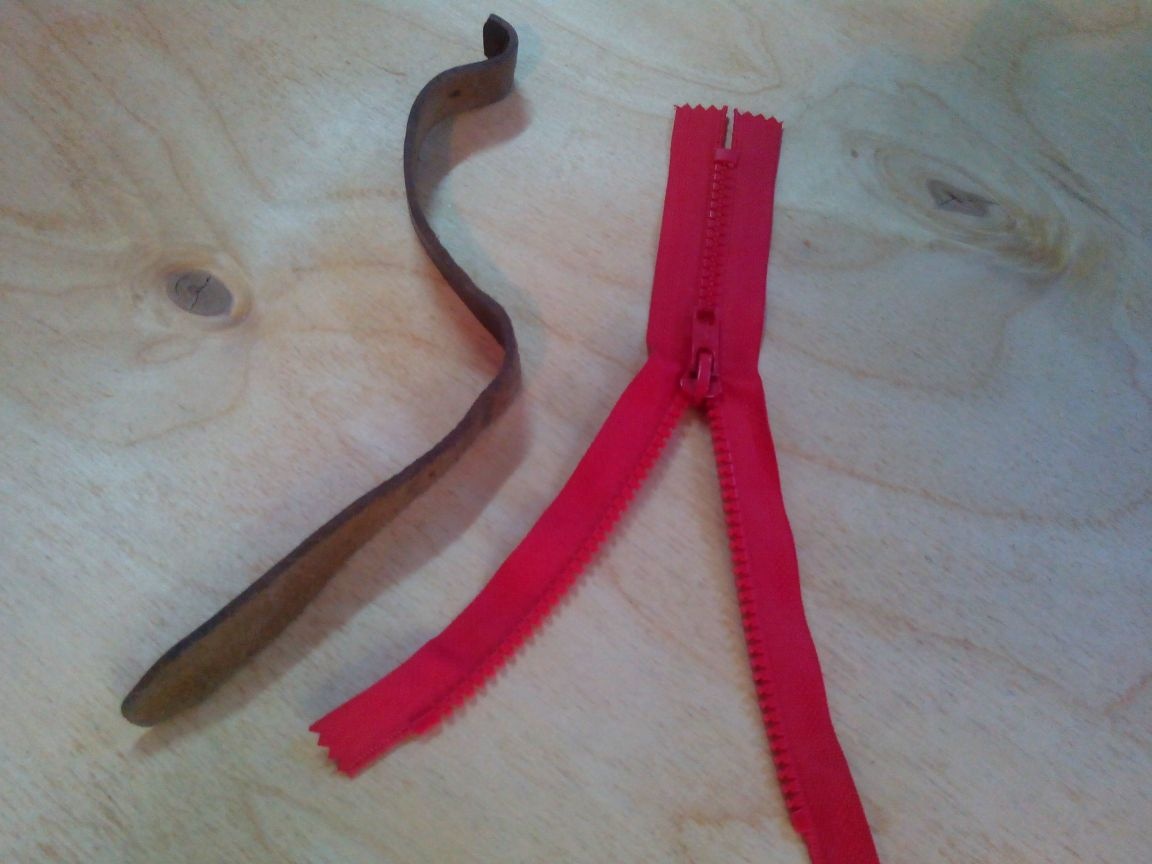
Demonstration seat belt from an airplane (specifically, but there was such a thing in the bins). Instead, you can use any belt with a buckle or with Velcro.

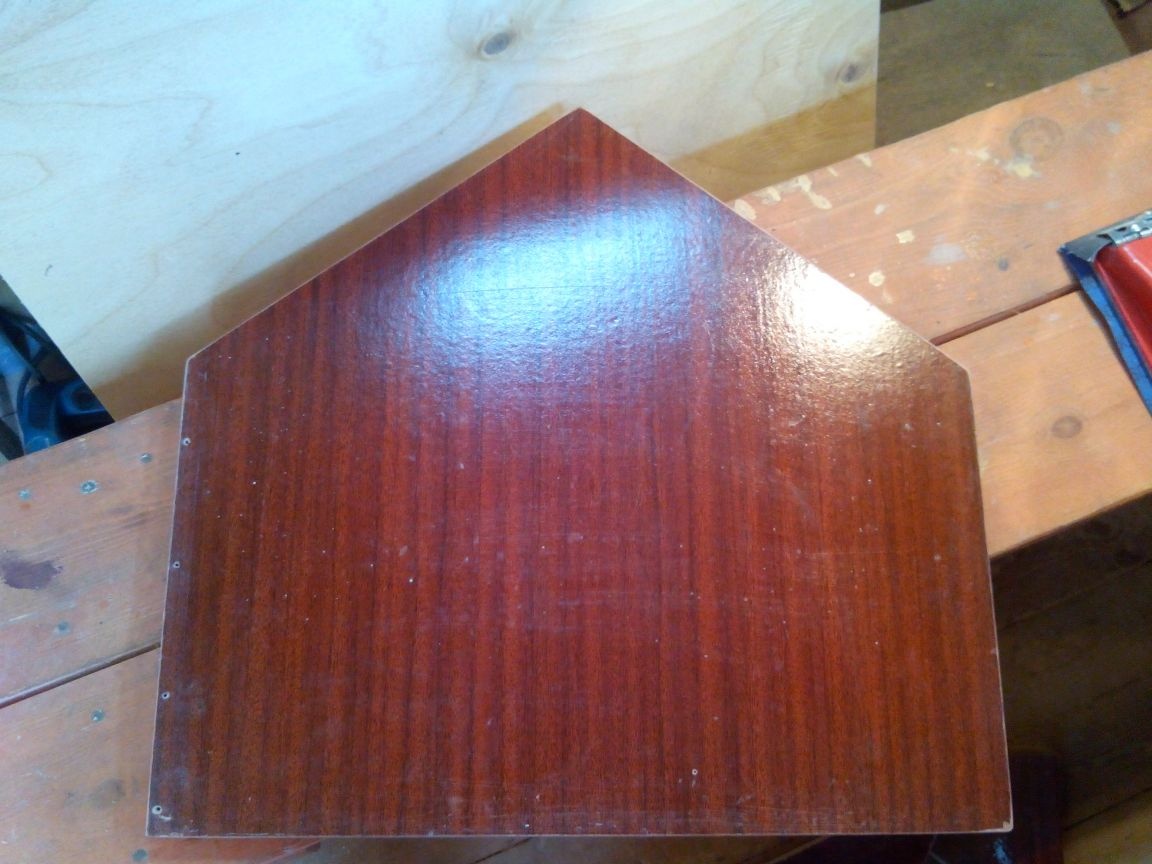
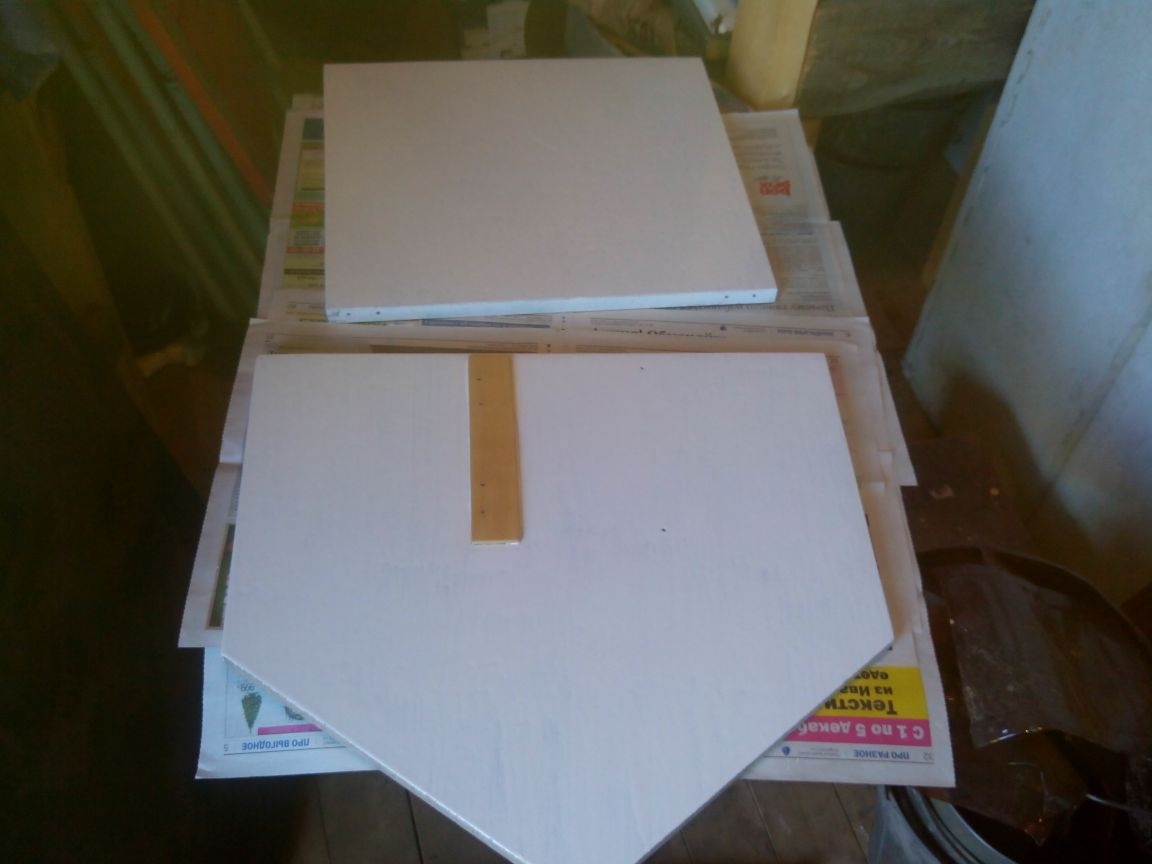
Plywood and chipboard shelf.
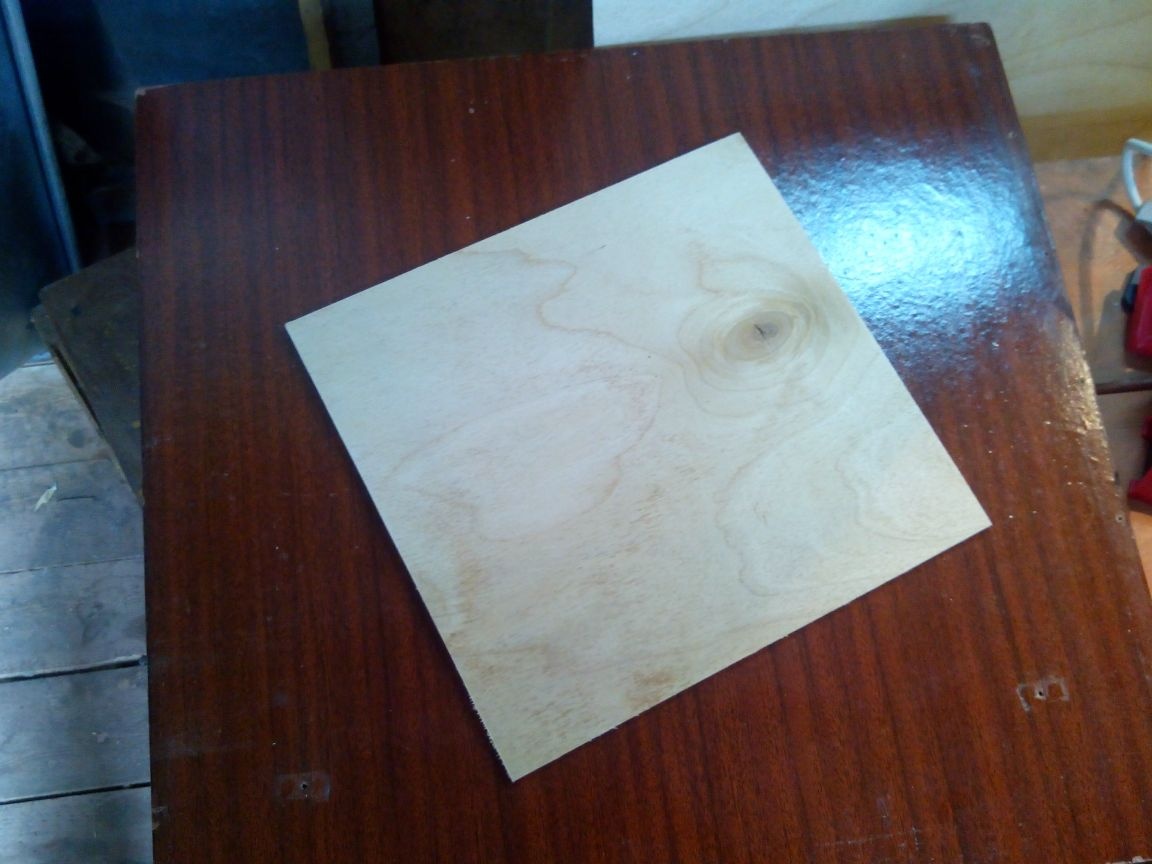
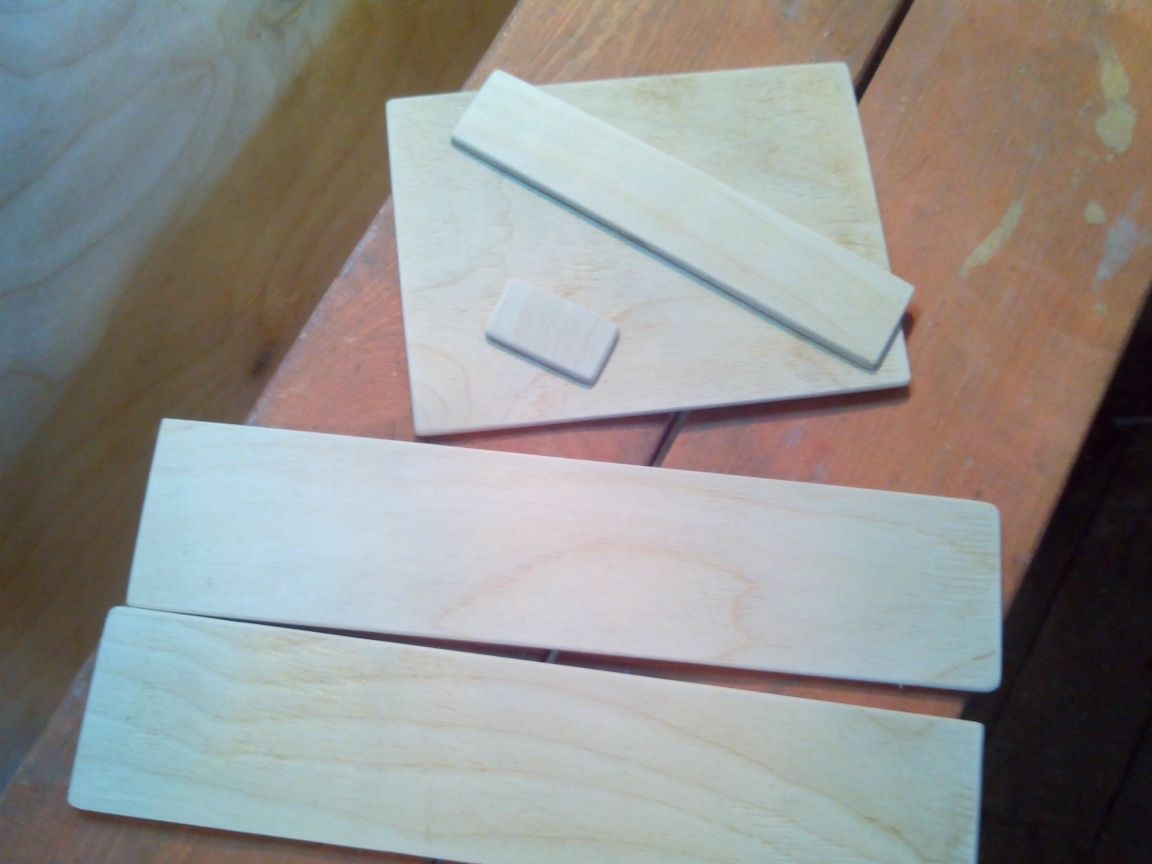
Plywood blanks for roof and door.
Step 2. Making the base
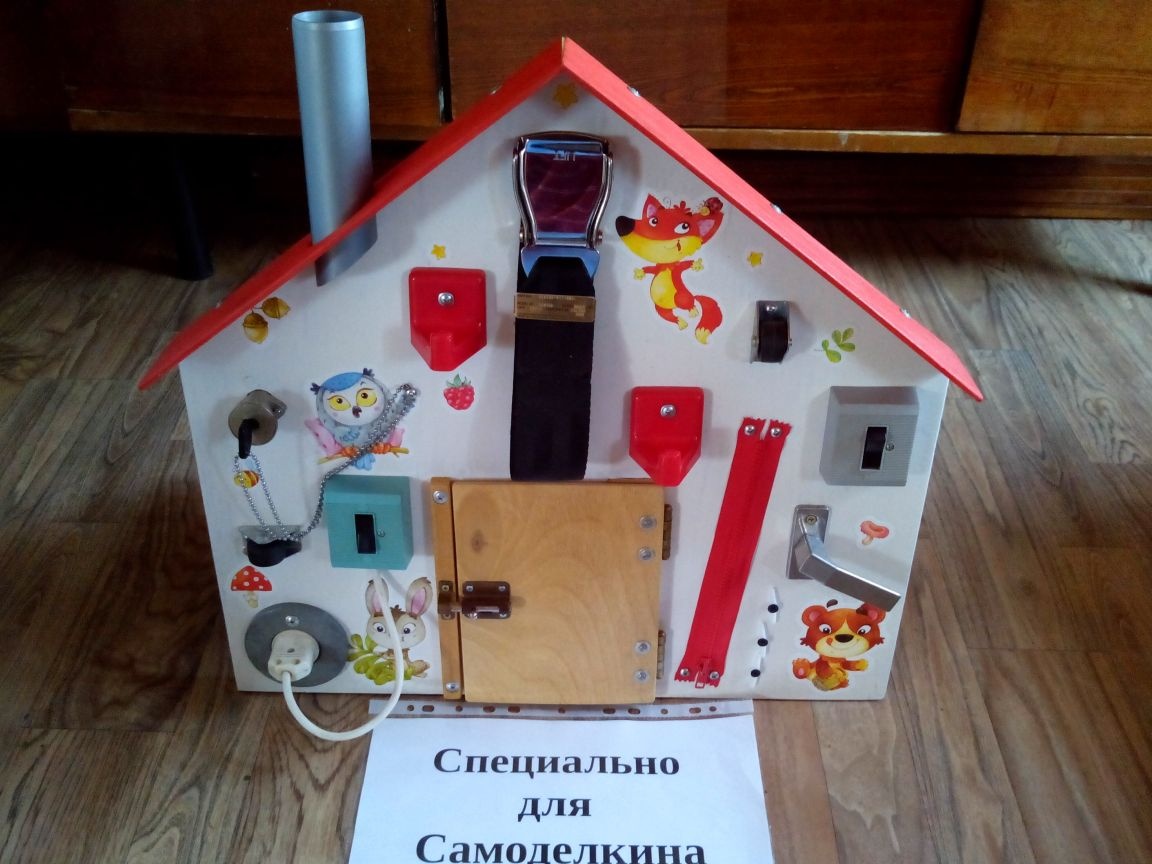
It was decided to make this business board in the form of a house (analogy with the fairy tale "Teremok").
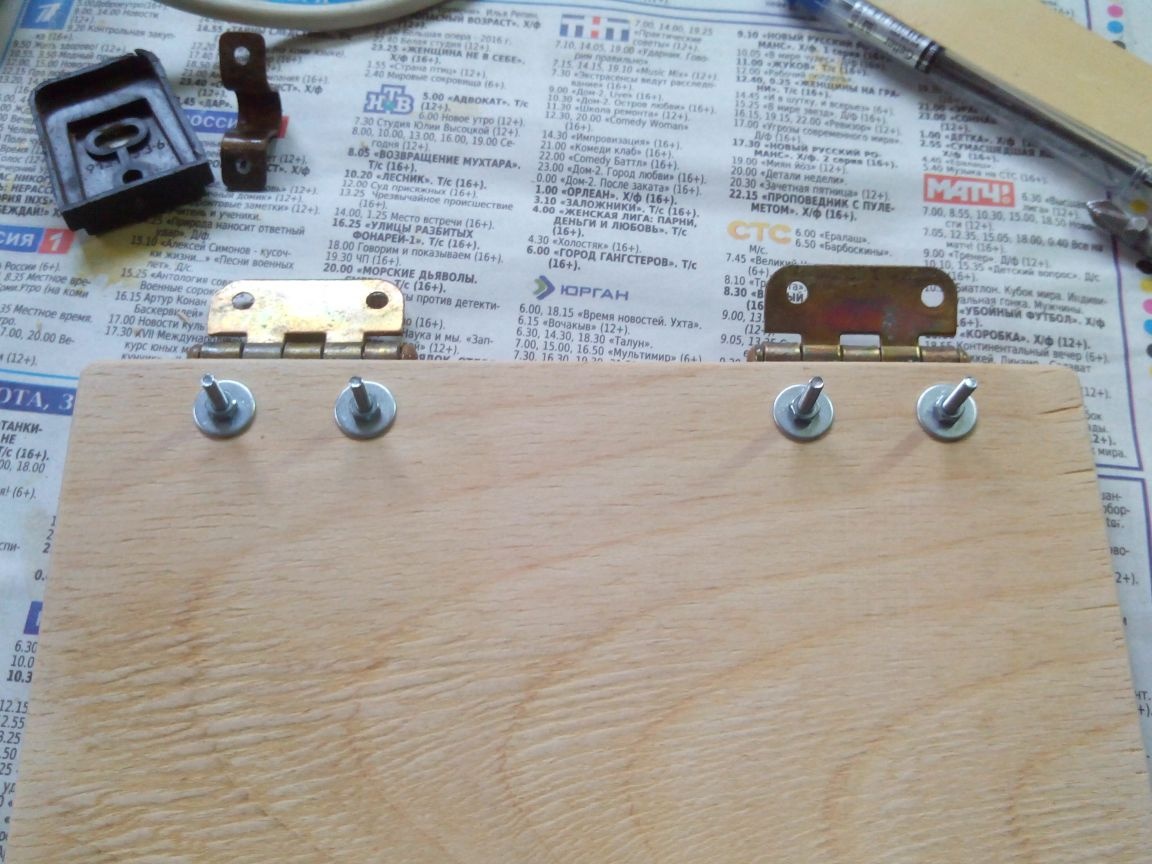
We cut the base out of chipboard.
We also saw out the back of the chipboard and hang it on the hinges behind the base.
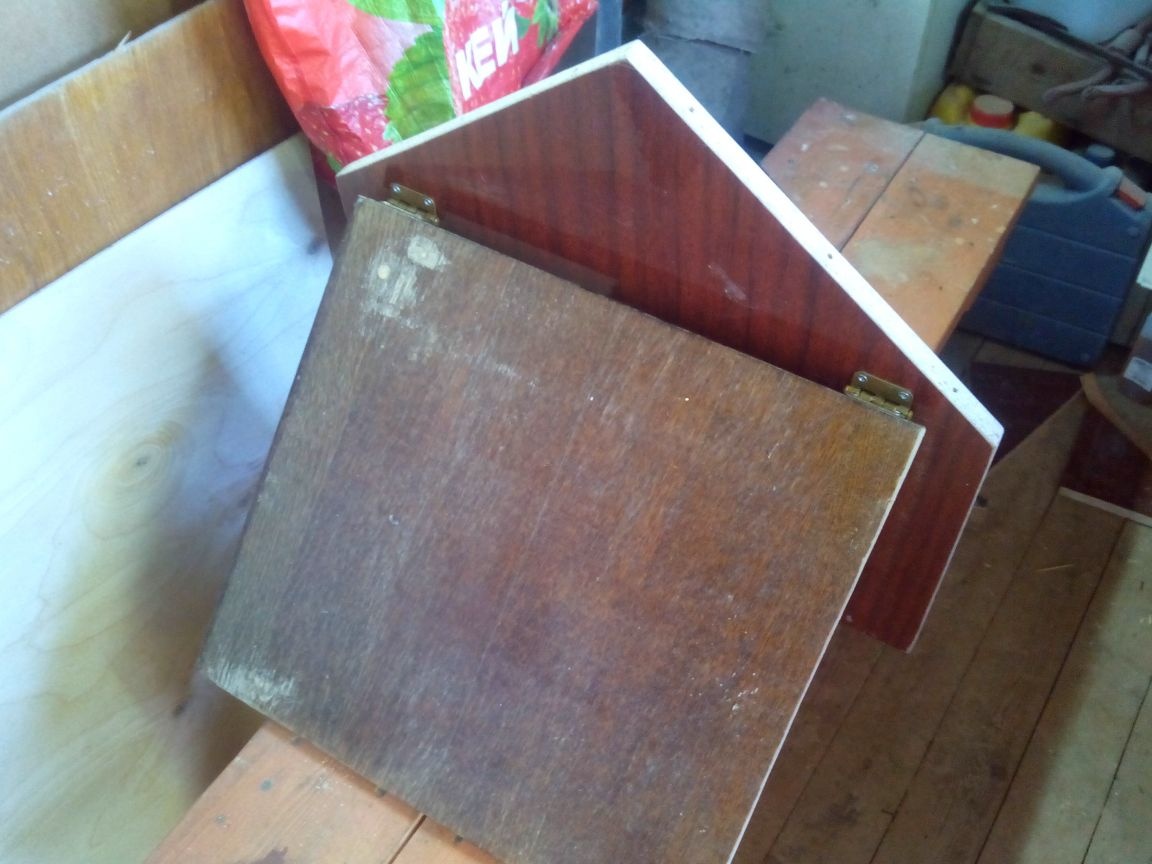
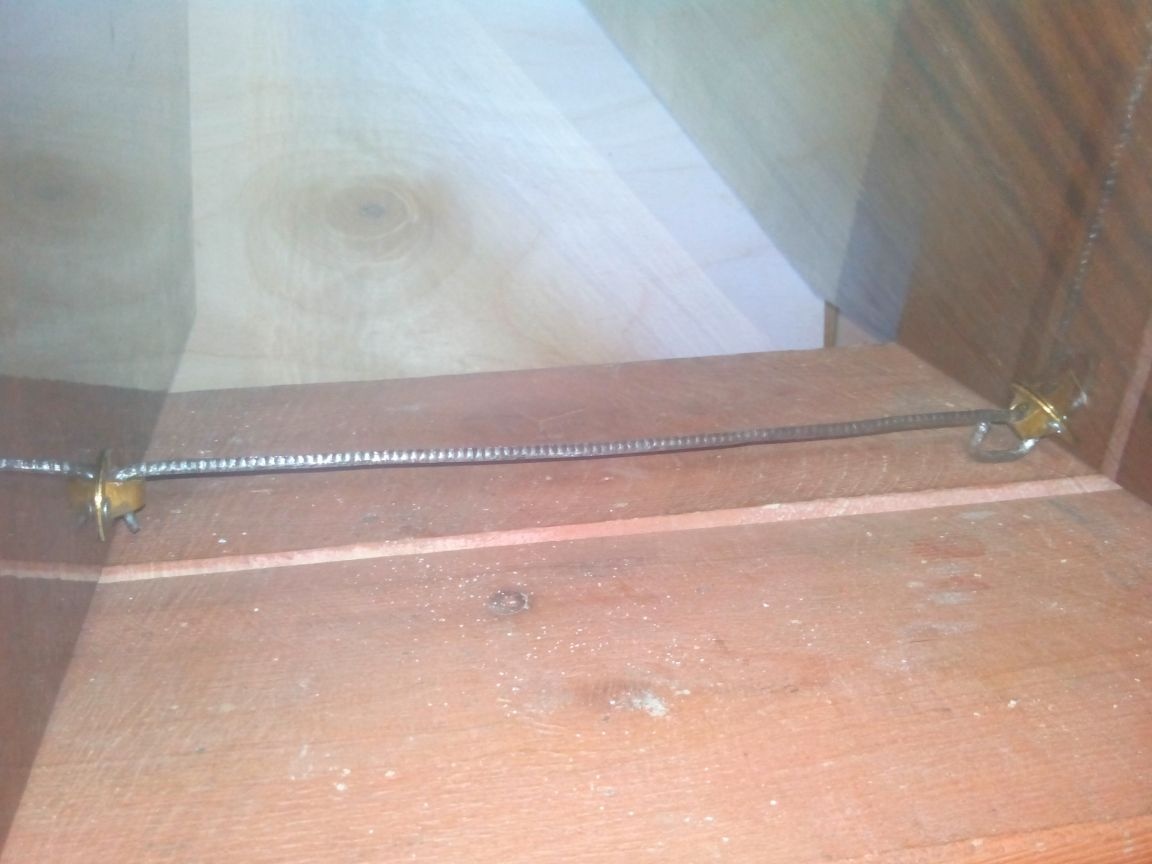
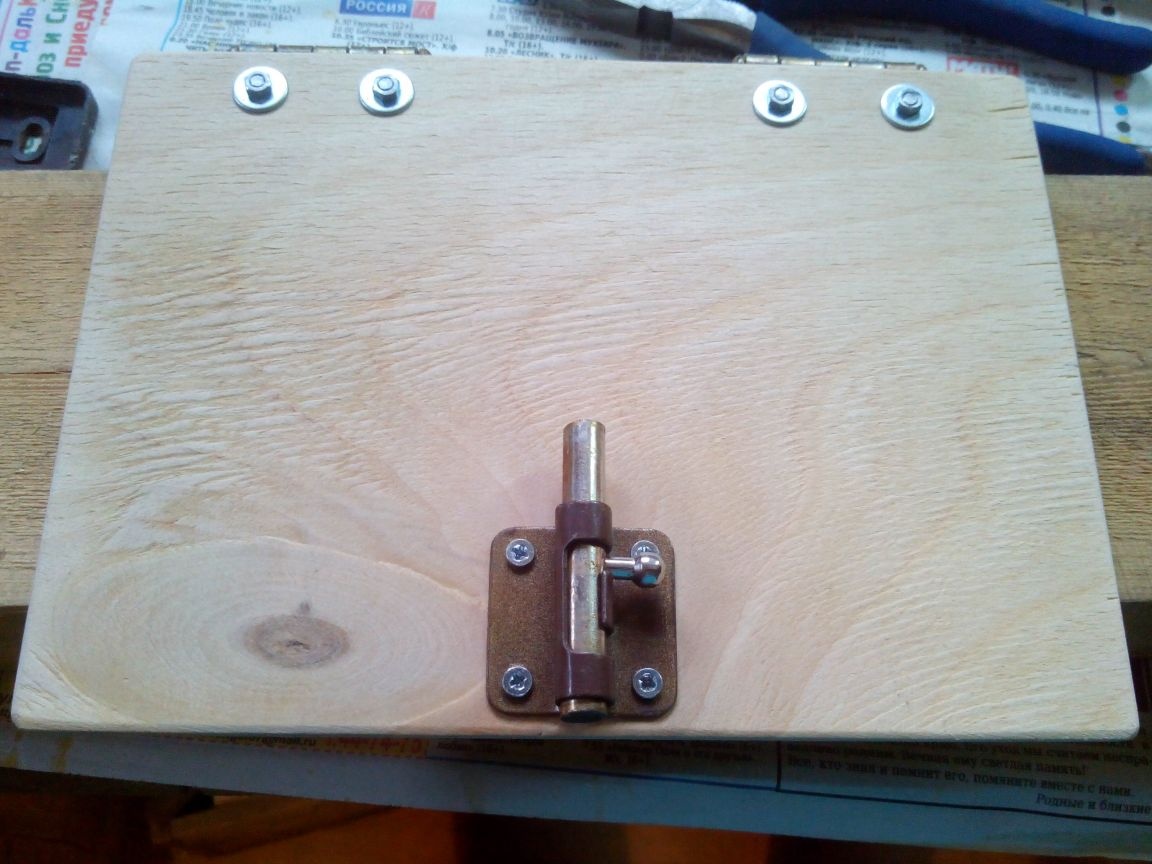
From the thick rod we bend the hook with which the structure will be fixed, and we find two loops from latches or hooks.
We fasten the hook and loop from the inside.
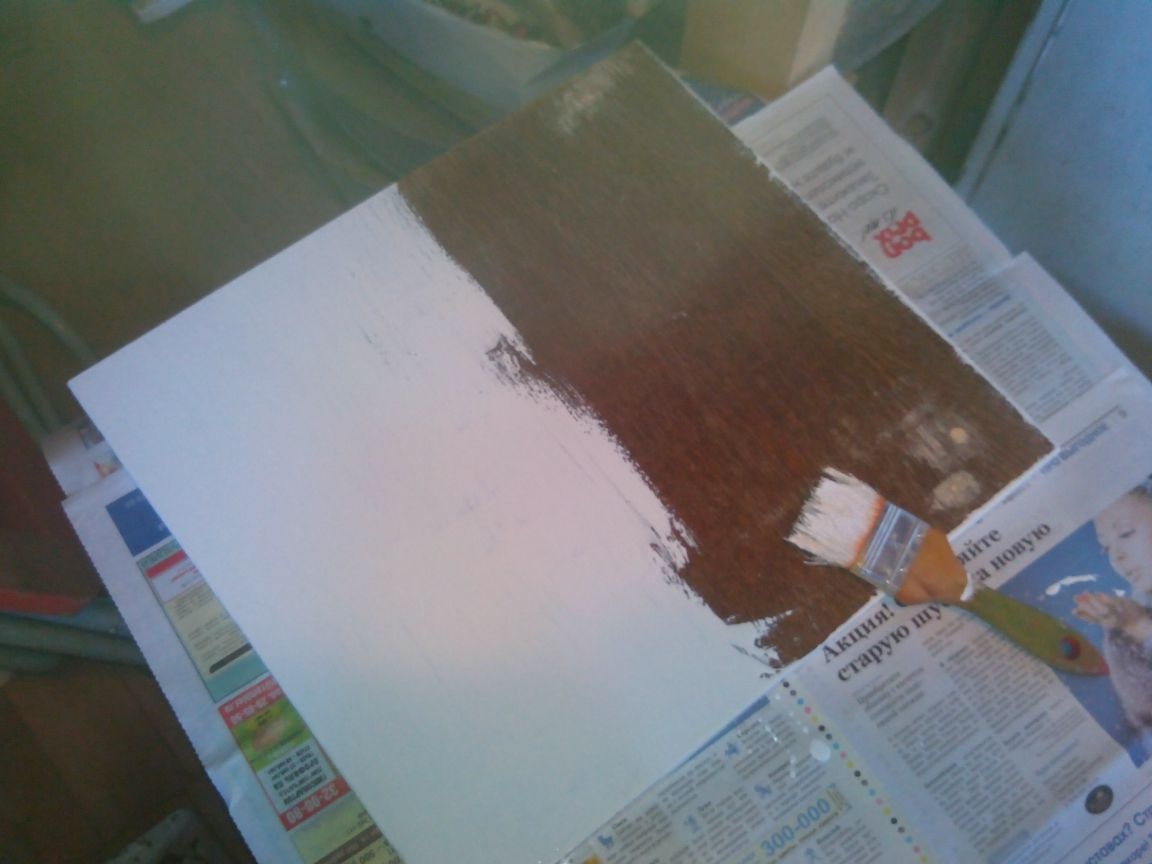
Now the planes can be painted (chose white).
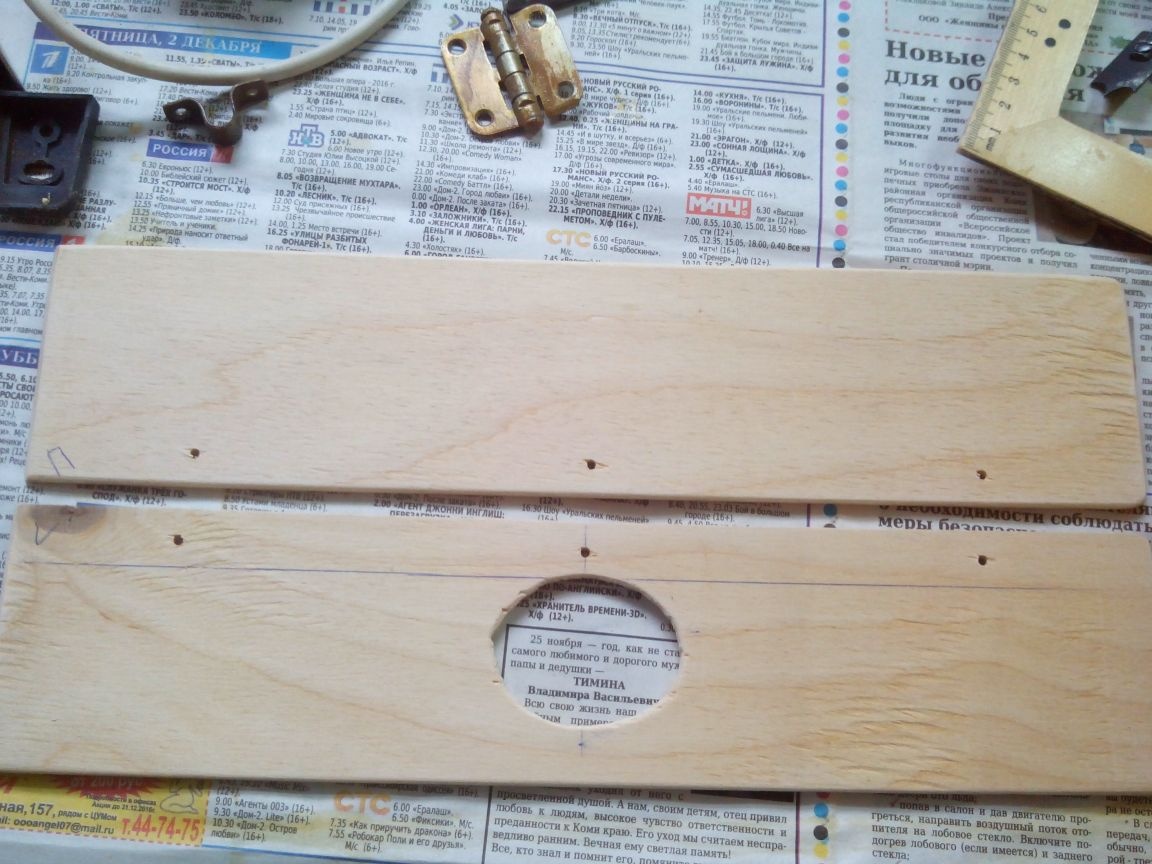
Step 3. Making the roof
We saw off a plastic pipe at an angle.
In the plywood blank for the roof, we cut a hole for the pipe with a jigsaw.
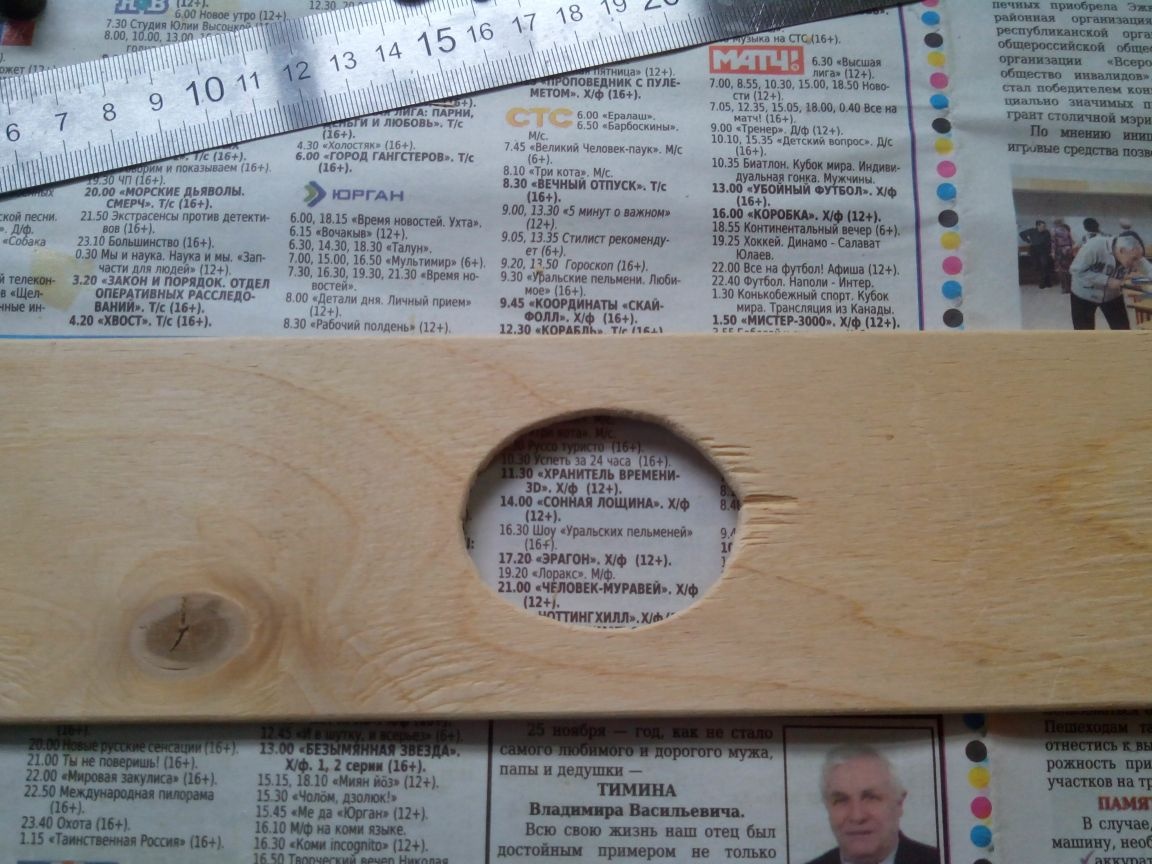
On the halves of the roof we mark and drill holes for screws.
We paint the roof halves with acrylics and varnish.
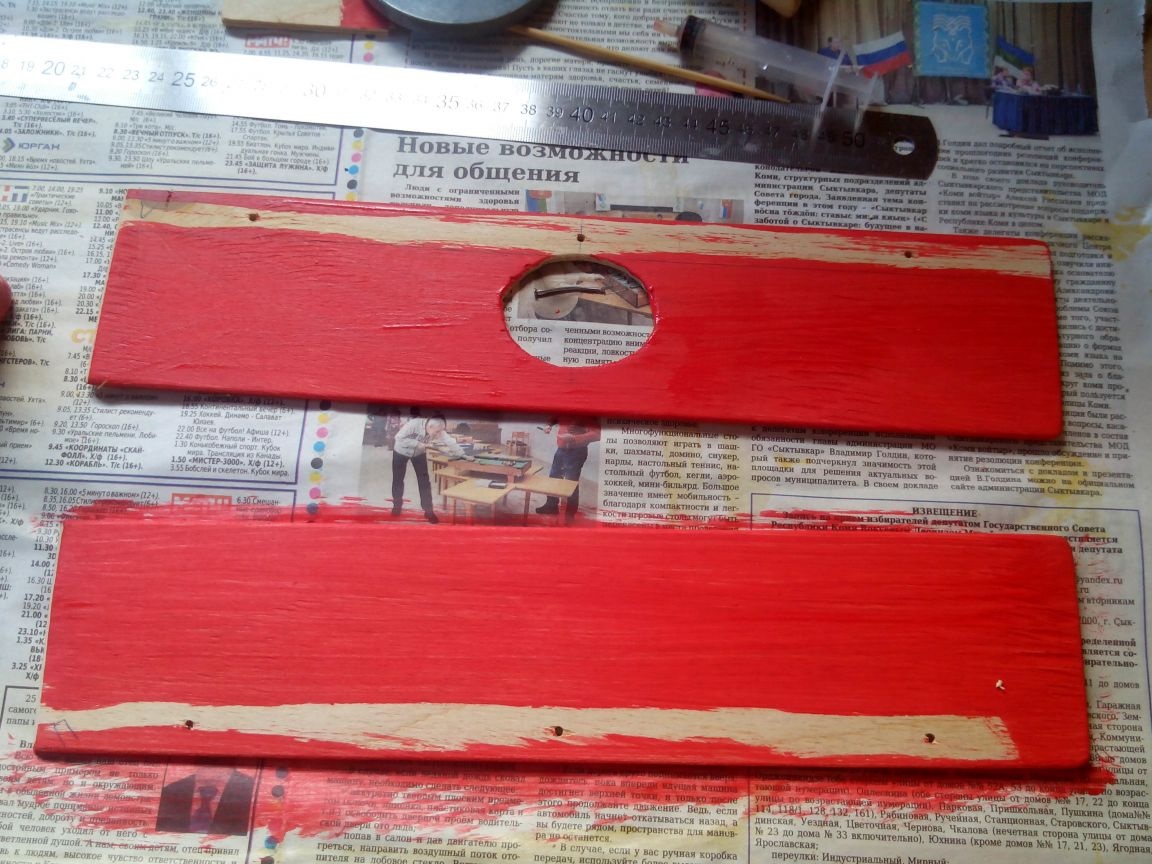
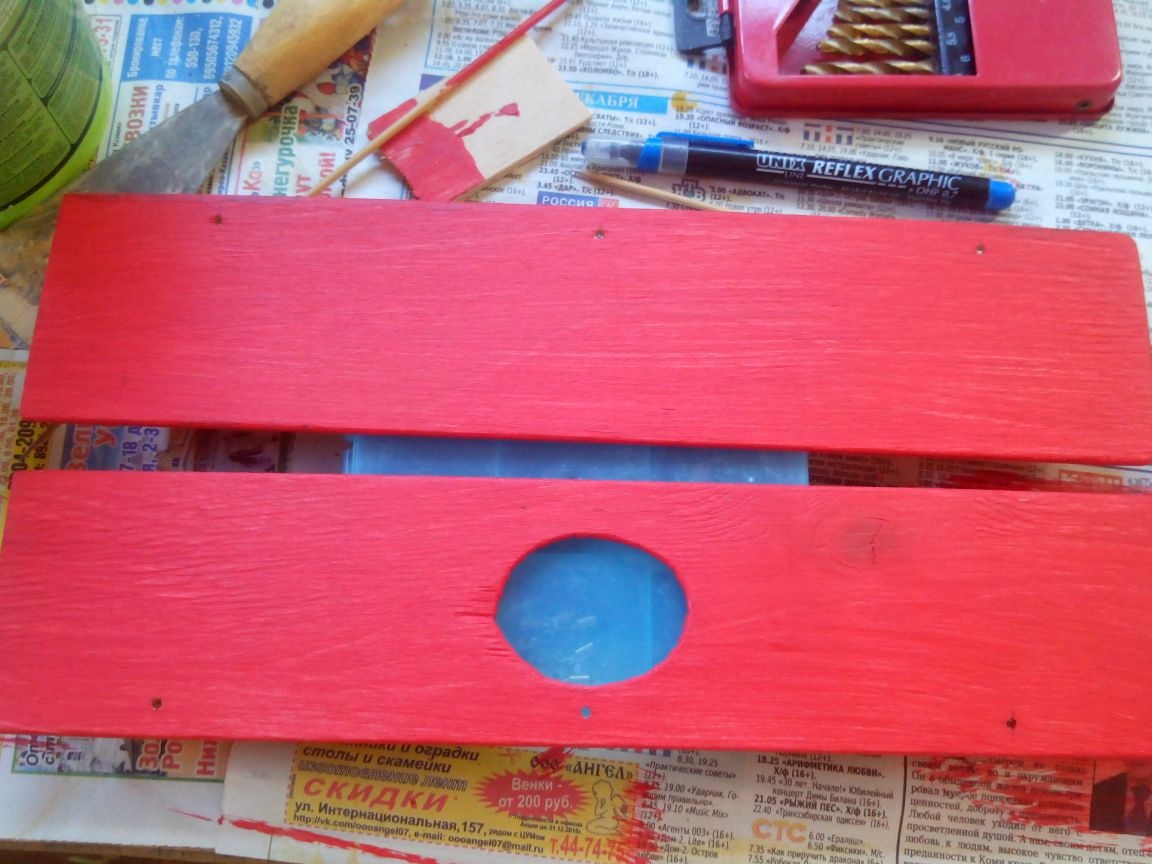
We fasten them with screws to the base, lubricating the joint with PVA glue.
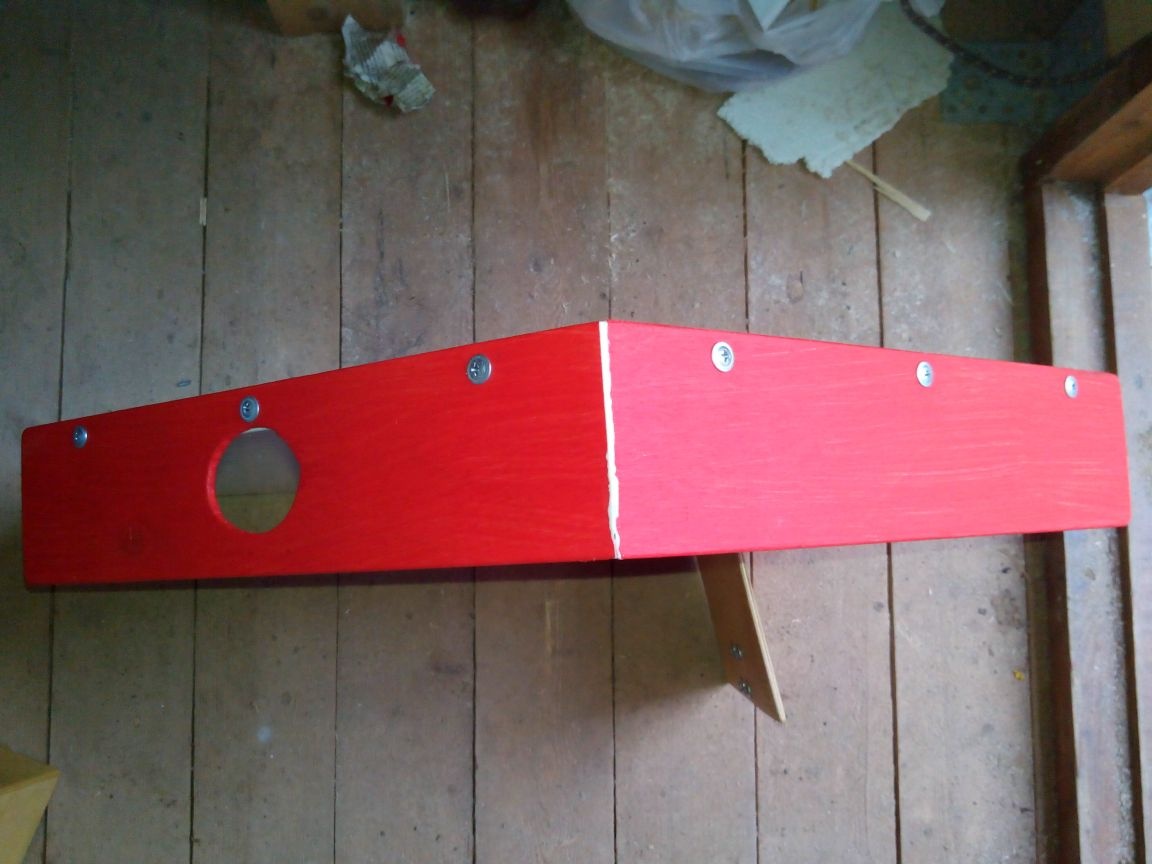
We insert the pipe into the hole and fasten it from the inside with one self-tapping screw.
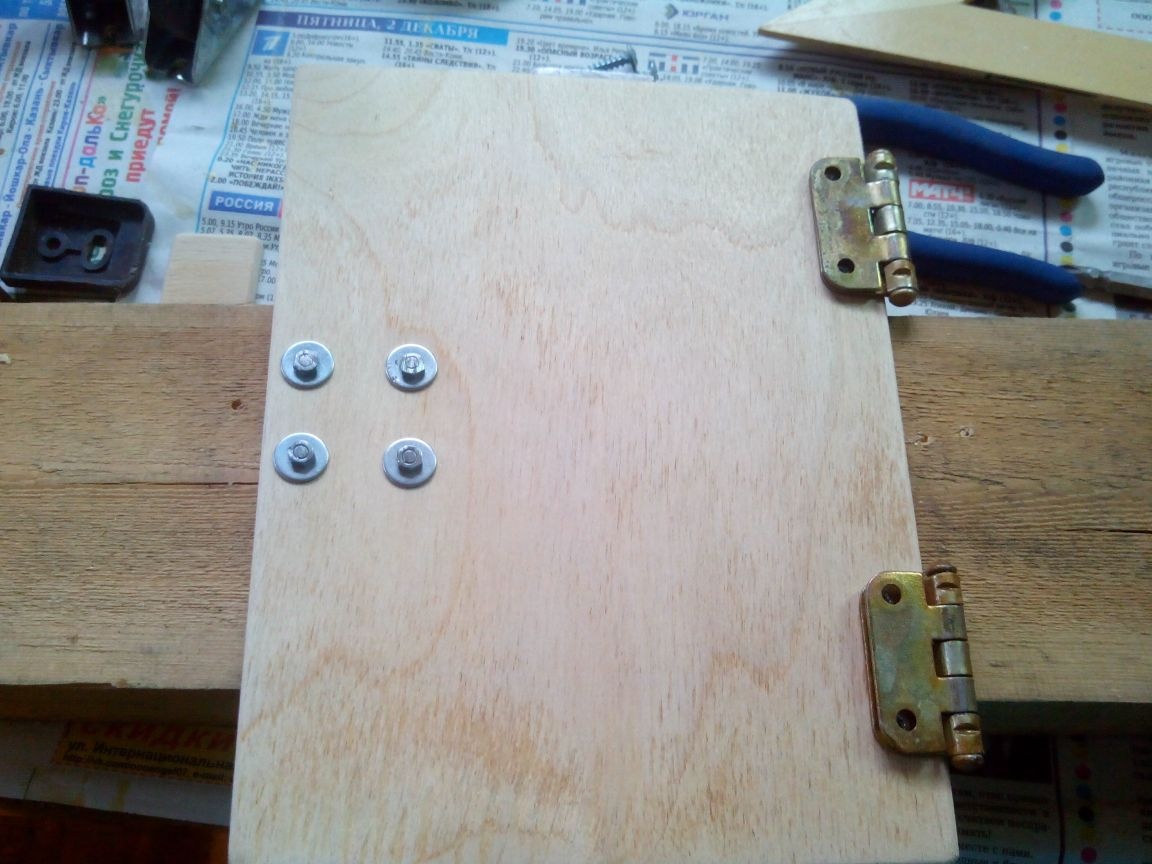
Step 4. Making the door
We fasten two hinges with bolts to the plywood blank of the door.
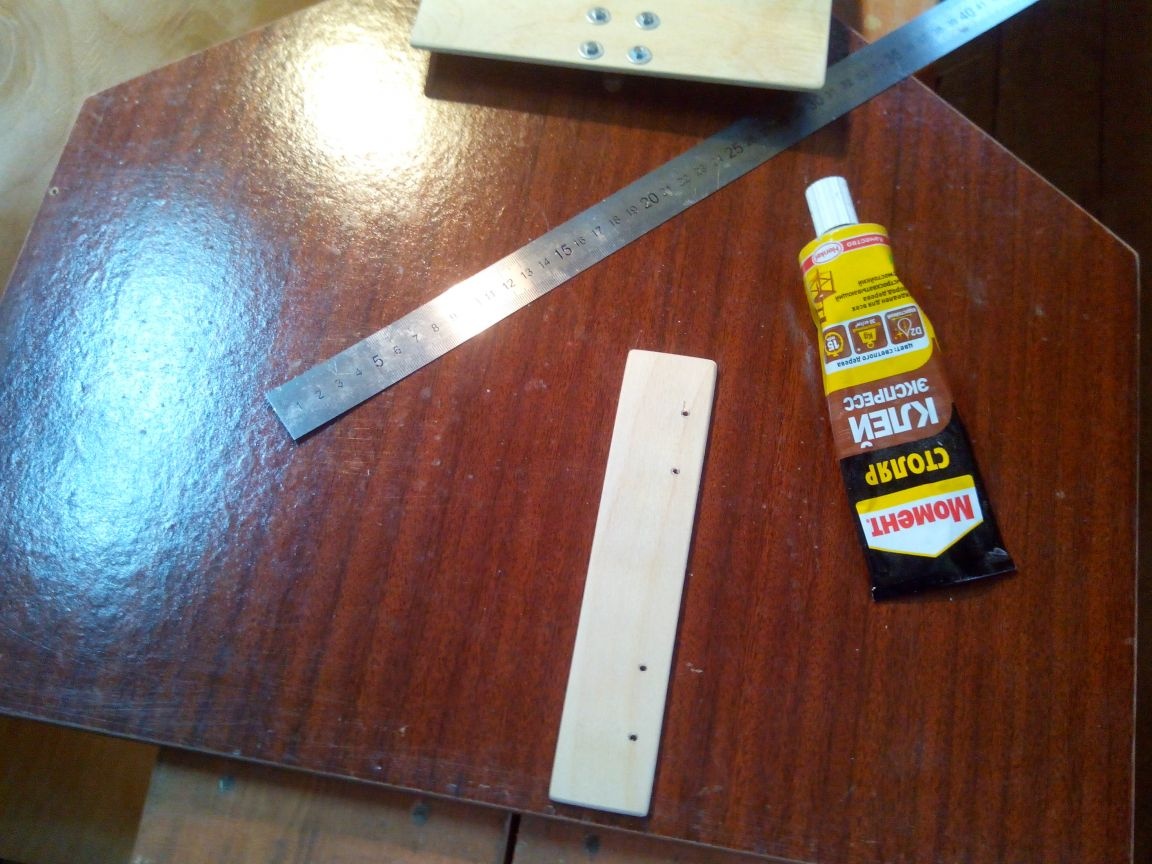
We glue the plywood strip to the base (it is needed so that the bolts do not interfere with the closing of the door) and make holes for self-tapping screws in it.
We fasten the latch to the door.
We cut off the protruding bolts with a hacksaw for metal or a dremel and grind with an emery cloth.
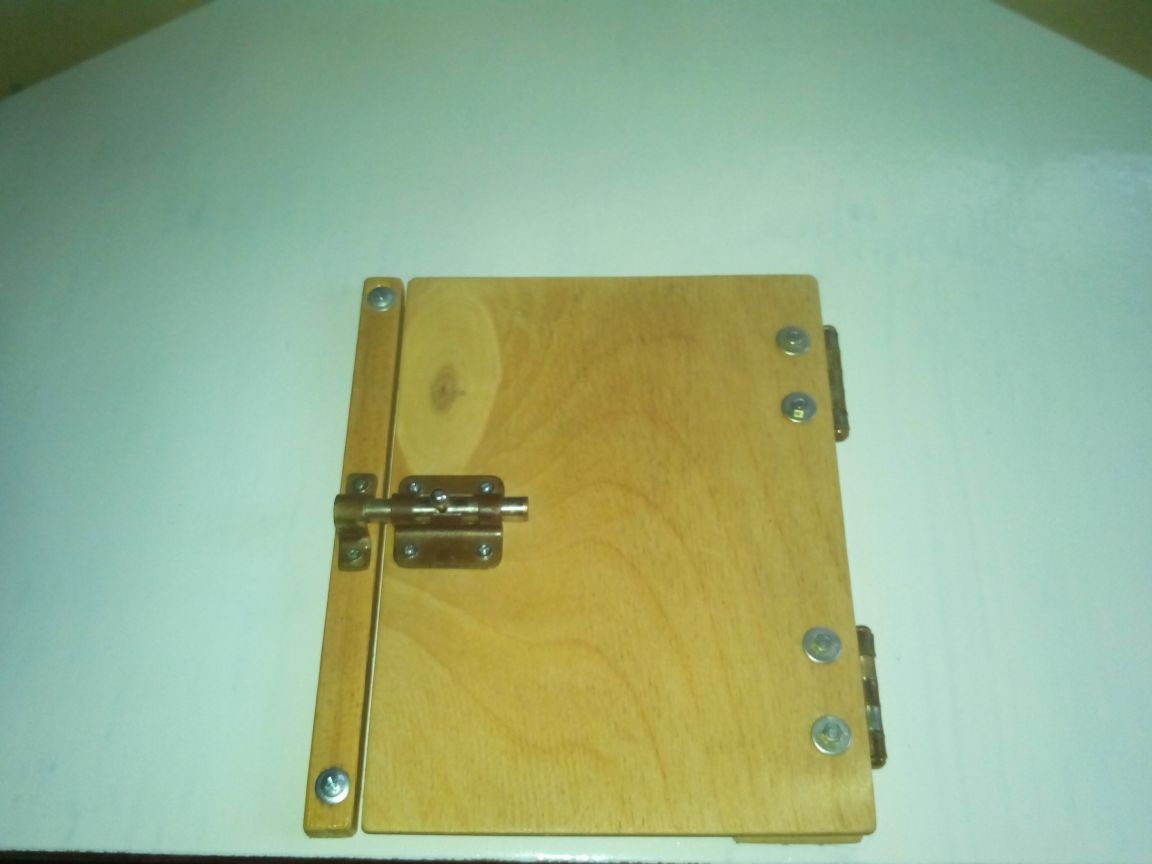
We fasten the door to the base.
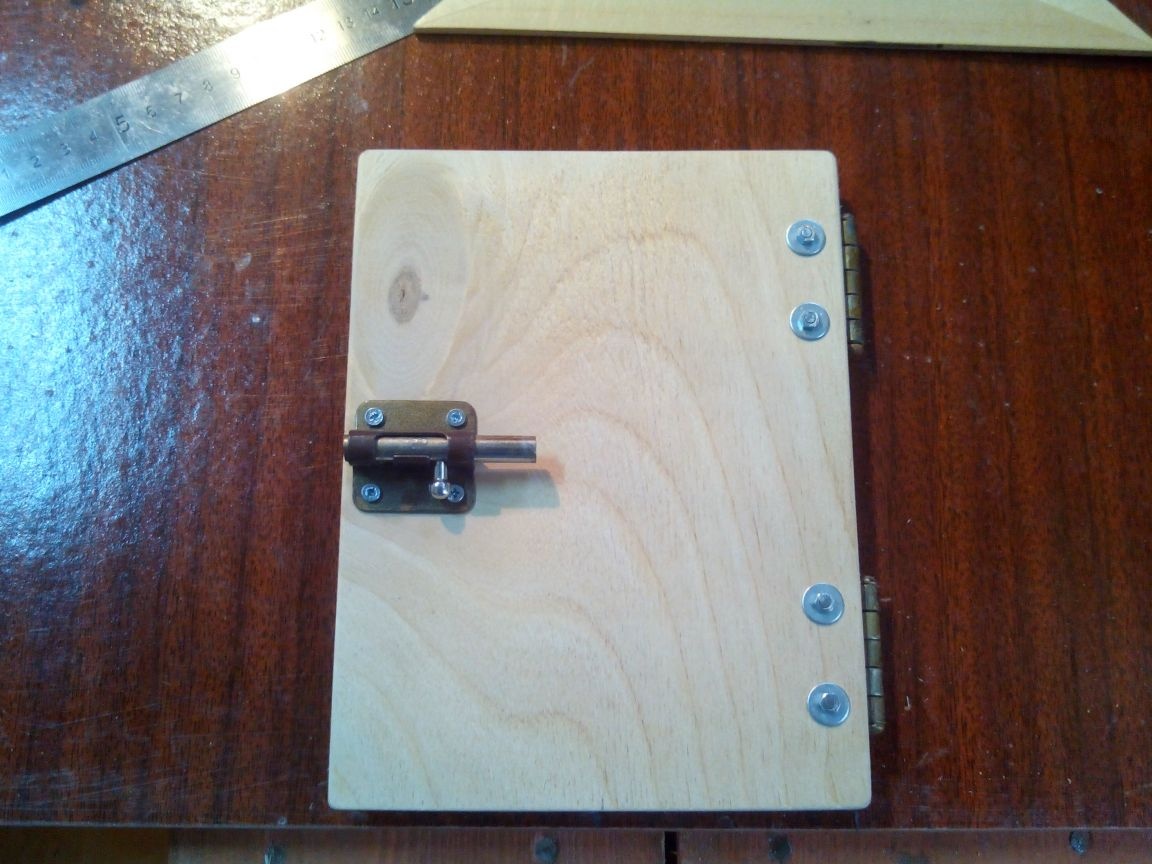
We fasten the platband with an eye for the latch.
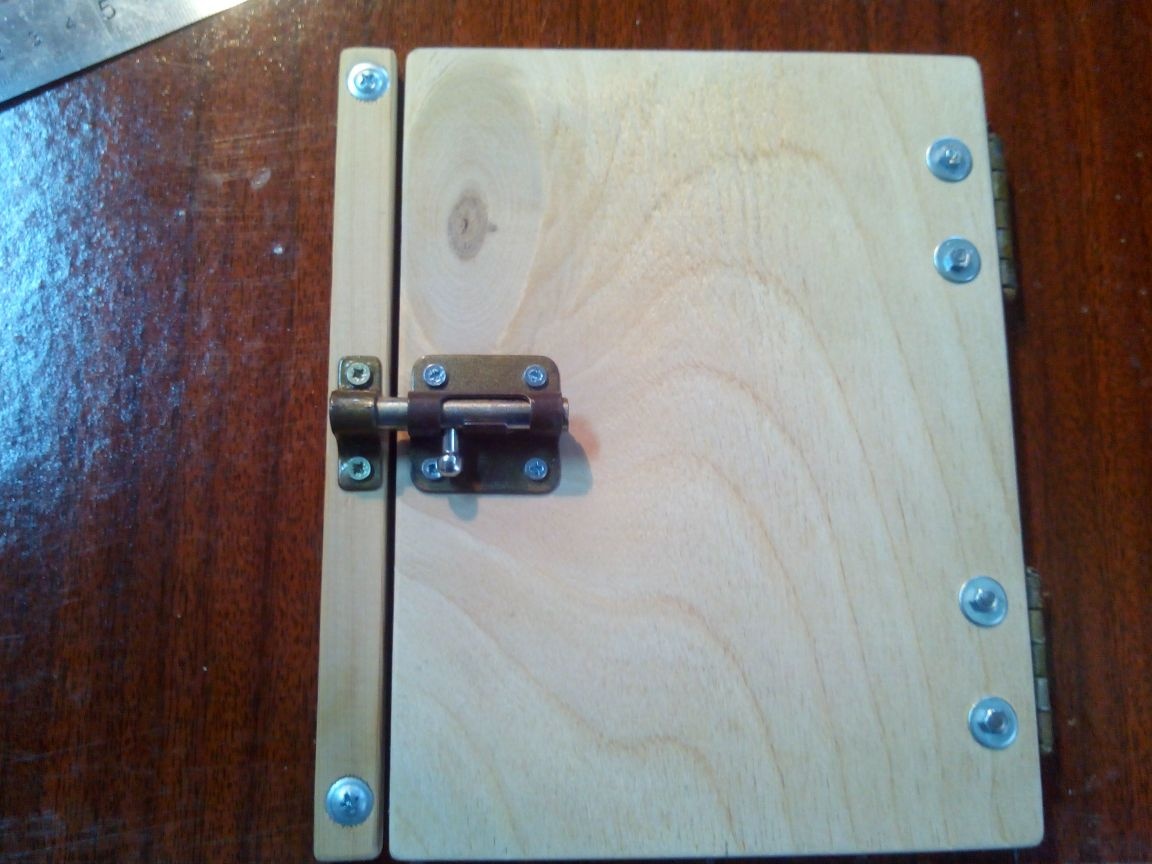
Before painting the base, it is better to unscrew the door and platband, varnish them from all sides, and then screw them back on the old holes.
Step 5. Screwing the remaining components and stickers
In addition to pens, wheels and other things, it was decided to decorate the bizibord with animal stickers. After wandering around for a little while at children's stores, I found beautiful stickers for 150 rubles. They were pasted among the components.
It makes no sense to place the entire outlet on a sideboard, and therefore we only take the lid from it and grind the internal protrusions.
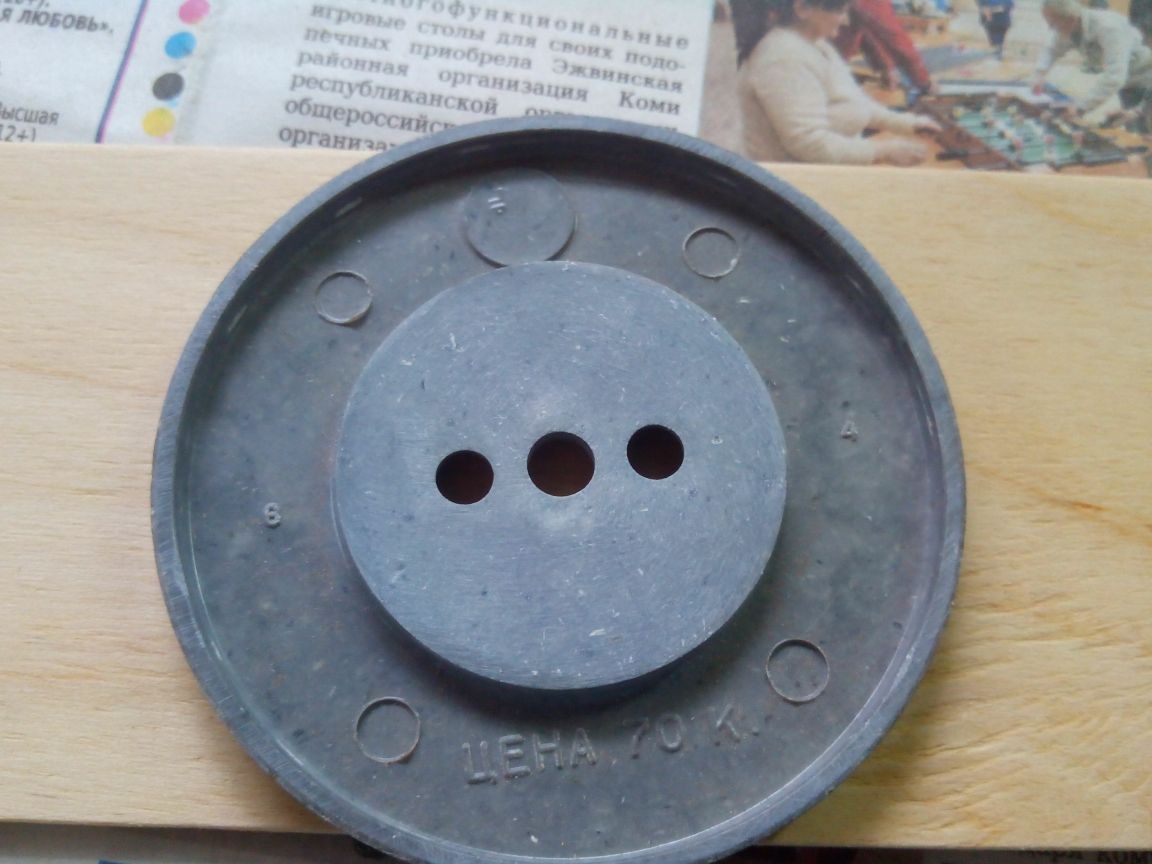
We fasten it with self-tapping screws and make through holes for the plug directly at the base of the beadboard. We withdraw the cord with the plug from the switch located next to it, fixing the wires on the terminals.
To fix the handle from the window, use a pen drill to make a blind hole for the protruding part of the handle.
And fasten the handle with screws.
We fasten the lightning with four self-tapping screws at the ends (the leather belt, which is in the photo at the beginning, was not needed - it holds well and so).
We insert the larva from the lock into the hole made and fasten it with bolts to the base. We pass the chain into the ear of the key and also fasten it to the base (in this case, the owl “holds” the chain).
We fasten the rest of the components and distribute the remaining stickers evenly throughout the life board.
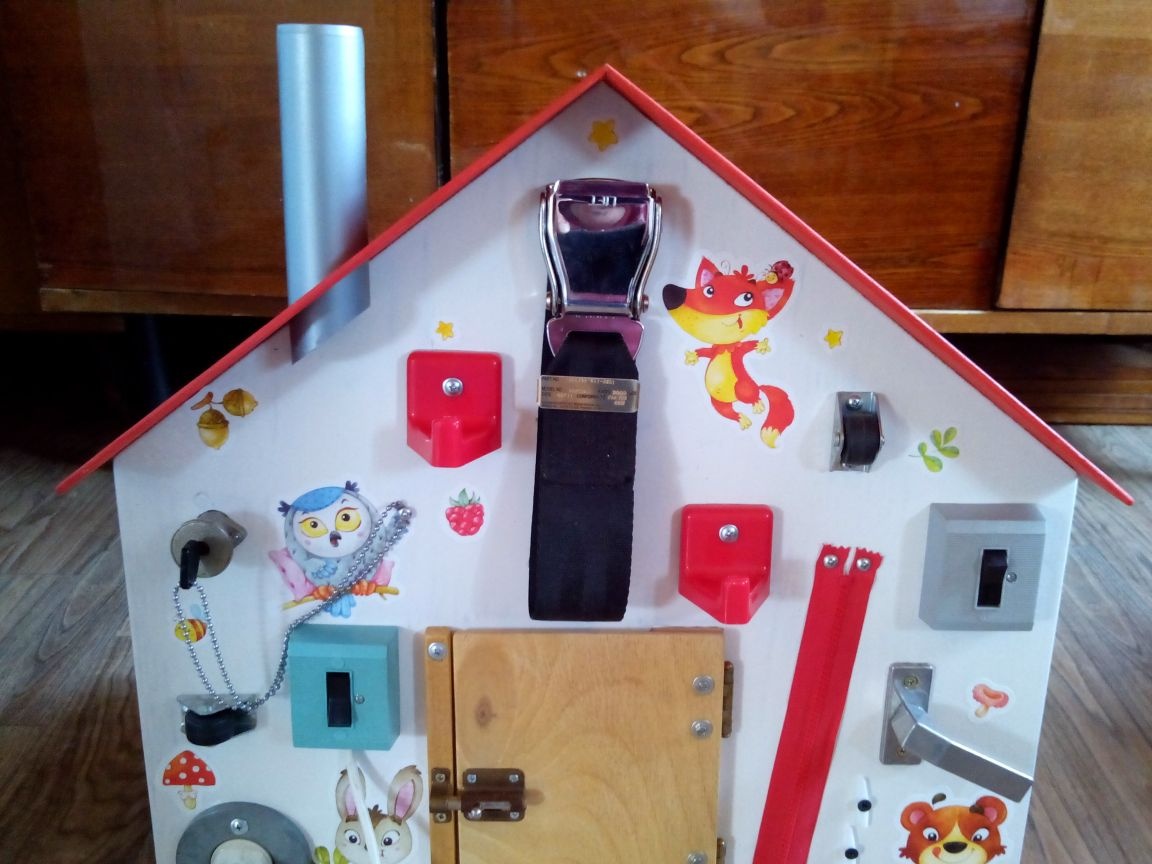
Everything, the business board is ready!
Briefly about what else can be screwed or glued to the bodyboard (I did not have enough space for this):
- draw a typewriter and screw the wheels on top
- fasten Velcro from clothes
- fasten or glue the old calculator
- fasten the chain from the door or hook
- stick a cardboard book
- carabiners or a bunch of keys on the ring
- screw the wheels from the chair
- screw folding furniture handles
- snap fasteners from backpacks
- bicycle the bell
- bottlenecks from stoppers
- night light
- old bracelets and watch straps
- loops and laces for threading in them
- and much more, the imagination is endless! The main thing is that it be safely for a child!