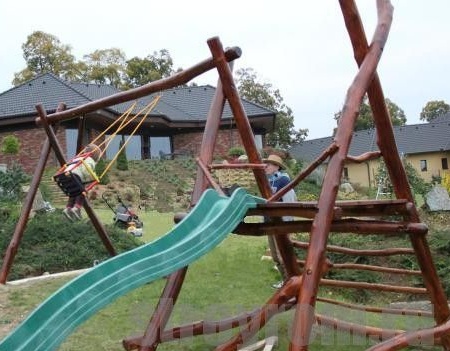
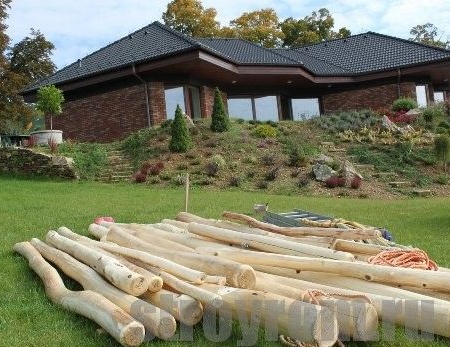
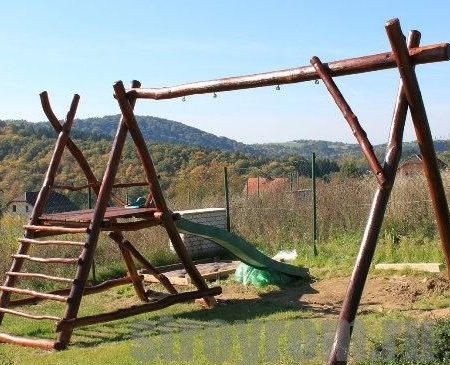
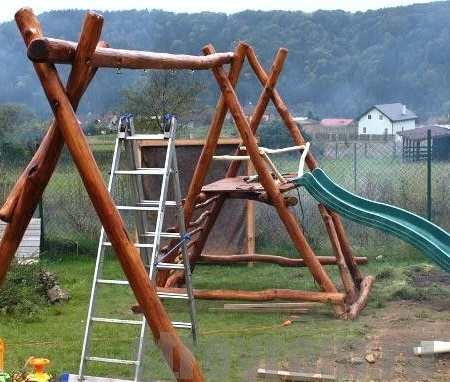
Dear visitors of the site, in a master class presented by the author, it will be shown how to independently make a playground for children with a slide and swings made of wood, namely, sawn-down wild plants such as willows. You can find this species in ravines and along the banks of rivers and other bodies of water, the wind grows very quickly, so that several poles cut by you will soon grow again, even with a percentage))
First of all, you should choose the most suitable place on your site, it should be completely safe for the child, that is, there should not be holes, sewers, thorny bushes, electrical panels, etc. nearby. The site should be well visible so that children playing are always in the field of vision of an adult. There should also be no through wind, because children are active and often sweat, there should not be a draft.
The selected material must be carefully prepared, cleaned of bark and sanded, after which the structure itself can be assembled. And so, let's look at what exactly the author needed?
Materials1. willow trunks 10-15 cm, length 2-2.5 m
2. threaded metal stud
3. nut
4. washer
5. engraver
6. stain
7. varnish
8. plastic slide
9. screws
10. rope
11. carabiner
12. board 40 mm
Instruments1. ax
2. hacksaw
3. drill
4. socket wrench with ratchet
5. brush
6. roulette
7. pencil
8. hacksaw
9. sandpaper
10. knife
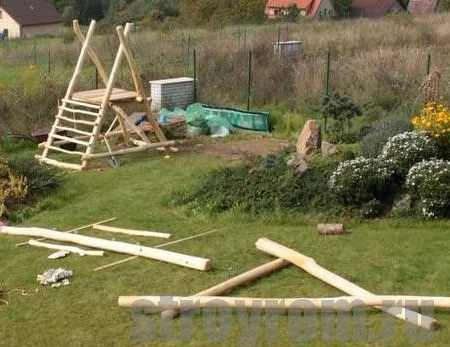
Step-by-step instructions for building playground made of natural material do it yourself.As already mentioned above, the first step is to prepare the required material, namely willow logs 10-15 cm in diameter, you can cut it in any ravine for free. Next, we clear the trees of the bark, cut down branches and branches, after which the poles should dry in the sun and the wind, only when the wood dries, you can begin to work.
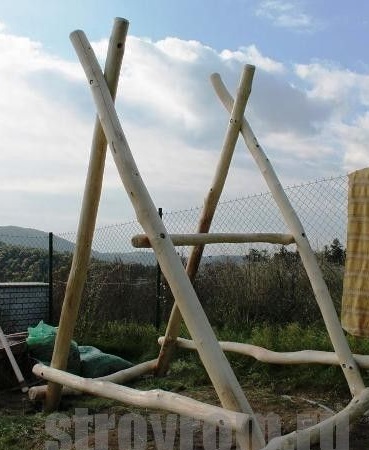
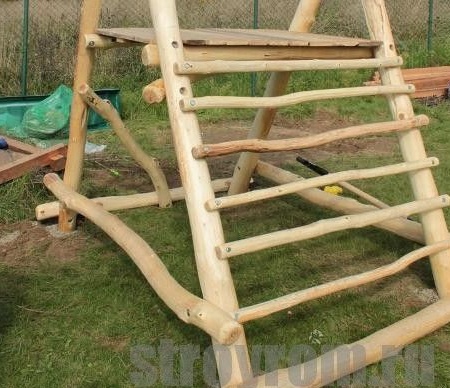
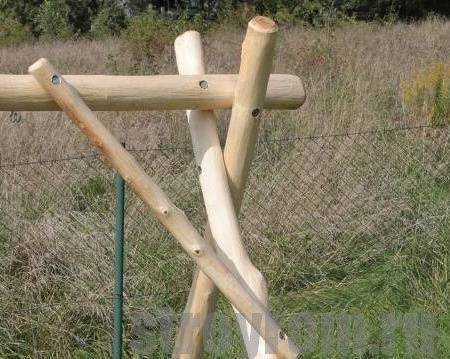
There is nothing particularly complicated in this matter, the frame is assembled as follows, 2 poles 2-2.5 m long are taken and connected in the upper part by means of a threaded connection, and then legs are bred to the length you need and a brace made of the same material is attached.
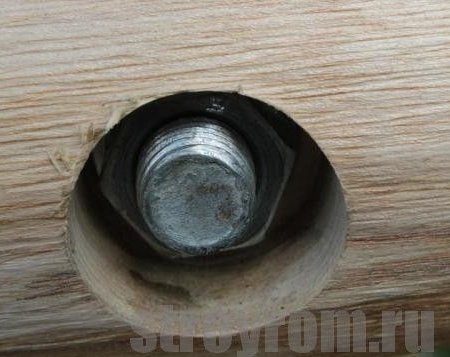
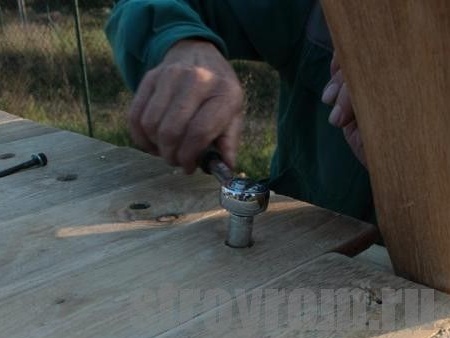
So that the ends of the studs and nuts do not stick out of the structure and do not pose a danger to injuring children, they just need to be drowned in a tree cavity after drilling a hole of a larger diameter.
Then this connection can be closed with a plastic plug, or puttyed with wood putty.Also, a simple putty can be whipped up on your own: we take carpentry glue and fine sawdust after grinding, mix it to a homogeneous mass, voila)) and the putty is ready. With its help, you can cover holes and cracks in the tree, as well as the joints.
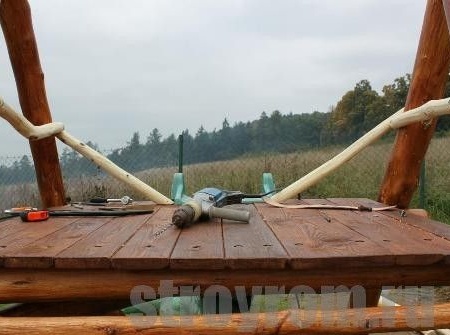
To work, you will need a socket wrench with ratchet, because you will have to heat the nuts into the cavity of the tree. Next, the author planks the flooring from a 40 mm board.
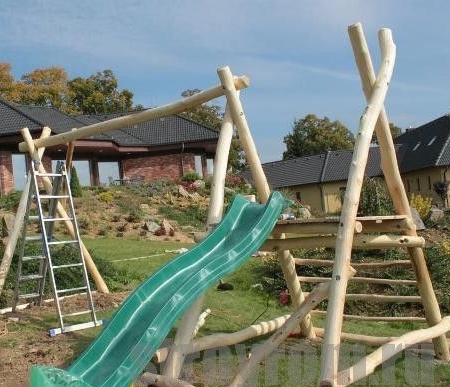
I made a ladder made of thinner poles in order to quickly climb the platform in front of a plastic slide.
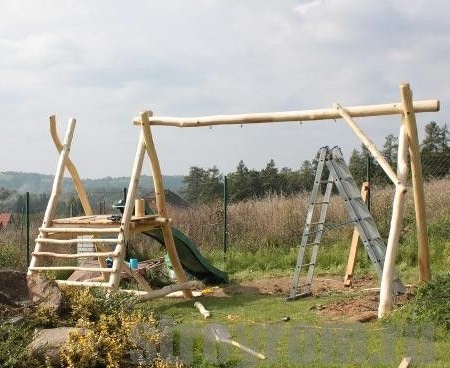
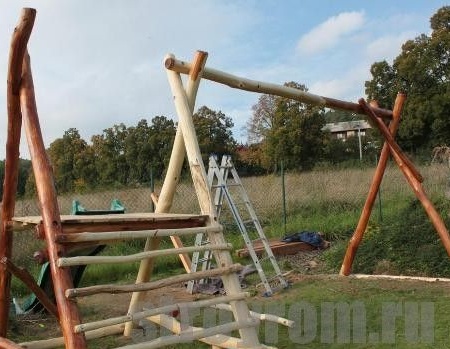
Then he collects the continuation of the structure in a similar way, where the swing, rope or hammock will be placed.
A crossbar has been added at the top, its thickness should be appropriate and support the weight of the child. Mounting should be given special attention.
In the upper part, for greater reliability, a spacer is added and fastened with a threaded connection.
A plastic slide is attached and fixed to the platform, and the bottom should also be fixed.
The resulting frame is then covered with stain and varnish, and you can also simply paint it in cheerful rainbow colors, because the kids love the colorful bright color.
For safety, we add railings and handrails to the design.
The main part of the work is finished and you need to let the paintwork materials dry.
Then you can hang the swing, rope or hammock.
Also nearby it would be great to place a small sandbox with a canopy or fungus from the sun and additionally some kind of rocking chair, so that children have a choice and a variety of games.
As you can see, an excellent playground can easily be made with your own hands, and the costs will be minimal, and the children will be in a frantic rapture and overwhelmed with happiness having their own playground. You have a good example, so we take and do. Go for it friends!
This concludes the article. Thank you all for your attention!
Come visit often and do not miss the latest in the world of homemade goods!
