

And so for a simple alarm on Arduino we need:
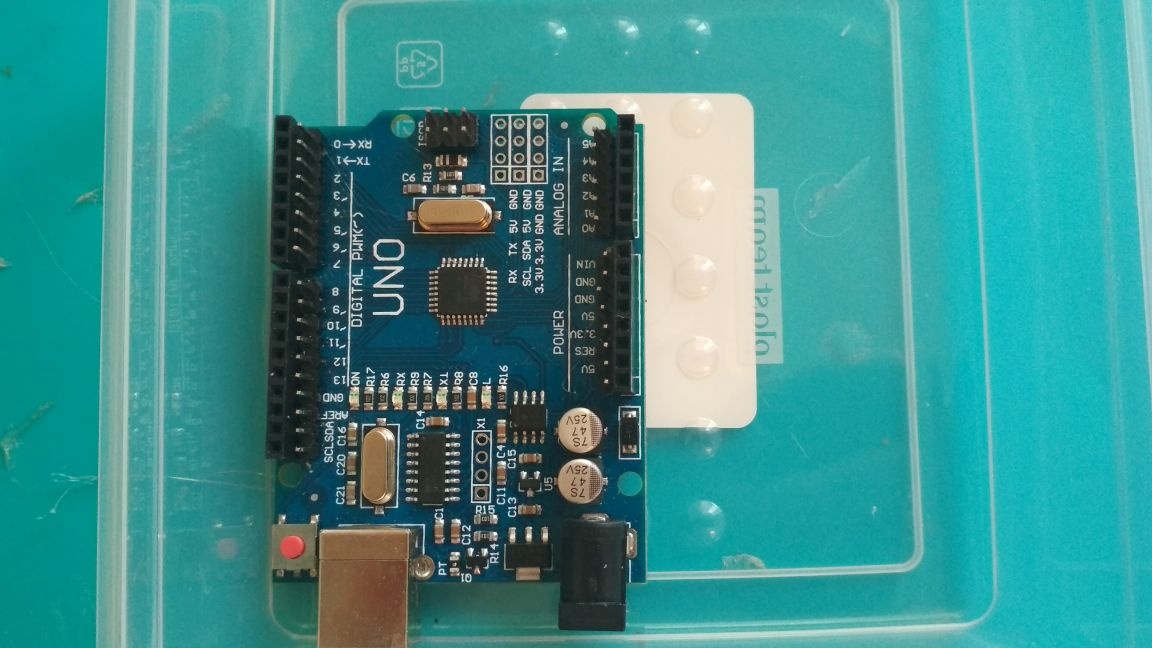
-pay Arduino Uno
Ultrasonic Rangefinder HS-SR04
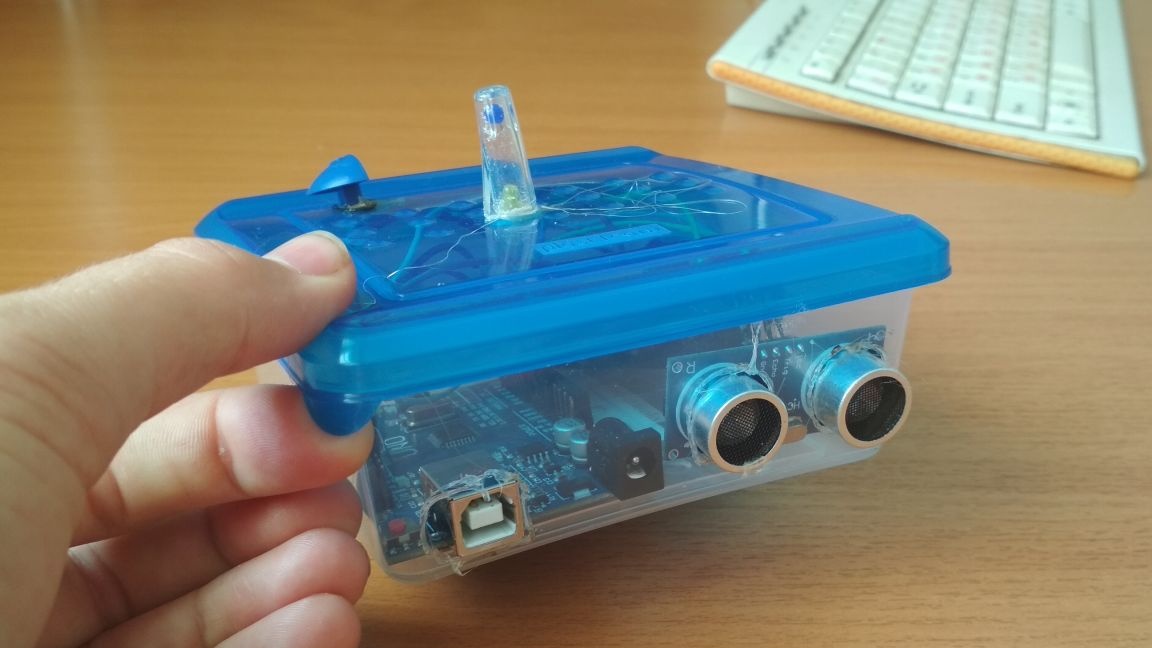
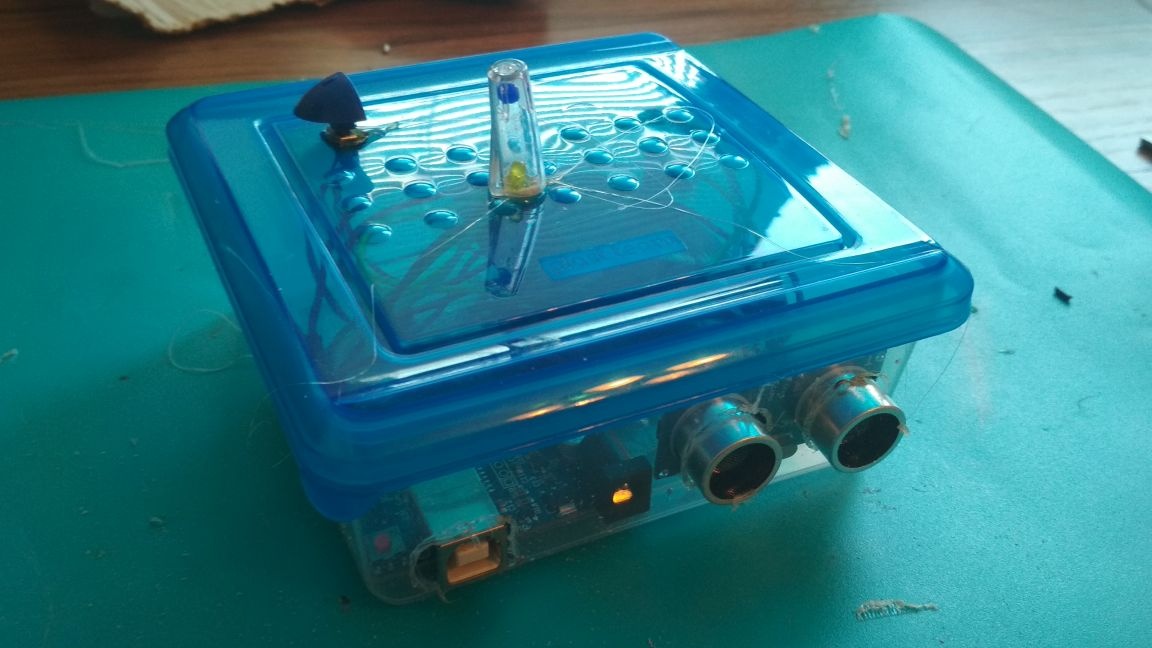
- small container
transparent cap from the handle
red LED
-switch
-connecting wires like "father-mother"
-buzzer
- Conventional wires
- power supply (I use 4 batteries connected in series at 1.5 volts, but ideally you need to use a 6-9 volt battery 2000 mah, or a crown)
From the tools we need:
soldering iron
thermal glue
scissors or knife

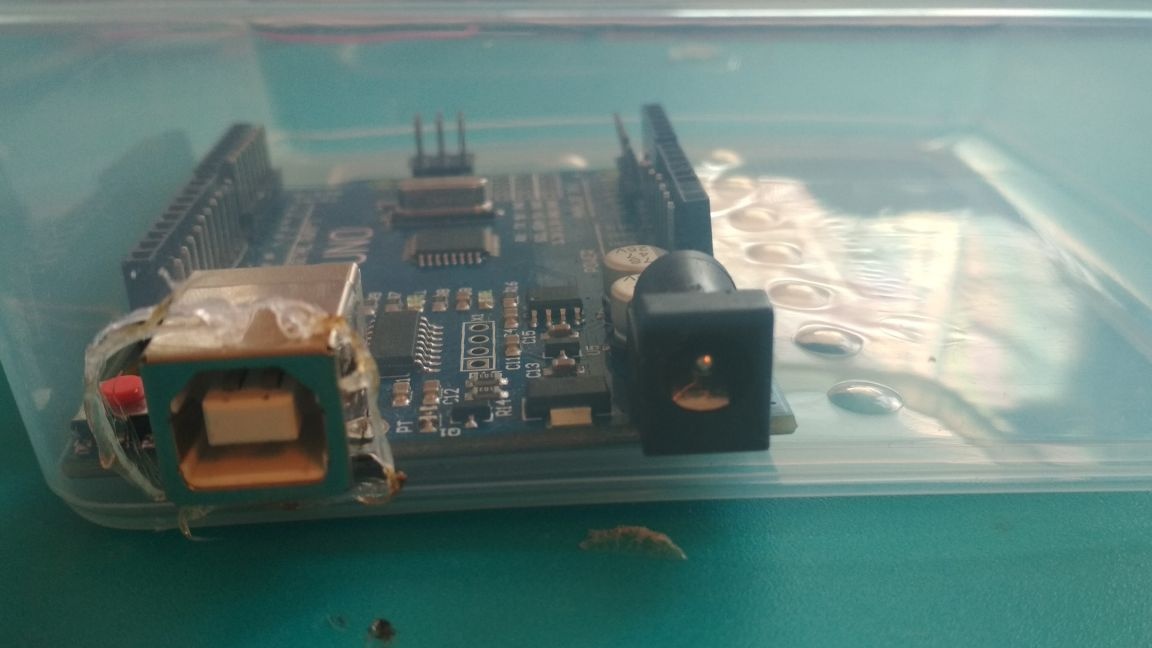
First of all, you need to place the Arduino board in the container, then mark the place under the hole for its exit and cut it out or solder it:
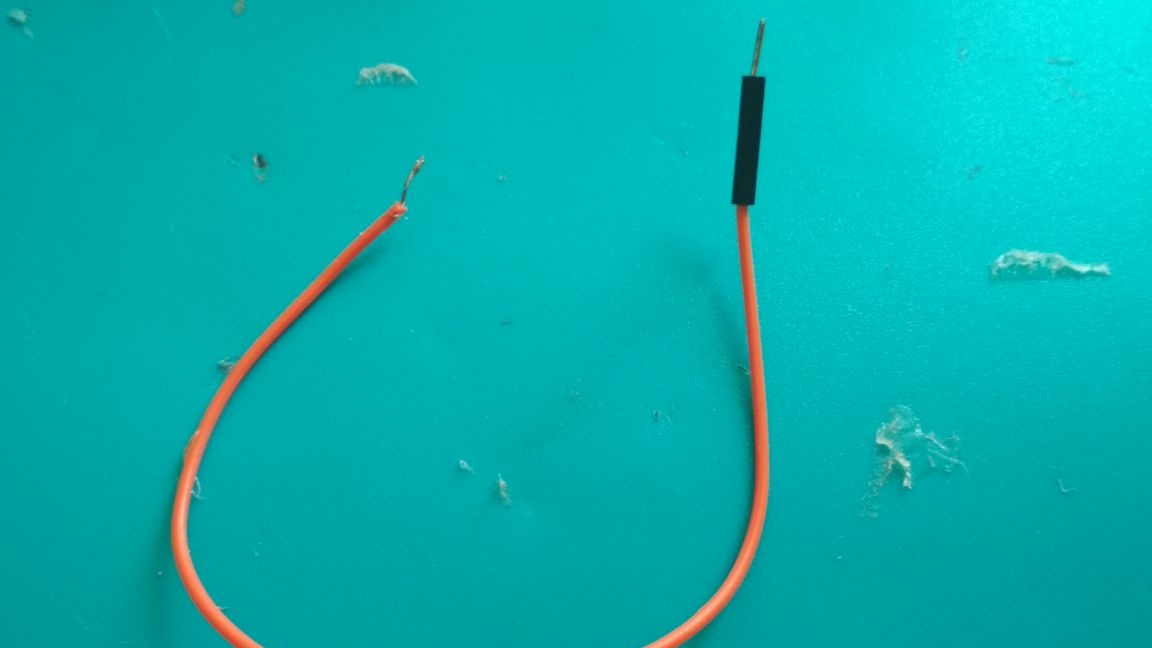
Now we take one father-mother wire, cut the mother exit from it, strip the tin and solder to the switch:
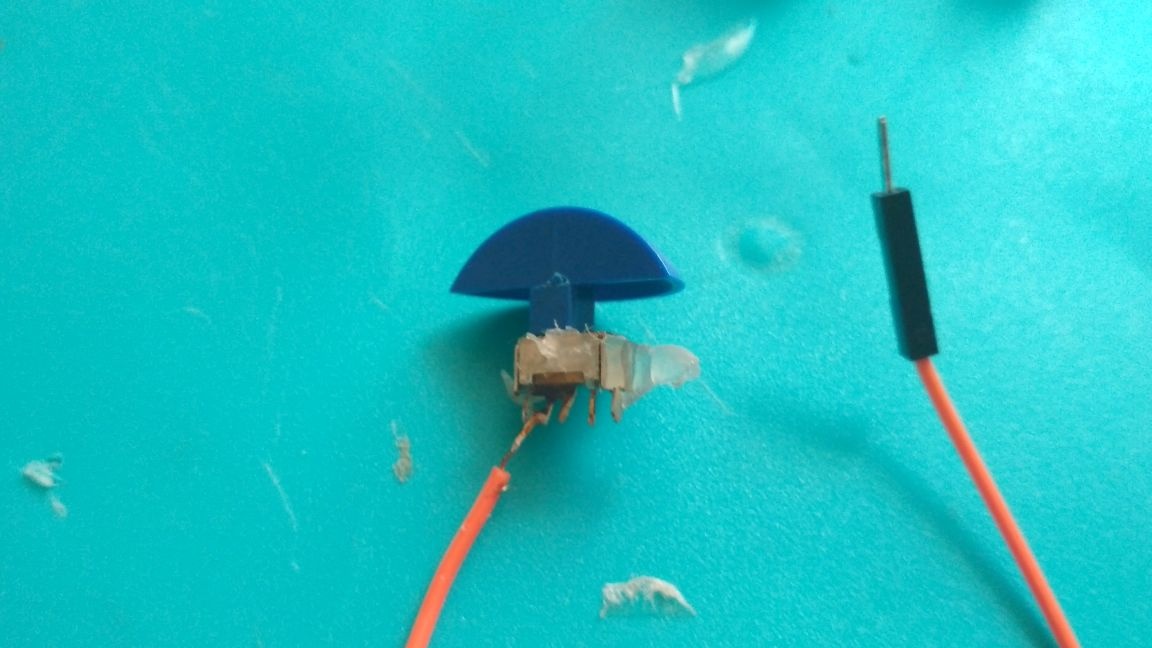
Then we solder the switch to our power source (but if you use such an adapter under the crown, you won’t have to do all this)
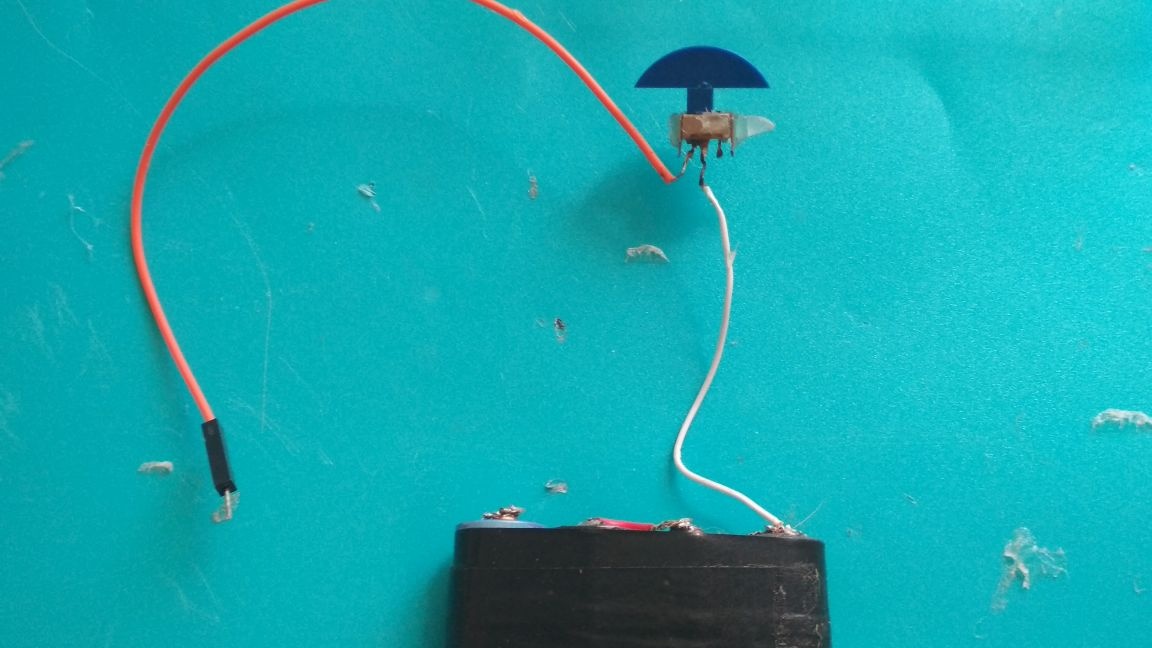
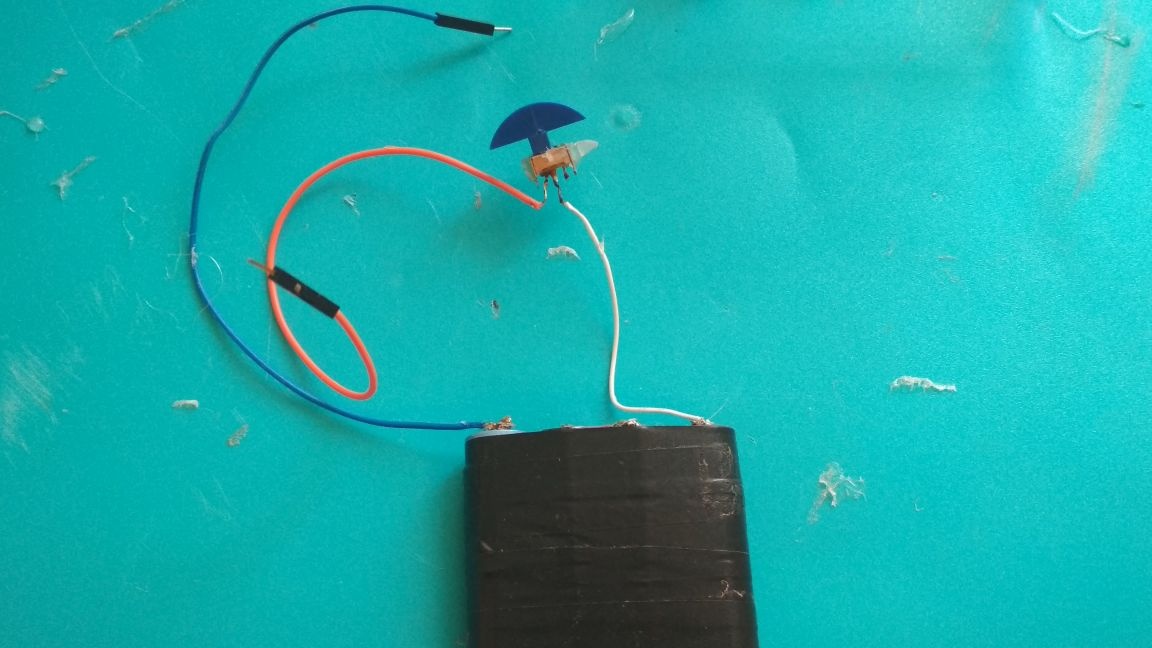
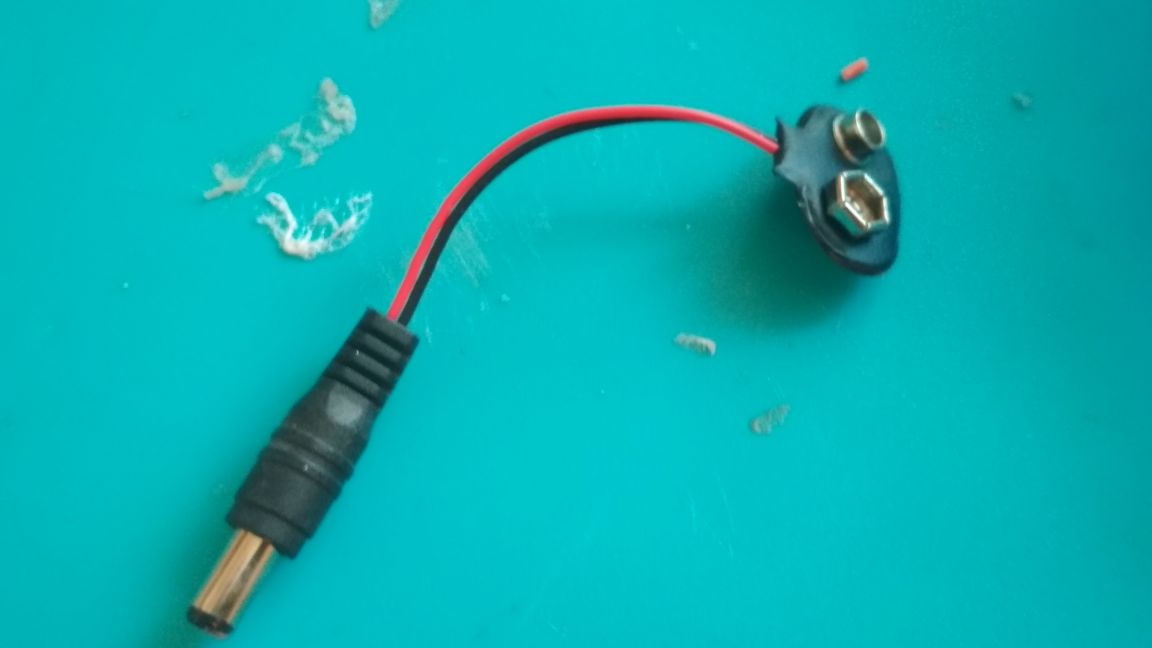
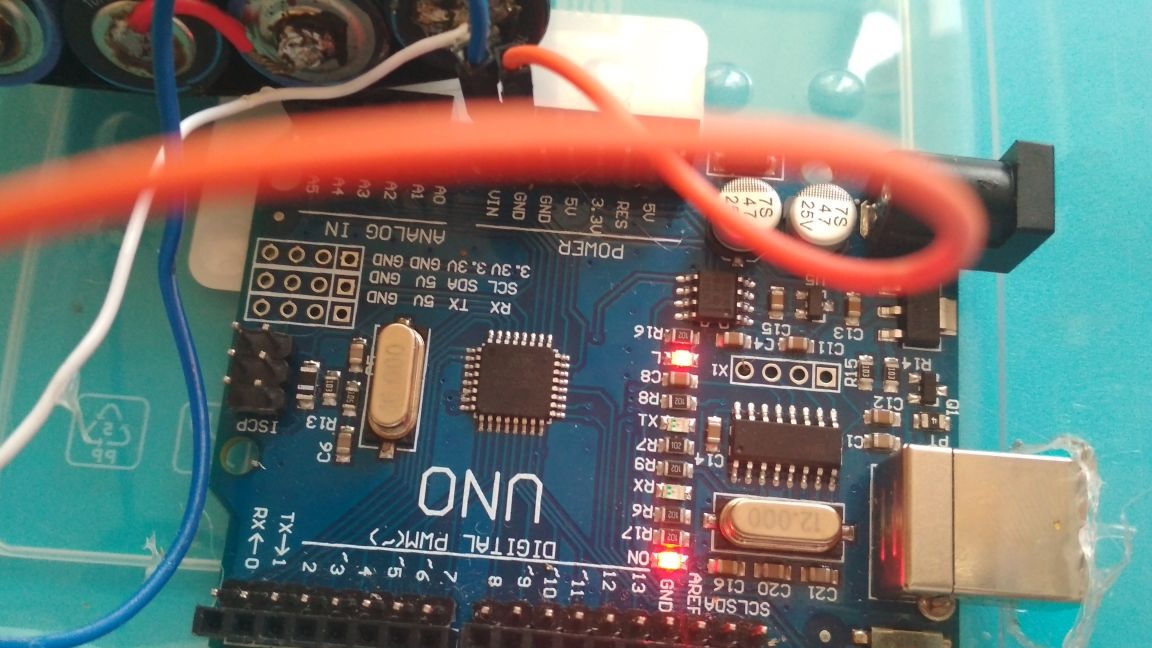
We connect our power supply to the Arduino board as follows: plus to the output uin, and minus to Gnd
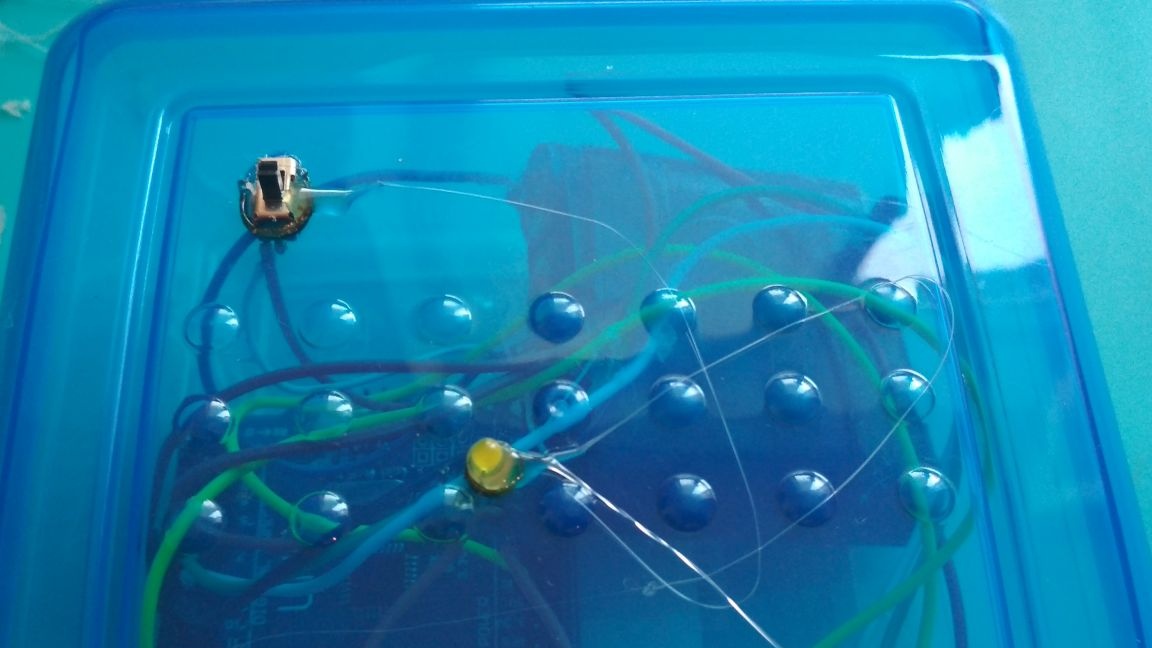
We test, turn on the switch and if the red LEDs on the board light up, then everything is done correctly:
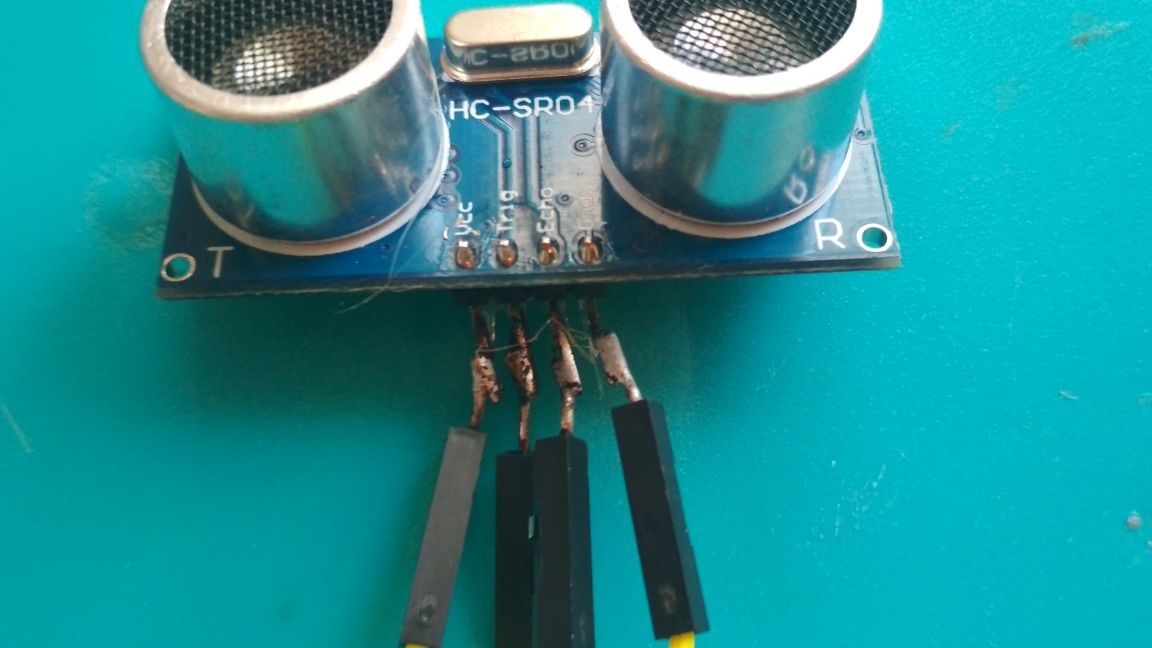
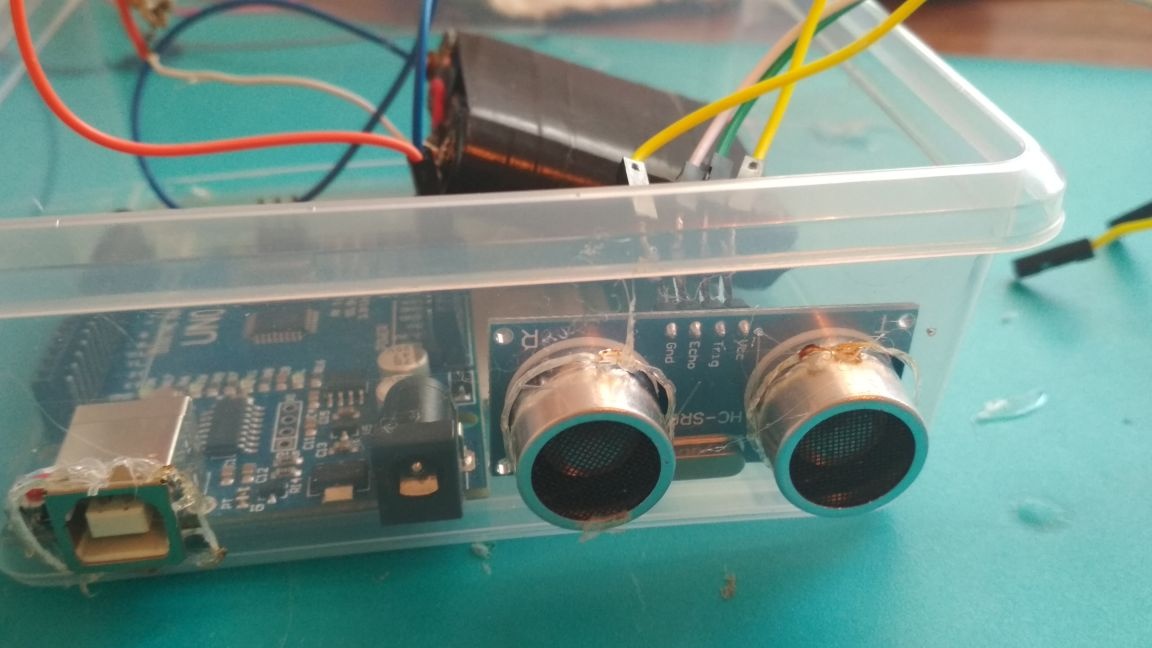
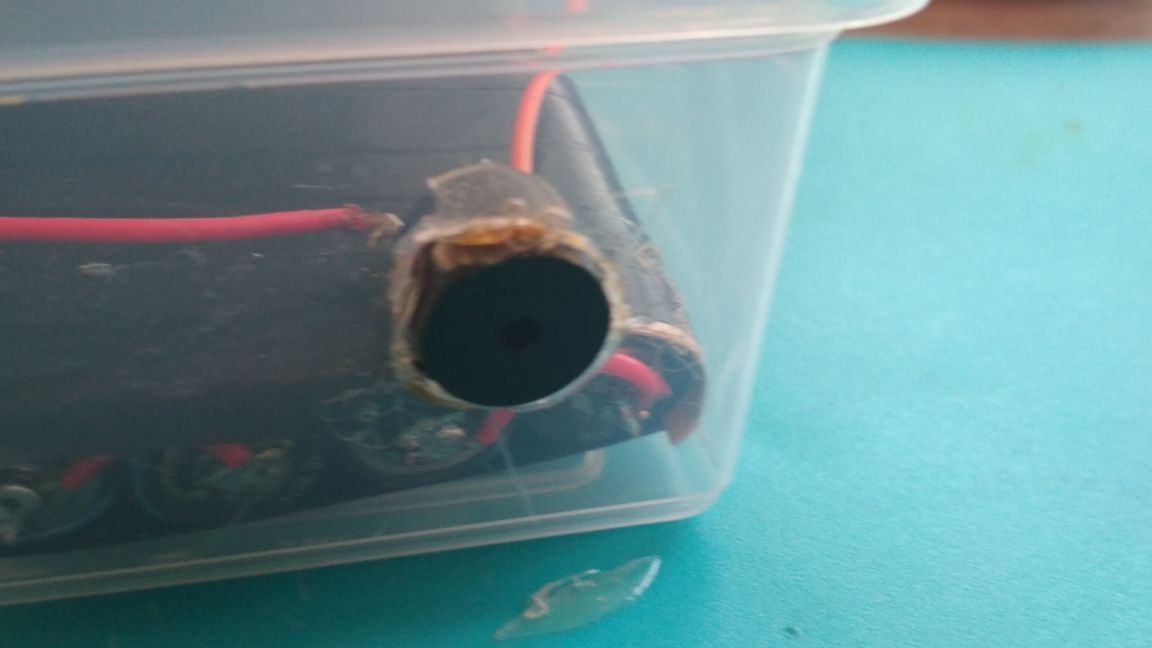
We take an ultrasonic range finder and solder to its outputs (vcc, Echo, Trig, Gnd) dad-mom type wires:
We mark and make two holes on the side of the container under the ultrasonic rangefinder:
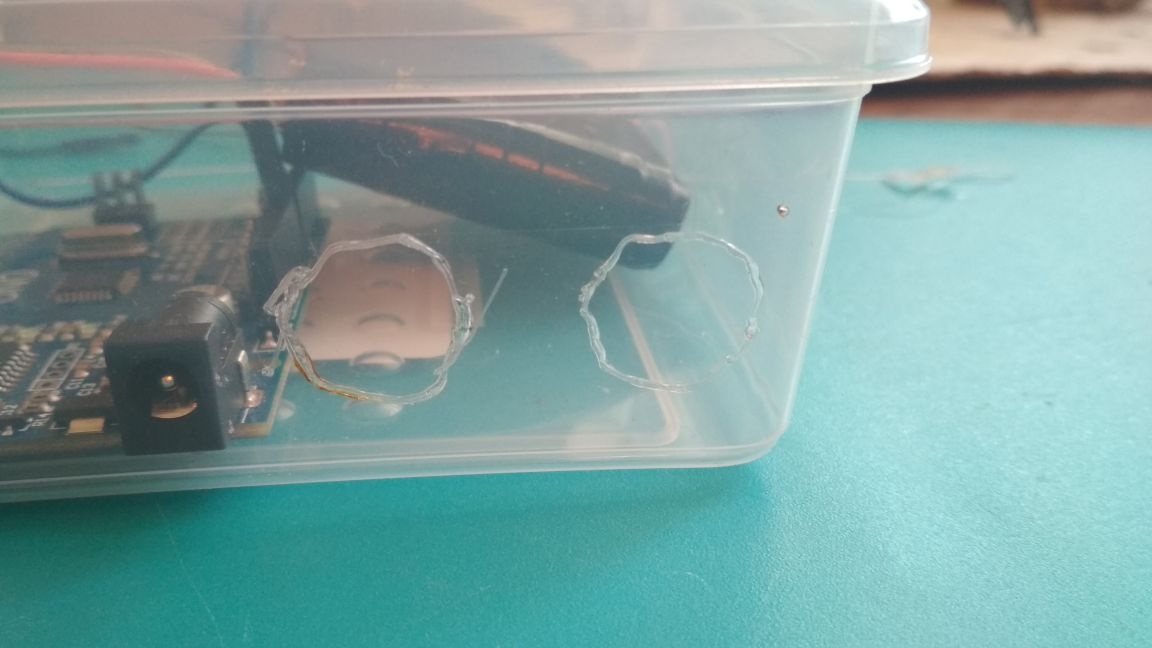
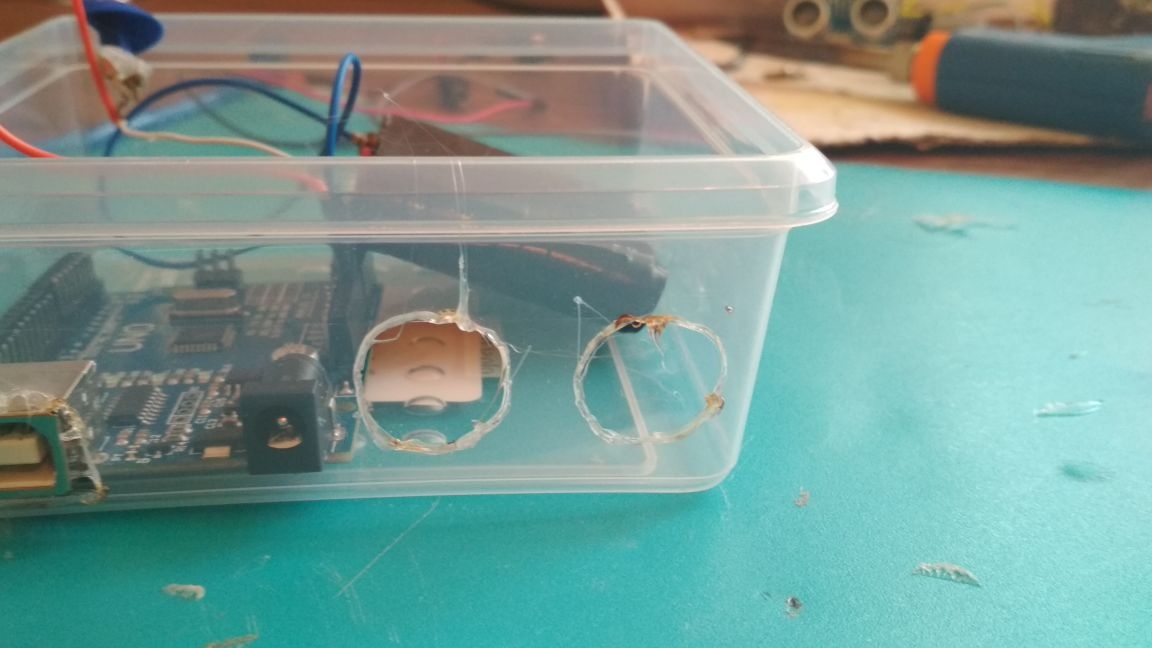
Install and glue it if necessary:
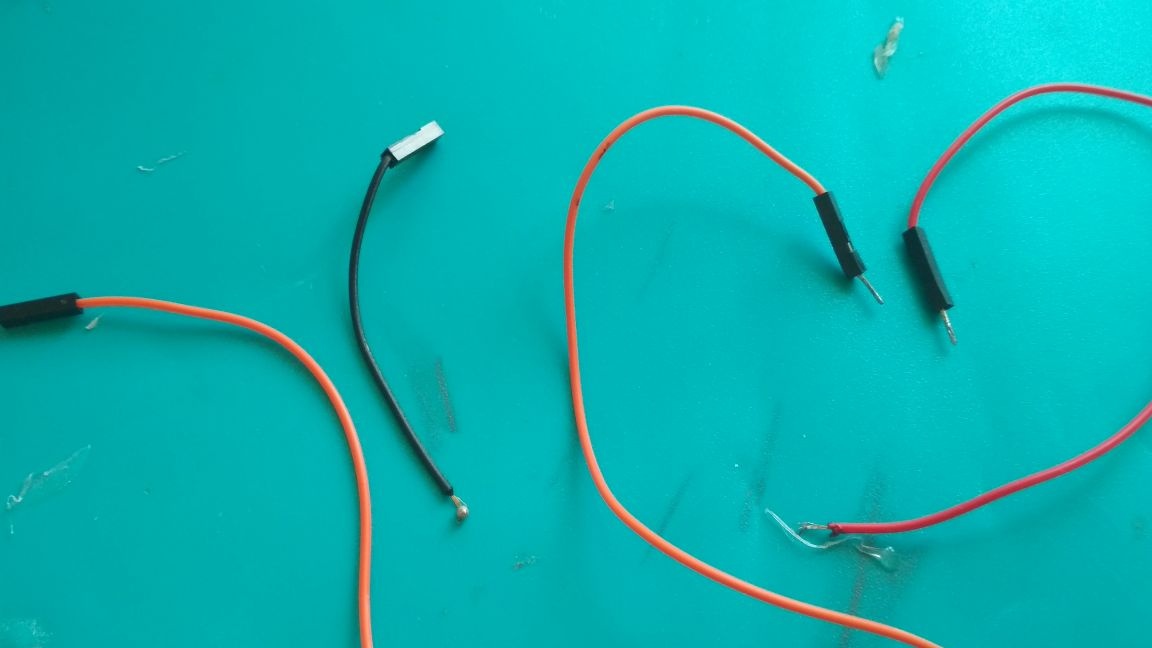
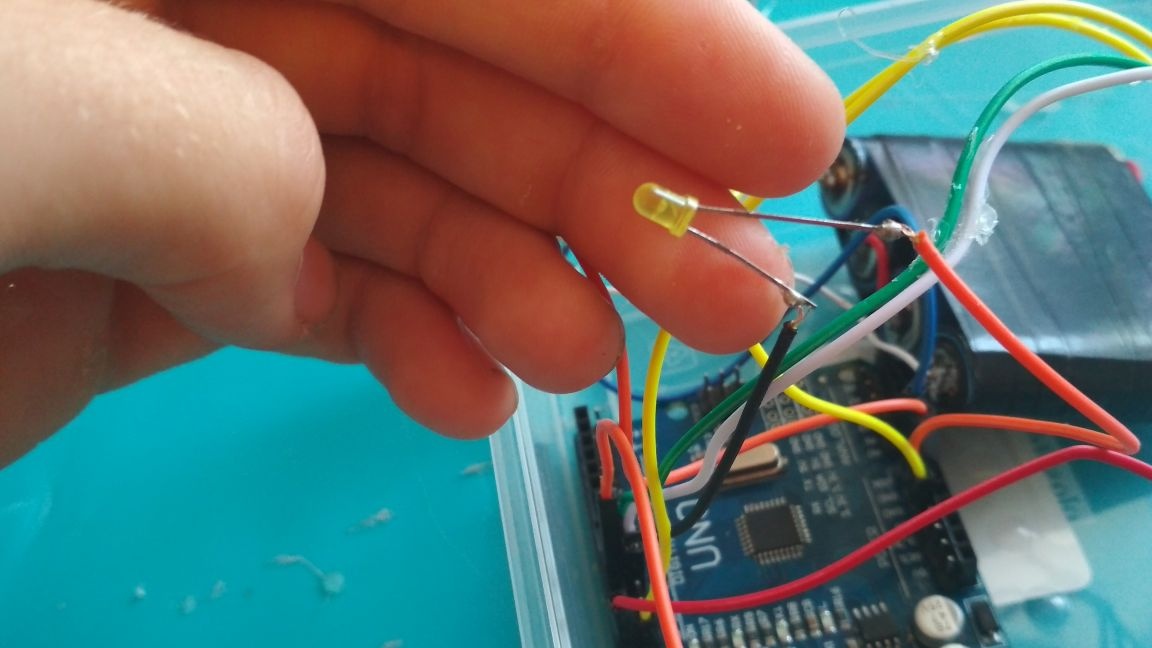
We take two dad-mom wires, cut them on the floors, strip them and tin them:
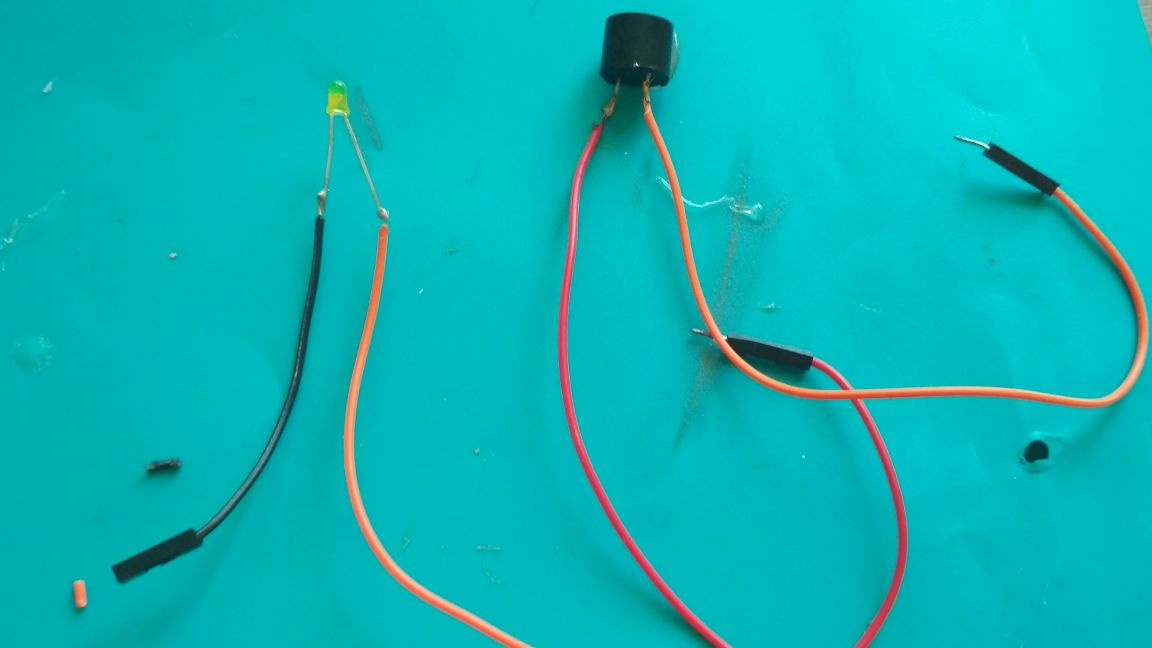
Solder the wires "father" to the buzzer, and the wires "mother" to the LED:
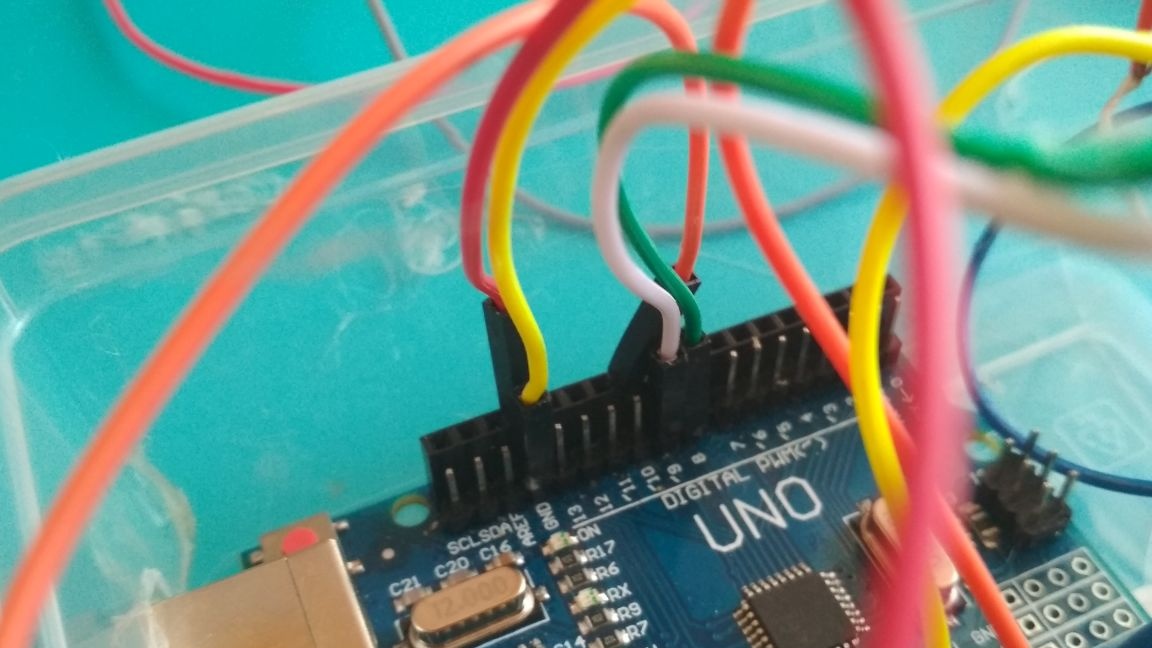
Now we connect observing the polarity at one end of the LED and the buzzer to 10 digital pin on Arduino, and the other two ends to Gnd.
Then we connect the ultrasonic rangefinder with the following images to the Arduino board: vcc to the output 5 v, Gnd to Gnd, echo to 9 digital pin, and trig to 8
On the side of the container, make another hole for the buzzer, then insert it there and glue it if necessary:
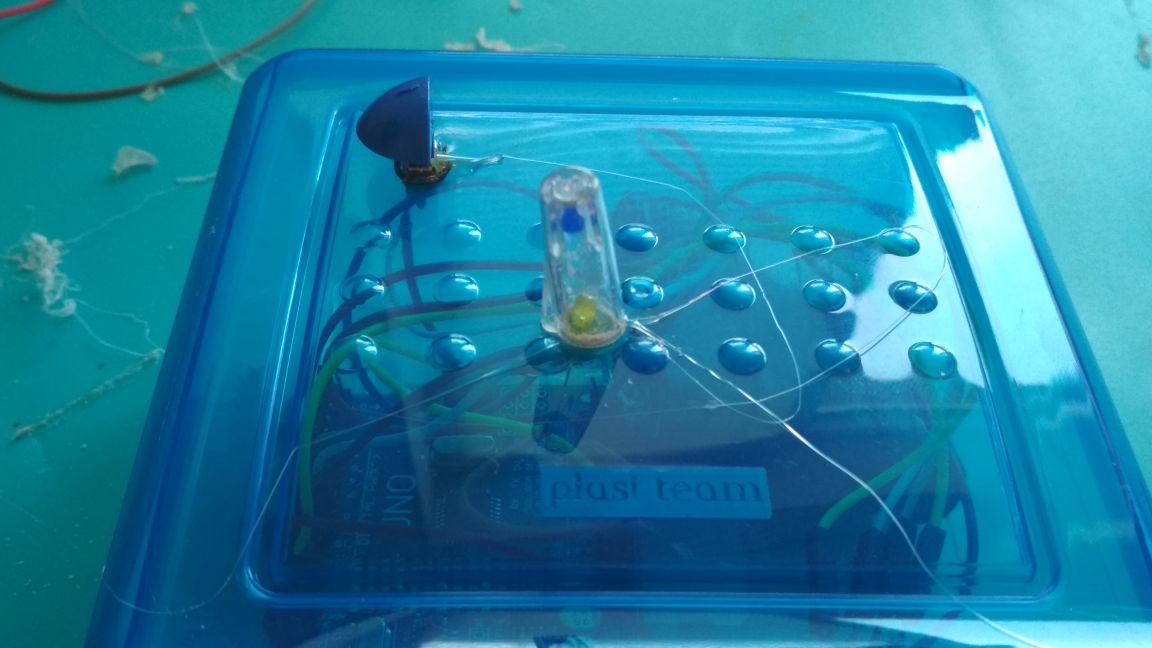
In the roof of the container we make two holes (I made all the holes with a soldering iron as it is convenient) for the LED and the switch:
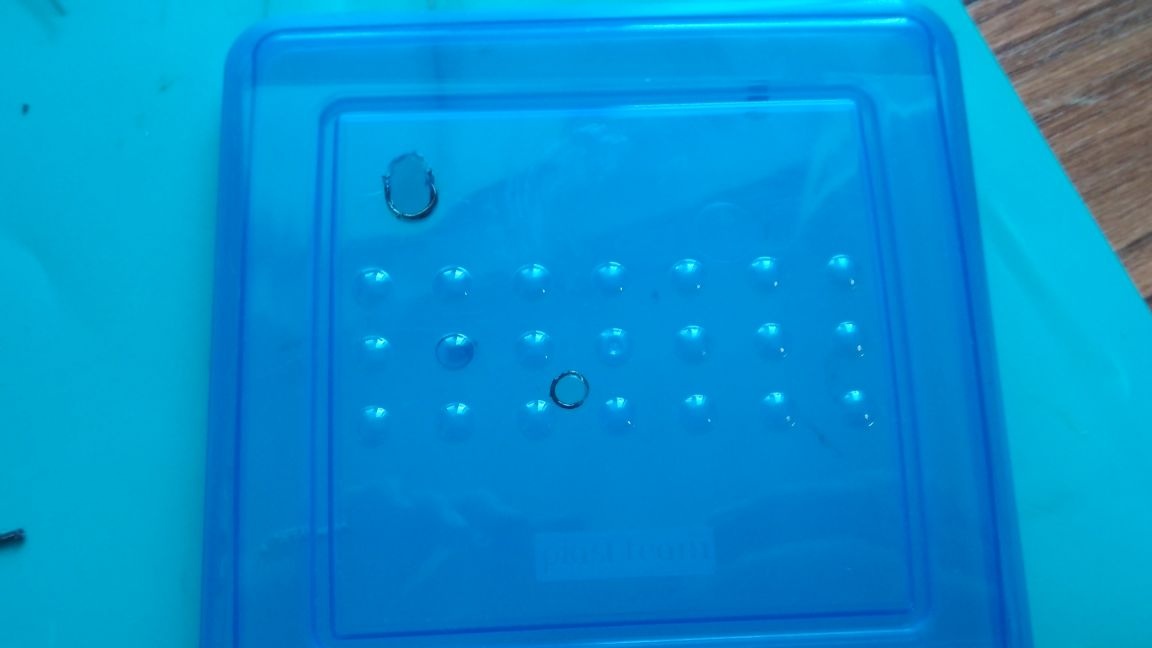
We paste and glue them:
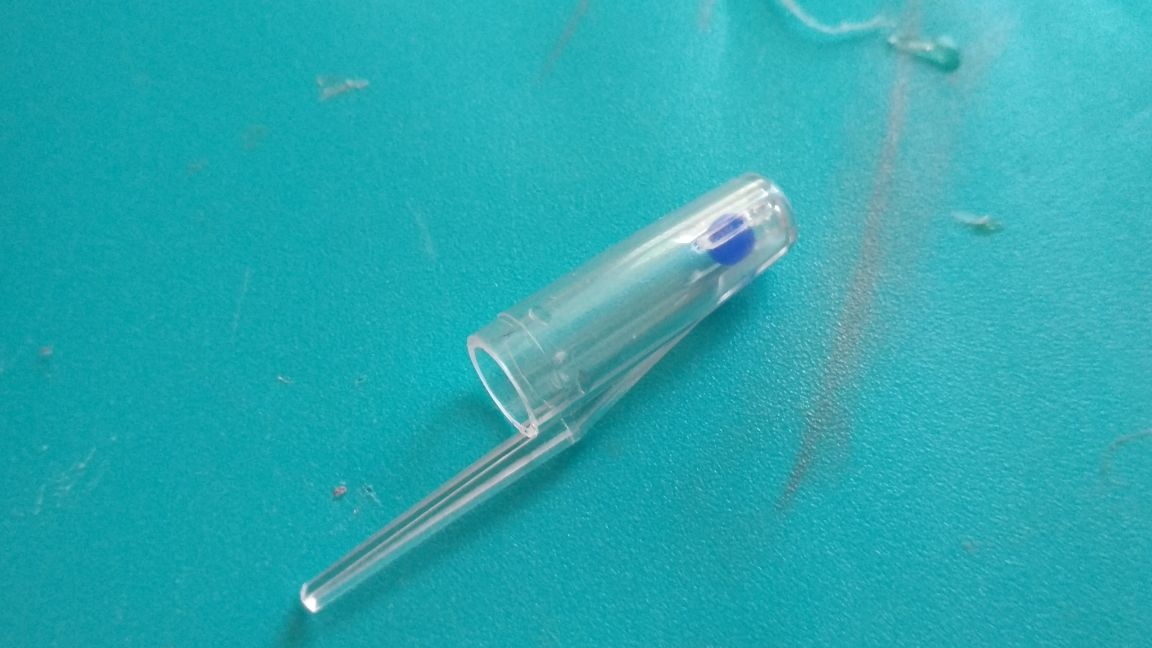
We take a transparent cap from the handle and with the help of a sandpaper or file we grind the bottom to it:
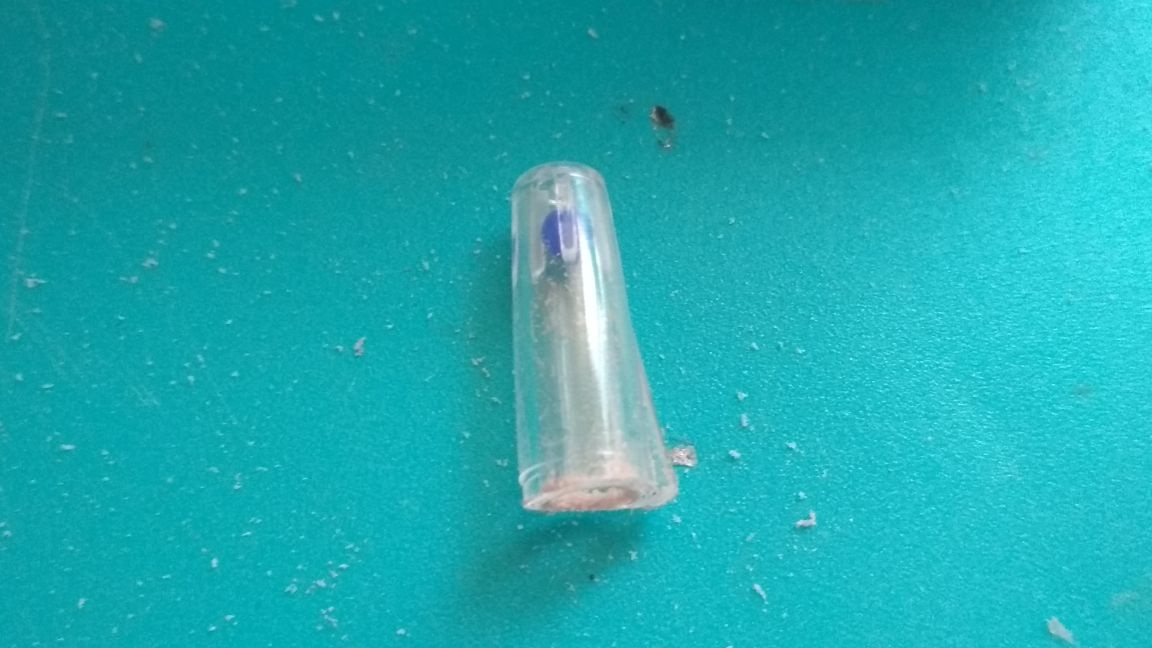
We glue it over the LED, thereby making a protective dome for it:
Well, we finished the main part of the assembly of our alarm system and there was only the sketch loading left, in my previous articles I said that for me personally this is the most difficult stage, but not in this case, because by the principle of operation this alarm is similar to the automatic fan that I did earlier, so I will use the sketch from it and if necessary just change some parameters.
You just need to connect the Arduino board to the computer using a special adapter that usually comes with the board, run the Arduino IDE program, copy the sketch below, paste it into the program and click the download button. If everything is done correctly, then the sketch will safely load into the board.
Sketch:
int echoPin = 9;
int trigPin = 8;
int led = 10;

void setup () {
Serial.begin (9600);
pinMode (trigPin, OUTPUT);
pinMode (echoPin, INPUT);
pinMode (led, OUTPUT);
}

void loop () {
int duration, cm;
digitalWrite (trigPin, LOW);
delayMicroseconds (2);
digitalWrite (trigPin, HIGH);
delayMicroseconds (10);
digitalWrite (trigPin, LOW);
duration = pulseIn (echoPin, HIGH);
cm = (duration / 58) +3;
Serial.print (cm);
Serial.println ("cm");
// delay (1000);
if (cm & lt; 20) {
digitalWrite (led, HIGH);
} else {
digitalWrite (led, LOW);
}
delay (100);
}
Now it remains only to turn on our alarm and test it, the alarm is programmed in such a way that if you bring any solid object closer to the ultrasonic sensor, the buzzer will immediately start beeping and the LED will light. For example, if you put it unnoticed on the floor and someone passes by it, the buzzer will immediately start to squeak. (the LED subsequently burned due to the fact that I forgot to solder a 220 Ohm resistor to it, so if you do, be sure to solder)
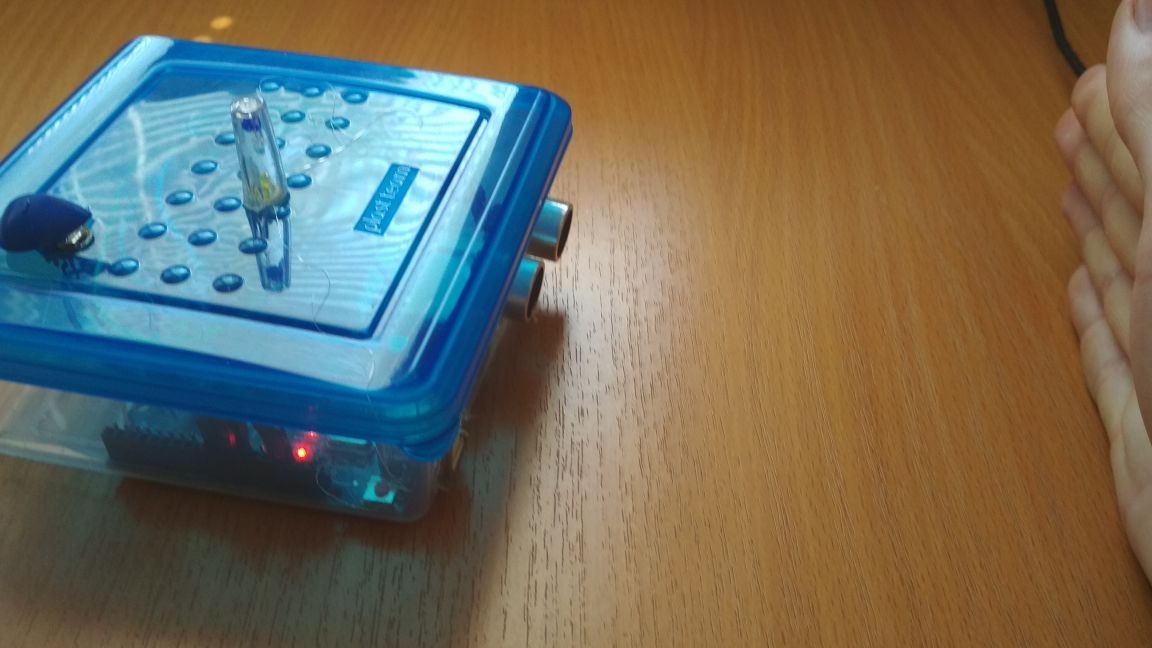
That's it! Here we have such a simple alarm system on Arduino, we would like to say again that it is for beginners and it is not necessary to take this homemade product too seriously!
Thank you all for your attention!