

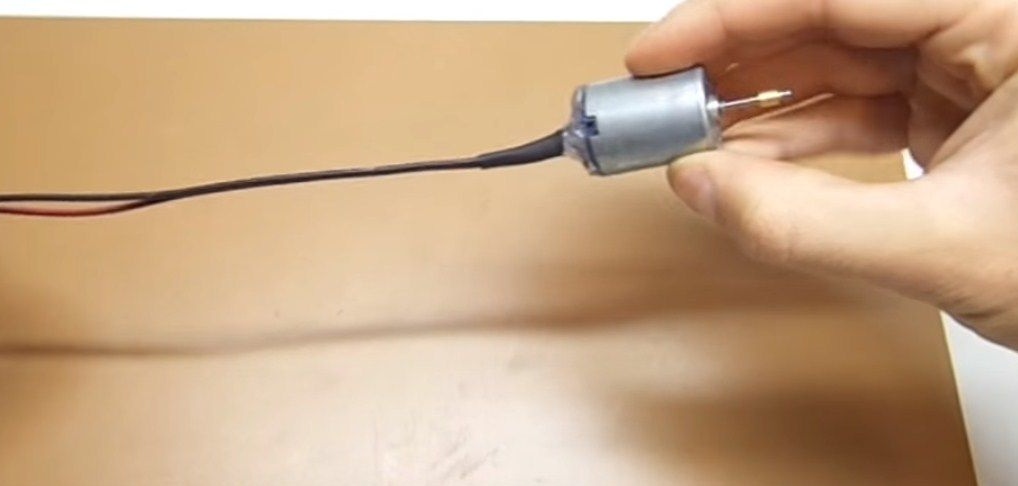
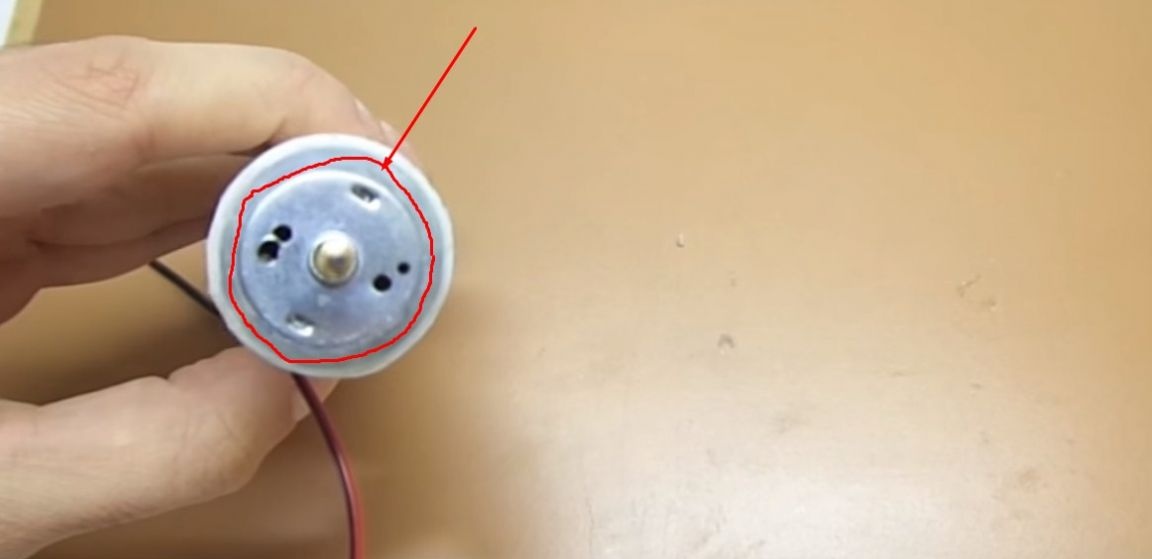
For this homemade the author took a 12 volt electric motor,
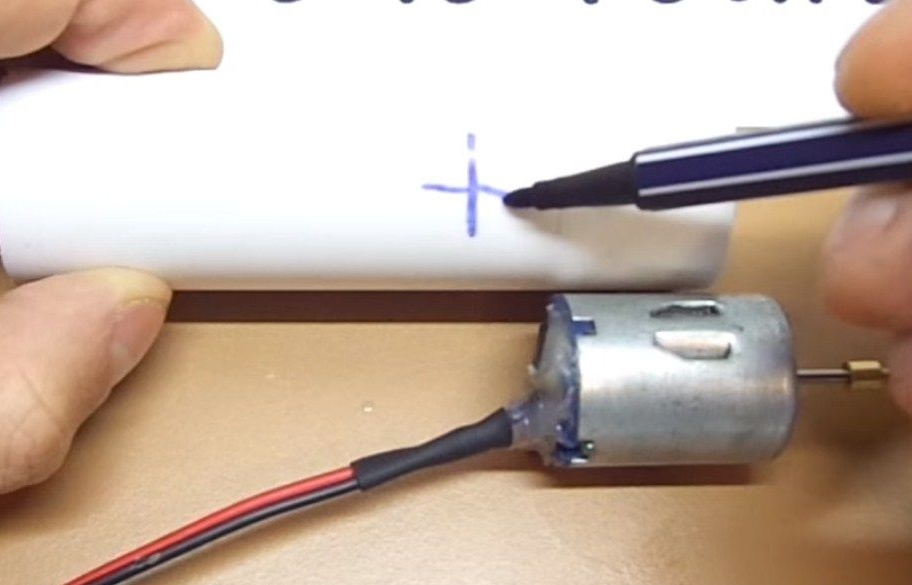
a piece of plastic pipe 10 cm long,

and the inner diameter is slightly larger than the electric motor.
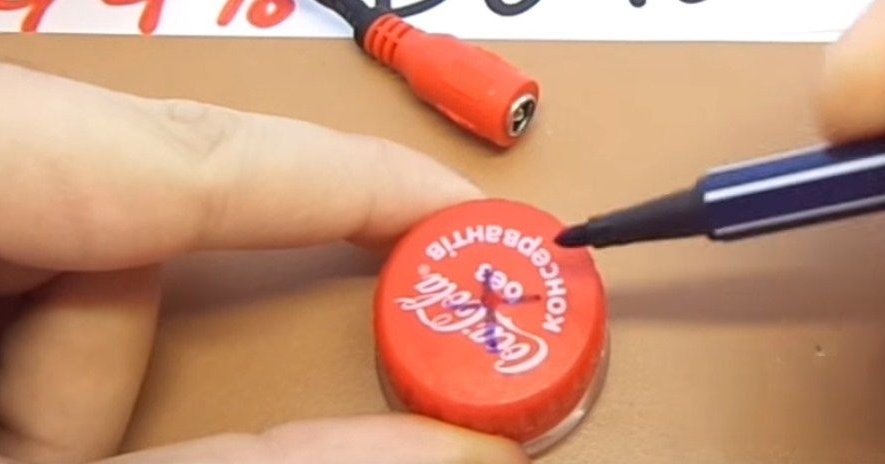
On the pipe, the author made a marking for the hole for the switch,
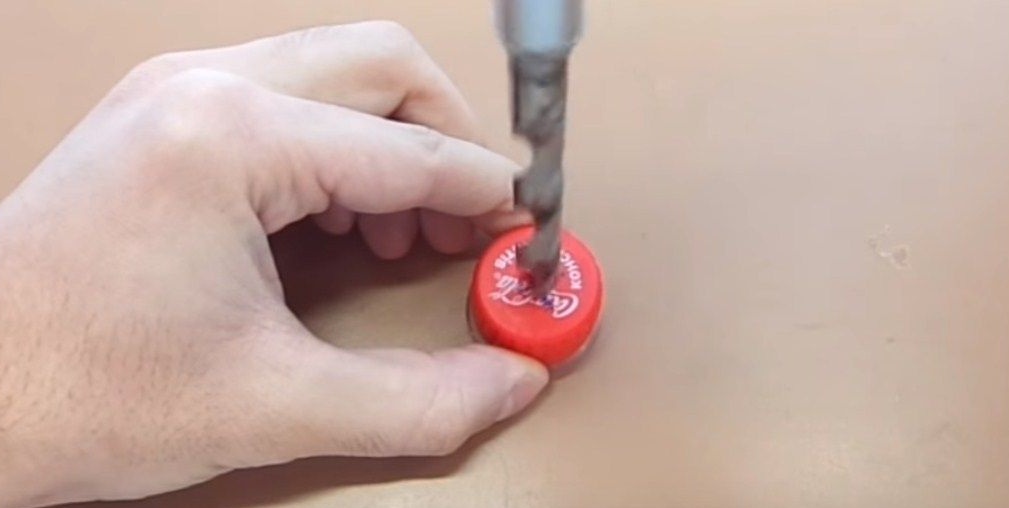
Then he took a drill and,
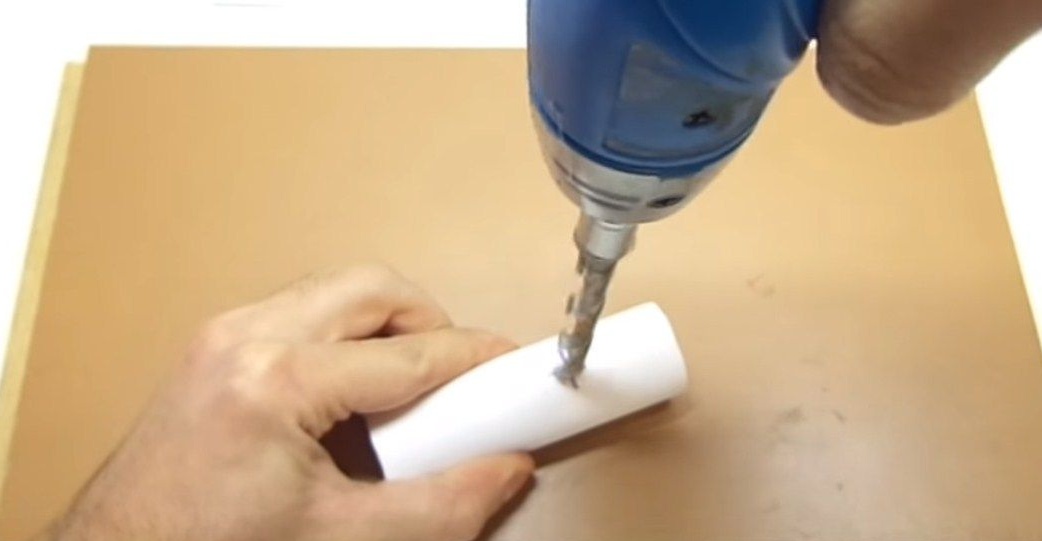
drilled a hole on the mark.
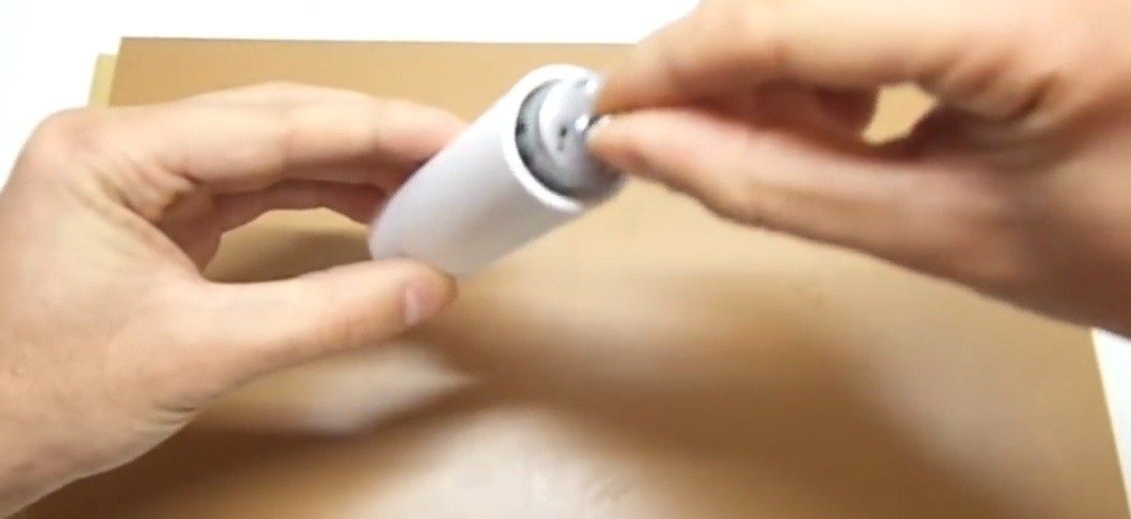
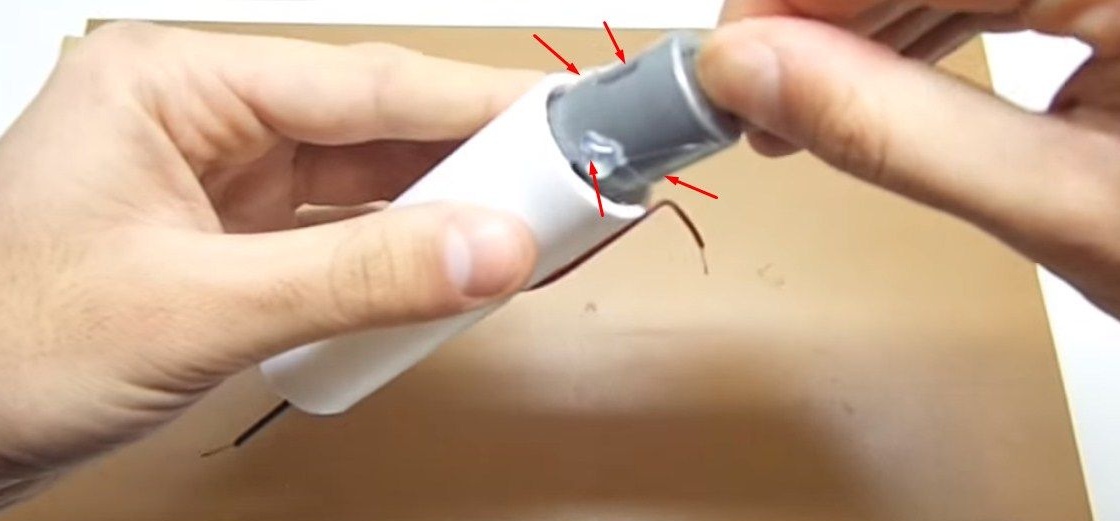
Then I went through the motive of the motor into the pipe,
he brought the red wire into the hole
and the black wire went through to the end of the tube.
Then he fixed the engine with hot glue,
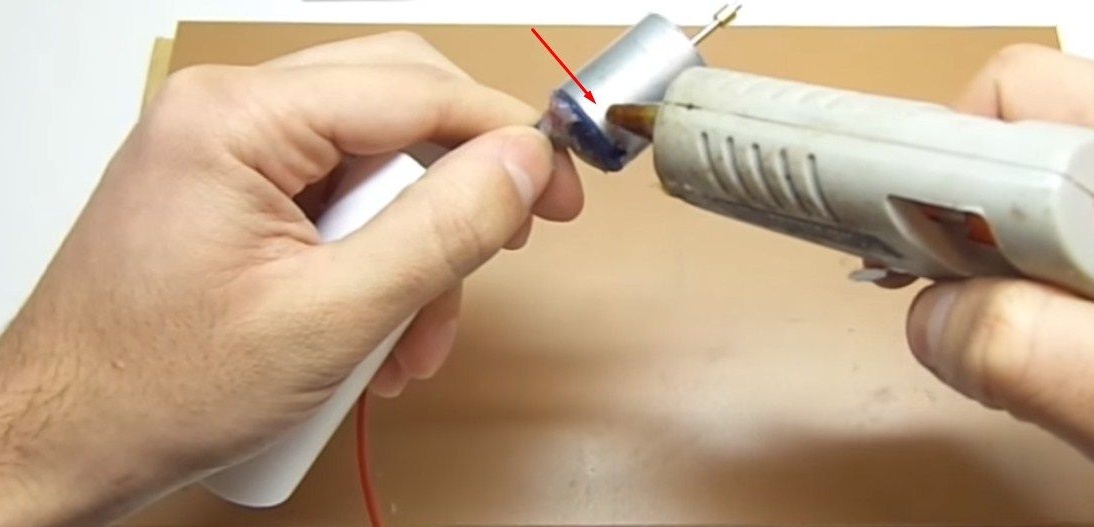
from the beginning, the author applied glue in several places,
then inserted a motor into the pipe,
and glue filled the void between the engine and the pipe.

Then he took the switch,
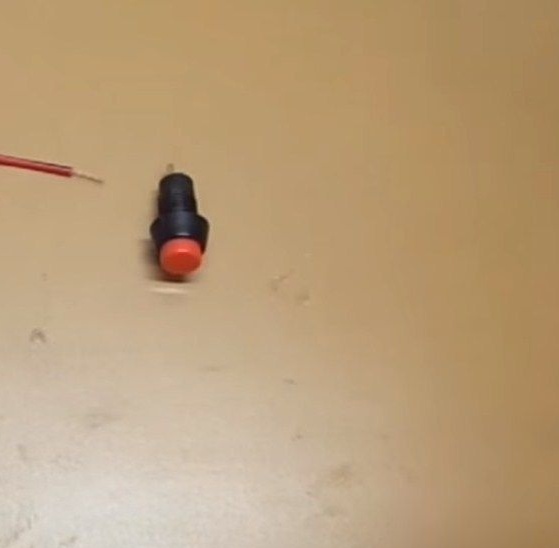
and a connector for the power supply.
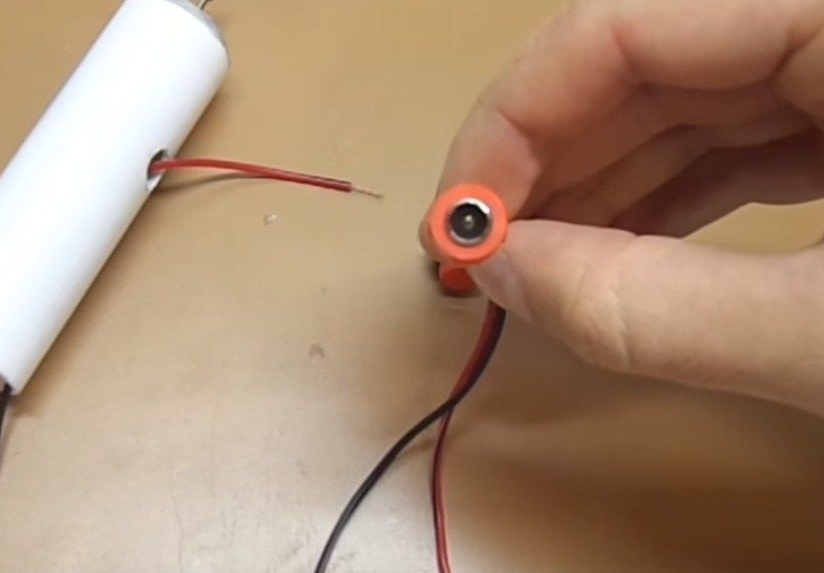
The author also pushed a red wire from the connector into the hole.

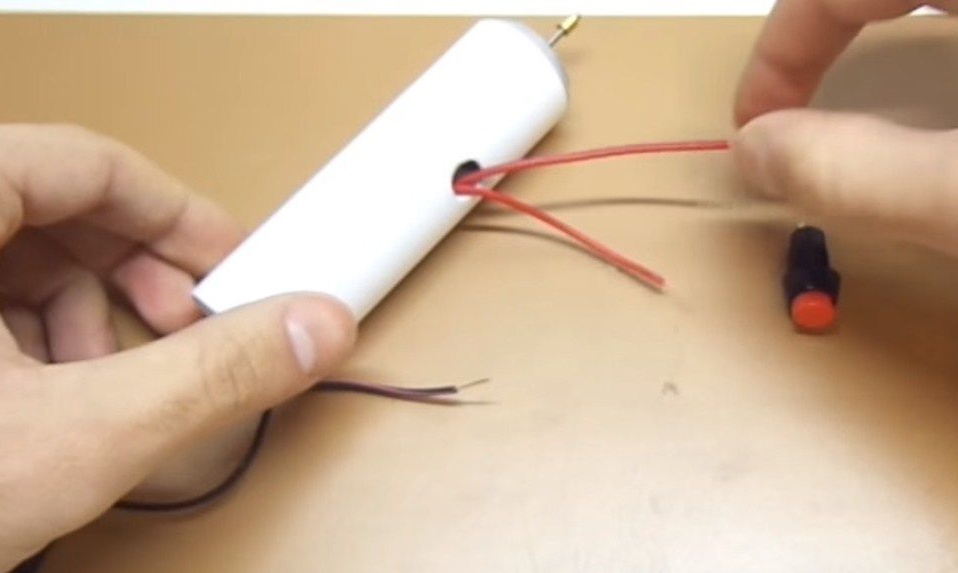
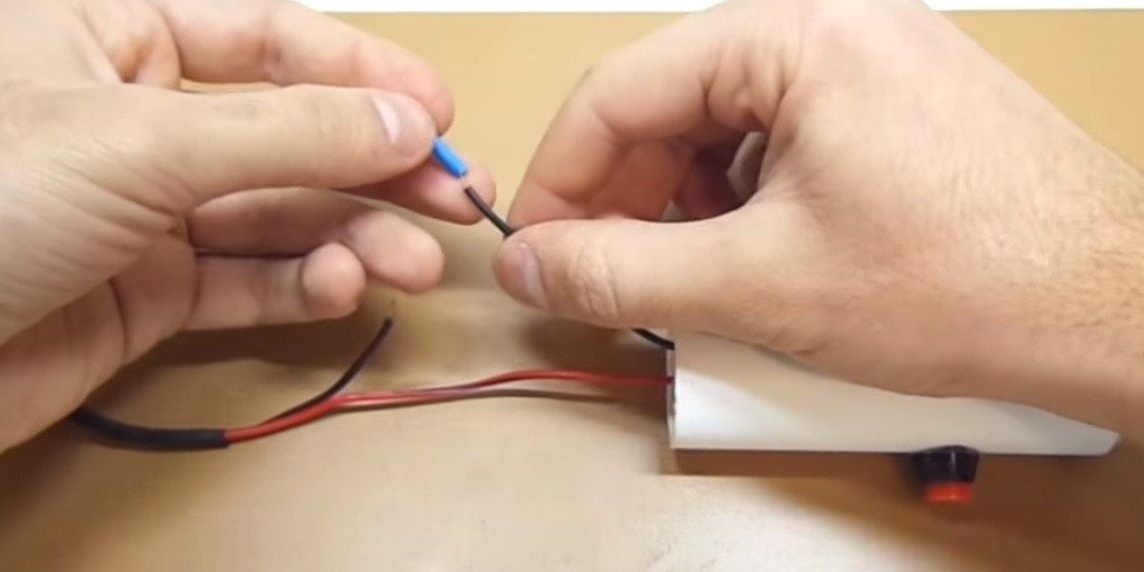
Then these red wires were soldered to the switch.
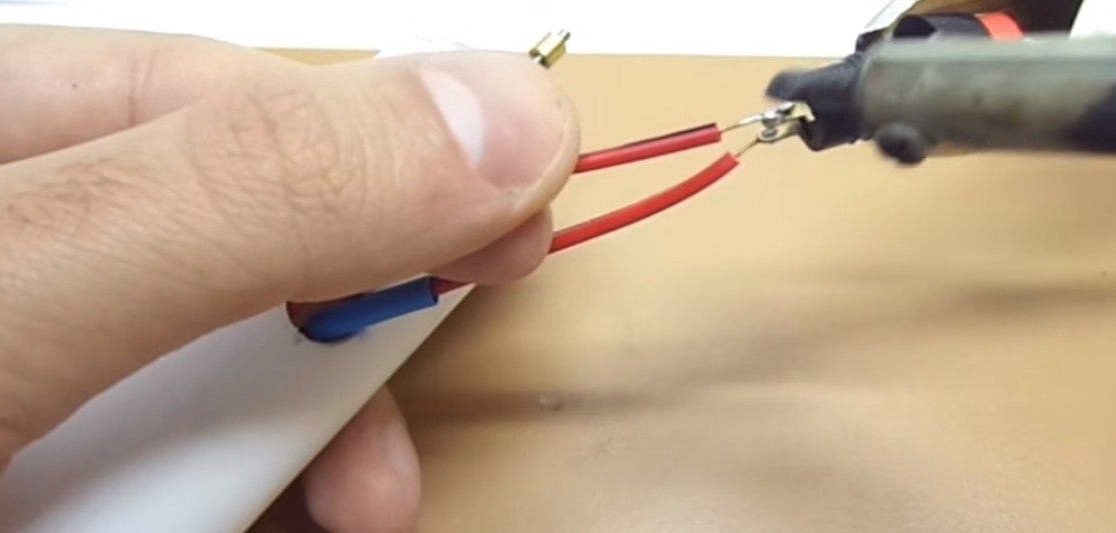
Having previously put on them shrink cambrices after, adhesions moved the cambrices to the places of soldering.
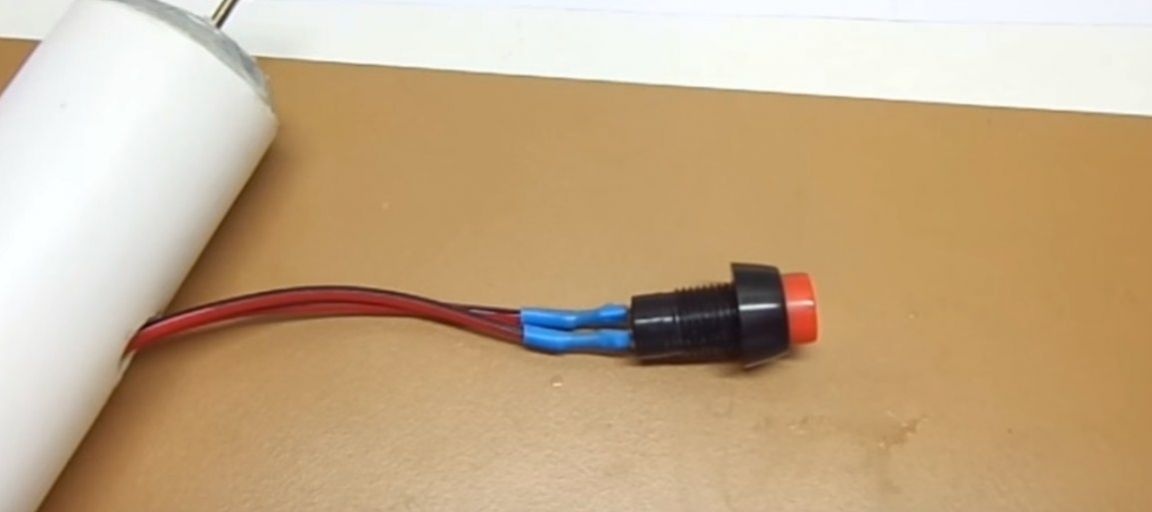
Having smeared the switch with glue, inserted it into the hole.
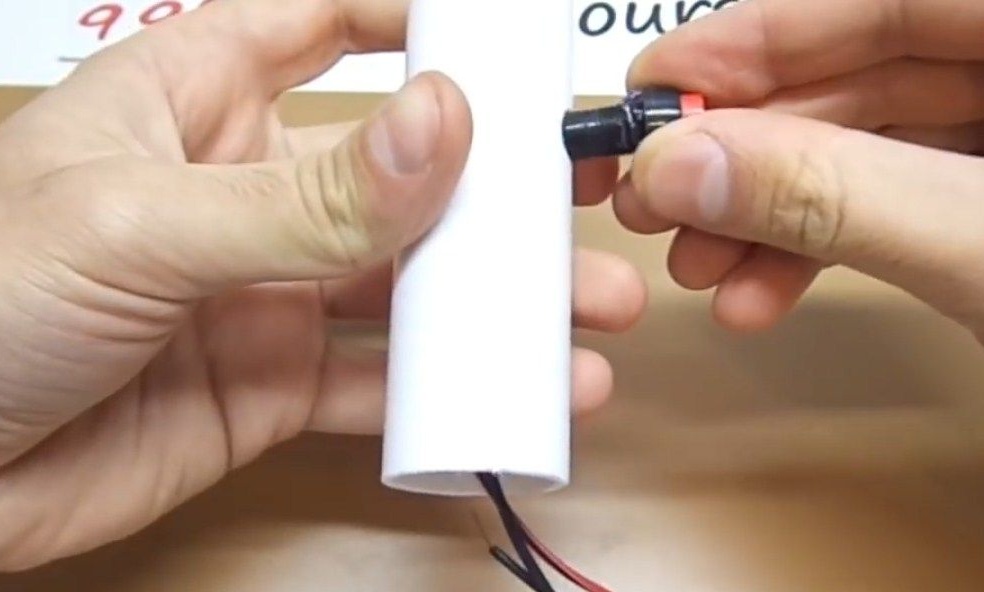
Like this.
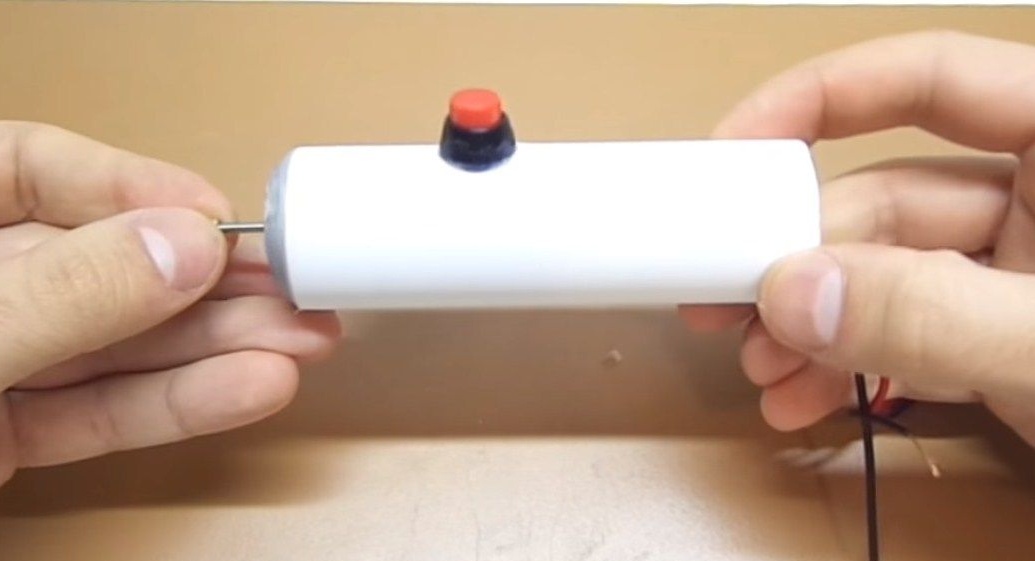
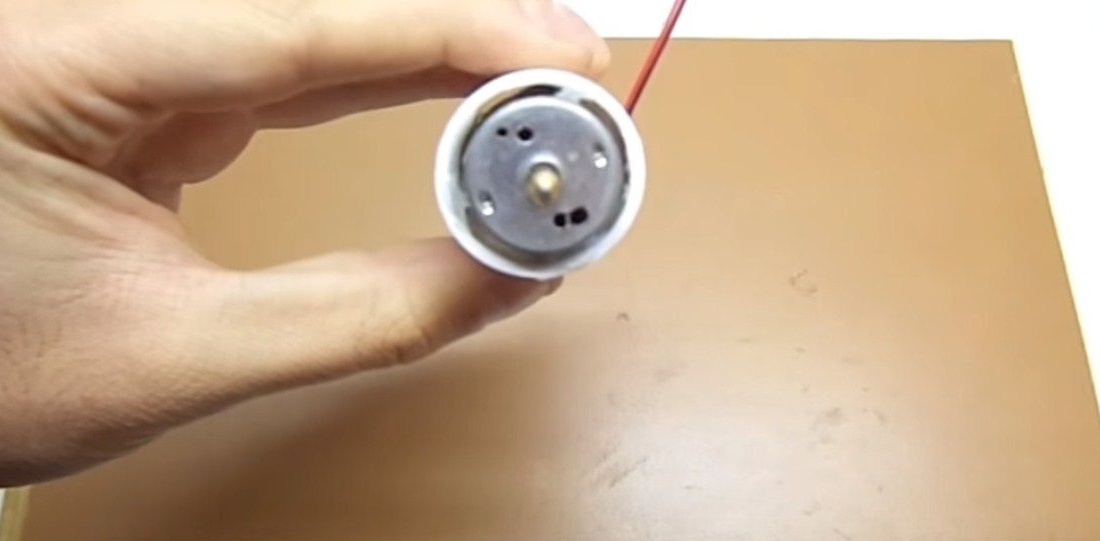
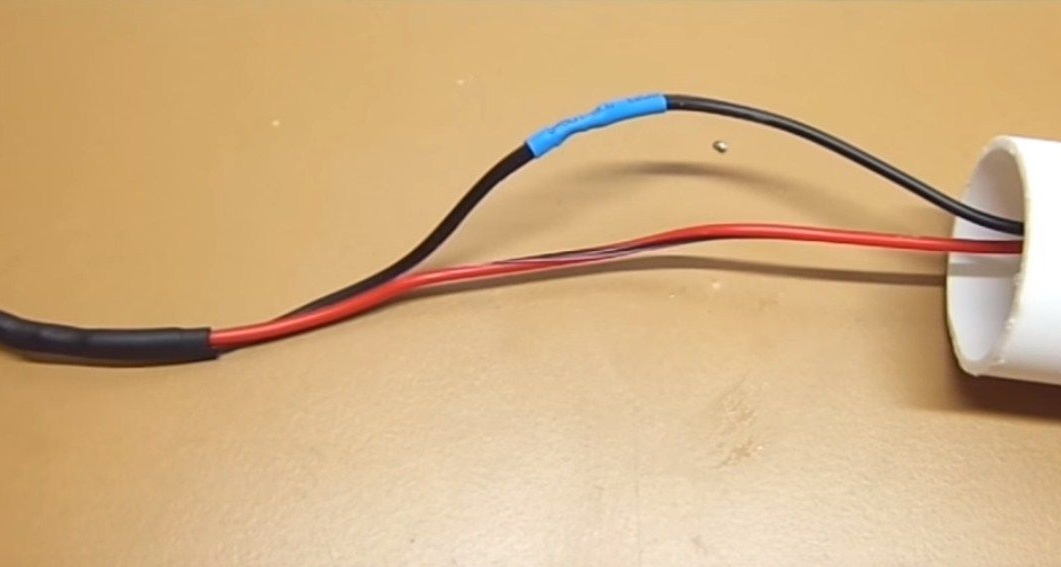
Then he put on a cambric on one of the black wires.
Then soldered them
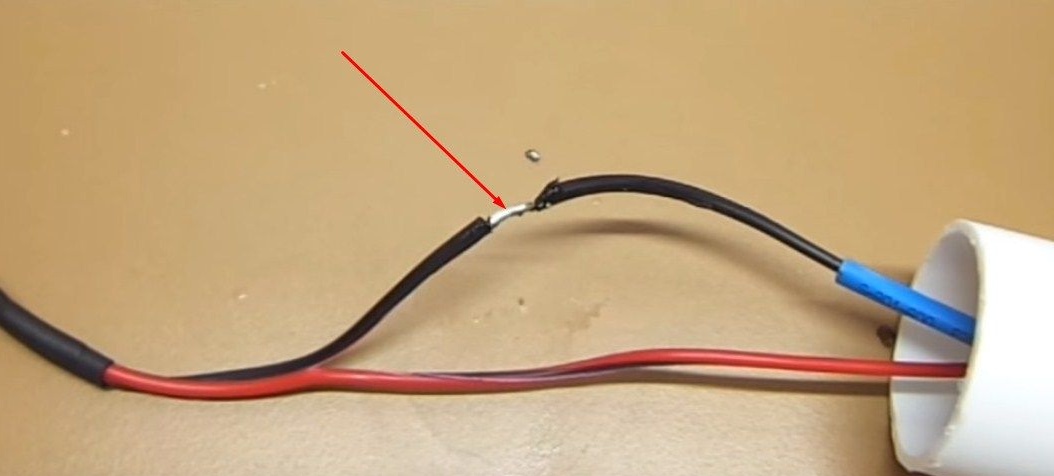
and pulled on a cambric.
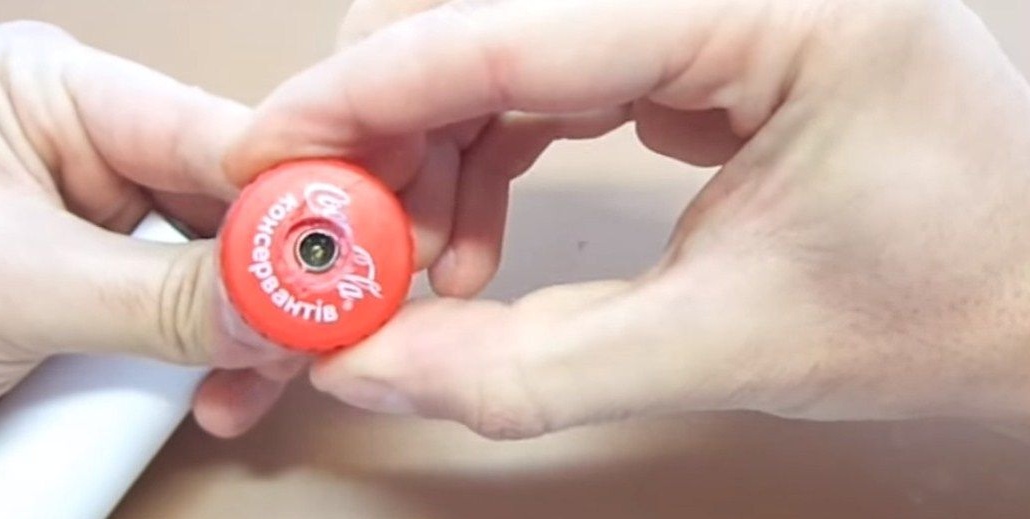
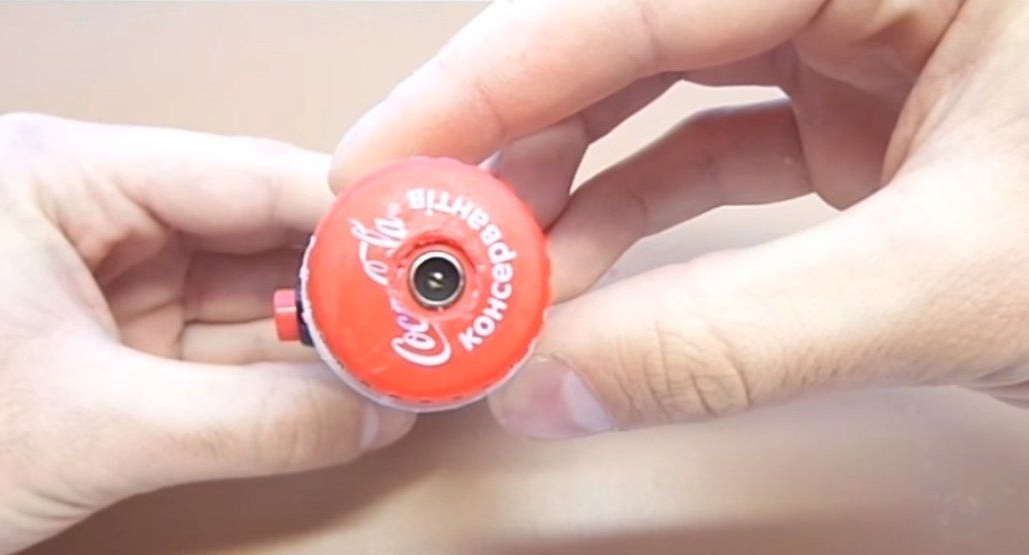
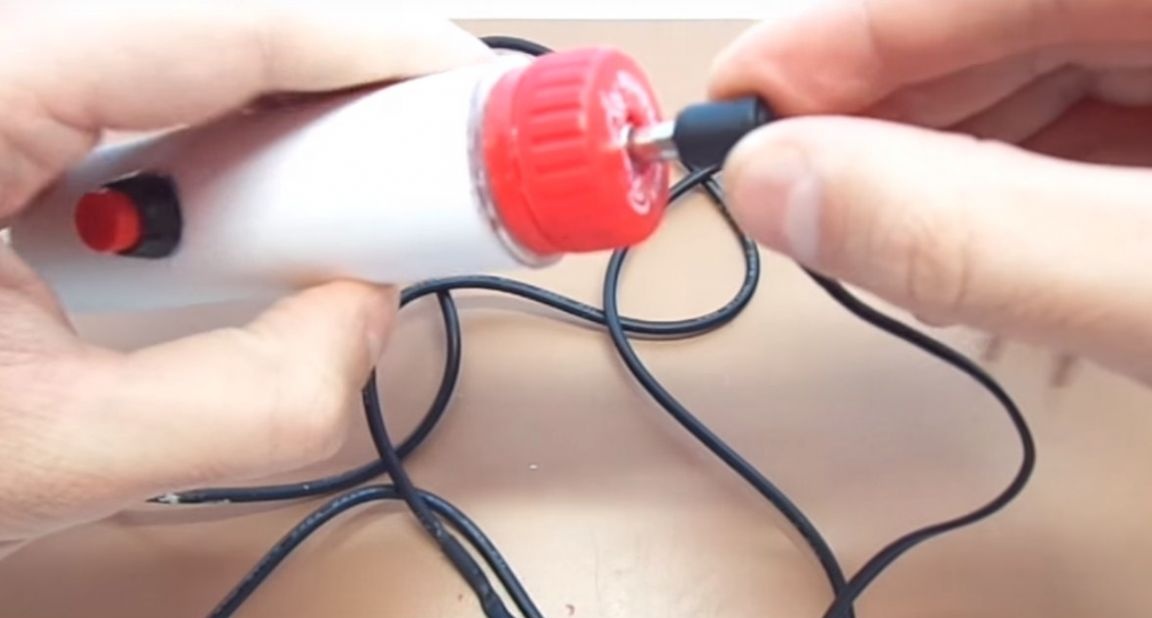
Next, the author needed a neck from a plastic bottle
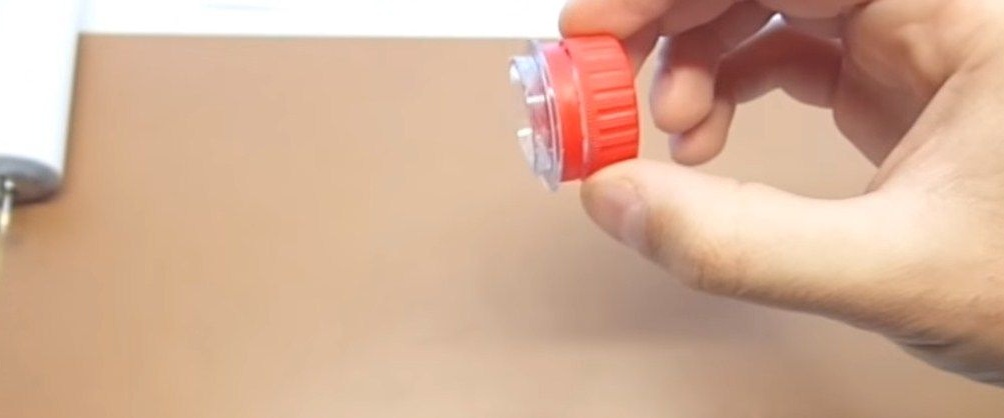
with a cork.
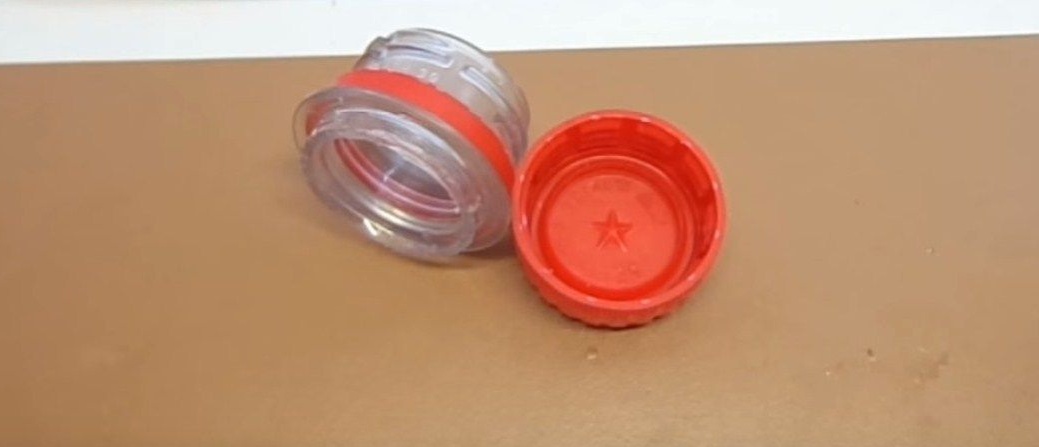
In the center of the plug, he made a hole under the connector for the power supply.
Coating the connector with glue
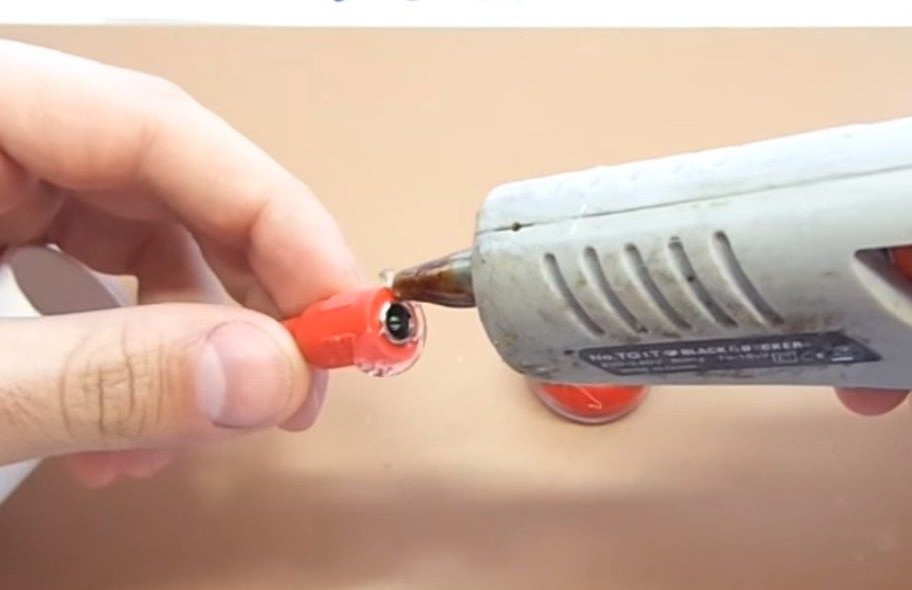
the author glued the connector to the cork on the inside.
Then he screwed the cork onto the neck and coated it with glue,
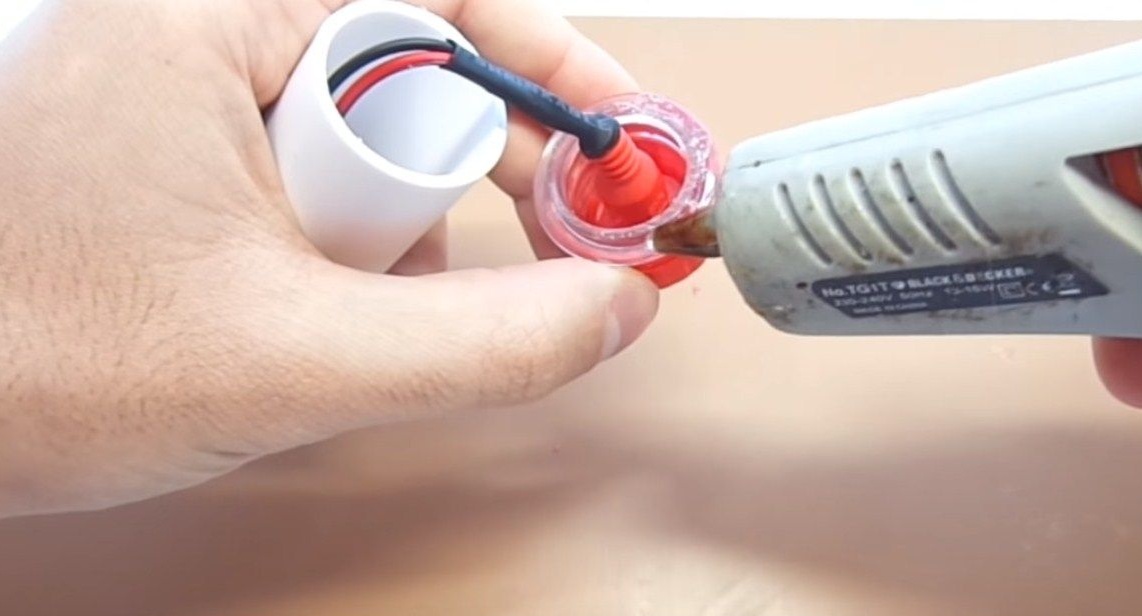
glued to the second end of the tube.
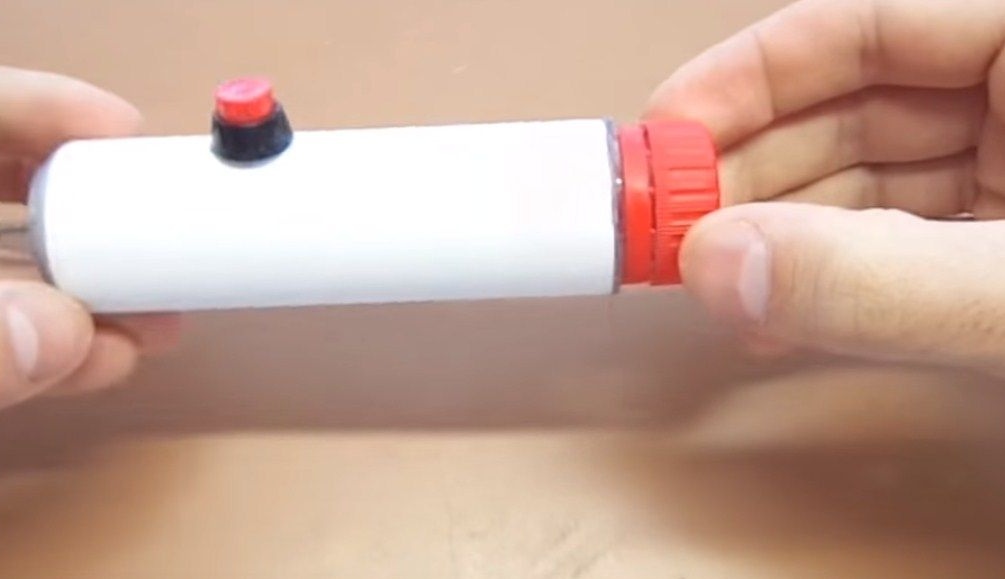
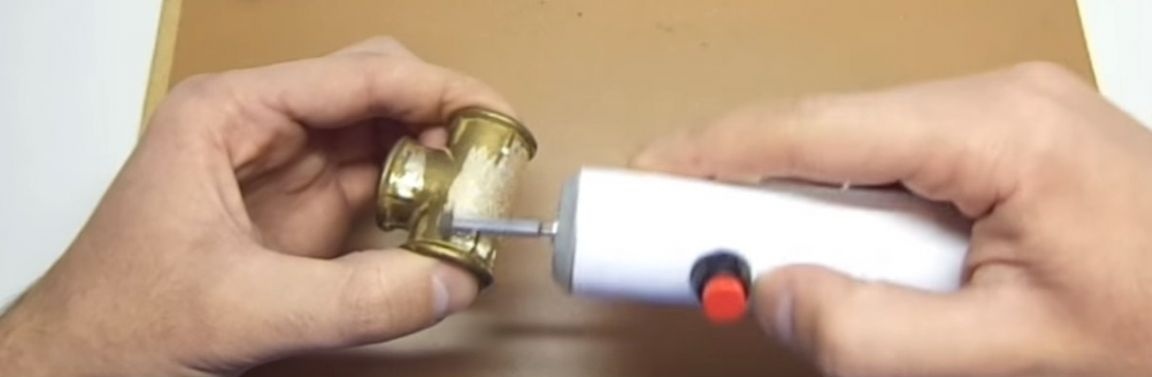
Then the author took a 12 volt and 1 amp power supply.
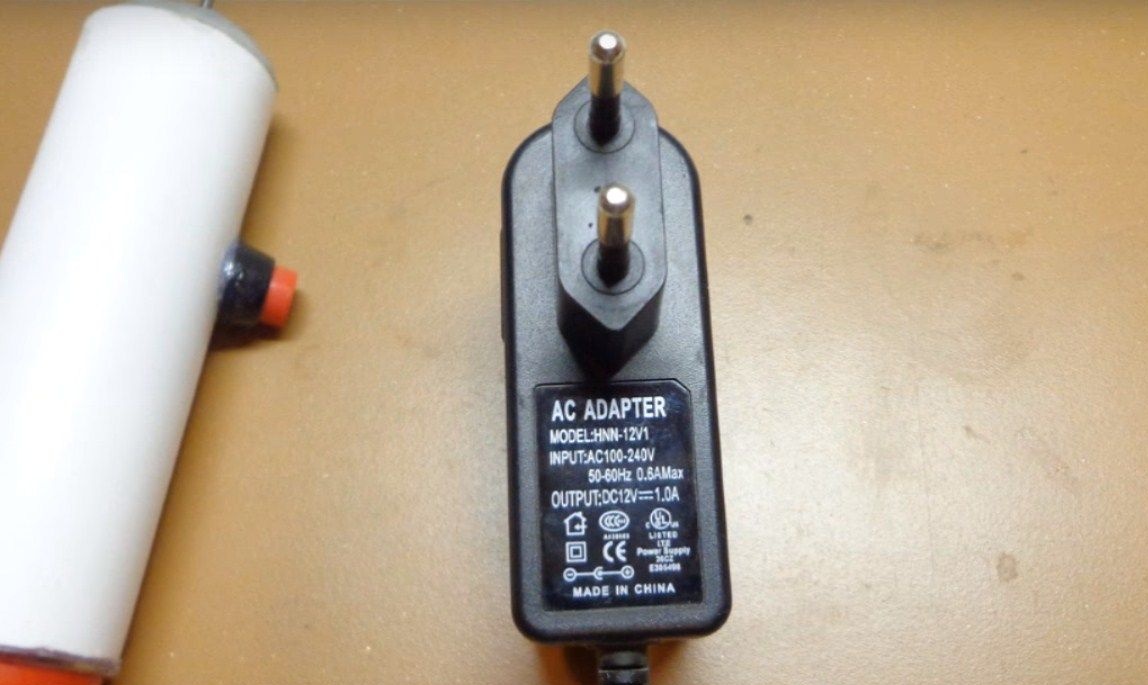
Connected everything works, the author’s bombing is ready. It remains for him to make a cutting nozzle and can be used.
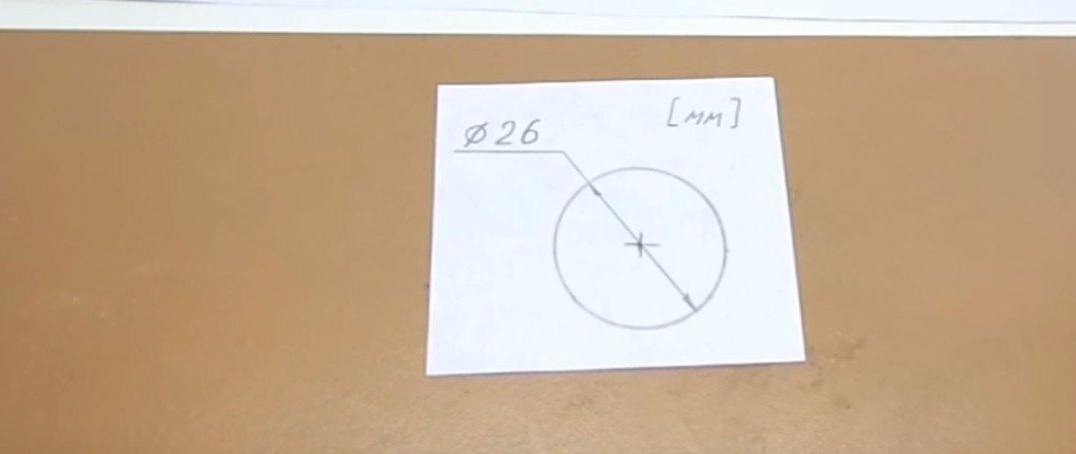
and the author began to manufacture a cutting nozzle. To do this, he took a cutting wheel from angle grinder.

On a piece of paper, he drew a circle with a diameter of 26 mm.
Then I cut and pasted on a piece of a cutting wheel from angle grinders.
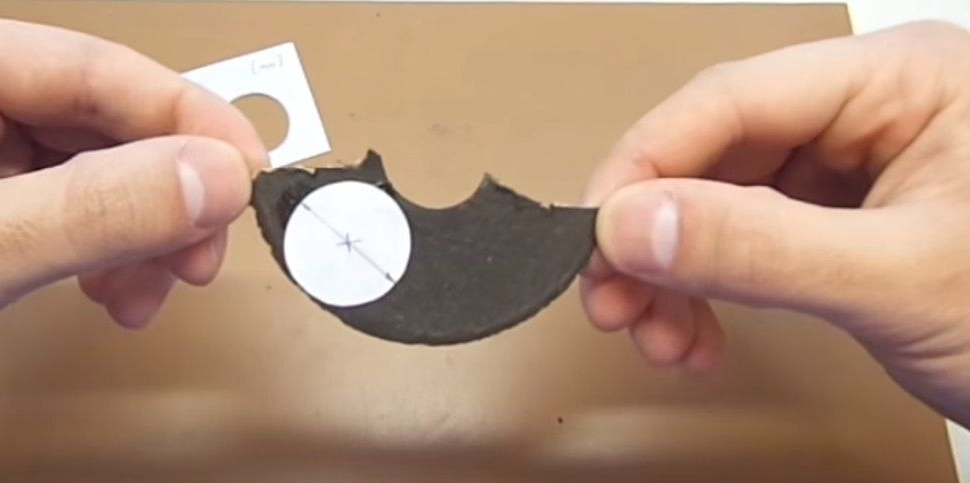
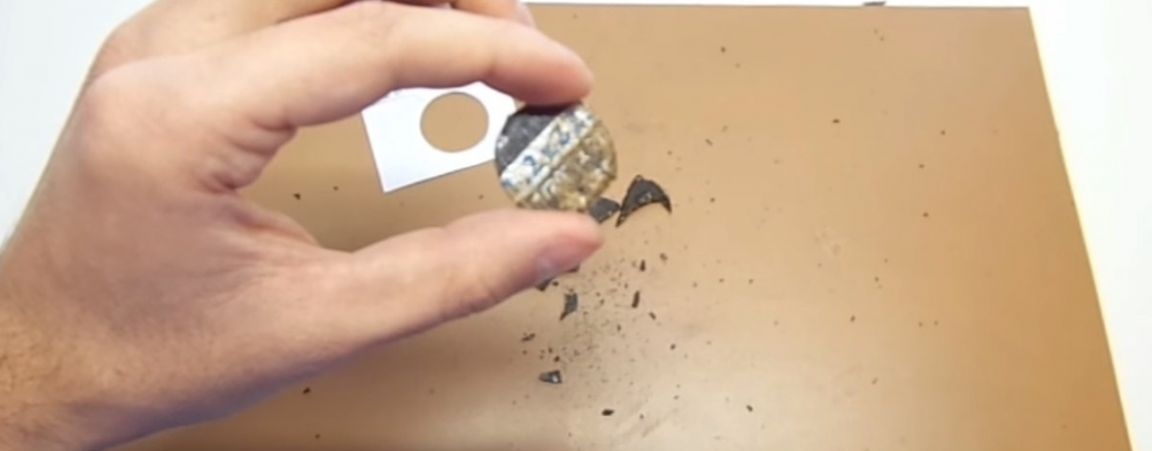
Then he took the scissors and began to cut the cutting wheel according to the pattern.
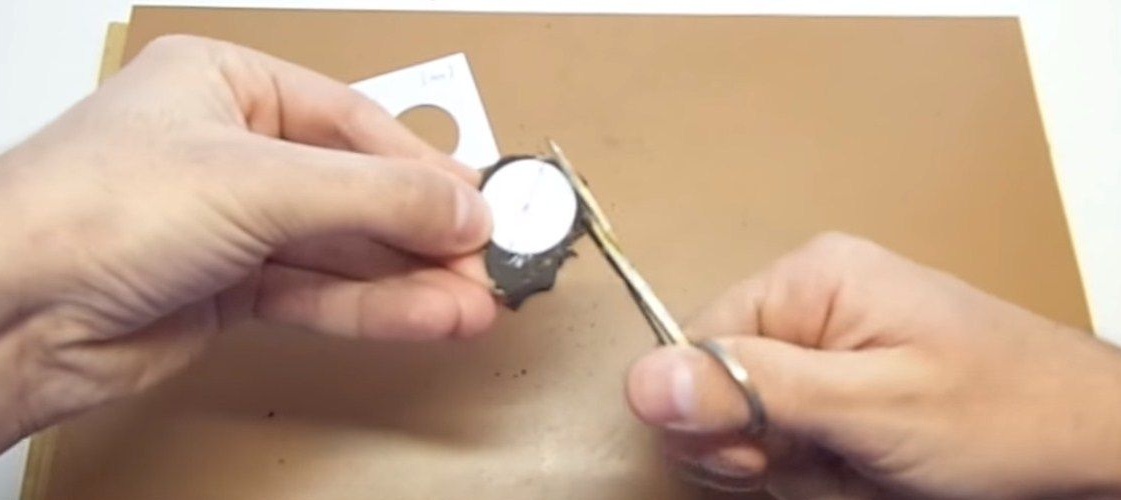
Here is the author’s mini-disk.
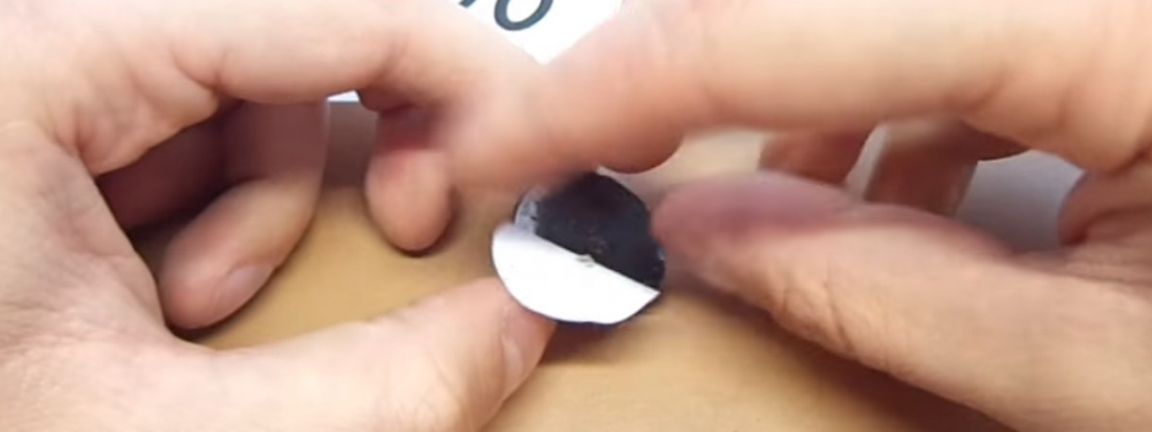
He made a hole in the center of this disk with an awl,
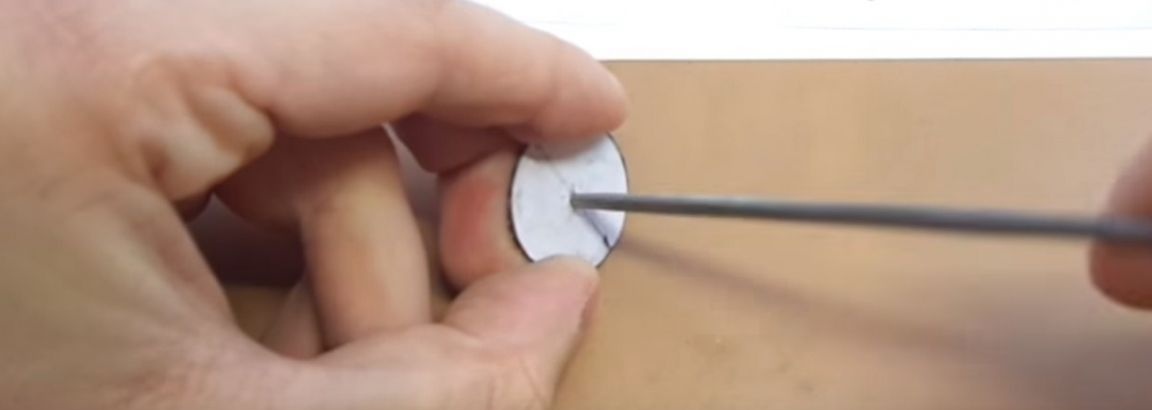
after which he removed the previously glued template.
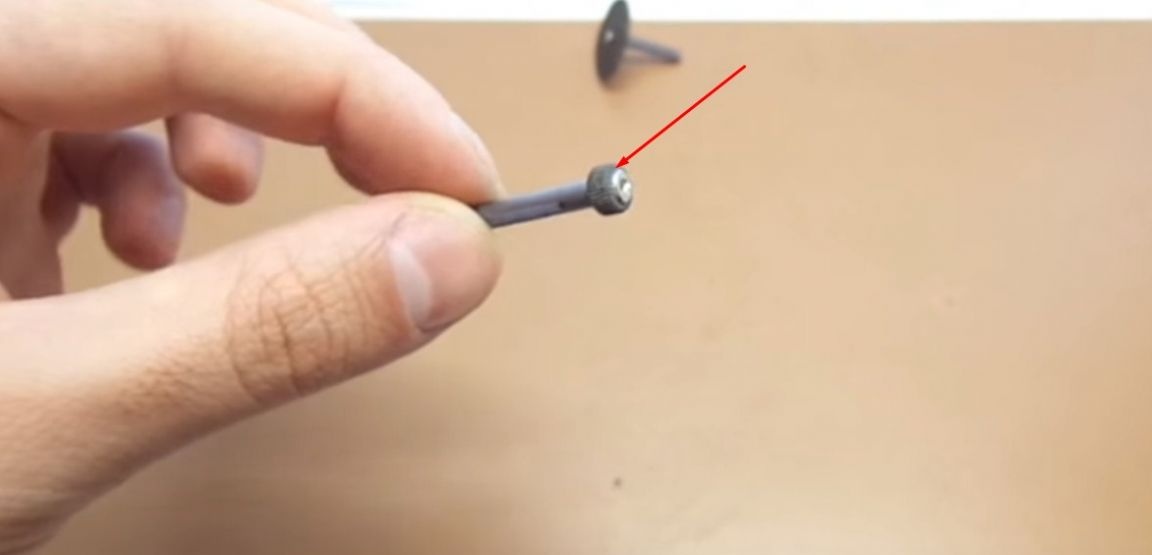
Then he took the rod from the ballpoint pen,
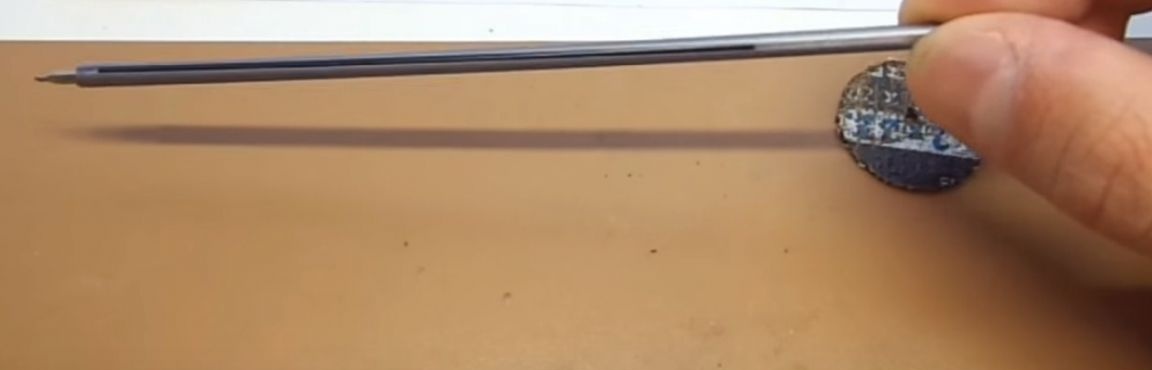
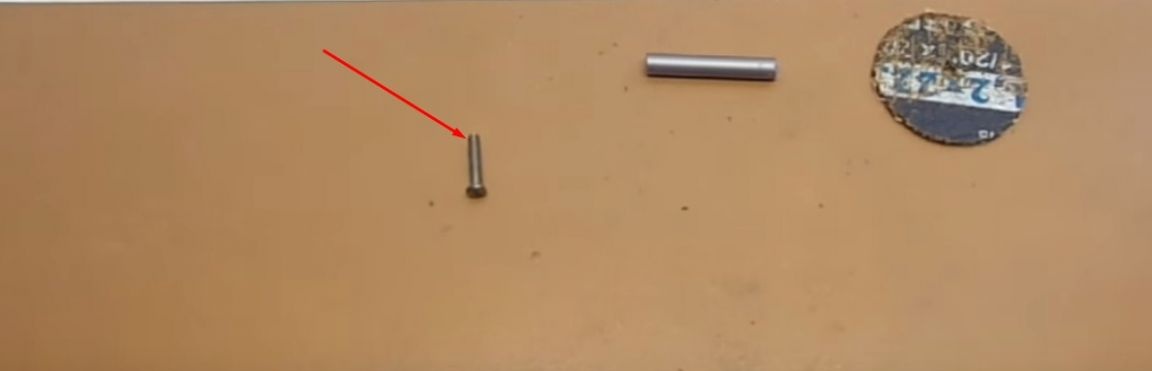
and cut a small piece from him,
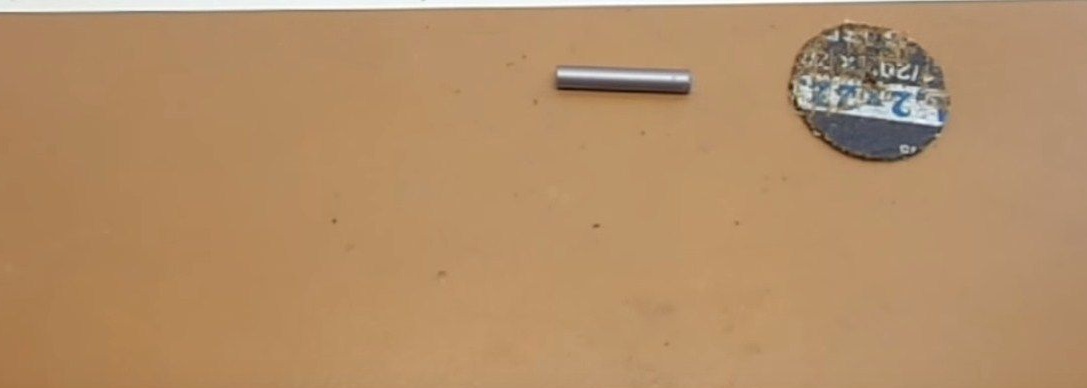
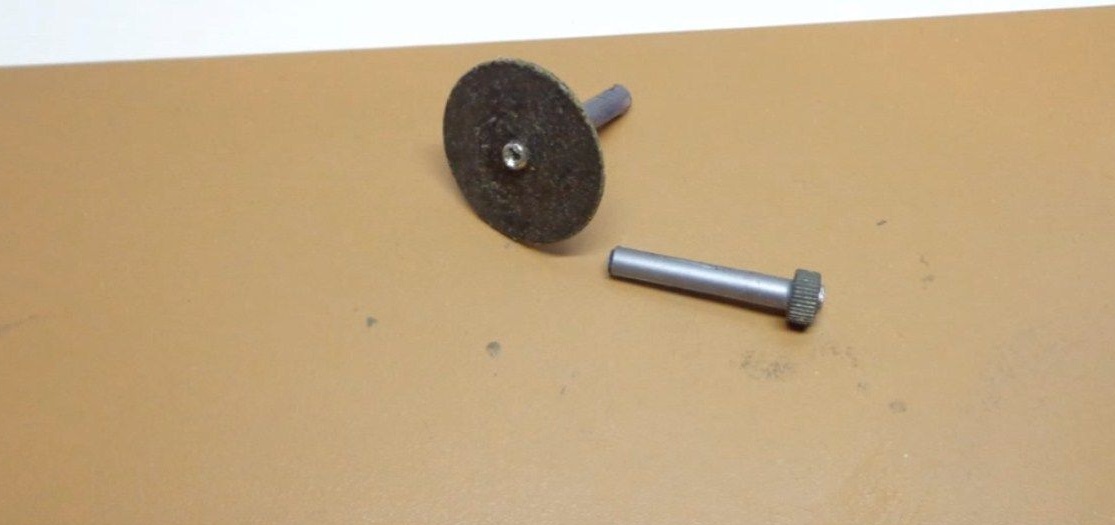
He also picked up a small screw (which is tightly screwed into the rod).
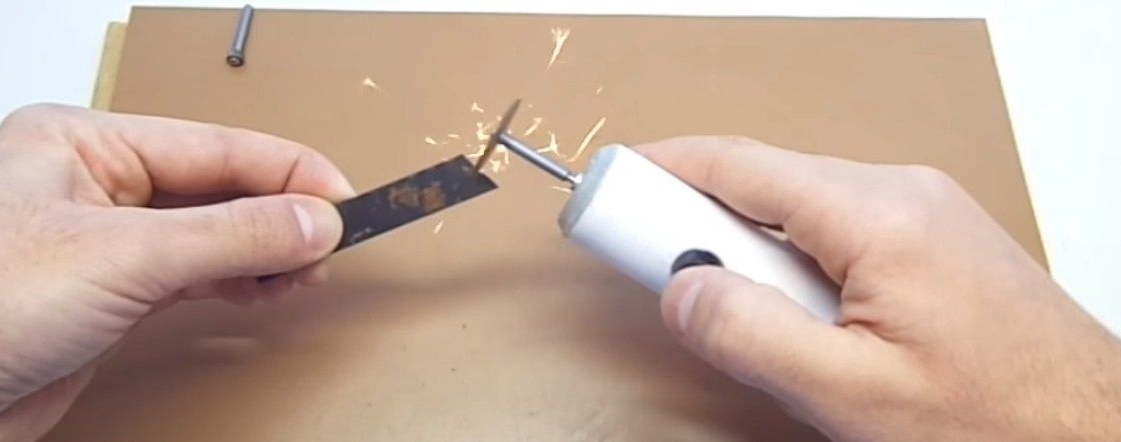
Then he put everything together into one whole and that’s what happened to him.
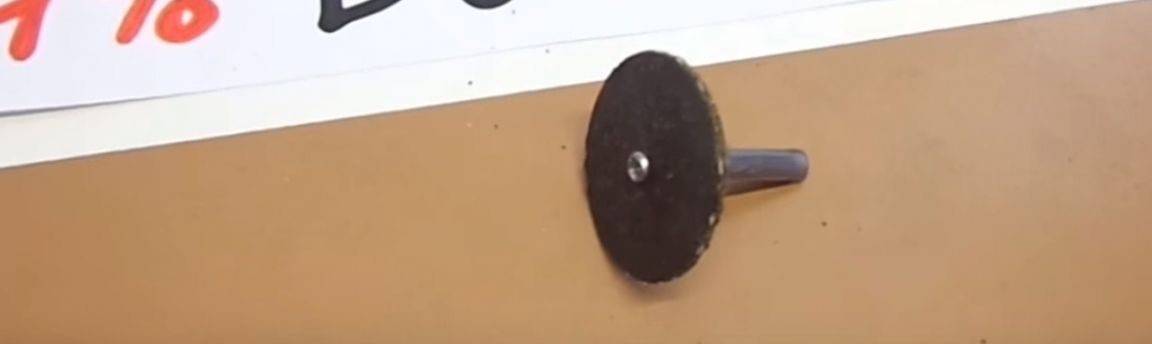
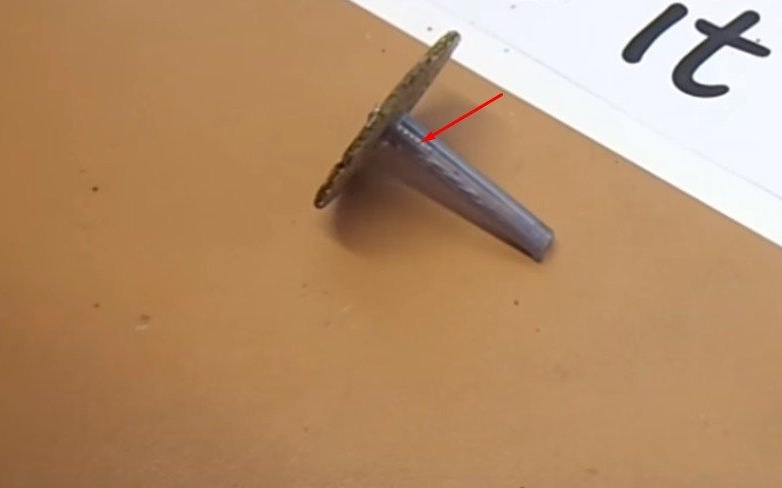
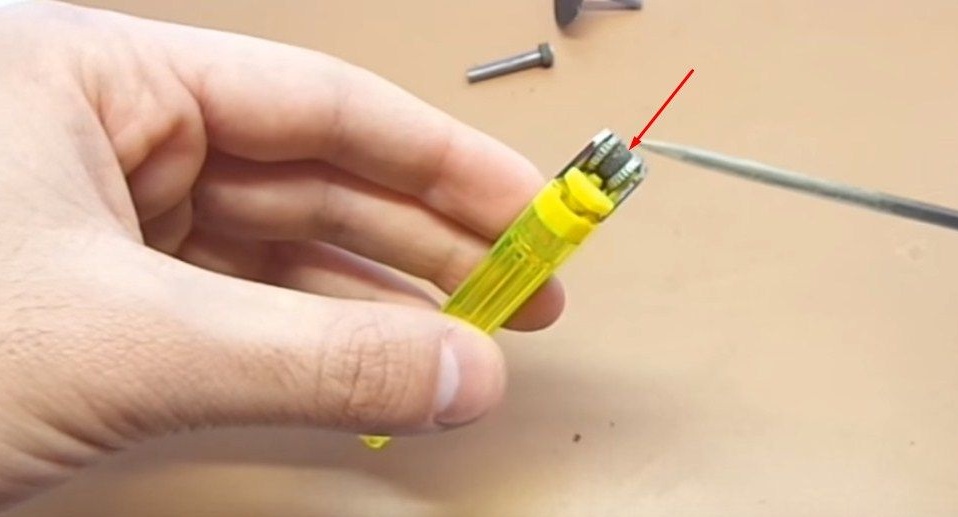
According to the author, in a similar way, you can make such a mini cutter,
Using the central part of the wheel from a silicon lighter.
And so this is how the author works.
Video instruction:
[media = https: //www.youtube.com/watch? v = sJibiGRxD18]