

Today I want to tell you how do it yourself You can make a simple and comfortable bench.
I'll start in order. Recently, a friend of mine showed me a bench that he had done in his country house. And although it was assembled soundly enough, it was not quite comfortable to sit on it. It was tall, the back was too vertical, and, most importantly, the bench was not stable! To my question, what sizes he initially laid, he replied that he did "about", and now .... so it happened ...
..Therefore, I will start with the dimensions. In order to make it convenient for everyone (both tall and small) to sit on the bench, its dimensions should be the same as in the diagram I have given below:
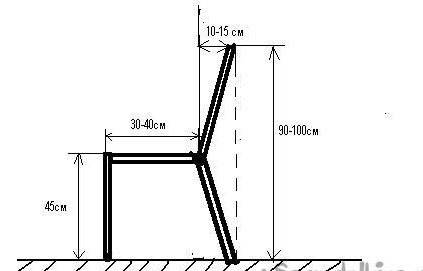
... You can make it wider, but then it is suitable only for adult tall people. You can make the back higher, but then you can’t get a neighbor (neighbor) ...
 .... And with such dimensions, it will turn out both ...
I think it makes no sense to focus on the fact that its length is governed by the thickness of the boards (their bearing capacity), the number of supports, and .... your desires ...
... And so, having once again arrived at my construction site, I decided to make myself a bench. I just had a few boards 30 by 100 mm and several profile pipes (I bought it in order to “drive” the rough screed along them. It was cheaper to buy the whole six-meter ones, and then cut them. These cuts came in handy.)
If possible, I shot the entire process on video, along with my "conclusions")))). Here is this video:
[media = https: //www.youtube.com/watch? v = QMB076rnIb0]
And now I will talk about this in detail ...
So I needed:
1. Profile pipes with a section of 40 by 25 mm.
2. Corner 25 to 25 mm
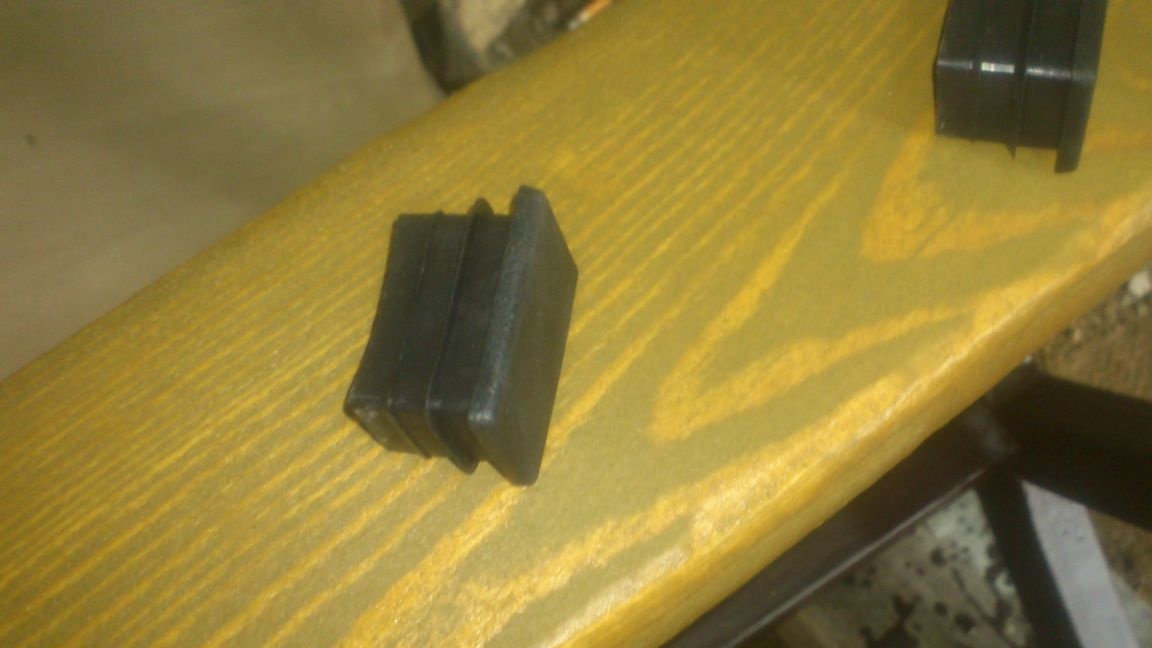
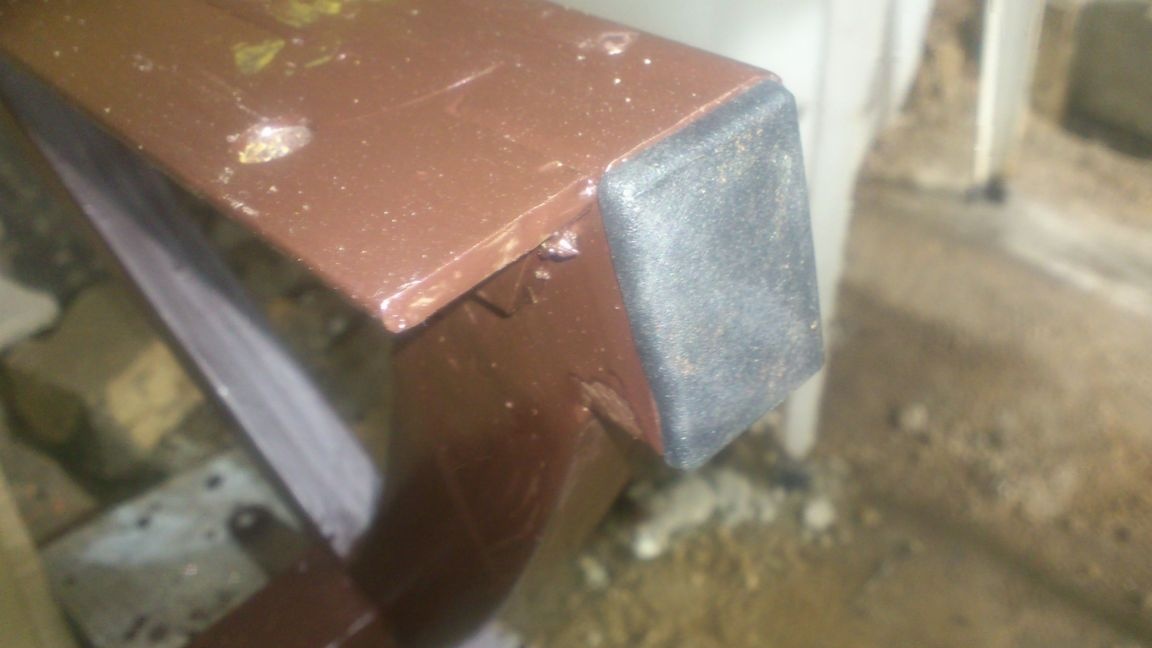
3. Plastic plugs for profile pipes.
4. Furniture bolts M8, 40 mm long with nuts.
5. Board 100 to 30 mm (better - thicker! I just had this one!))))
6. Protective compound for wood.
7. Enamel PF-115 for metal.
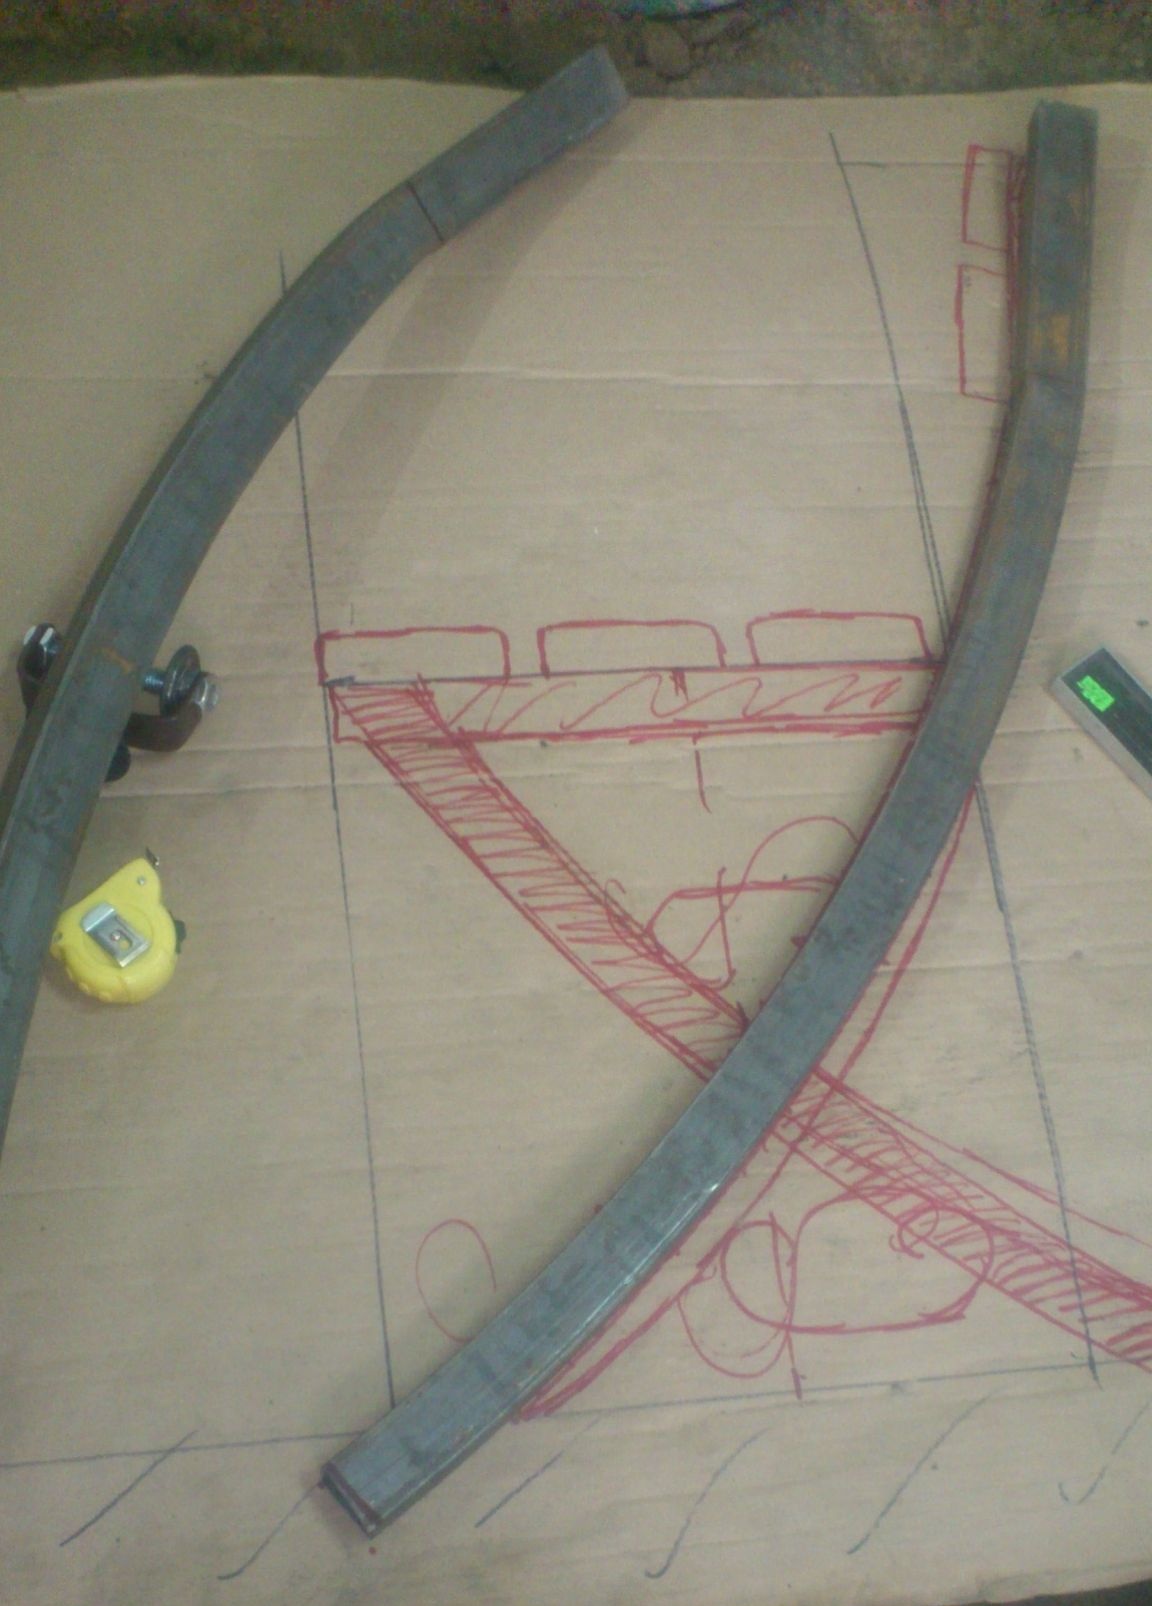
I began by drawing a sketch on a sheet of cardboard at a scale of 1: 1, writing it in pre-drawn dimension lines
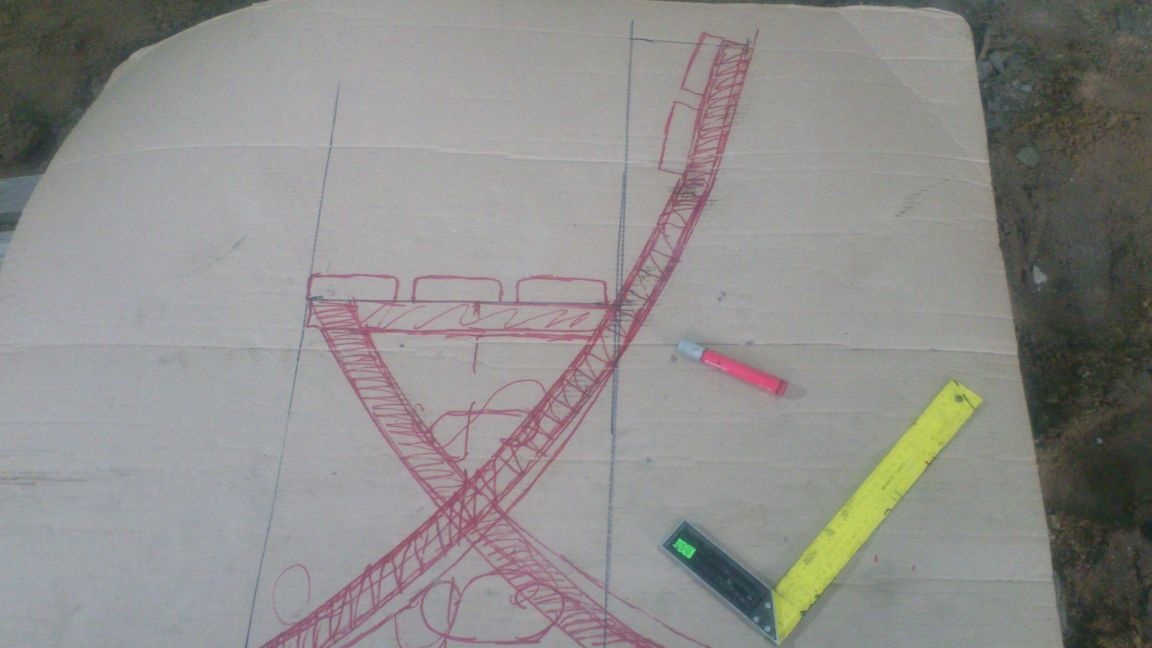
Since the appearance was thought up “along the way”, the sketch also has something superfluous - for example, the decorative elements of “cold forging”, which I decided to refuse from in the process ... There is also a mistake - when estimating the width of the bench, I put three distances in size between the boards ... But between the three boards there cannot be three gaps ...)))). It's okay - then he just made the cracks not two cm wide, but wider ...
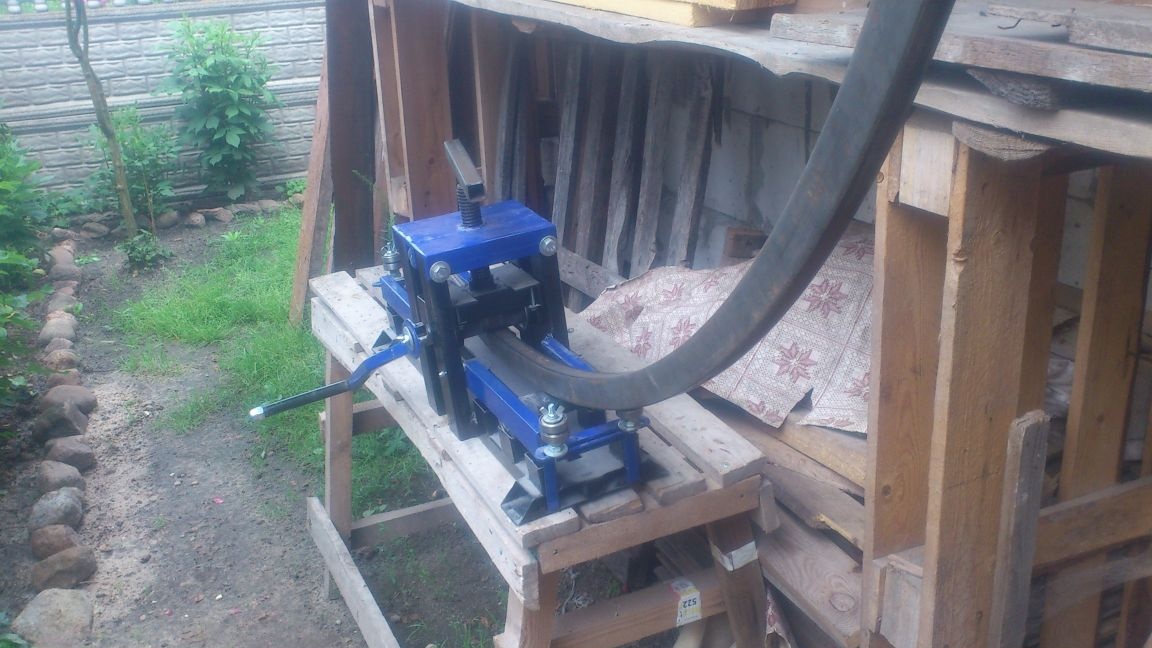
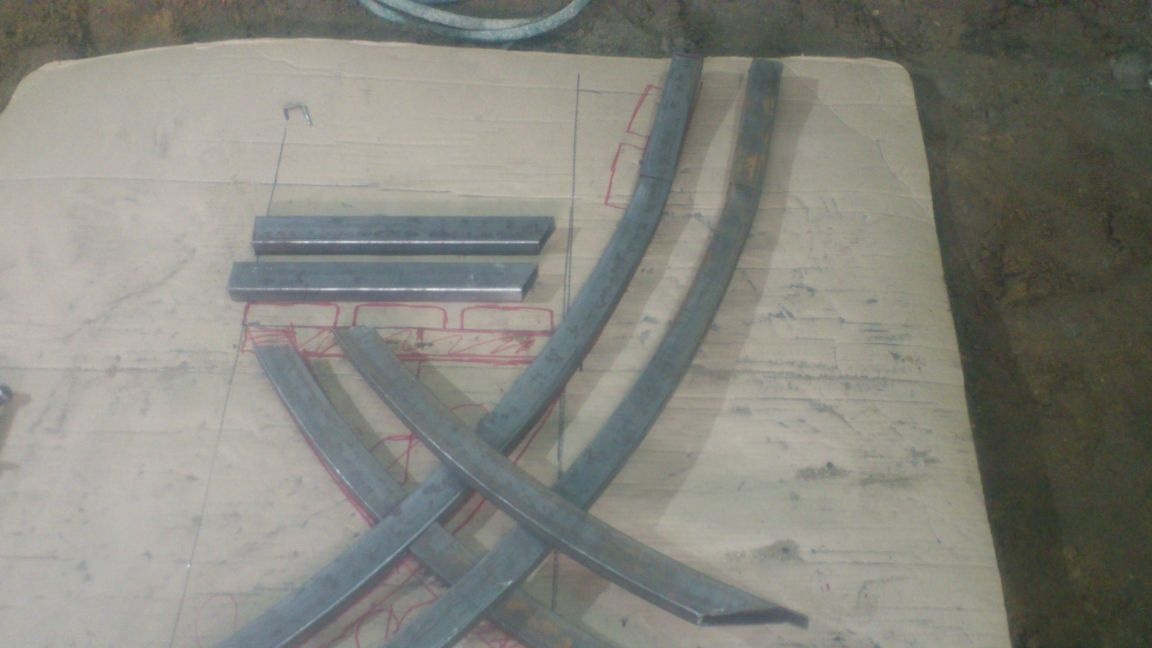
So, the sketch is ready.I took a ride on it with my homemade curvimeter, and found out that to make a long arc I would need a length of 95 cm pipe. (Hereinafter, I omit the word “profile”, because round pipes will not be used).
Since I was going to bend the pipe with a pipe bender, I decided to immediately cut out a double-sized piece, and after rolling to saw it in half. The fact is that after the pipe bender there always remains metal waste: at the edge of the pipe, the section from the extreme shaft to the worker remains straight, and then it is cut off. I decided to use this site to fasten two boards of the back. Therefore, noting the required distance at each end, he rolled the pipe exactly to these marks, leaving a straight section behind them.
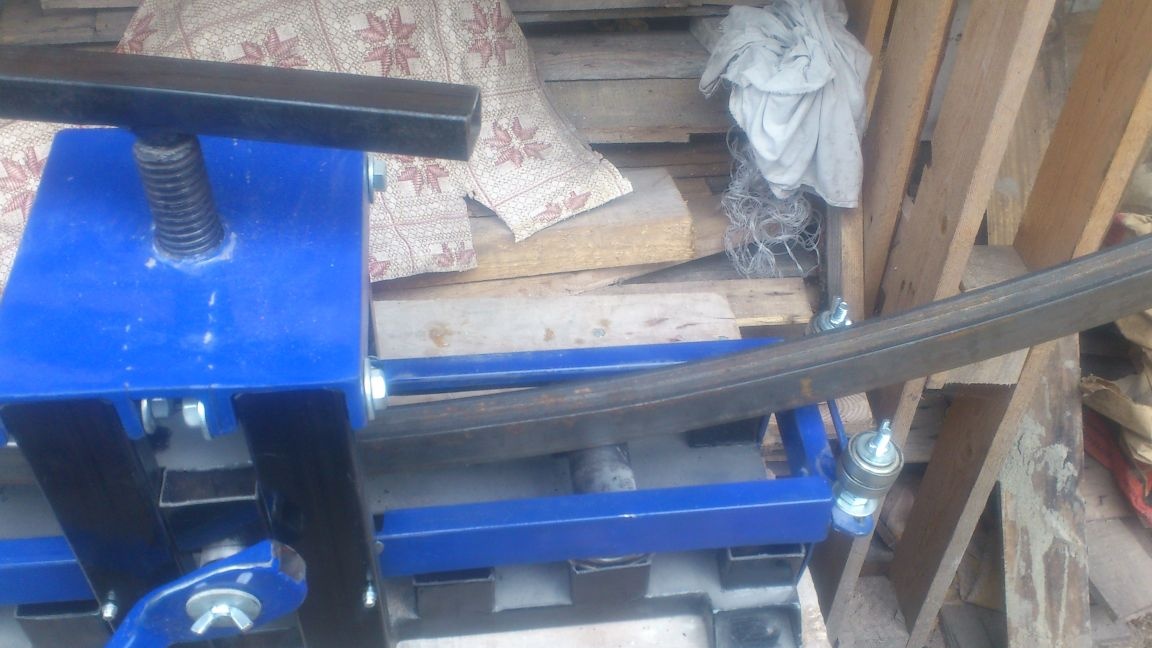
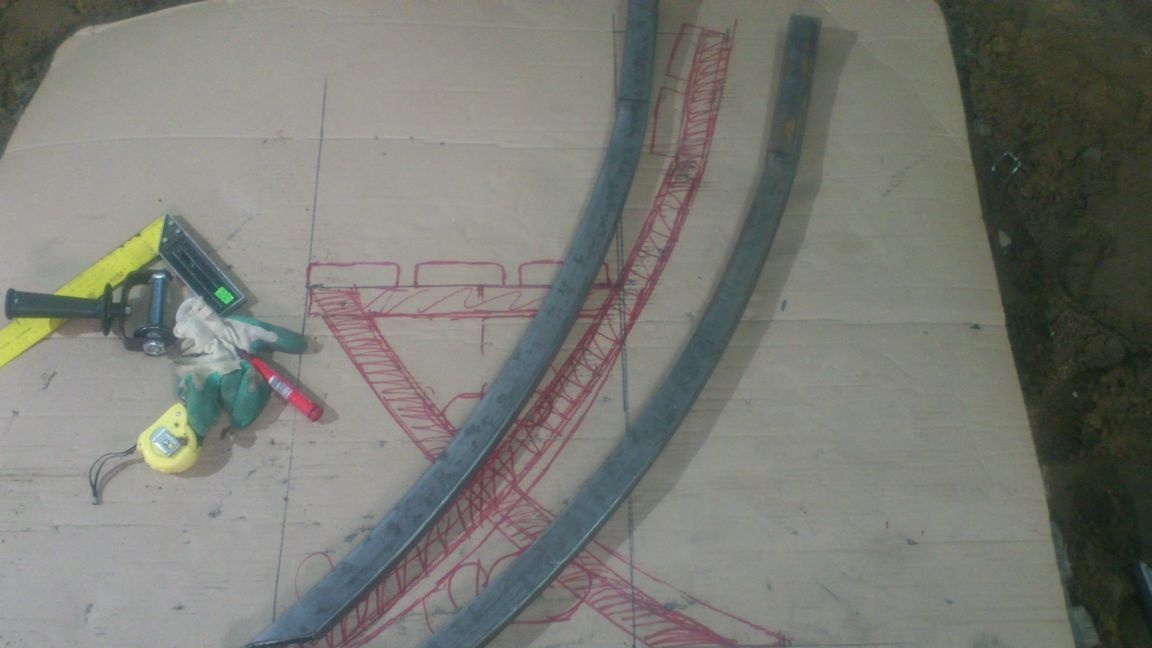
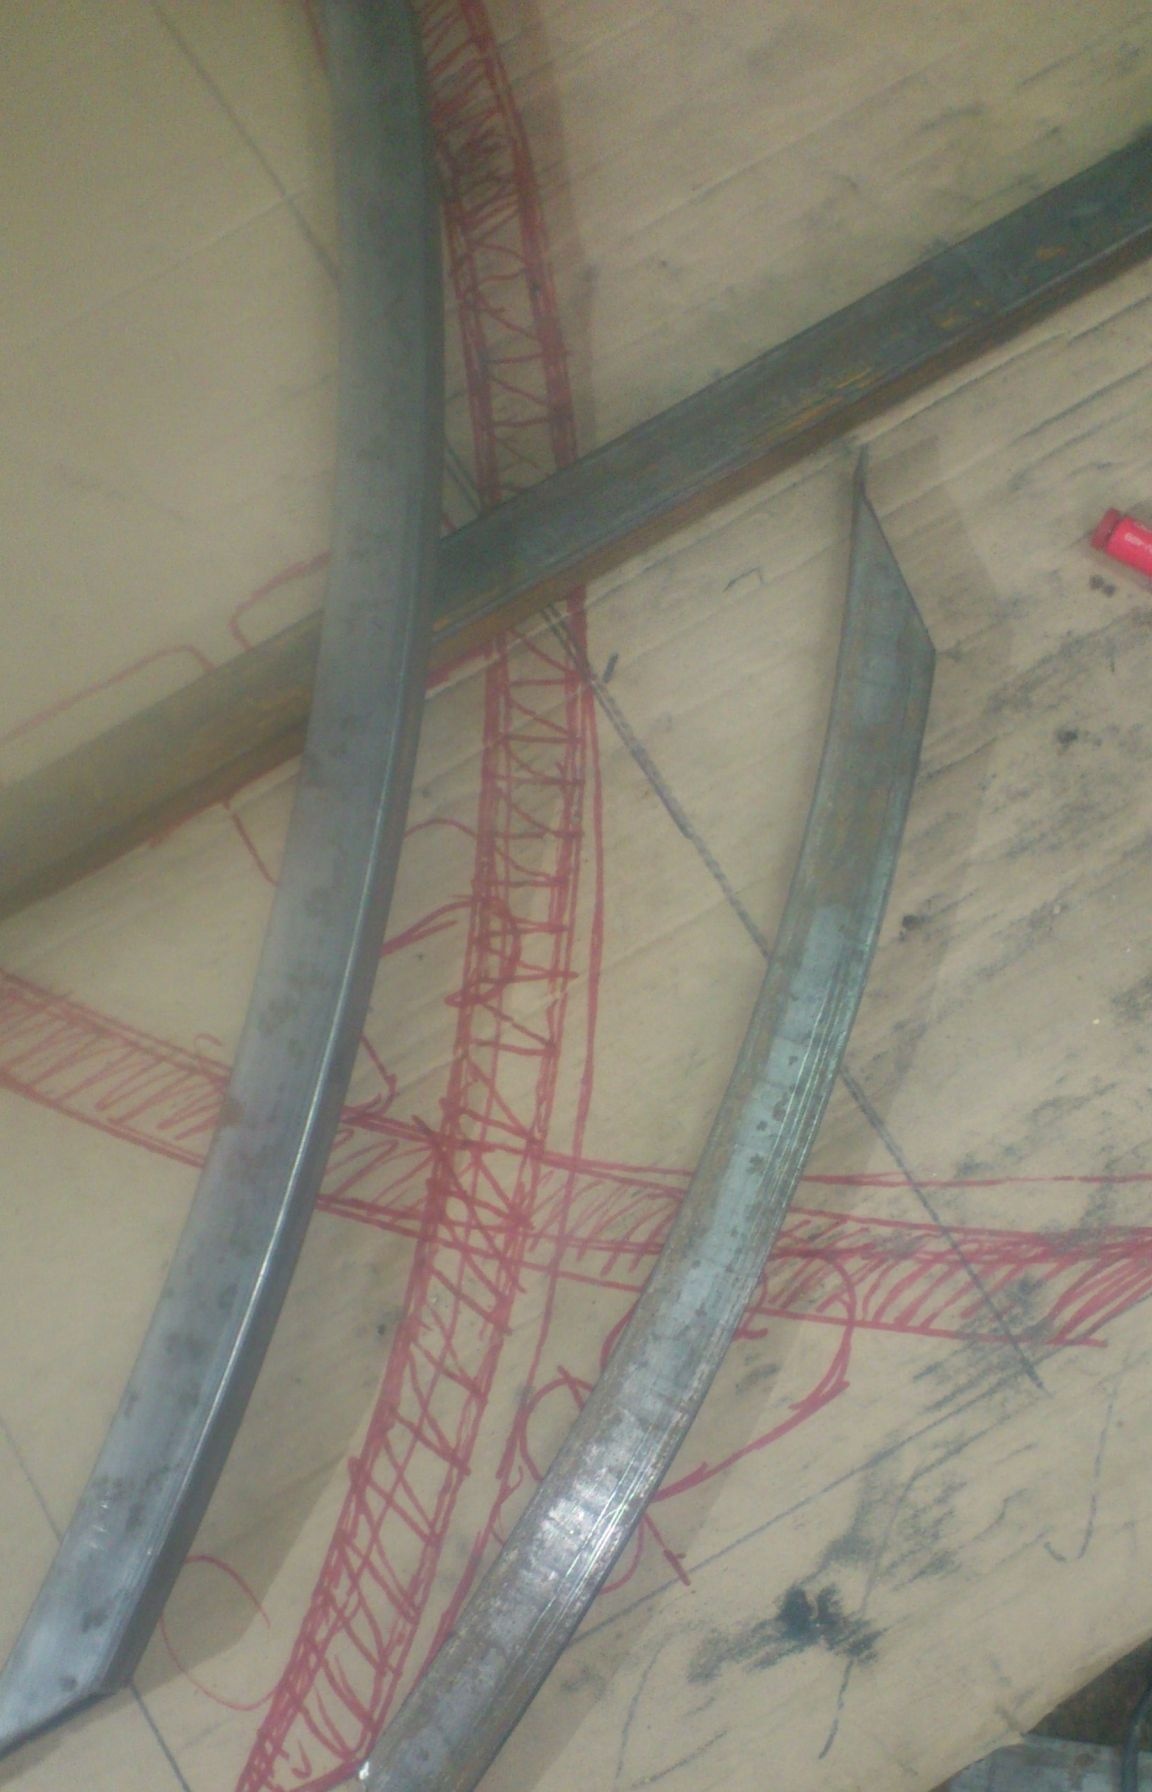
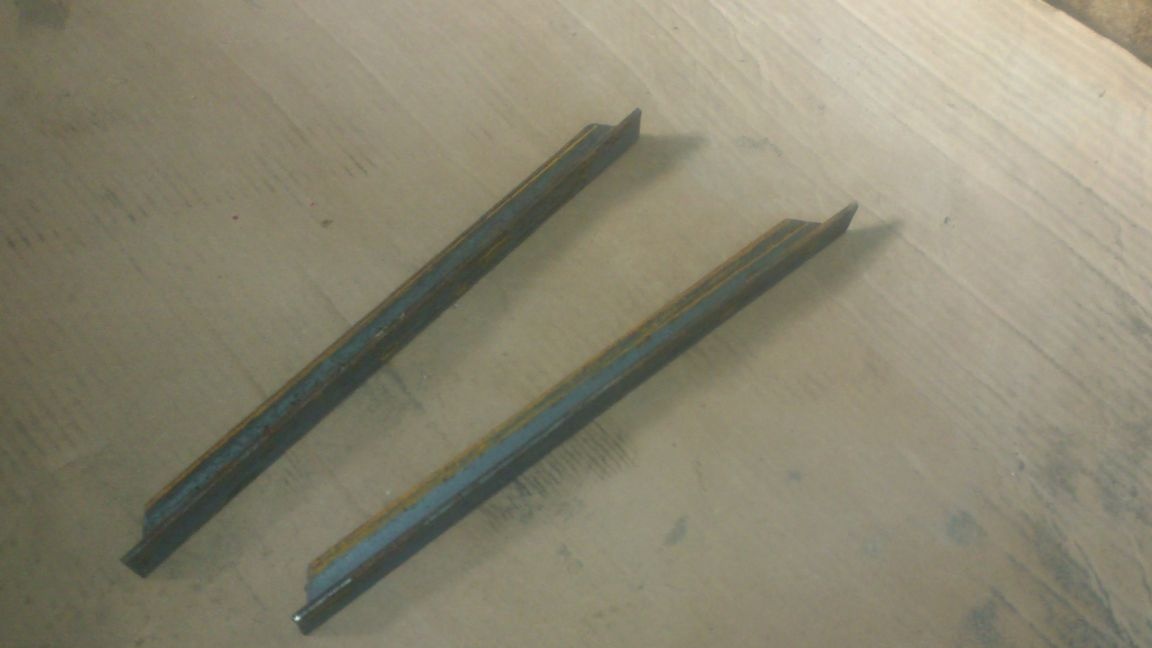
Periodically, I applied the blank to the sketch. When the process was finished, I sawed the blank in two and got two identical arcs:
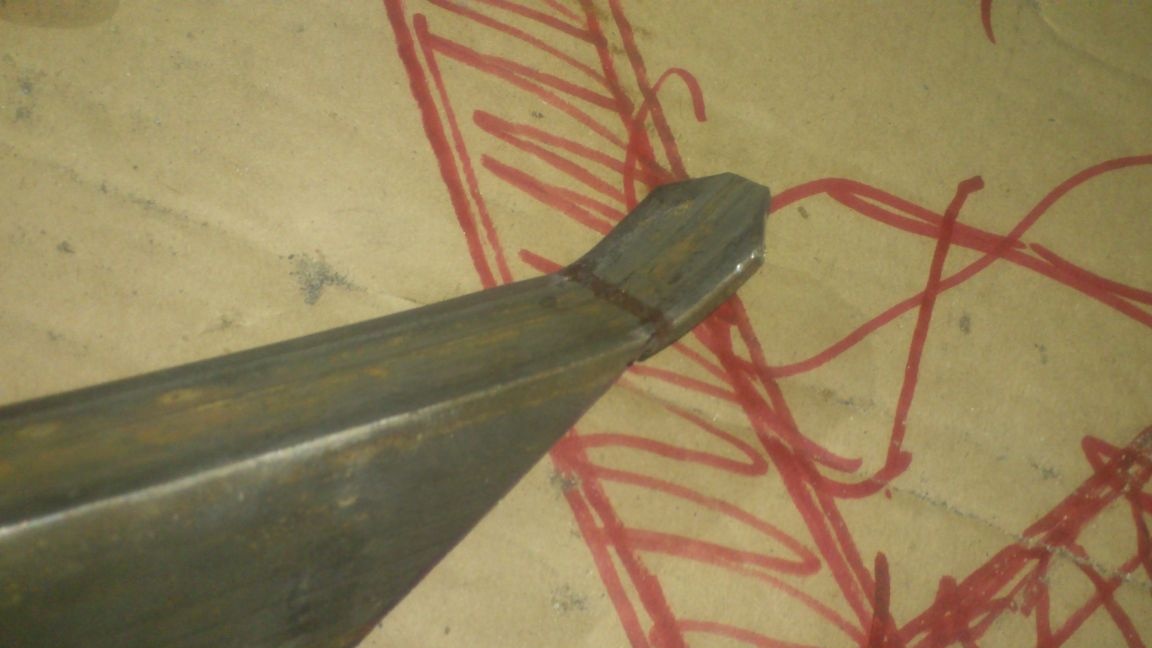
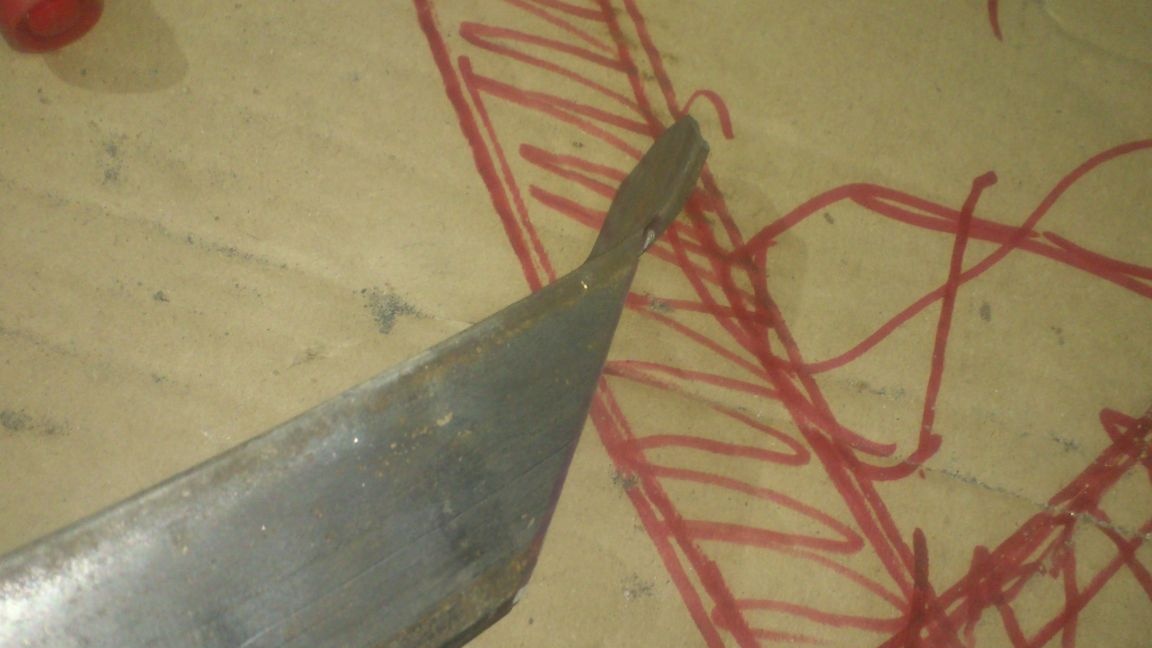
After that, I attached them to the sketch and cut the bottom exactly "horizontally":
Since I initially gave a small margin, I left it on the “nose” below — later I will drill holes there and the bench can be fixed to the concrete base:
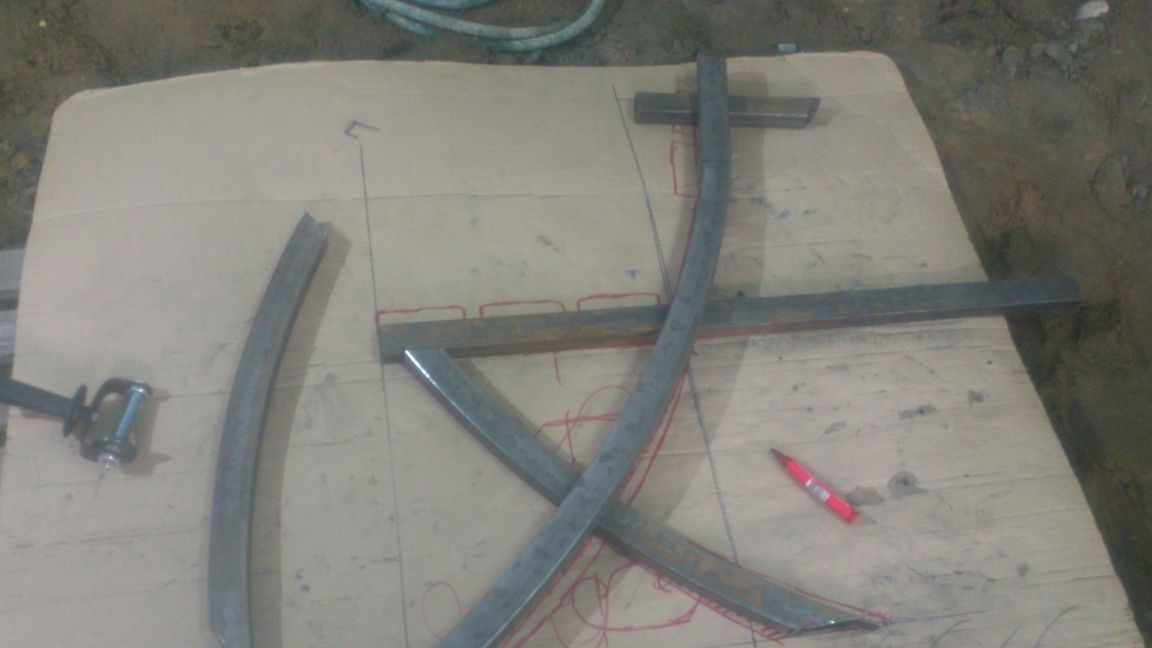
In the same way, I made two short arcs on a pipe bender.
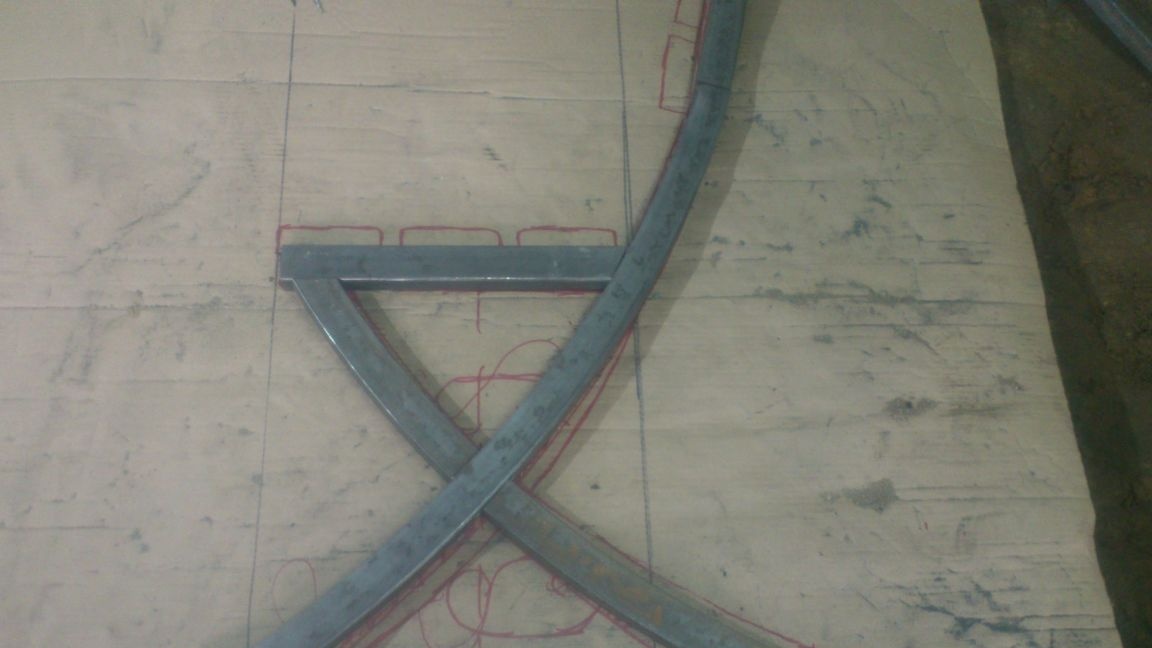
The next step I needed to make horizontal jumpers. Without further ado, I applied the "applied method")))). That is, I simply attached everything to the sketch, drew with a marker and cut out:
So, we have almost everything “metal” ready:
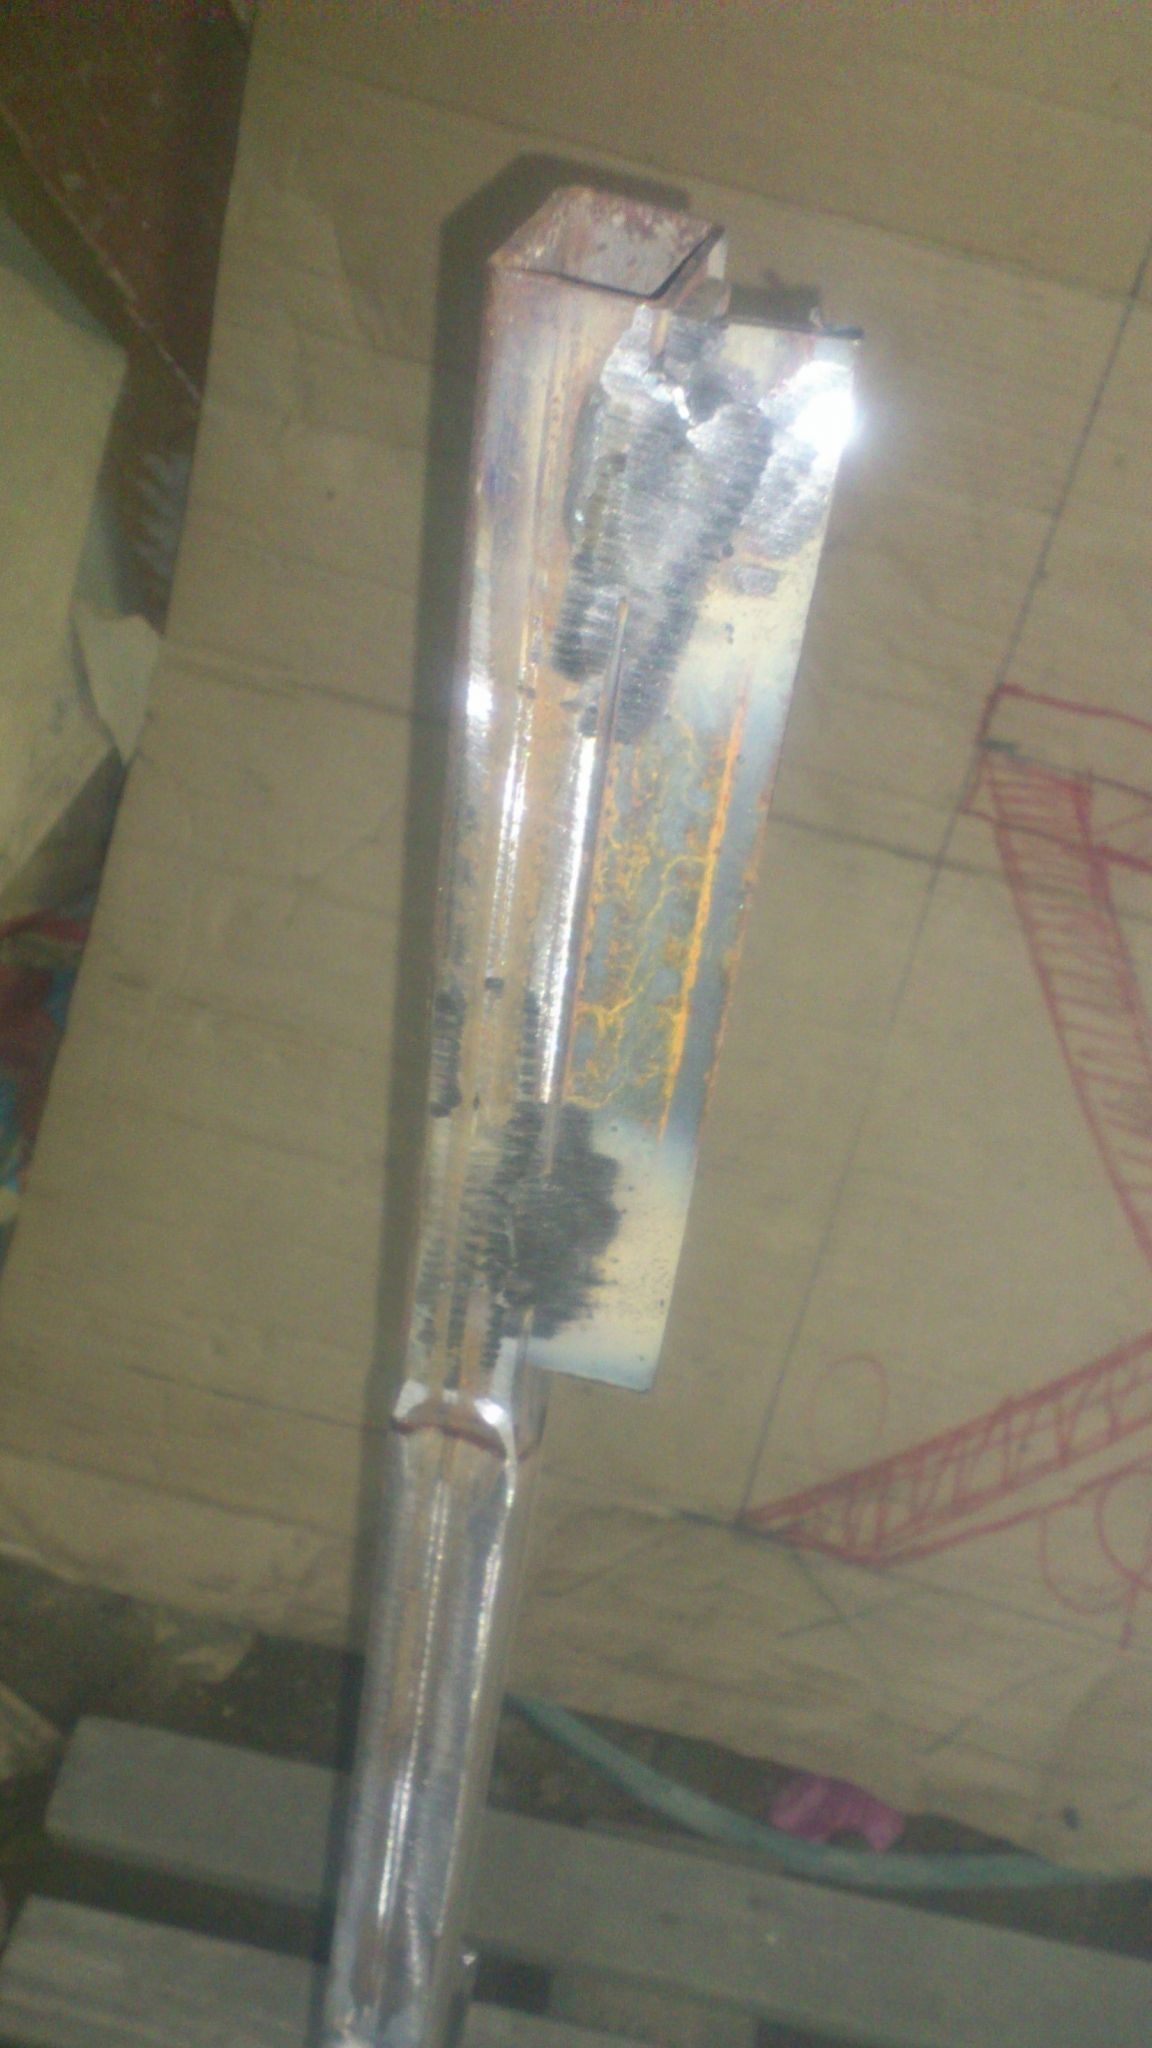
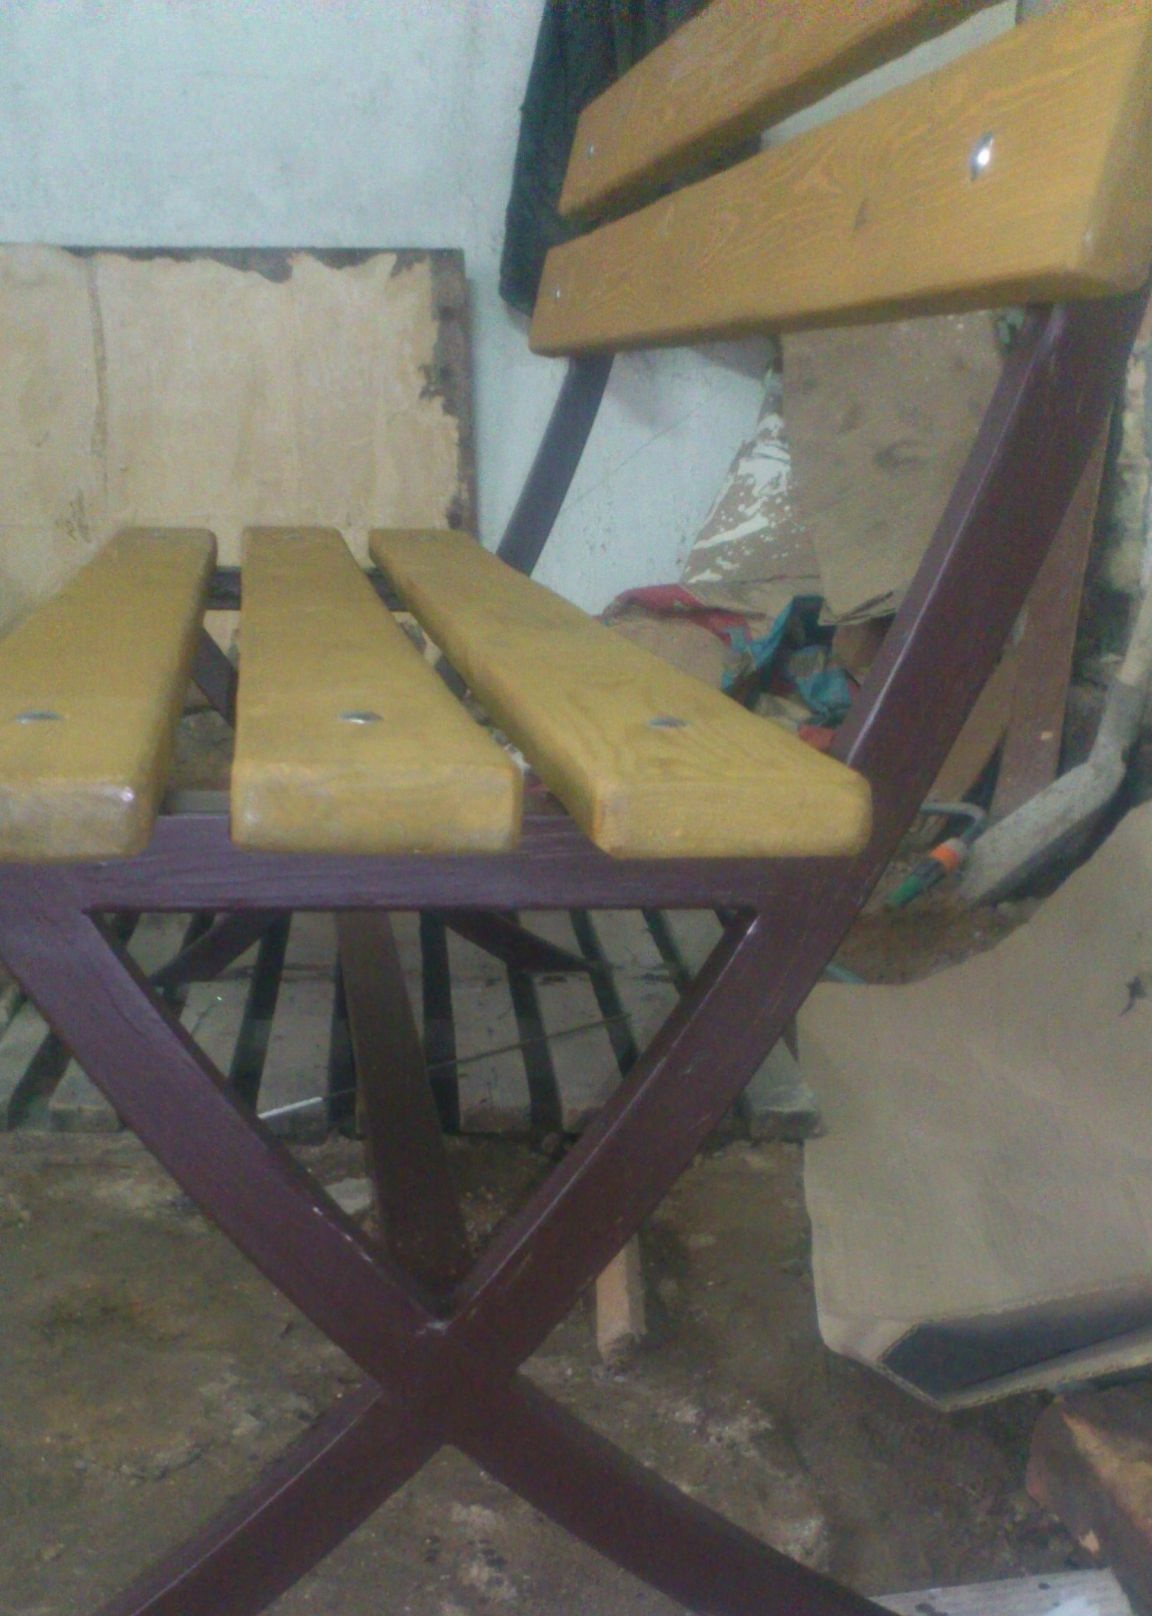
Having marked the intersections of the arcs, I made cuts and put them into one another, so that the whole structure would turn out in one plane:
Then cooked:
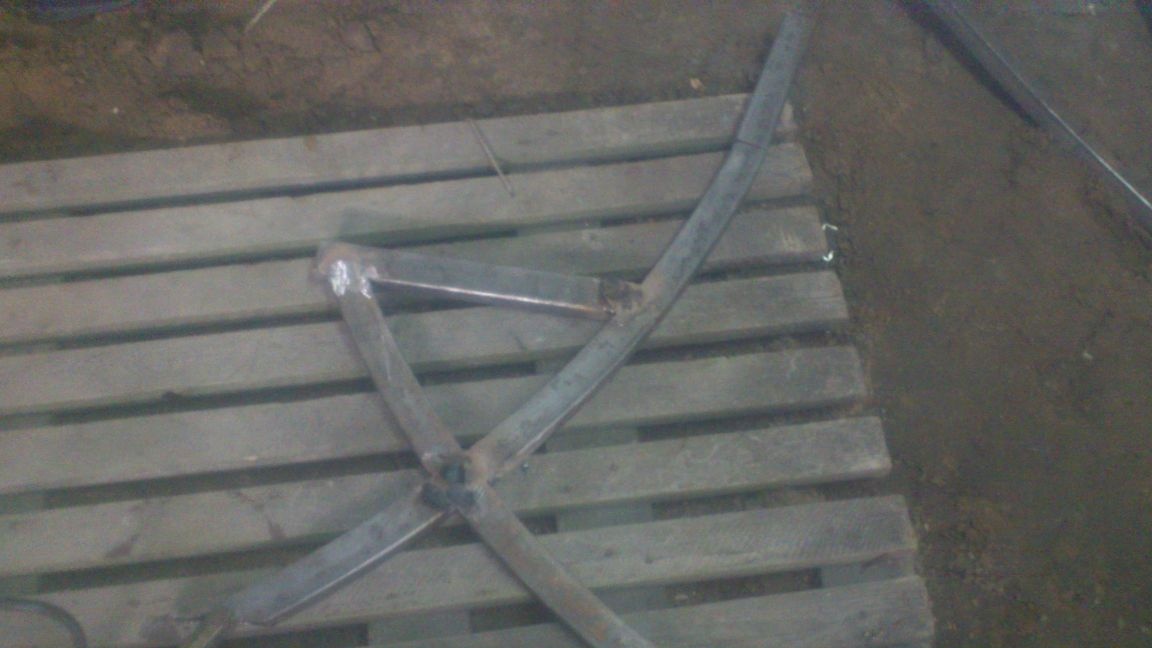
Racks are ready ... But how to fix boards on them? I wouldn’t want the ends of the bolts with nuts to be visible from the side ... Yes, and you won’t be able to fix the front board through the entire pipe - the “leg” is welded down opposite the fastening point ...
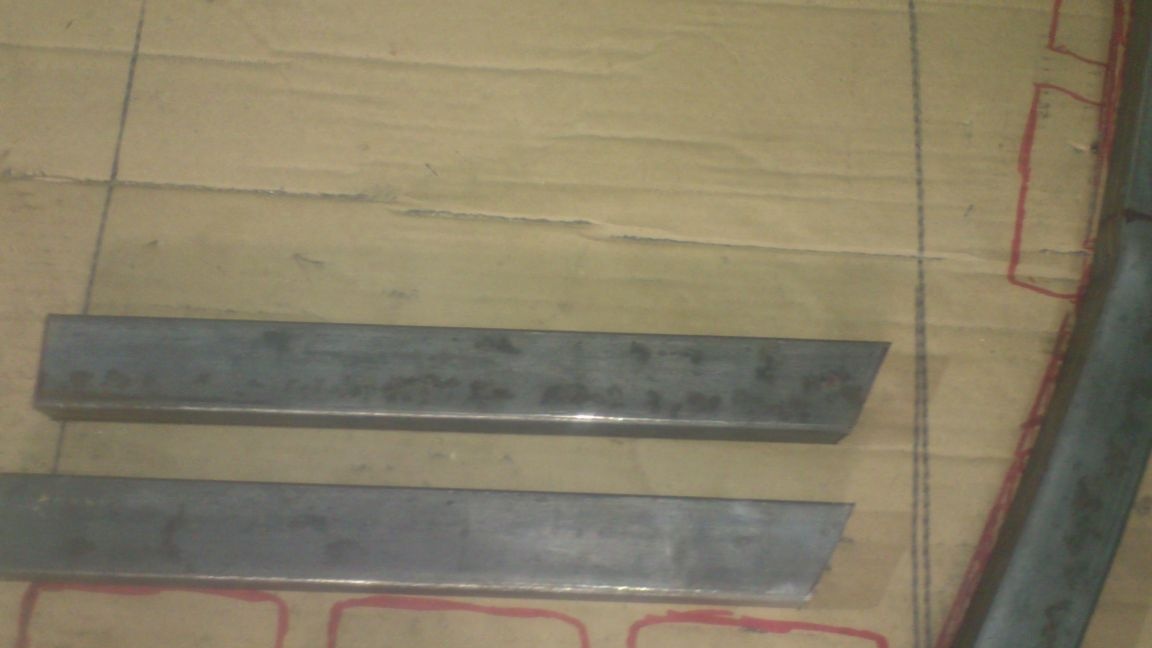
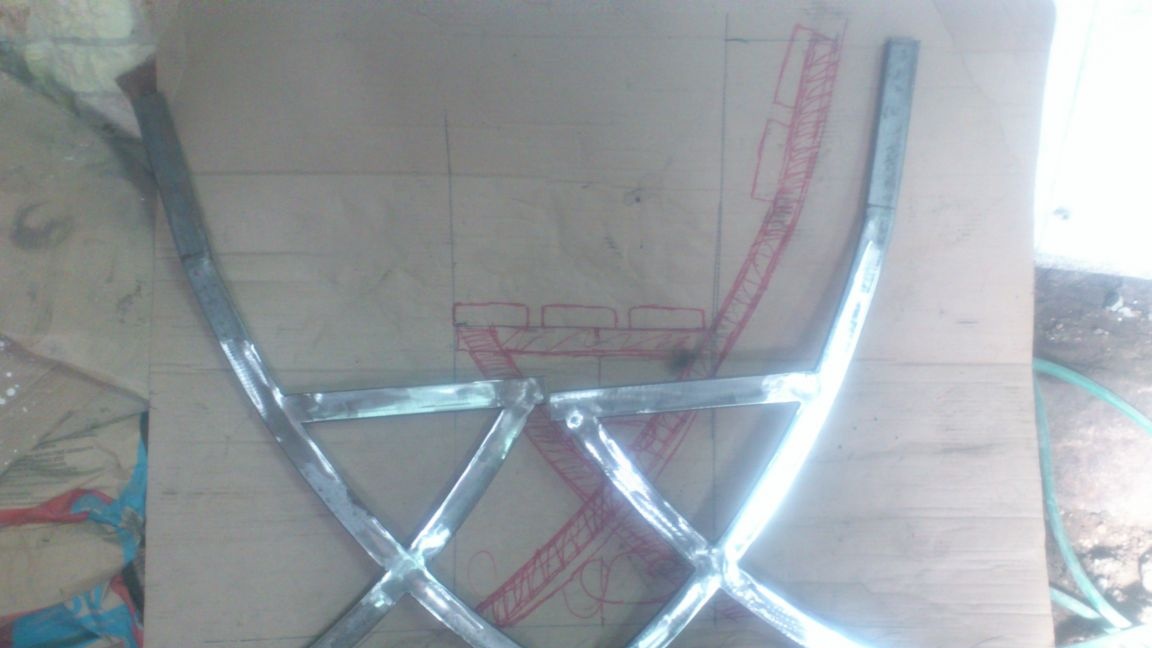
Having rummaged in the "scrap metal", I found a piece of a corner of 25 by 25 mm, and cut out two segments of 35 cm, and two shorter pieces, of 20 cm. I cut their edges at an angle:
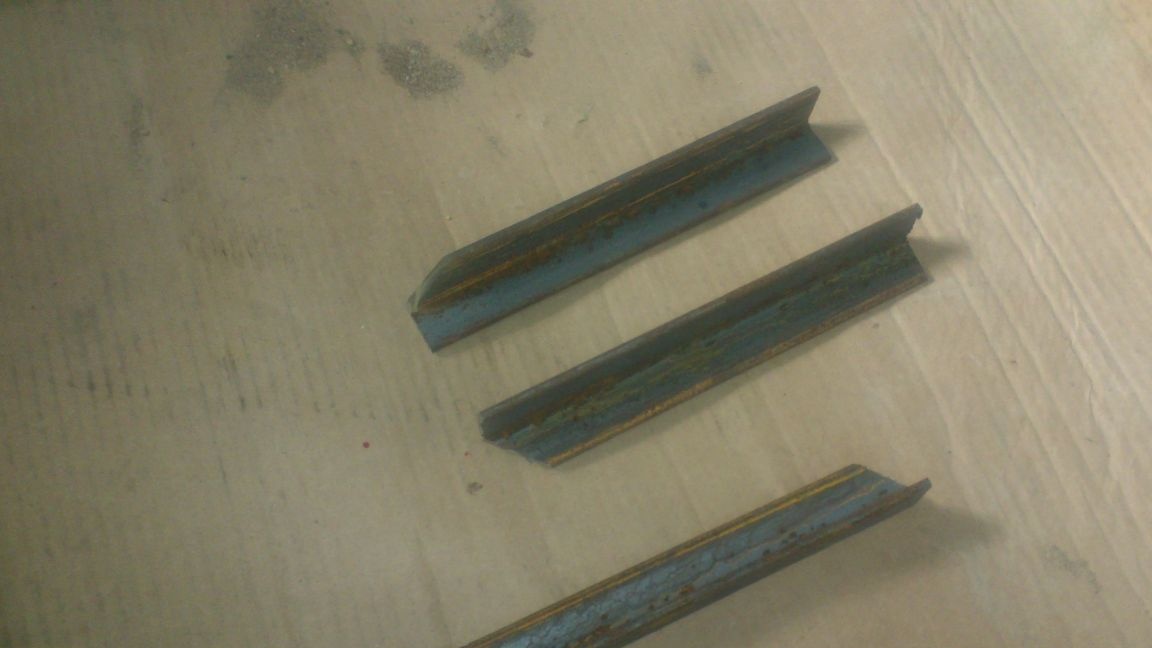
Long I welded to the horizontal crossbars

And short ones - from above, where the back will be attached:
I welded them in such a way that I learned two "mirror" elements.
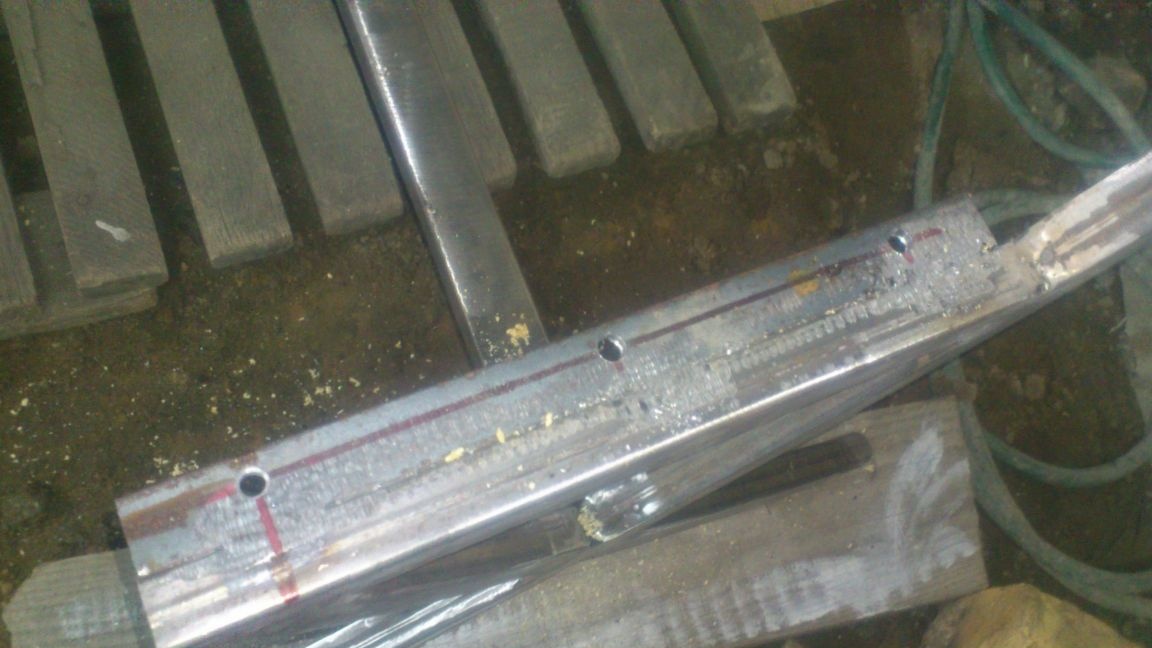
Next, I connected both racks with a horizontal pipe segment. The length of my bench will be equal to one and a half meters, so I made a crossbar 125 cm long. (I will add 2 to 2.5 cm of thickness of racks and 2 to 10 cm of departure of boards). I made a cross-member from the same pipe by 40 by 25 mm (I simply didn’t have another at hand))), and grabbed it by welding to the posts at the intersections of the arcs:
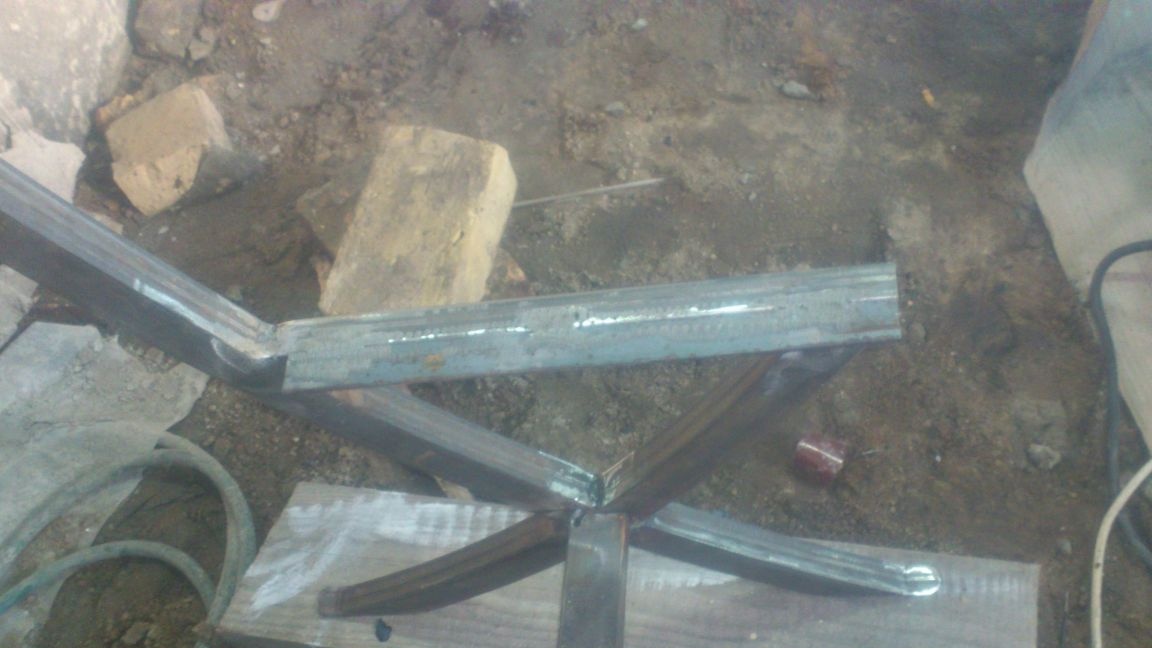
It took! It’s too early to weld at this stage!
In the corners, I drilled holes for M8 furniture bolts with a distance of 125 mm between them (so that there are gaps between the boards):
After that I got down to work with wood. My boards were not planed.
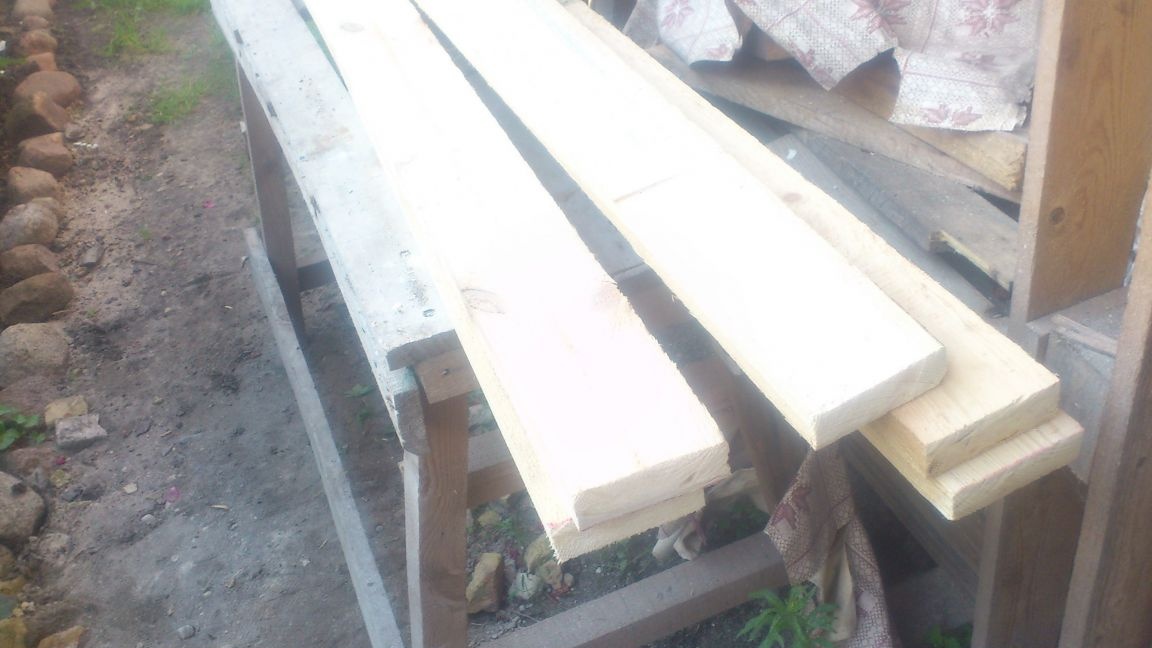
It was laziness to work with a manual plane, and the electric one has been lying without brushes for six months .. (But, all the same, your hands do not reach!))))).
Therefore, I first roughly processed them using a angle grinder with an emery-petal circle:

And then he corrected it with an orbital sander:

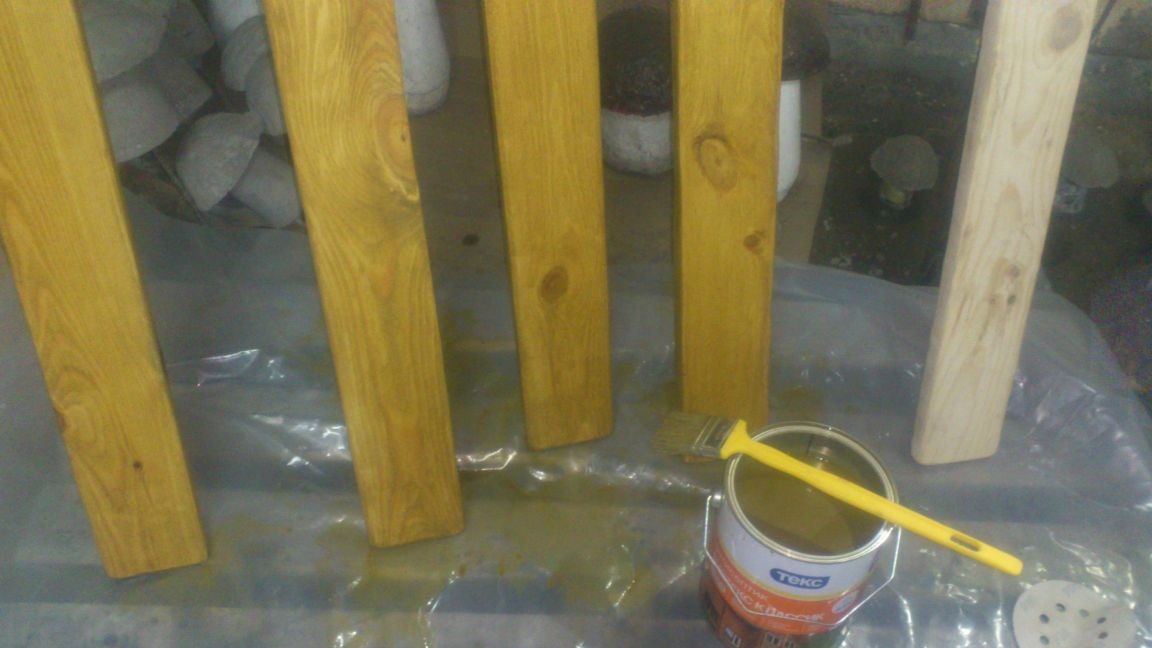
After that, I processed it in several layers with a protective and decorative composition for wood:

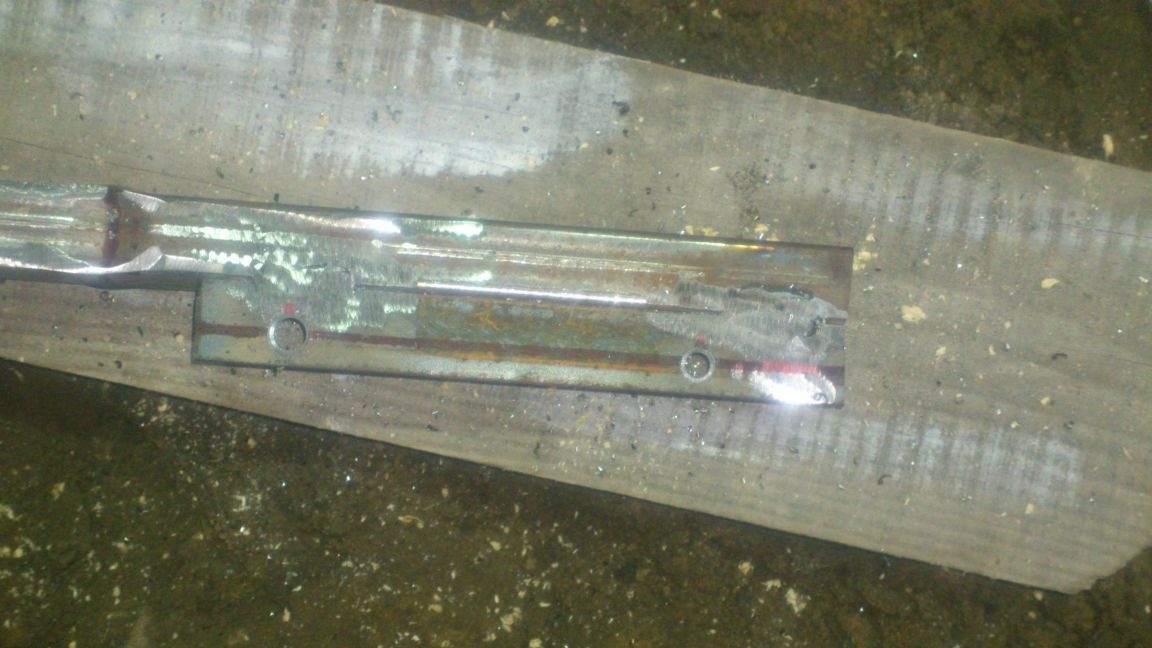
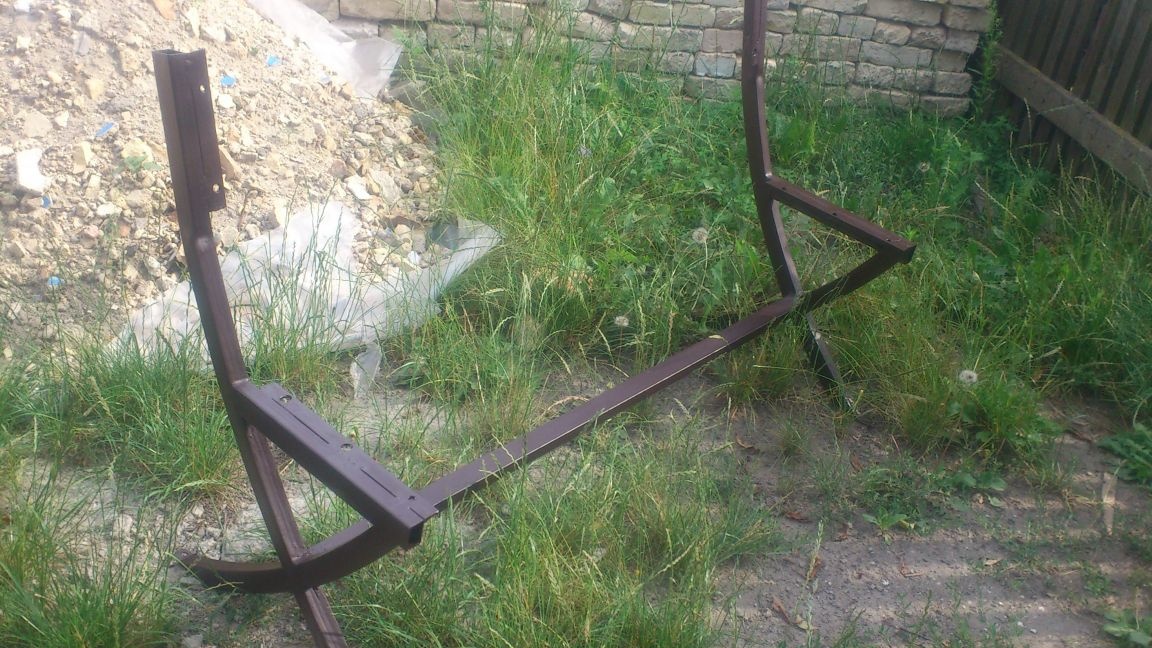
When they dried, I put together a bench and after that, of course, boiled the joints of the cross-member with the uprights:
And again he took it apart to paint the metal elements. He painted with enamel PF-115. Before that, I cleaned it with an emery-petal circle and degreased it with a solvent:
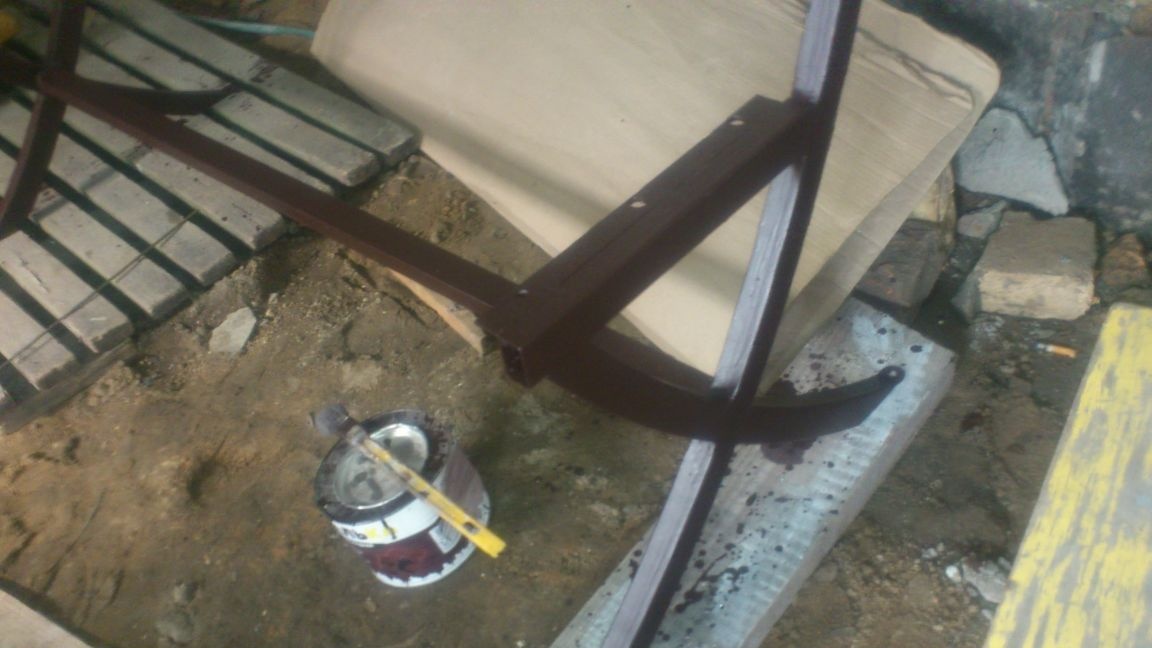
The sequence of actions, of course, is not entirely correct ... I should not have painted the tree earlier, but put everything together unpainted, and then sorted and processed everything together .... But then the “work schedule” intervened - I did her at a construction site, in technological breaks between construction matters ...And since I went to my construction site after work and on weekends, I did it in "fits and starts." Therefore, I processed the wood when there was time, but it was already too late to make a noise with the grinder ... The neighbors would hate ...)))))
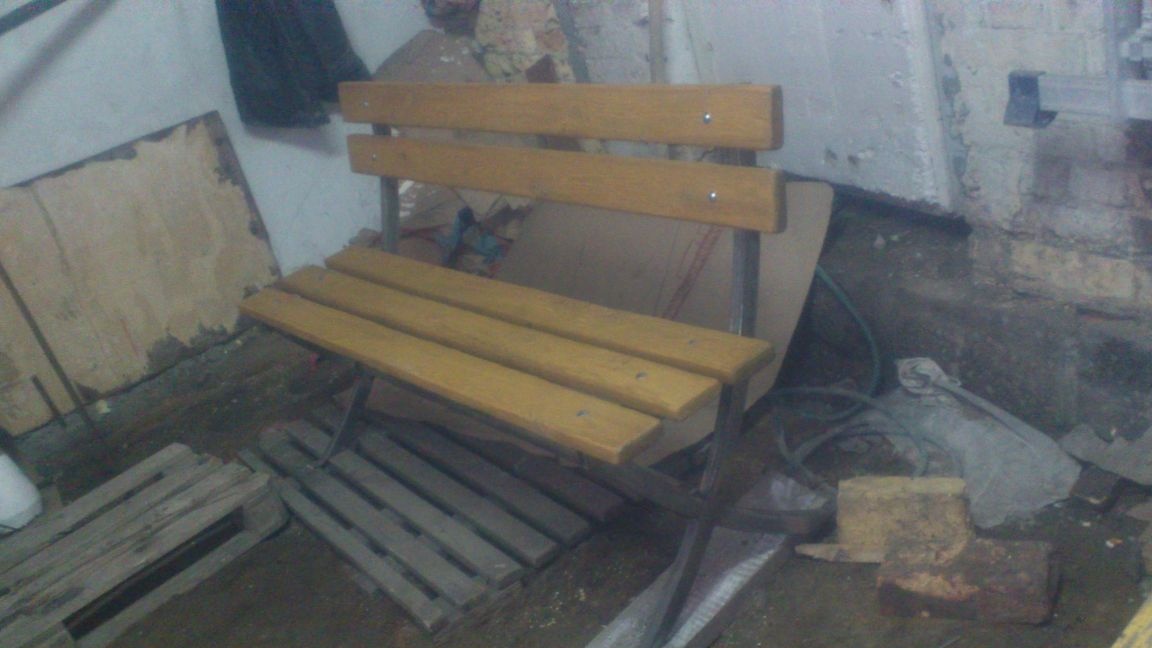
After the paint has dried, we assemble the bench finally:
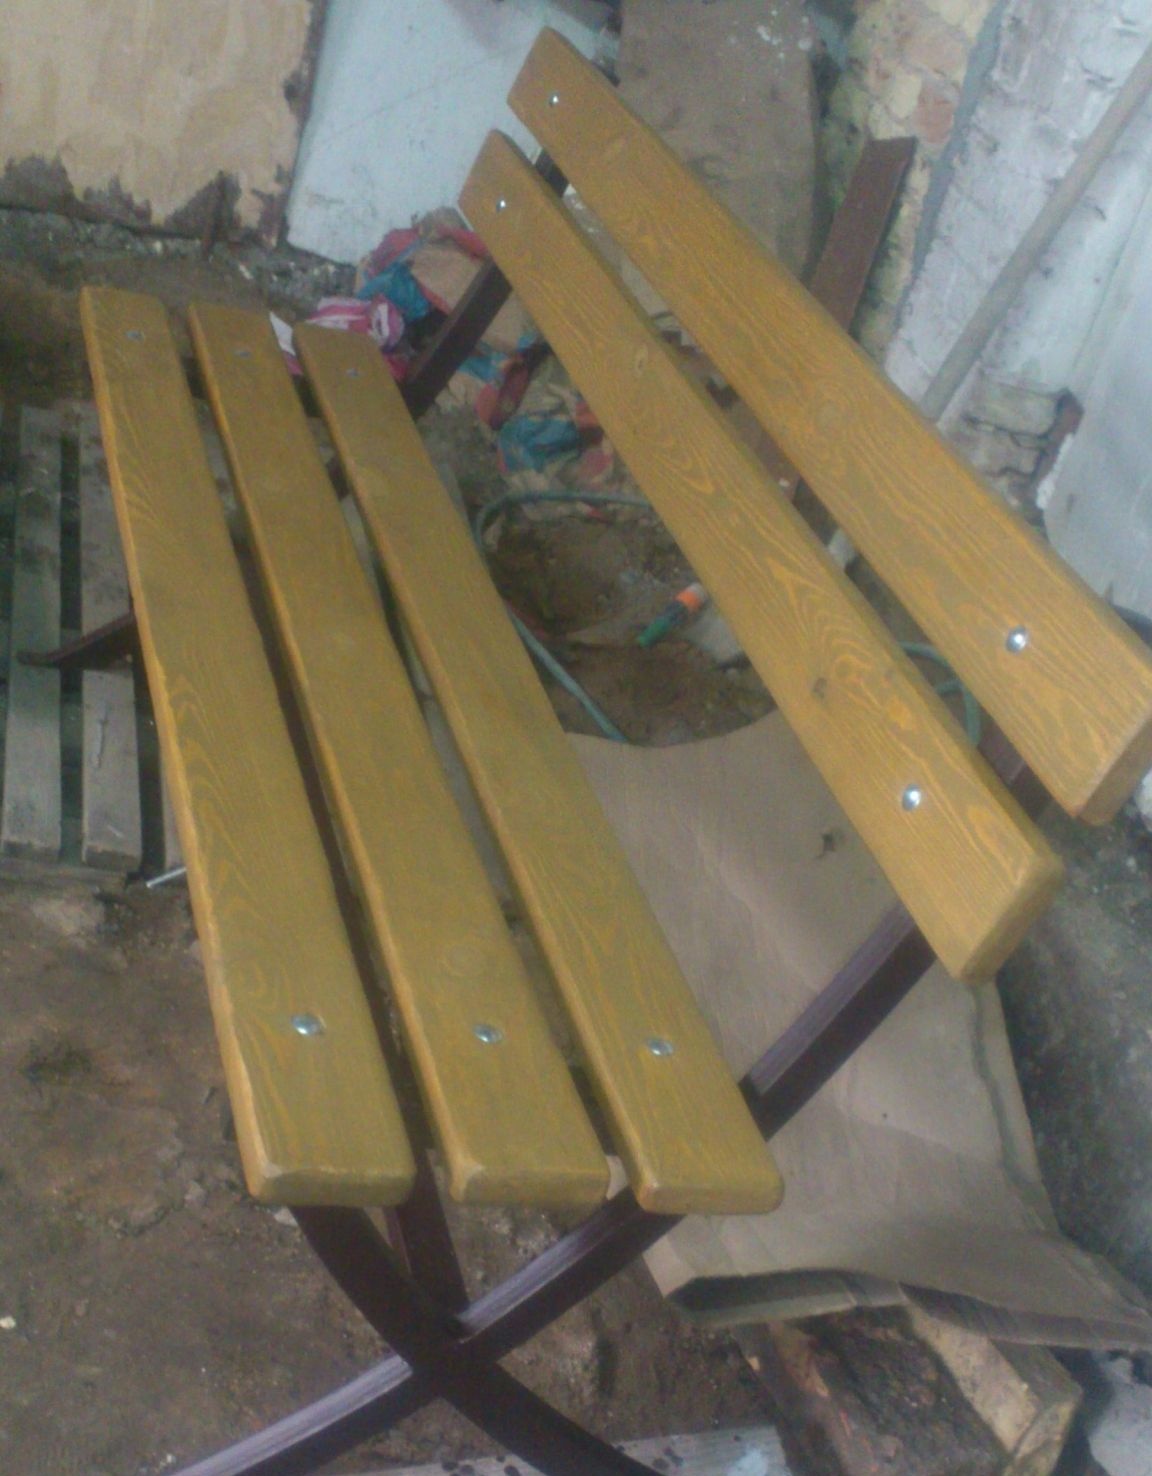
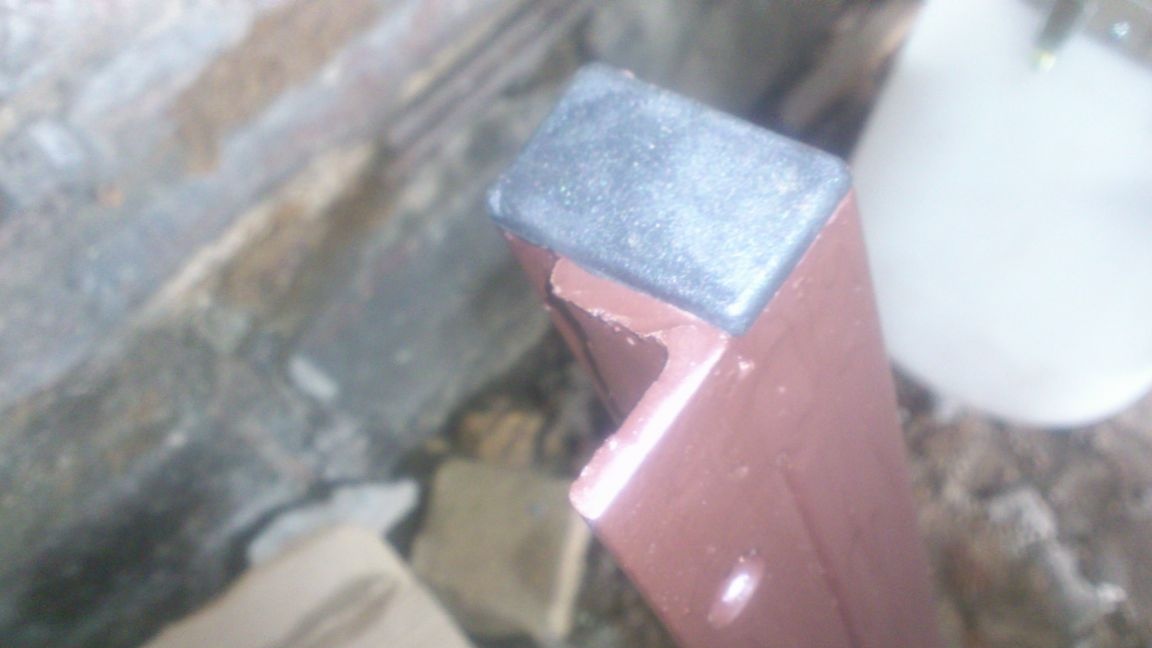
At the ends of the pipes we hammer in plastic plugs:
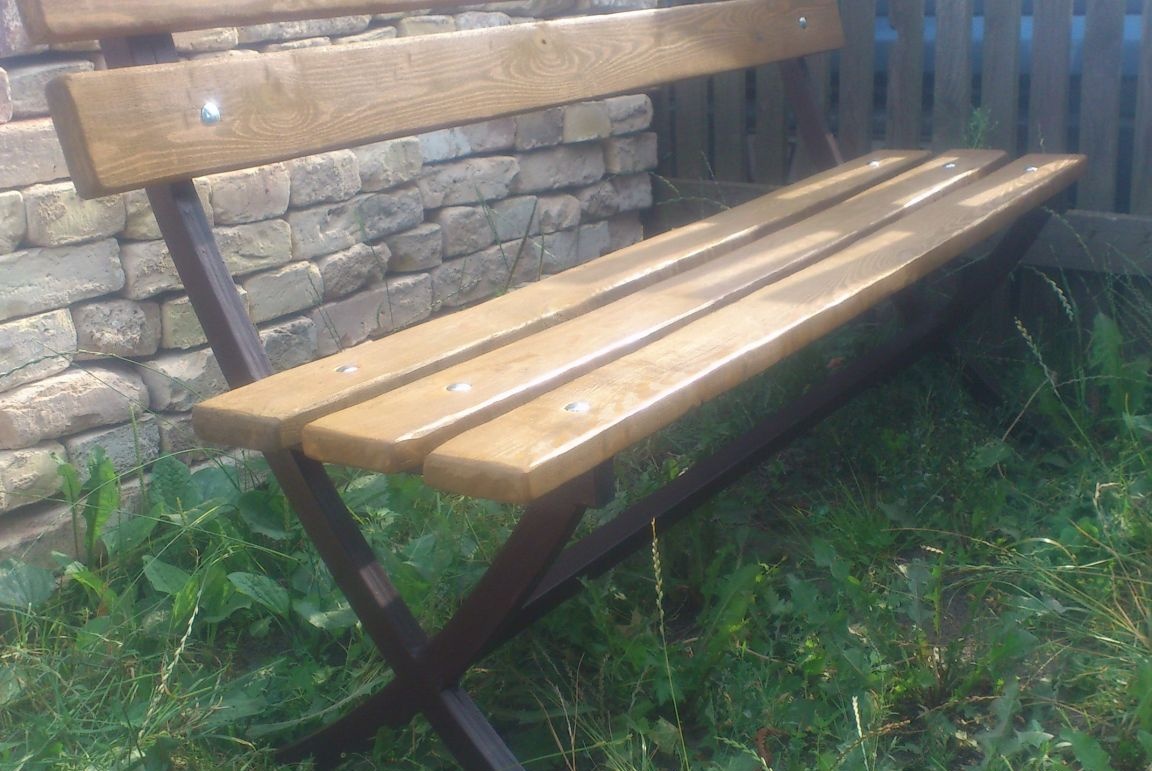
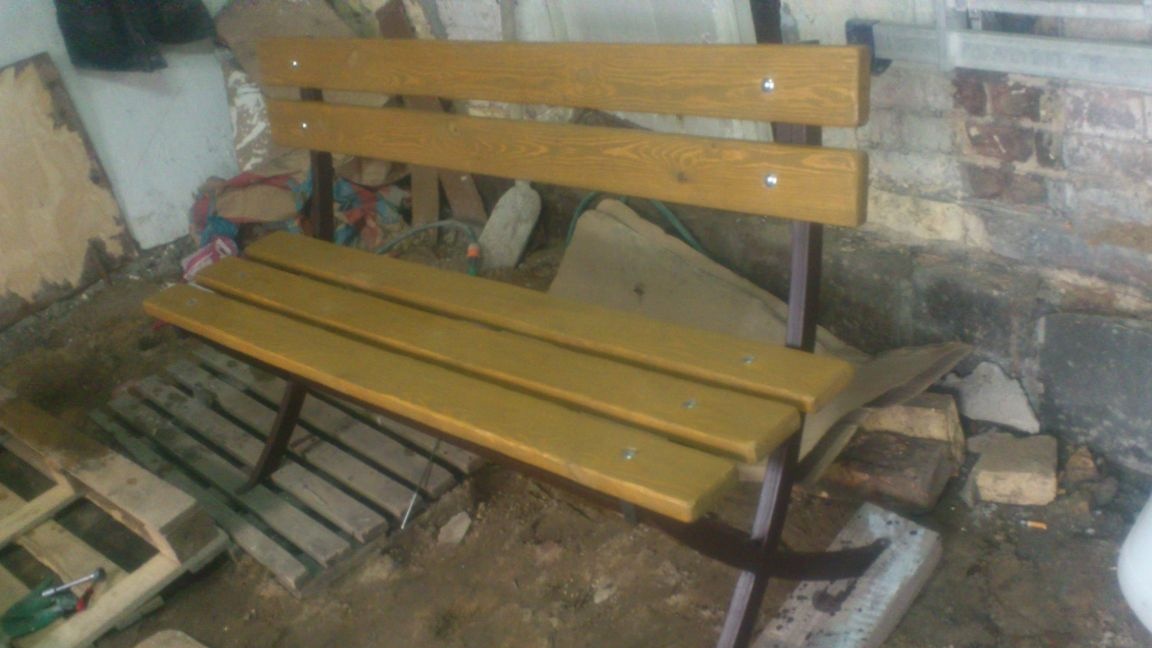
Here is such a little bench that will stand in my country house:
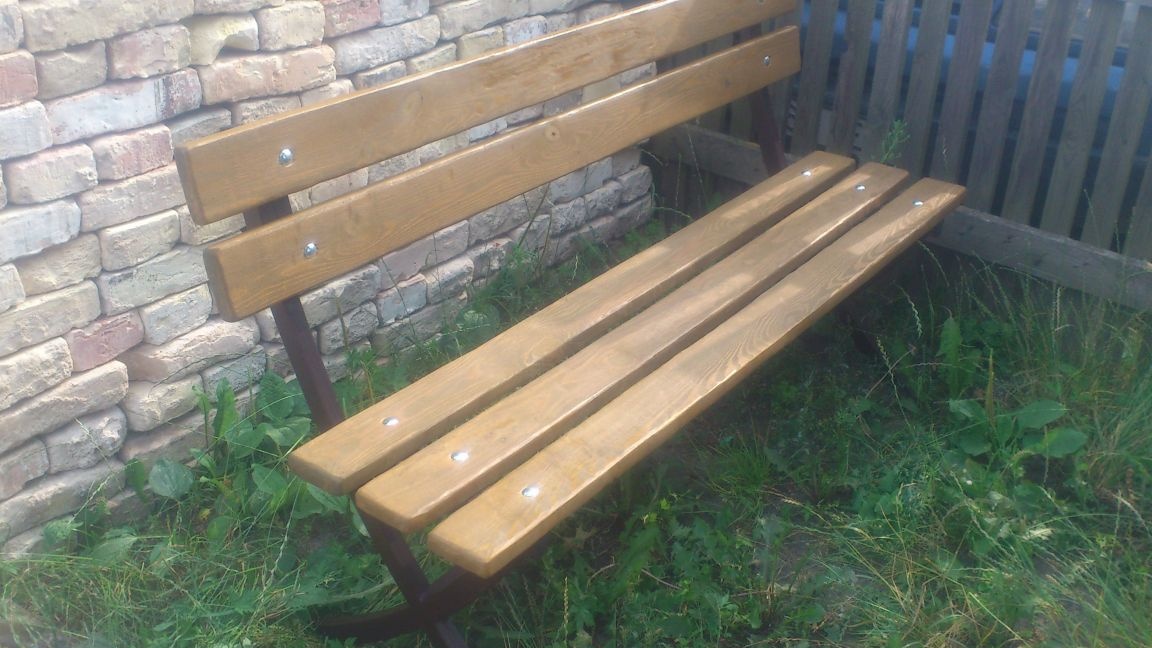
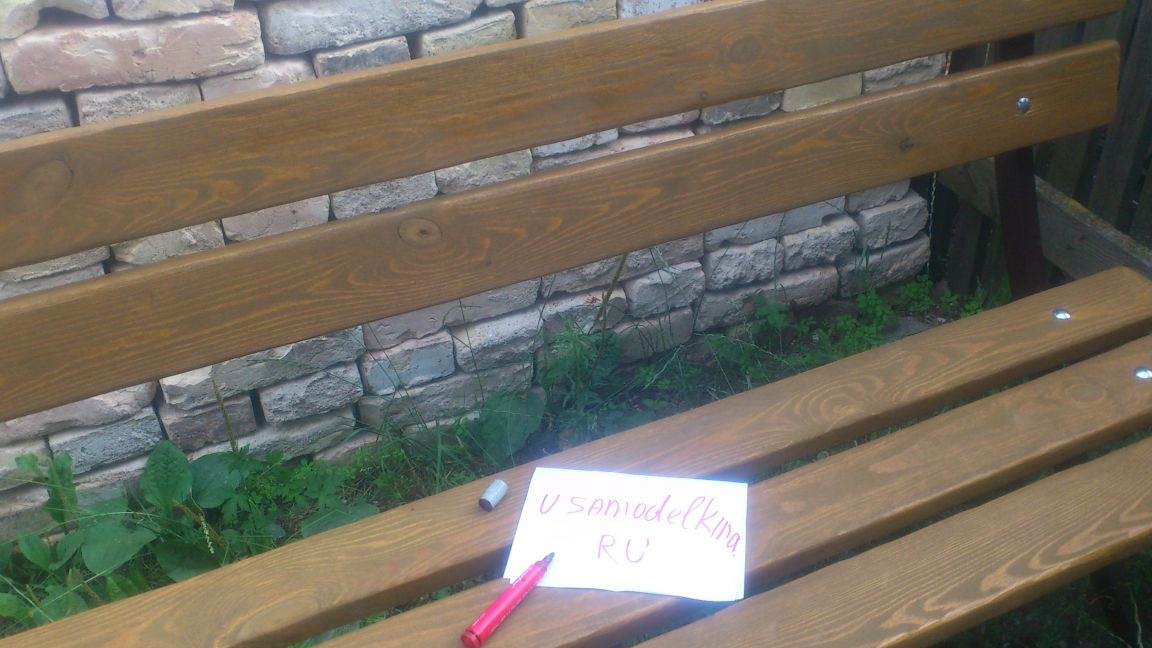

And sitting on it, believe me, is very convenient ....