Dear visitors of the site, from the material presented to your attention, you will learn how to independently make a typeset chair from wood, namely from pallets. Using pallets as a starting material can save a lot of money, because you can get them completely free of charge if you wish.
Having your own suburban area, you should organize a place for rest on it, a terrace, a gazebo and, accordingly, make a garden
furniture. Often simple
home there is no way to put furniture on the street, because it will quickly become worthless, that is, it will get wet cracked, etc.
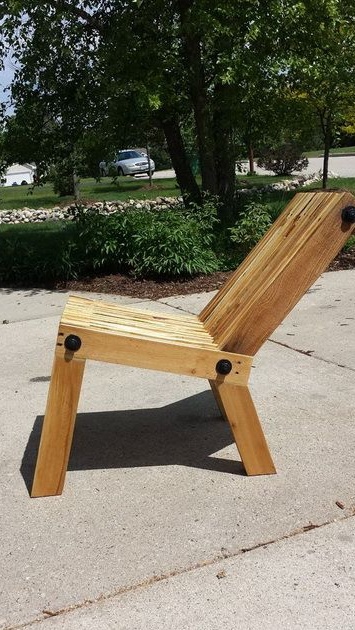
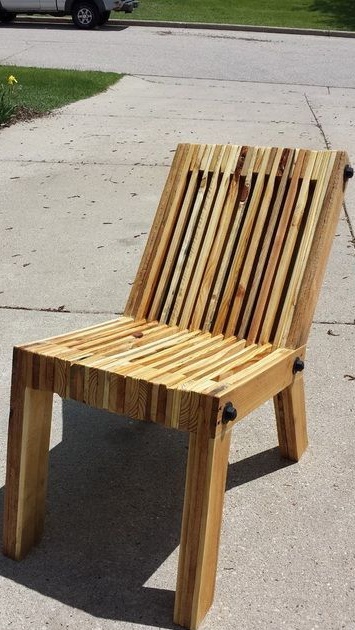
In this case, the seat and back of the chair will be typesetting, there will be a distance between the plates, which will allow raindrops to pass through the cracks and not linger on the surface. Such a chair will last a long time and will harmoniously fit into the interior of the gazebo.
And so, let's look at what exactly is needed to assemble a typesetting chair?
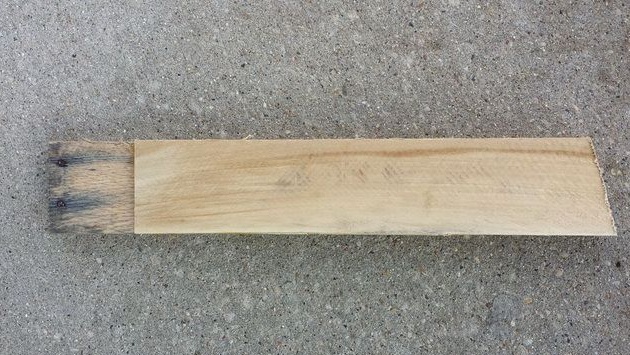
Materials1. board 25-30 mm (pallet 2-3 pcs)
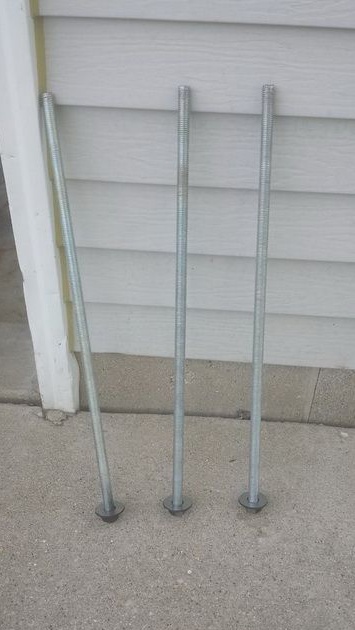
2. threaded rod M-10, 3 pcs
3. nut M-10, 6 pcs
4. washer 6 pcs
5. wood glue
6. wood varnish
Instruments1. hacksaw
2. drill
3. mini grinder
4. hammer
5. brush
6. sandpaper
7. clamp
8. grinding machine
9. ruler
10. pencil
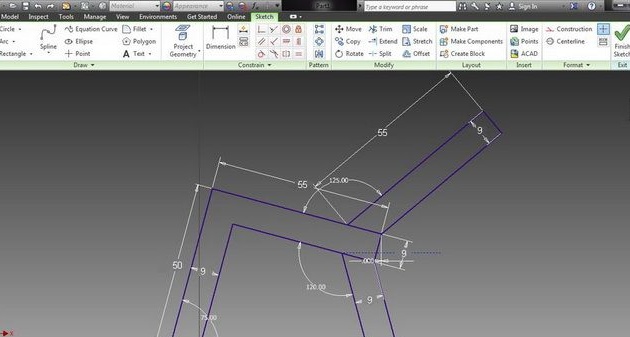
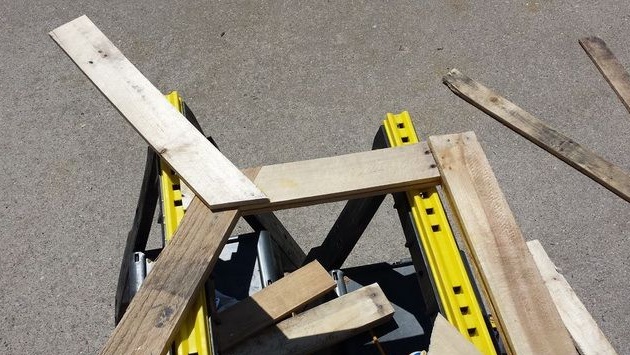
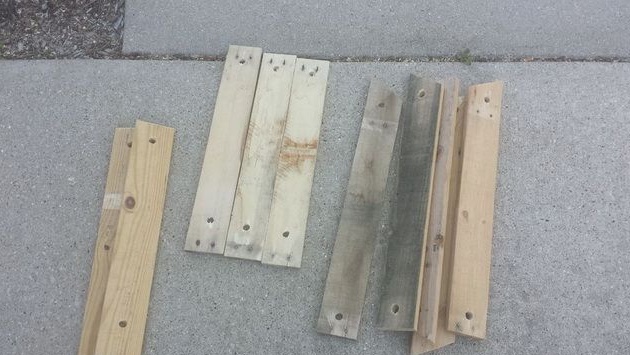
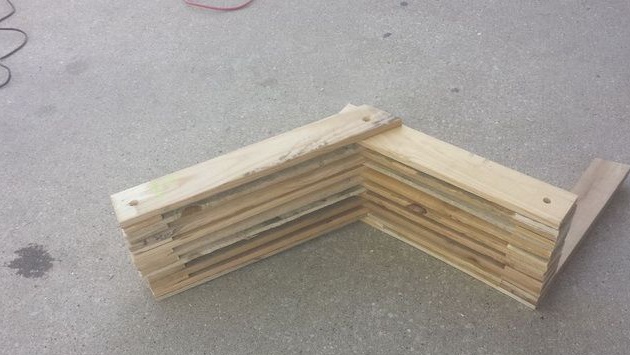
A step-by-step process for making a wood typesetting chair do it yourself.And so, first of all, it is necessary to prepare the material: for the back 17 boards 55 cm long, for the front legs 8 boards 50 cm each, the rear legs 8 pcs 40 cm each, for sitting 18 boards 55 cm each.
Previously, the author made a drawing with all sizes and angles of inclination of the back, legs and seats (you can download a picture for study)
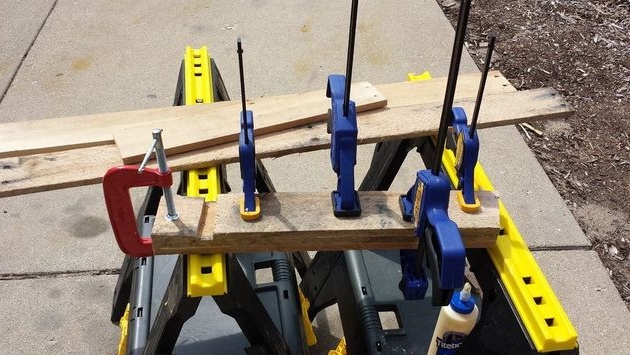
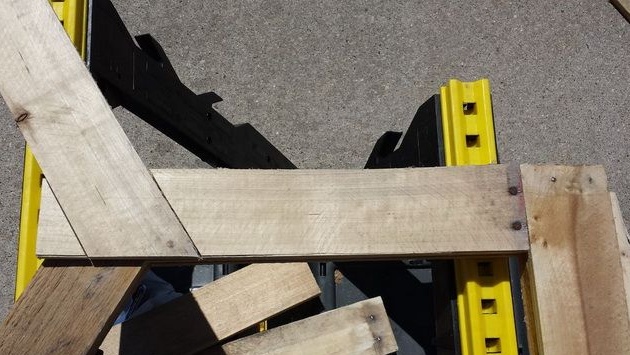
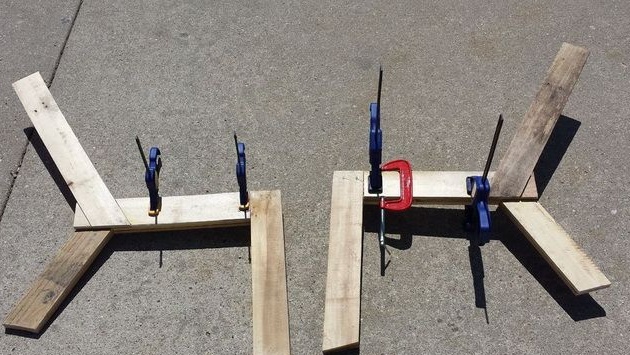
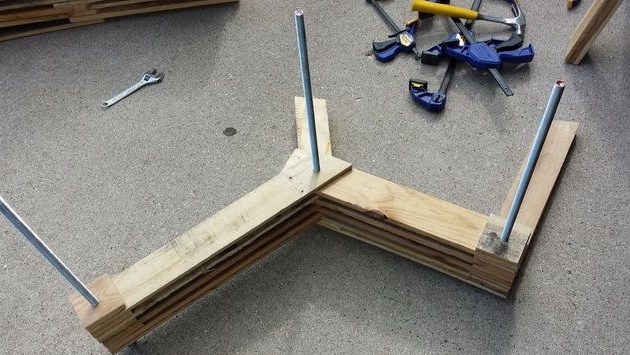
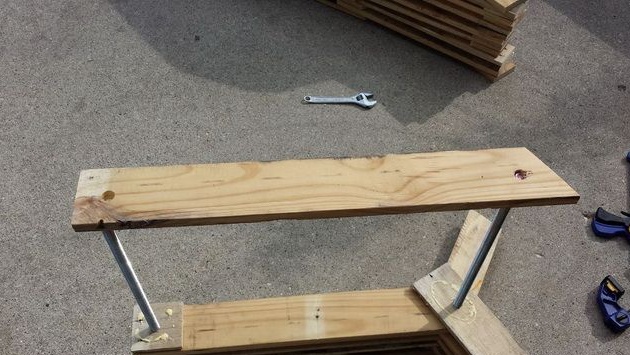
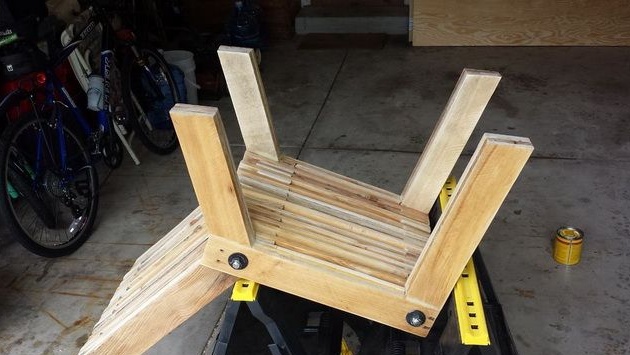
Further, the master, according to a given drawing, begins to glue the legs of the chair front and rear.
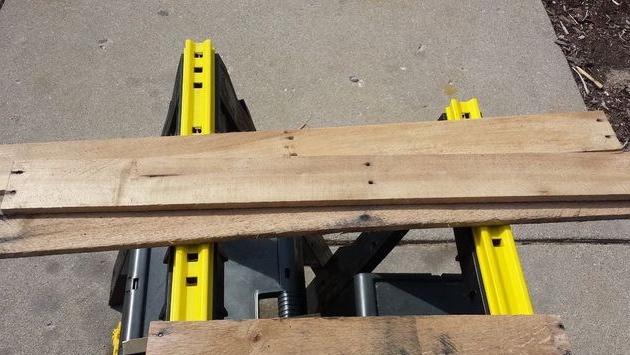
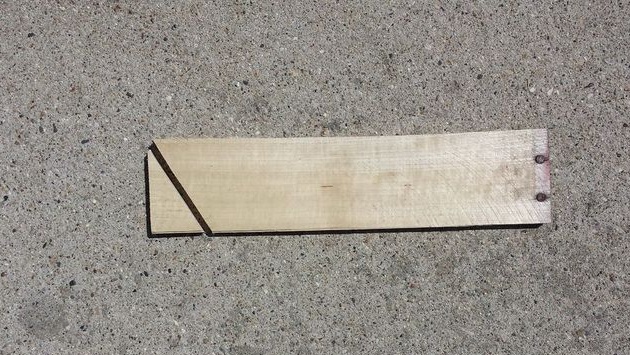
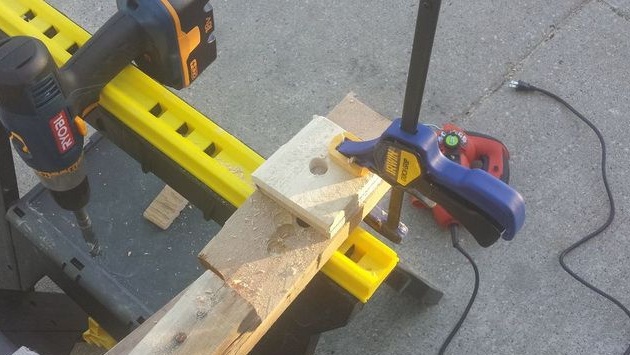
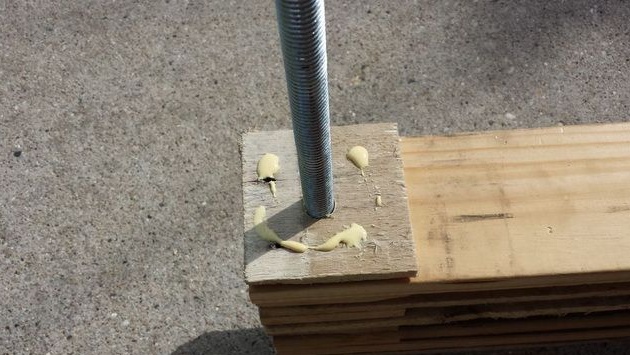
Then in each board it is necessary to drill holes of 2 pieces from each end.
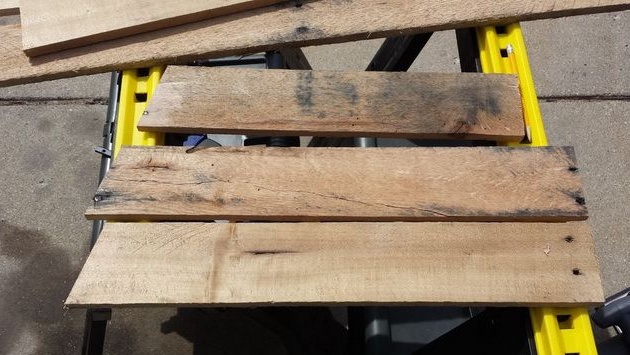
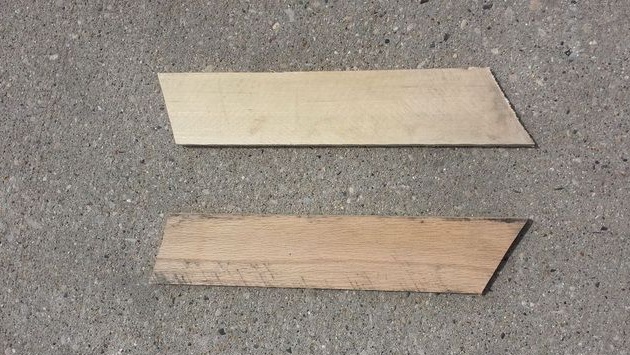
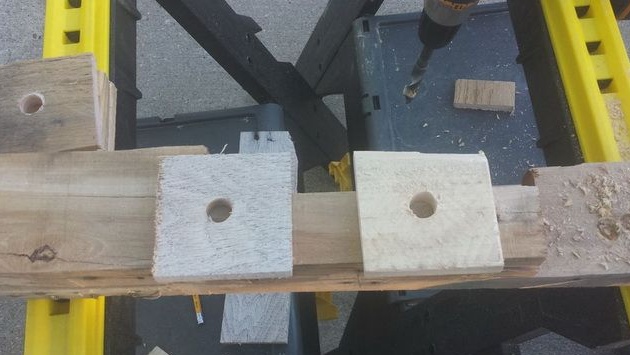
Between each board there will be a square pad from the same board. Holes are drilled exactly in the middle. For convenience, fasten with a clamp.
And so with each square, due to them, the distance between the planks will be formed.
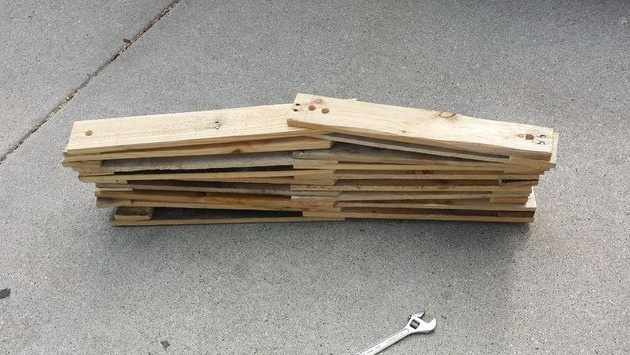
First you should try on all the details.
As you understand, the holes in each workpiece must match.
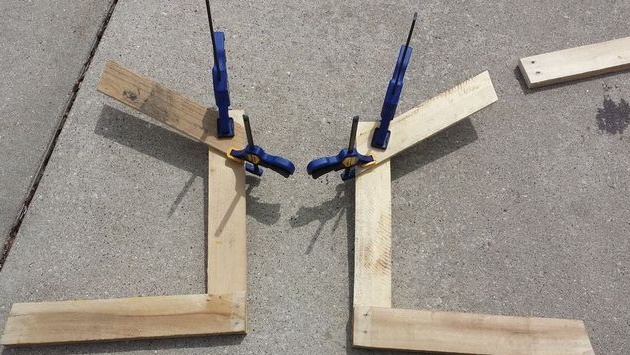
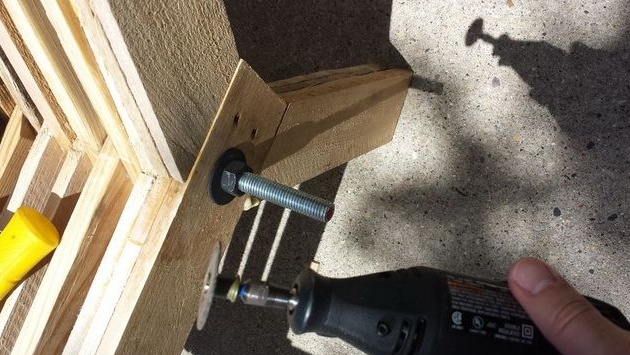
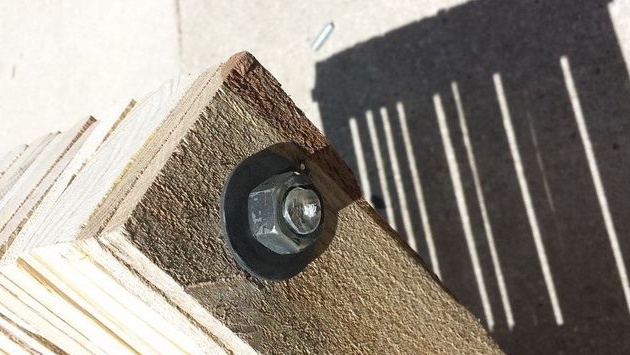
Then, threaded rods are inserted into the drilled holes, on one side we immediately wind the nut and washer.
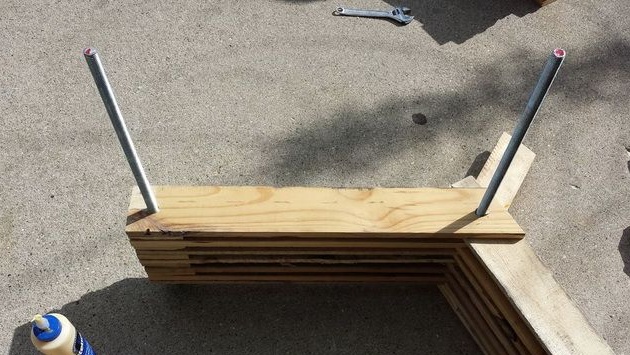
We insert the studs into the holes.
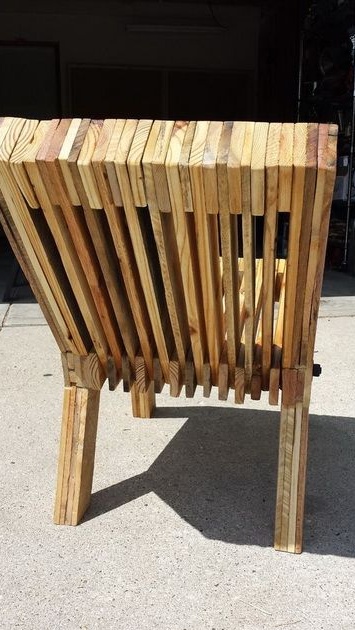
Next, we begin to pick up the boards alternating them with gaskets.
We apply carpentry glue to the wooden squares.
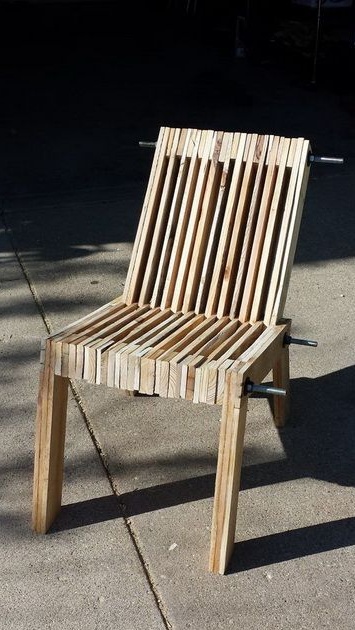
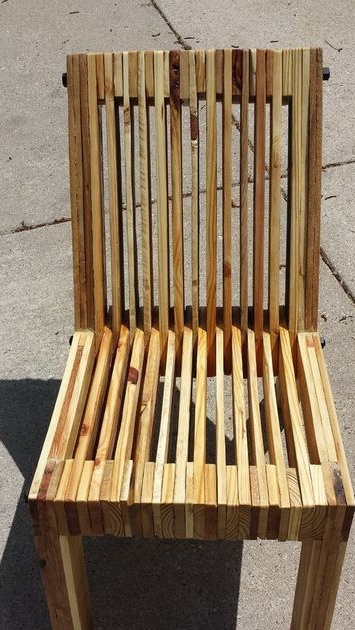
Thus, the back and seat are typed.
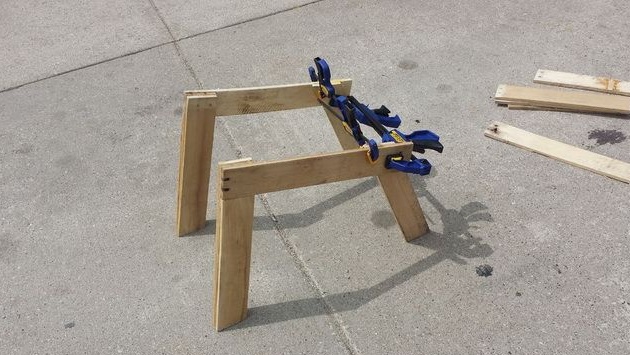
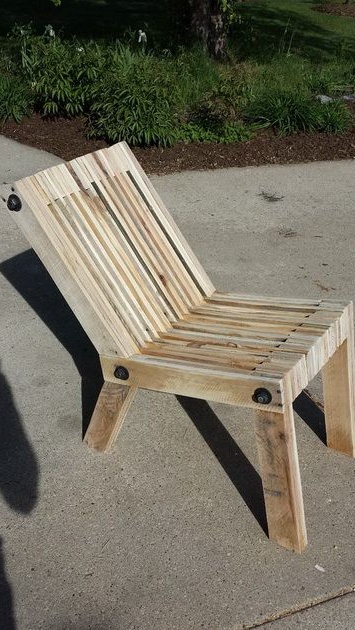
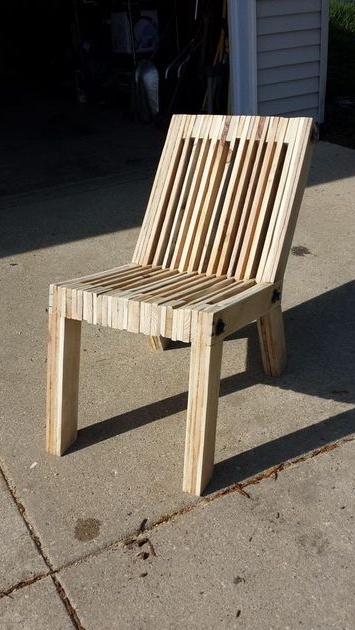
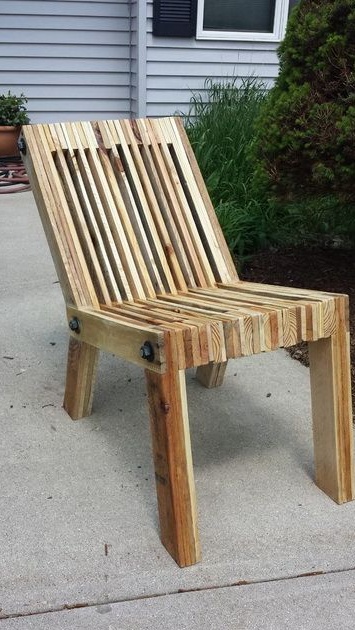
As a result, the author got such a chair here.
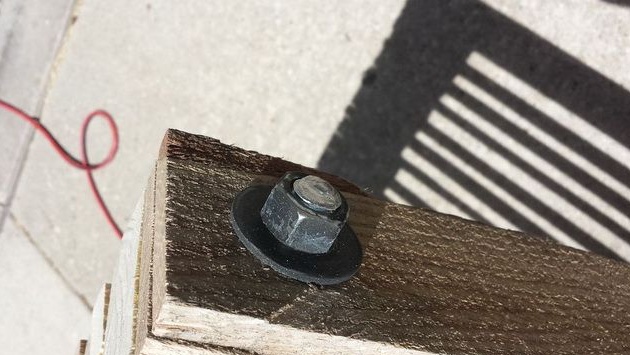
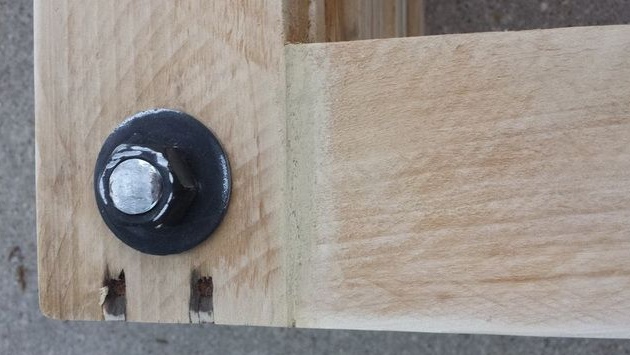
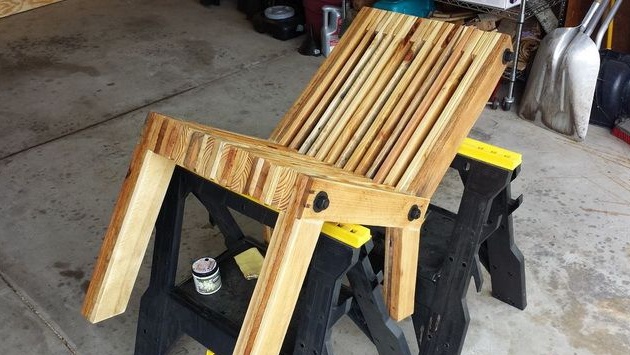
Next, we wind the nut and washer onto the stud and tighten it one by one, upper-middle-lower. We simply cut off the excess part of the hairpin with the help of a boron clipper or a conventional metal hacksaw.
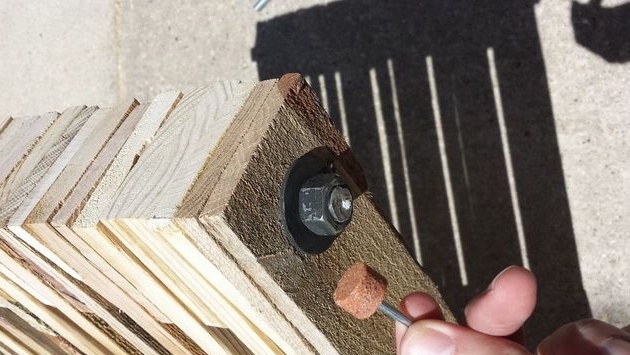
Having cut the hairpin, sharp edges will remain and they must be removed so as not to get hurt.
The author takes the cutter and inserts a boron machine into the cartridge, then simply grinds off the sharp edges and that's it.
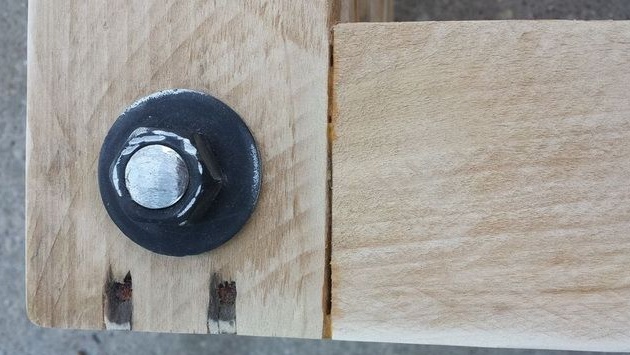
That's actually what happens.
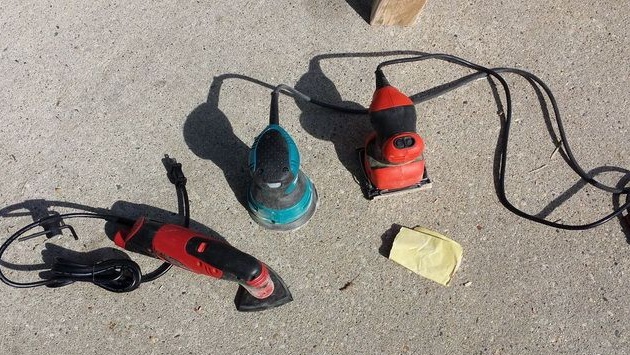
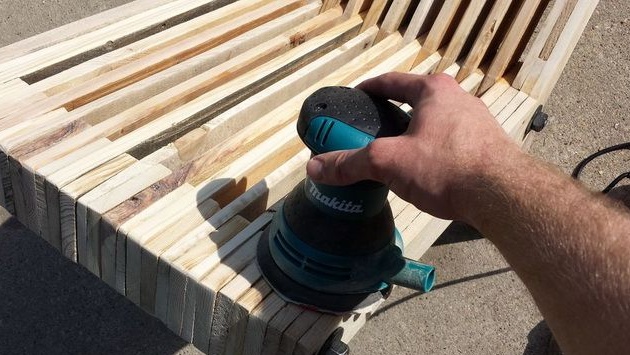
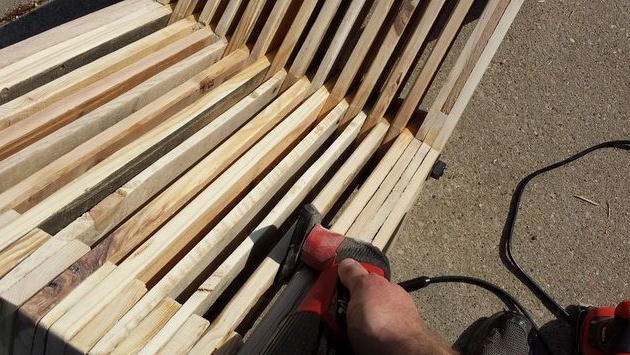
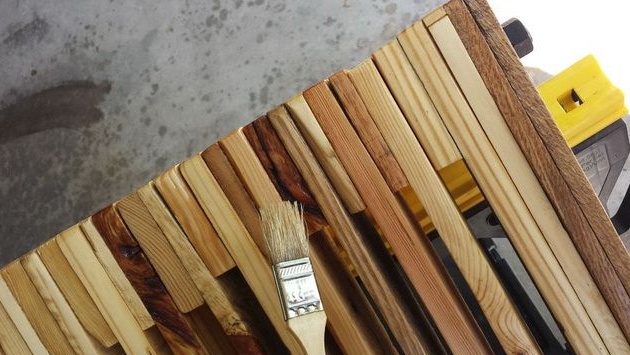
Then we take a grinding machine, for example, from the master as much as 3 of them.
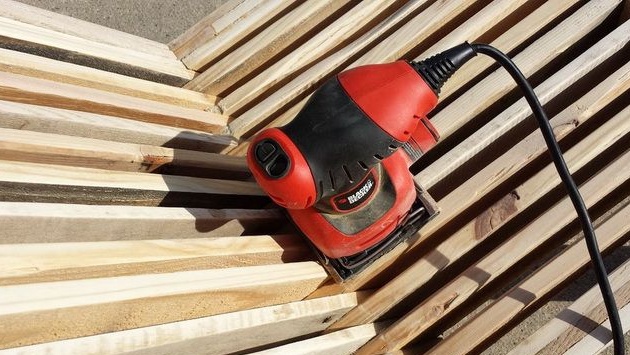
The seat and back should be sanded well.
The corner is a very hard-to-reach place, but the author deftly copes with this.
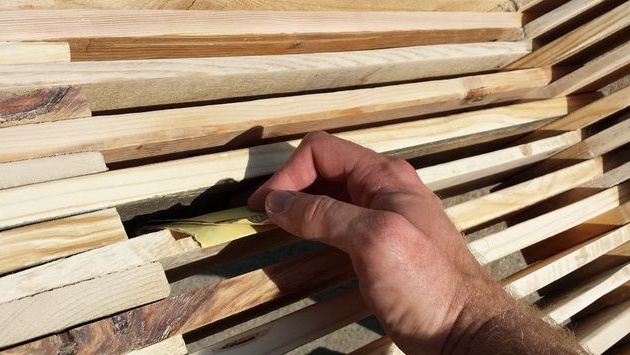
The gap also needs to be processed, because it is possible to catch a splinter in a soft place))
The prepared surface is varnished, it is also possible to first impregnate with special impregnation for wood, so the chair will last much longer.
Thus, the author obtained a rather unique garden chair.
It’s quite possible to assemble such chairs and benches for the garden independently, the most important thing is that if you use free material in the form of pallets, then the furniture will turn out to be budget. The practicality and reliability of this chair also play an important role.
You have a good example, so take and do. Go for it friends!
This concludes the article. Thank you all for your attention!
Come visit often and do not miss the latest in the world of homemade goods!