

This article will tell you about the process of creating small parachutes (and parachutists), as well as the manufacture of a reset system controlled remotely from the control panel model.
Materials:
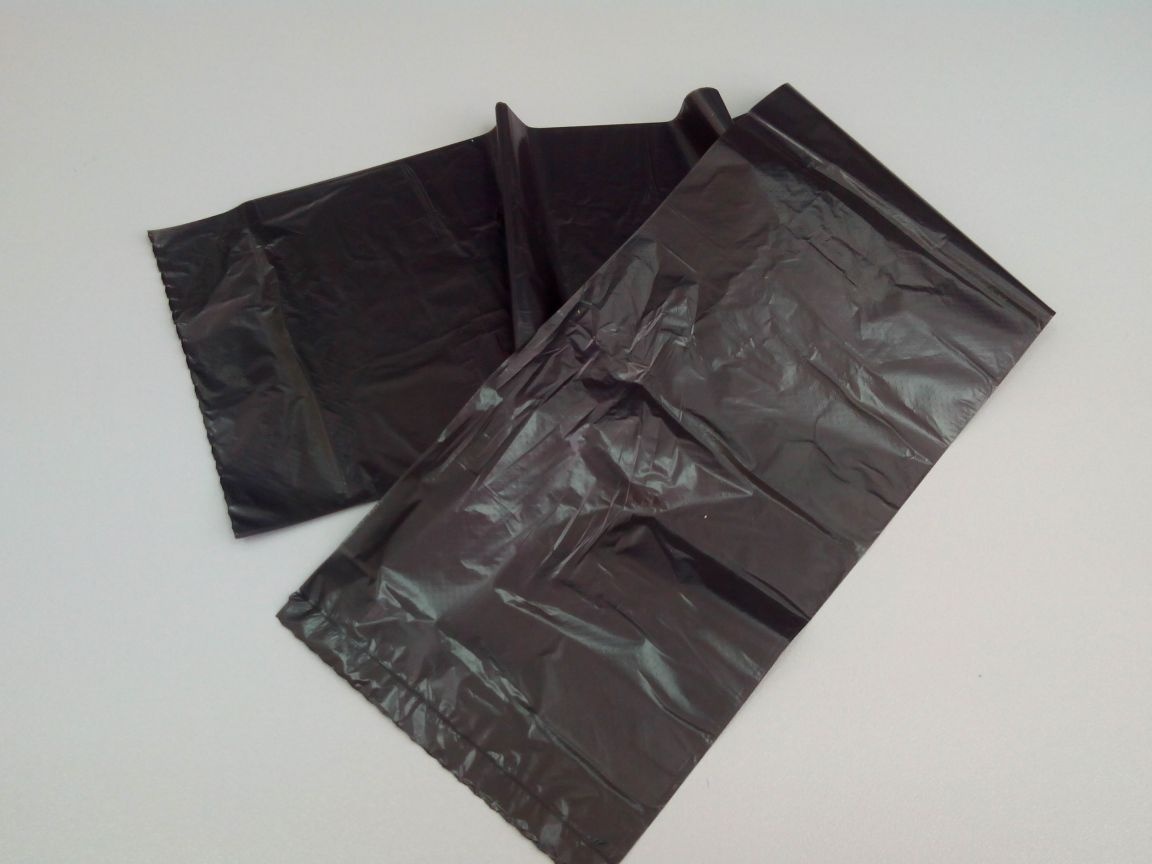
- Plastic bags
- Threads
- Scotch tape
- paper clip
- Bolts, nuts, washers
- Thick plywood
- Ceiling tile
- A plastic card
- Glue for ceiling tiles
- Markers or paints
- Varnish
Instruments:
- scissors
- Cutter
- Marker for disks
- Thermogun
- Sandpaper
- Jigsaw
- Screwdriver and drill
- brushes
Electronics (It is understood that you already have a radio-controlled model of the aircraft):
- servo drive -
- control equipment for 5 or more channels, for example: or
Step 1. Making a parachute
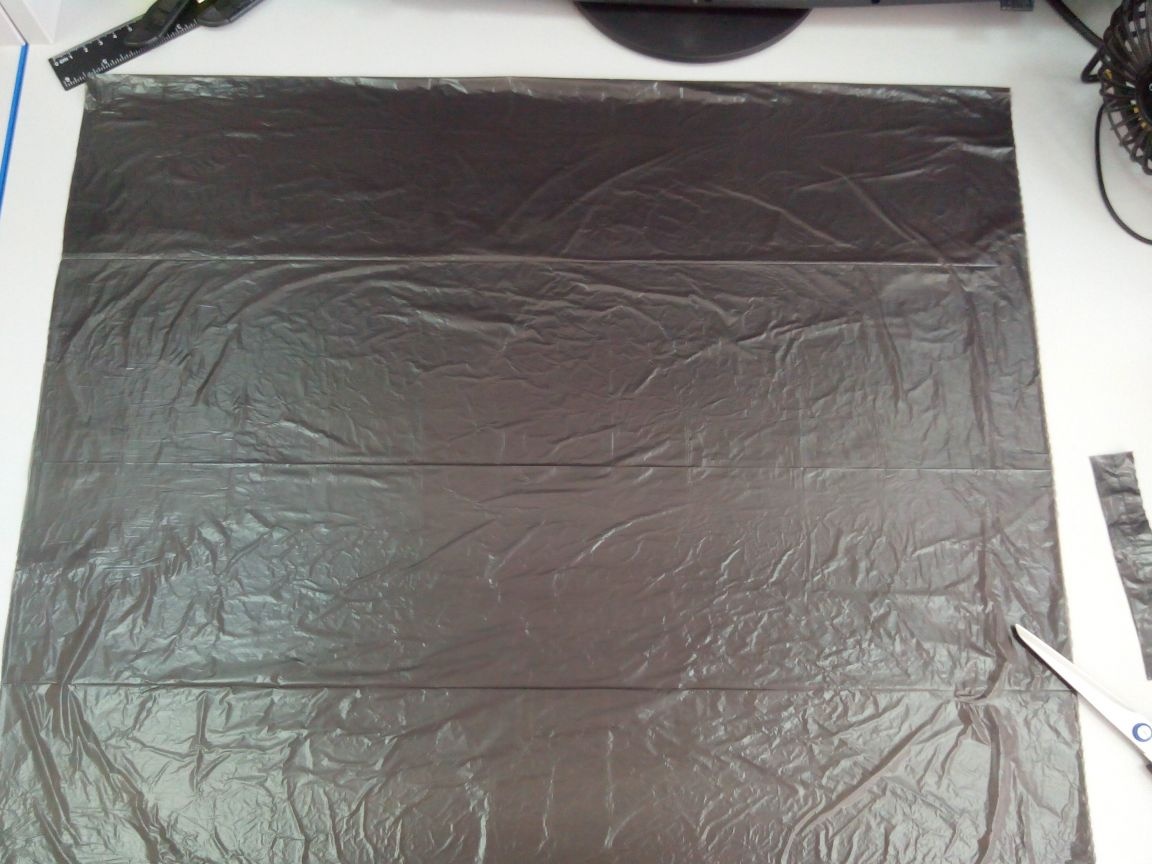
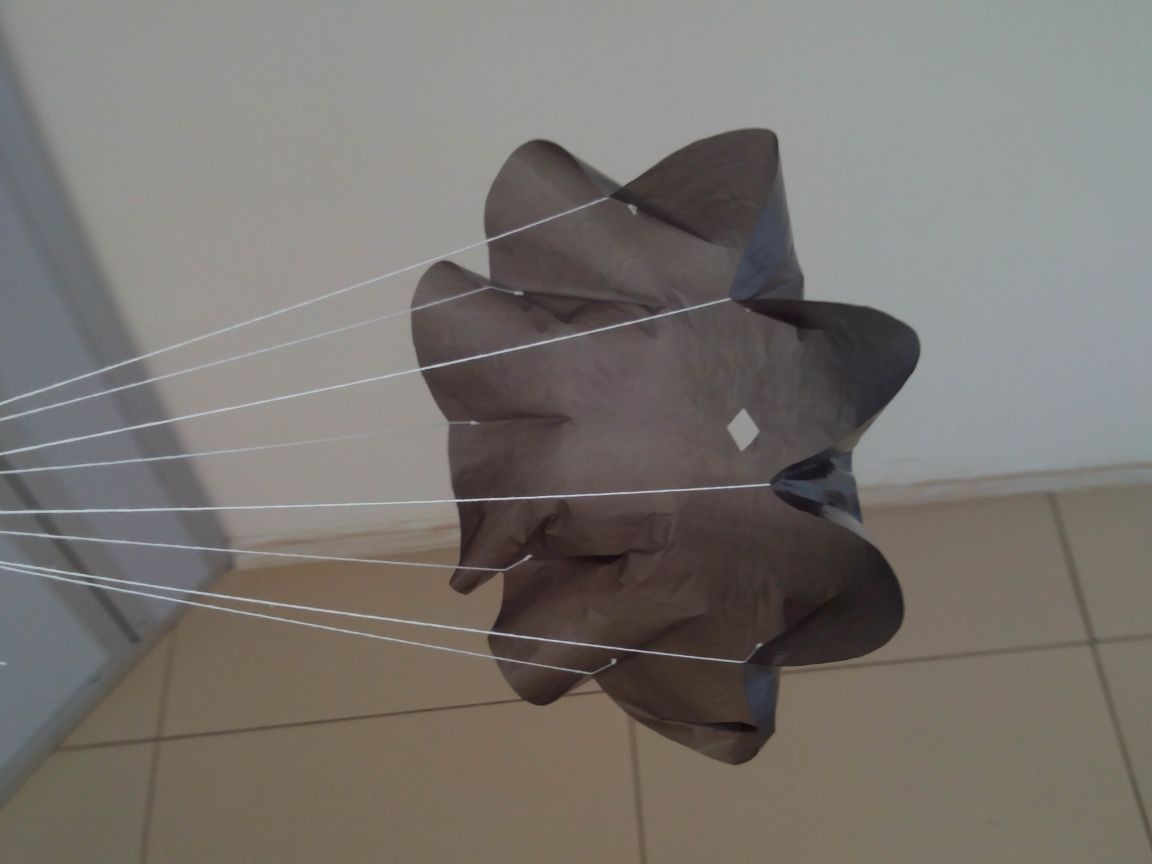
We take a plastic bag. An ordinary garbage bag fits well - it is thin and durable, and one bag is enough for two domes at once.
We cut off the lower part from it and straighten it on the table (it turns out two layers of polyethylene - for two parachutes).
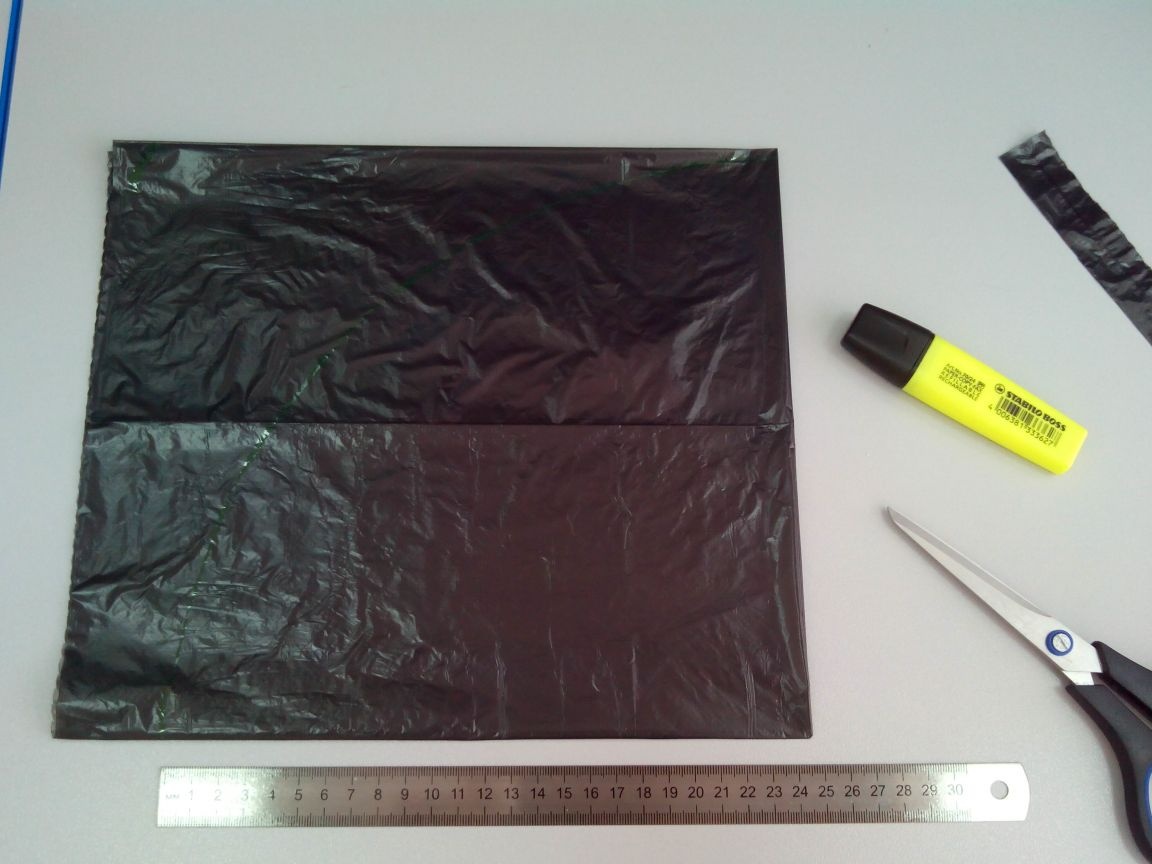
Fold the bag four times and draw a marker with a quarter circle, the center of which is in the corner.
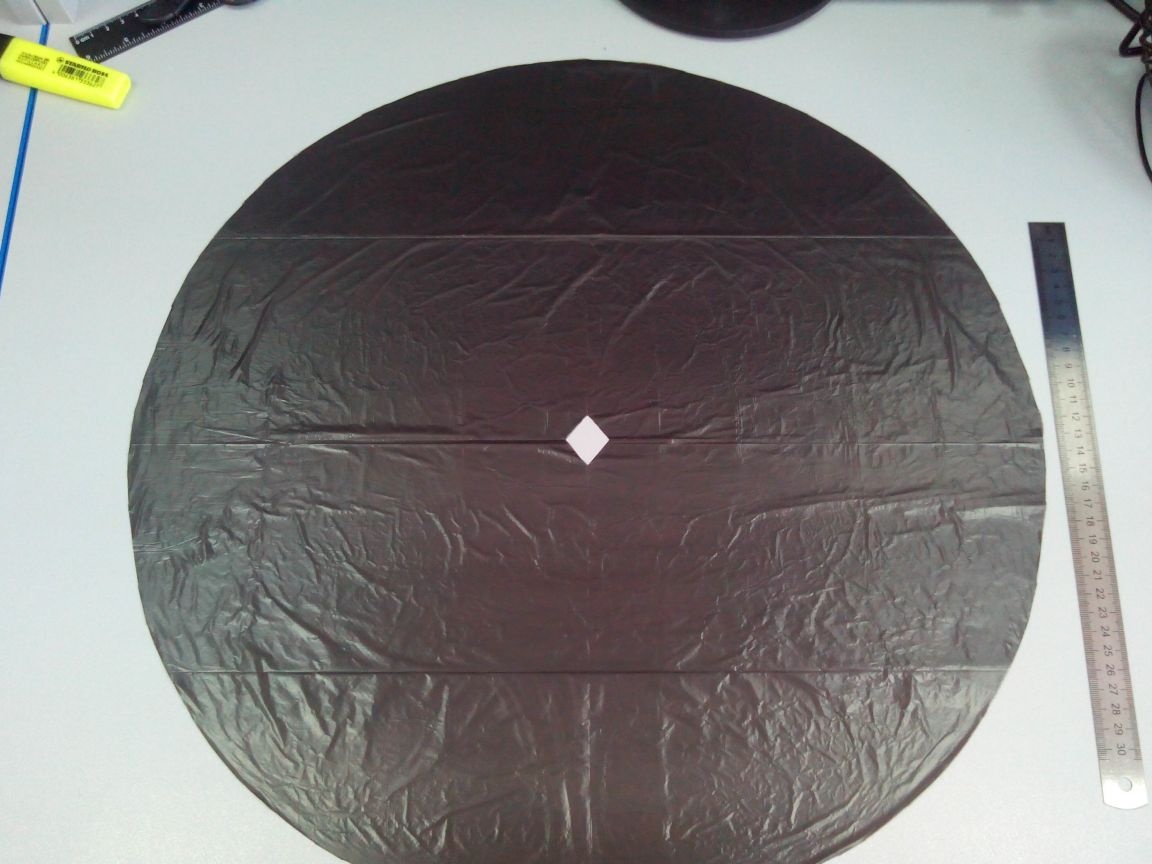
We cut the canopy of the parachute with scissors.
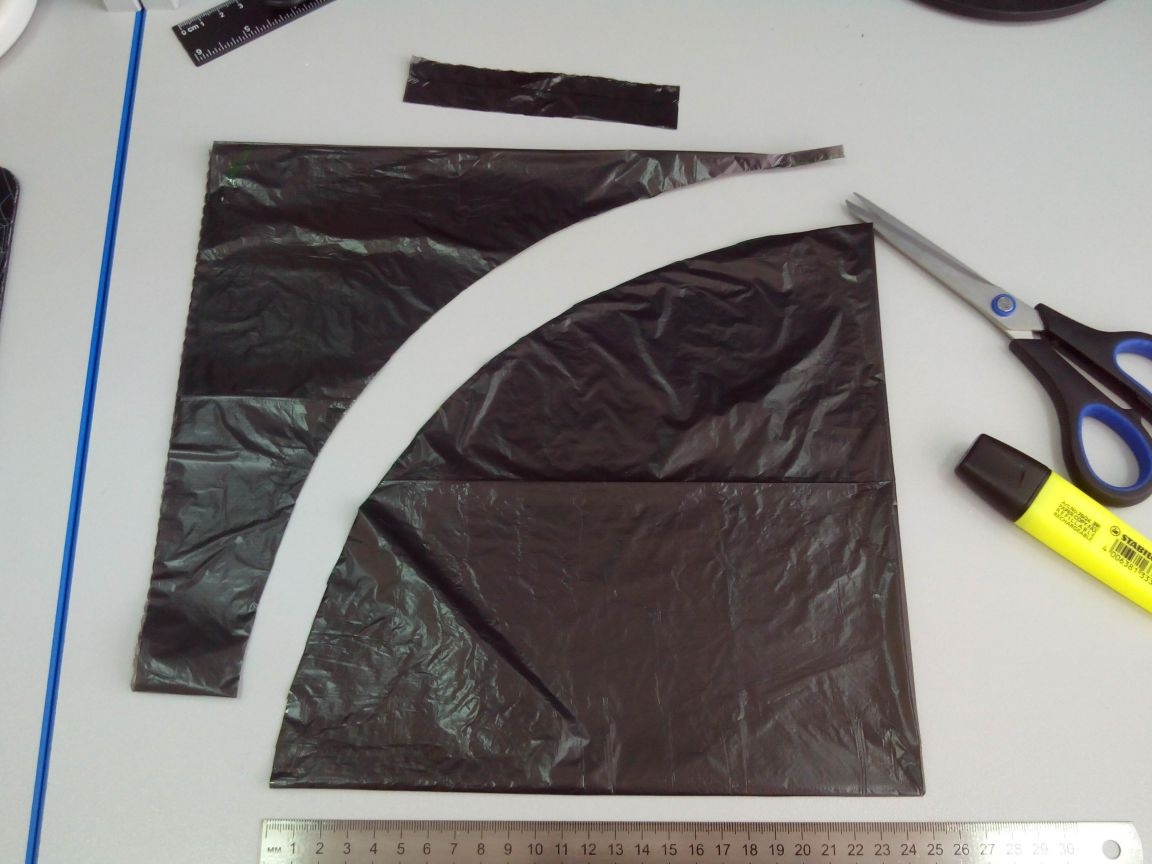
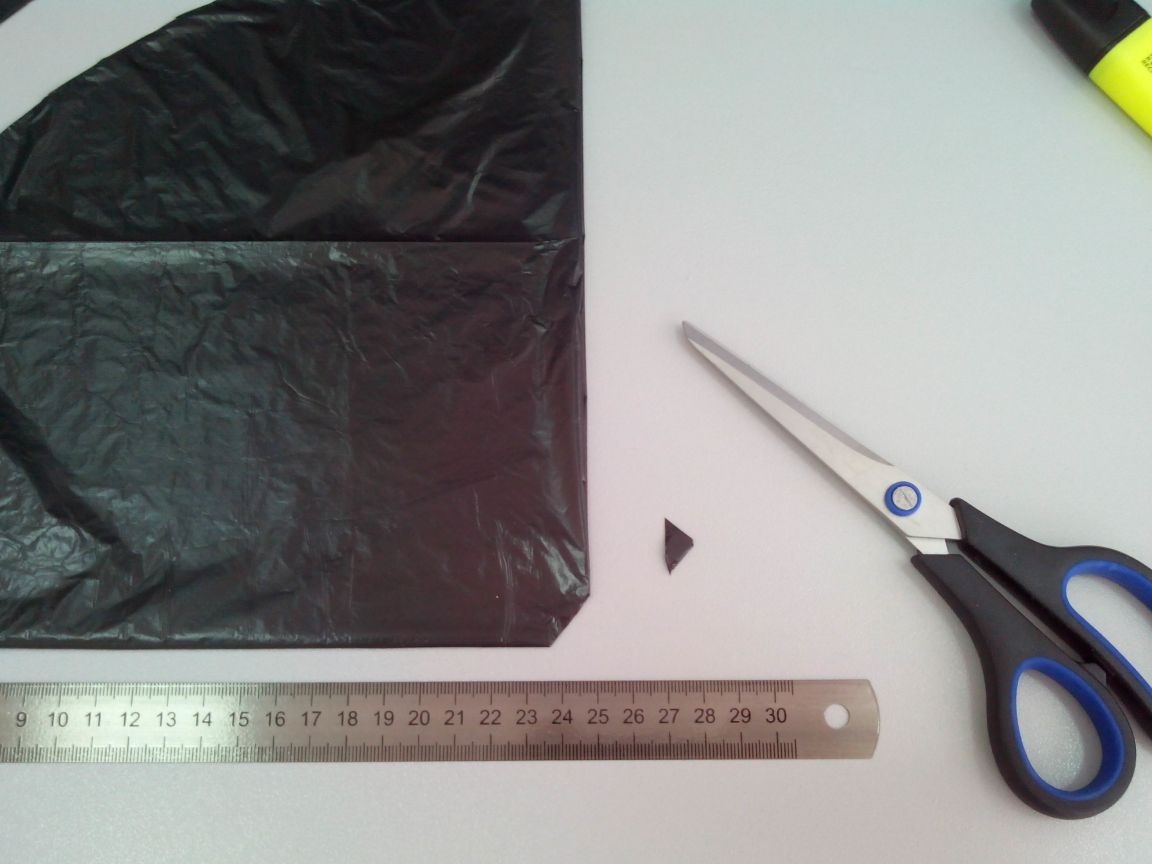
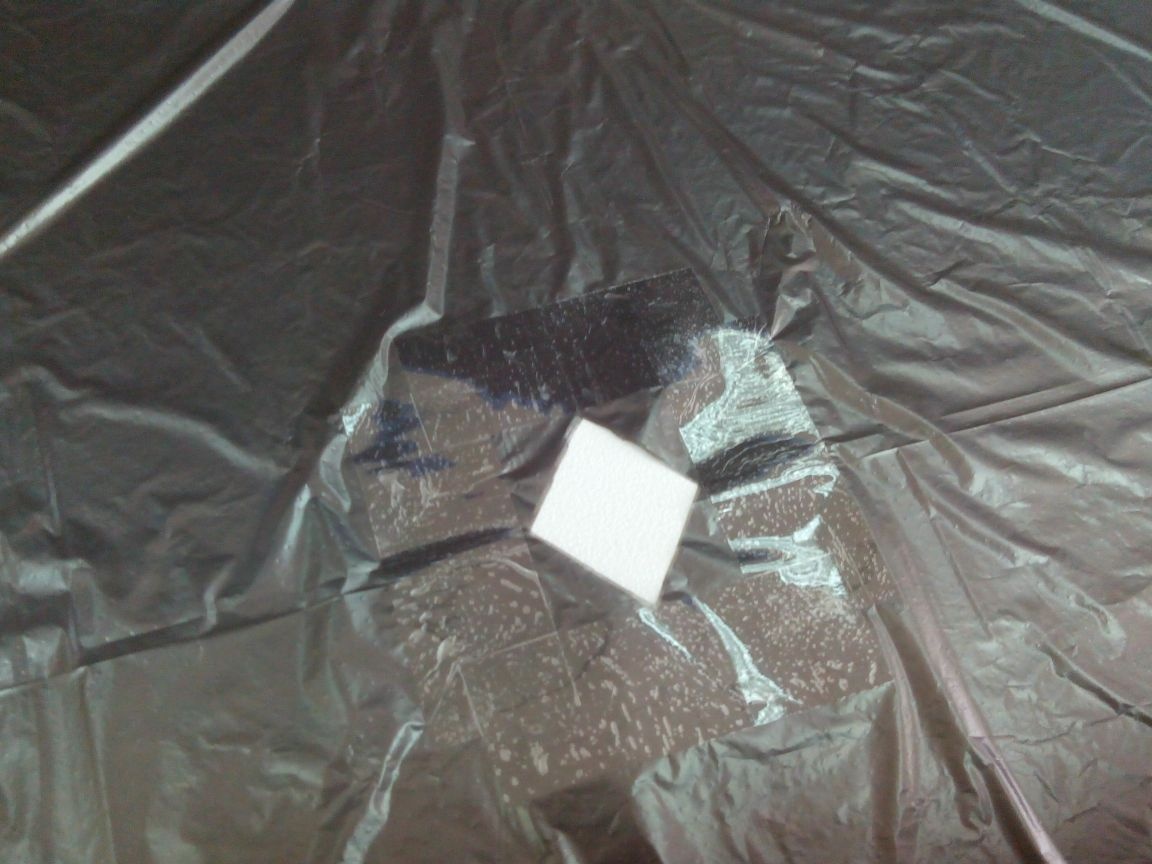
And cut off the corner, thereby making a small hole in the center of the dome.
We make slings from thick threads - they need 8 pieces. Their length in this case is approximately 60 cm, with a margin. On one side of the thread we tie a knot.
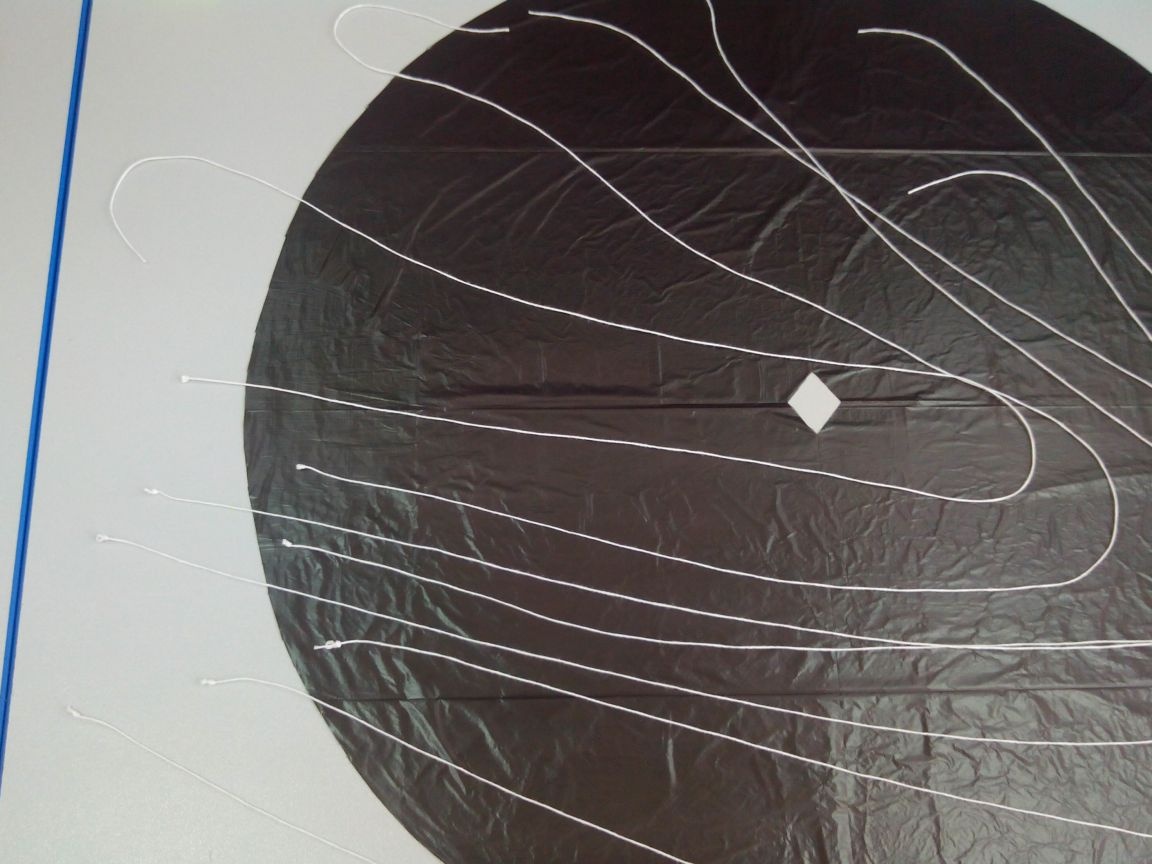
We fasten the slings to the dome with strips of narrow tape, leaving the bundle behind the strip of tape.
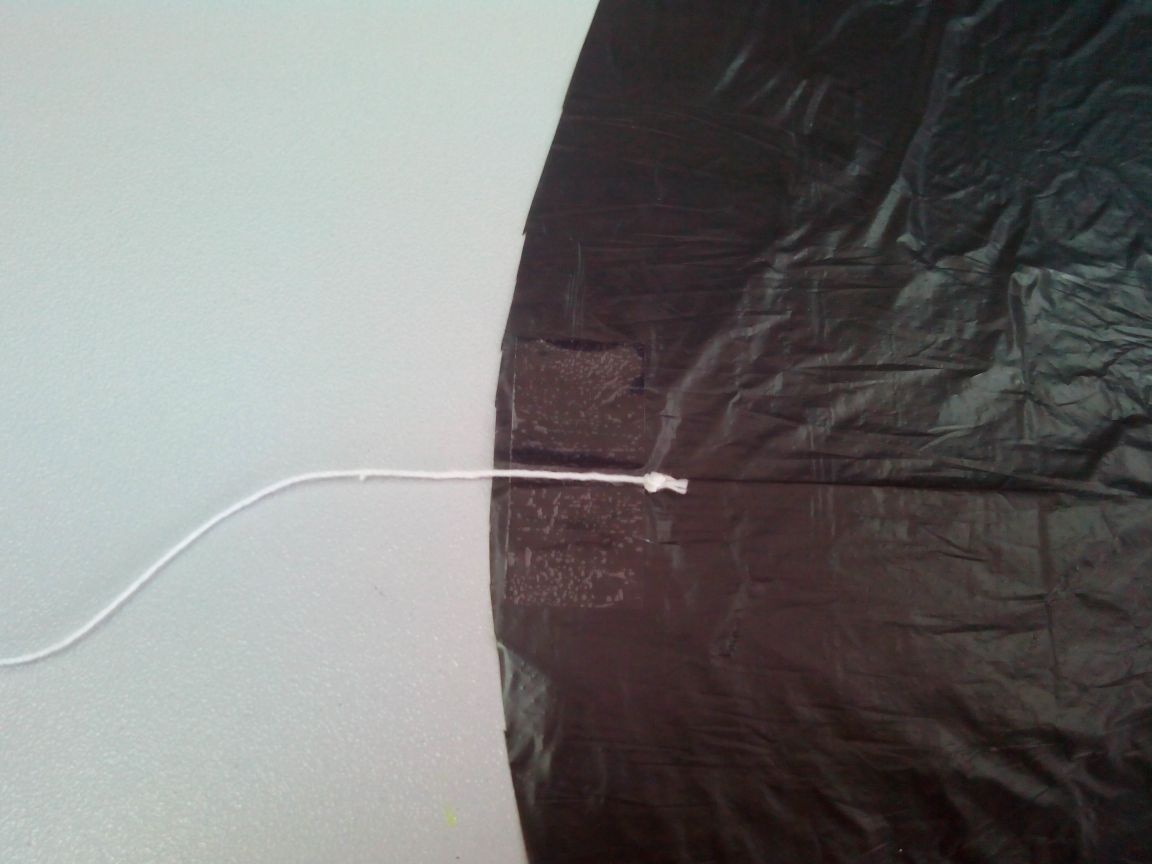
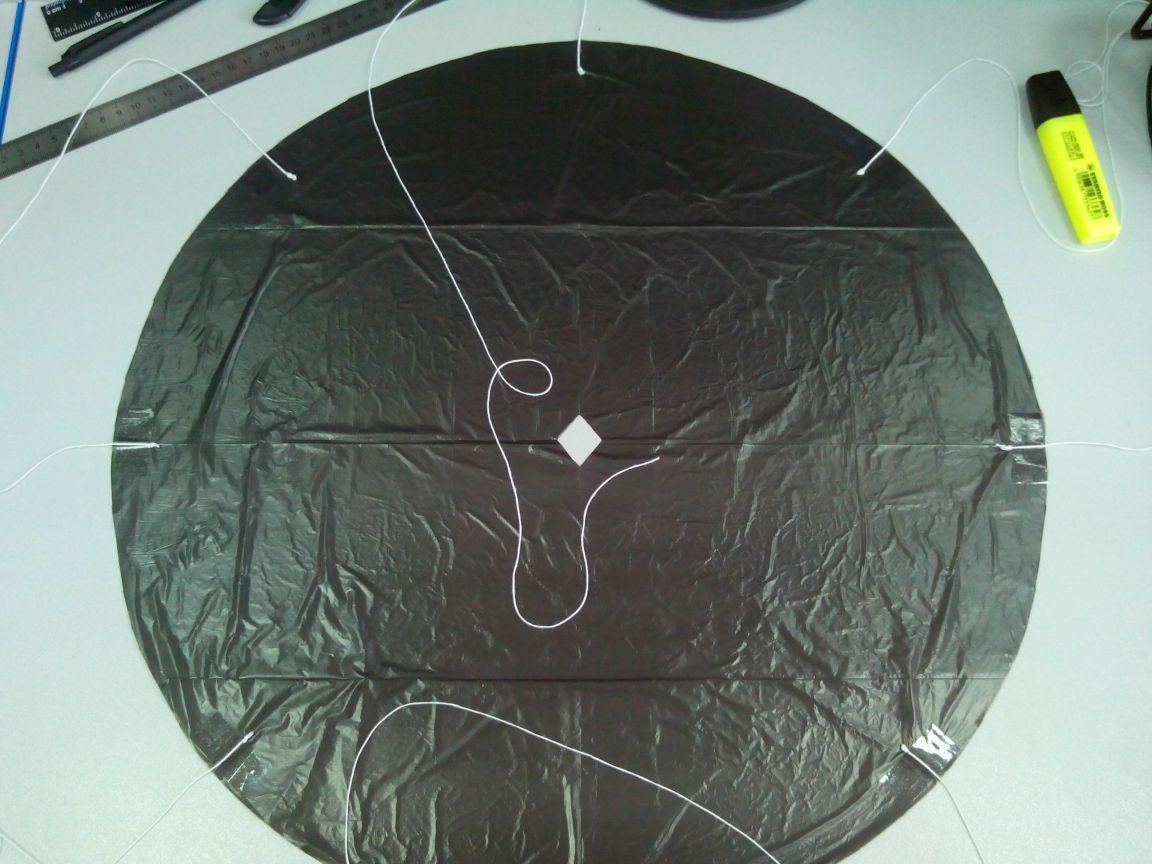
We glue the central hole in the dome with small strips of adhesive tape to strengthen it.
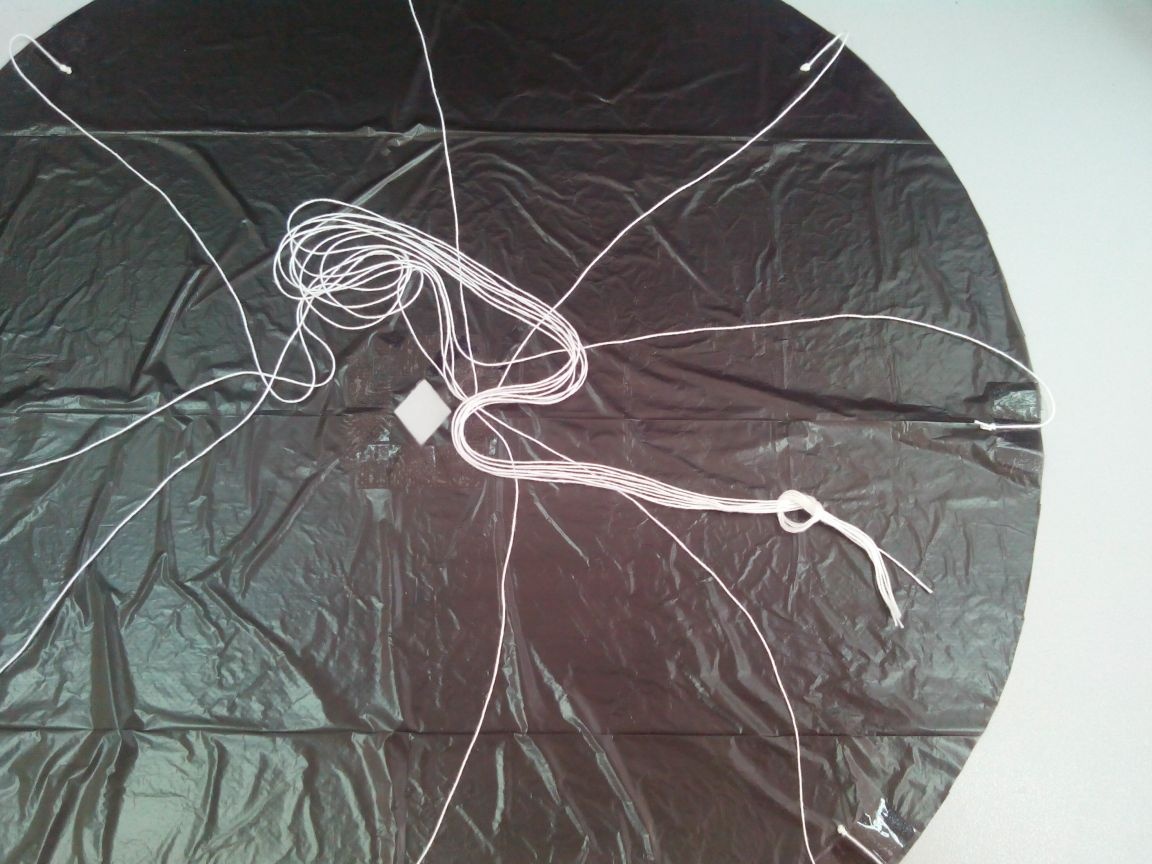
We connect the free ends of the slings together and tie them into a knot.
The canopy of the parachute is ready, you can begin to manufacture the figures of the paratrooper.
Step 2. Making the skydiver figure
This step is mostly aesthetic in nature, since instead of a paratrooper figure, you can use any item suitable for weight or a finished toy.
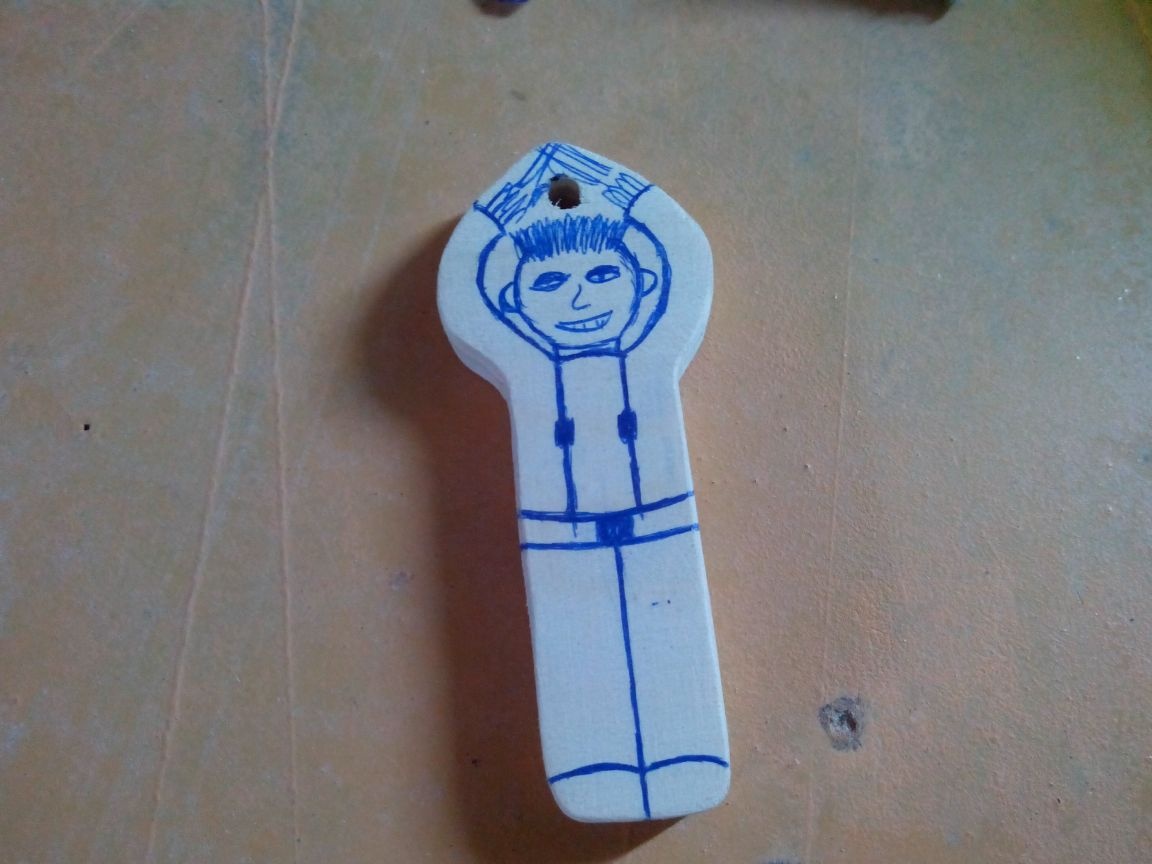
So, on a piece of thick plywood we draw the contours of a paratrooper. I am a very mediocre artist, therefore my paratrooper is a true warrior - inspires fear and horror!
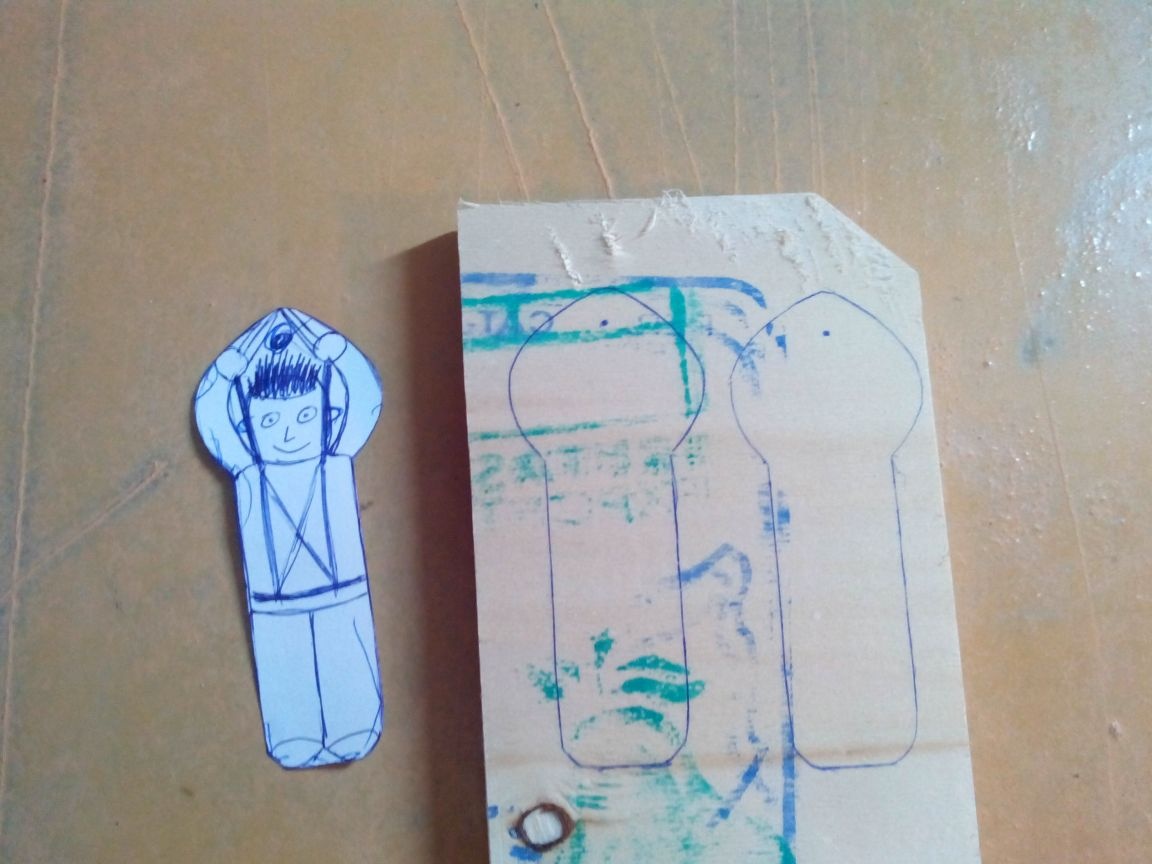
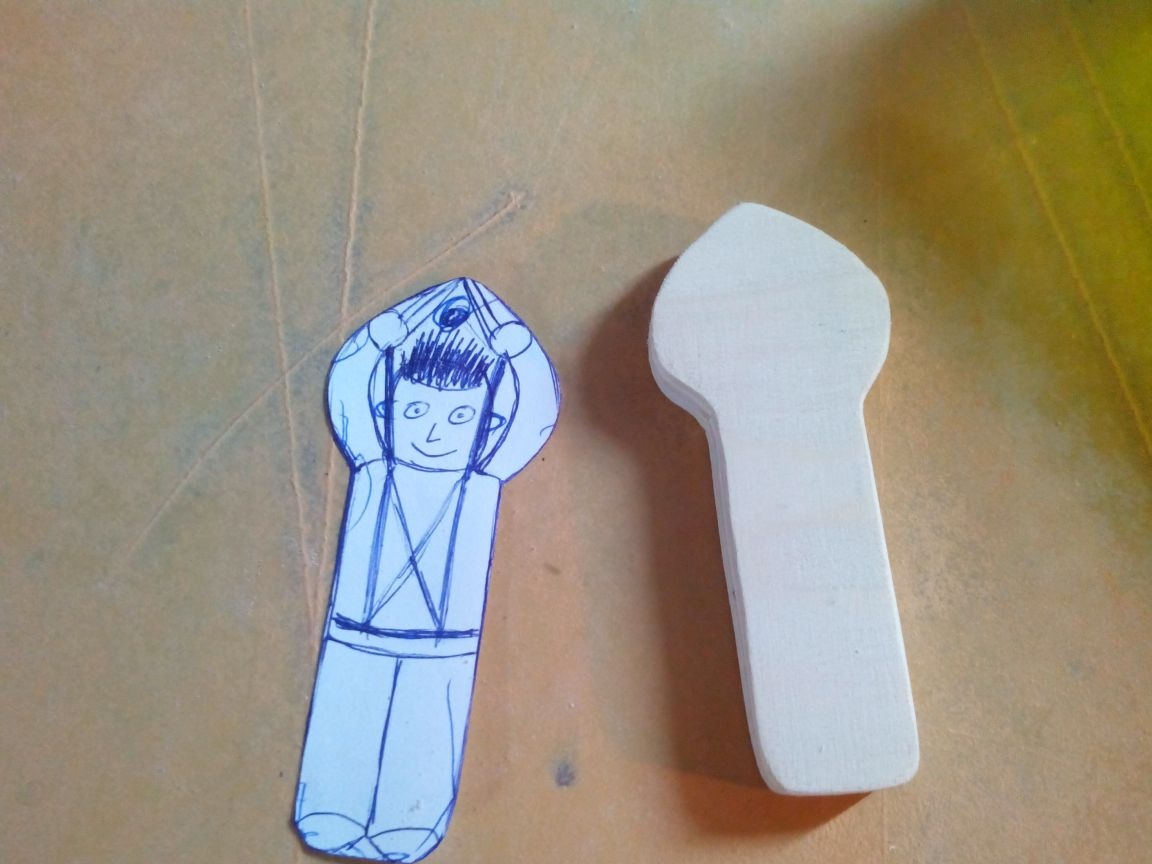
Saw the figure along the outer contour with a jigsaw.
We drill a hole in the upper part for the slings.
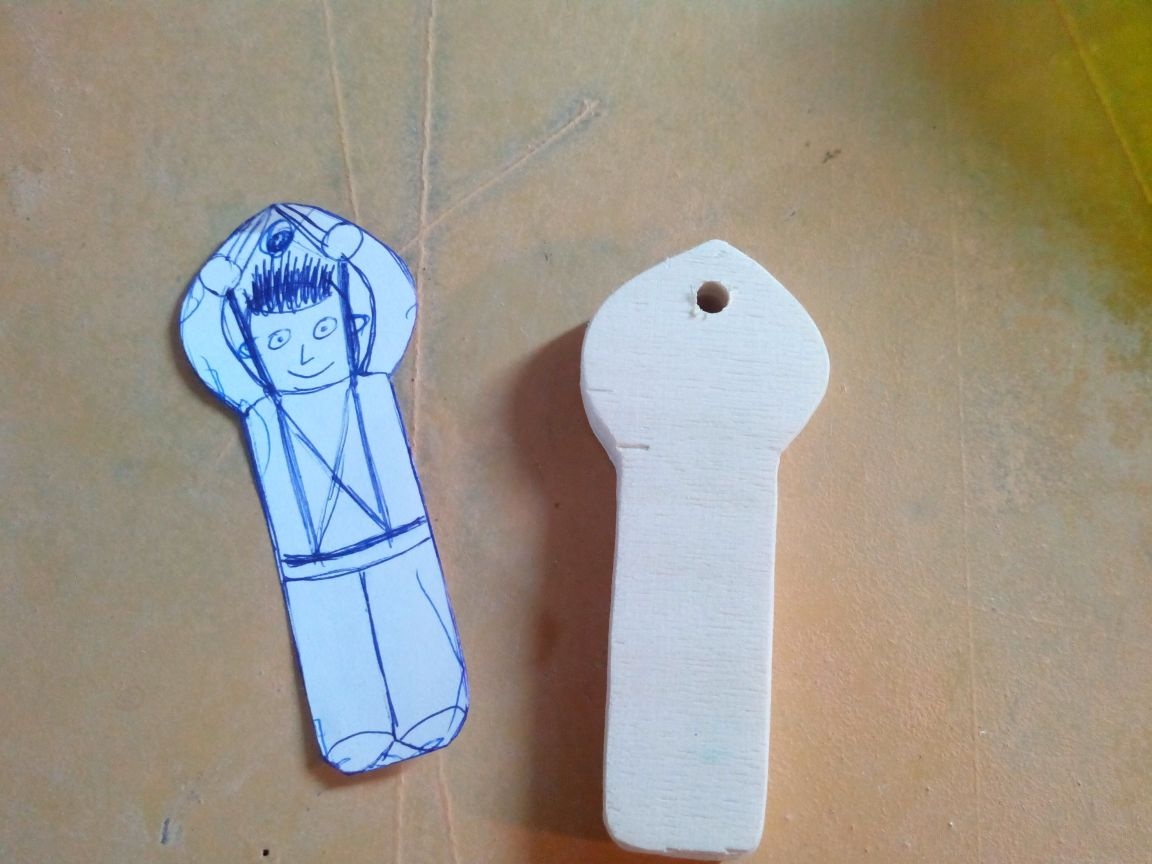
We process the figure with sandpaper so that it does not cling to the slings and the canopy of the parachute, and draw the pants, physiognomy and so on.
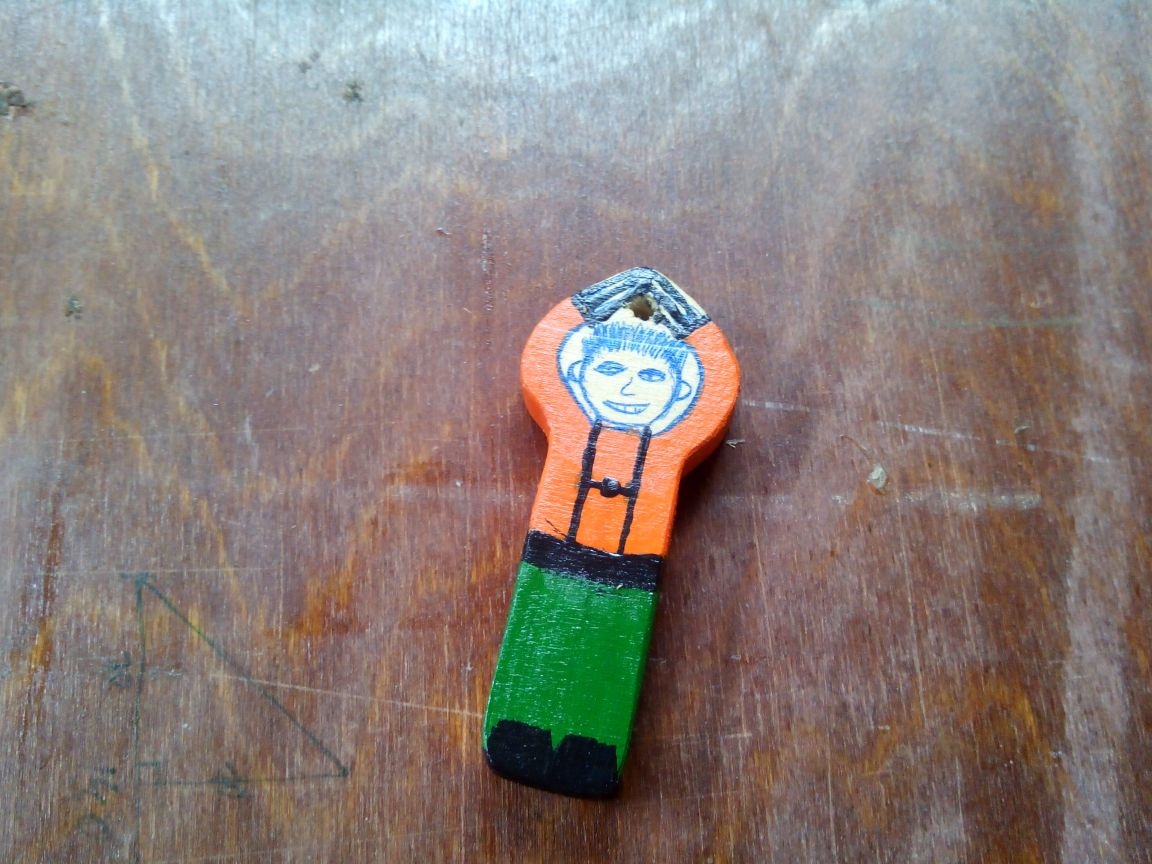
We color a figure with felt-tip pens or paints.
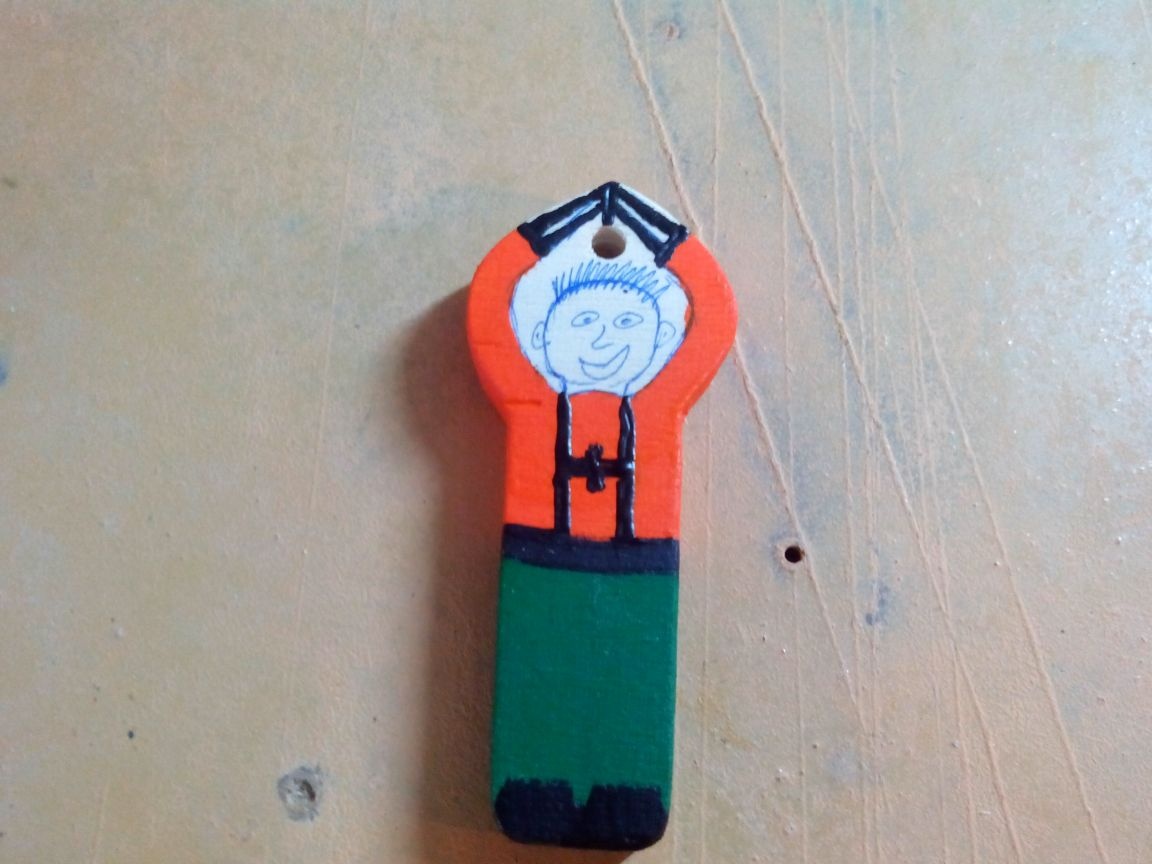
And varnish.
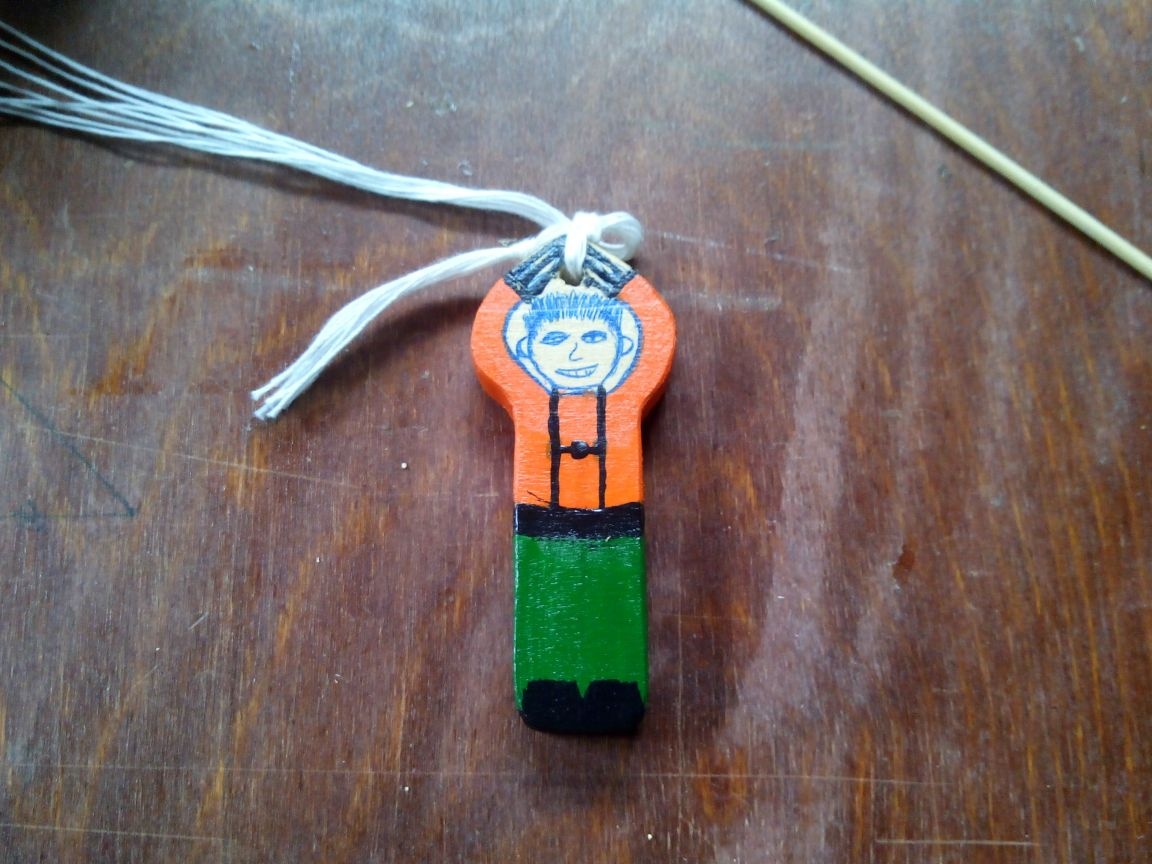
After the varnish dries, we tie the slings to the figure, threading them through the hole. We cut off excess threads.
:
For a round parachute, you can calculate the weight using this site -.
But if you simplify the task a little, then for a smooth descent it is enough to take the weight in grams equal to the diameter of the canopy of the parachute in centimeters, that is, in this case about 50 grams.
If the parachutist’s figure is too light, it can be weighted with any load, for example, bolts with nuts or “pseudoranets” made of plywood on the back. Just do not forget about the carrying capacity of your aircraft model and the capacity of the parachute compartment.
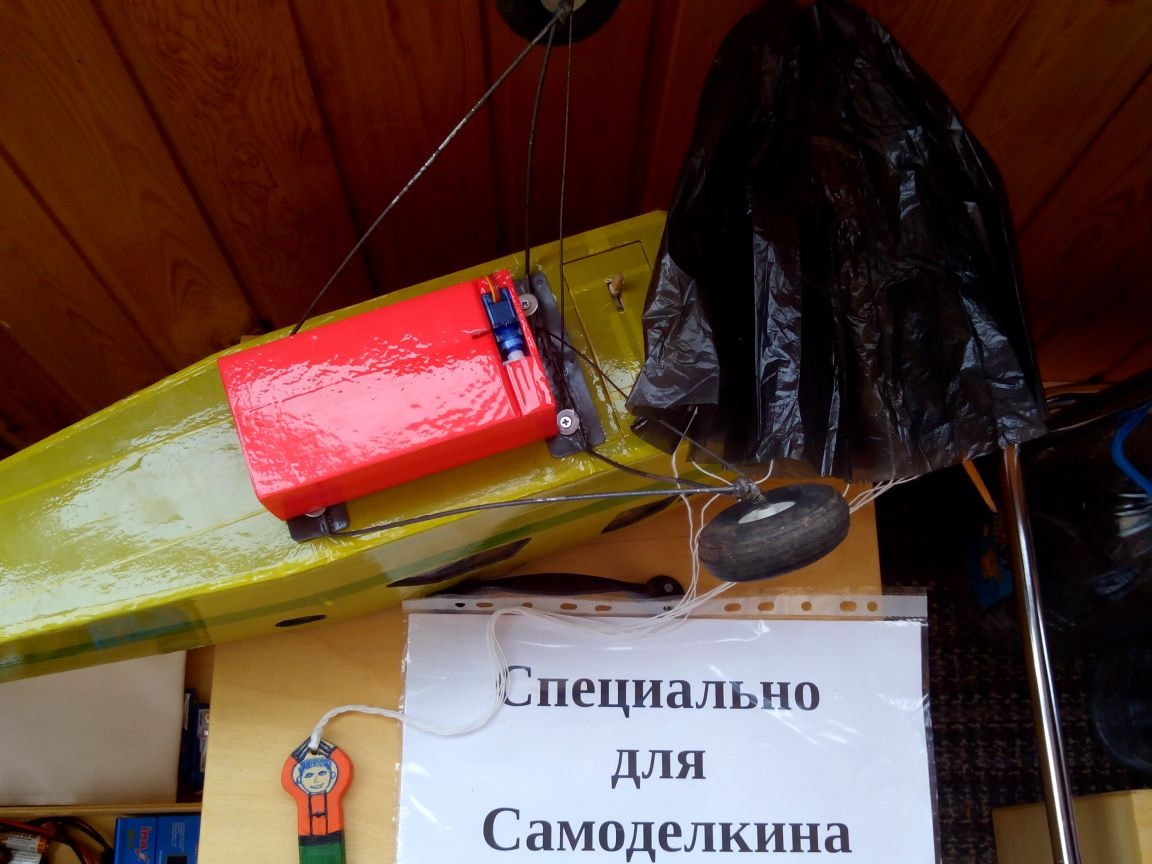
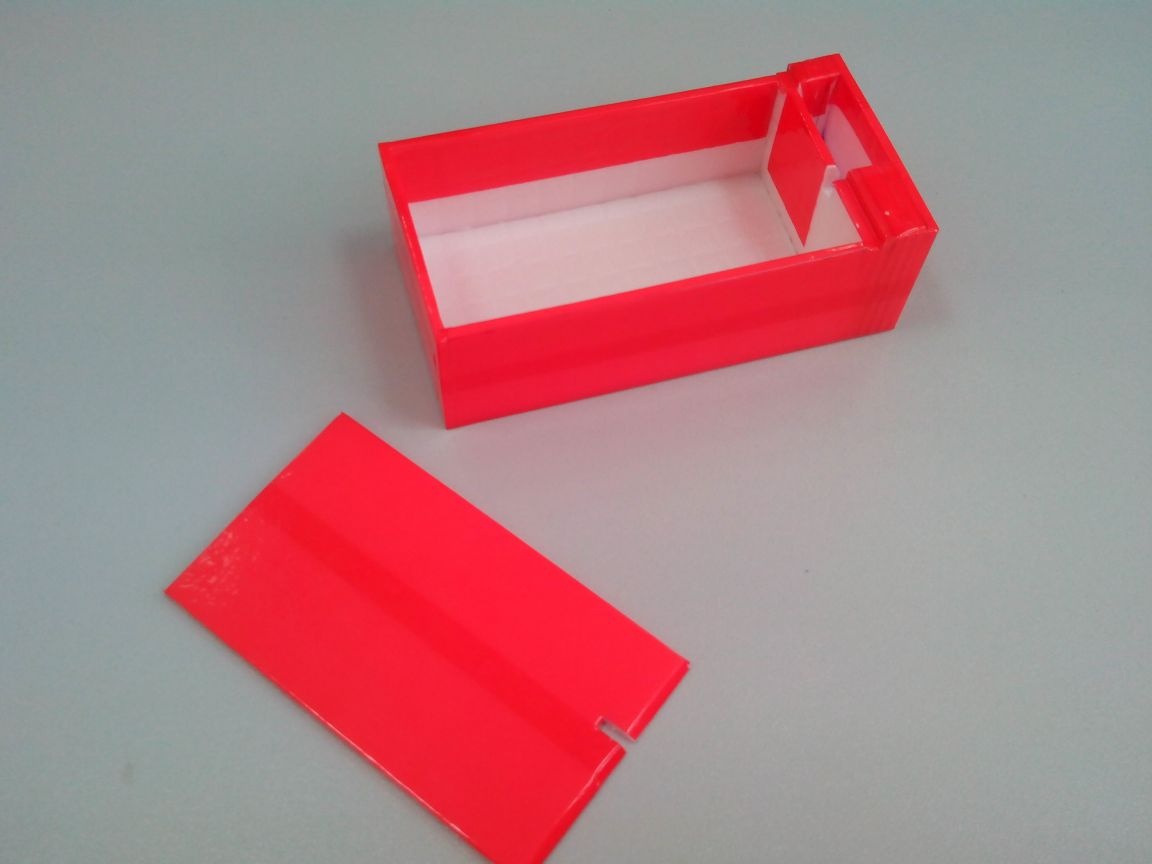
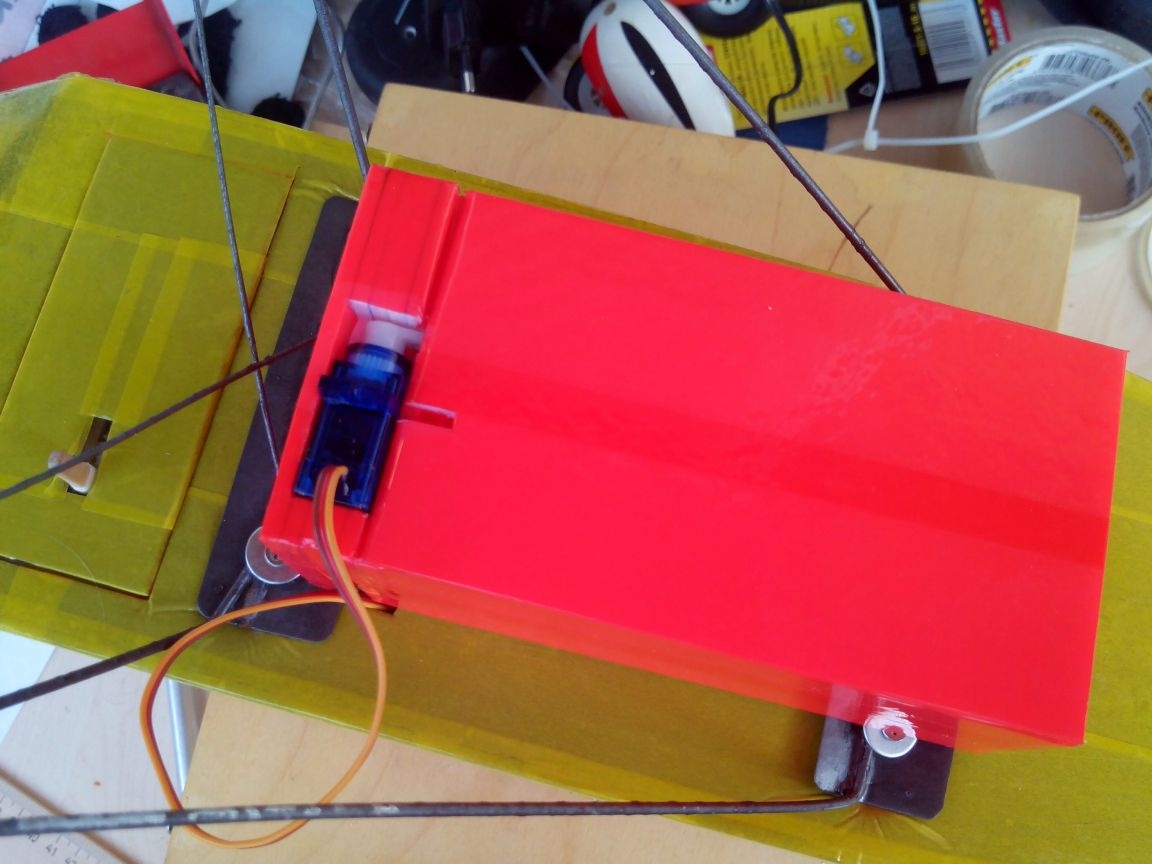
Step 3. Fabrication of the reset mechanism
The mechanism will be fully controllable, that is, it will open and close on command from the ground. In my case, it will be mounted outside the model, to the bottom of the fuselage, on a bolt.
From the ceiling tiles cut the walls of the parachute compartment.
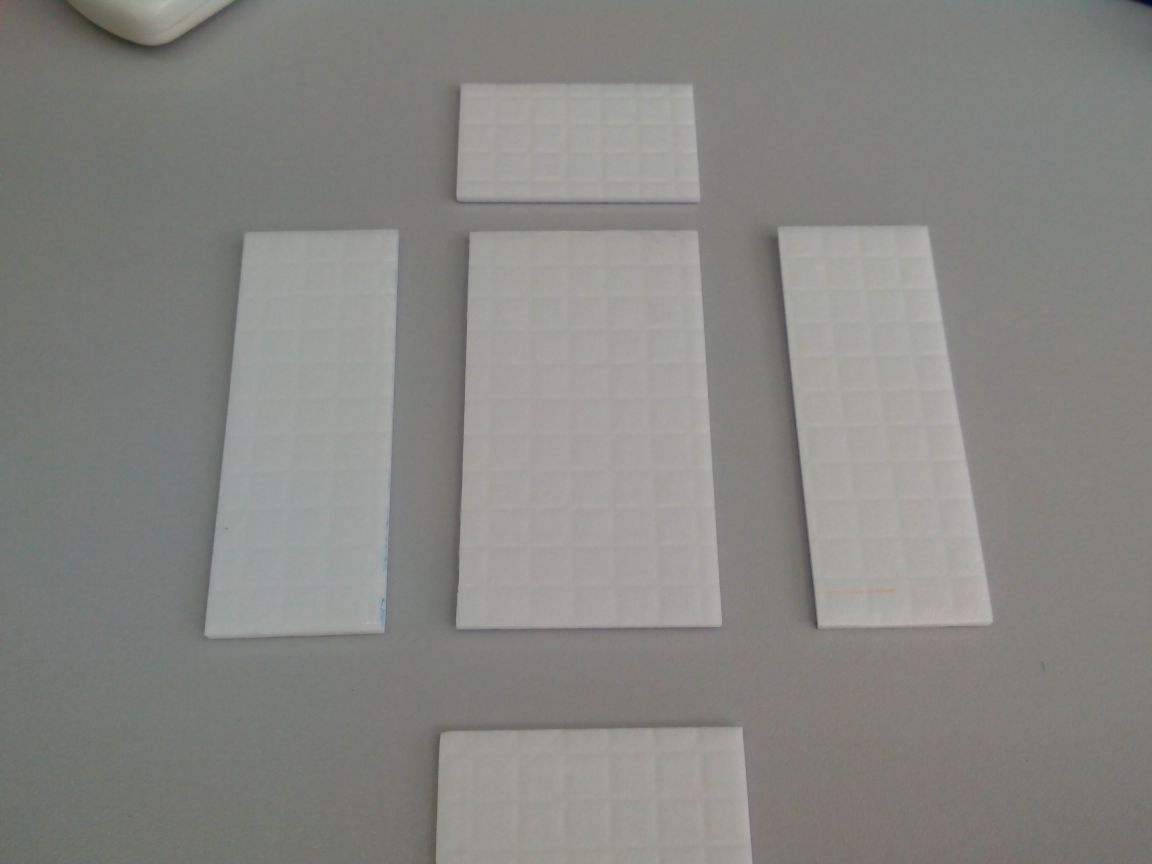
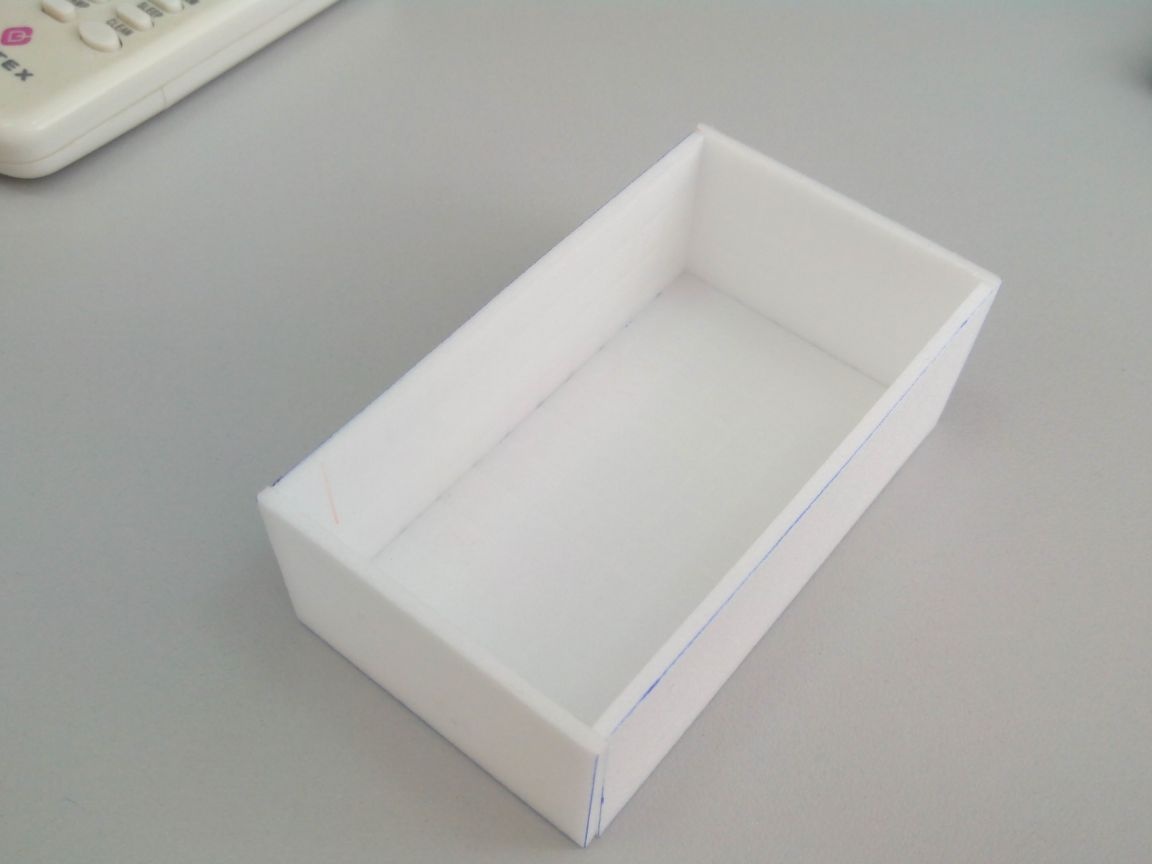
Glue the box.
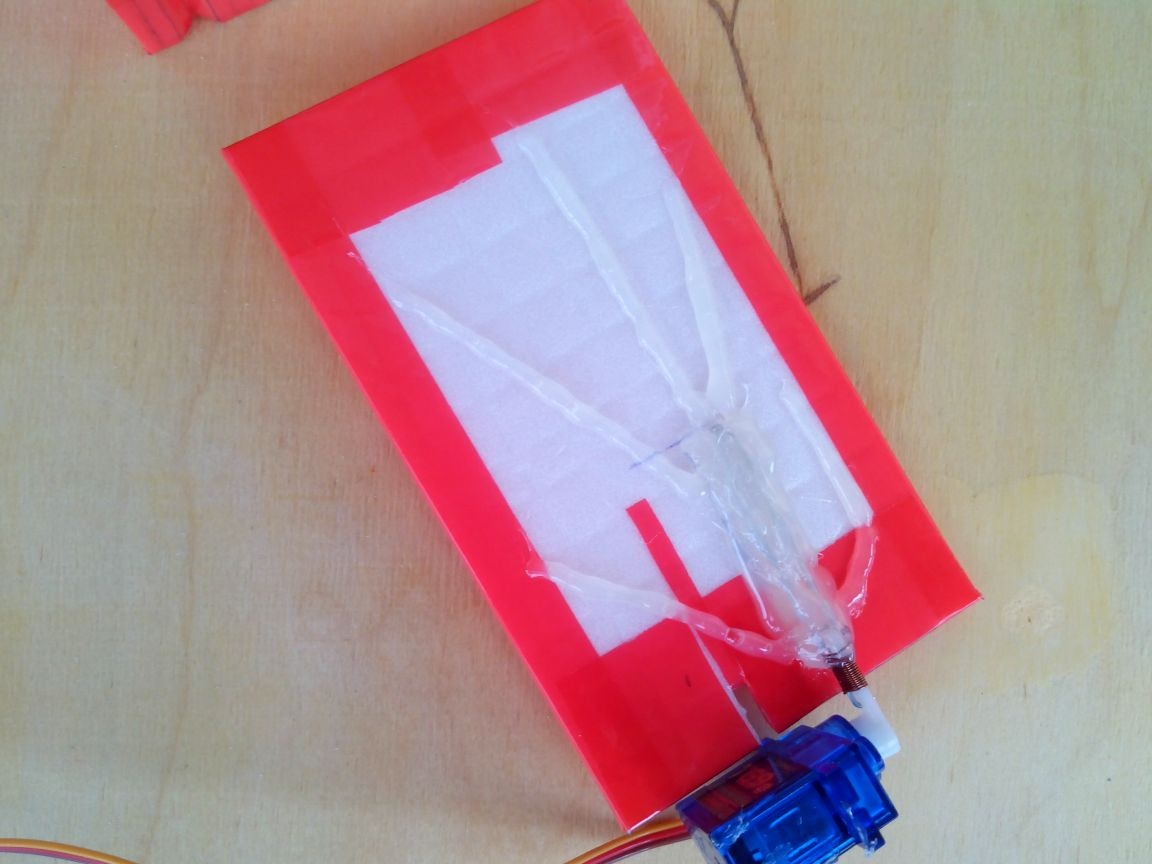
We try on a servo drive to the front (in the direction of the aircraft model's motion) wall and draw its contours.
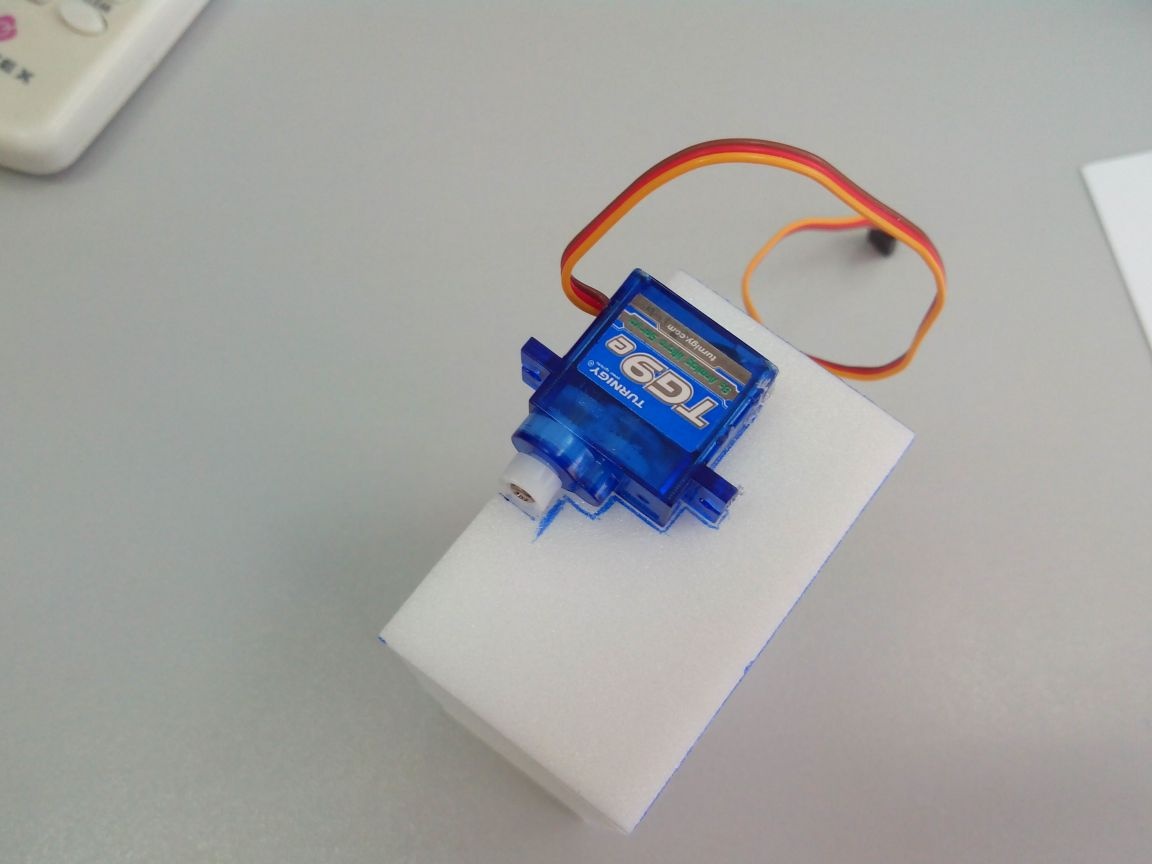
From several layers of the ceiling, we cut out the seat for the servo.
We try on the servo drive and make a small groove for the wire in the side.
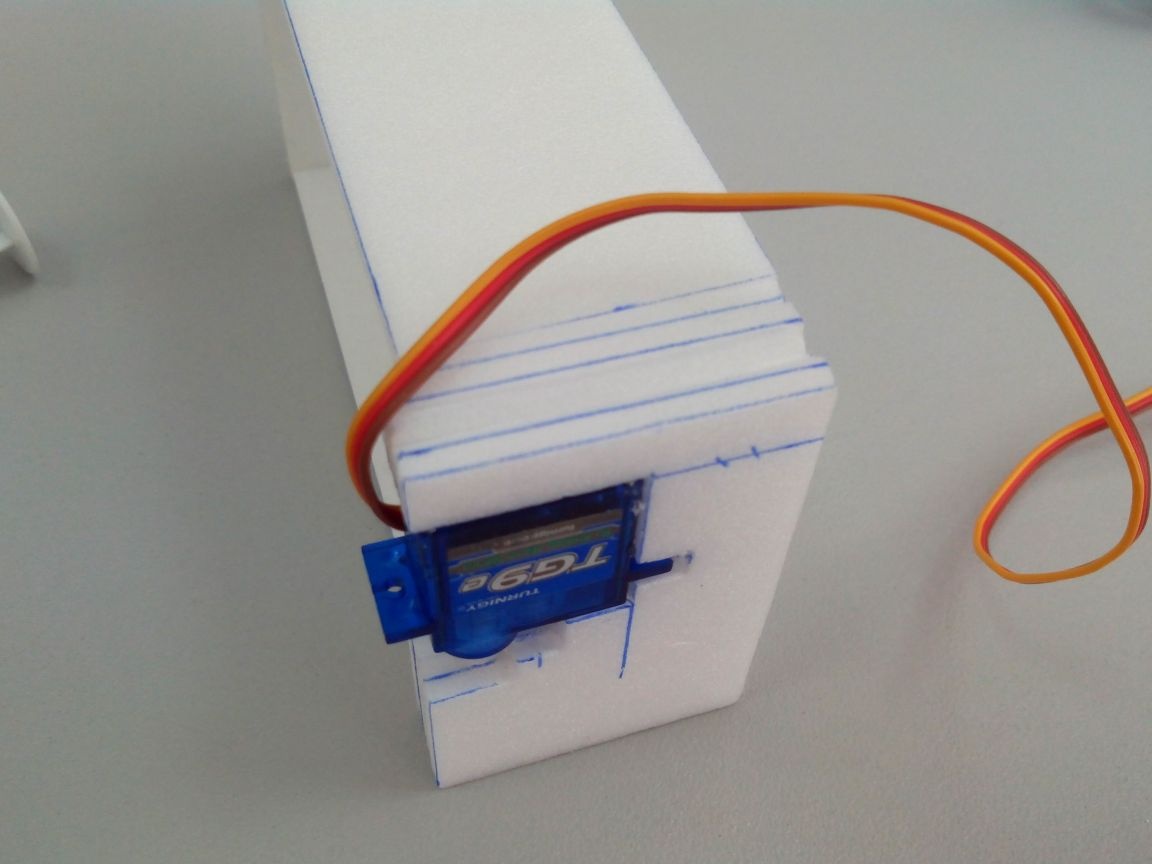
Glue another layer of the ceiling.
Cut the cover from the ceiling.

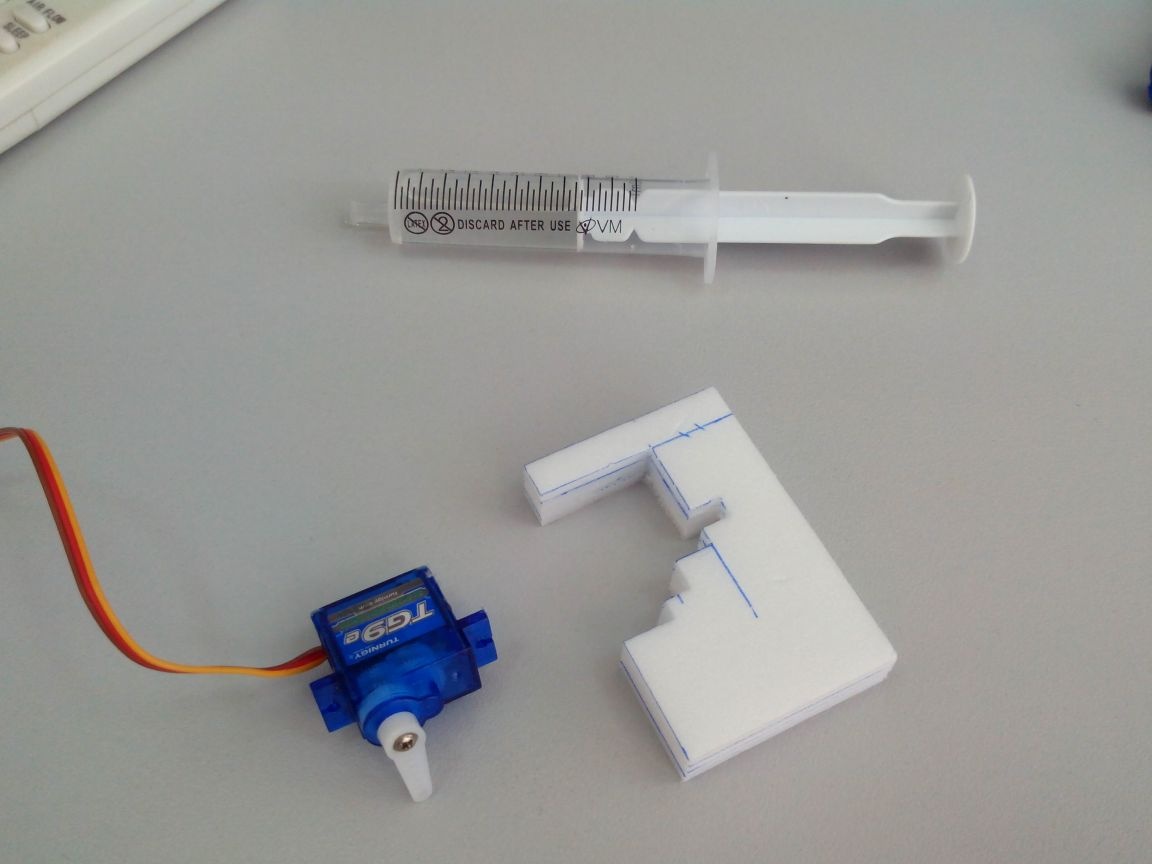
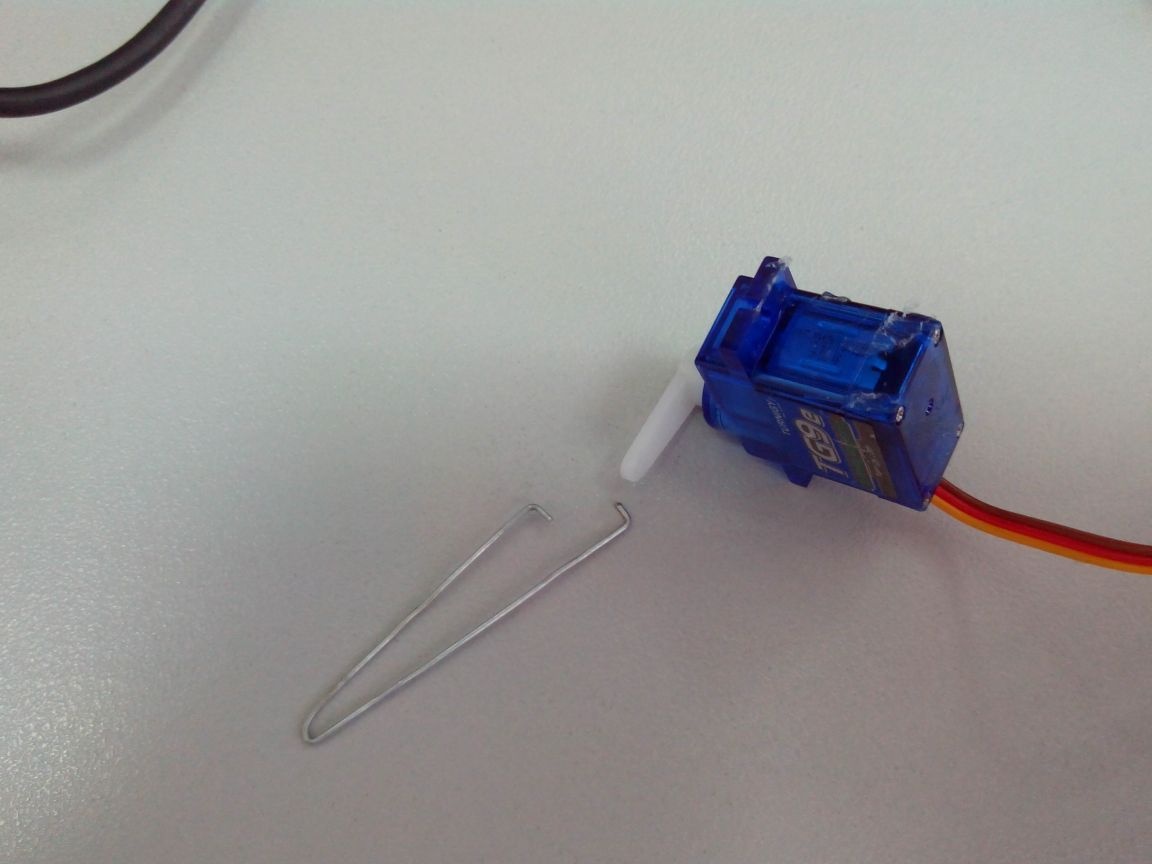
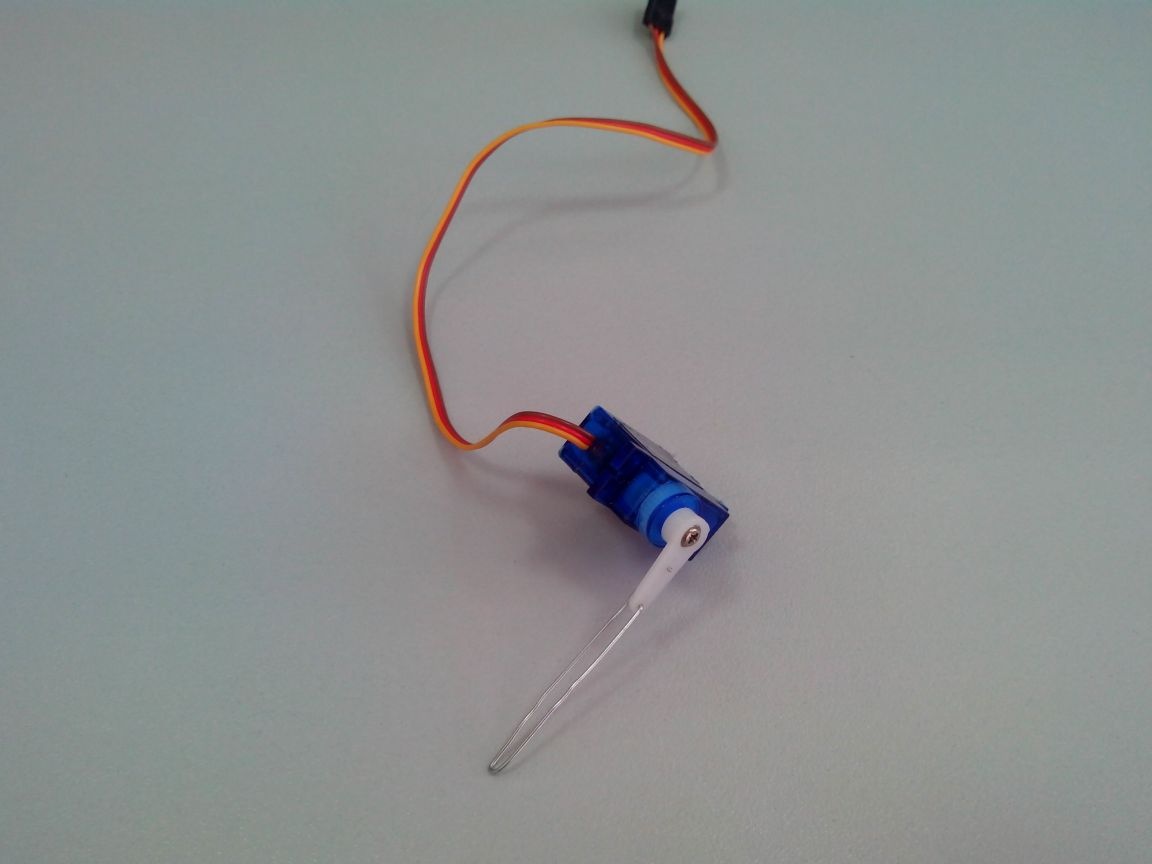
From the clip, we bend the extension for the rocker of the servo drive and attach it. In addition, you can wrap the mounting point with thread with glue or thin wire.
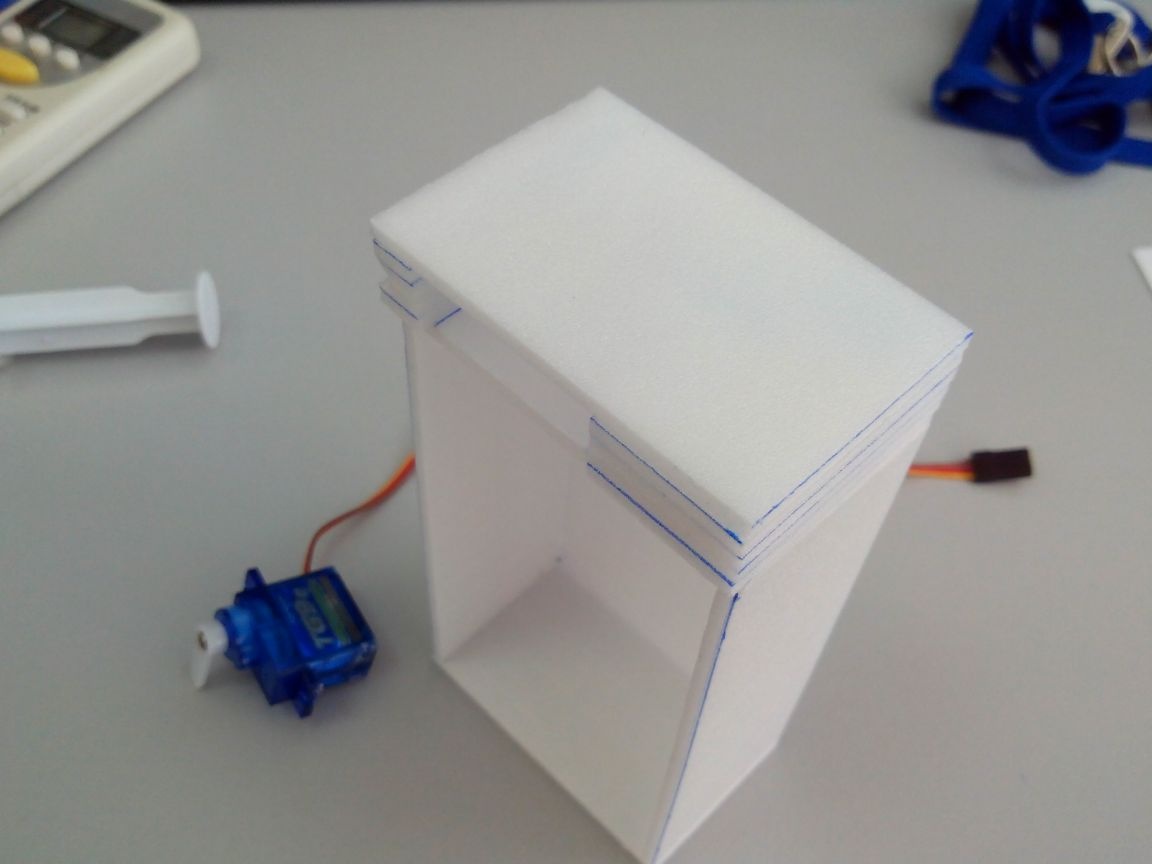
We glue the compartment and cover with tape. You can match the color of the model, but I just chose a bright color.
We glue the lid on the rocker of the servo-driver with hot-melt adhesive.
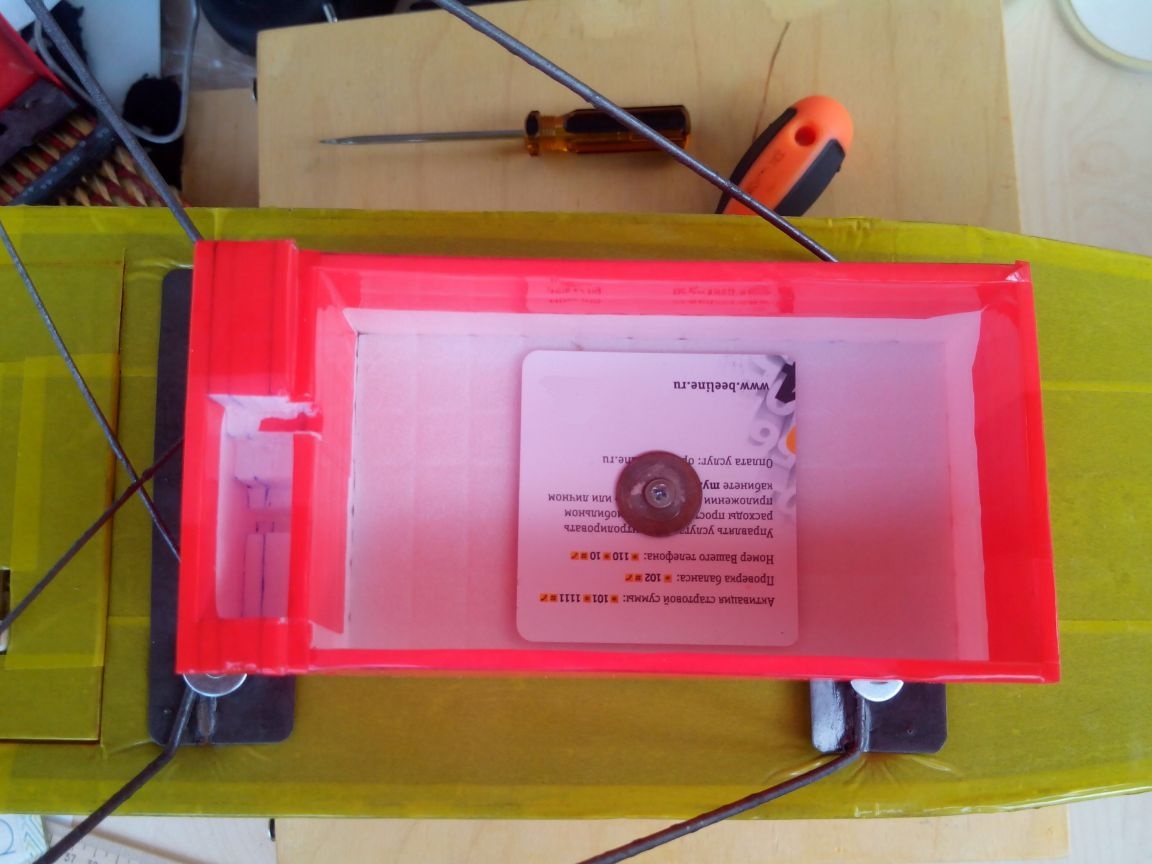
Glue a plastic card to the bottom of the compartment so that the mounting bolt does not fall into the ceiling, and drill a hole.
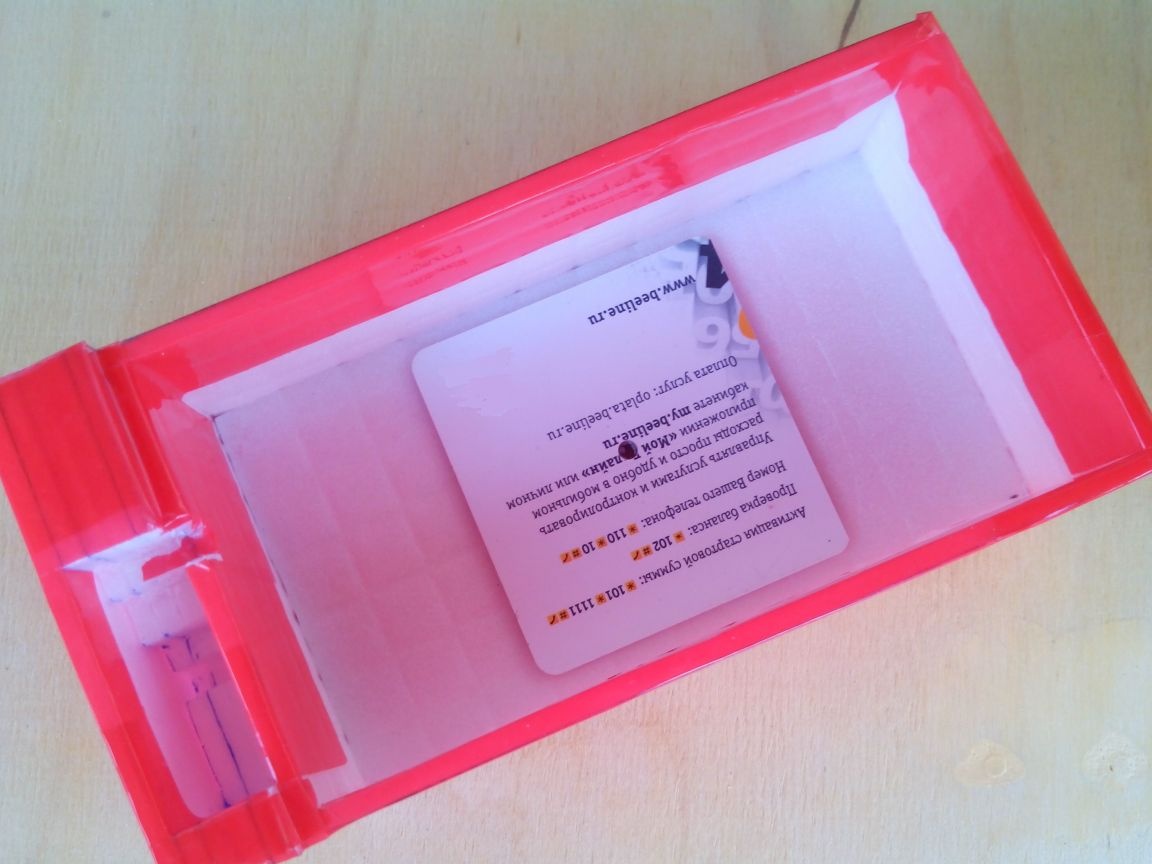
We fasten the compartment to the bottom of the model closer to the center of gravity.
We glue the servo-drive into the seat with hot-melt adhesive, and pull the wire from it into the fuselage through a small hole and connect it to the receiver. In the groove, the wire can be fixed with a strip of tape.
Now you can proceed to the tests and "jumps".
About how to lay a parachute and the first "jumps" are shown in the video: