This article will describe in detail the manufacture of a box for equipment, spare parts, batteries and tools - the so-called flight box. But this box is made taking into account that there is car for trips to the field - and therefore it is large enough and heavy.
Materials:
- plywood (4mm)
- glazing beads
- wooden blocks 25x15 mm
- PVA glue
- varnish
- self-tapping screws
- carnations
Purchased Items:
- door knob
- loops
- hook locks
- legs
Instruments:
- wood hacksaw
- jigsaw
- ruler
- square
- pencil
- sandpaper
- hammer
- iron
- brush
Since there is little experience in design programs of furniture, I also made a box in such a program. A file with the * .sto extension is a box project with all sizes. But in general, this box, depending on your equipment and tools, may have completely different sizes and a different number of internal drawers.
Step 1. Sawing out the box parts
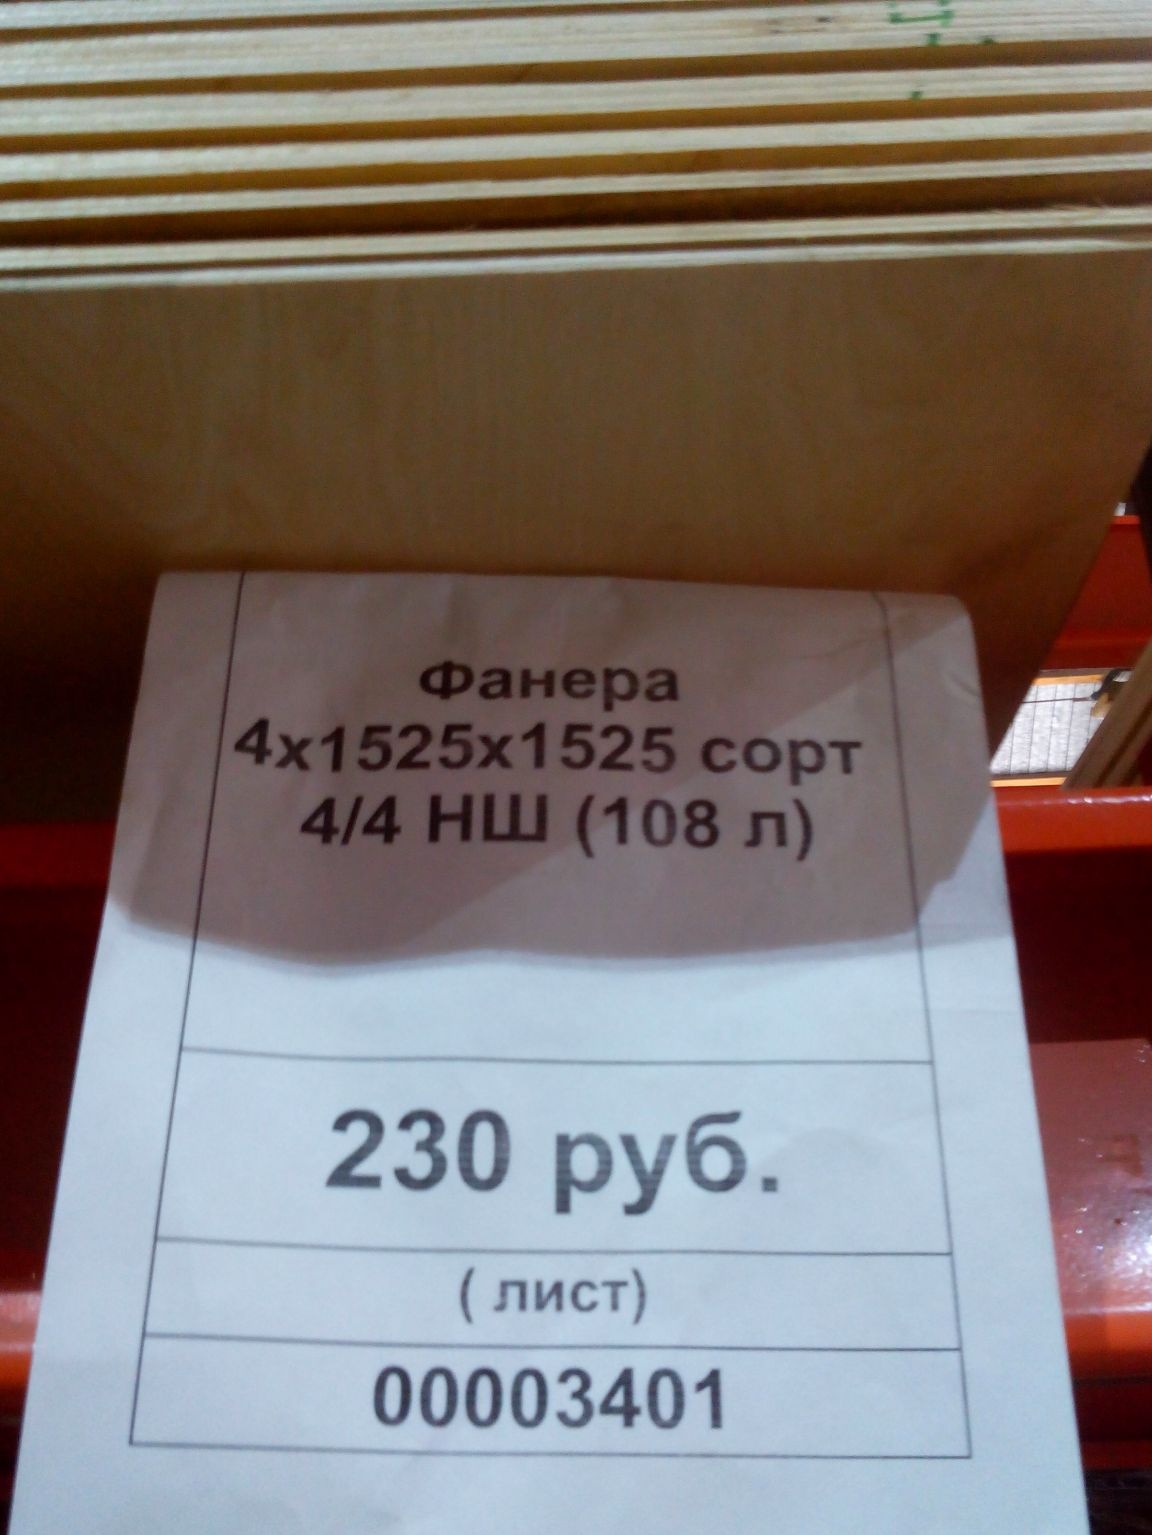
First, buy a sheet of plywood 4 mm thick. It is possible and thicker, but then the box will be even heavier, which is not very desirable.
The transportation process (and of the acquisition itself, of course, each will have his own, but on a box you need about such a sheet of plywood - 1.5x1.5 meters).
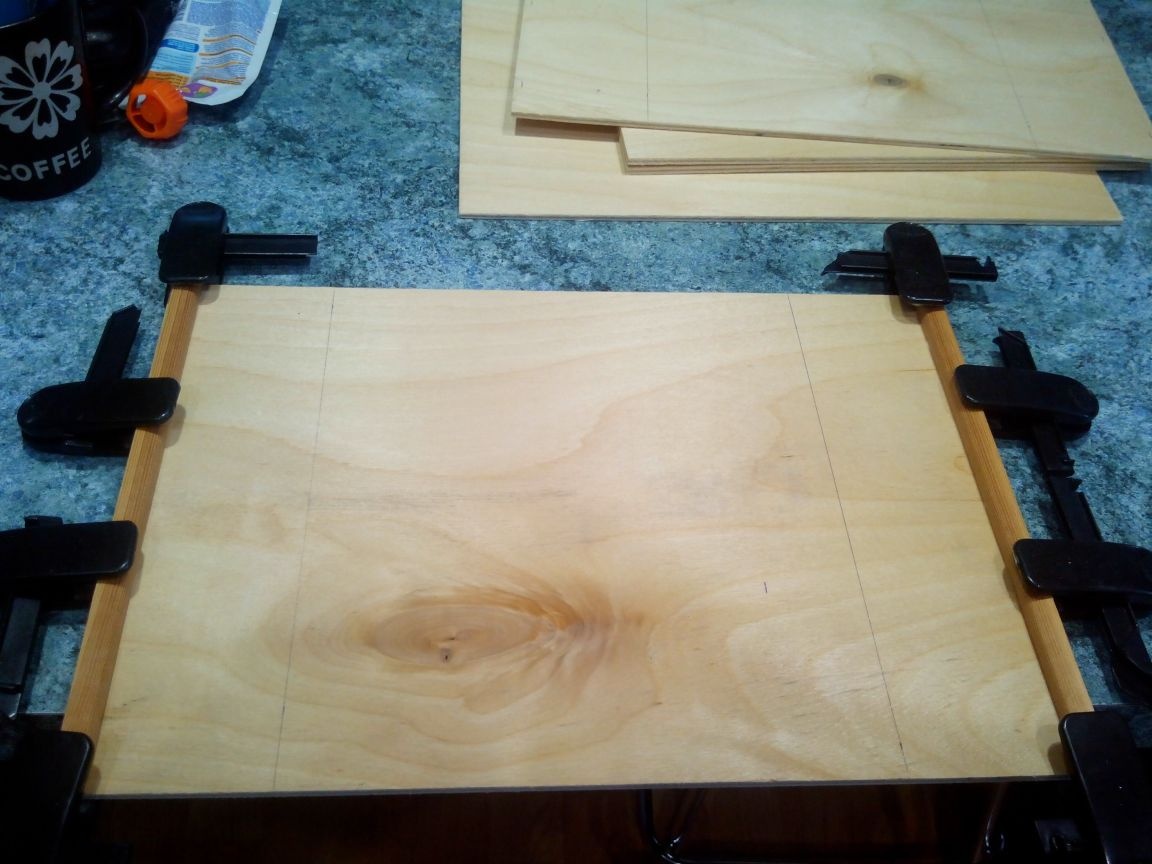
Then we cut the sheet into the necessary details and lightly process the edges with sandpaper.
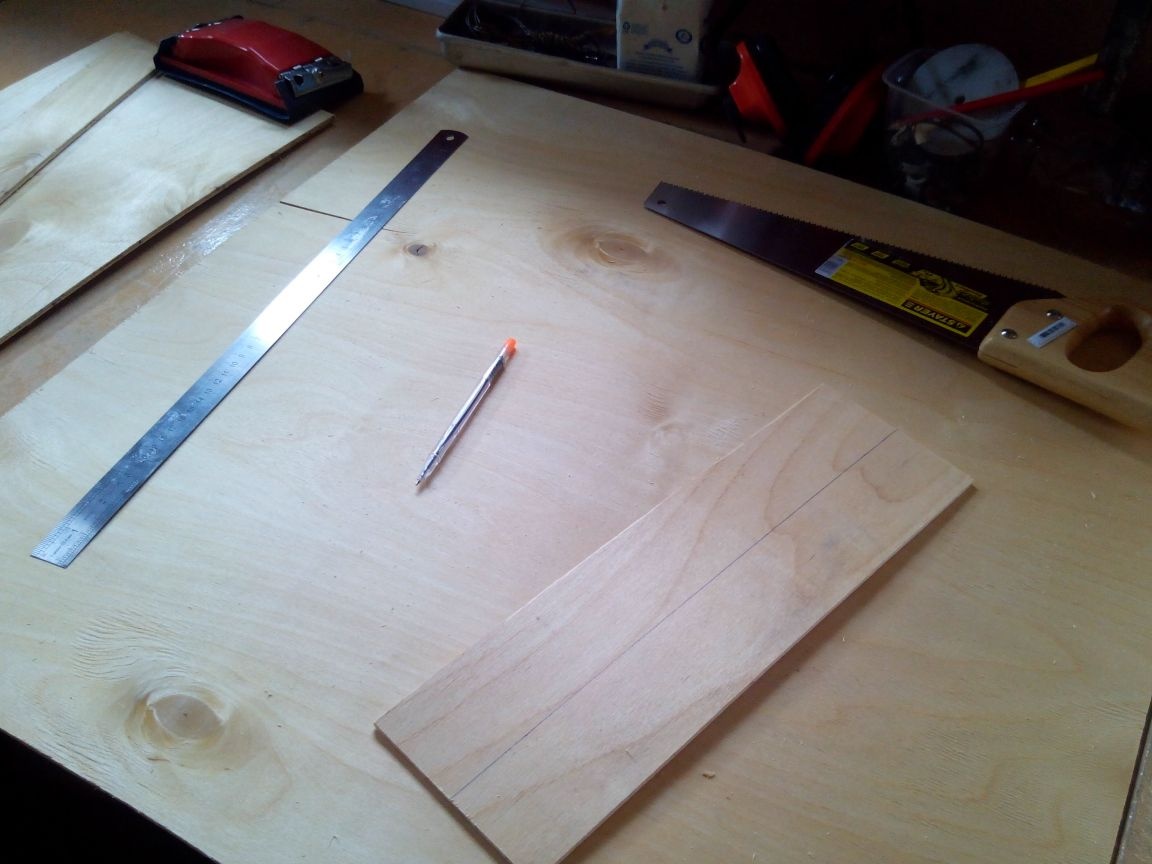
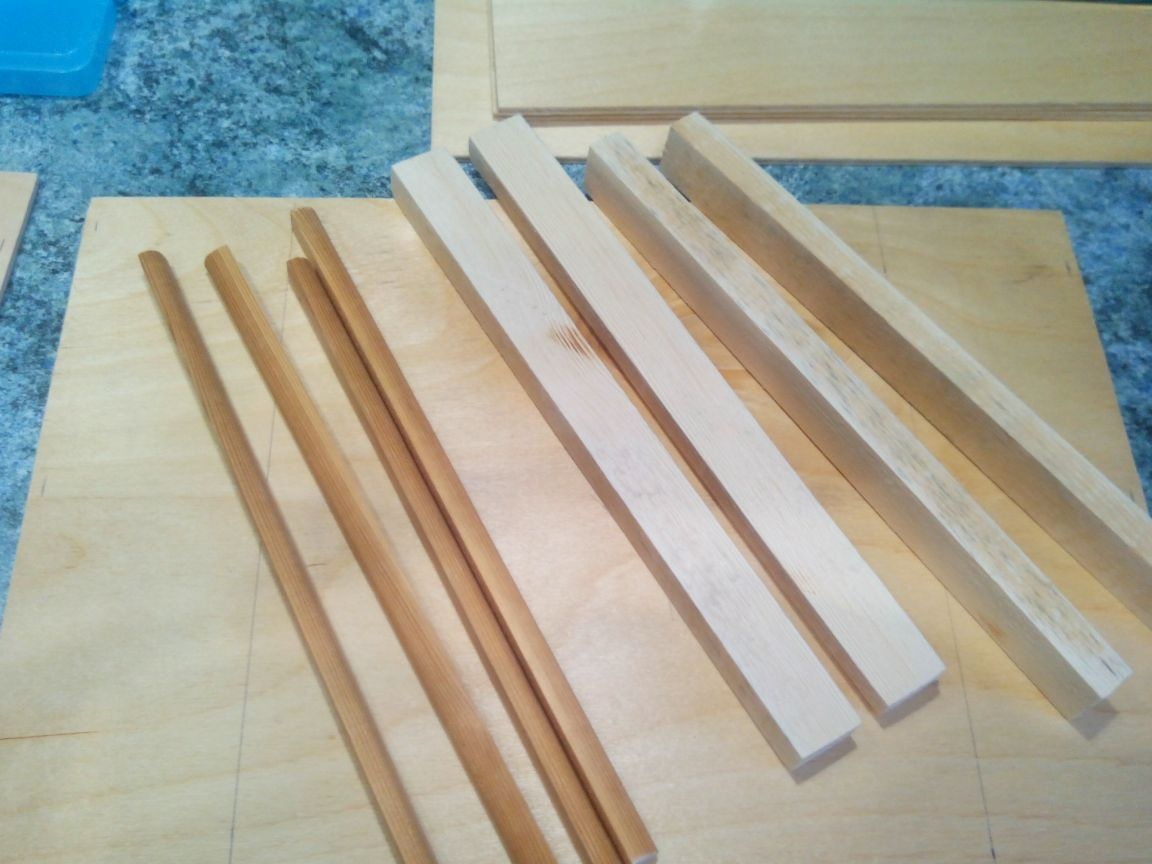
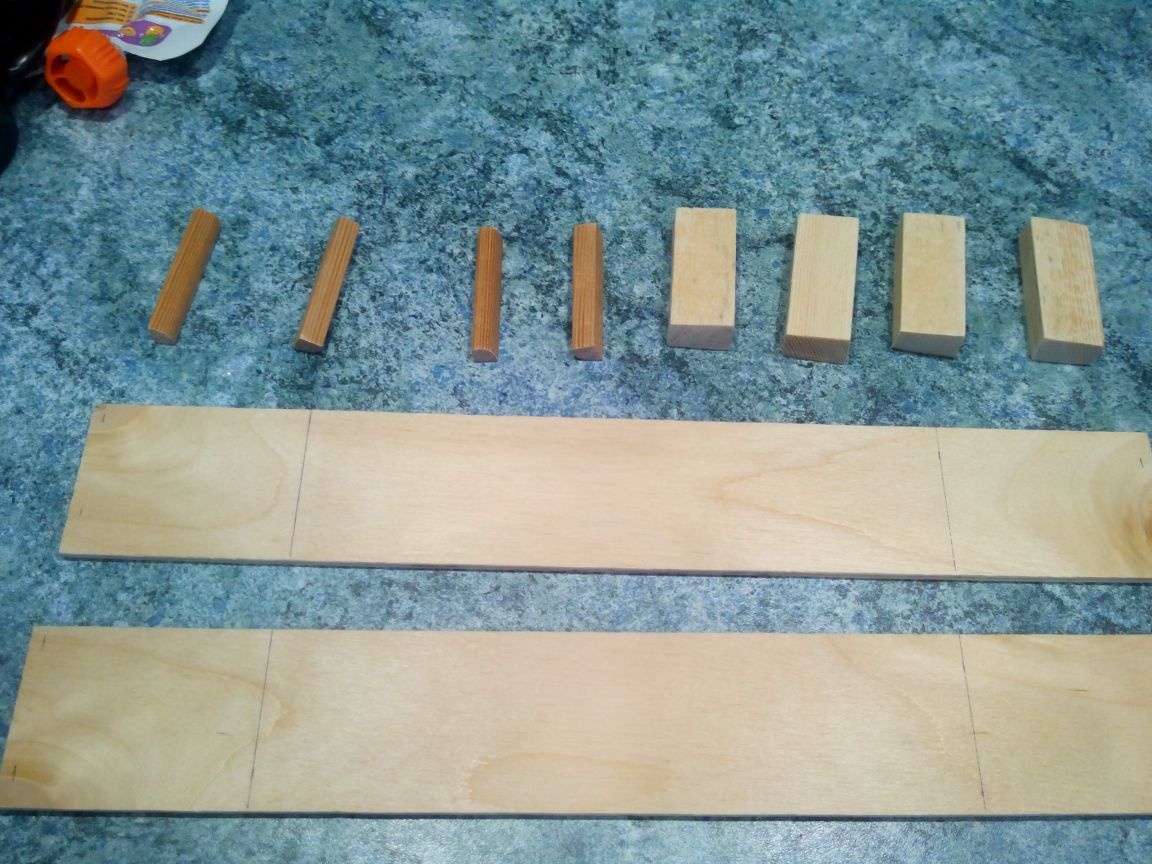
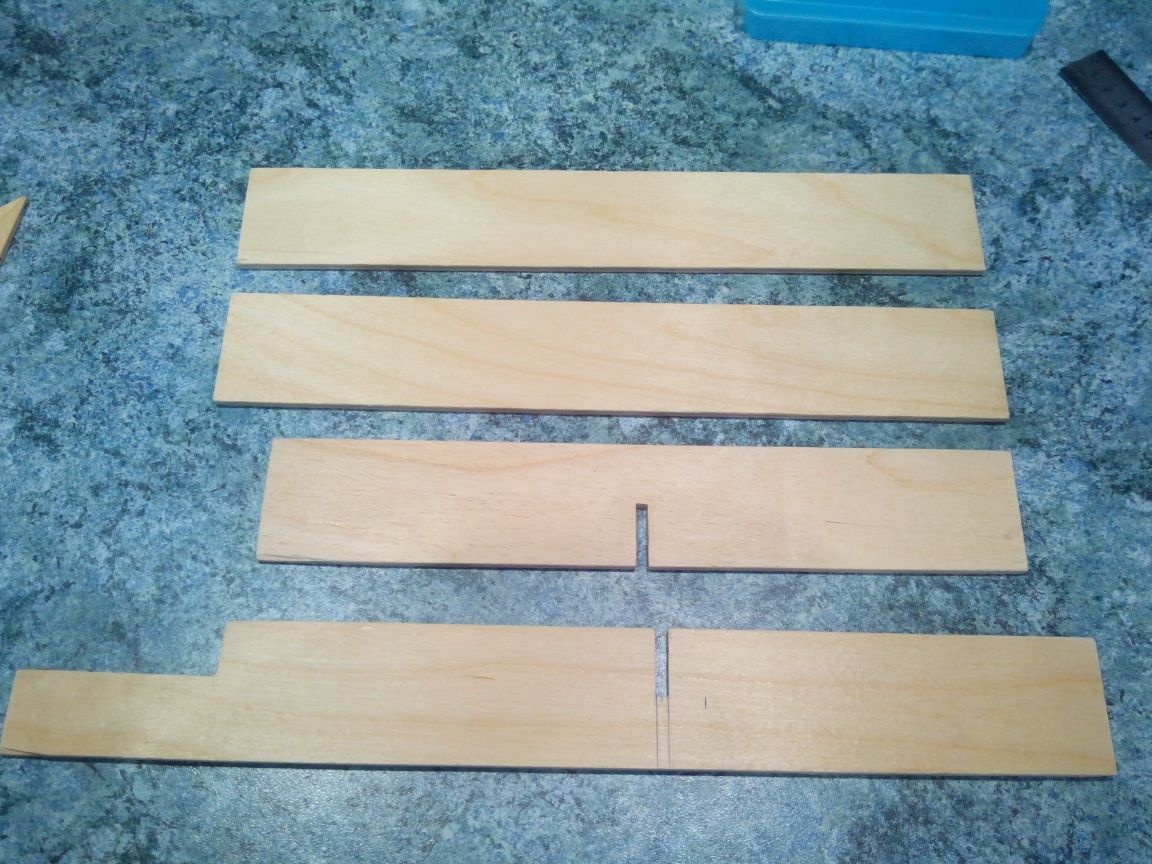
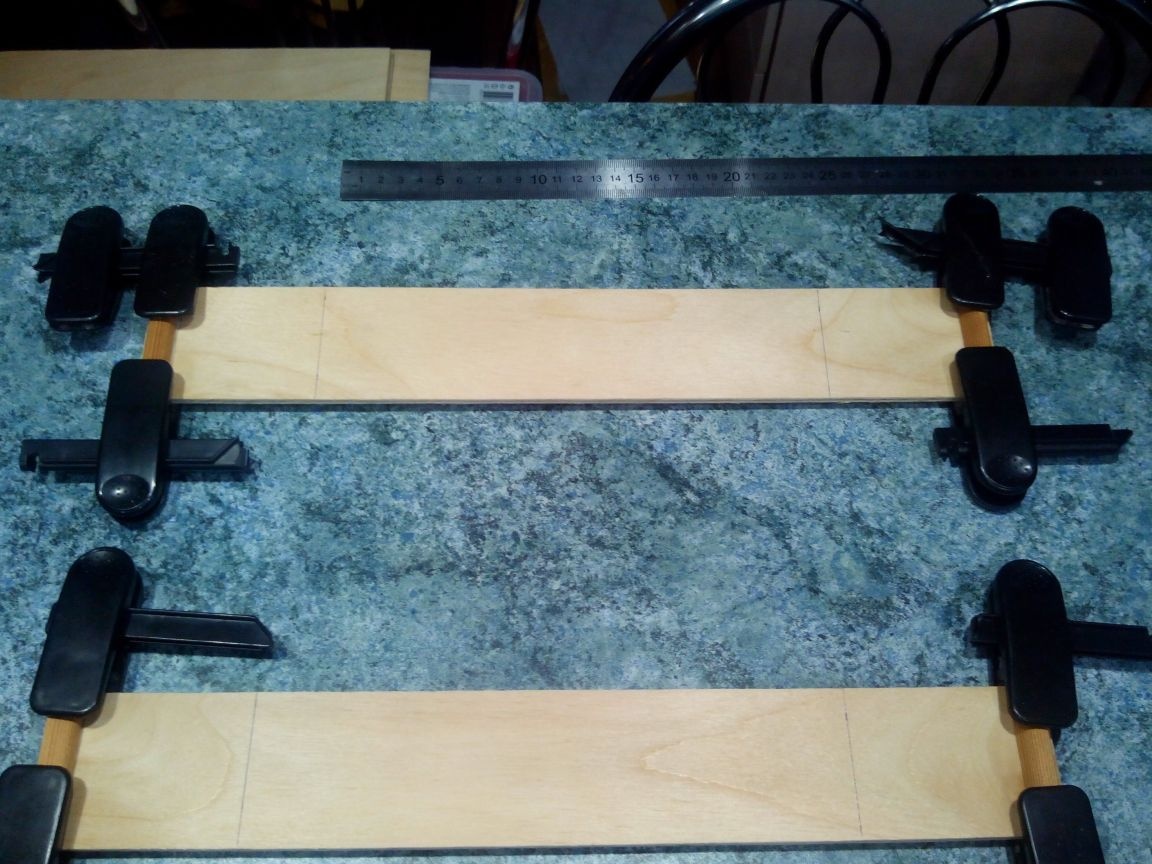
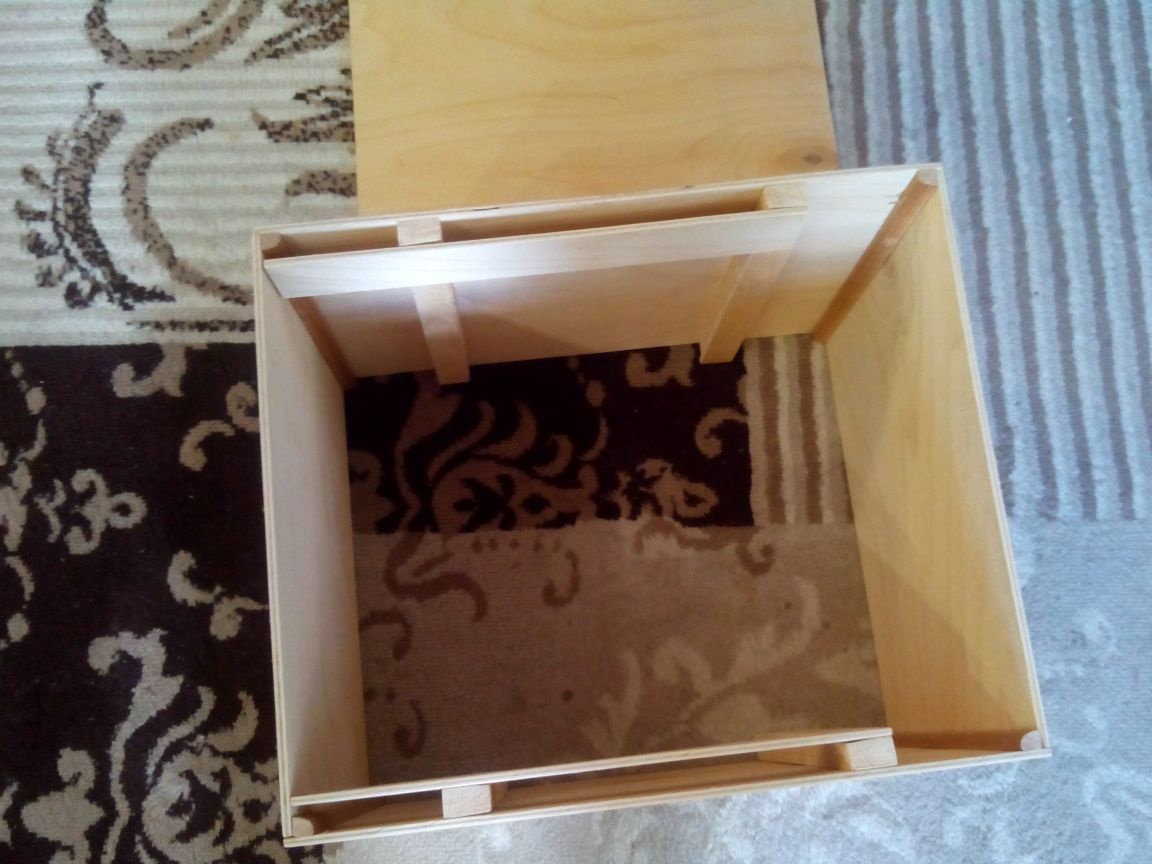
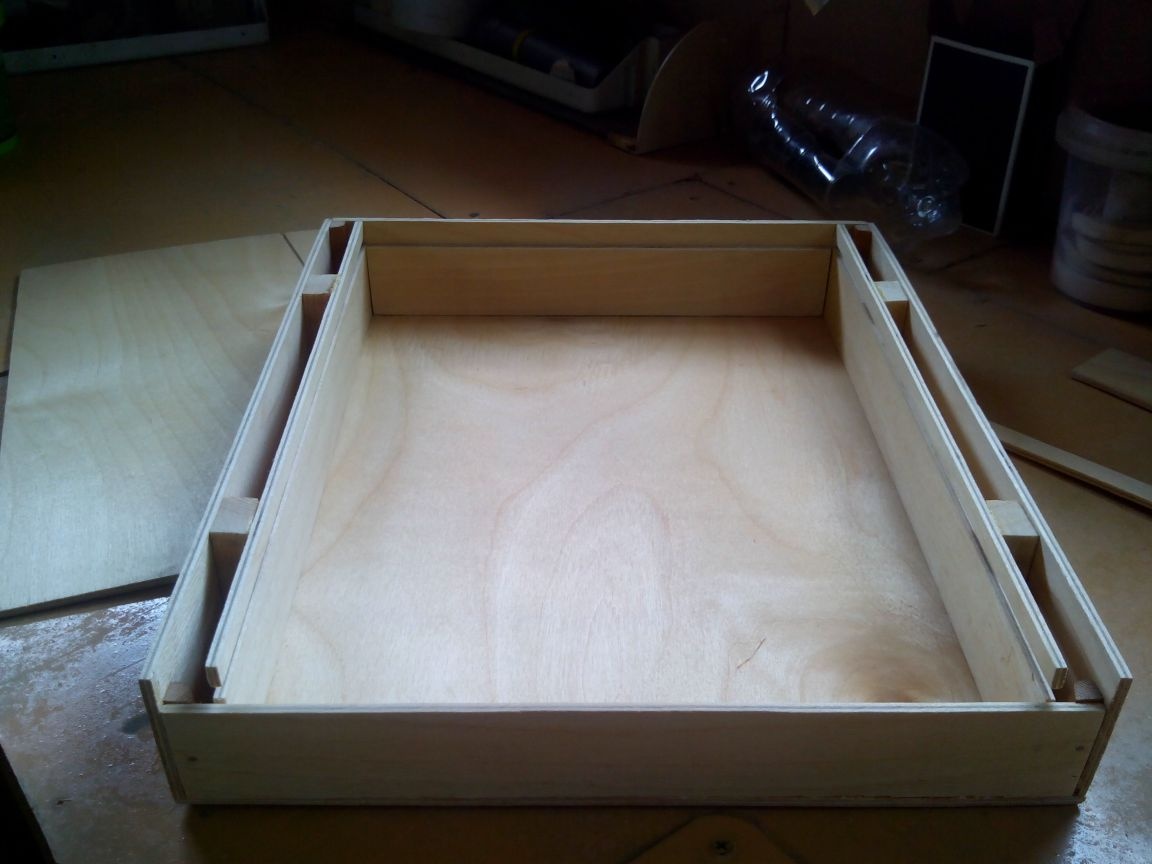
We cut out four long and four short whetstones from a bar (15x25 mm), and saw off the same length pieces from the window glazing bead - for the corners of the box.
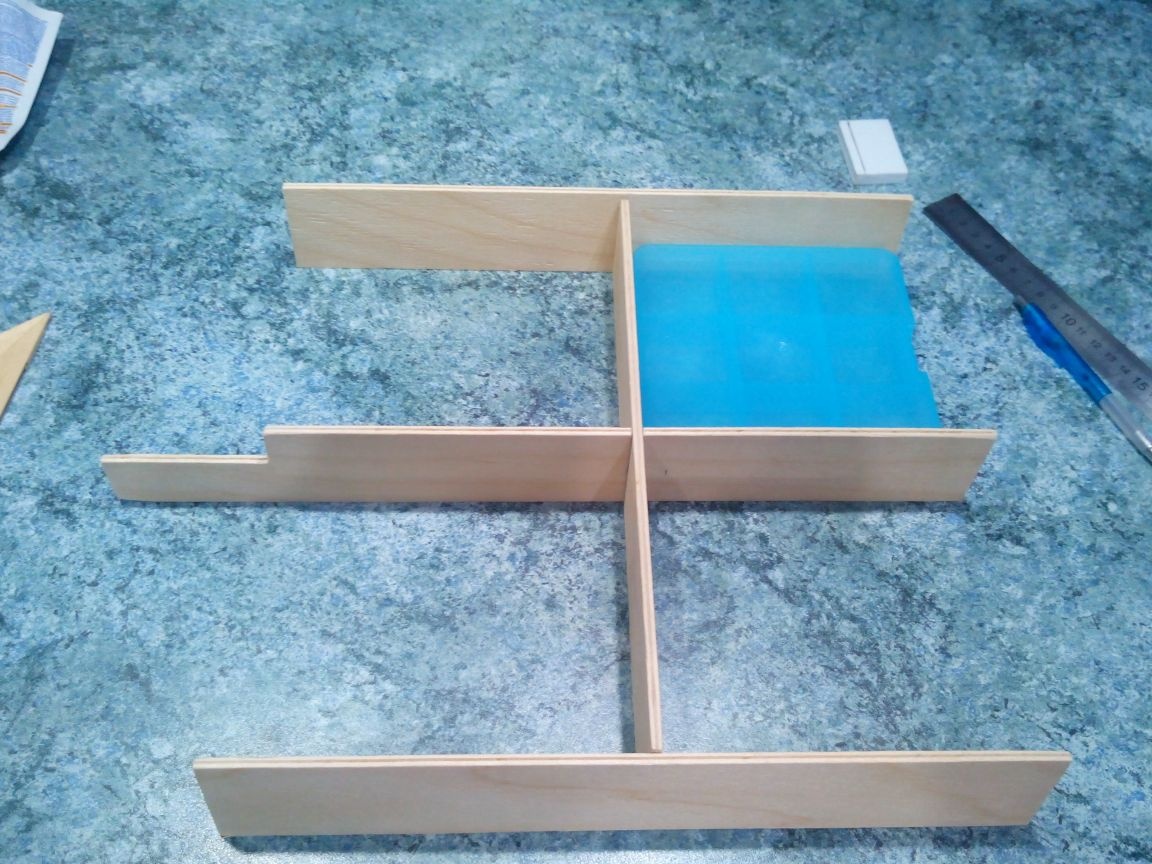
We cut out the internal partitions and make half cuts with a jigsaw in parts of the crosspiece.
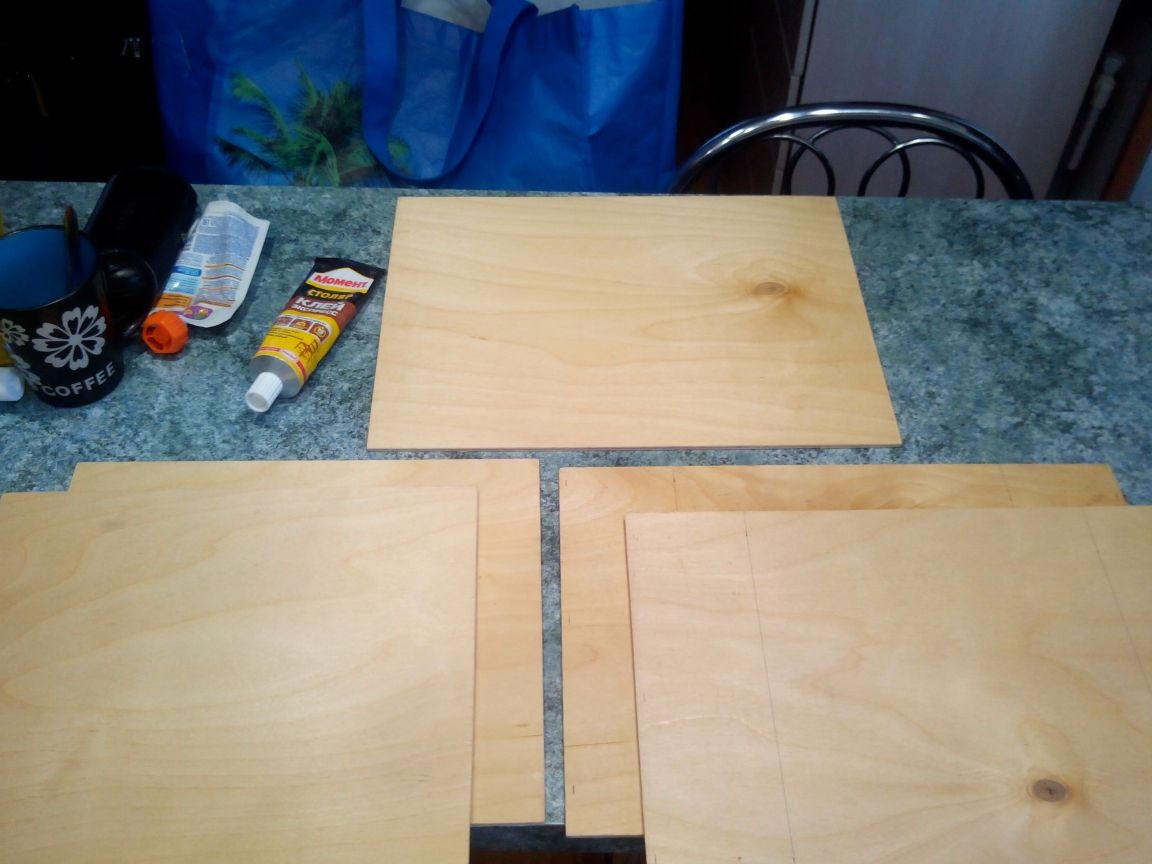
Step 2. Alignment of parts
This step is optional, because if you are lucky to get even plywood, you do not have to level it. Otherwise, a couple of extra days will be required for this process. In general, the Internet is full of information on how to straighten plywood, but in brief I will tell.
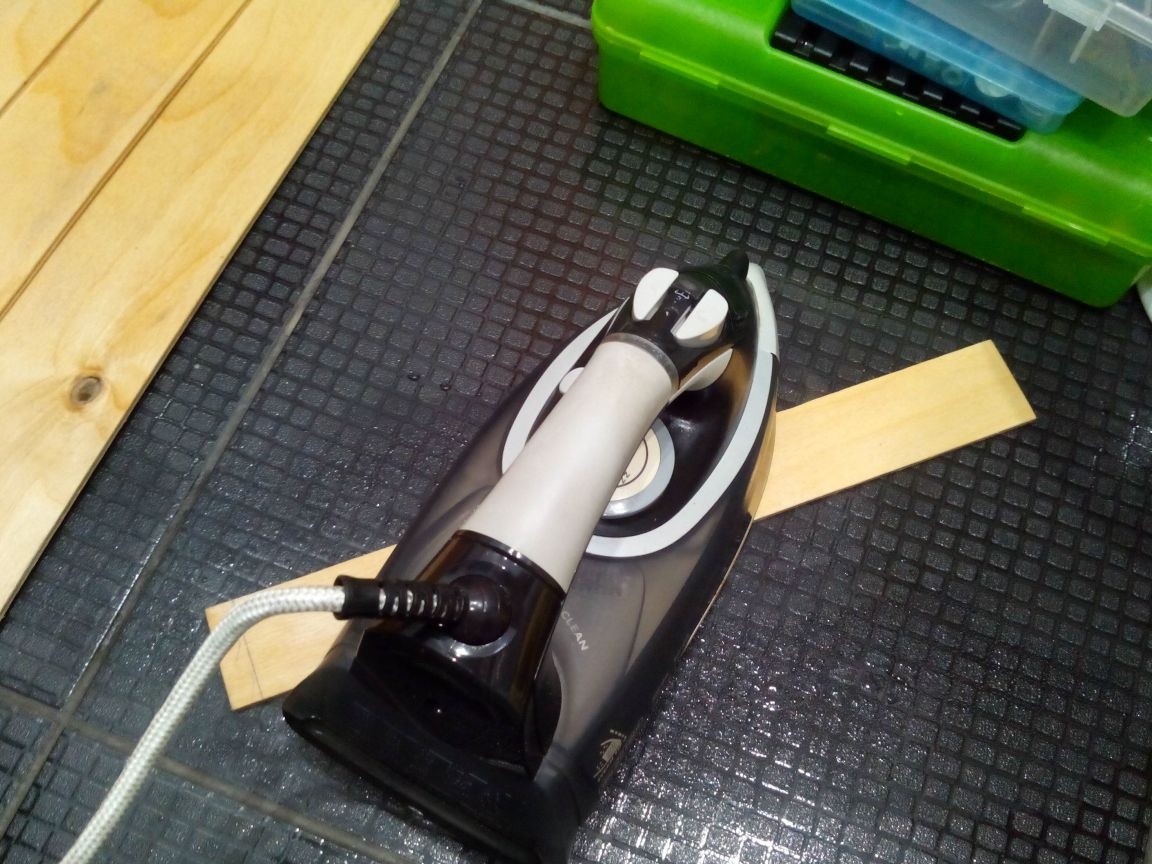
So, for starters, we douse the cut pieces with hot water (I scored water in the bathroom and threw all the details there).
Then with a preheated iron (preferably with steam) we smooth out uneven parts. You can right on the tiled floor.
Now we put the heated parts on a flat surface, it is possible in several layers.
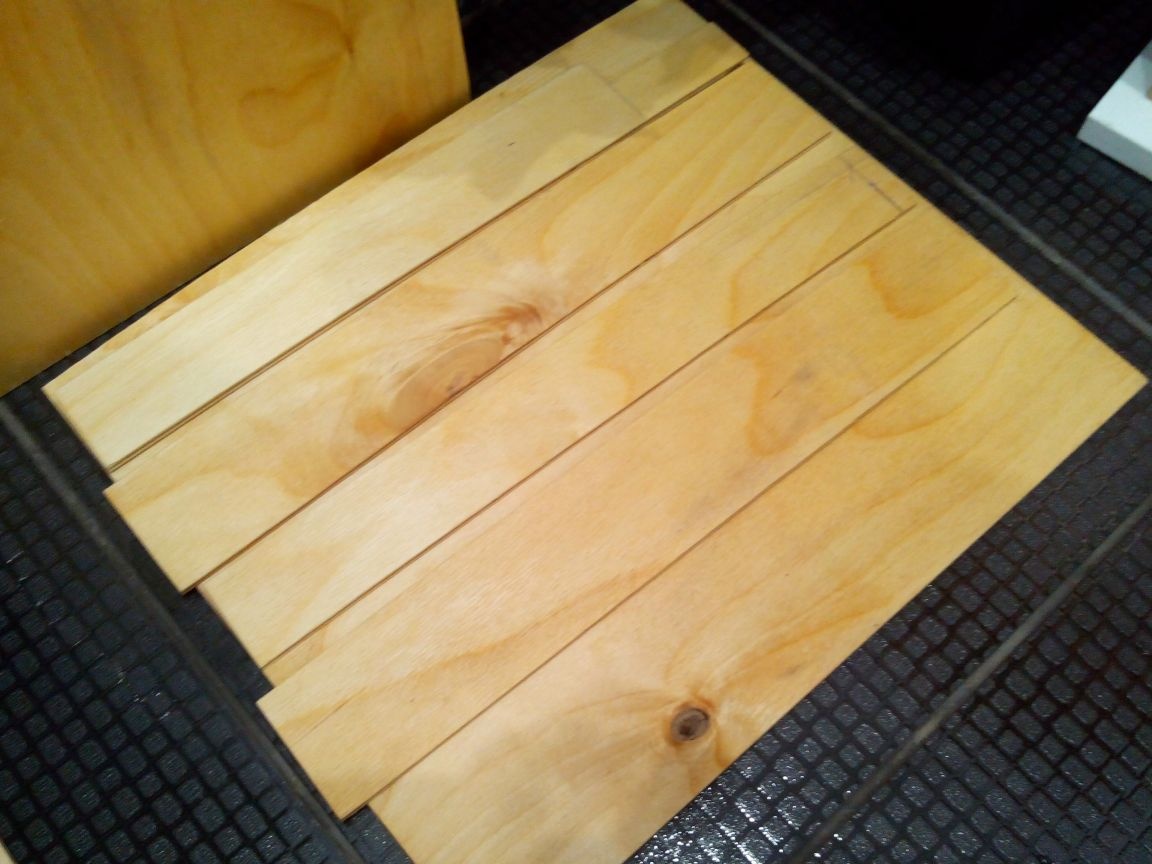
We cover from above with even planes from chipboard or tool boxes and press with the load. I used basins and water bottles.
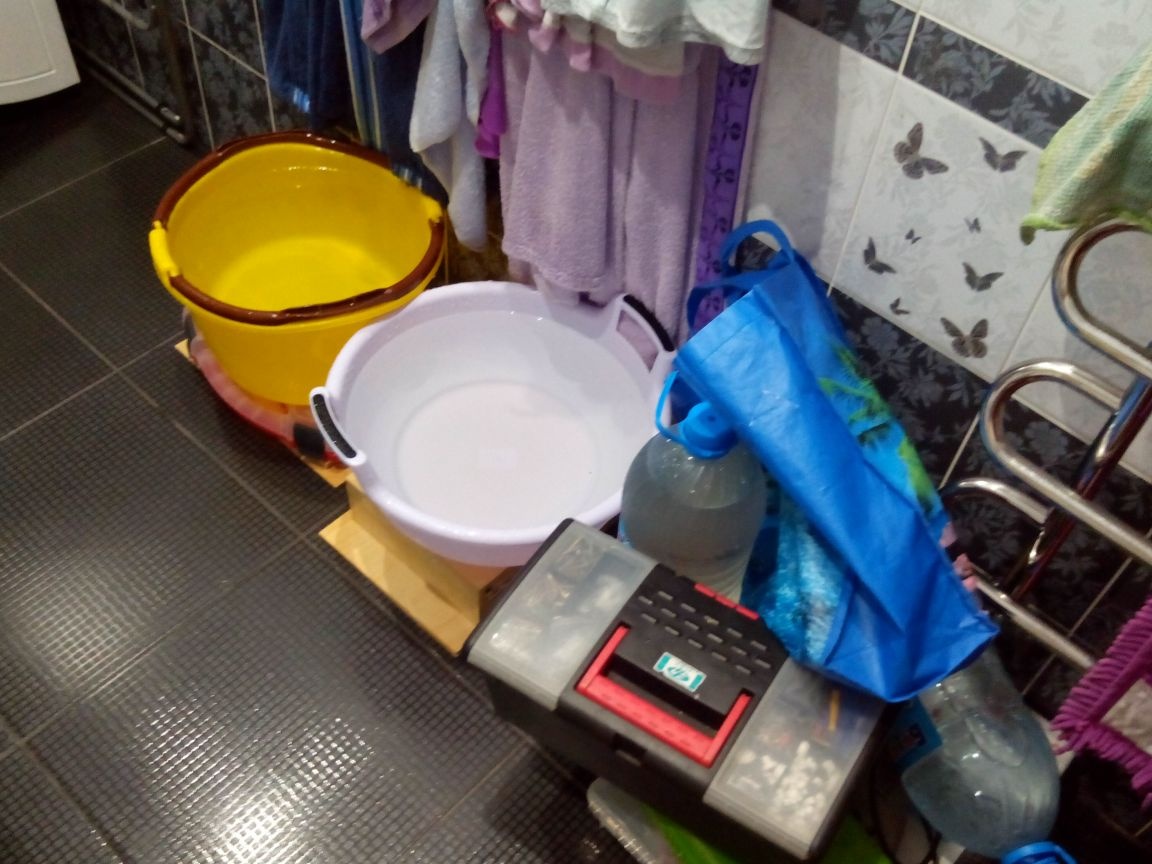
Since I have heated floors in the bathroom, the details were smooth and almost dry after a day. But it may take another day for the plywood to dry completely.
Step 3. Bonding the drawer
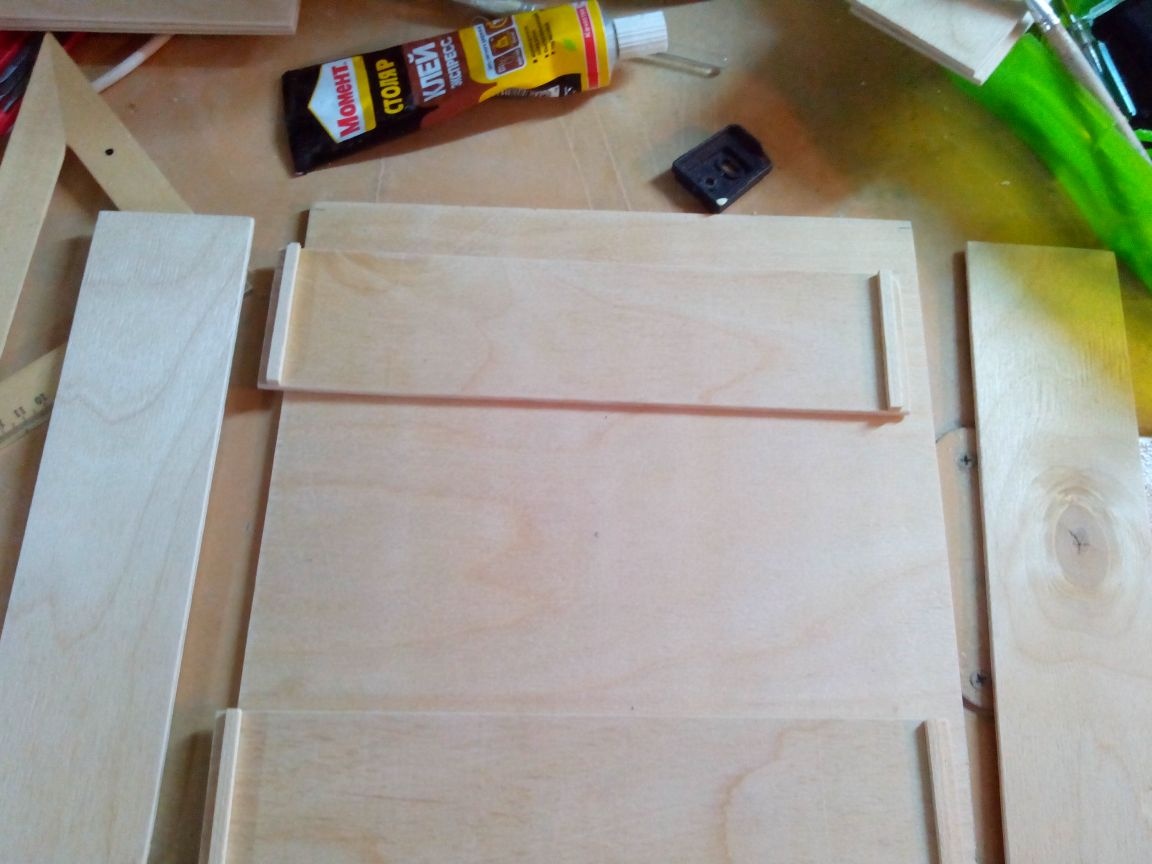
In the future, all parts will be additionally fastened with screws and studs, but first the parts must be glued with PVA glue.
On the sides of the box we draw lines along which glazing beads will be glued. Then glue the glazing beads (indent from the edge of 4 mm, to the thickness of the plywood).
On the sidewalls of the lid, we similarly draw lines and glue glazing beads.
Leave them for half an hour to dry the glue.
Then, along pre-drawn lines, glue to the sides of the rail with a section of 15x25 mm.
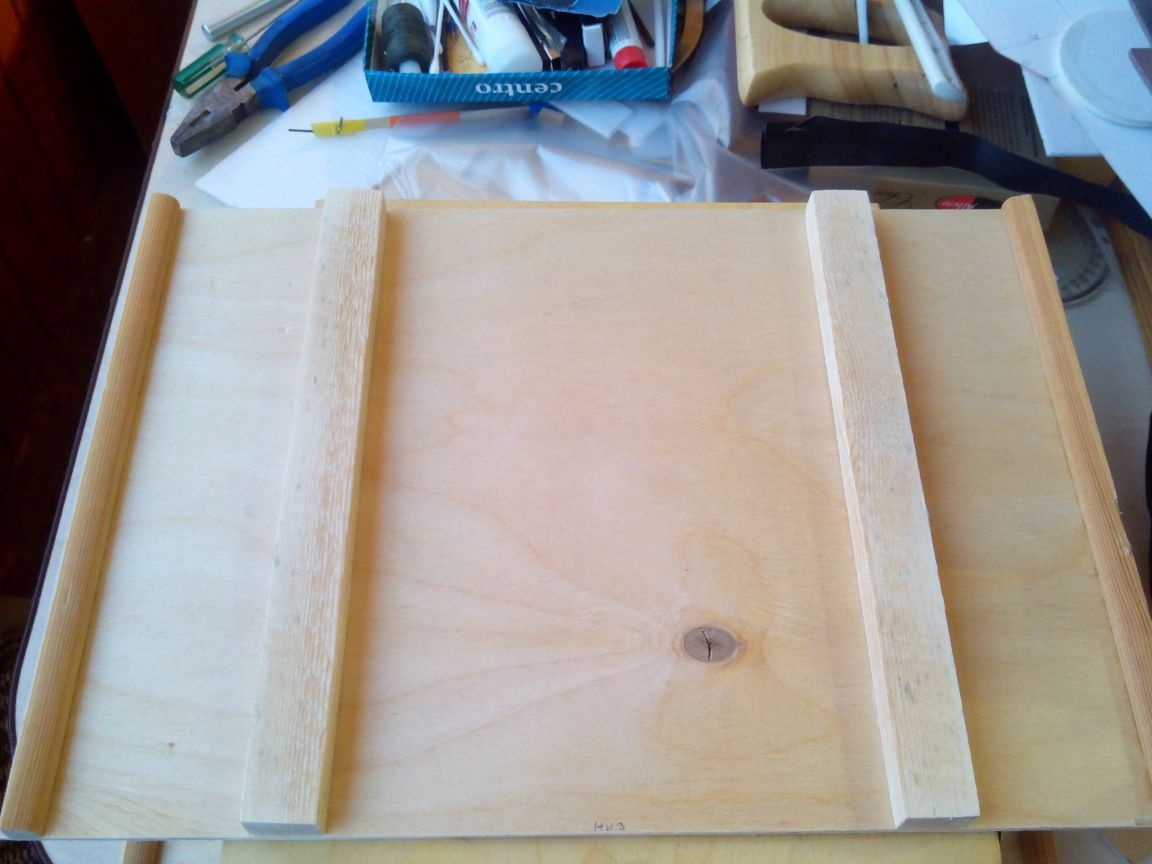
Do the same with the sides of the cover.
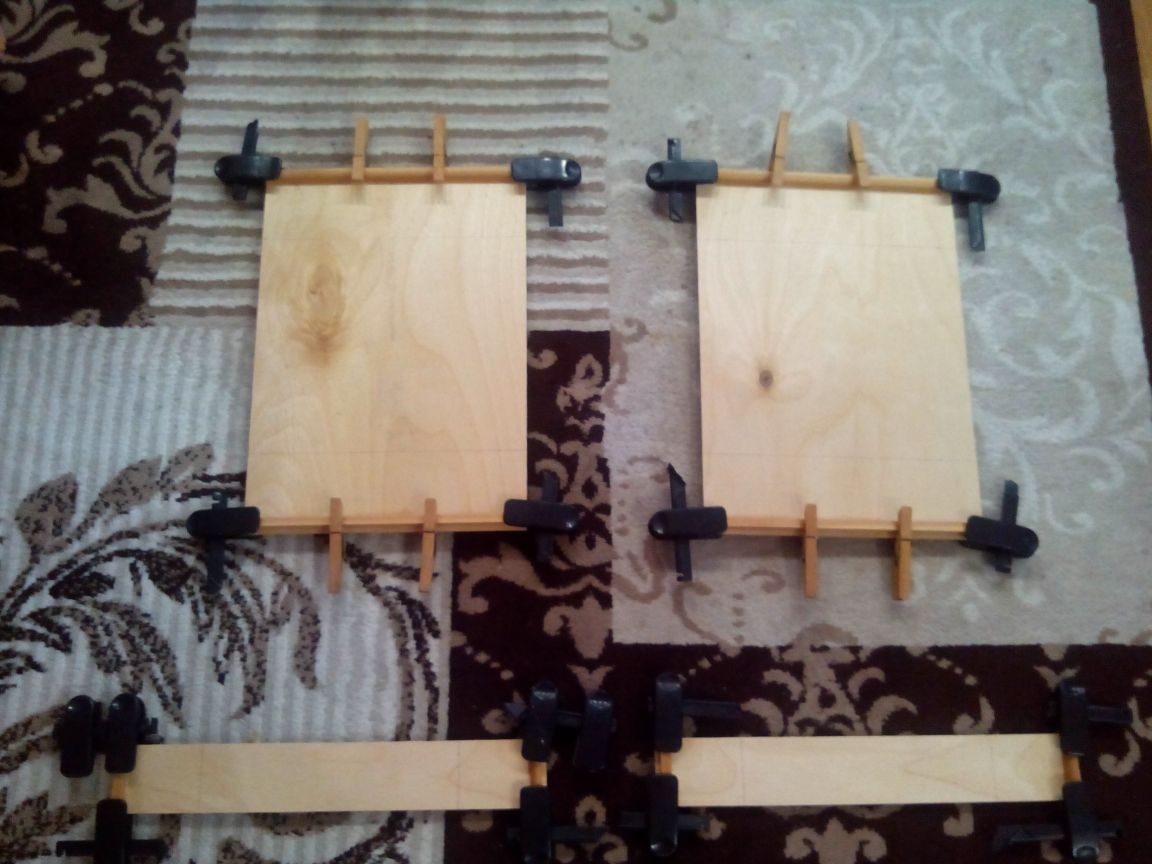
Then we lay the parts under the press and leave the glue to dry completely.
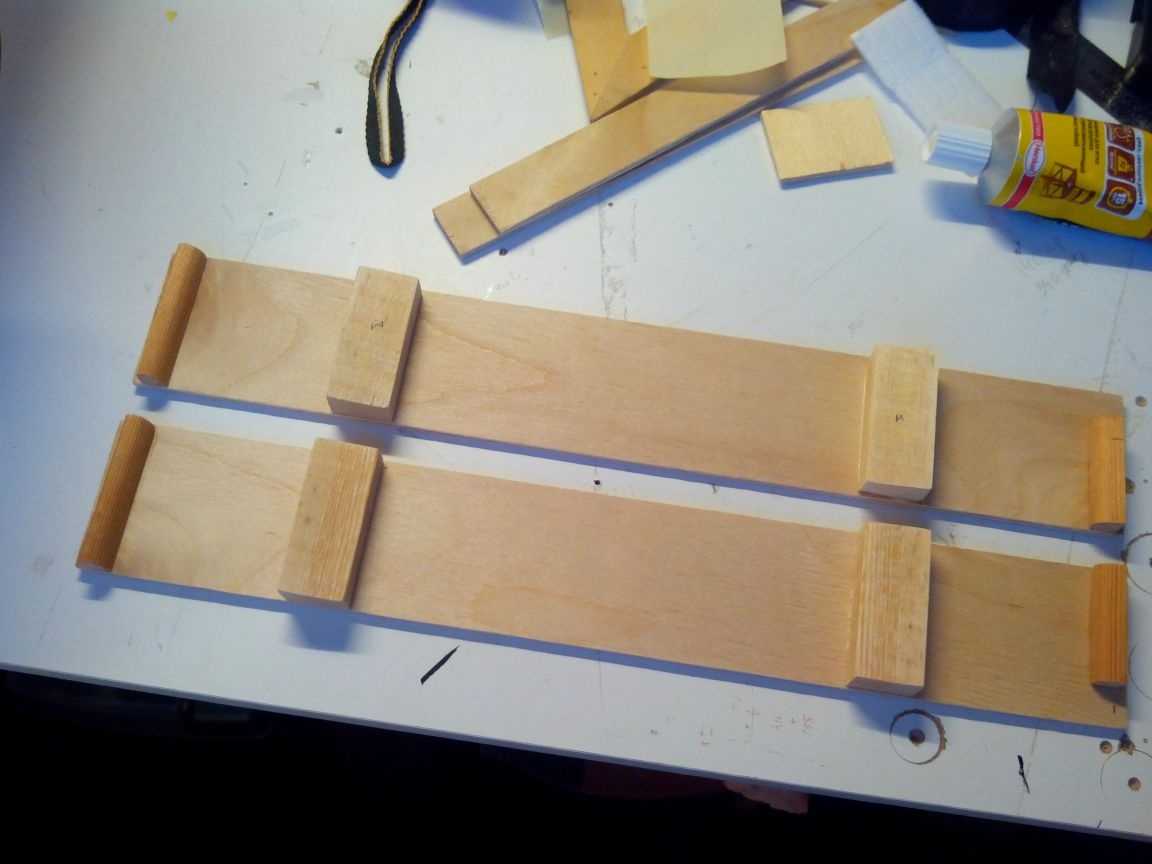
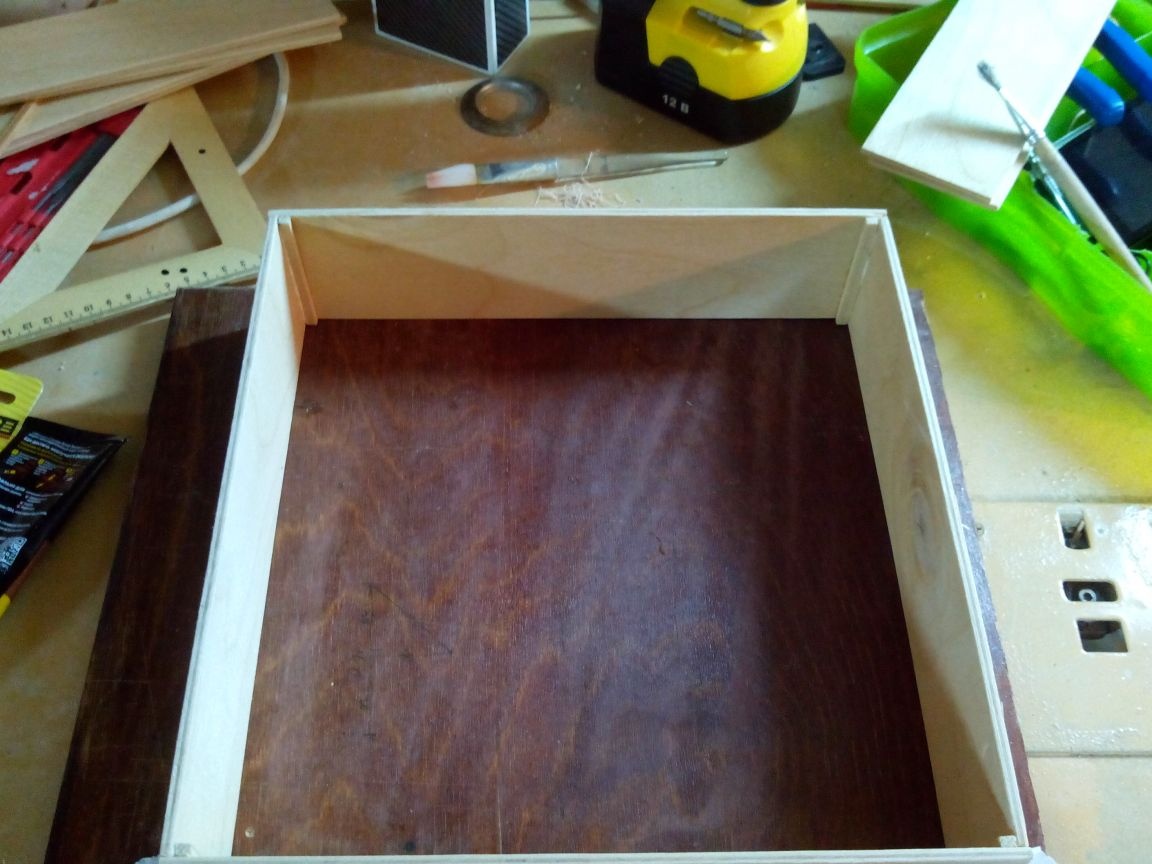
When the glue has dried, you can glue the internal partitions to the sides of the box and strips of plywood on the bars.
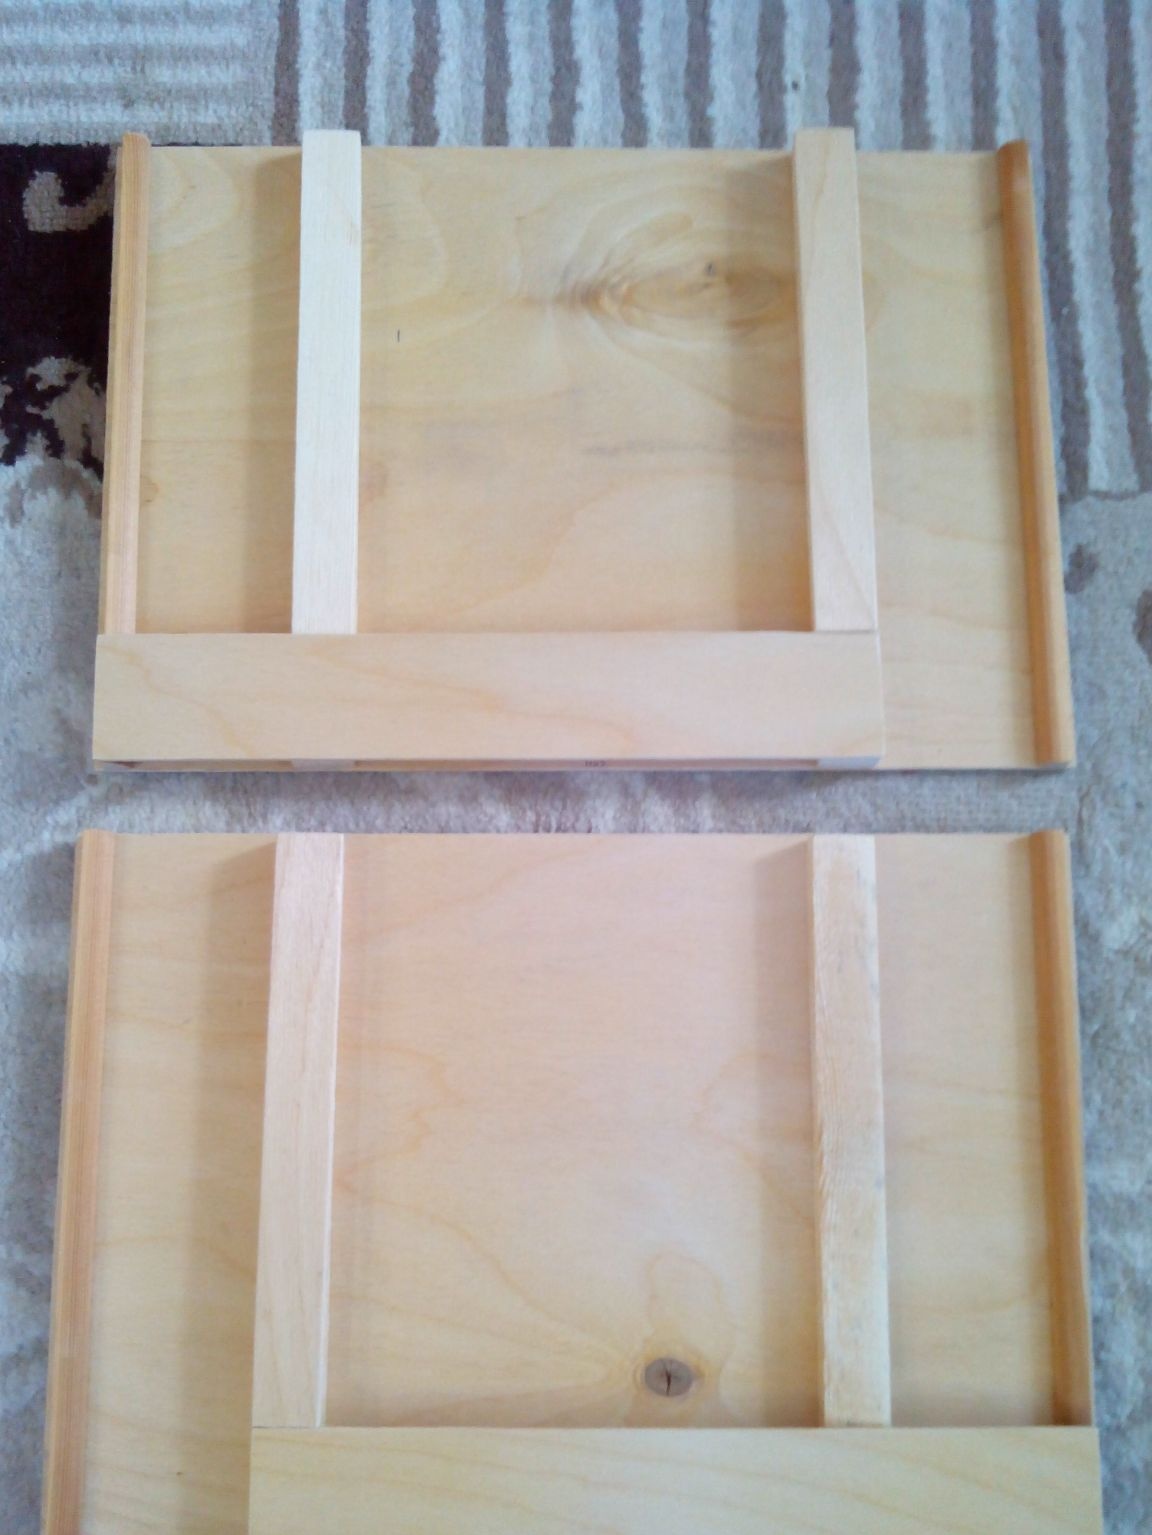
Using a square and improvised objects, glue the end wall to the side wall.
Then we glue the second side and end walls, fix with cloves and leave until completely dry.
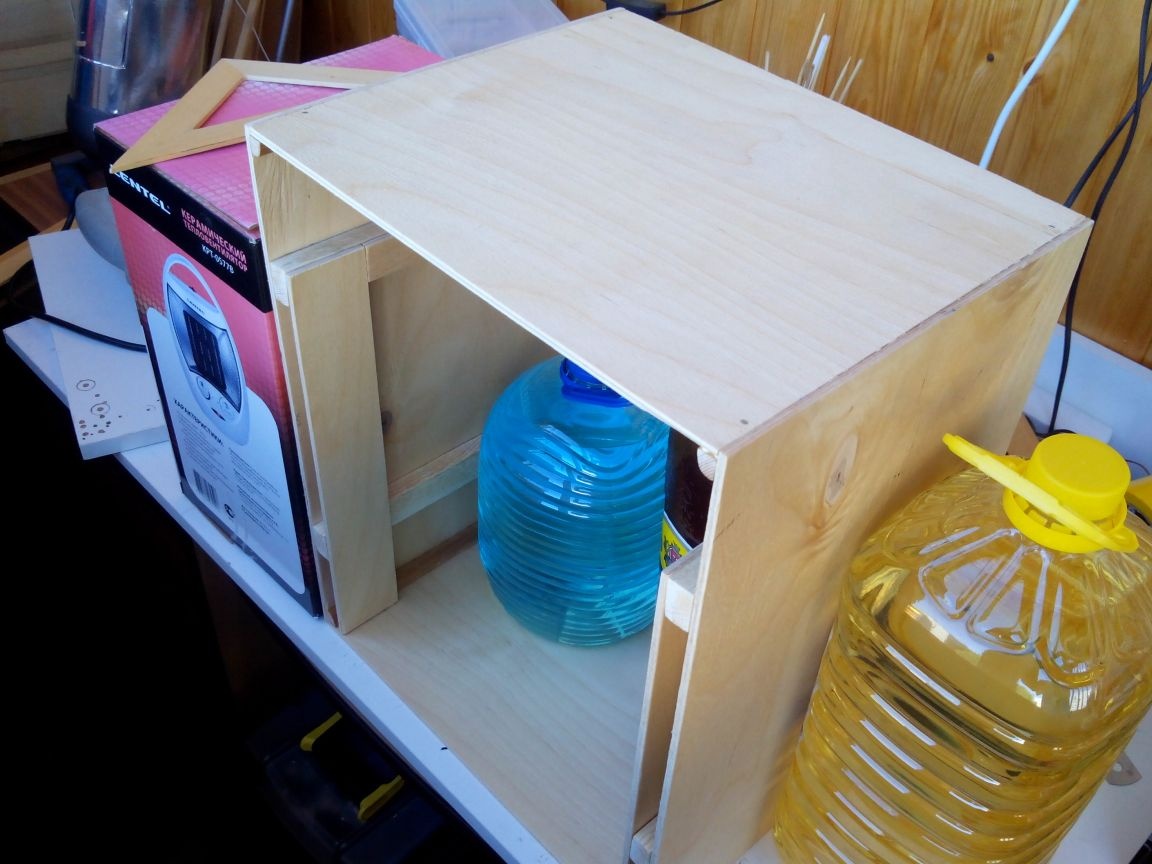
We glue the bottom and additionally fix with studs in the corners (in glazing beads) and screws (in slats).
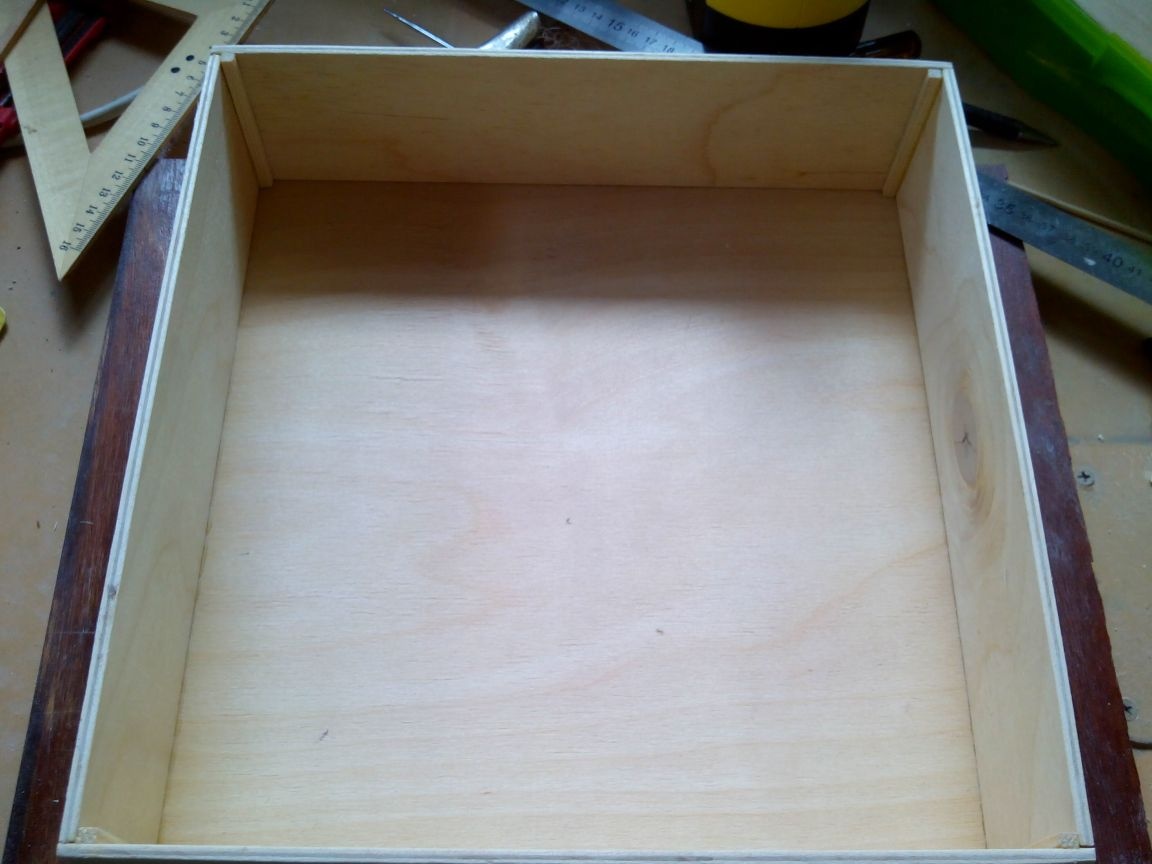
Glue the inner walls to the sides of the cover.

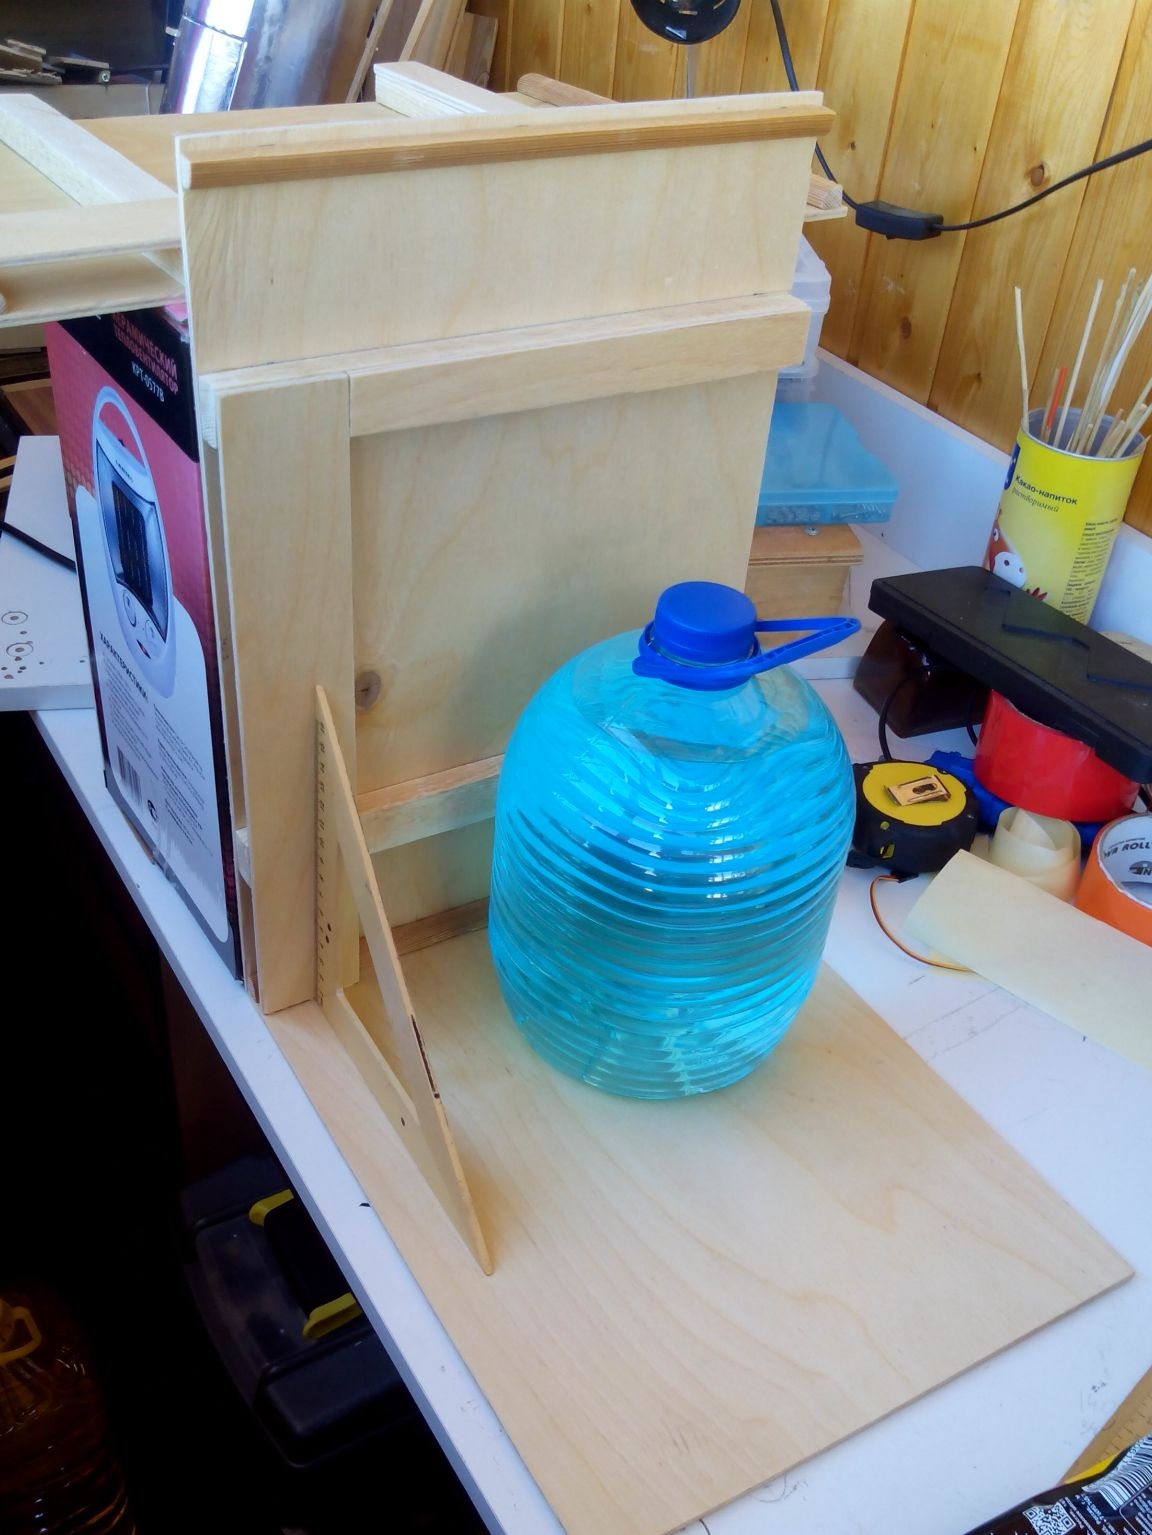
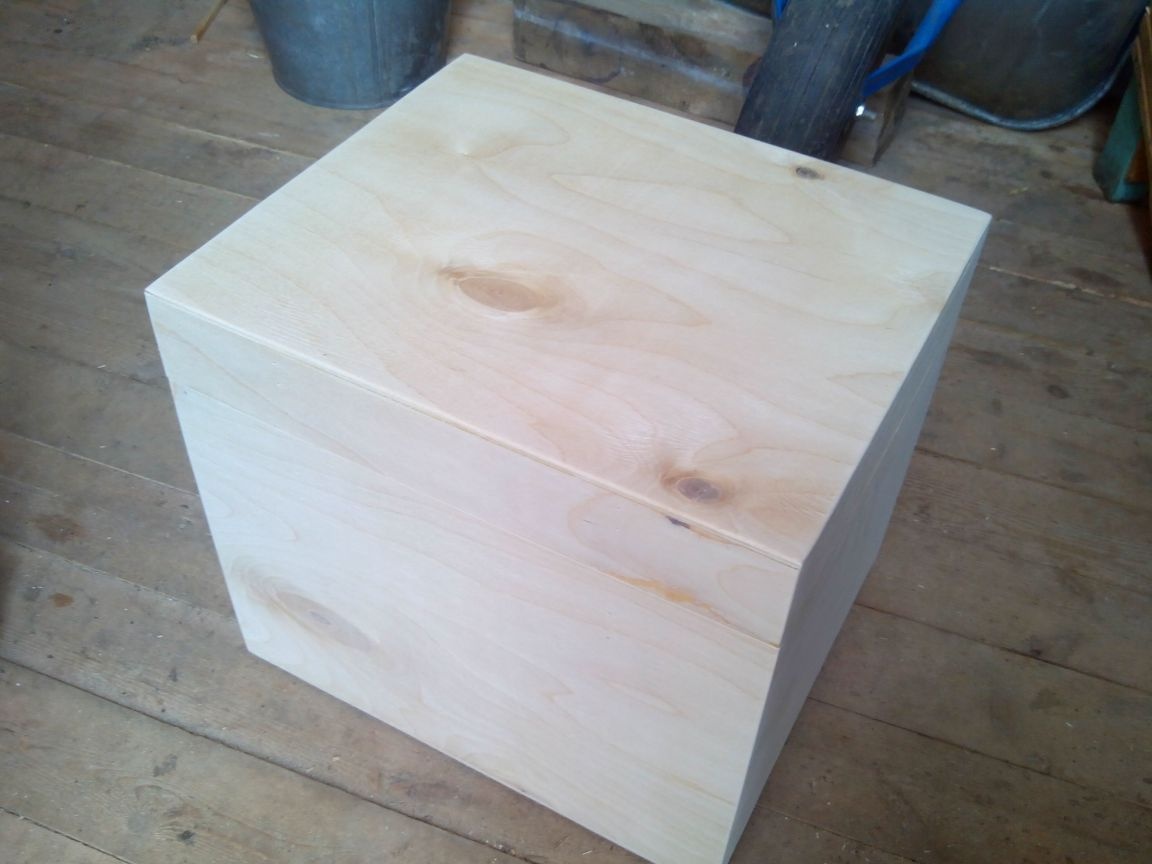
We glue the lid immediately on the base.
And glue narrow strips of plywood, thus forming a gap for the inner cover. The inner lid itself is made of one layer of plywood and glazing bead, for which it will be put forward.
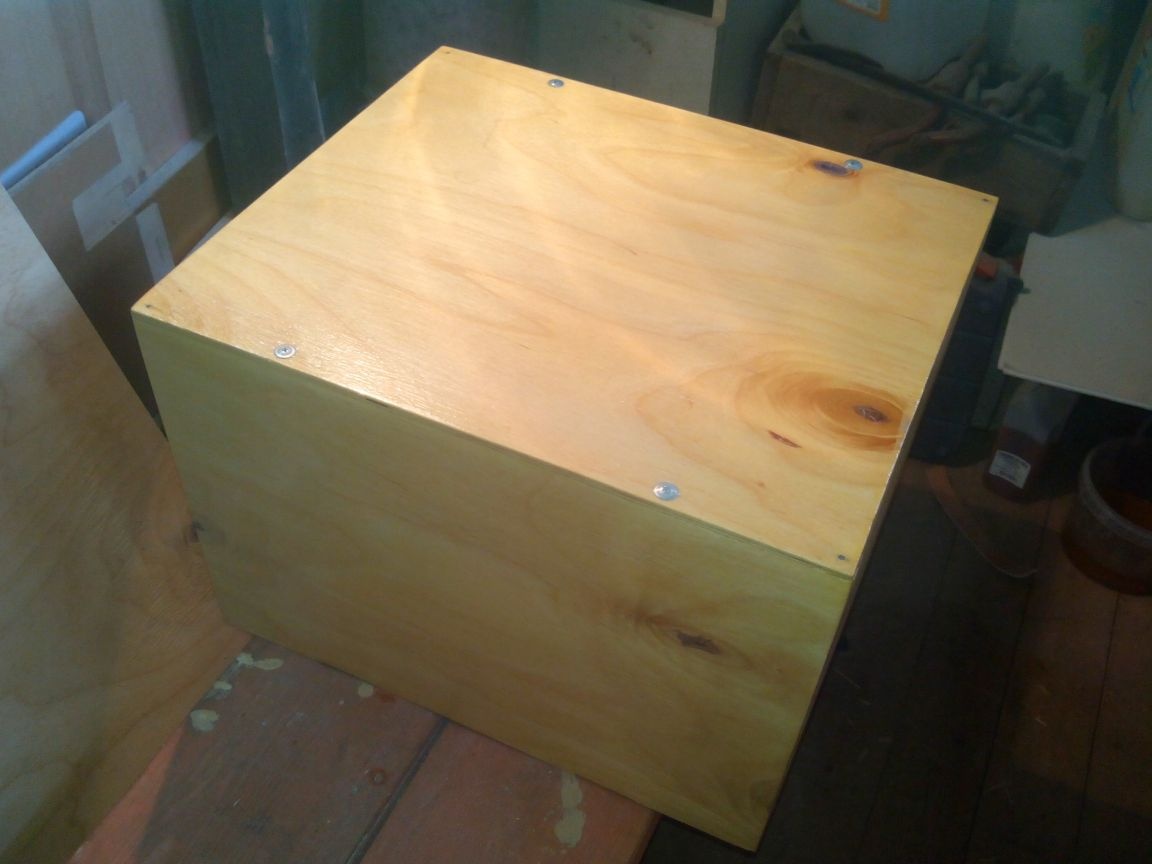
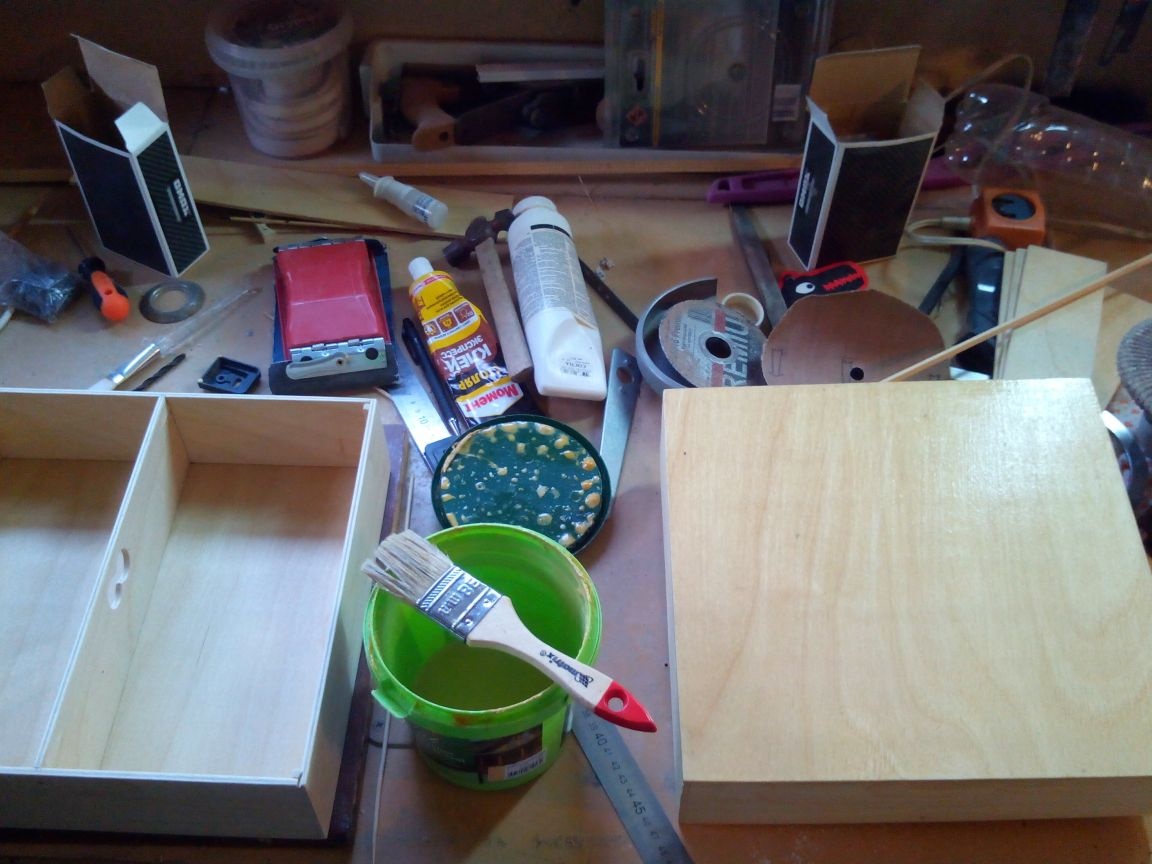
Step 4. Grinding and varnishing
We attach the lid to the drawer, press and grind all surfaces with an emery cloth to even out the joints.
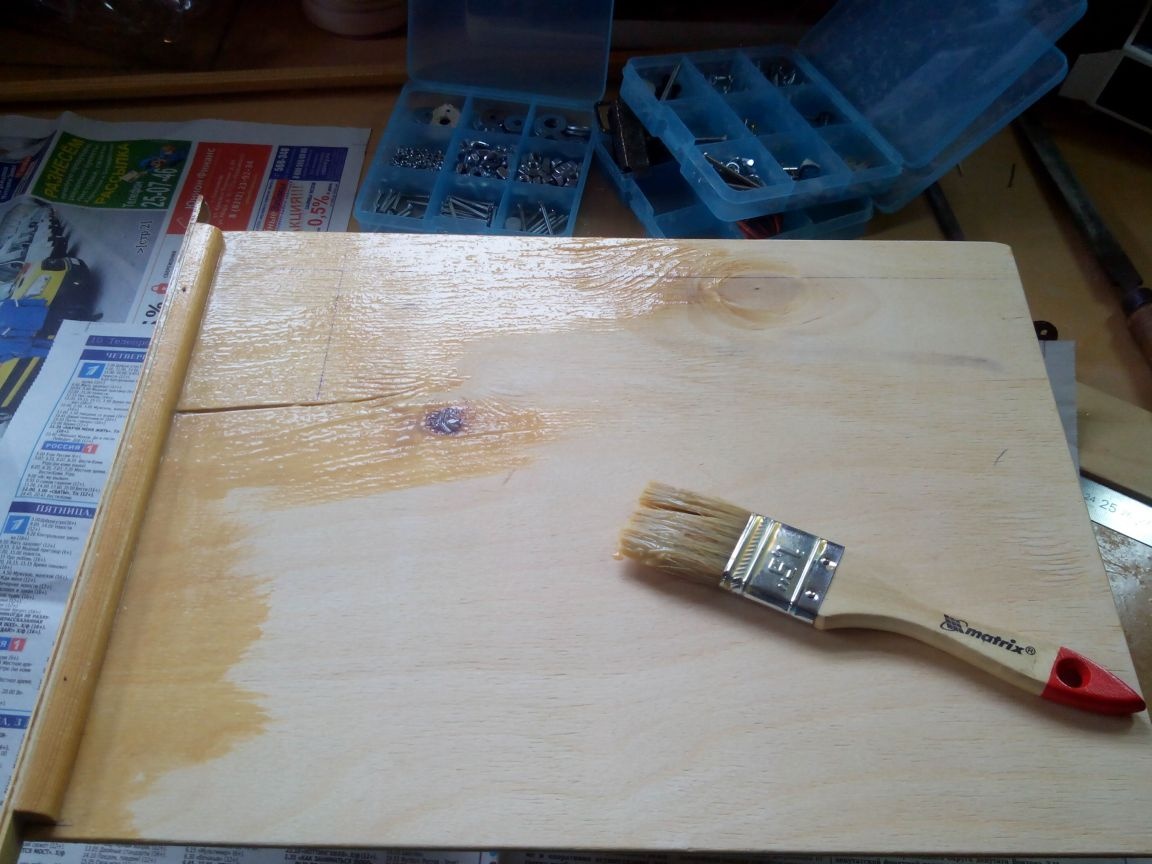
We cover the box with acrylic varnish in two layers.
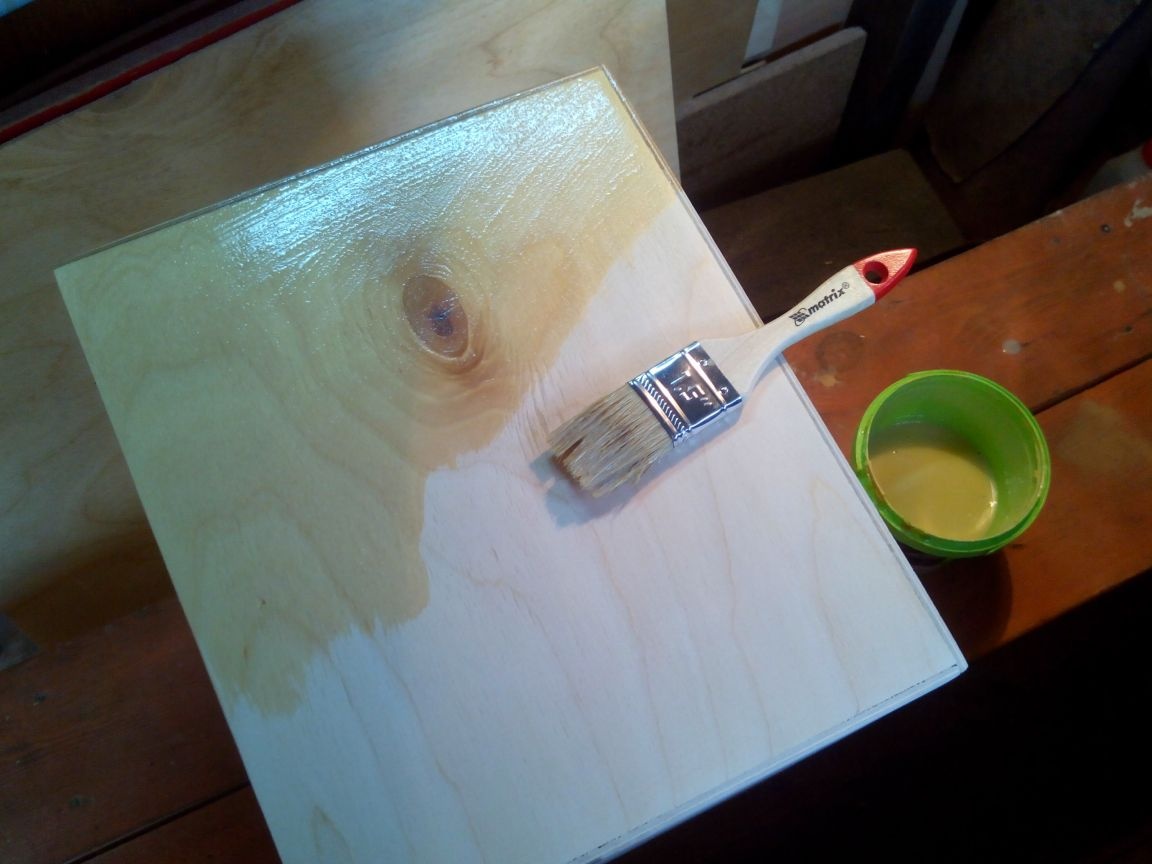
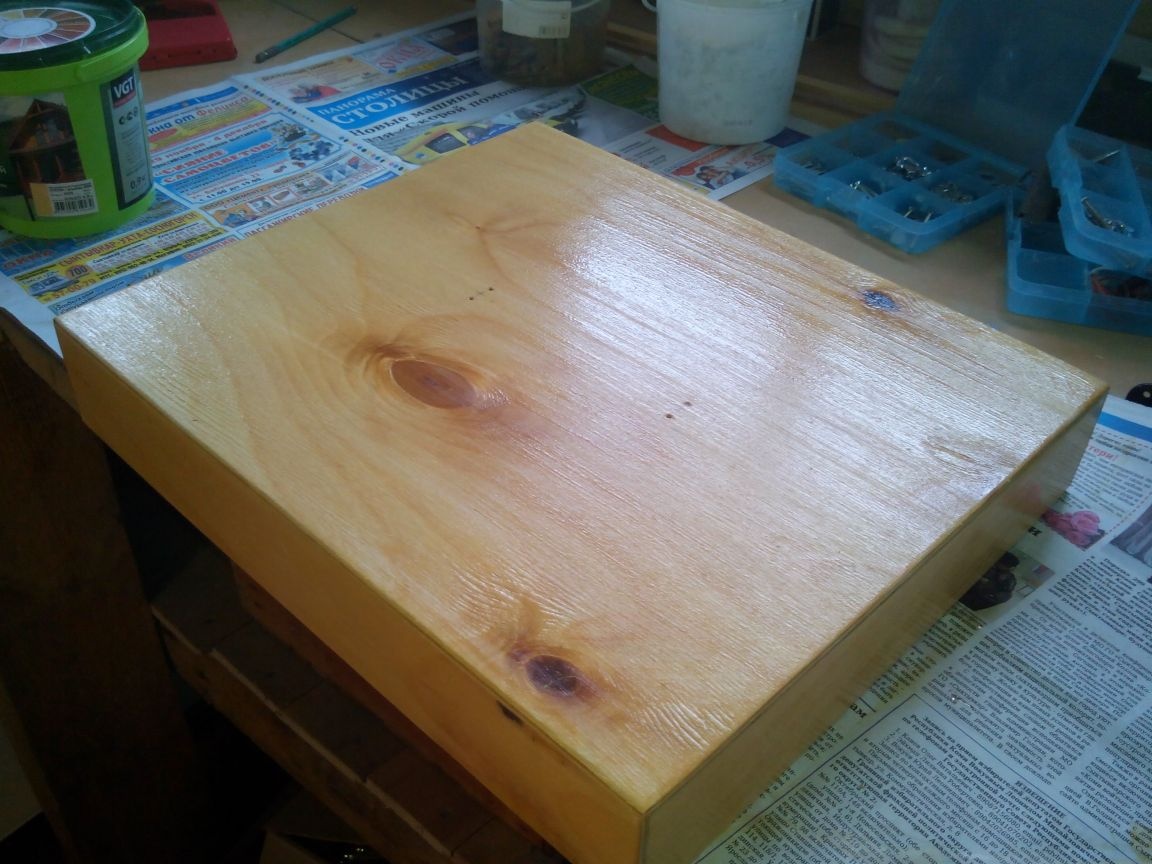
The inner cover is in one layer.
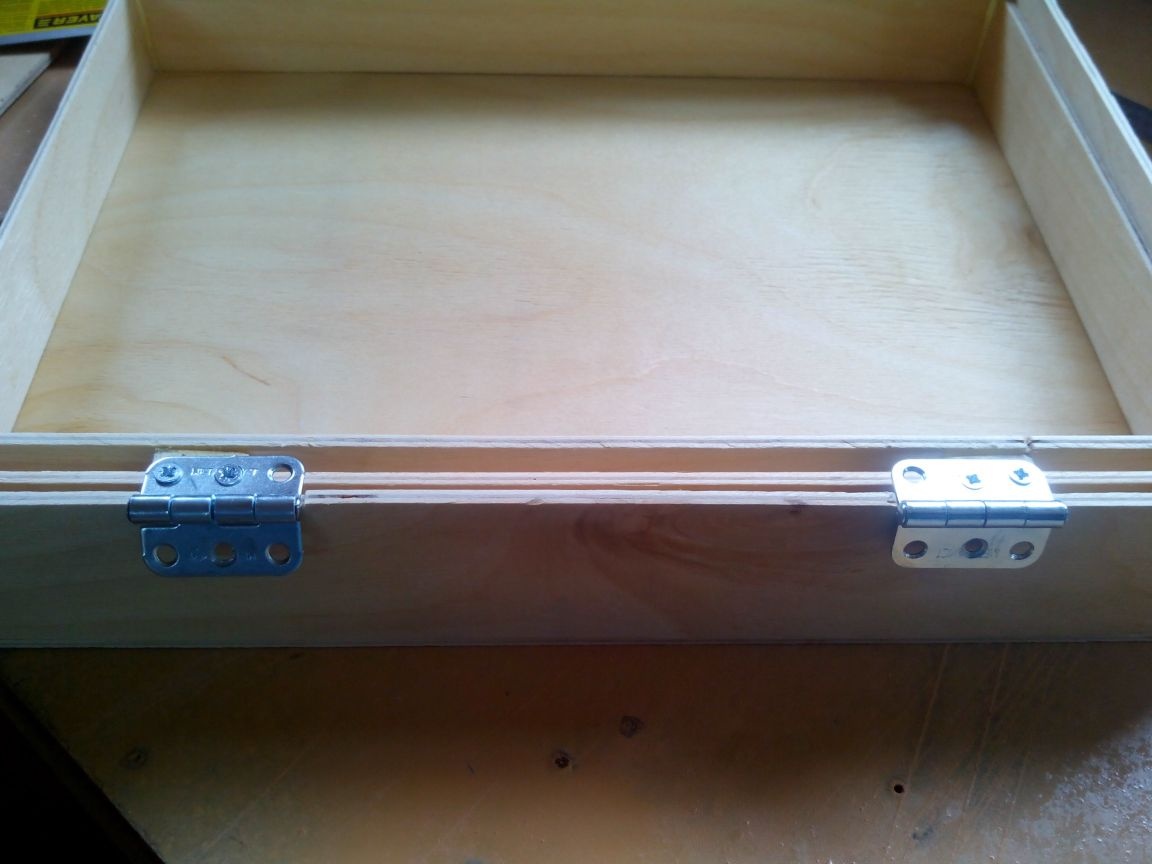
Step 5. Screwing on hinges, locks, handles and legs
Under the loops we make small notches and fasten them with screws to the lid.
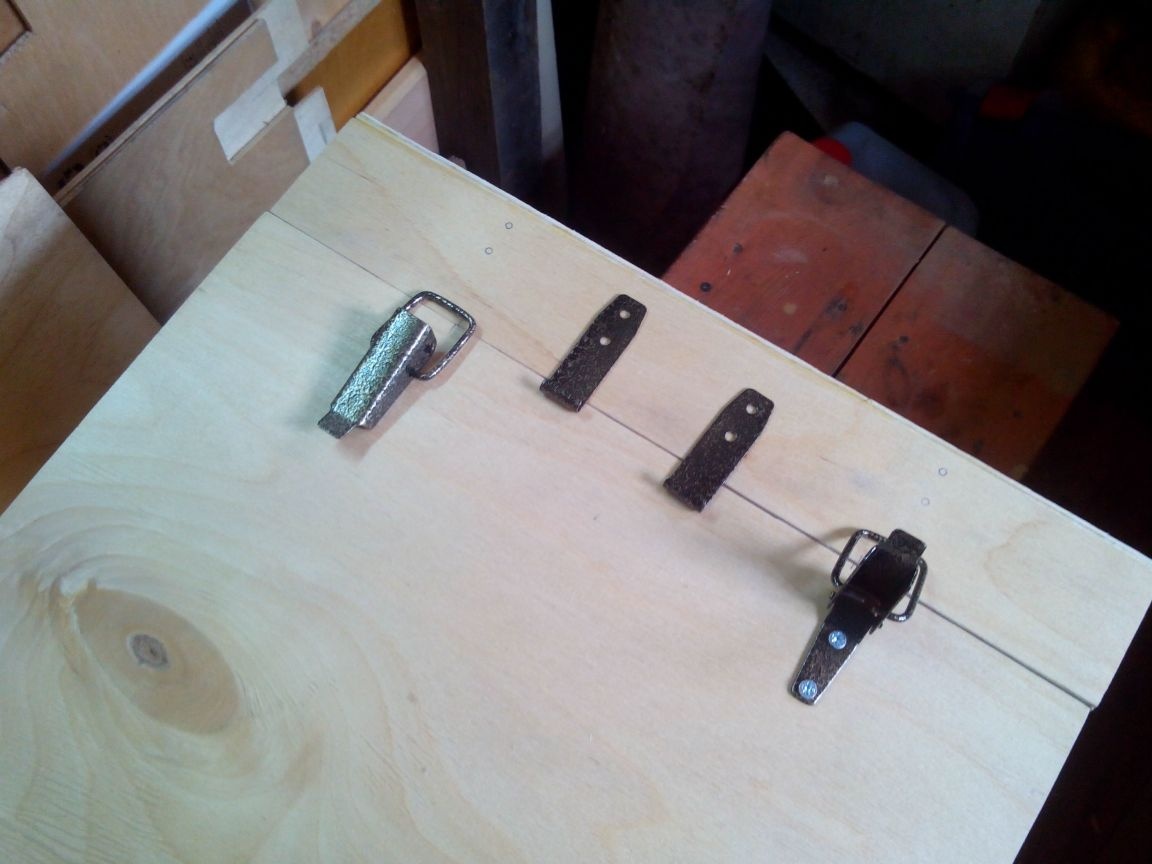
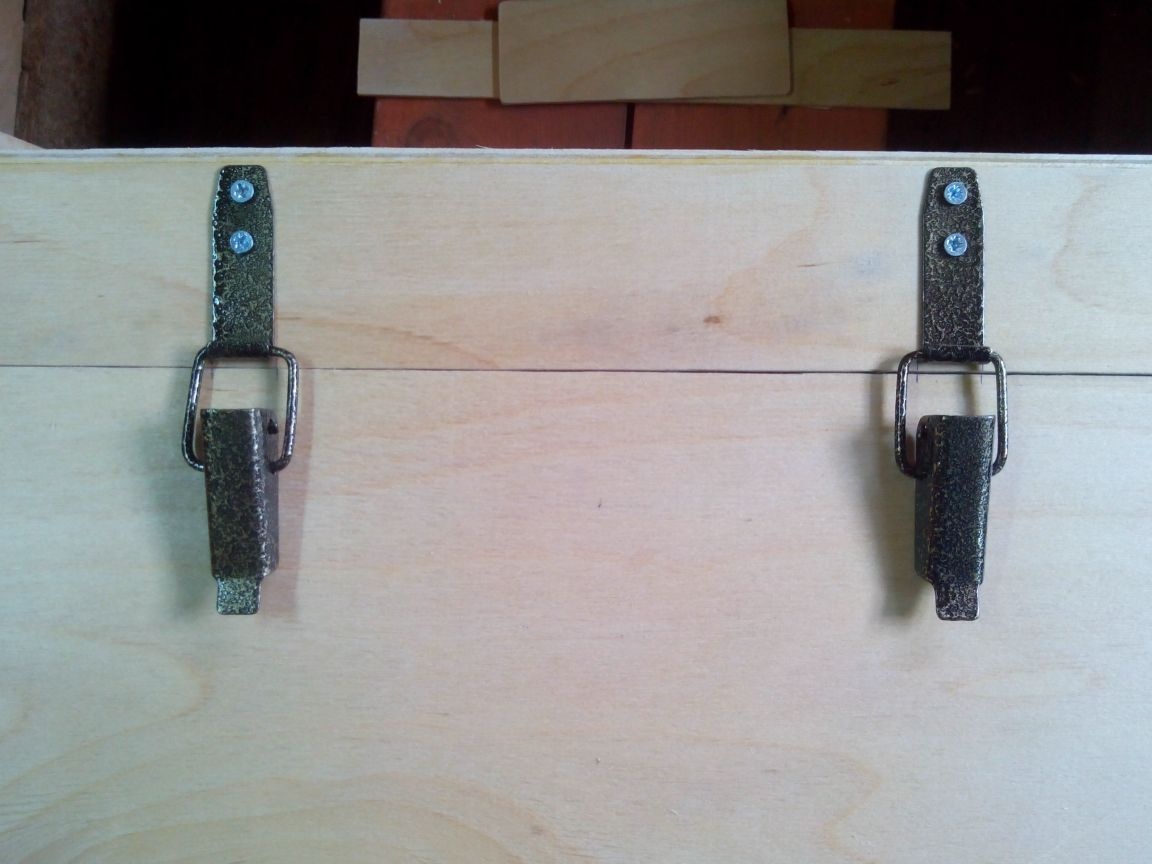
Then we fasten the lid to the drawer, close and mark the places for locks. We fasten the locks with screws.
Glue a strip of plywood from the inside to strengthen the place under the handle.
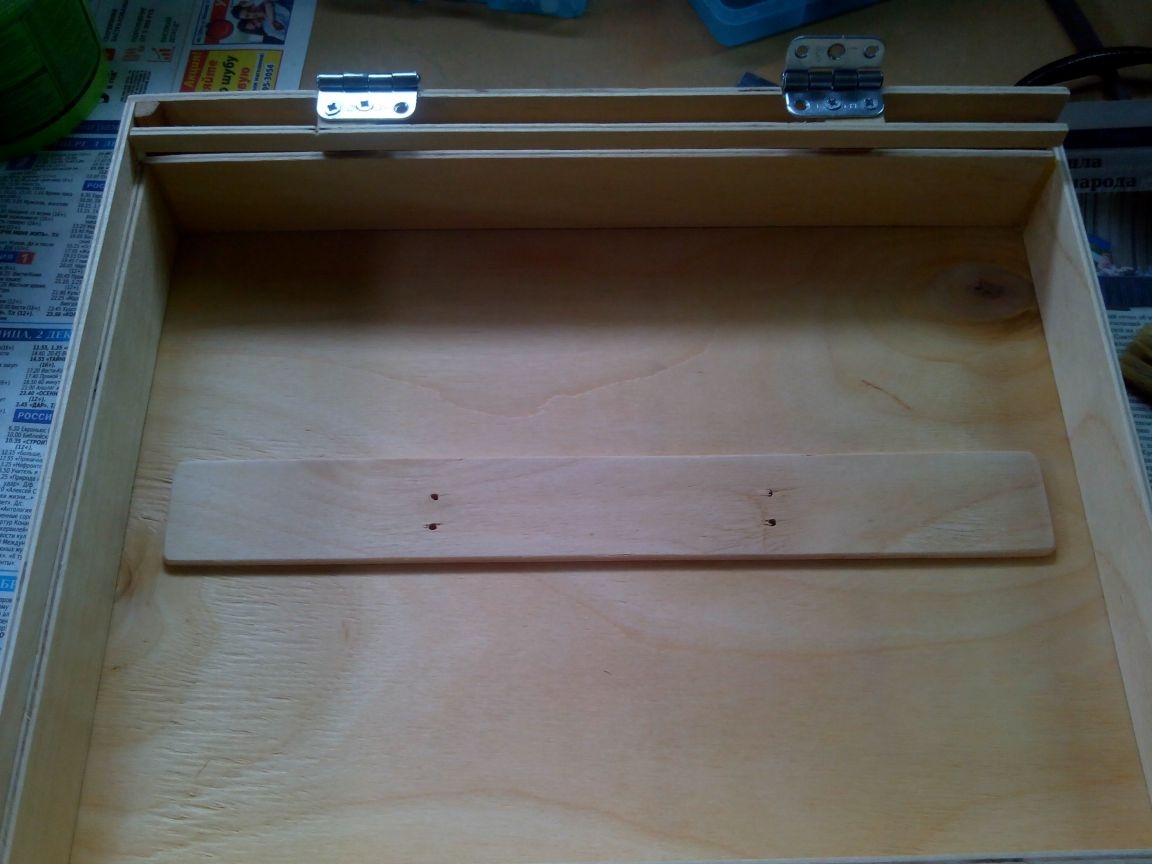
We mark and drill holes for the bolts.
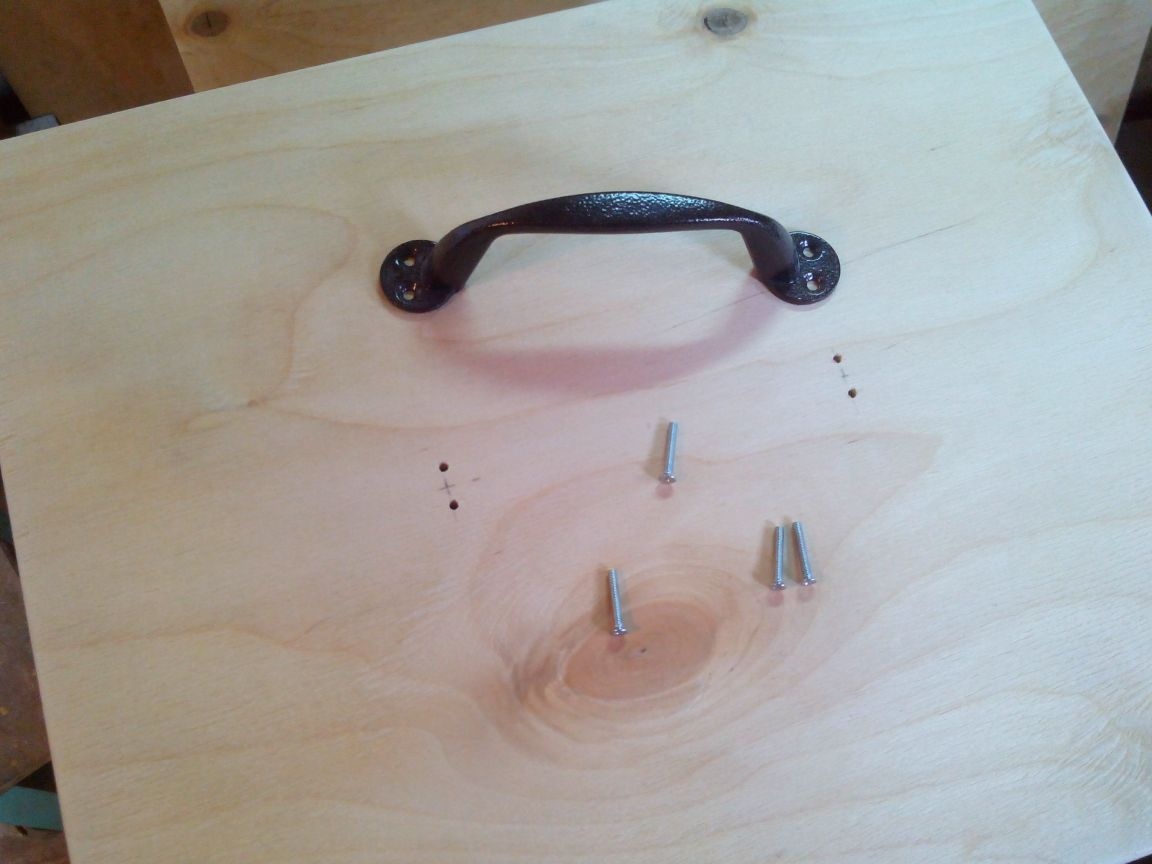
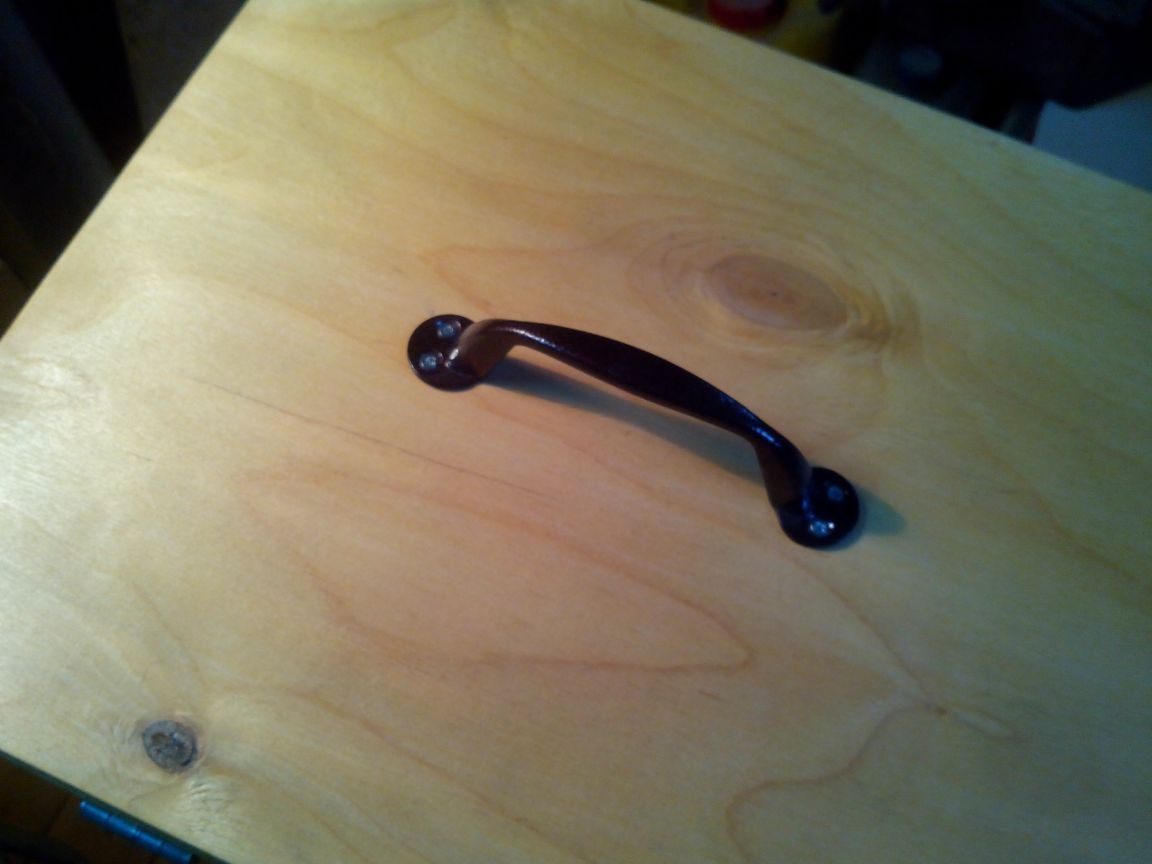
We fasten the handle.
Screw the plastic legs to the bottom of the box with screws.

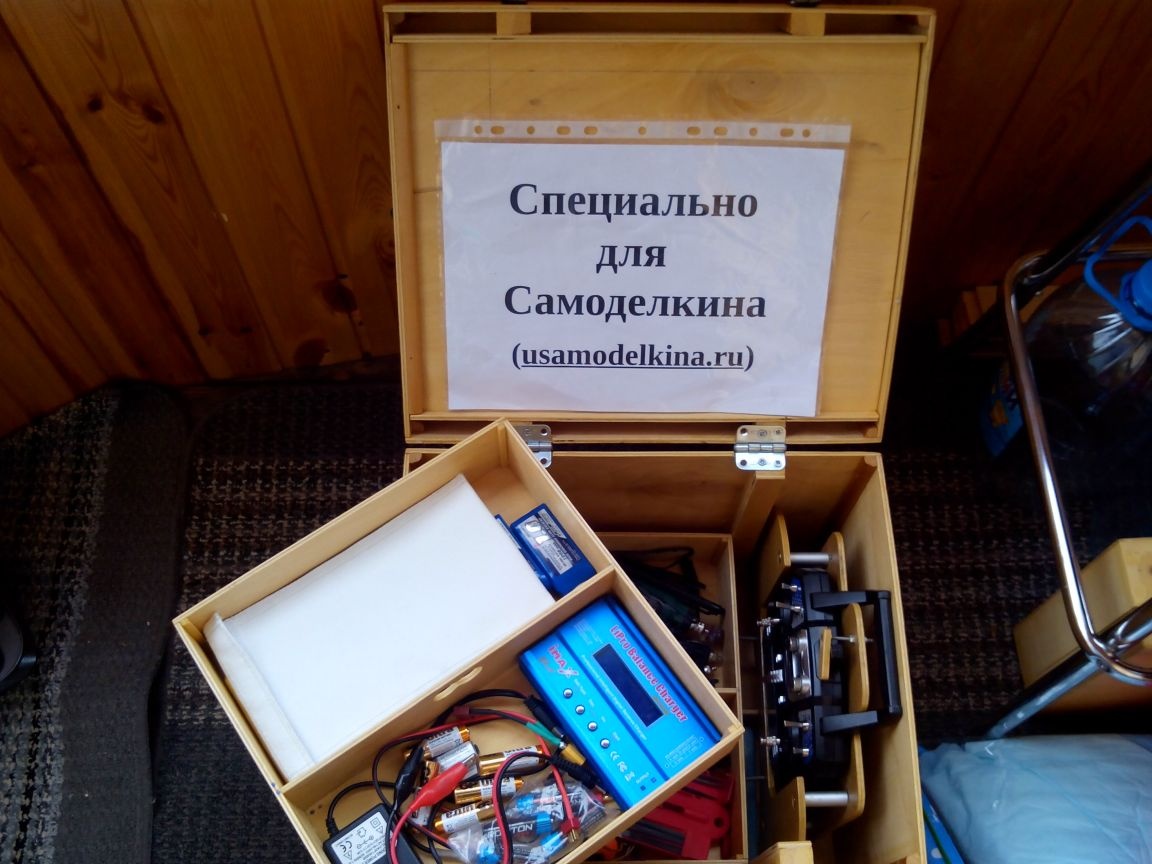
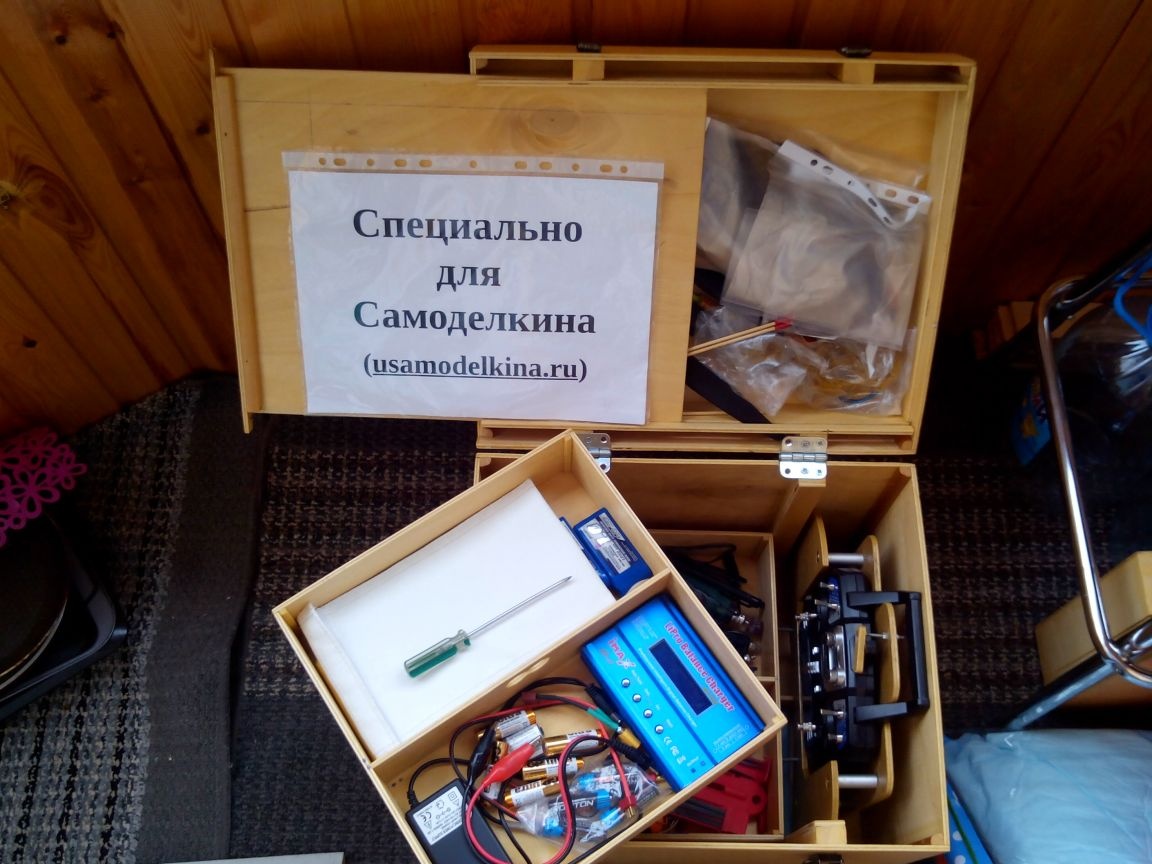
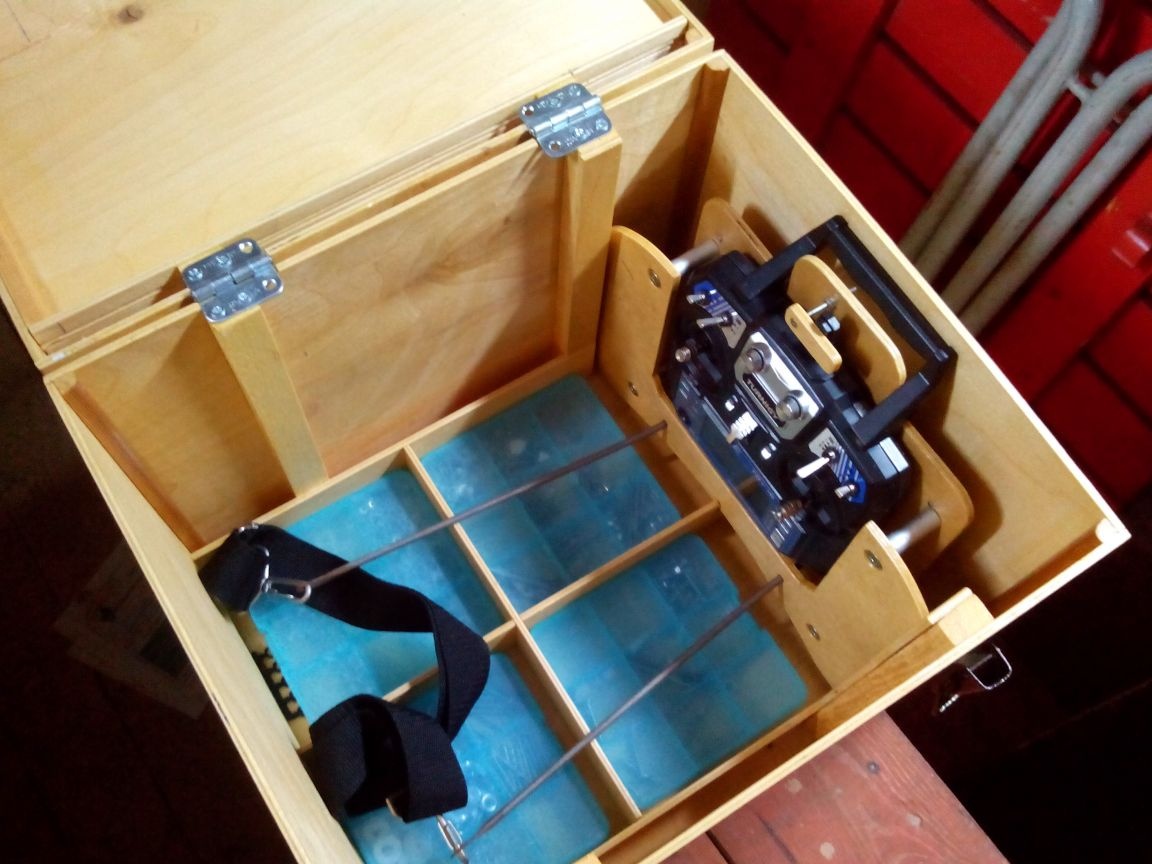
Step 6. Production of internal drawers and partitions
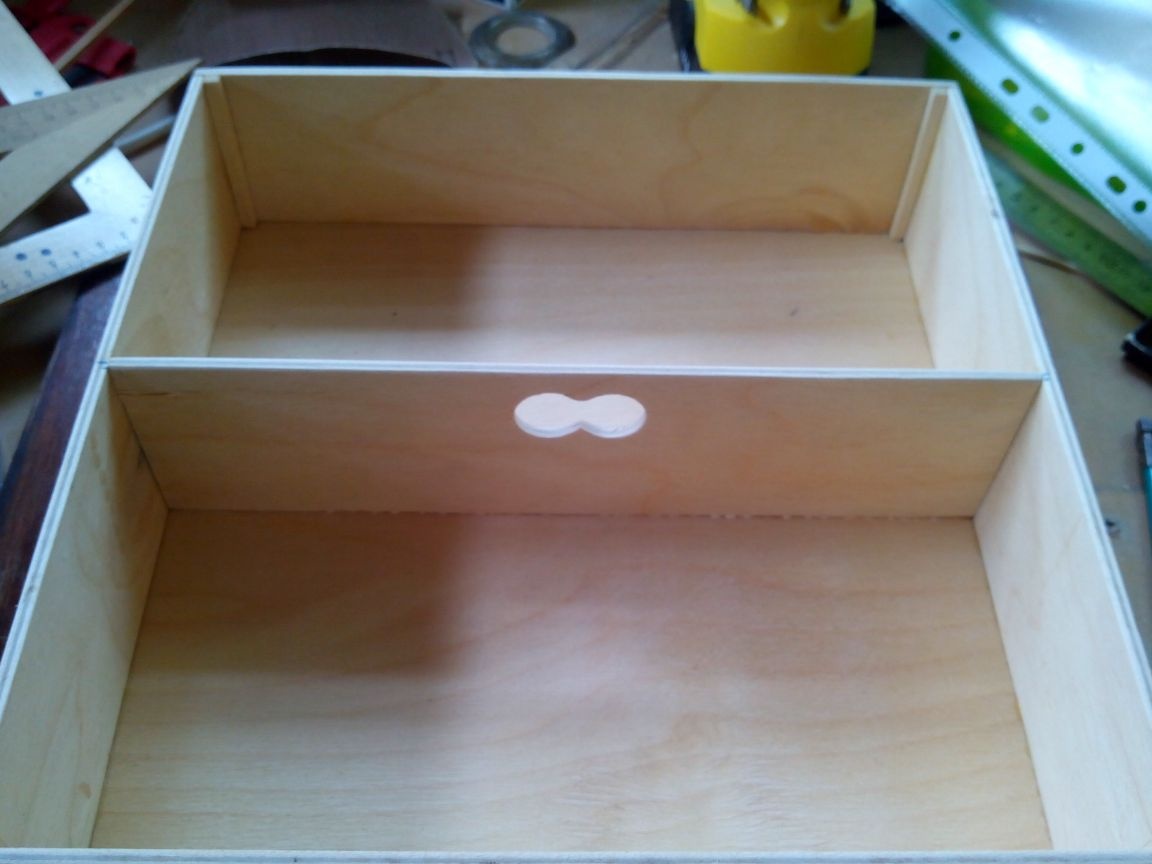
Glue plywood partitions inside the box.

This is how the equipment and boxes with bolts and other small things will be located.
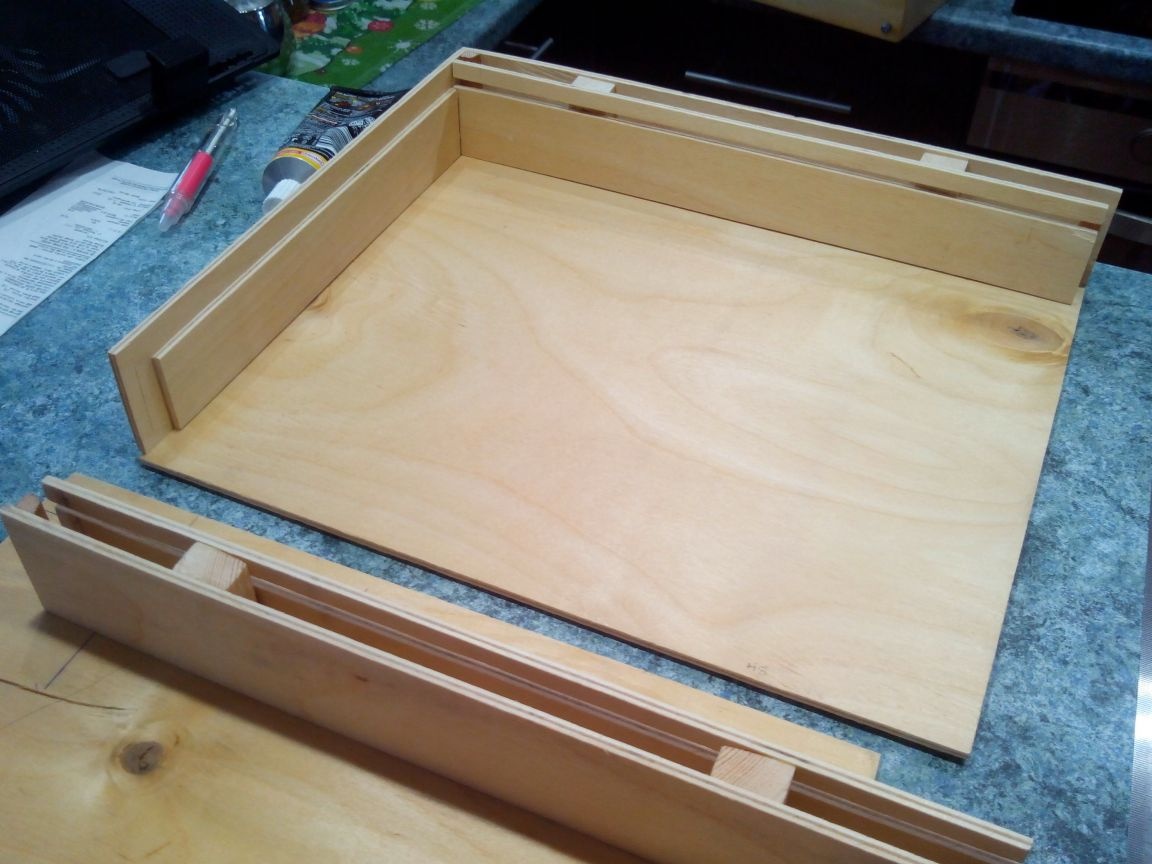
We glue the inner boxes of plywood and thin glazing beads, which will be in the corners.
We stick the beadings, stepping back the thickness of the plywood from the edge, to the sidewalls.
Glue the walls of the box together.
Glue the bottom of the box.
The partition in the box will also be a handle for removal, and therefore we make two adjacent holes in it with a pen drill and process the edges with sandpaper.
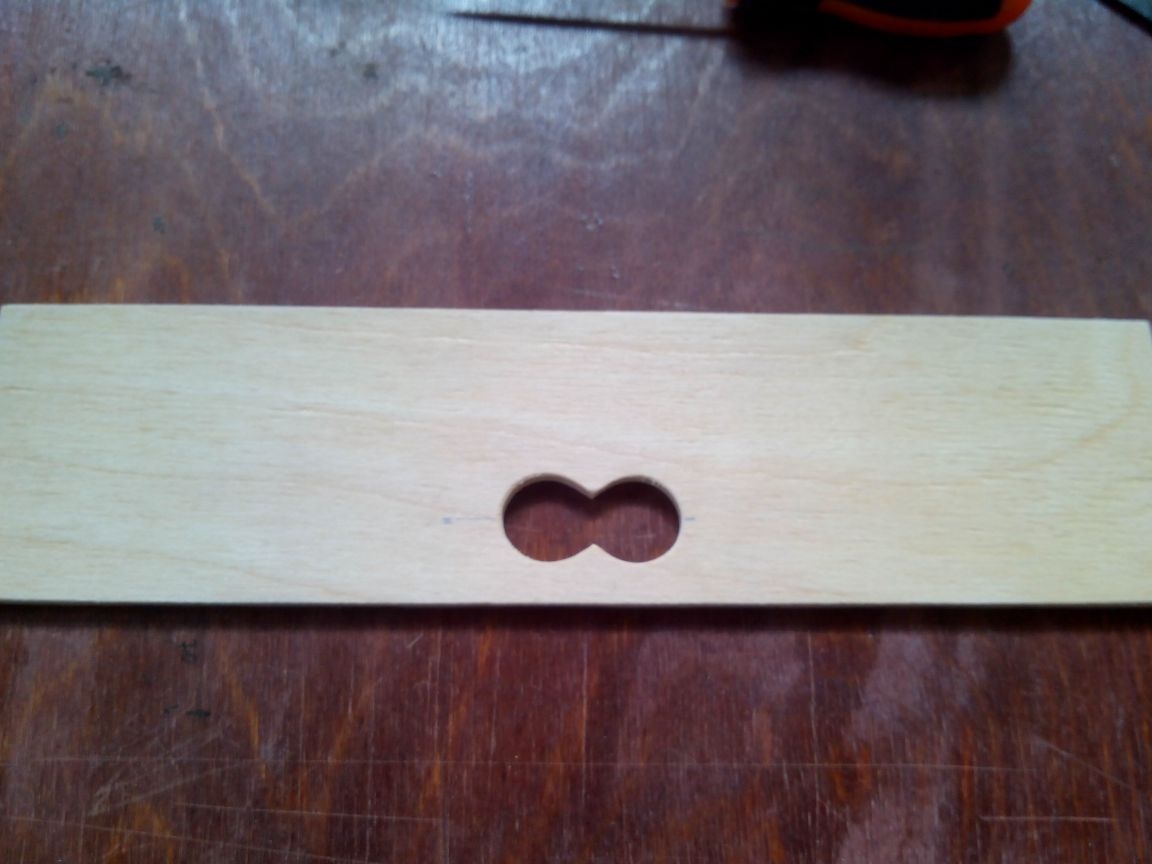
We glue the partition into the drawer and additionally fix it with small cloves.
Similarly, we do the second (and, if necessary, the third box). Then we cover them with acrylic varnish.
We put the boxes inside.
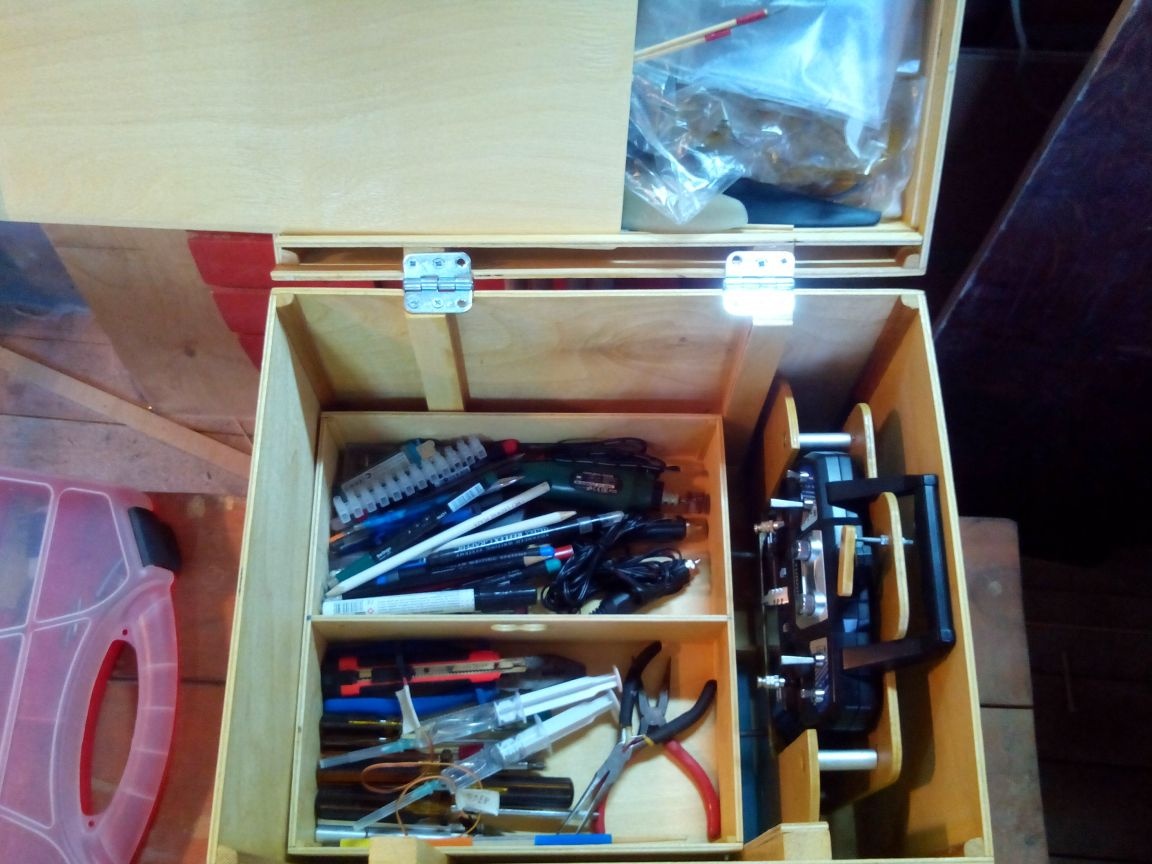
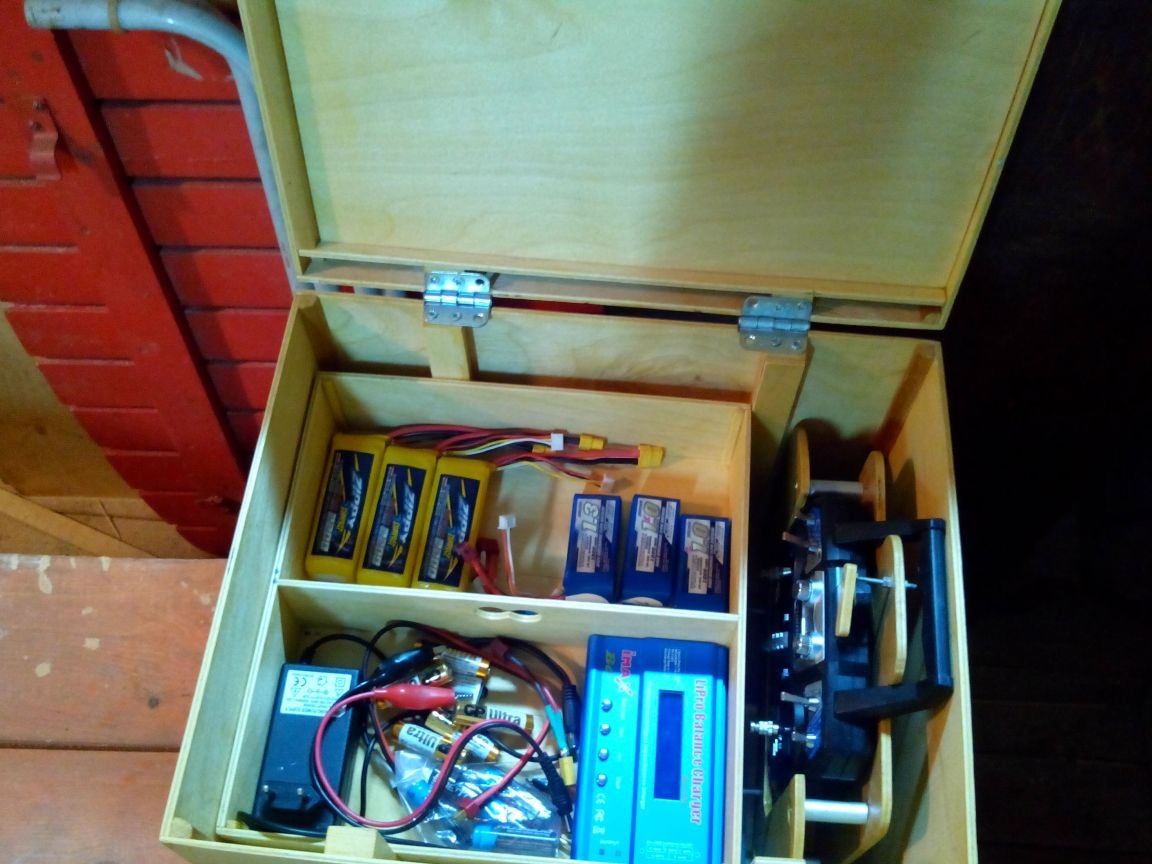
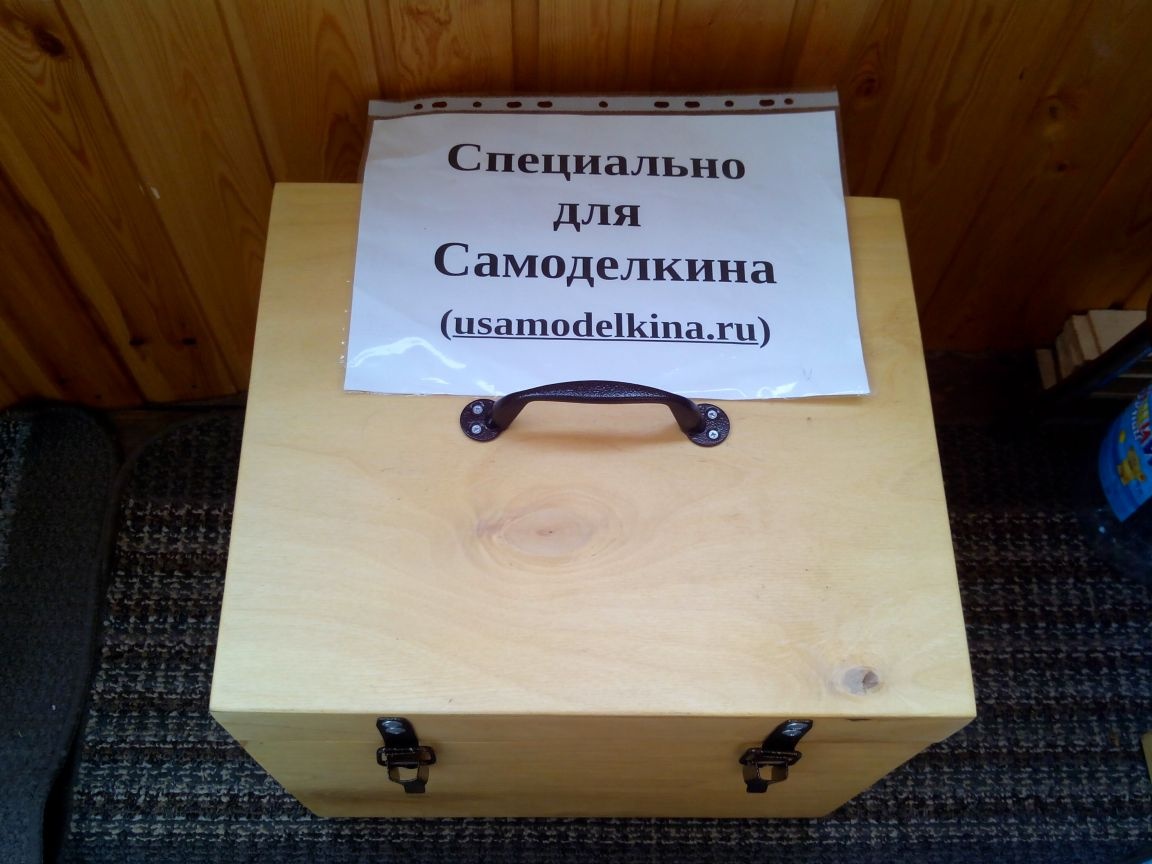
Everything, the flight box is ready.