I have a house in a deep village, almost in a forest, there are problems with water. The nearest well is more than 200 m, and its depth is about 25 m. That is, until you go, while you get water from there, you don’t want anything ... And you also have to do this in the winter through the snowdrifts.
I decided to drill a well do it yourselfat least try. Our drilling costs around UAH 250 ($ 10) per meter, and since you need to drill more than 25 meters, plus paying for the road to the place, not including the pump and other equipment, it costs a little shorter, and there is still no 100% guarantees that they will drill water.
For drilling a well with my own hands, I chose the simplest (structurally) and, probably, the most ancient technology - shock rope drilling. But since I always do my own thing, I made the device fundamentally different from those on YouTube and other descriptions.
I must say that homemade I did it purely for myself and purely for the experiment, to see how it would work and so on. Of course, there is still much to be done and needed to be done that will make home-made safe, effective and not spend as much energy on drilling as I do.
Materials and tools:
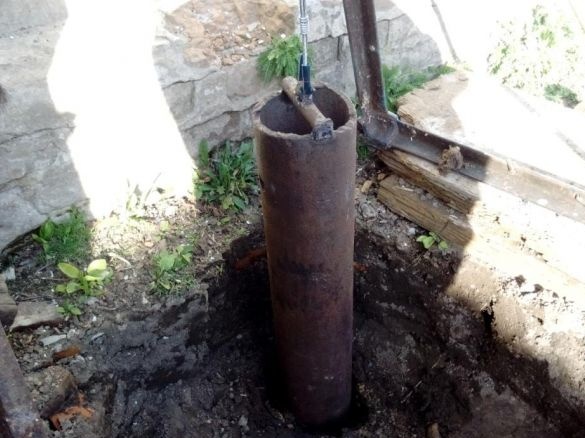
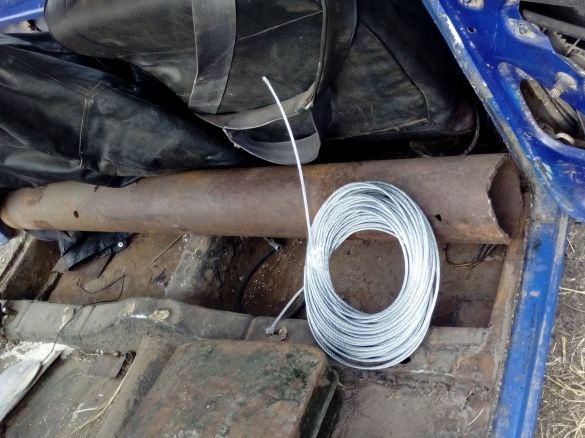
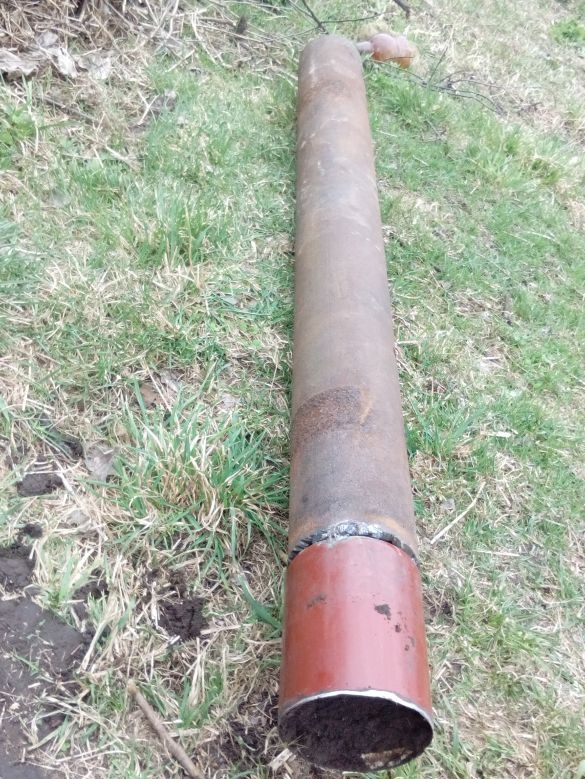
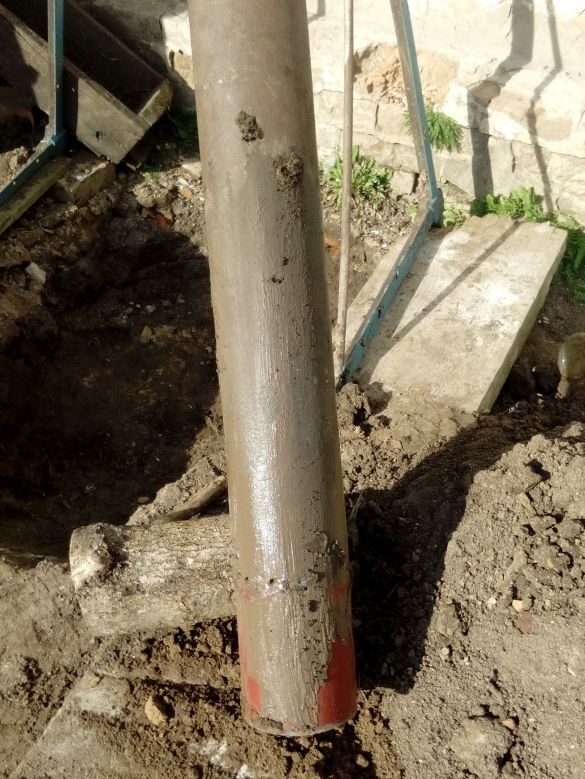
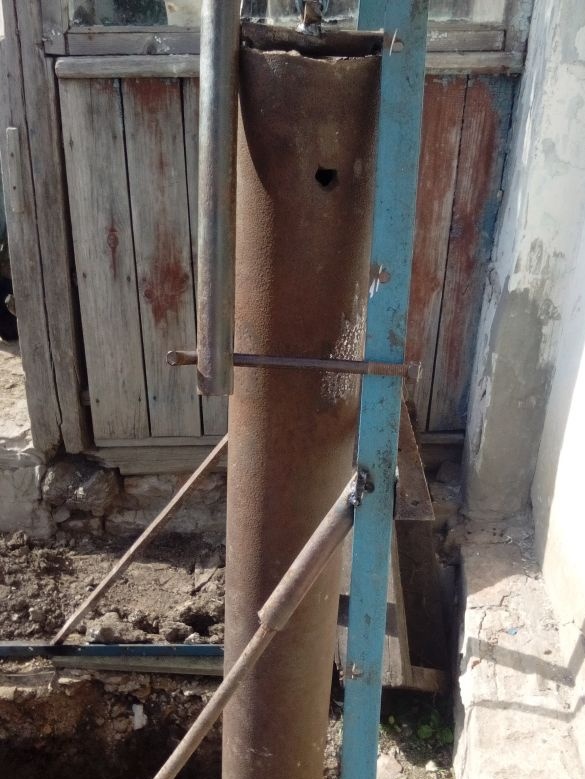
1. Thick-walled steel pipe. I have a length of 114 cm and weighs 42 kg (but the length is too small, you need a meter and a half minimum). I don’t remember the exact diameter, but I chose 125 for the casing. Bear in mind that the diameter of the well during drilling will be 15 percent more than the shock pipe. The longer the pipe, the smoother the well will be.
2. A piece of strong thin-walled pipe to create a knife (best of stainless steel 1-2 mm thick)
3. Steel cable, I have 4 mm. Four is enough butt tyk, this cable is weak, it is best to take a five, it should be enough without nerves. Although the four are doing fine.
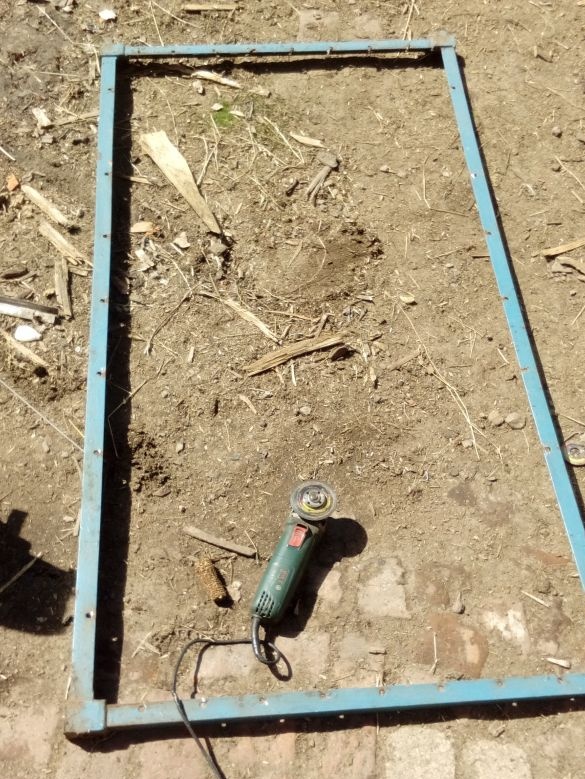
4. Steel corner or pipes (I went old bed) to create a frame.
5. Materials for the winch (I have a wheel from the cart and a piece of steel pipe).
6. Swivel for the cable (required). It would be nice with a carabiner so that the pipe can be unfastened if necessary.
7. All sorts of nuts, pieces of iron, pieces of chain, door hinges, rubber and other stuff, which everyone is sure to find in their the garage.
From the tools:
- grinder;
- welding;
- pliers, etc.
Regarding investments ... The pipe at the metal warehouse cost 8 UAH per 1 kg. It was possible to find cheaper, there was simply no time and desire to search.
Rope bought 30 m for 10 UAH each meter. I also bought a swivel. Everything else was found at home ... In short, I spent on everything no more than 1000 UAH.
Drilling machine manufacturing process:
Step one. Parts preparation and frame assembly
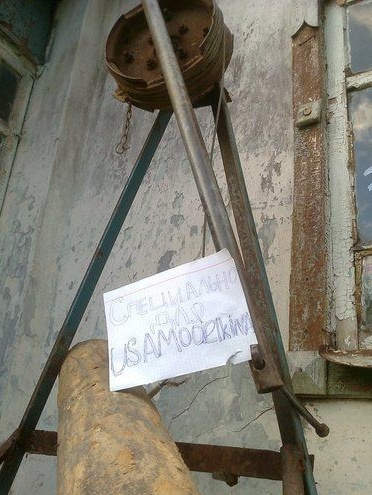
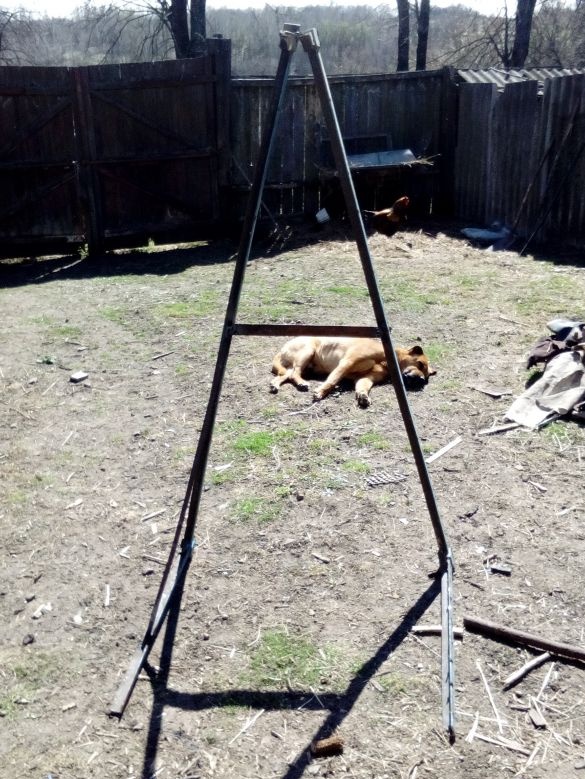
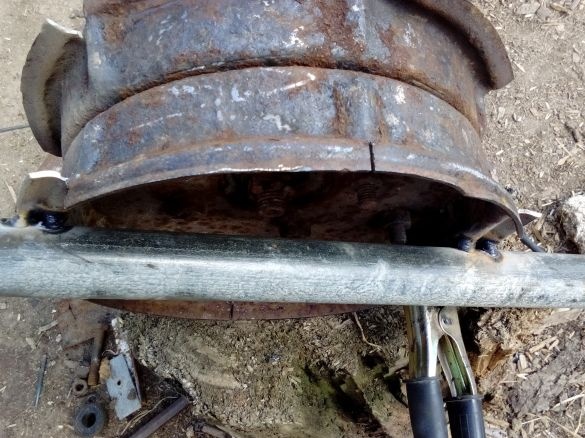
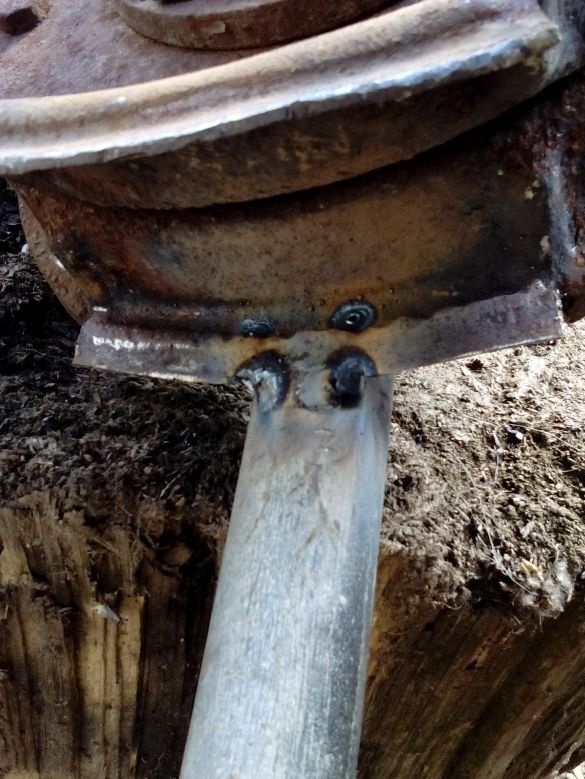
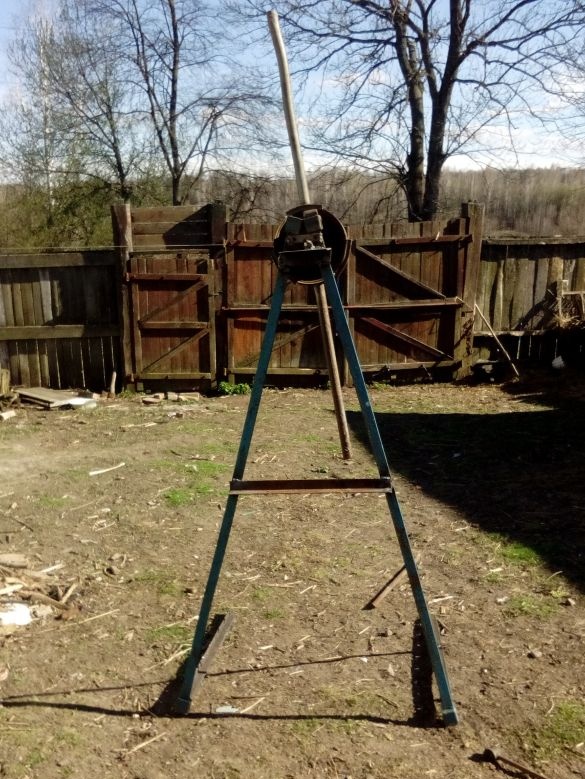
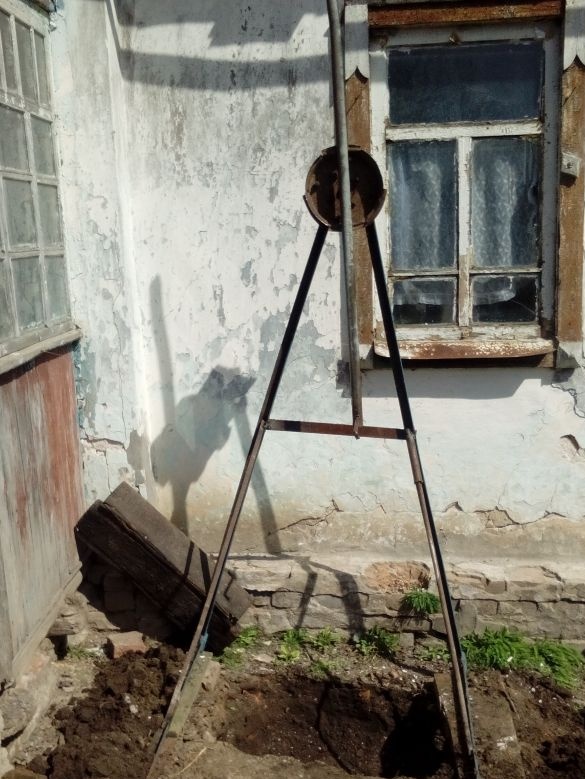
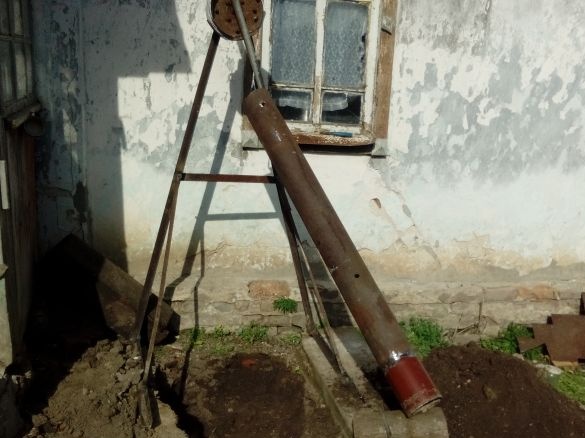
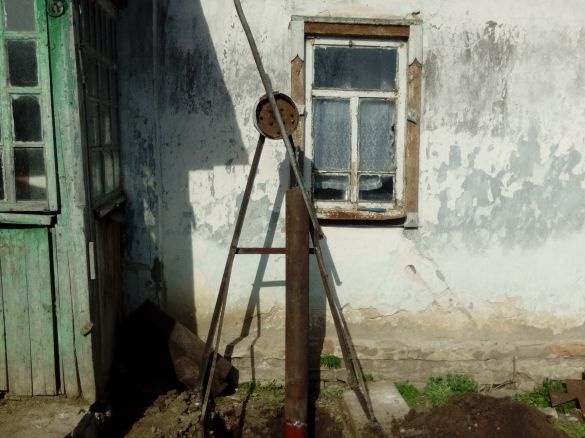
In general, it is customary to make a tripod for such devices, but I decided to make a two-leg. I found a metal frame from the bed and cut it diagonally. Next, cooked at the top of the corners as seen in the photo.
To strengthen the frame, I welded to the right and left side on a piece of reinforcement. In principle, this was enough with the head. For reliability, you can weld a piece of the corner to the base in front.
The frame is ready, go to the creation of a winch.
Step Two Winch
My winch turned out to be really life-threatening, since it does not have a ratchet mechanism. If you let go when raising or lowering the pipe, it can easily kill. But this does not scare me, because everyone has been using wells with such a mechanism for decades and has not killed anyone (at least for us).
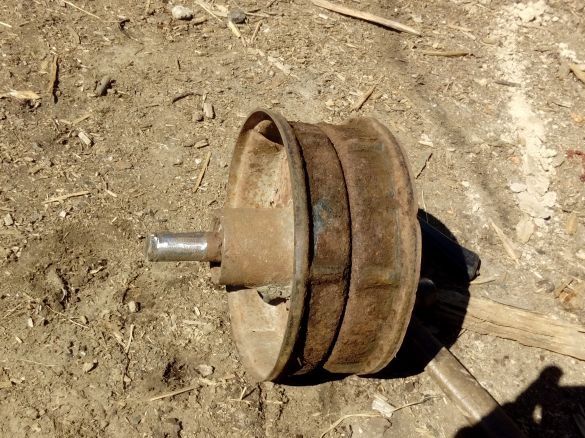
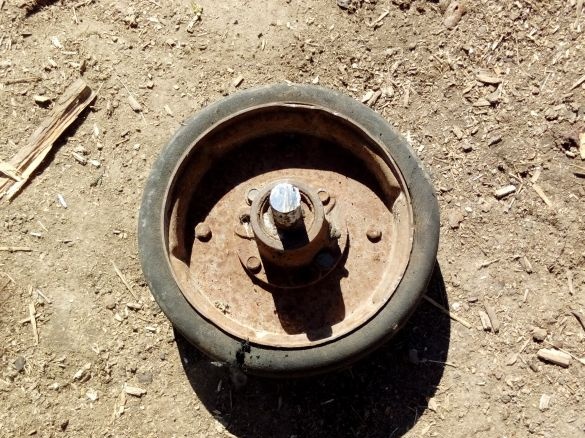
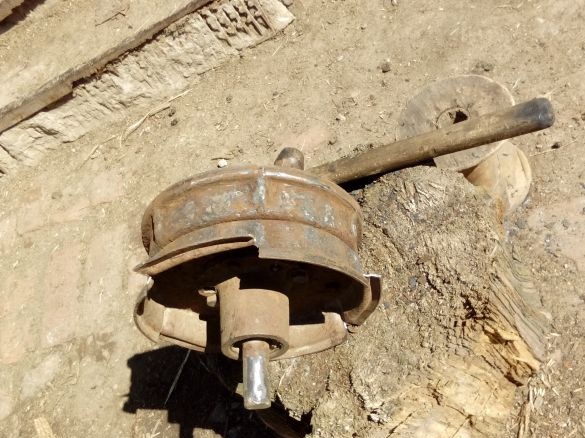
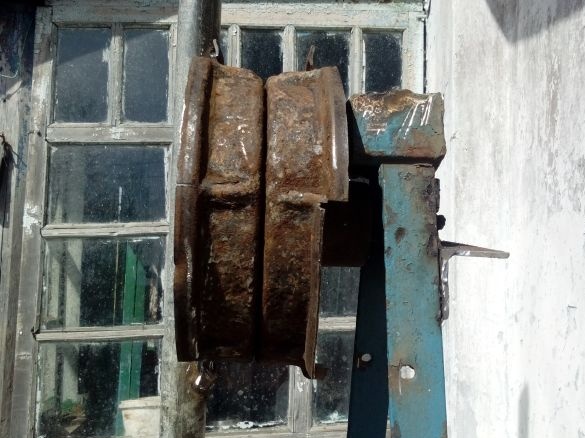
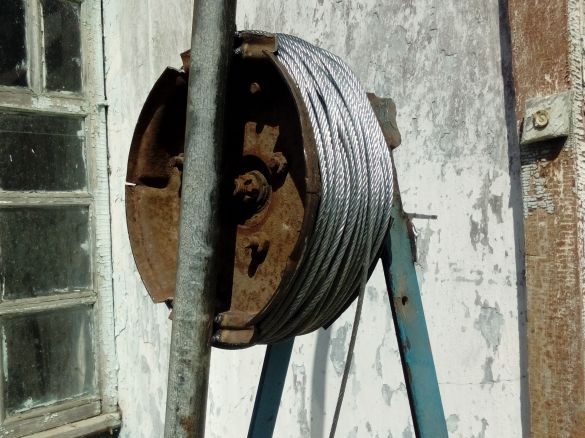
I made a winch from a wheel from a cart. I cut off a rubber tire similarity from it, and then made cuts along the rim. Then I bent down these cuts with a hammer, as a result, a groove for the cable turned out on the wheel. 30 meters of a 4 mm cable can fit into such a winch without problems.
As a handle for the winch, I used a piece of steel pipe. Take a larger pipe, so it will be easier to work.
There is a hole on the winch pipe in which there is a steel rod. It works as a winch lock.
Step Three Installation at the drilling site and preparation
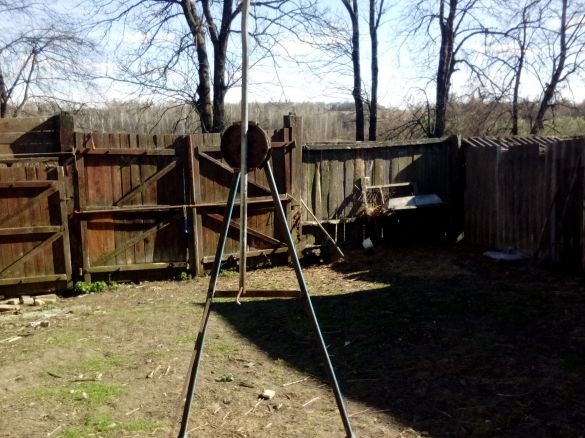
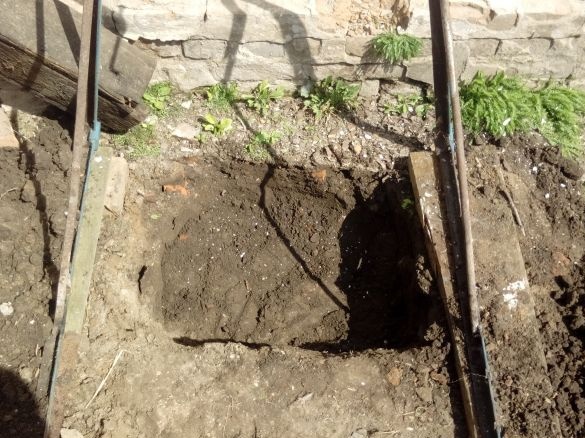
I decided to drill a well right under the house, since it is unlikely to guess the location of the water, and I will win by saving pipes. It is important that the structure is securely fixed so that it does not move. I set it on two thick heavy boards and nailed it.
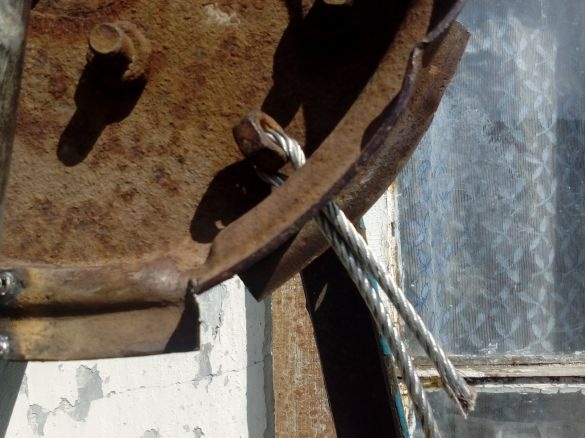
Now you can rewind the cable. I burned a hole in the winch by welding with a graphite electrode and inserted a cable. Then on the other side he put on a nut and moored the cable with wire.
Under the device, he removed the top layer of the earth so as not to hit the stones lying above and other rubbish.
Step Four Shock column assembly
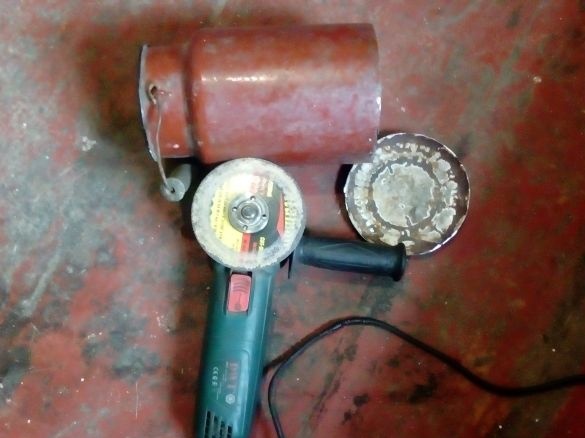
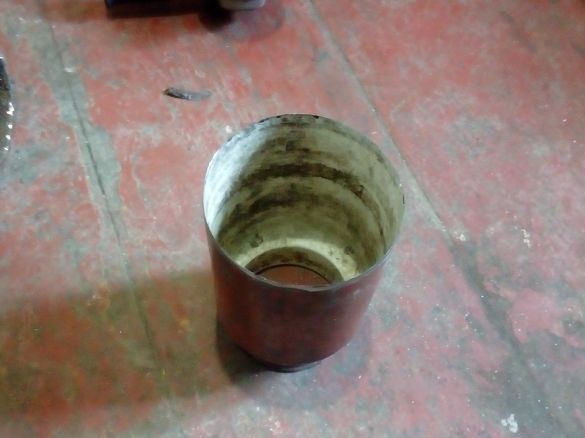
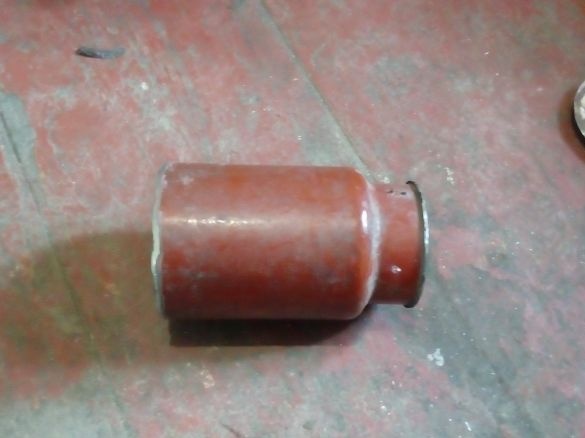
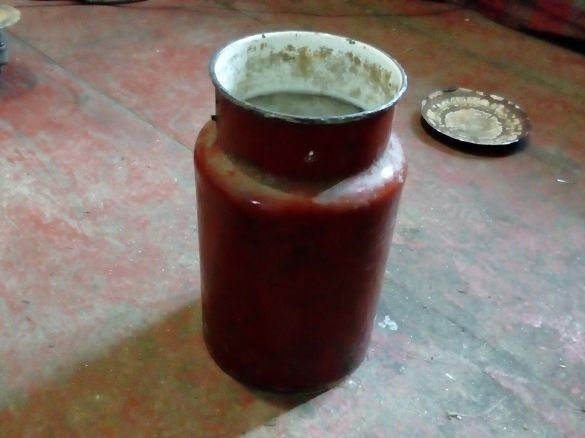
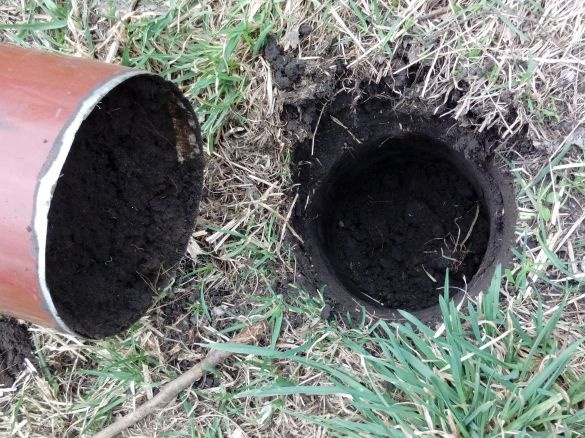
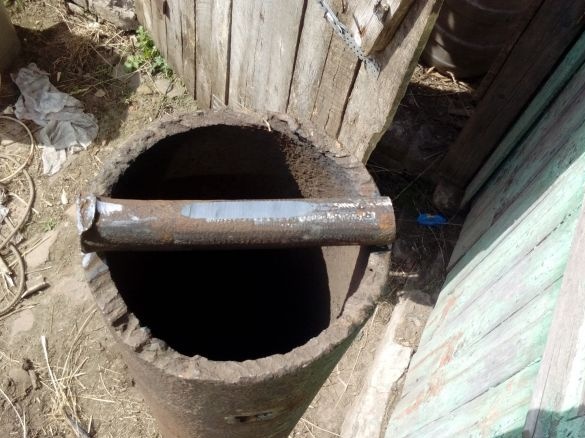
The shock column was redone a couple of times. First, as a knife, I welded an ordinary can to the end of the pipe. No matter how ridiculous it looked, but with a can I broke the first 10 meters, but then I came across stones and it bent me.
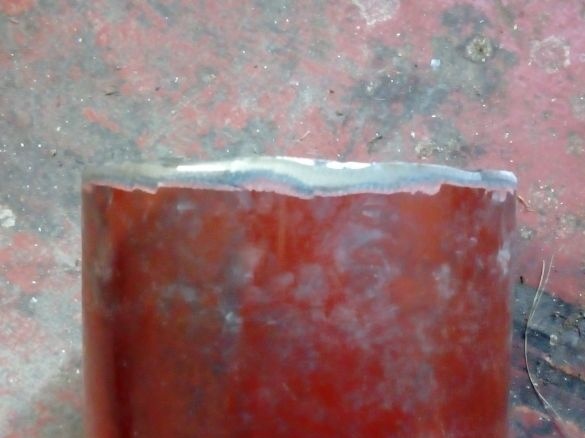
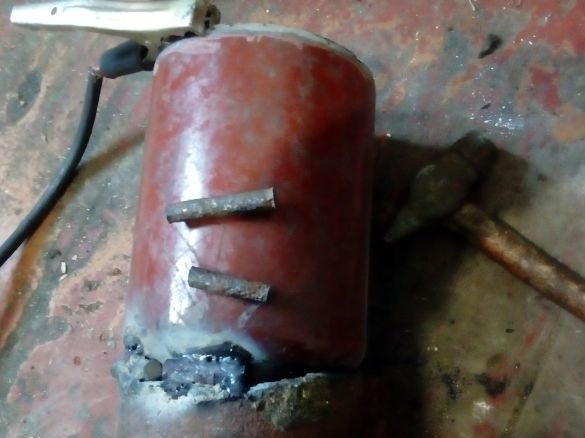
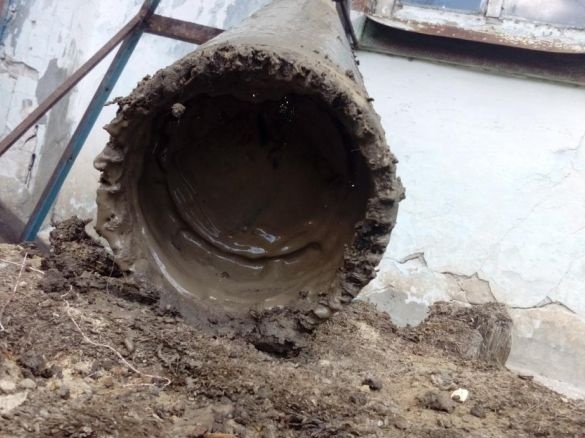
To pass the stones, I cut the can and cut the teeth on the main pipe. With these teeth, I crushed granite without any problems.
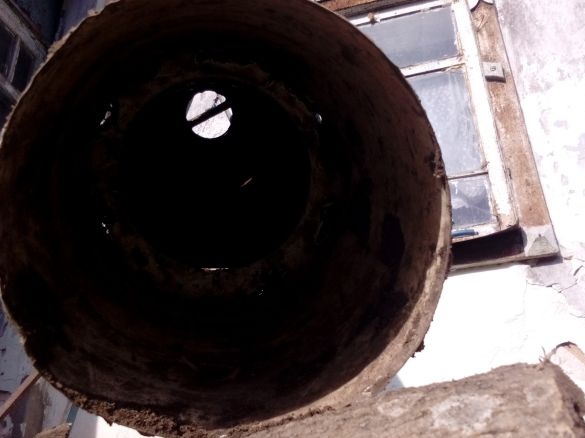
Of course, the can is a very weak construction, but this is just an example of how everything works. As a knife, you need to use a strong and thin pipe (a stainless steel is perfect). The length of the knife can be 15-25 cm. It makes no more sense, since you are unlikely to pick up so much soil at a time.
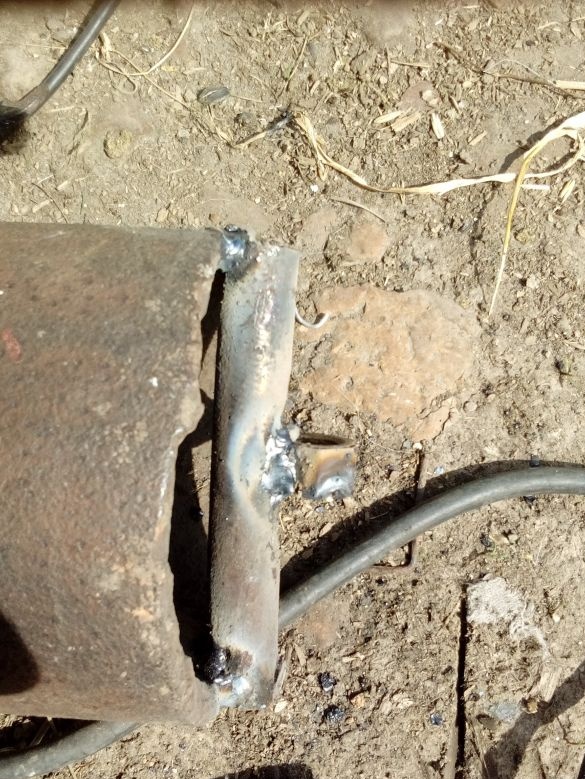
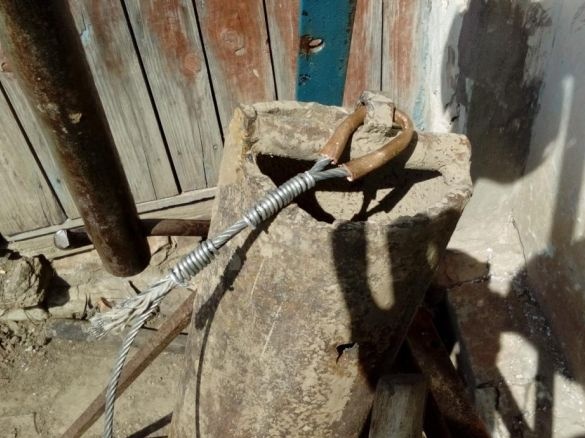
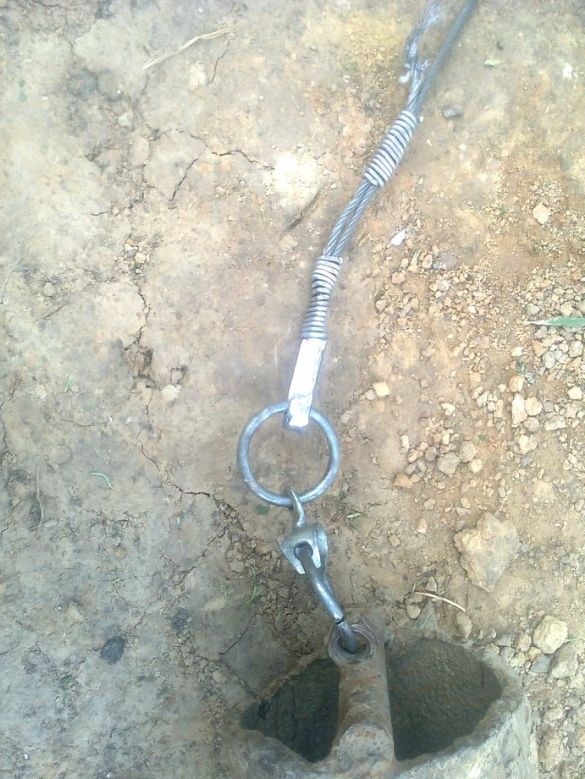
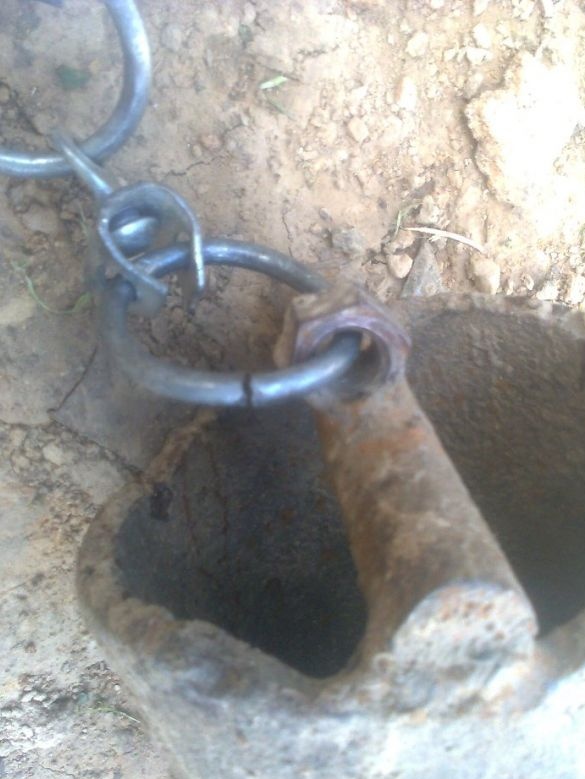
The pipe is attached to the cable using a steel rod to which the nut is welded. The shaft itself is also securely welded to the pipe.
Cable mount
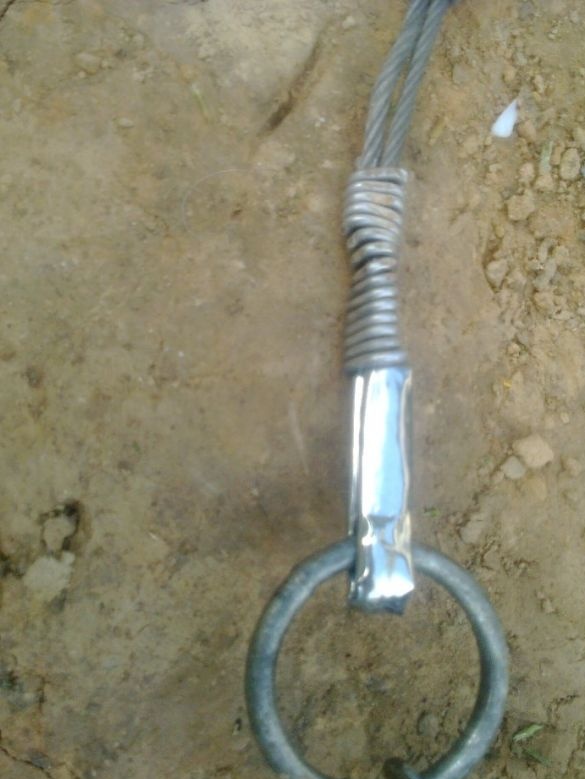
It is also important to say a few words about the mooring of the cable, it is very important. I inserted it into a copper pipe, and then bent it. Well, the loop of the cable was wrapped with aluminum wire. In principle, it has not yet broken. It is mainly held by a bent pipe, and it prevents it from rubbing.
It is also very important to fix the shock tube through the swivel, otherwise the cable will constantly twist. And if you use a twisted cable, you will immediately break it (I had it at first).
The swivel itself must be very strong. It is also useful to install a carabiner, so the pipe can be unfastened during transportation.
Valve
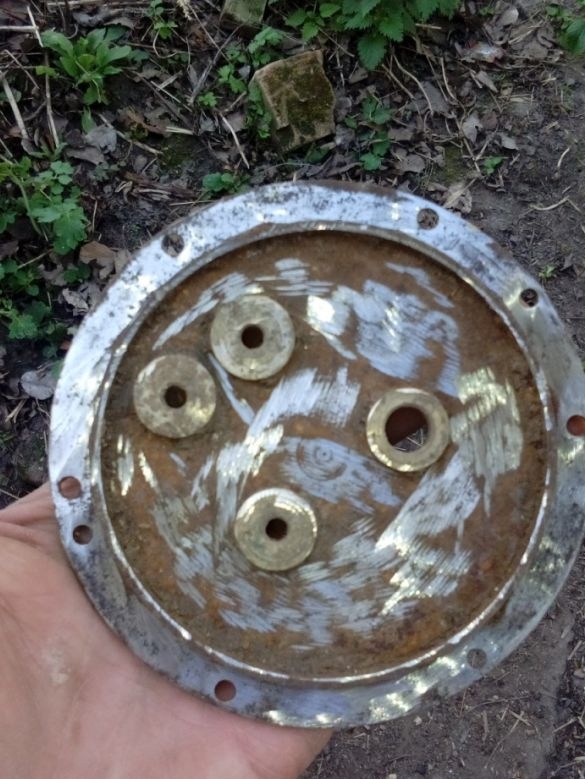
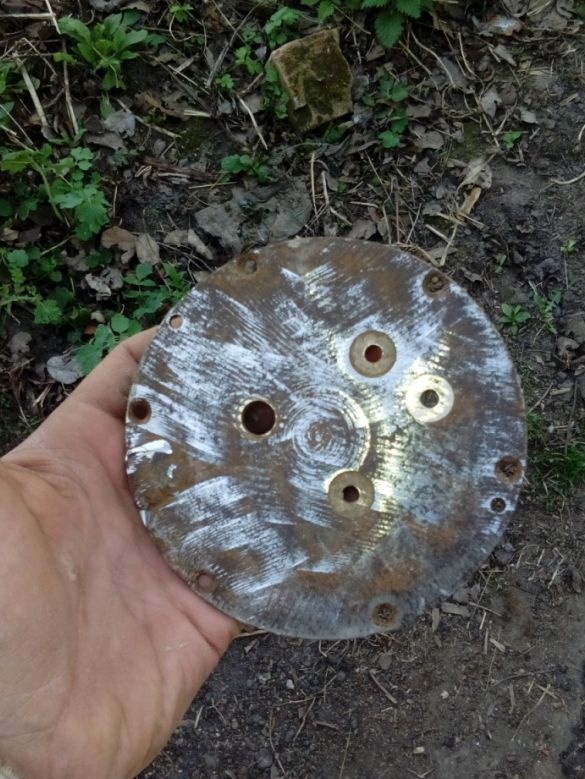
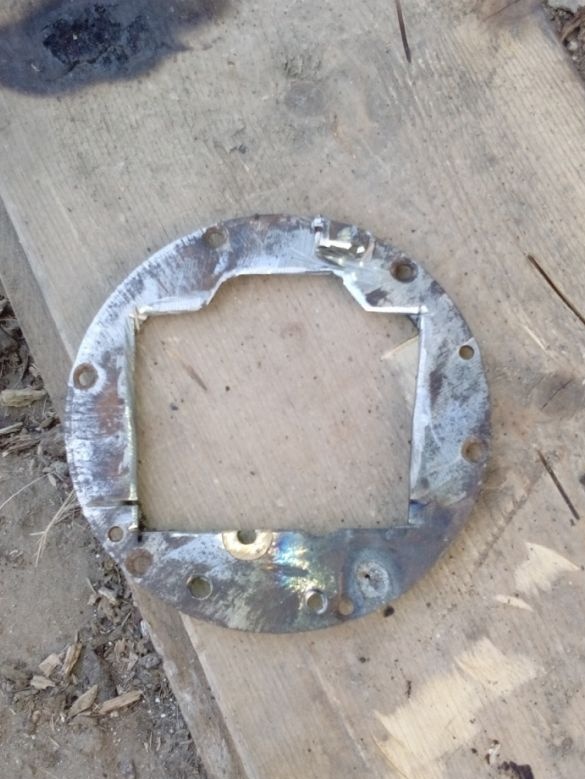
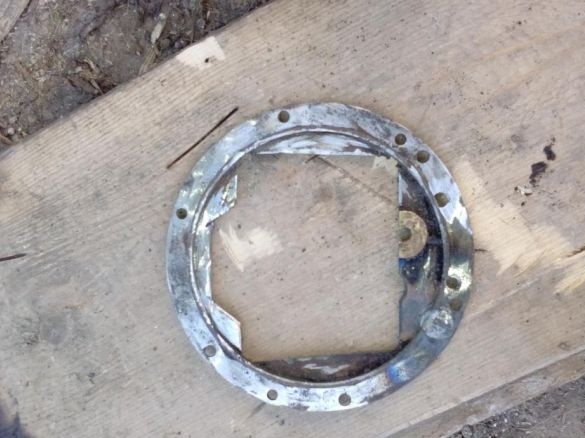
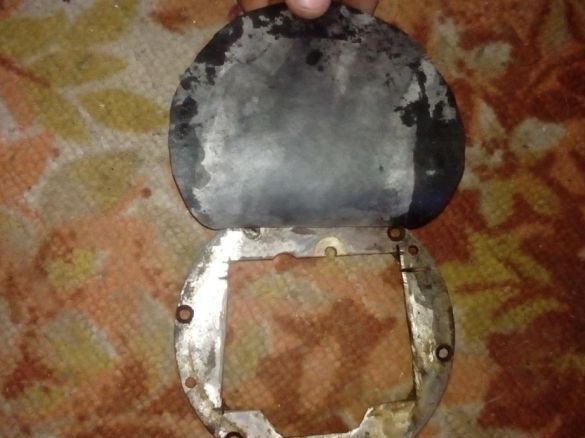
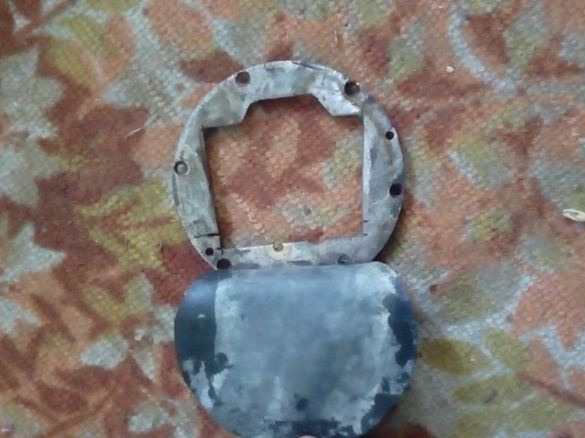
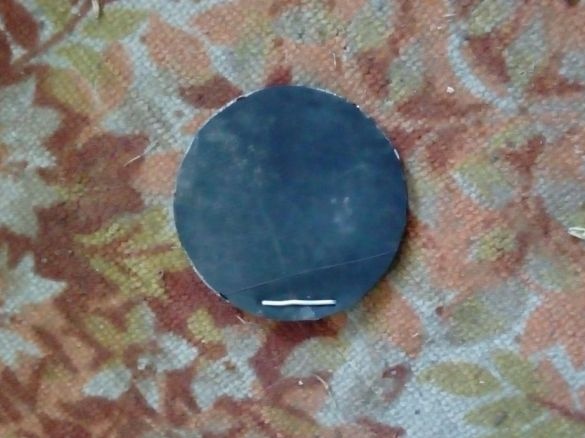
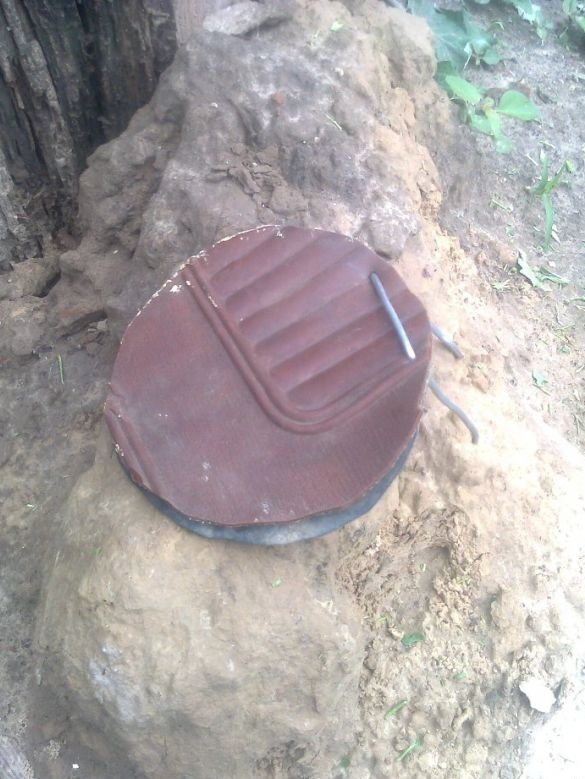
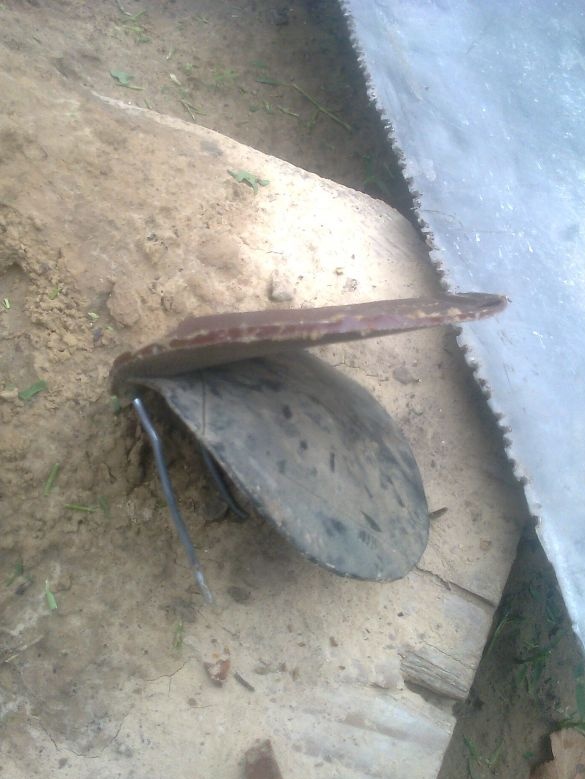
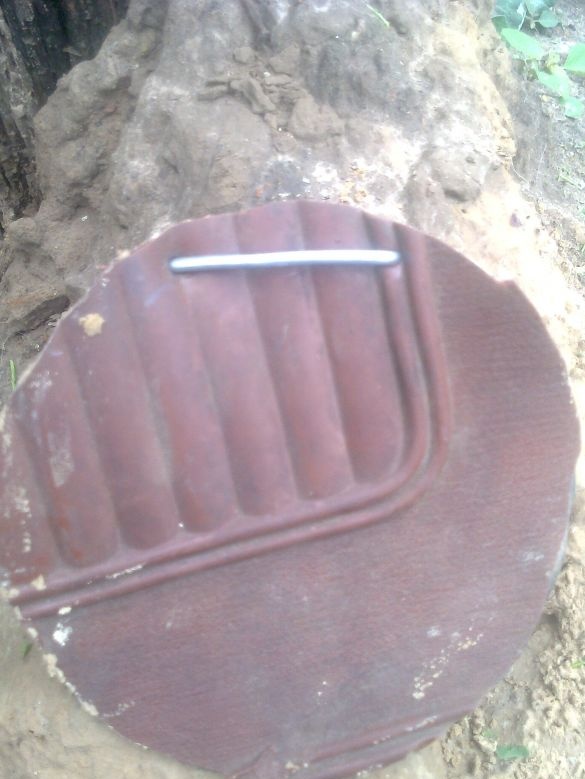
I immediately decided to make a valve for the shock pipe so that it would be possible to pump out water and dry rocks (if any). I found some kind of round thing, in diameter it clearly entered the pipe. I saw through a hole in it with a tricky shape (it’s hard to cut a round grinder) and then installed the rubber membrane from the Zhiguli camera, screwing it with aluminum wire (for easy replacement).
But practice has shown that this gum is weak, I then strengthened it with another one, cutting a round from a rubber boot.
The valve was useful to me when there were heavy downpours, and I did not close the well. There was a lot of water, I pumped it all out without problems thanks to this valve. And so when drilling it is, in principle, not needed. Except when drilling an aquifer.
Step Five The device is almost ready. Making the trigger
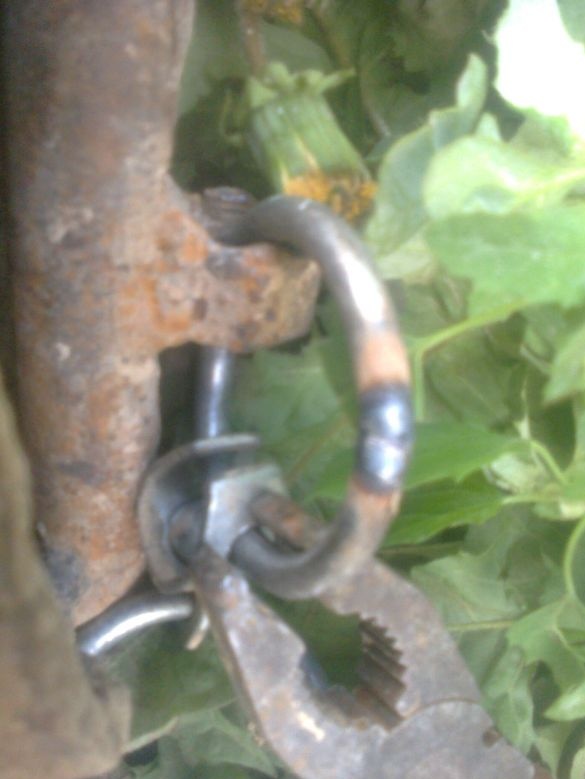
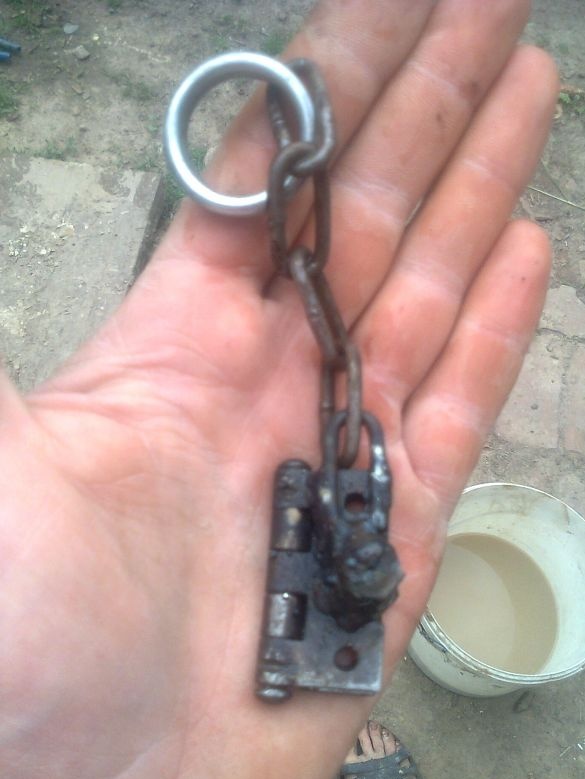
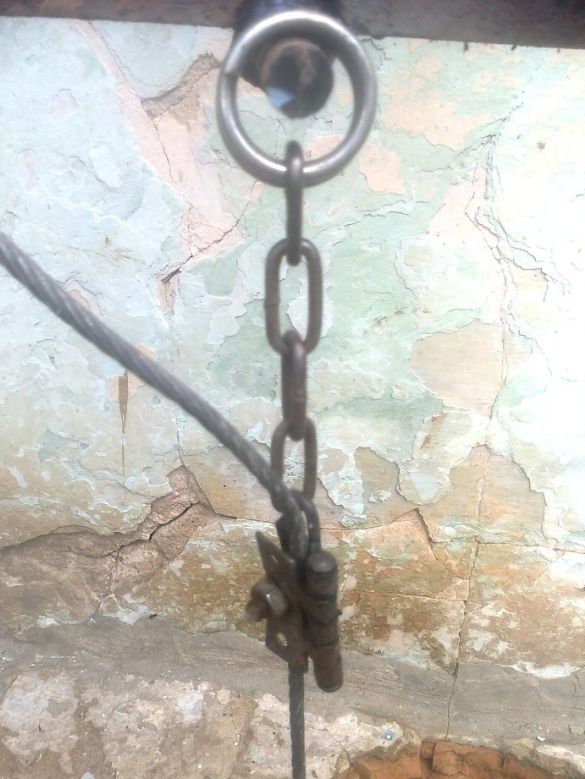
The trigger mechanism is very simple, it works like a “mousetrap”. I made it from a door hinge, a bolt with a nut, a ring and a piece of chain.
In the door hinge, you need to drill a through hole under the bolt and nut, which will tighten it, thereby clamping the cable. But instead of drilling, I just sawed a groove in both halves of the grinder. In order not to hold the bolt with ten keys, I welded it to the loop.
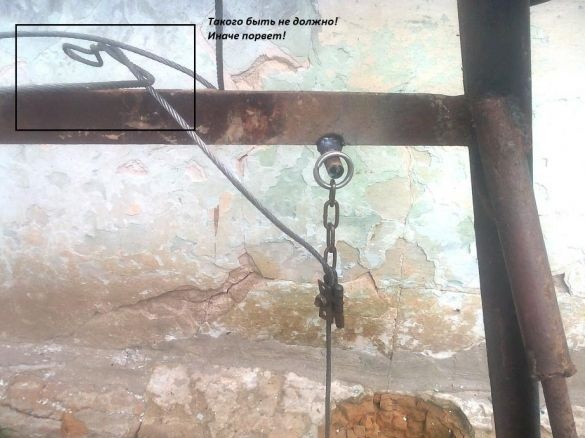
To the loop you still need to weld a piece of chain with a ring. The ring can be made of steel wire if there is no suitable at hand. A rod opposite the well must be welded to the frame of the machine; an shock tube will be hung on it.
Now we take the door hinge, fasten it to the cable with a bolt and hang it with a ring on a rod welded to the frame. The device is cocked and ready for battle!
Another important point. To prevent the cable from slipping, before fastening the loop, wind aluminum sheet or copper around it, and then tighten it with a wrench.
How to drill?
Since there is a sharp knife at the end of the pipe, a large impact force is not needed here, my impact range is in the region of 1-2 m. That is, the pipe should fly no more than 2 m to the point of impact. If you do more, you will it is difficult then to pull the pipe out of the ground. It can be up to a cable break. Therefore, it is better to make two meter kicks than one two meter kick. Well, from two meters with my 4 mm cable I pull out without any problems. Of course, it still depends on the type of soil.
The most difficult thing is to start drilling, here you need to release the pipe by hand with a winch, lifting it by 5-10 cm, until you pass the first half meter, then everything goes like clockwork. In principle, the initial “hole” can be punched by other methods, for example, drilled with a garden drill.
So, the drilling process:
1. We fix the latch on the cable so that the pipe hangs above the impact site at a height of 1-2 m.
2. Let the winch release 1-2 m of the cable with a margin and put the cable so that it does not become tangled when the pipe moves.
3. We move to a safe distance and with a stick we pull off the ring from the rod. As a result, the pipe flies down and hits the ground.
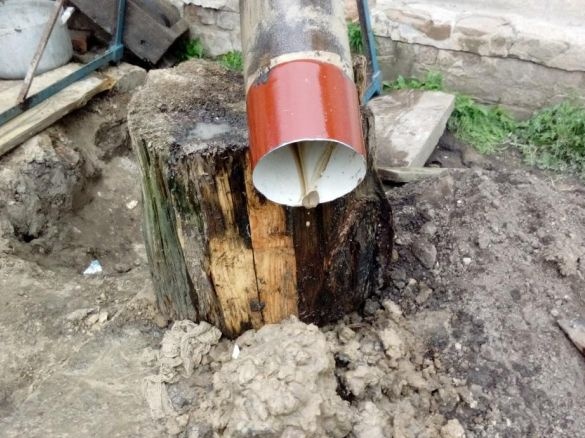
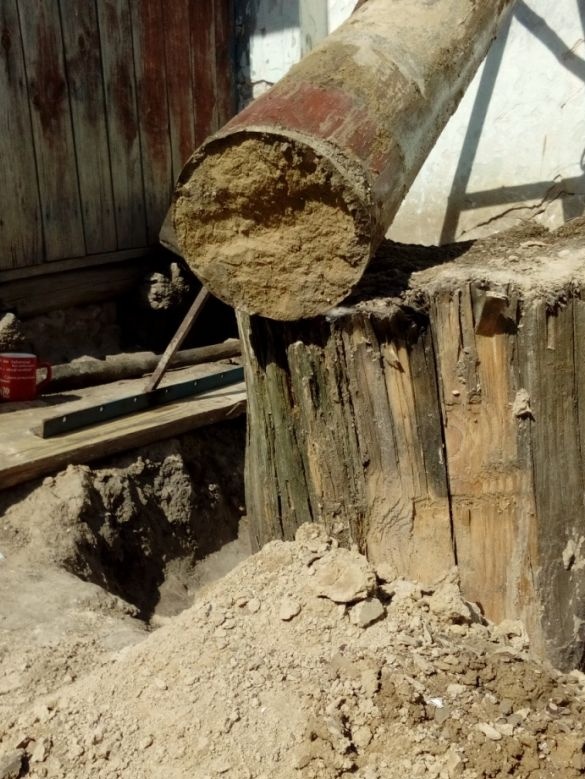
4. Pull the pipe with a winch and put it on the ground for easy cleaning. I put it at an angle on a stump, it is quite convenient for me to lower, raise and clean it.
5. After cleaning, lower the pipe again, charge the structure and so on.
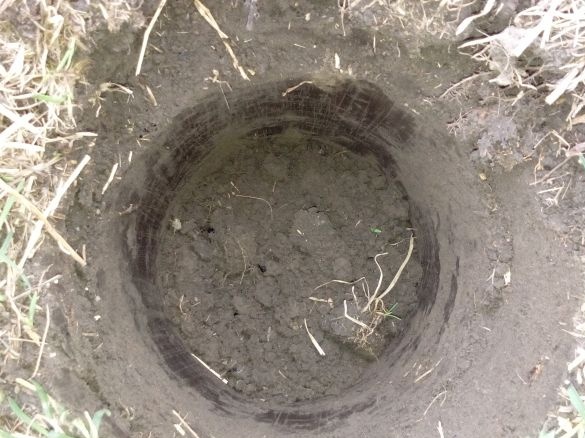
In one blow, the pipe enters 10-15 cm (depending on what soil). In practice, sand with clay and loams easily go. The upper dry layer of light clay (in my area) is heavy.
You can do 1-2 hits and pull the pipe. If the soil is hard, then you need to do a few strokes, as it is not enough typed.
If there is dry and hard rock, you can pour water into the well and wait a bit. Then continue drilling.
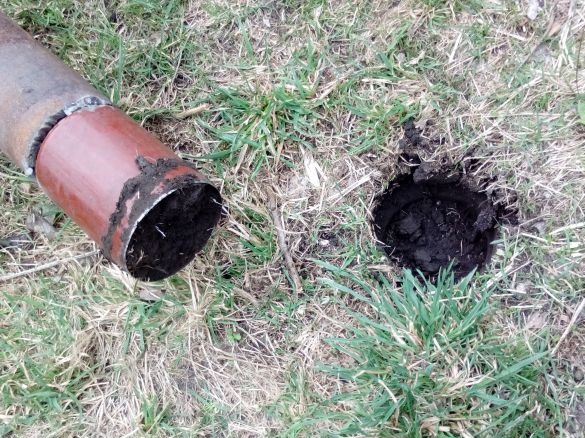
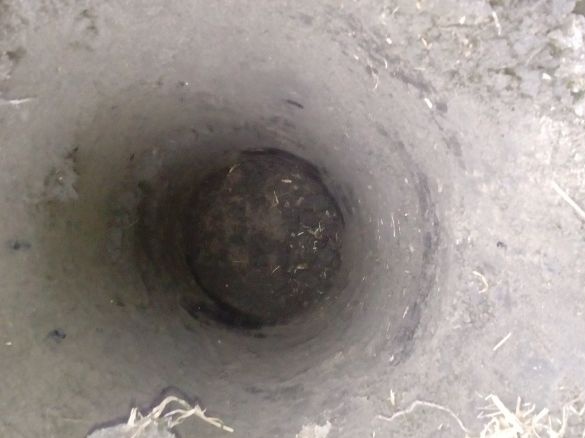
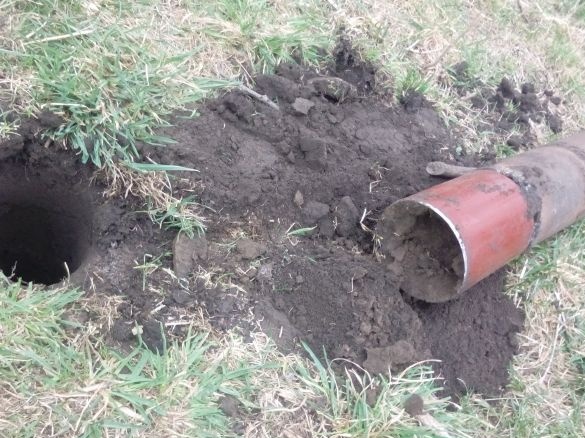
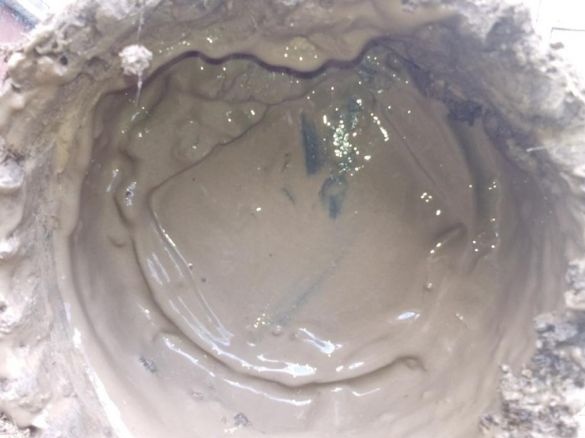
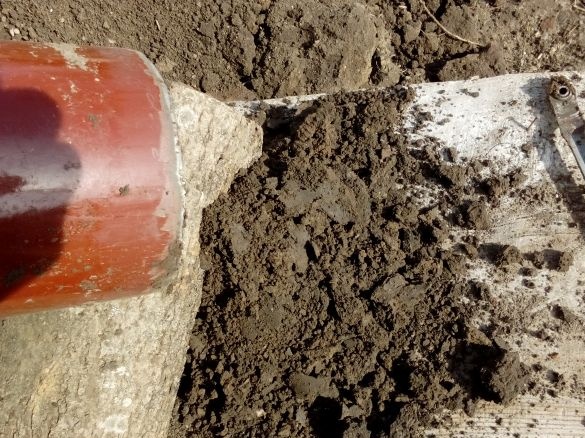
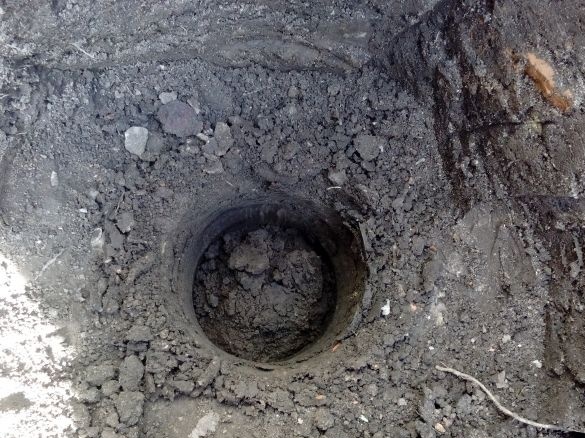
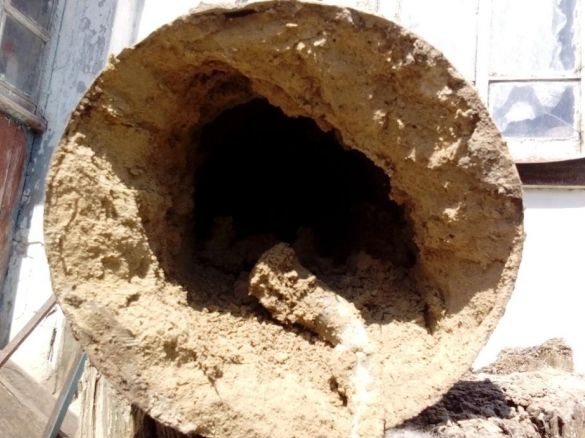
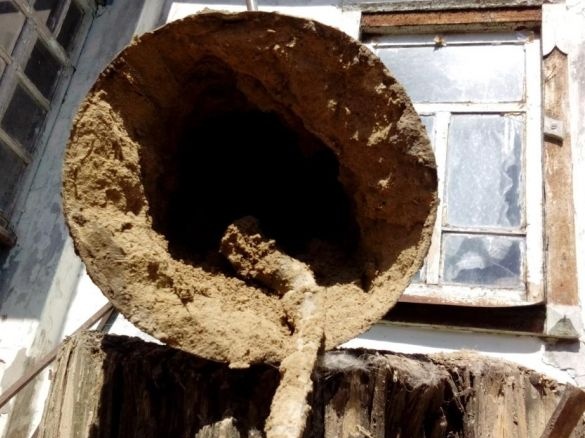
The process is long, difficult, only for real enthusiasts)) I have already passed more than 15 meters and am satisfied with myself. While there is wet sand with clay and pebbles. I hope the water at the drilling site will be closer, and I will achieve my goal. During the drilling I took out many interesting pebbles, dry clay with the imprints of ancient mollusks, the remainder of some very ancient stick.
A few more photos in the end
When I drill, there will be another article about the installation of casing pipes, buildup and more.


