
Author of this saving fixtures for a long time had difficulty just redeeming his dog. When the water was turned off for a short time, the dog ran away, and the hose frightened her to death, so I had to somehow get out, and this took a lot of time and effort. Not everyone dares to bathe a dog in their own bath. So what remains?
Build an outdoor shower for your dog from polypropylene pipes. This work does not require special skills. All connections are made dry, without the use of adhesives, so the shower is easily disassembled, and you can send it to storage until next time.
Given the cost of polypropylene pipes and fittings, this design can not be called budget, but believe me, it's worth it. Having made outdoor showers for a dog with your own hands, you will not regret it.
For work you will need the following materials and tools:
1. Materials:

1. polypropylene pipe of suitable section - a little over 11 meters:
2. 79 cm. - eight segments;
3. 101.5 cm each - three segments;
4.100 cm. - one segment;
5. 93 cm. - one segment;
6. 6 cm. - one segment;
7. 4.5 cm. - one segment.
8. angled tees - 8 pcs.;
9. tees under 90 aboutC - 3 pcs.;
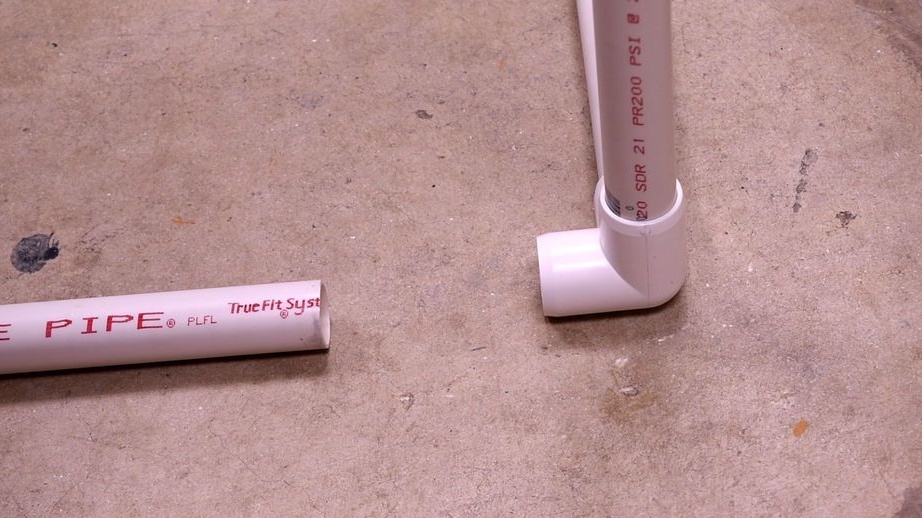
10. 45 turn aboutFROM;
11. swivel adapter from pipe to hose;
12. flexible hose for water supply;
13. A metal collar for fixing the hose.
2. Tools:
- a hacksaw for metal (perfect for sawing polypropylene pipes);
- screwdriver;
- construction tape measure;
- a drilling machine or drill with a drill for making holes in the pipe;
- a pair of clamps or something suitable for fixing the pipe during drilling (if using a conventional electric drill).
Step 1: Prepare the Details
Mark the polypropylene pipe according to the specified dimensions and cut the parts with a hacksaw.
Measure the required length of the flexible hose for supplying water to the shower and prepare a segment of the required size.
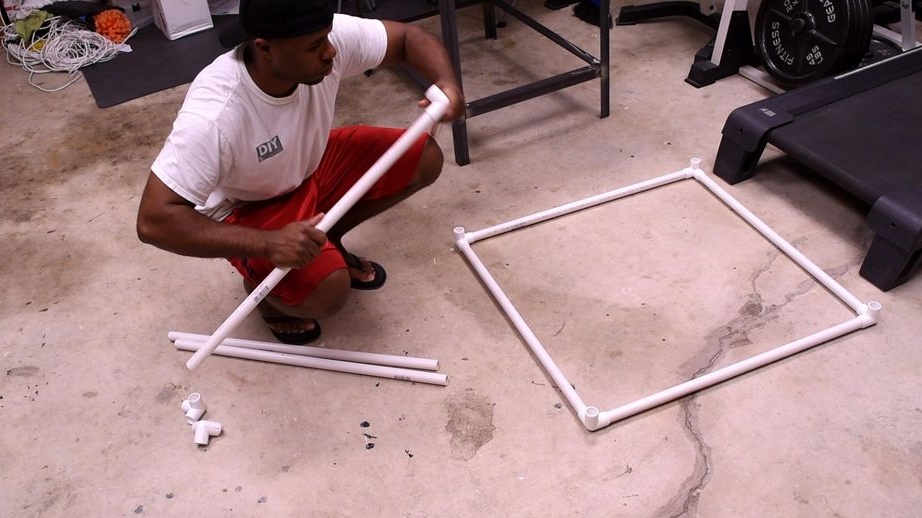
Assemble all the parts and proceed to the preliminary assembly of the structure.
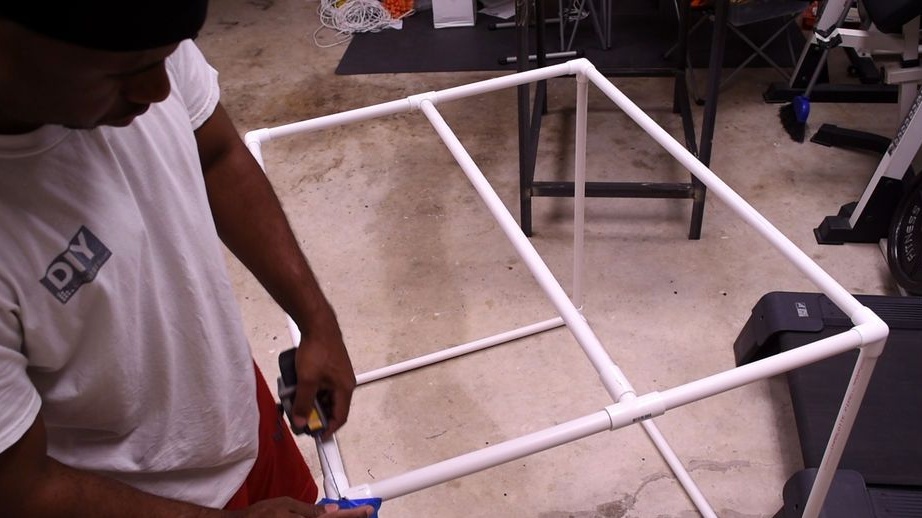
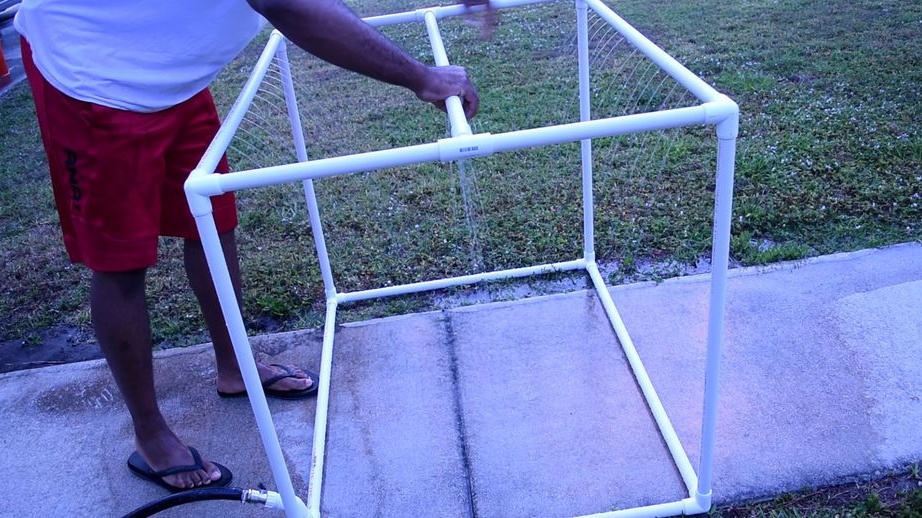
Step 2: Build A Shower
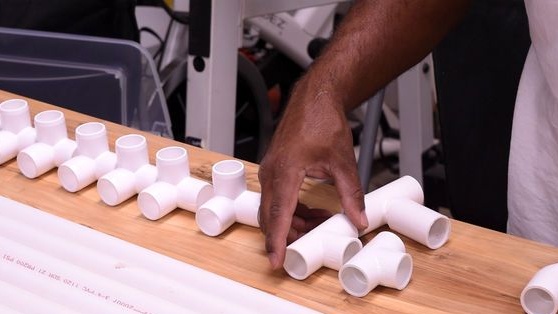
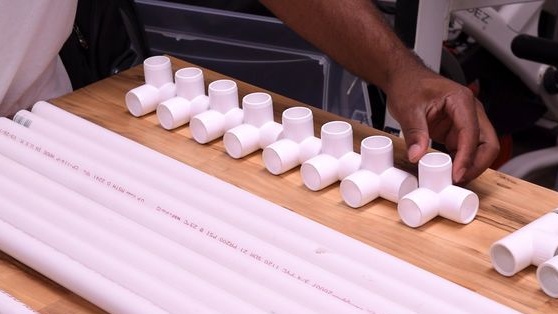
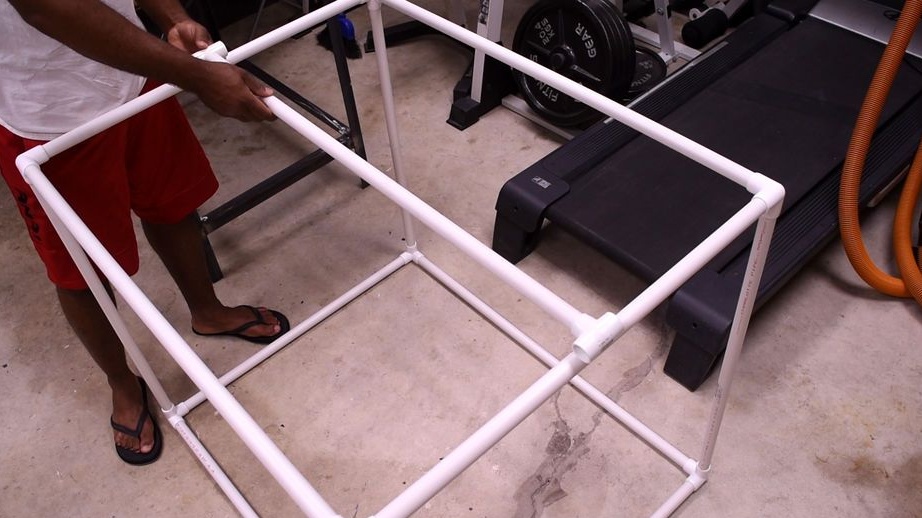
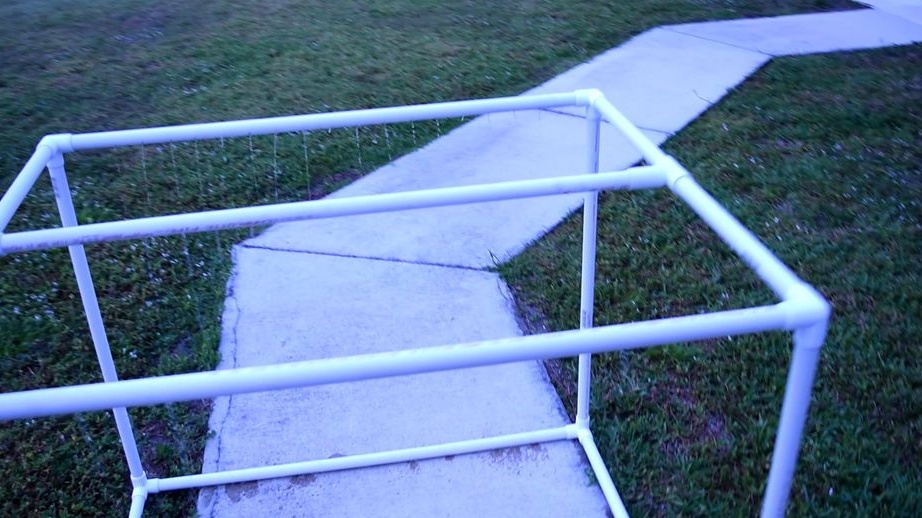
Assemble the side frames from segments of 79 cm using angled tees.
Connect them together with long pipe segments of 101.5 cm. We have three in our list of necessary materials. The fourth segment is divided into two parts: 93 and 6 cm. Between them will be an inset for the supply of a flexible hose.
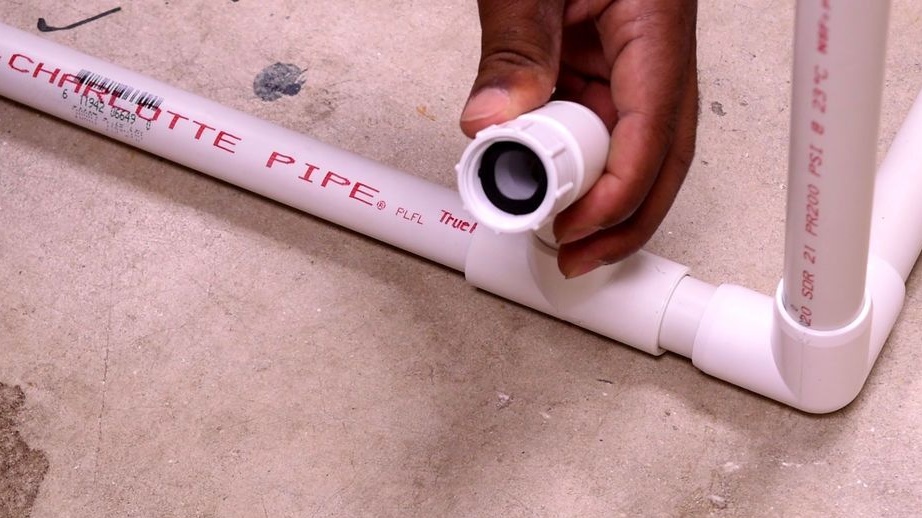
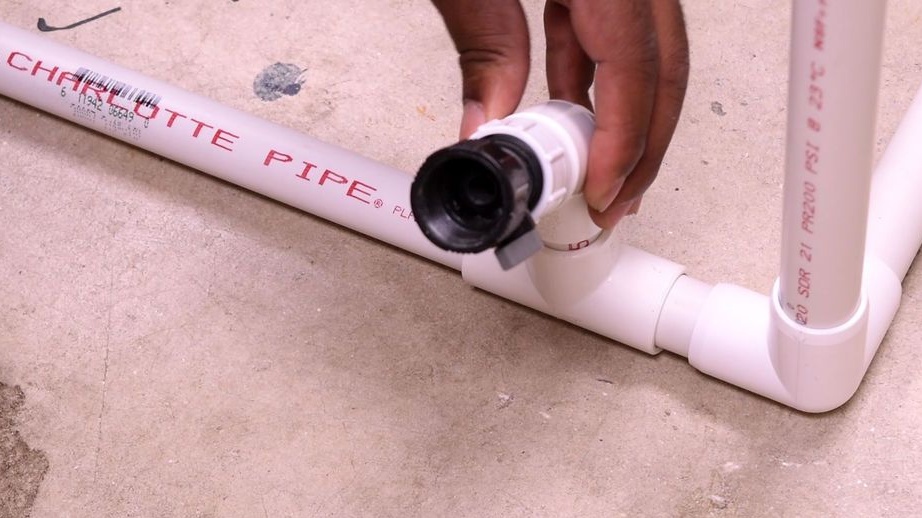
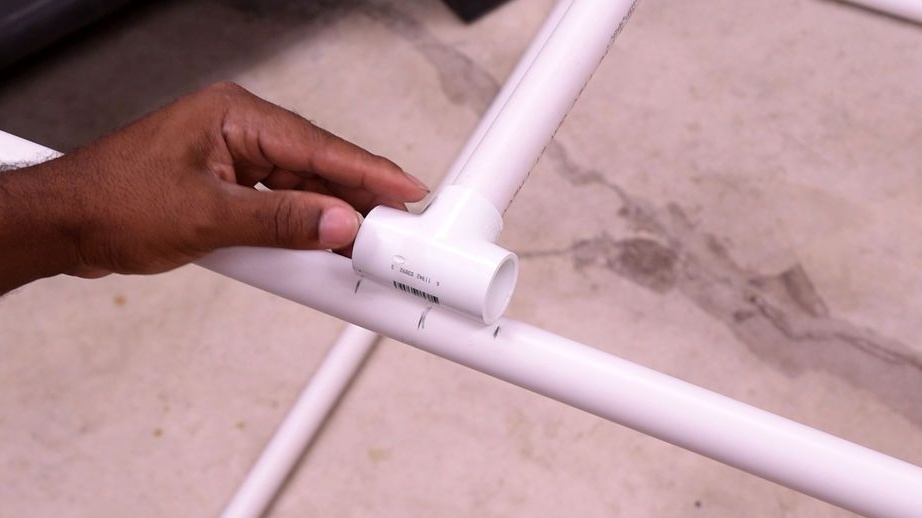


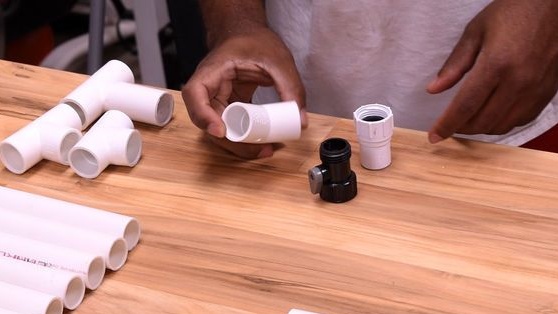
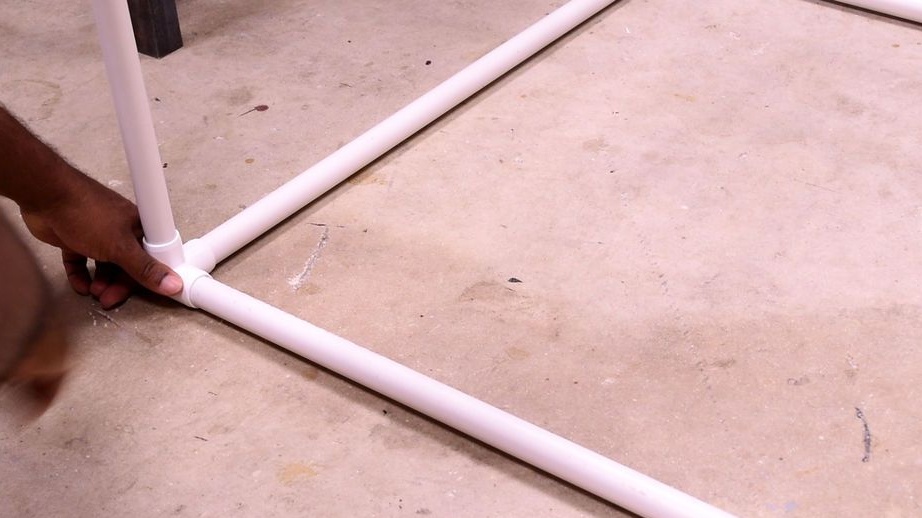
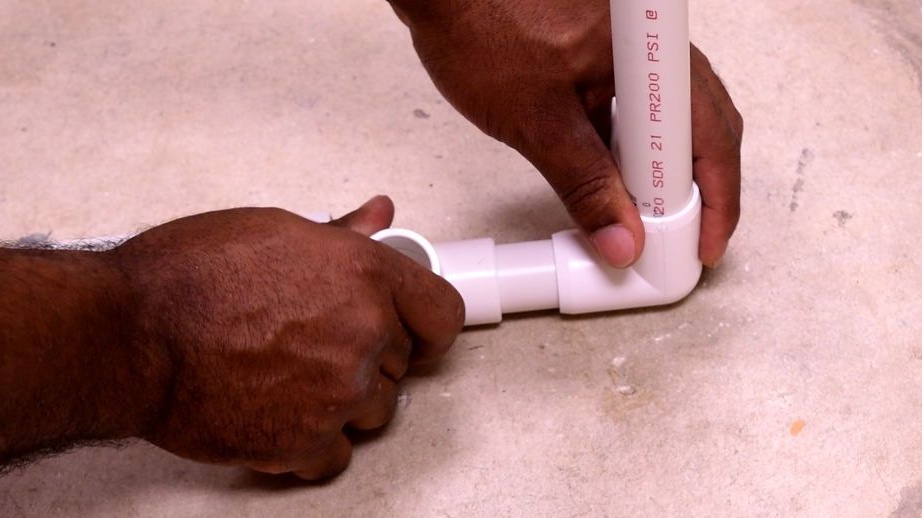
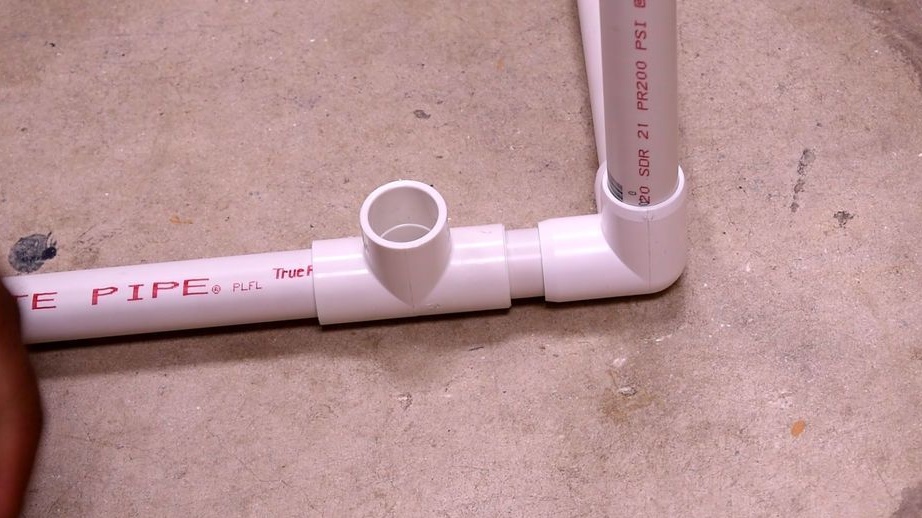
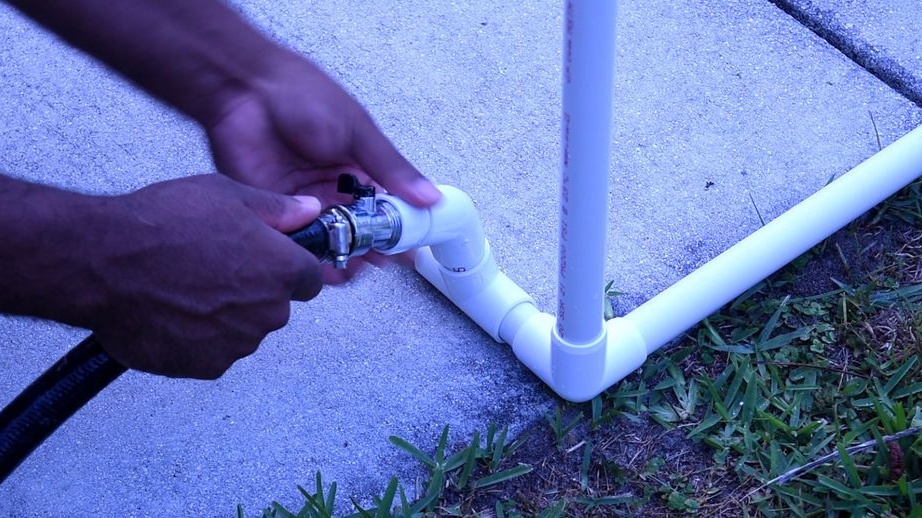
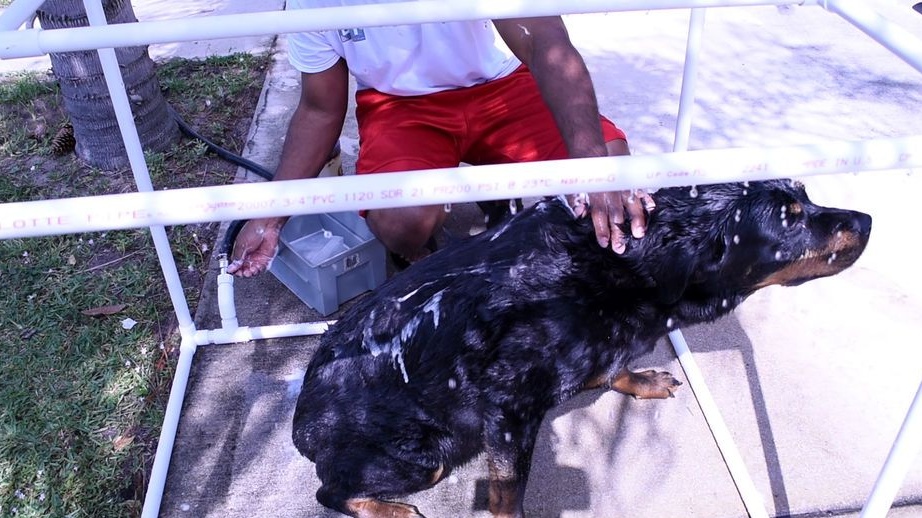
To make a tie, connect the parts with a tee under 90 aboutC. Connect the turn at 45 aboutC. Secure the metal adapter from the pipe to the hose.The author used a swivel adapter with a tap so that the water can be regulated to supply water without leaving the dog.
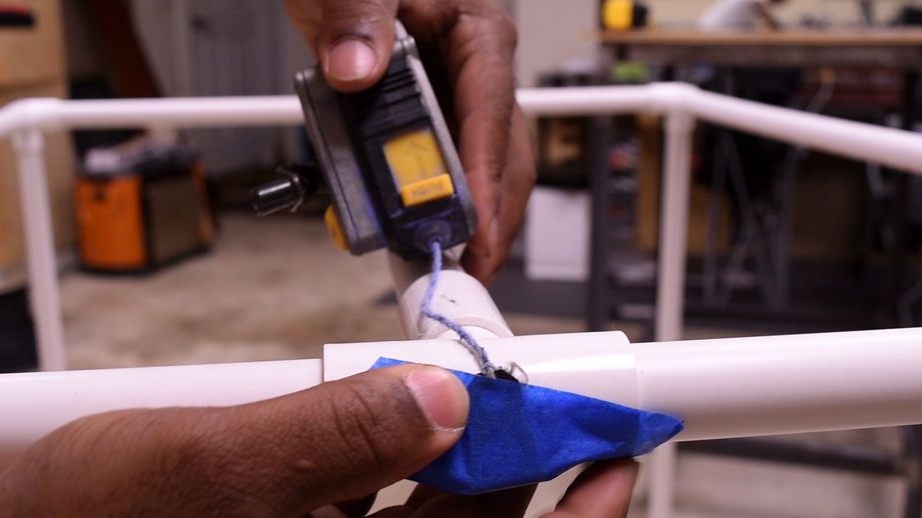
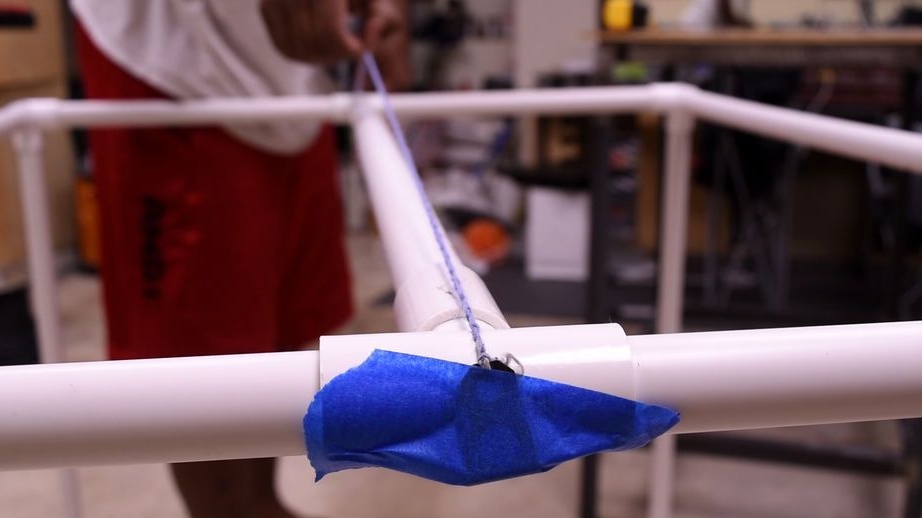
Put the hose on the adapter and secure the connection with a metal clamp and screwdriver.
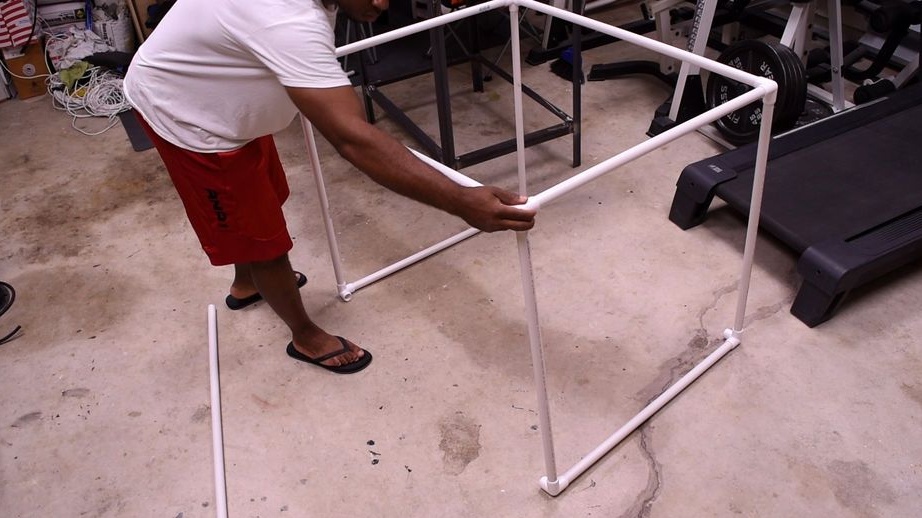
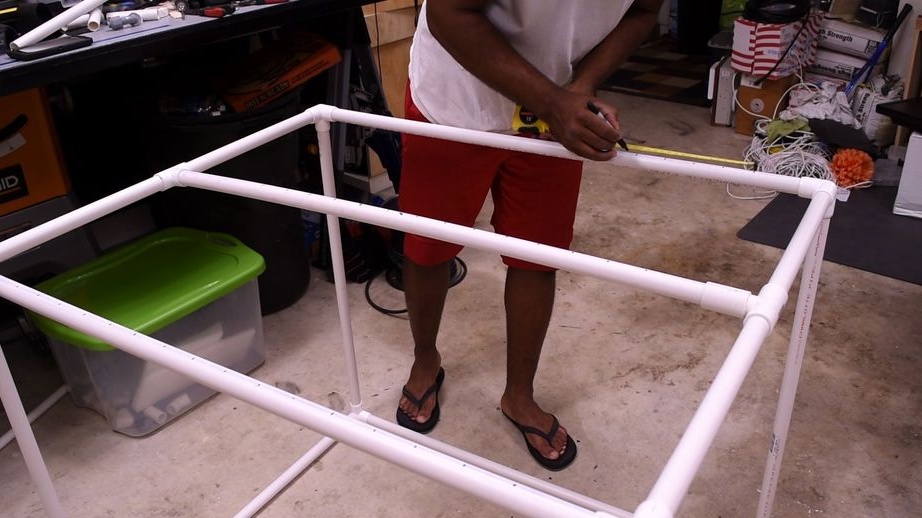
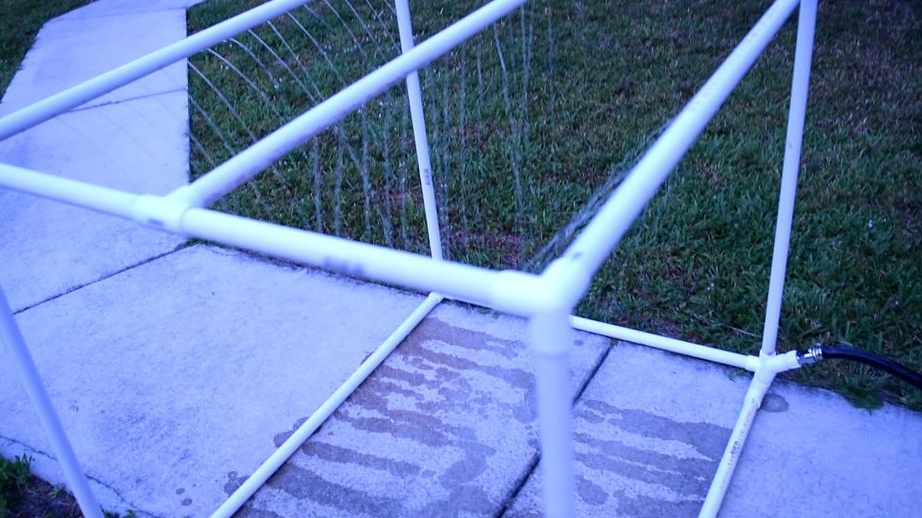
There is another longitudinal pipe on the upper shower harness in order to increase the volume of water supplied and make bathing even more effective.
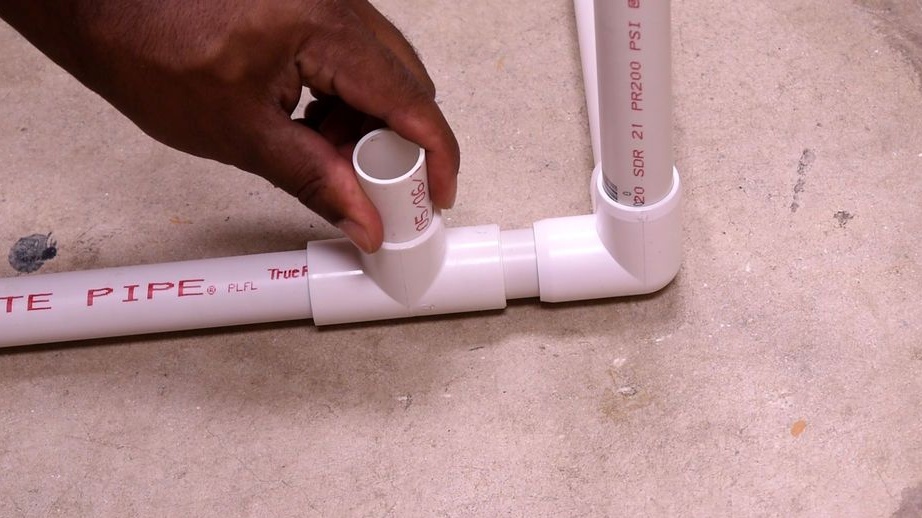
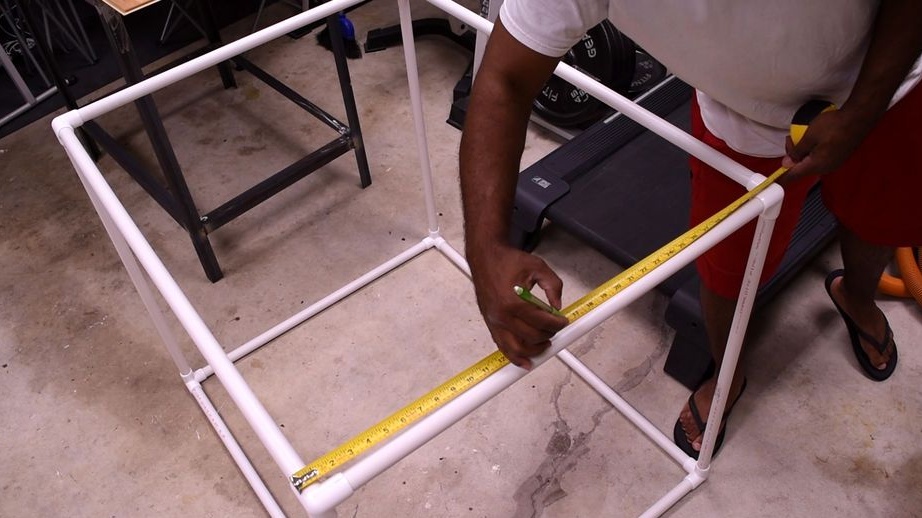
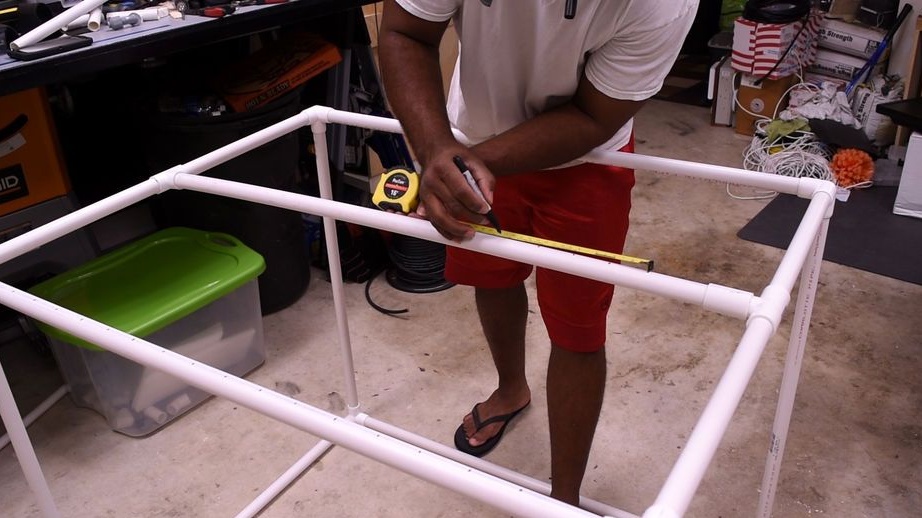
For it, use a pipe length of 100 cm. Here you will also need the last of the two 90 tees remaining in the list aboutC. Connect them to the opposite ends of the part and try on the intended place.

Mark the insertion point with a marker or chalk. Saw the pipes and connect the part.
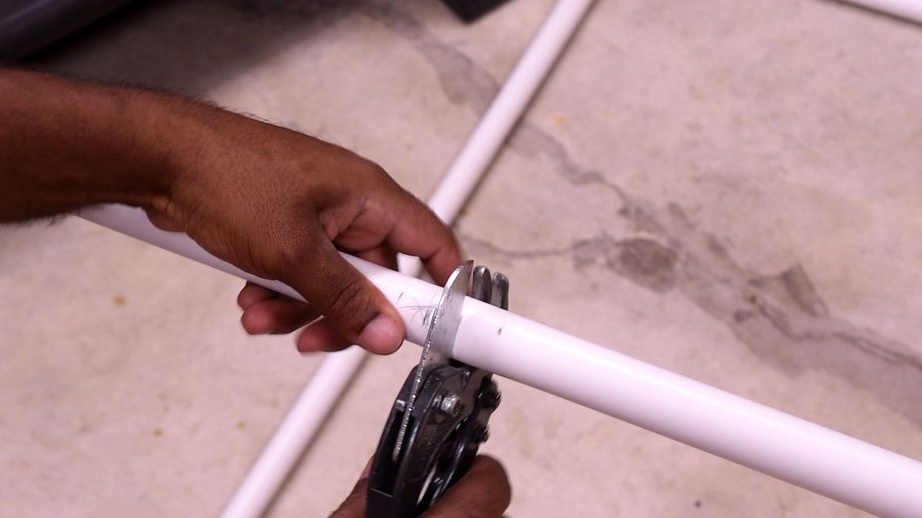
Step 3: Drilling Holes
The author used a drilling machine to make holes. Of course, this is the most convenient option, if you have to make dozens of holes in the pipe.
However, if the drilling machine was not at hand, you can successfully use a conventional electric drill. Although in this case you have to sweat.
In order not to spoil the parts and observe all safety precautions, use clamps. This will allow you to securely fix the pipe in place while you drill holes in it.
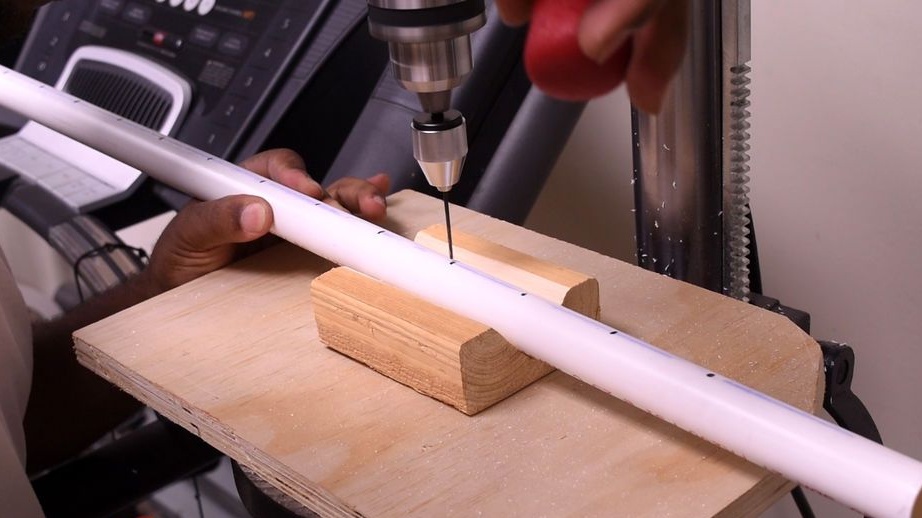
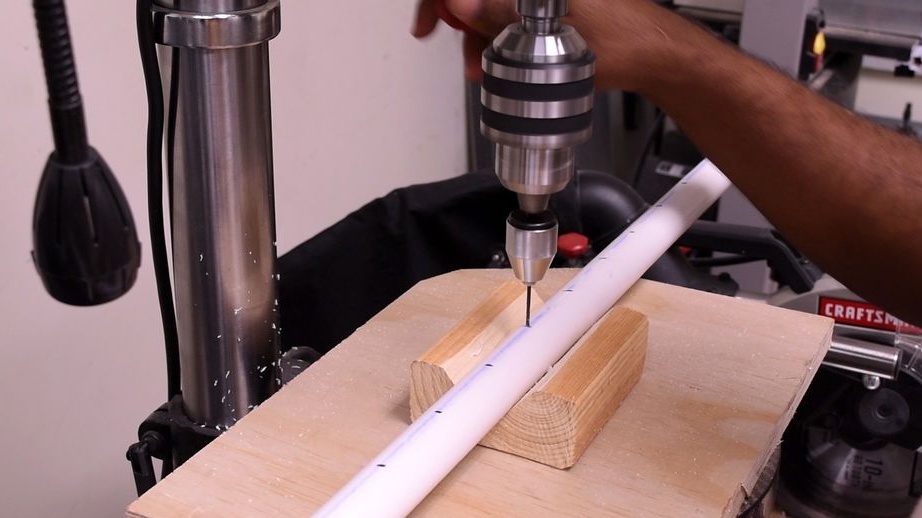
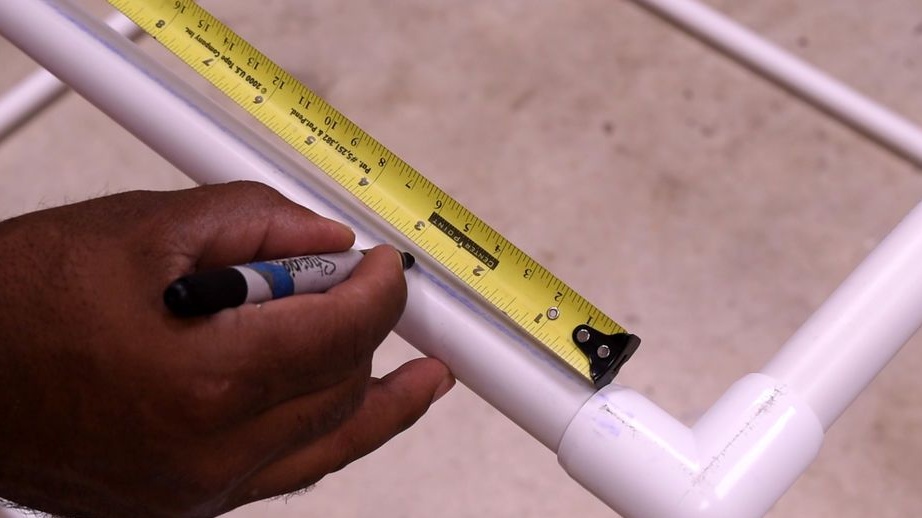
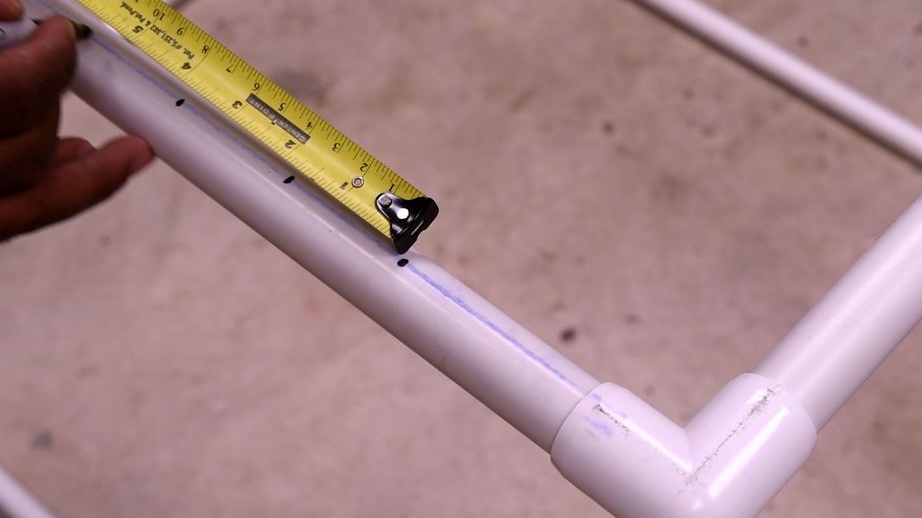
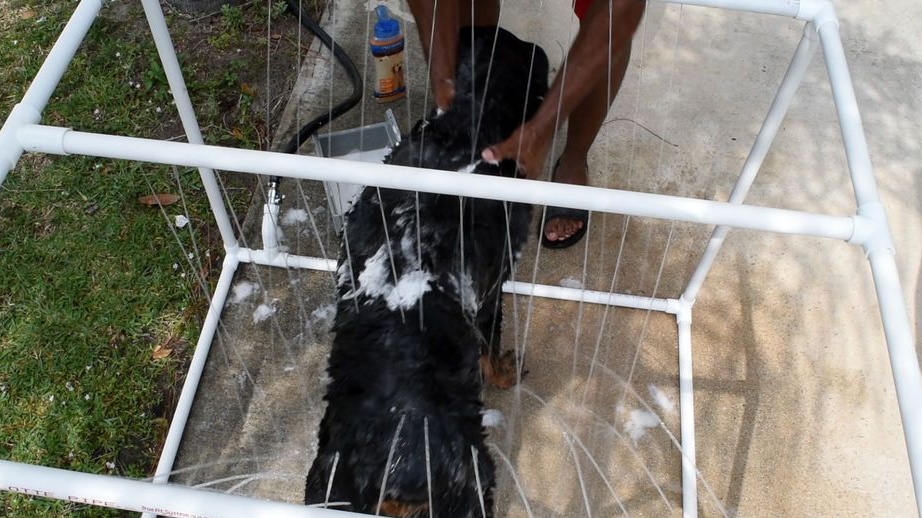
Holes are provided in the upper three longitudinal parts of the shower and are located at a distance of about 3 aboutFrom each other. For my own convenience, the author previously marked with a marker a straight line along the pipe.
Disconnect the pipes you plan to drill before starting work.
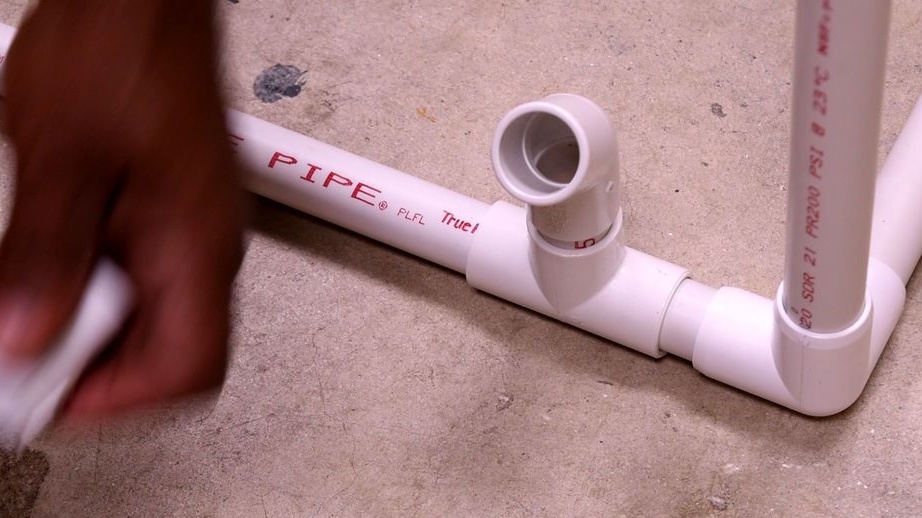
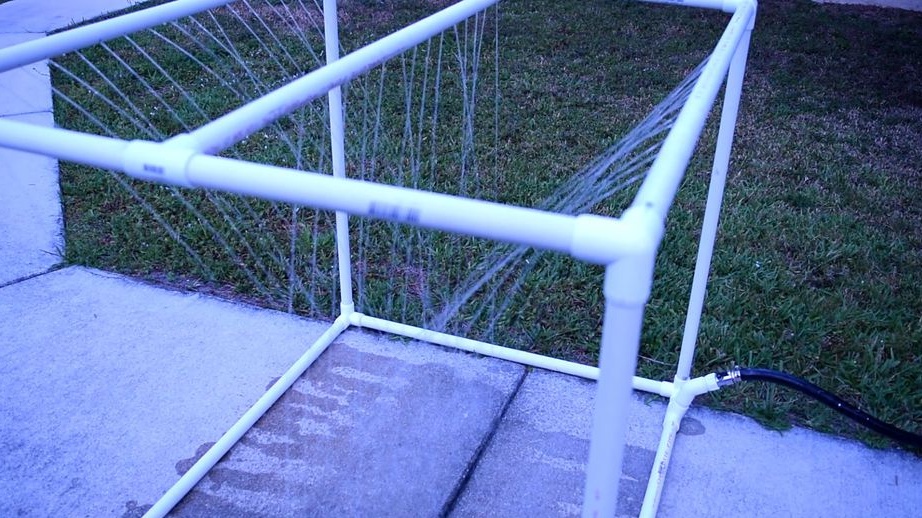
Please note that during subsequent assembly, the holes in the pipes should be located so that the water flow rushes to the center of the structure. So, as shown in the last photo. Since you connected the parts without the use of adhesives, adjusting the tilt will be as comfortable as possible for you.
Find the right drill size. If the water supply system has a reduced pressure of water, it is better to use a smaller drill.
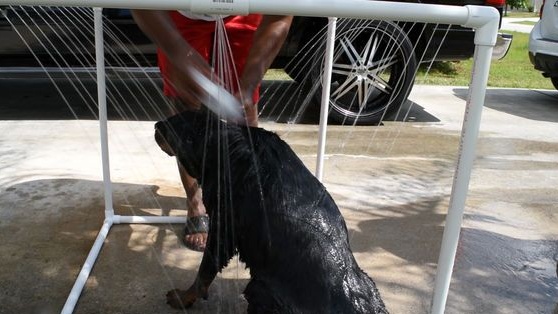
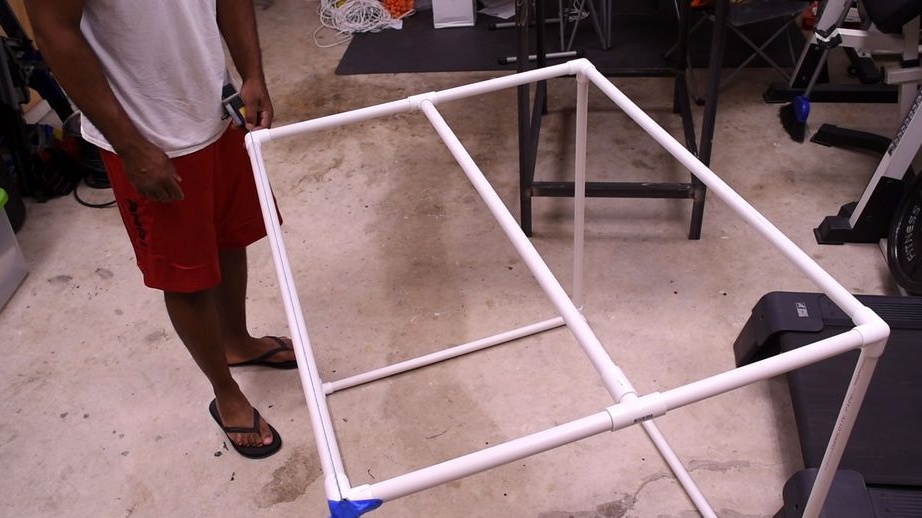
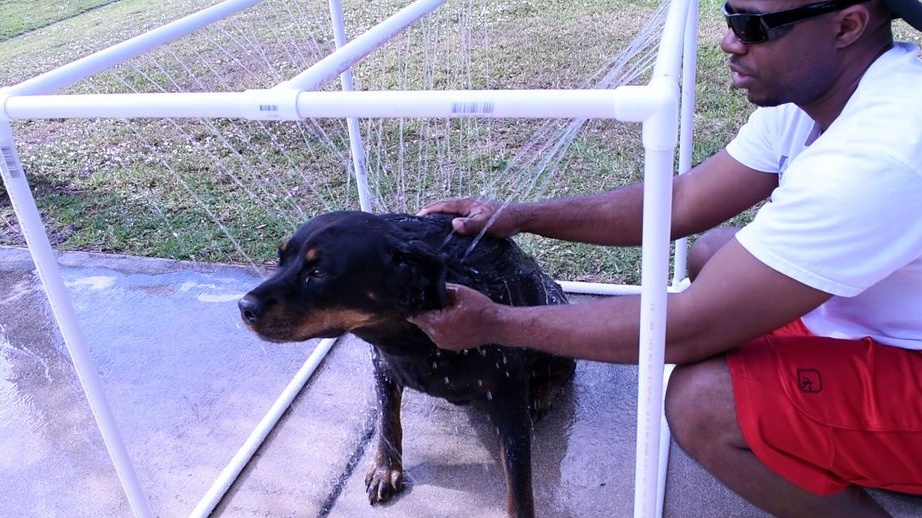
Step 4: Test Drive!
The dog liked the shower, needless to say. The flow of water is moderate, and it can be regulated using a tap. The owner is always there and will not give offense.

Before using the shower, turn on the water supply and test all connections for strength. Pay special attention to the metal adapter from the pipe to the hose. There may be a leak if you did not use fum tape or silicone sealant when connecting the parts.
