The history of chess totals more than one and a half thousand years. And although, during this time, the game has undergone a number of changes and even changed its name, it has become even more popular. An interesting fact from the history of chess is the ban on the game in different religions of the world. Despite this, chess is known in almost all countries of the world.
How the author made chess do it yourself consider this article. Chess was made as a gift and according to the author this is his first experience in woodworking. So, for making chess, the author needed the following
Tools and materials:
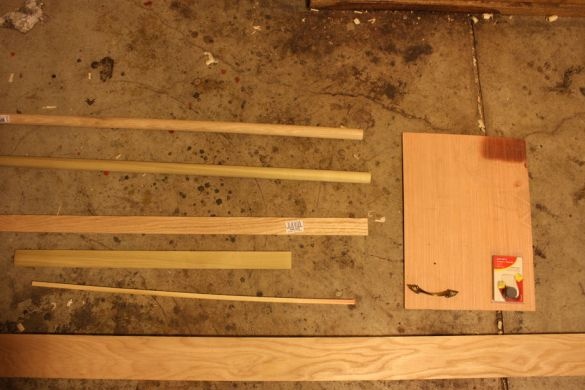
-Boards (oak and poplar);
-Dowels (oak, poplar)
-Magnets;
-Putty;
-Glue;
-Furniture fittings;
-Plywood;
-Varnish;
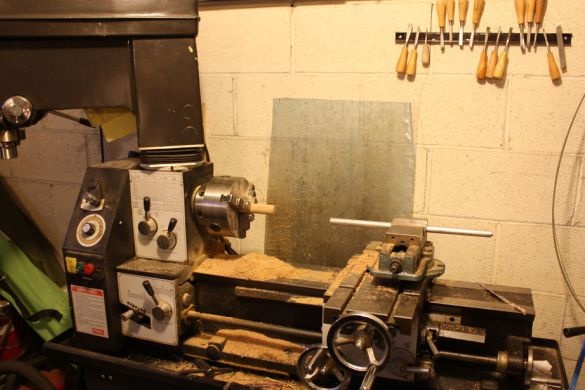
-Lathe;
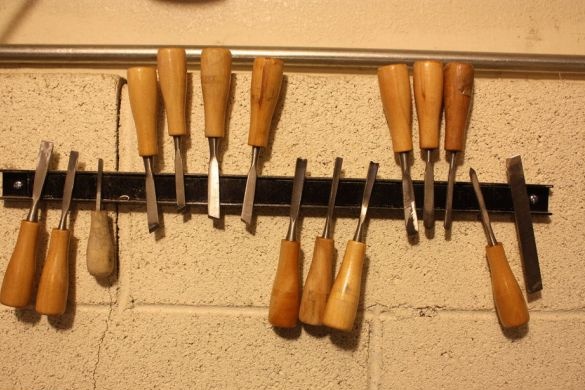
- Chisels;
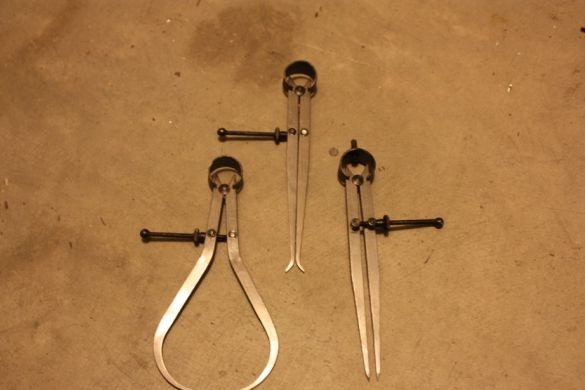
-Calipers;
-Compass;
-Sandpaper;
-Hacksaw;
Grinding machine;
-A circular saw;
Cutter;
-Air gun (for nails);
-Plane;
-Roulette;
- Clamps;
Step One: Making Figures
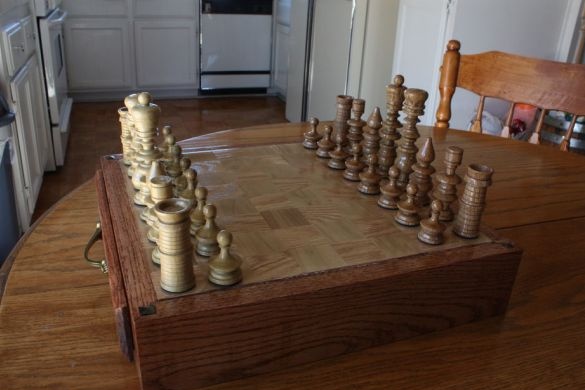
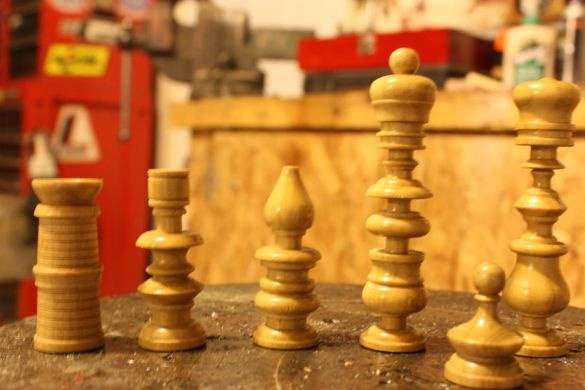
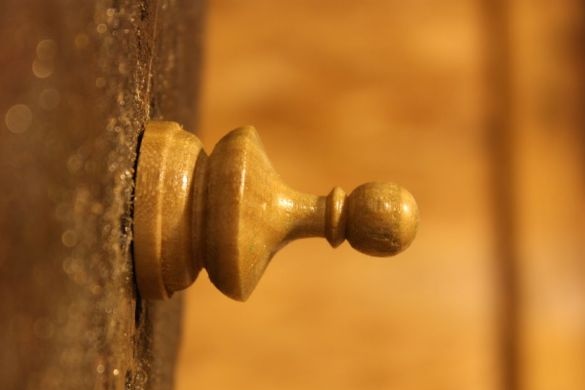
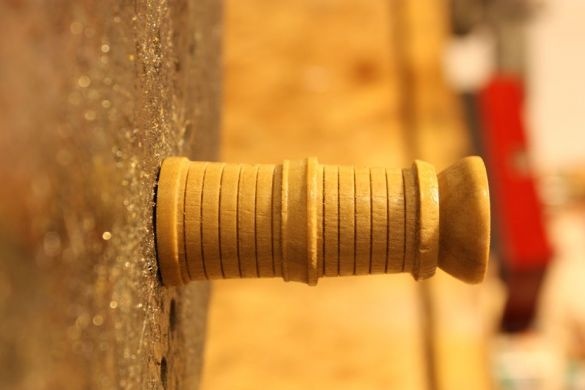
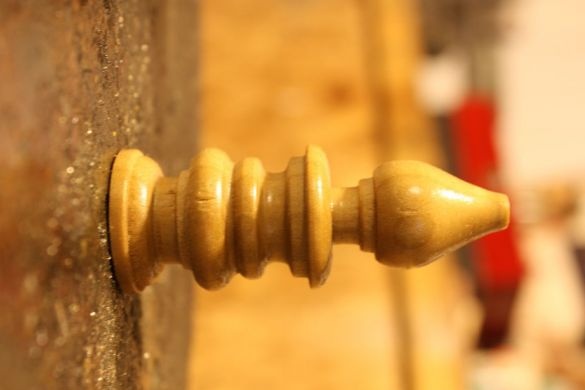
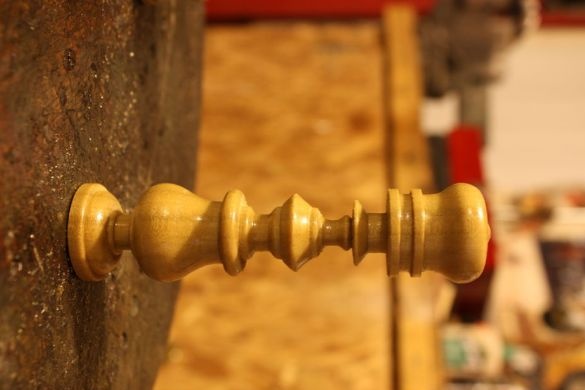
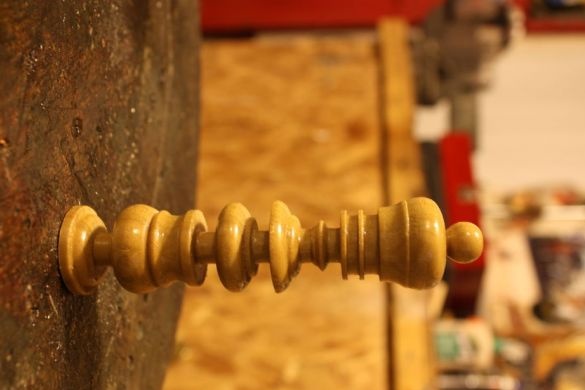
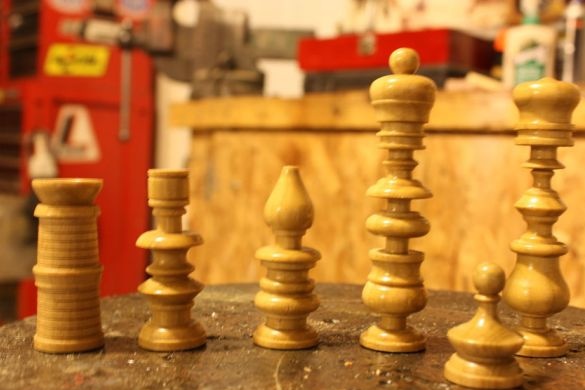
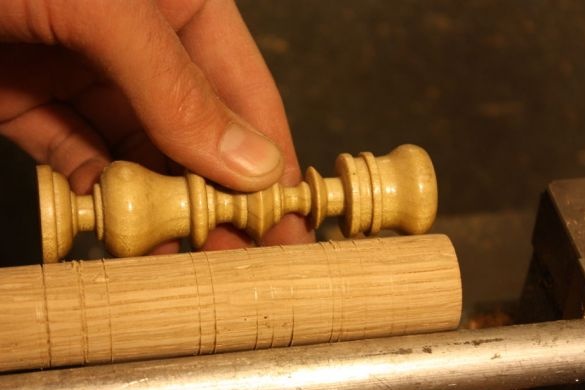
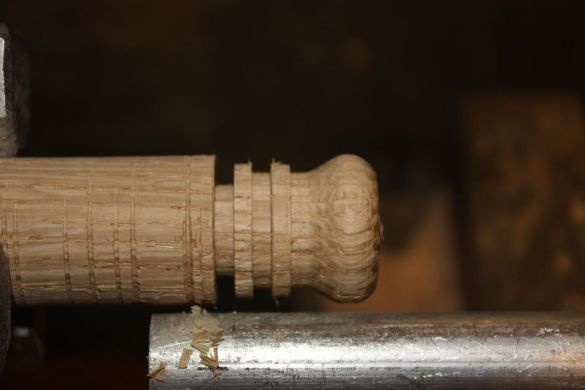
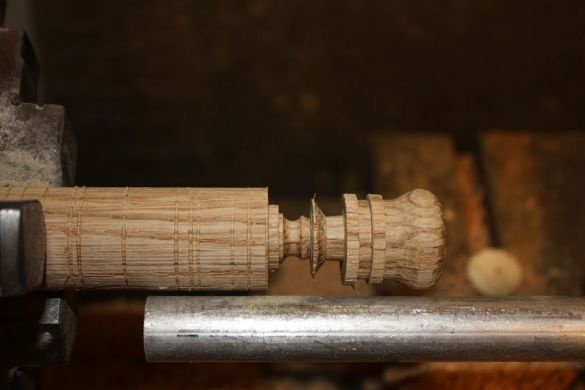
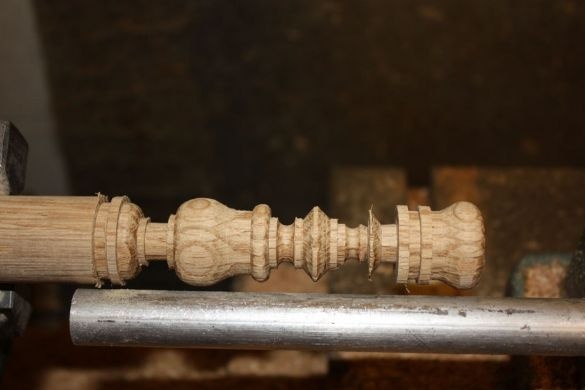
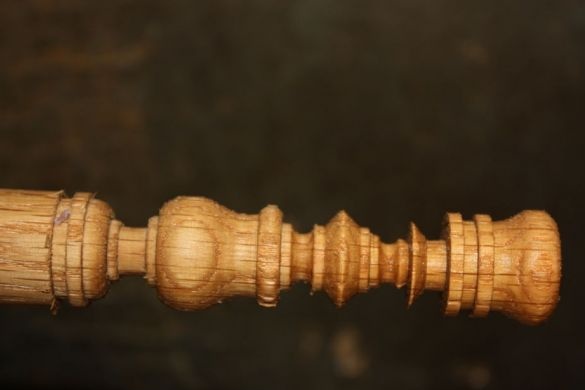
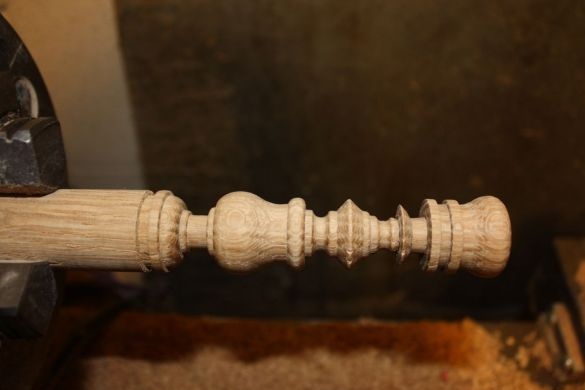
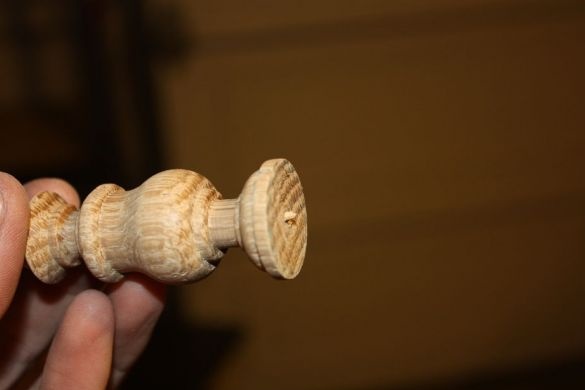
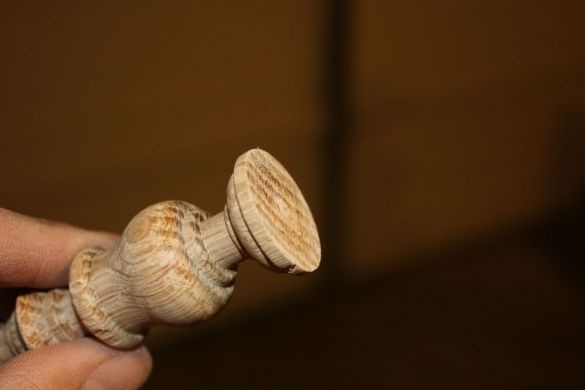
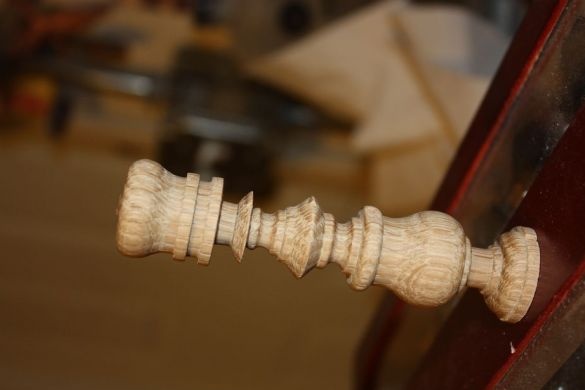
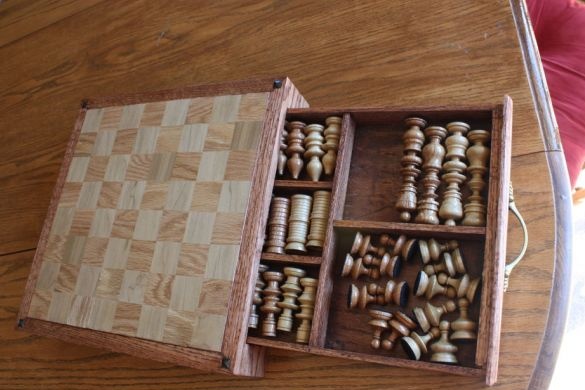
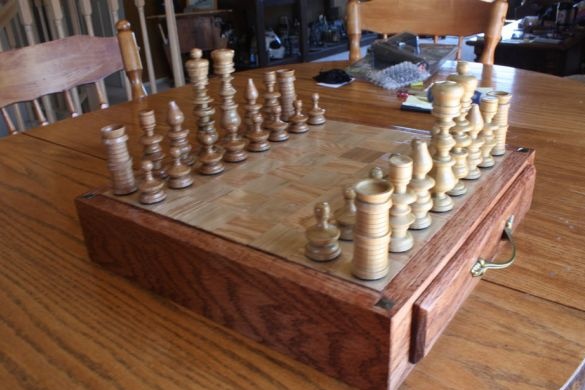
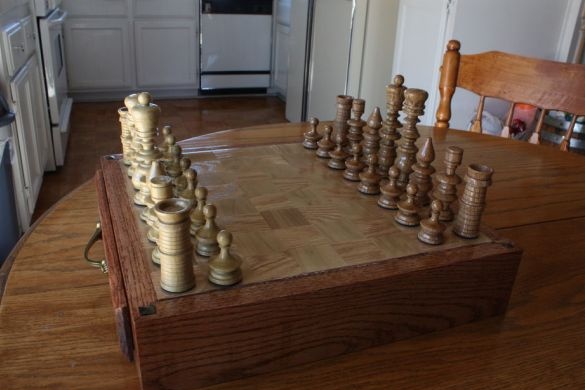
To play chess, you need a square board divided into 64 squares and 32 chess pieces, 16 in black and white. Two kings (♔, ♚) and queen (♕, ♛), four rooks (♖, ♜), elephant (♗, ♝), knight (♘, ♞) and sixteen pawns (♙, ♟). The author has carved figures from oak and poplar blanks on a lathe. The resulting figures were then polished. In general, the figures turned out to be quite good despite the non-classical form of the horse.
Step Two: Tiles
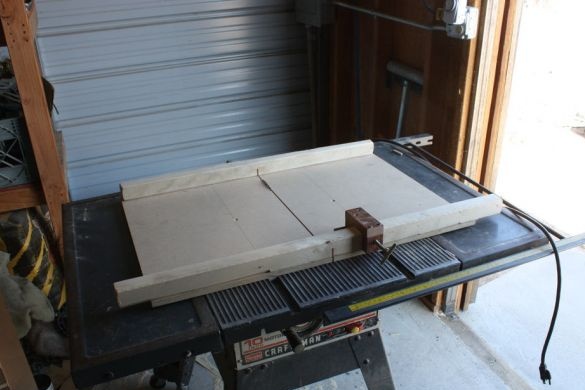
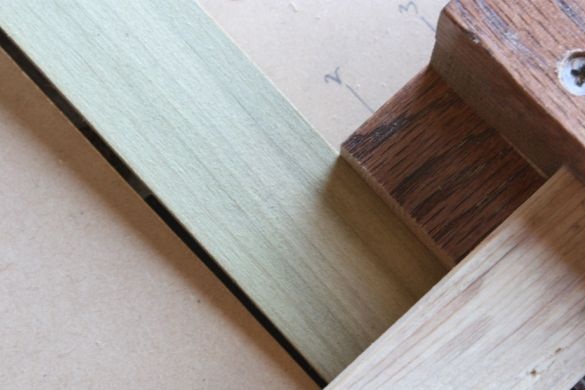
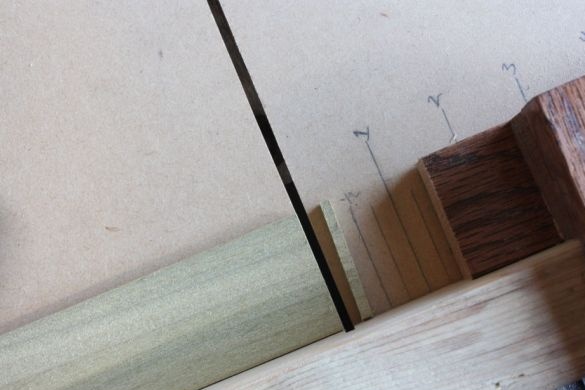
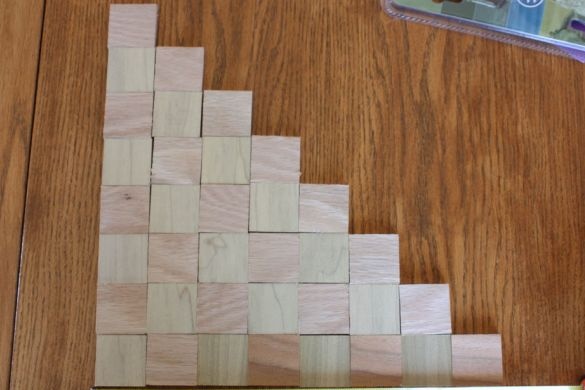
From the board of poplar and oak, the author carved 64 tiles of the same size, 32 of each from different types of wood.
Step Four: Case
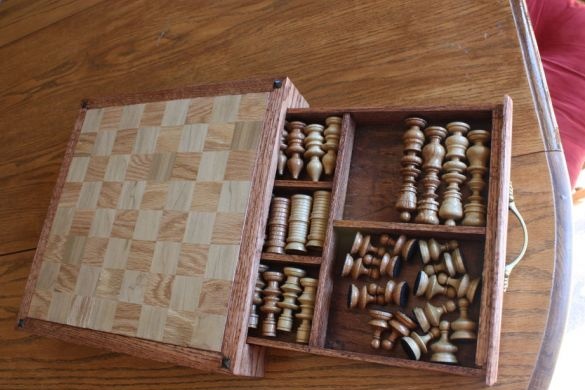
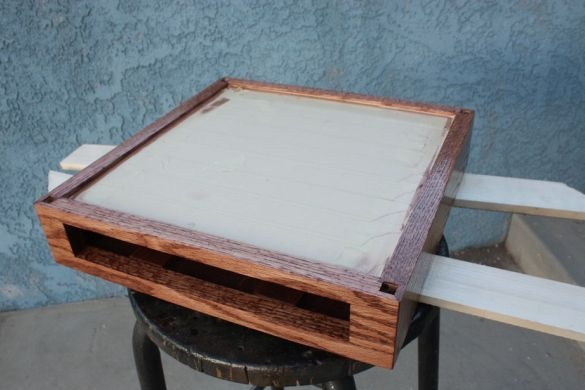
The author made a drawer for storing figures.
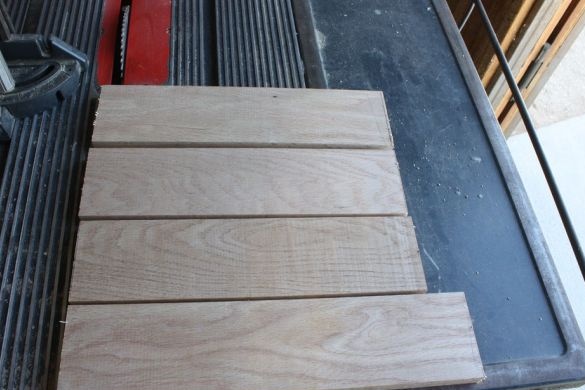
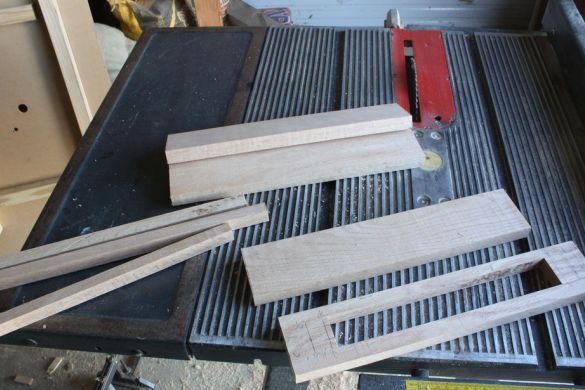
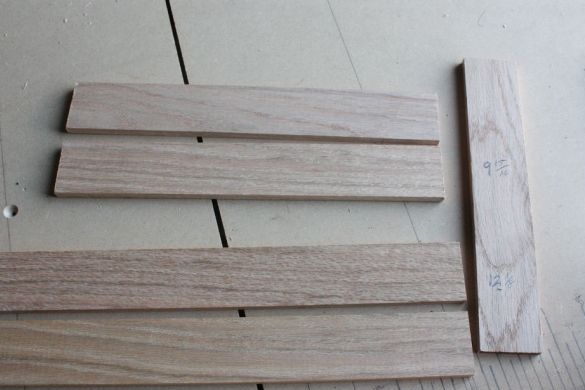
He laid eight tiles in a row and measured their length. He added another 4 centimeters and cut off two planks. These will be the sides of the box.
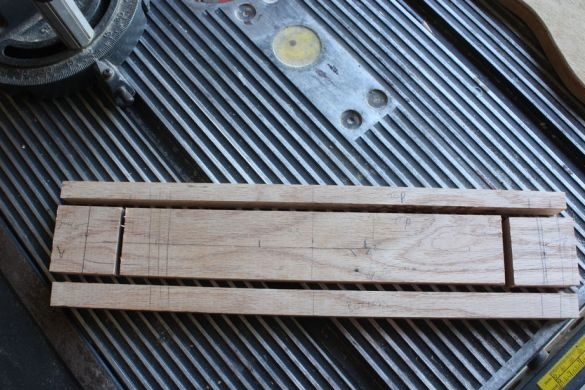
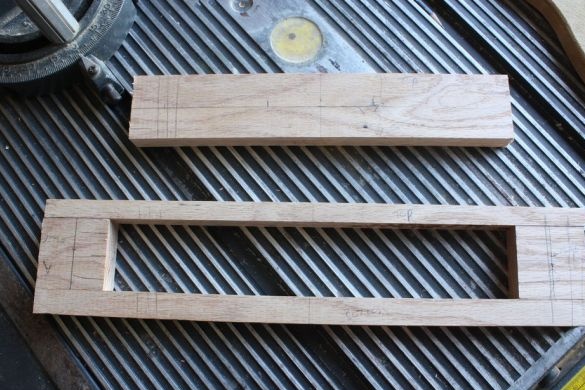
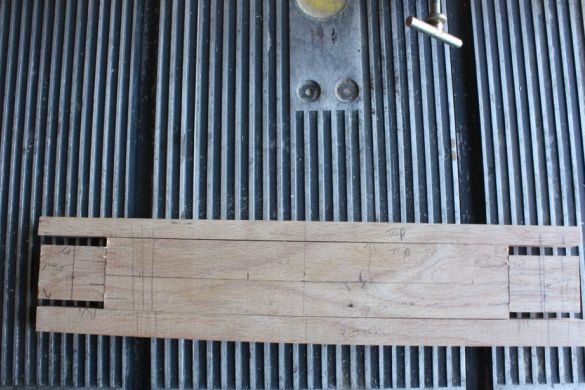
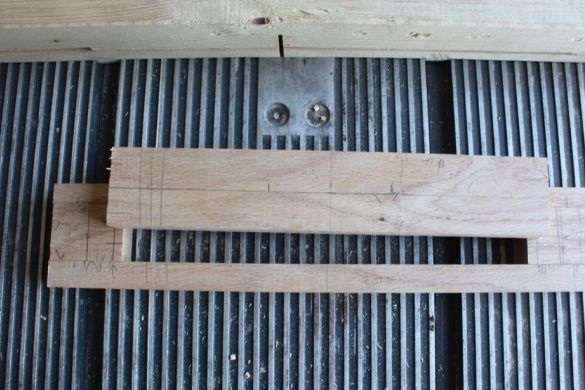
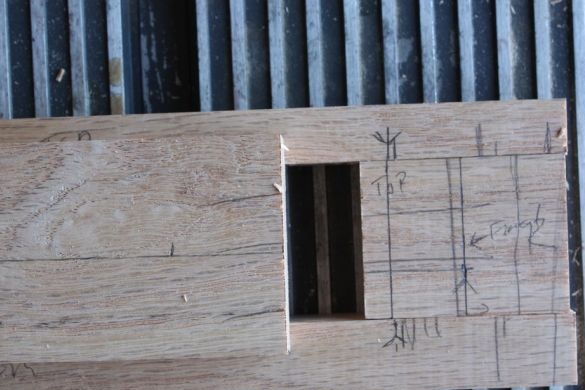
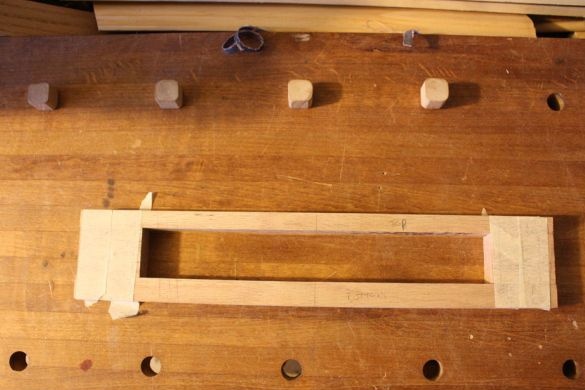
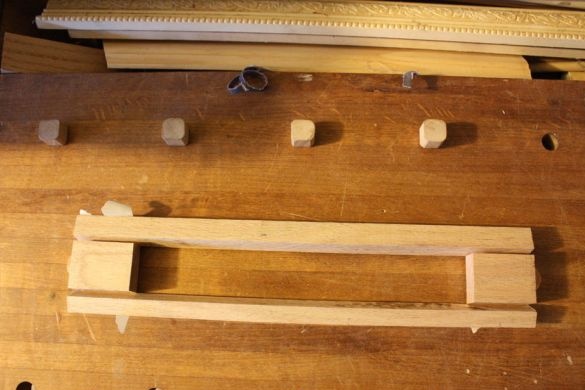
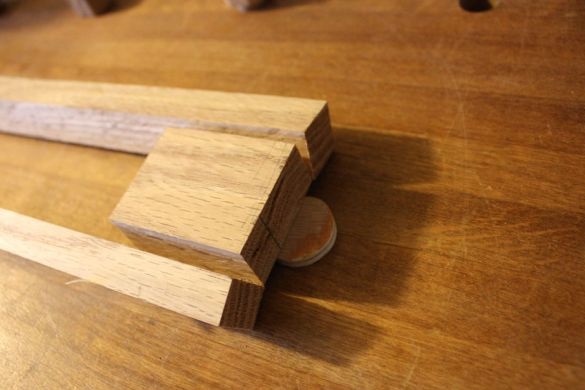
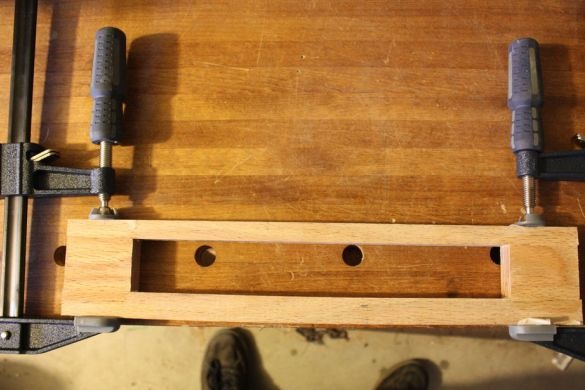
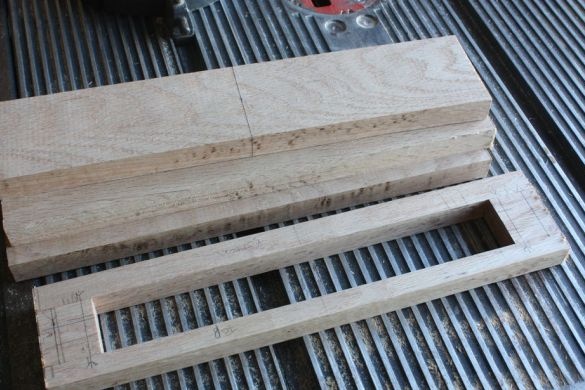
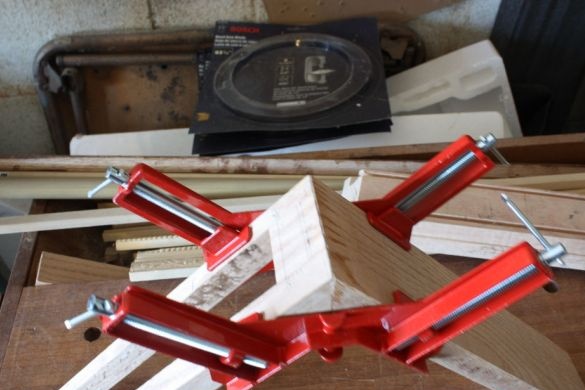
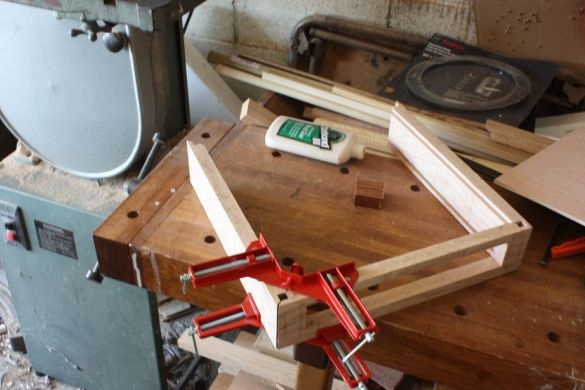
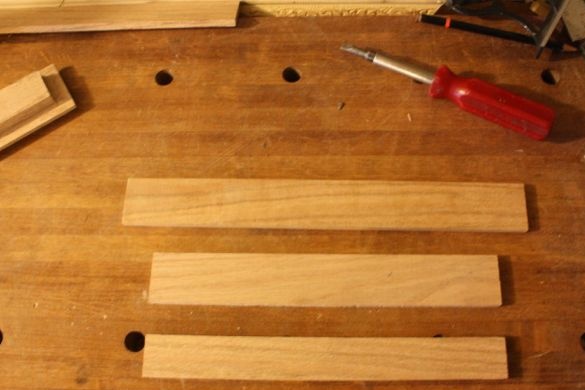
To make the front part of the box, the author cut off the upper and lower slats from the board. I cut two side squares from the middle part (the middle bar will be needed in the next step). I applied glue to the surfaces to be glued, glued the slats to the squares. At the time of drying, the adhesive fixed the parts to be glued.
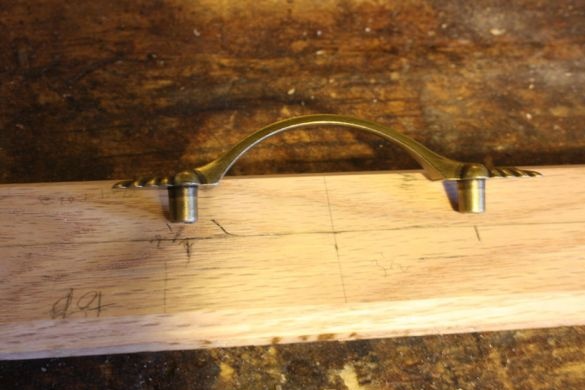
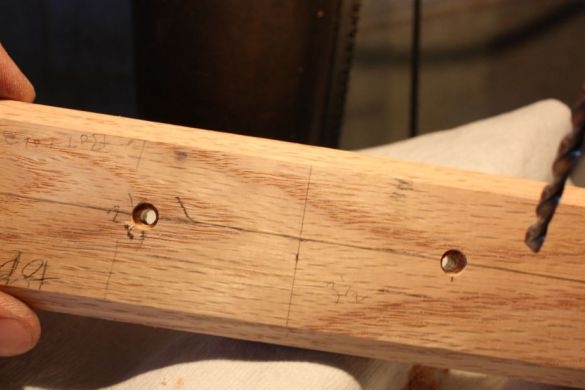
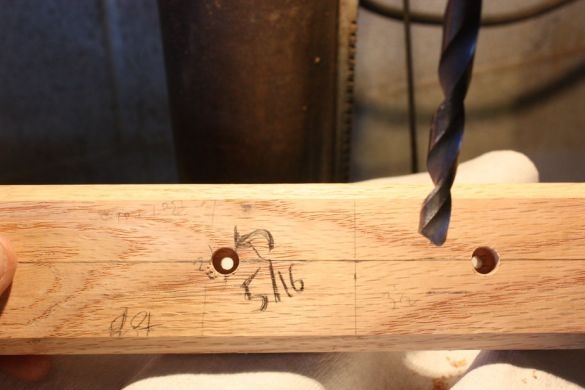
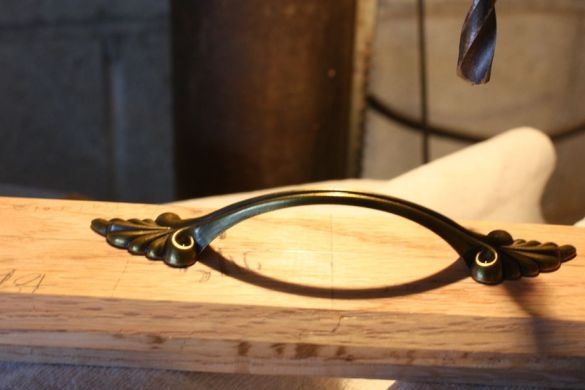
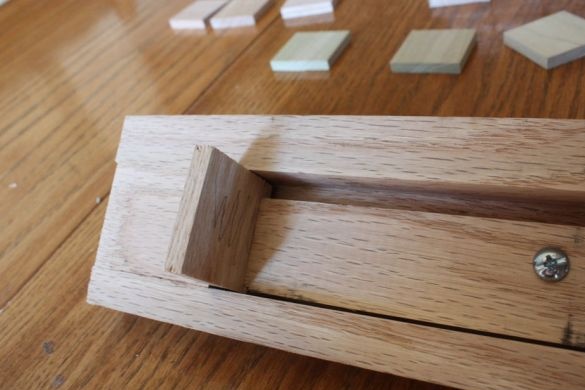
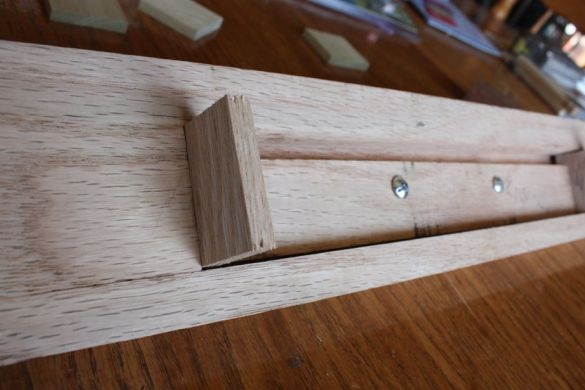
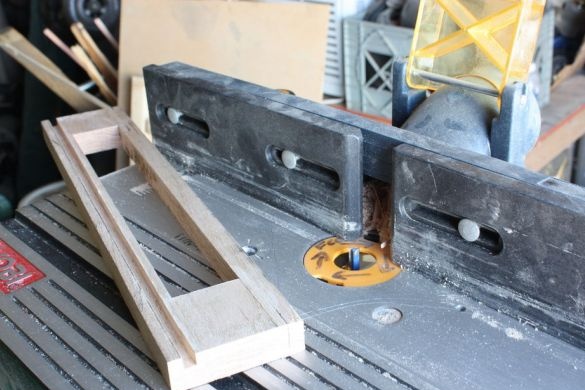
I adjusted the bar under the groove of the front cover (there should be a gap between the bar and the side of the groove equal to the wall thickness of the drawer). I screwed the pad to the bar. In the middle of the lining set the handle.
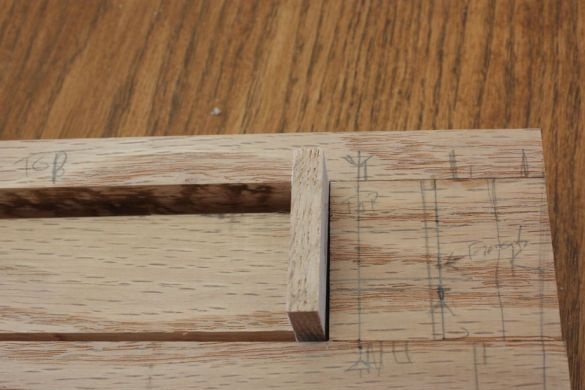
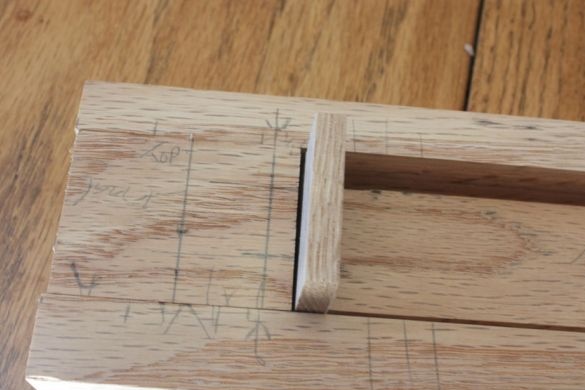
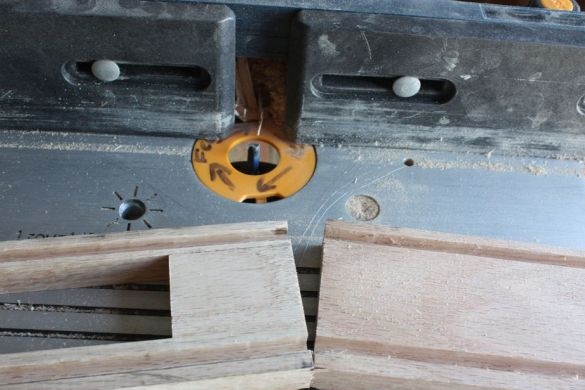
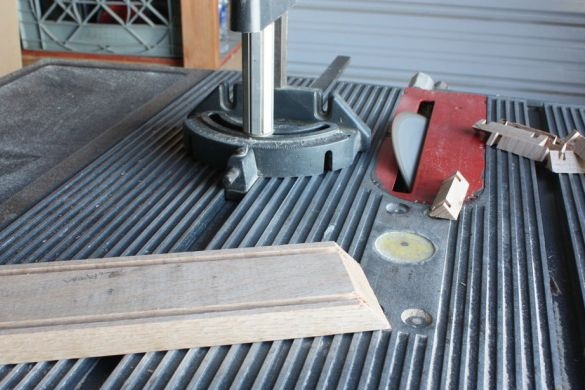
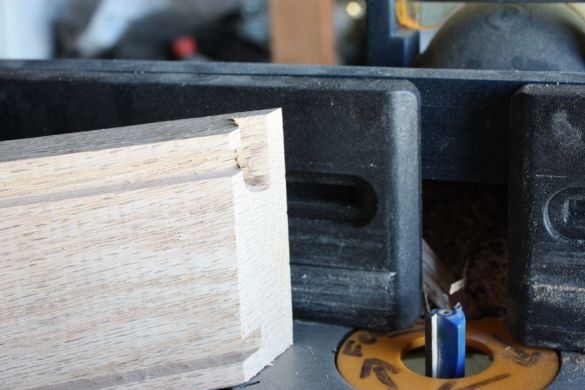
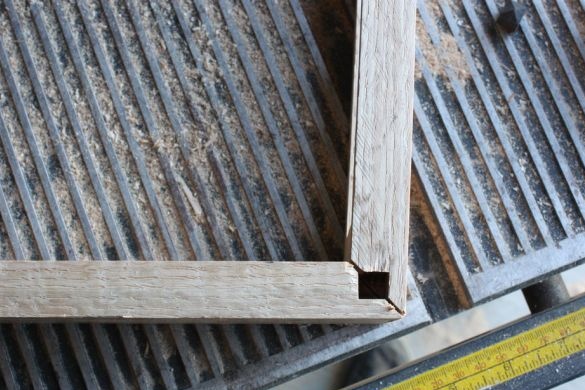
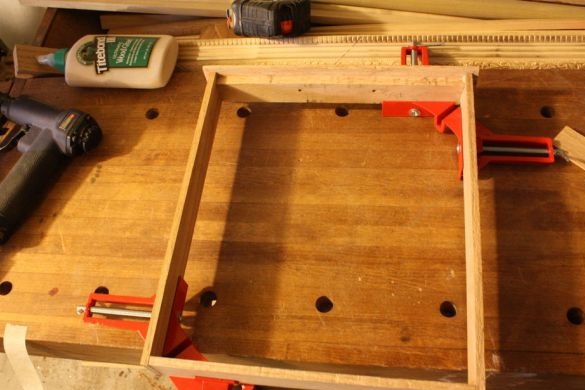
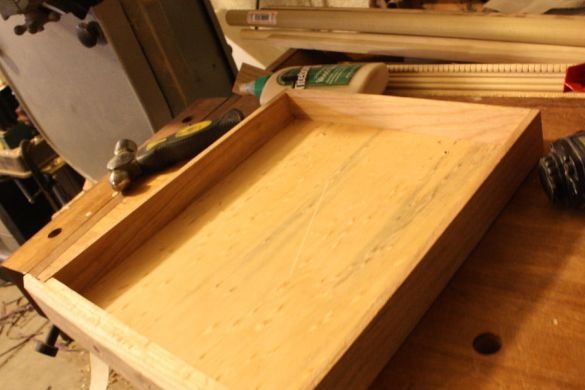
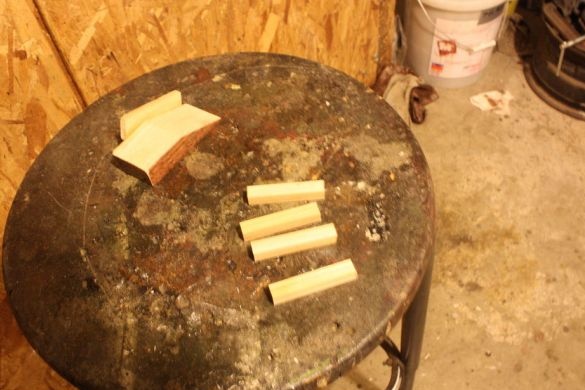
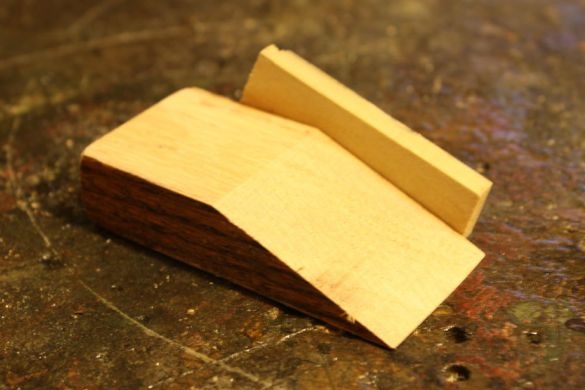
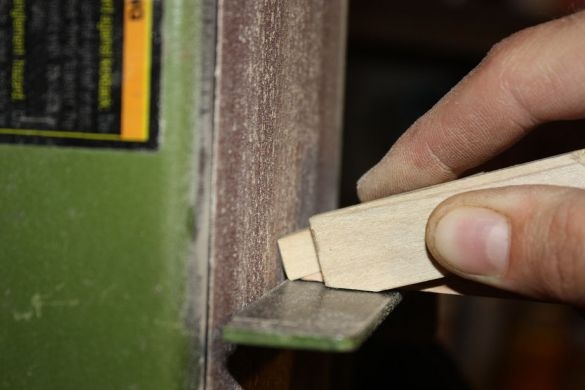
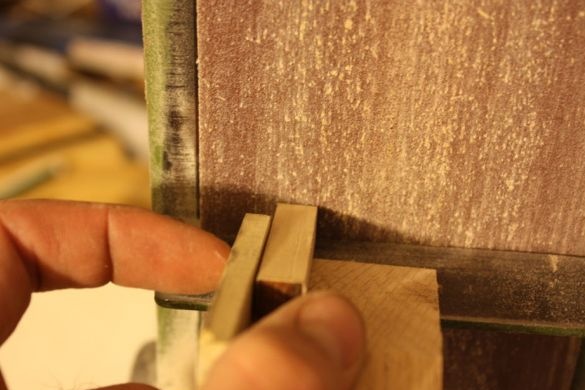
In the walls of the box from the inside, makes, above and below, a groove along the entire length. Cuts off the edges of the walls at an angle and makes cuts in the corners as in the last photo.
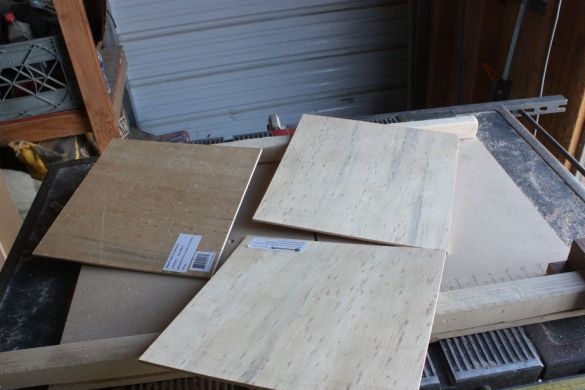
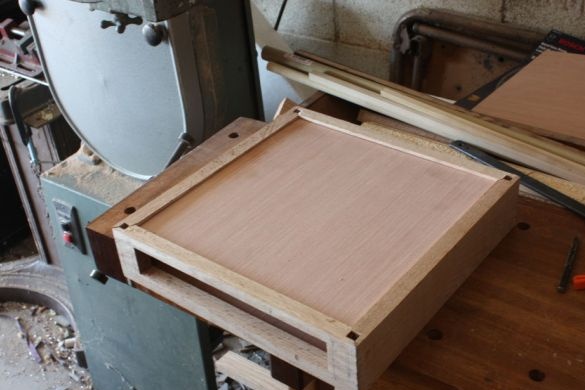
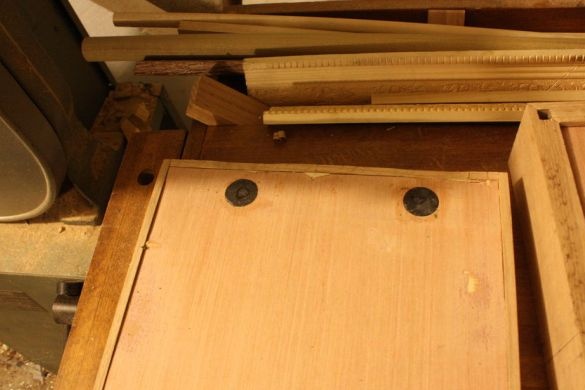
Three squares are cut from plywood, for the top of the drawer, bottom and drawer.
Glues three sides of the box.
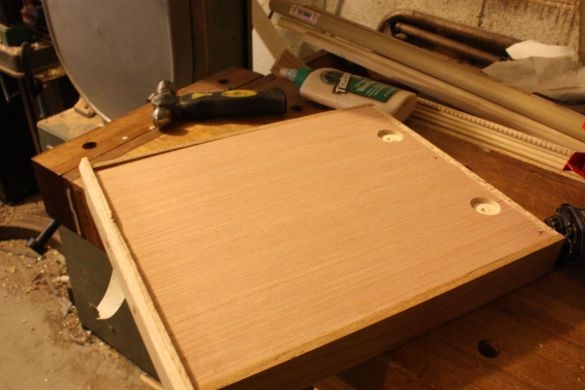
Inserts the top and bottom covers and glues the fourth side.
He sanded and painted the box.
Step Five: Inner Box
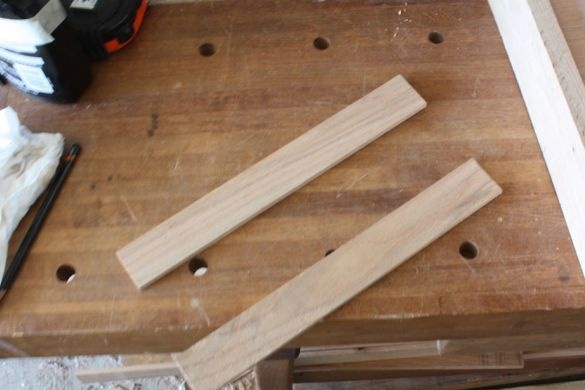
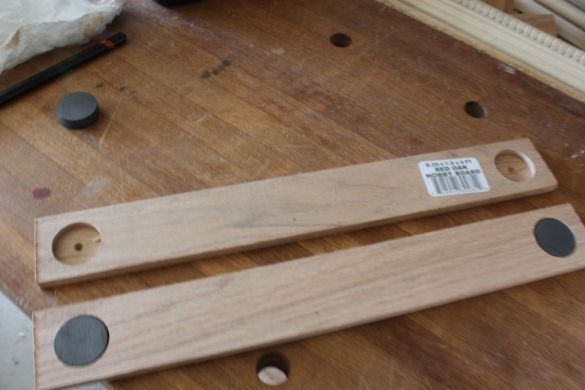
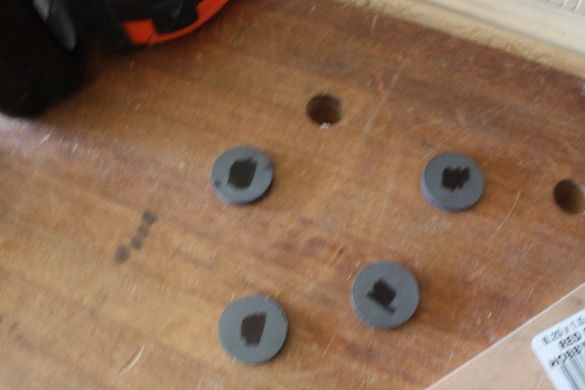
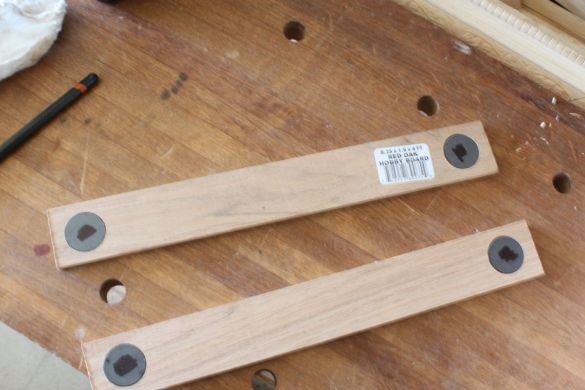
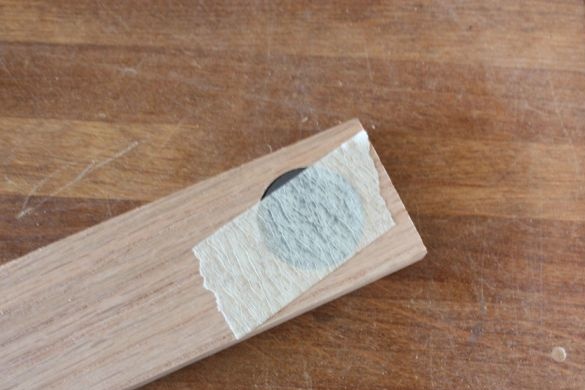
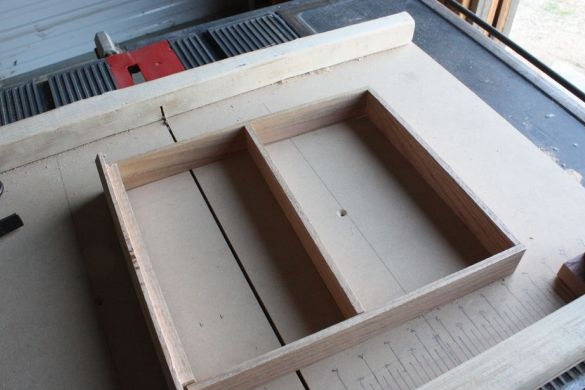
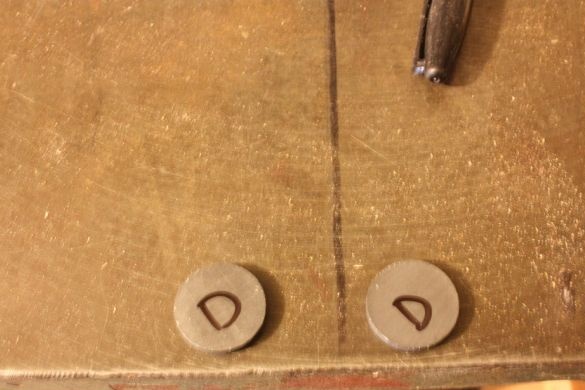
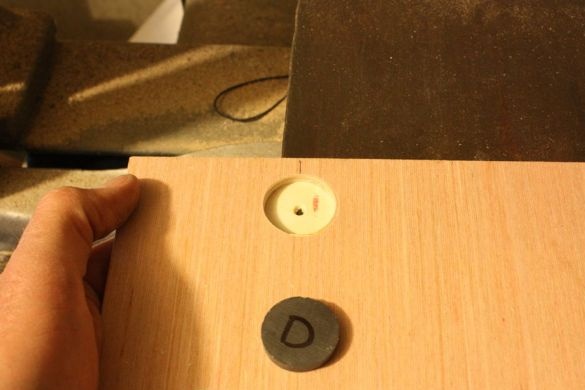
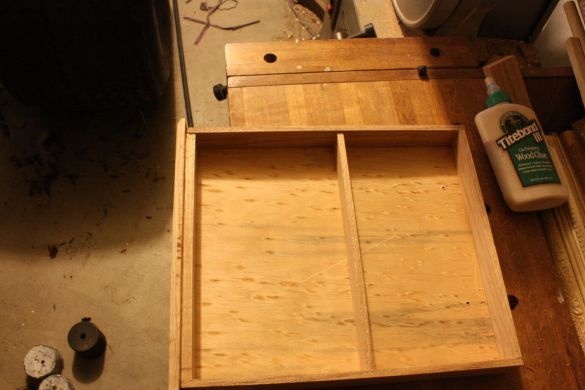
The inner box is made of slats. The internal space of the box is divided into parts. Installs magnets. Magnets will play the role of a lock.
Step Six: Install Tiles
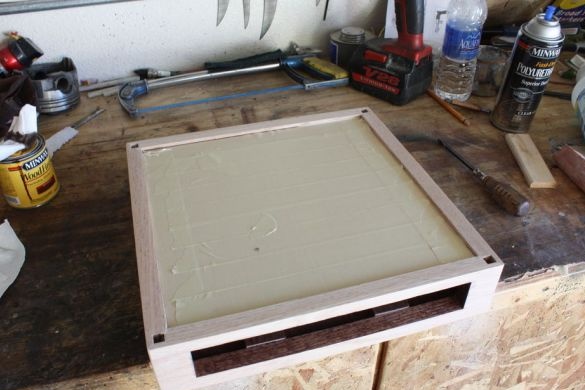
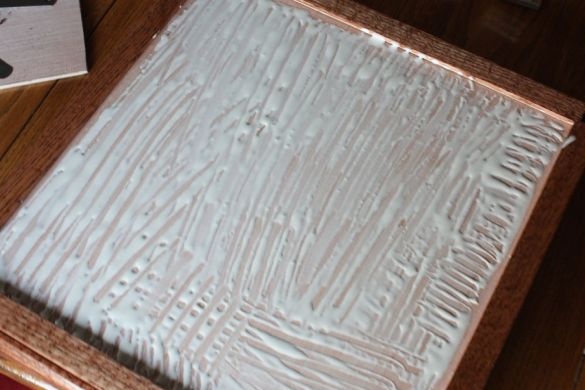
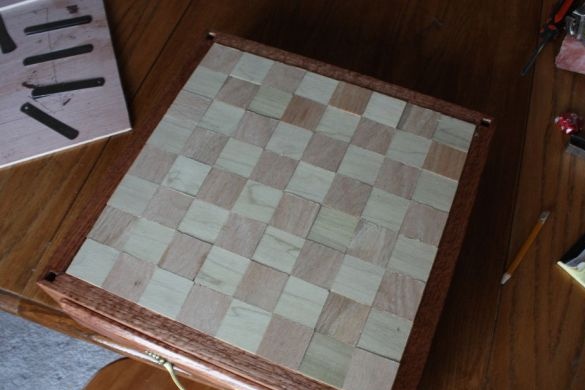
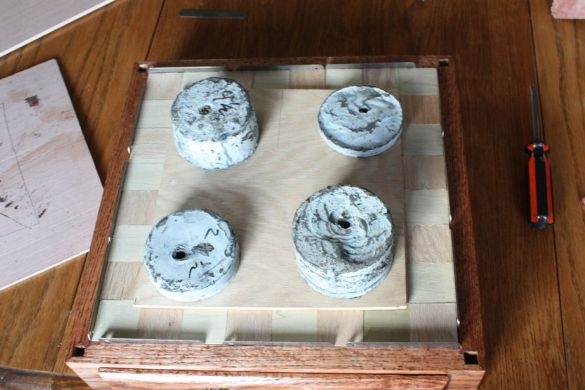
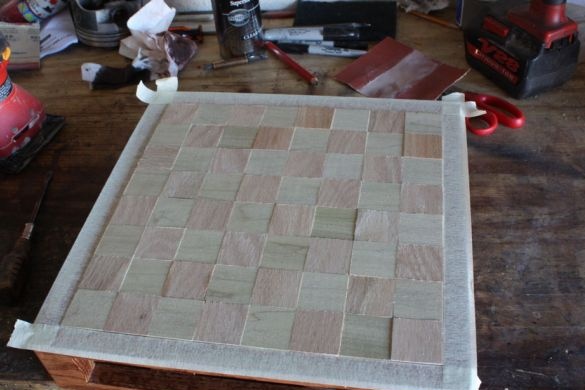
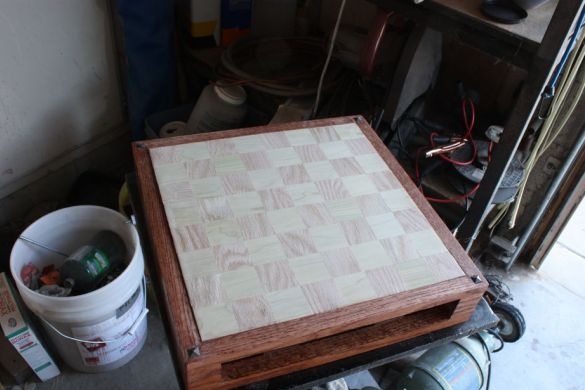
Apply glue to the upper plywood part of the box and lay the tile on it. Lay the load on tiles until the glue dries.
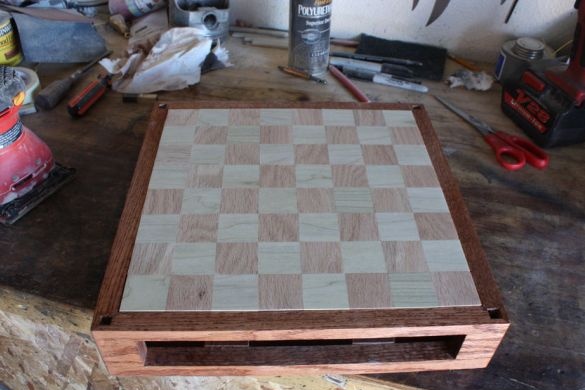
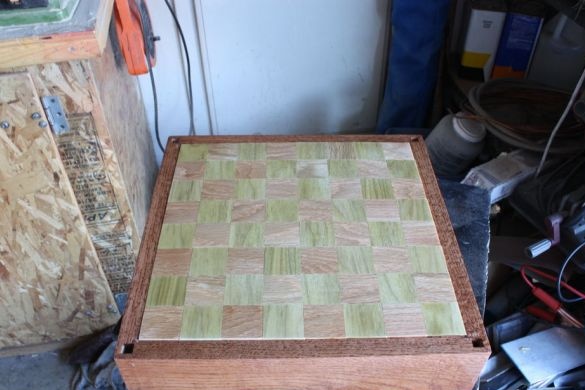
After the tile has stuck, it polishes the surface of the playing field.
Step Six: Corners
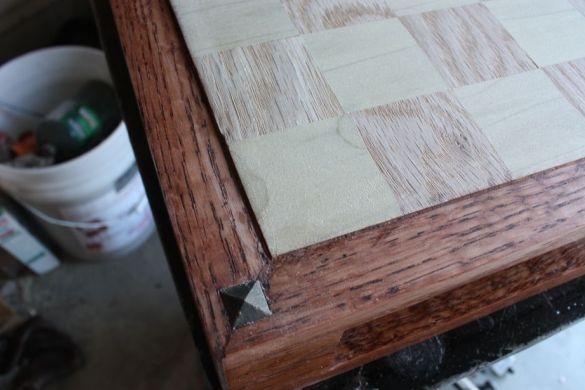
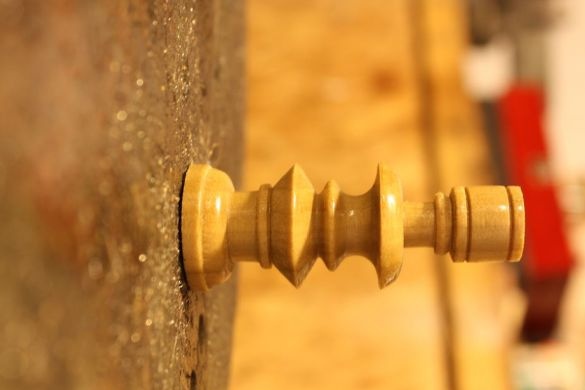
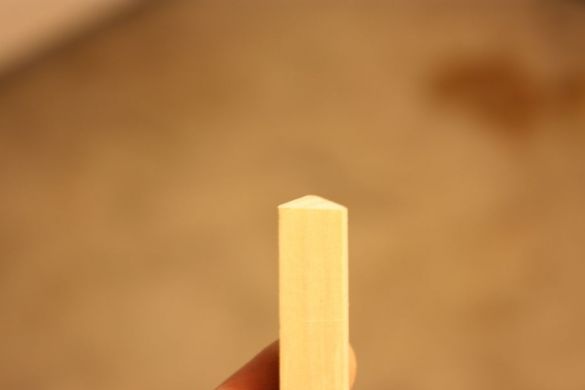
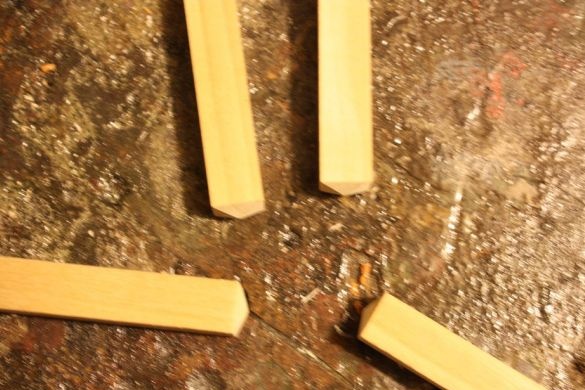
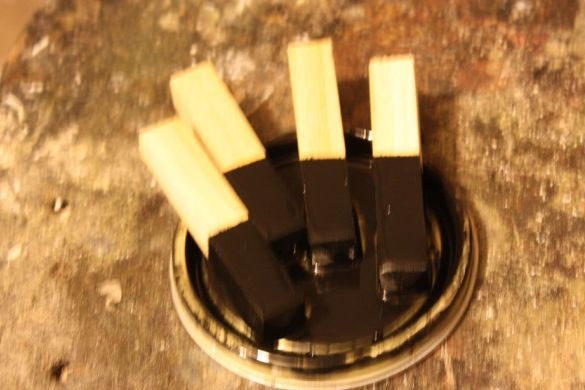
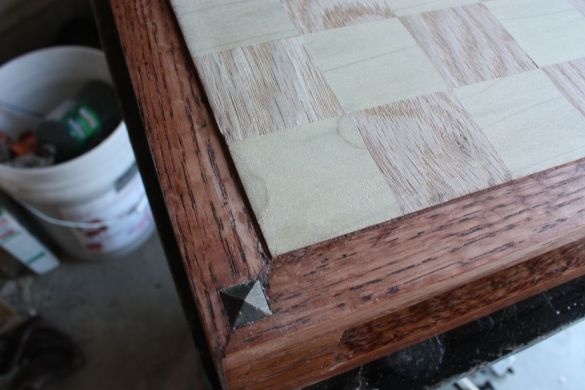
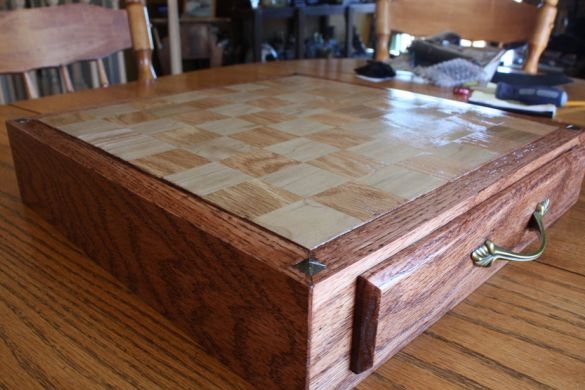
Makes four columns. The upper part of the columns is made in the form of a pyramid. Stains the columns. Sets them to the corners of a chessboard.
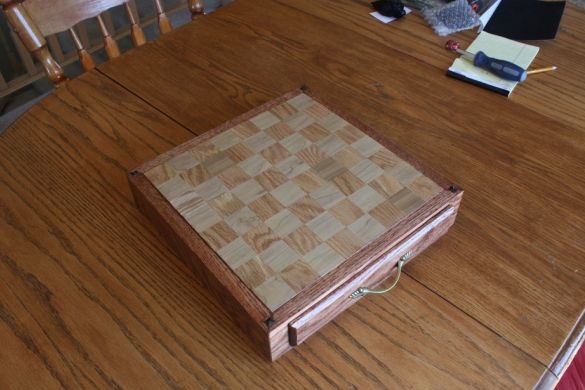
These are the original chess obtained by the author.

