Many of us like to have a bite while watching TV watching an interesting movie, but without a tray you can’t bring a lot of sweets at once, and for crumbs on of furniture and the floor, it can fly slightly from the beautiful half)) It is also convenient to bring breakfast to bed on a tray, waking your loved one with the pleasant aroma of freshly brewed coffee. Generally device useful in household goods.
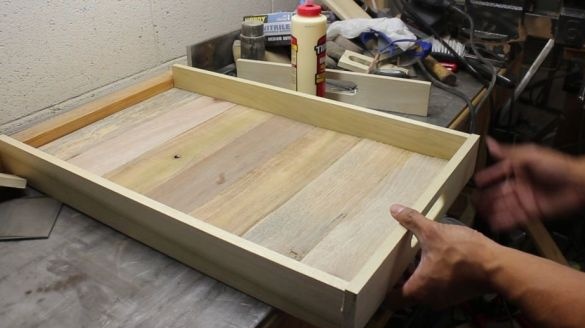
Making a wooden tray is quite simple, for which you need to take boards from a pallet or a wooden box, trim and sand. Using wood glue and clamps, glue into one whole board, and then make the sides of poplar or aspen boards. The resulting surface is varnished on a polyurethane basis, and the sides are painted with white paint.
And so, let's look at what exactly is needed to make a tray?
Materials
1. boards from a pallet or wooden box
2. wood glue
3. screws
4. putty for wood
5. polyurethane based varnish
6. white spray paint
Instruments
1. hacksaw
2. Planer
3. grinding machine
4. screwdriver
5. brush
6. clamp
7. sandpaper
8. ruler
9. pencil
10 masking tape
Step-by-step instructions for making a tray of natural wood do it yourself.
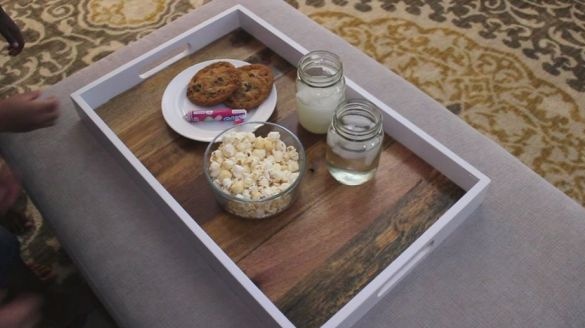
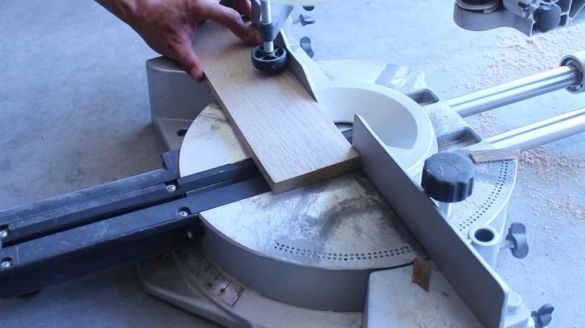
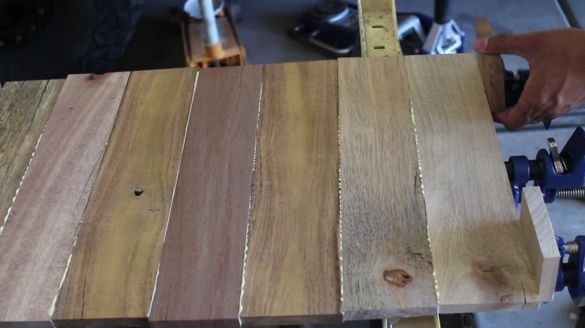
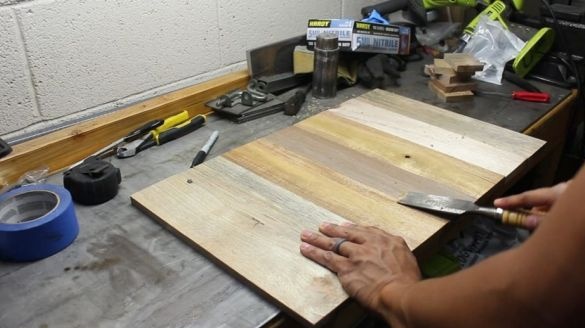
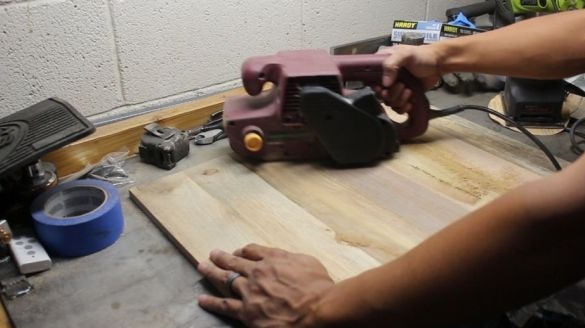
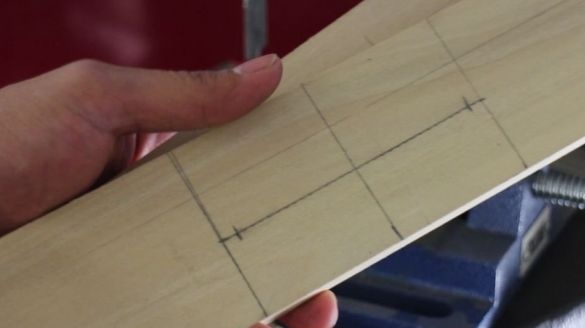
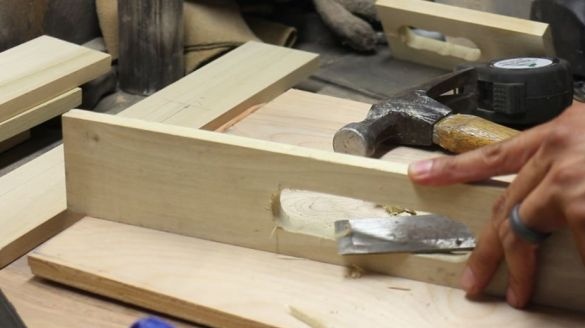
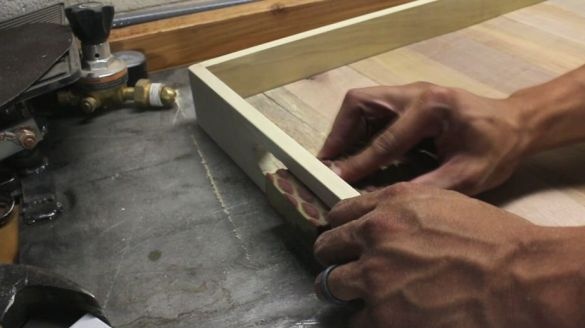
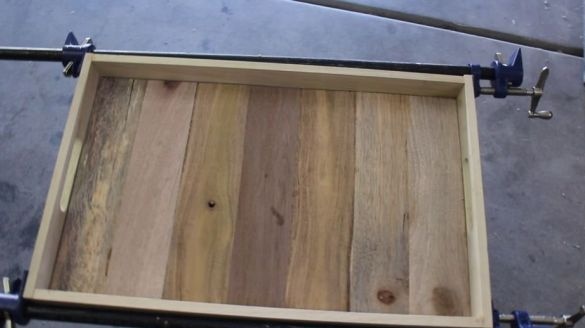
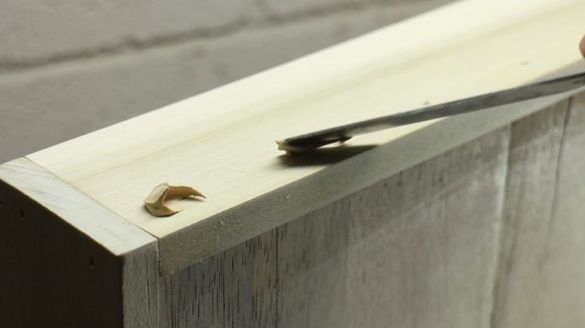
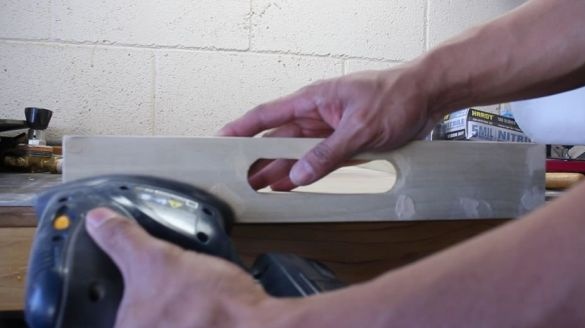
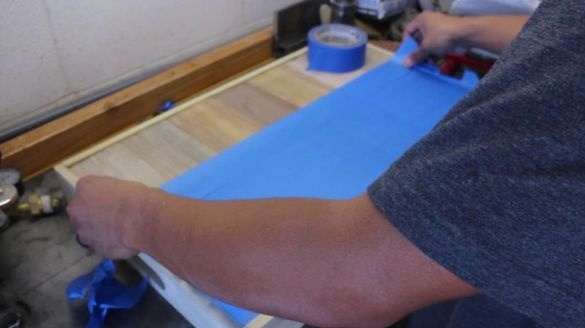
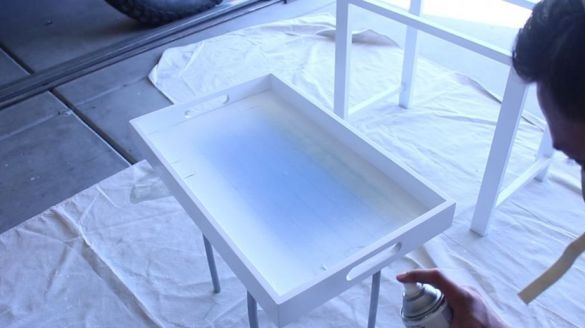
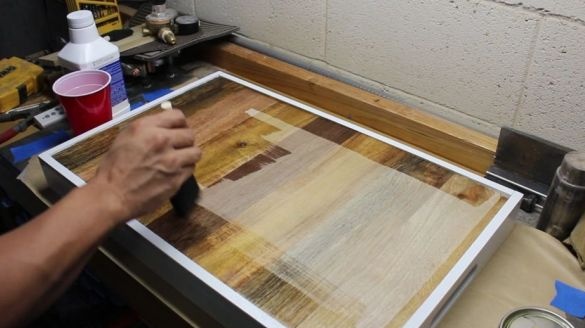
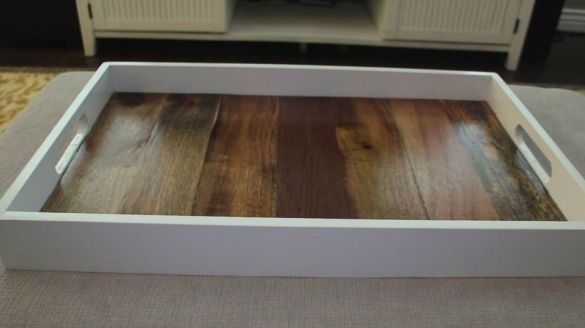
As already mentioned above, the first step is to prepare the boards by dismantling the pallet or wooden box. Cut to the same size, process with a planer and sand. Then, the obtained blanks should be glued together as a whole, this can be done with the help of wood glue and clamps. The edges of each board are smeared with glue and attached to each other, when everything is assembled and missed, everything is pulled together with clamps.In this position, the boards should be until the glue has completely dried, and this is at least 24 hours, after which the clamps are slowly loosened and removed, and excess glue from the surface is removed with a chisel.Then the surface is carefully sanded using a grinding machine or ordinary sandpaper.After which the author proceeds to the manufacture of beads, for which it is better to choose softwood, for example, the author took planks from poplar. We make markings under the handle of the tray, that is, a hole will be made.We remove the unnecessary chisel and align.Then we grind it thoroughly with sandpaper so that there are no burrs left.Next, a preliminary fitting and smearing of the joints at the joints with wood glue is carried out, for reliability, you can additionally screw screws on wood.This box is twisted with clamps and is in this position until the glue dries.If you used self-tapping screws to assemble the structure, then the hats should be drowned in the wood cavity in advance by countersinking the holes, and then putty the heads of the screws with wood putty. This putty can be prepared on your own, for which you need carpentry glue and sawdust after grinding (small) mix with glue and bring to a homogeneous mass, you should get thick semolina)) and then just apply the prepared composition to the desired place and level it. No worse than a store analog)Excess glue is removed with a chisel and the surface is sanded with a grinder.After that, the tray must be painted and varnished, the lower part of the master seals with masking tape so that when applying paint from a spray can it does not get paint.Painting work is best done in a well-ventilated area, if there is none, just go outside and paint. Do not forget about basic protective equipment (respirator, gloves)The tray itself is varnished on a polyurethane basis, it is advisable to apply a couple of layers.And actually such a tray came out.As you can see, there is nothing complicated in the manufacturing process, everything is extremely simple and understandable, and most importantly it is very budgetary, because store counterparts are pretty cheap. You have step-by-step instructions, so we take and do it. Go for it friends!
This concludes the article. Thank you all for your attention!
Come visit often and do not miss the latest in the world of homemade goods!

