

Today, without laptops, life will probably be very difficult, because through them we communicate with friends and relatives, watch movies, cartoons, get a lot of information, news, play games. Even now we work at computers, we earn and we are engaged in so many things. Therefore, they also need to be looked after, not overloaded, otherwise you can stay without them, and you need a lot of money for a new laptop. And when they are overloaded, then they get very hot, so they need some kind of cooling system.
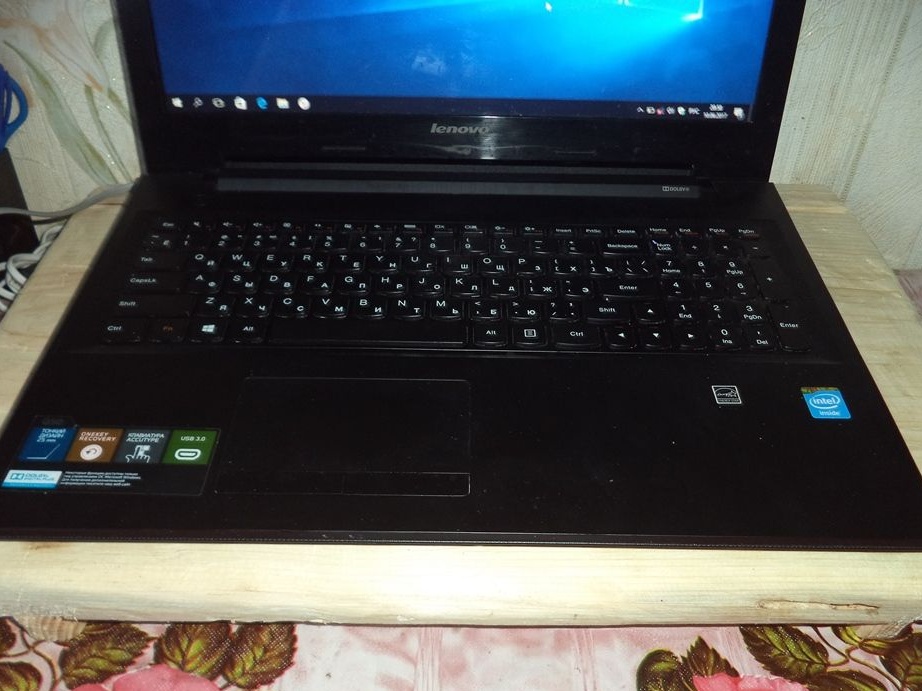
Of course, some laptops have their own cooling system, but some do not. And I have such modelthat it doesn’t have a built-in cooling system, so it often heats up and heats up to such an extent that the laptop turns into some kind of electric stove, the processor heats up especially, and the laptop starts to slow down very much, not execute commands and freeze. And to get rid of this problem, I decided to make myself a cooling stand for my laptop and share with you with its design. I already had a laptop stand, but it was made by another author, and I will make mine. So for this homemade we will always need:
Instruments:
1) Hacksaw
2) Hammer and nails,
3) Planer,
4) Clerical knife,
5) Electric drill and drill,
6) Jigsaw,
7) Glue gun and rods for it,
8) Electric soldering iron,
9) Measuring tape
10) Ax,
11) Sandpaper.
Materials:
1) Wooden board,
2) Two fans,
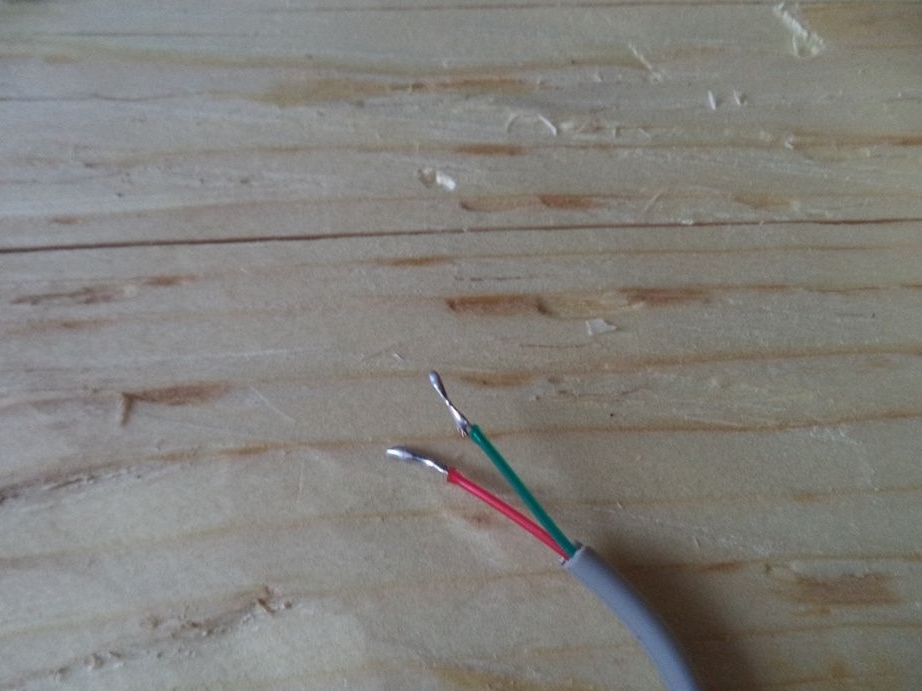
3) Connecting wires,
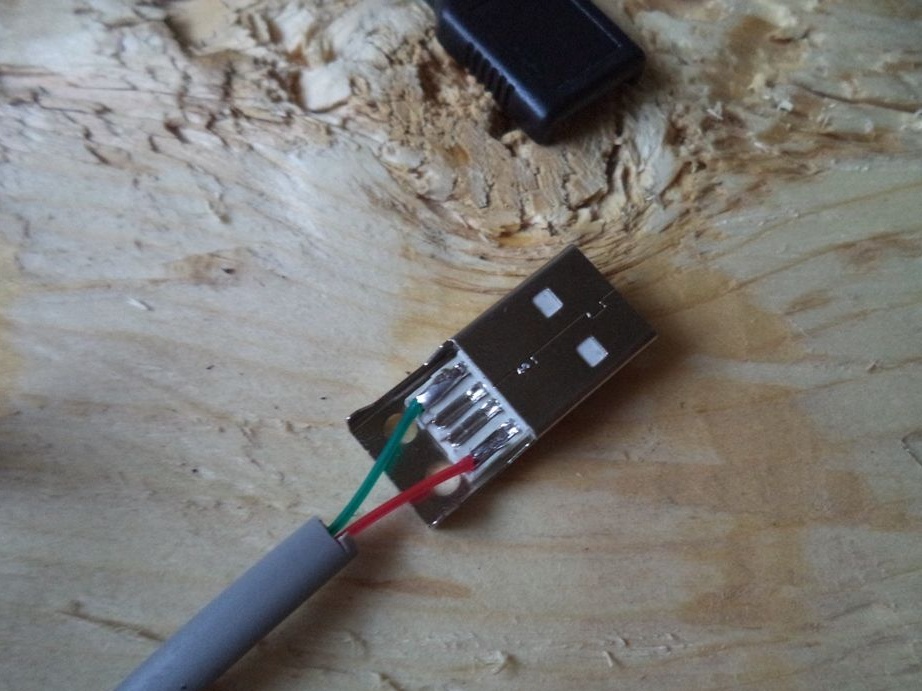
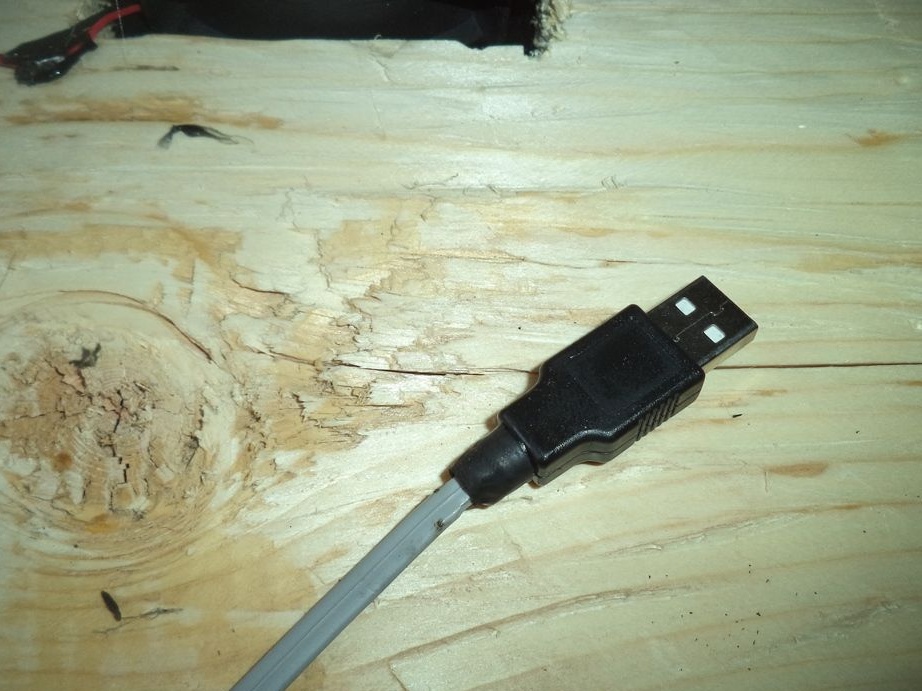
4) USB connector
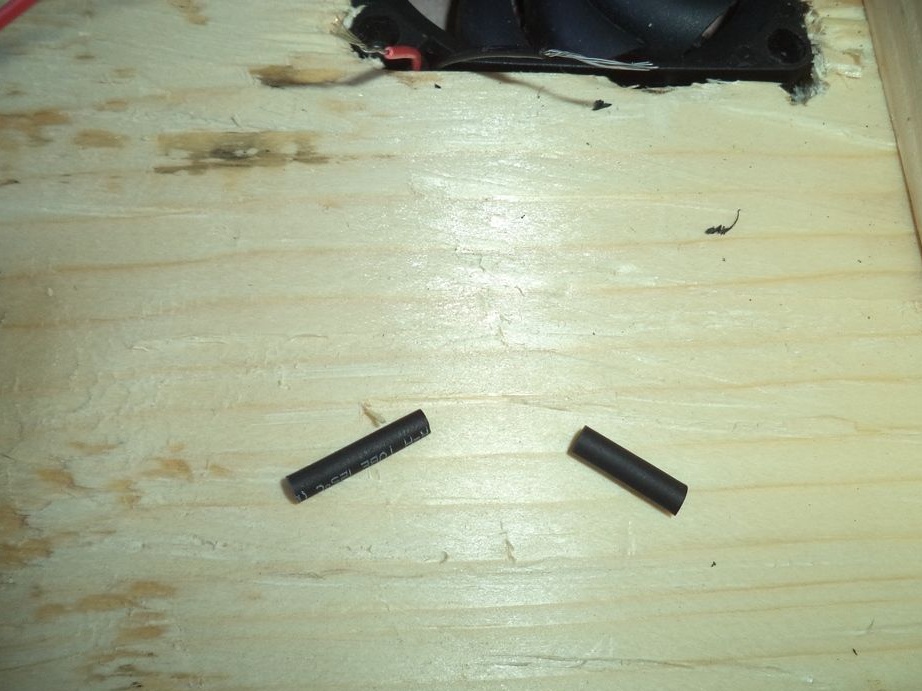
5) Heat shrink tubes or just an insulating tape (you can also just insulate with hot glue).
The process of making a wooden laptop cooling pad do it yourself.
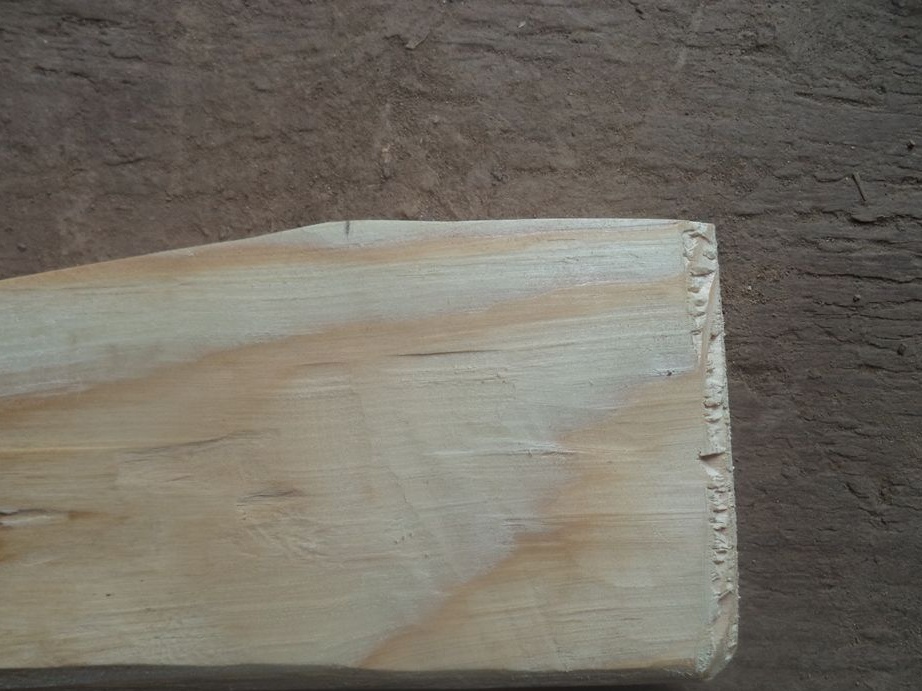
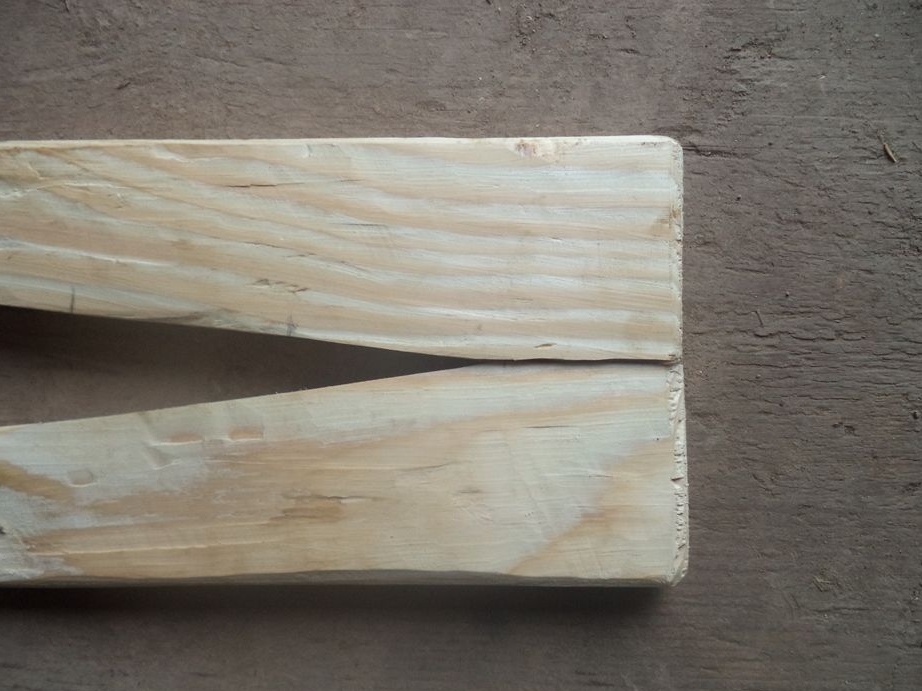
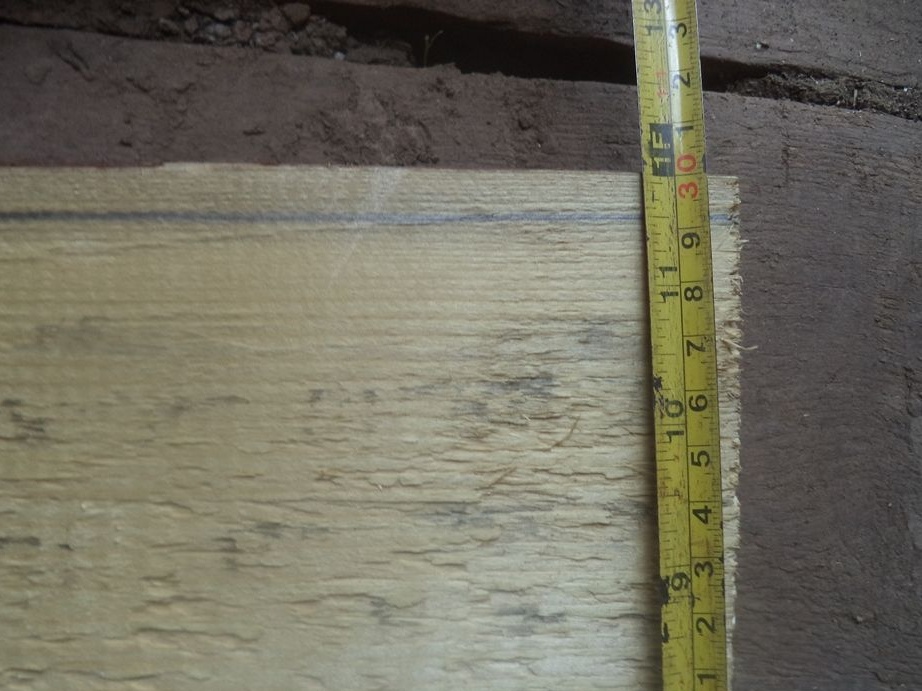
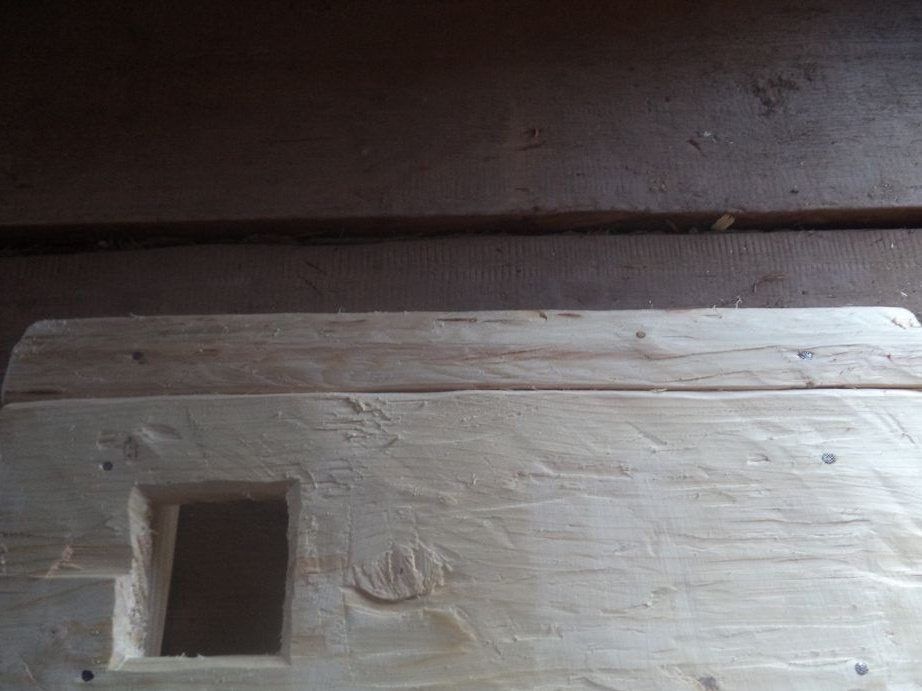
We take a wooden board and saw it into two parts.
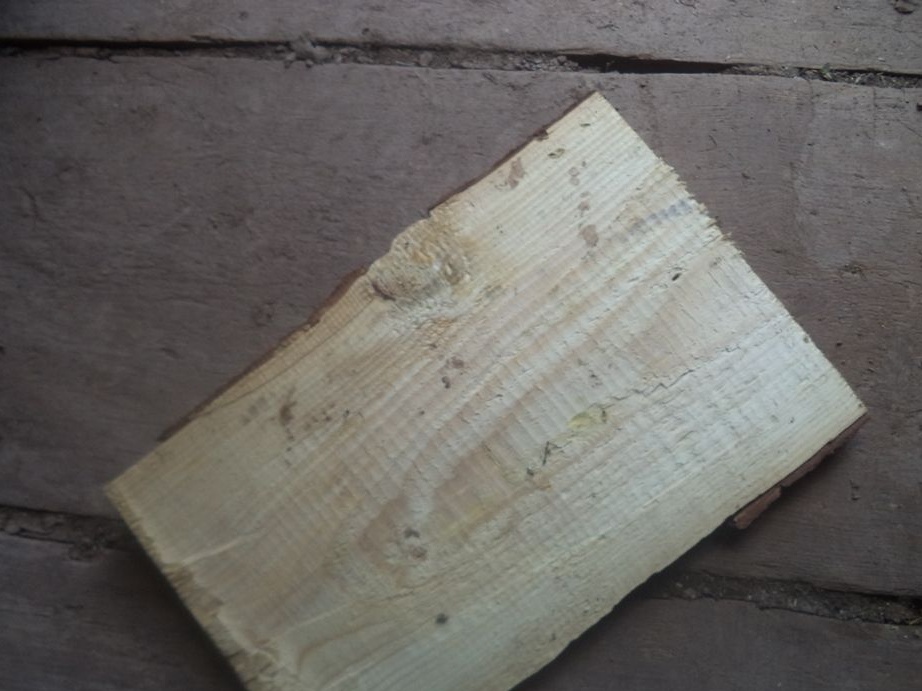
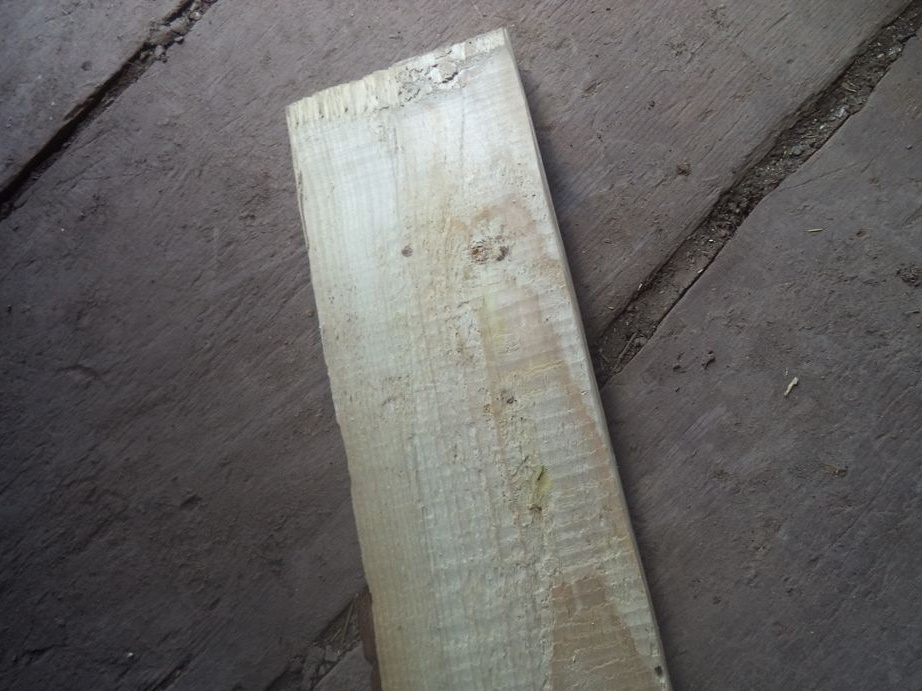
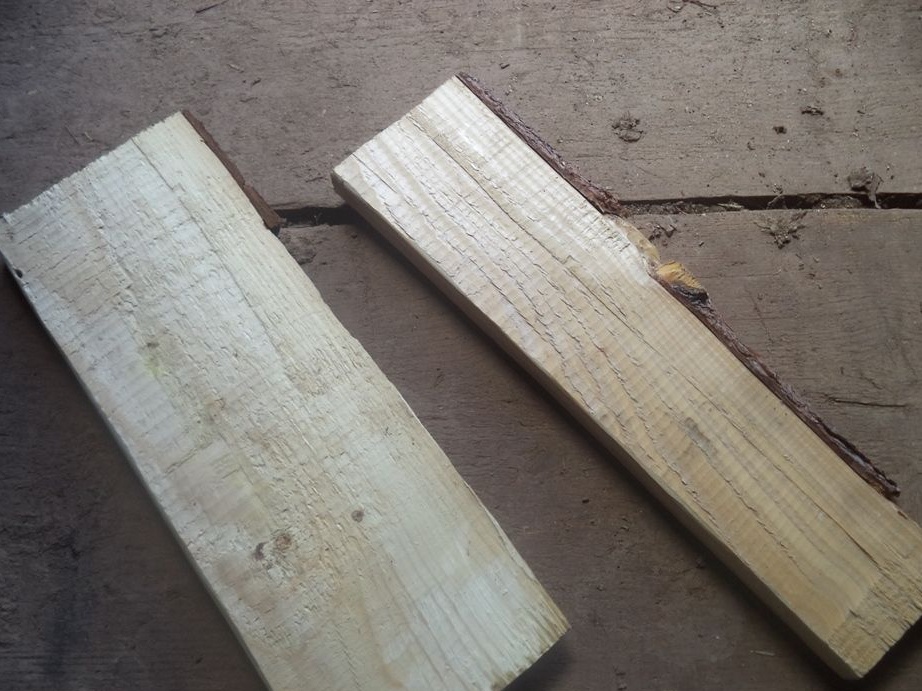
From these two boards, we make two identical legs in the following sizes (your sizes may differ, since my laptop has a screen with a diagonal of 15.6 inches, but so far it does not make sense).
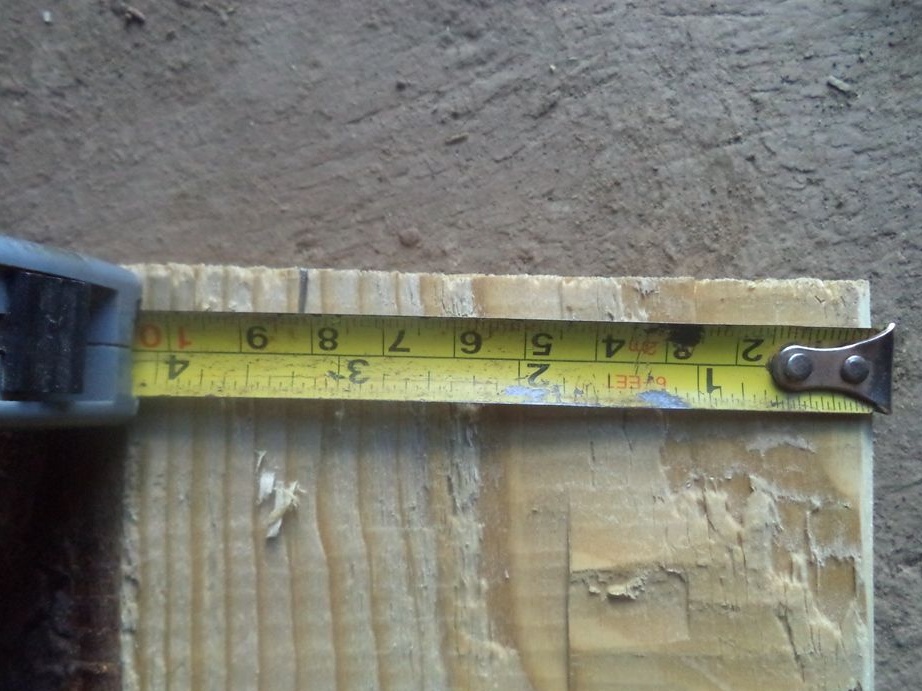
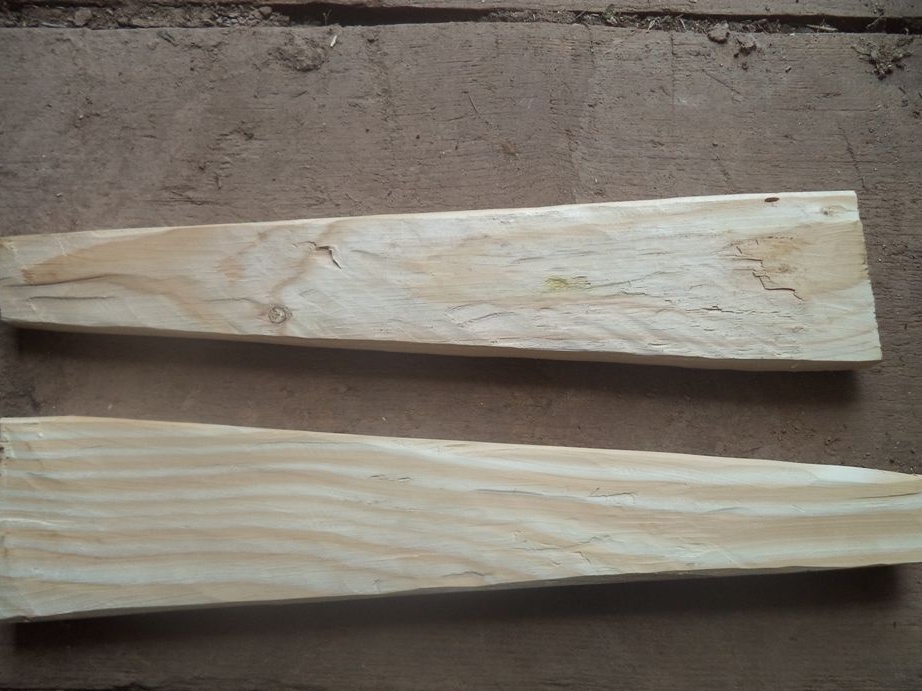
The excess places are cut off with a hacksaw.
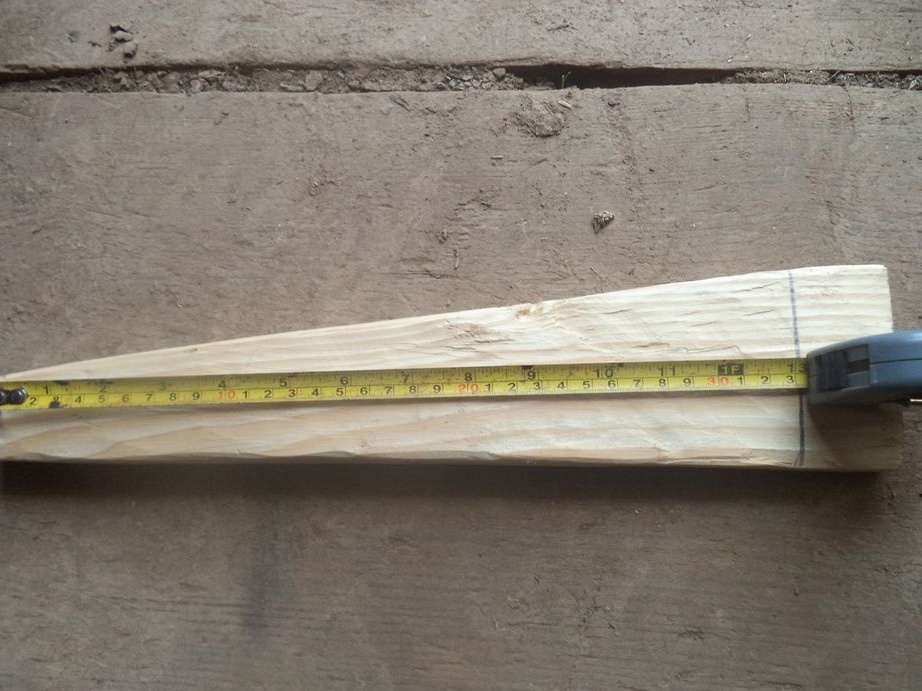
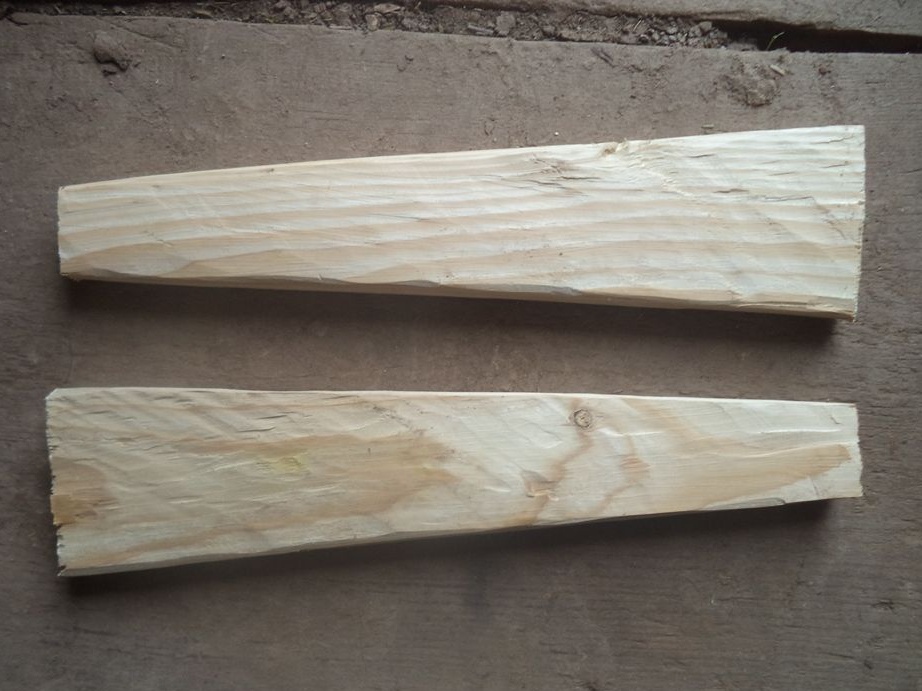
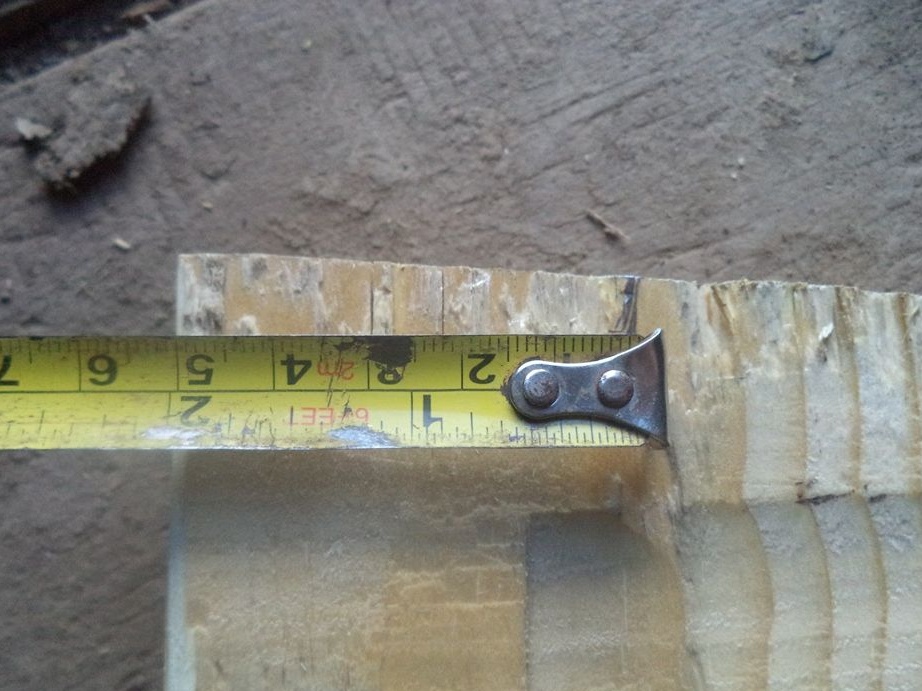
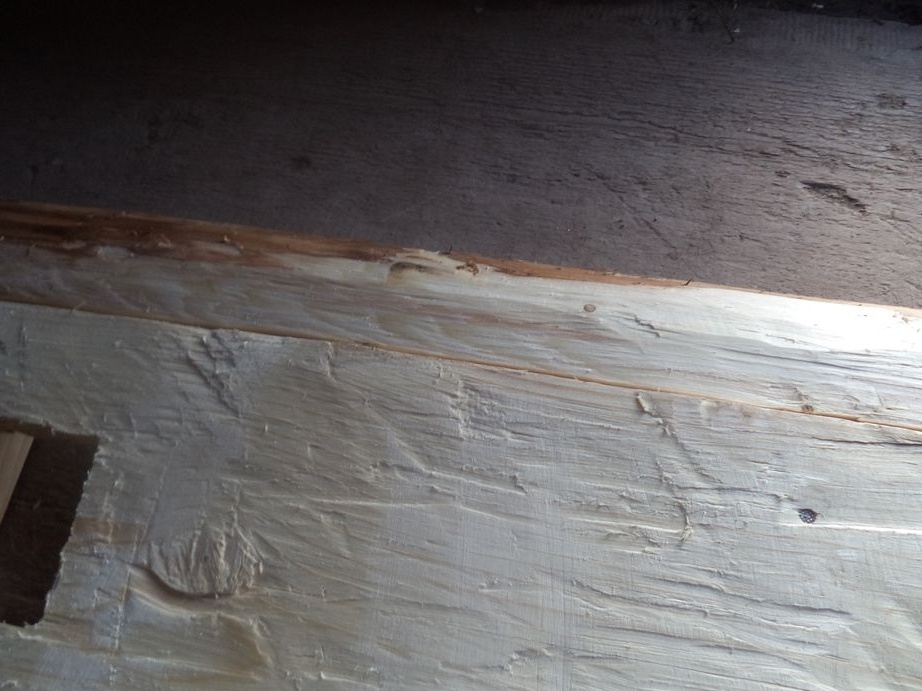
With a plane and sandpaper we align all the bumps on the details.
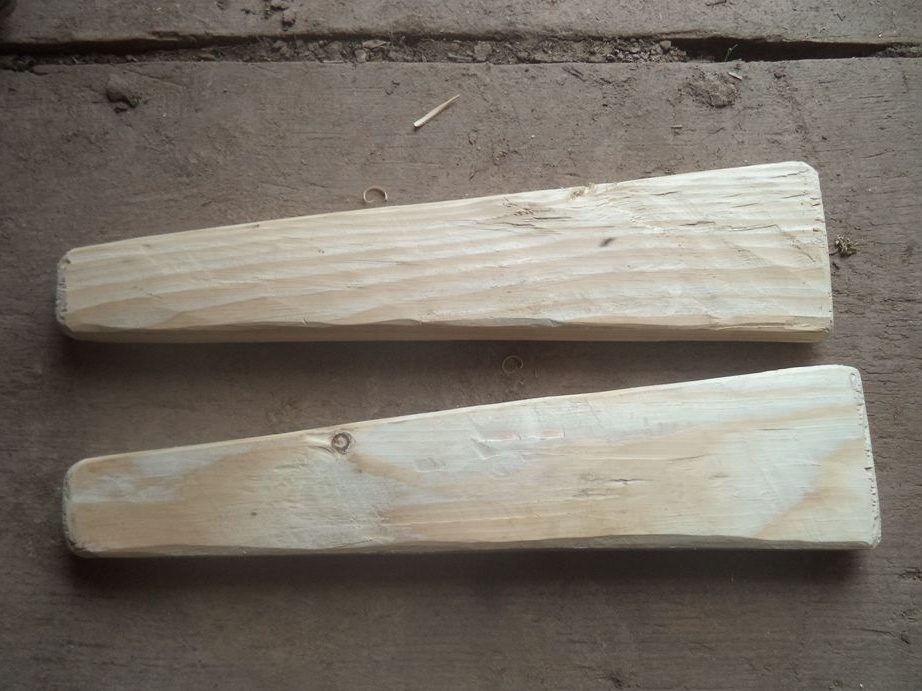
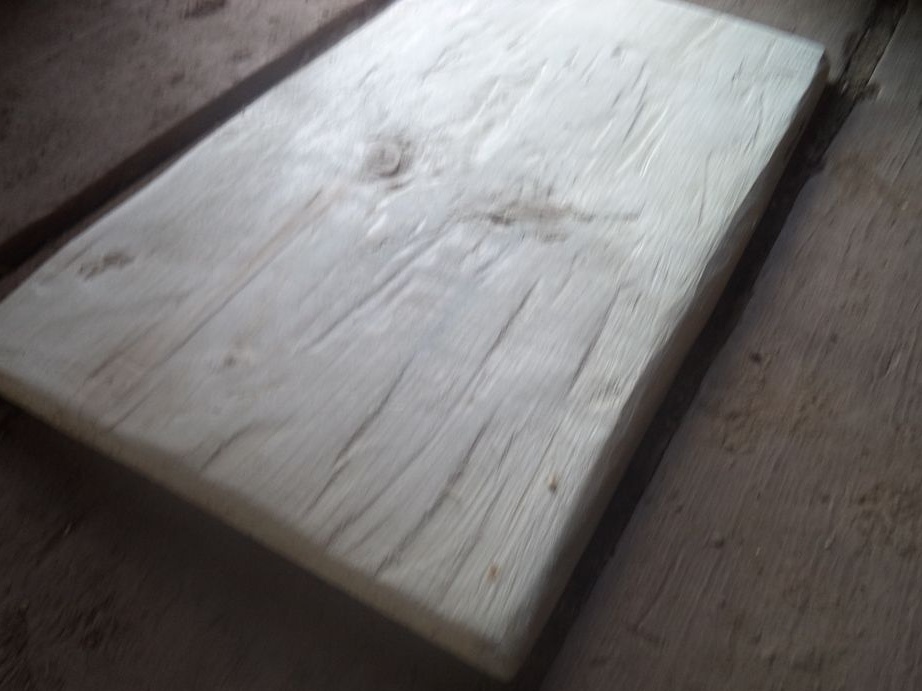
Now we do it as shown in the photo.
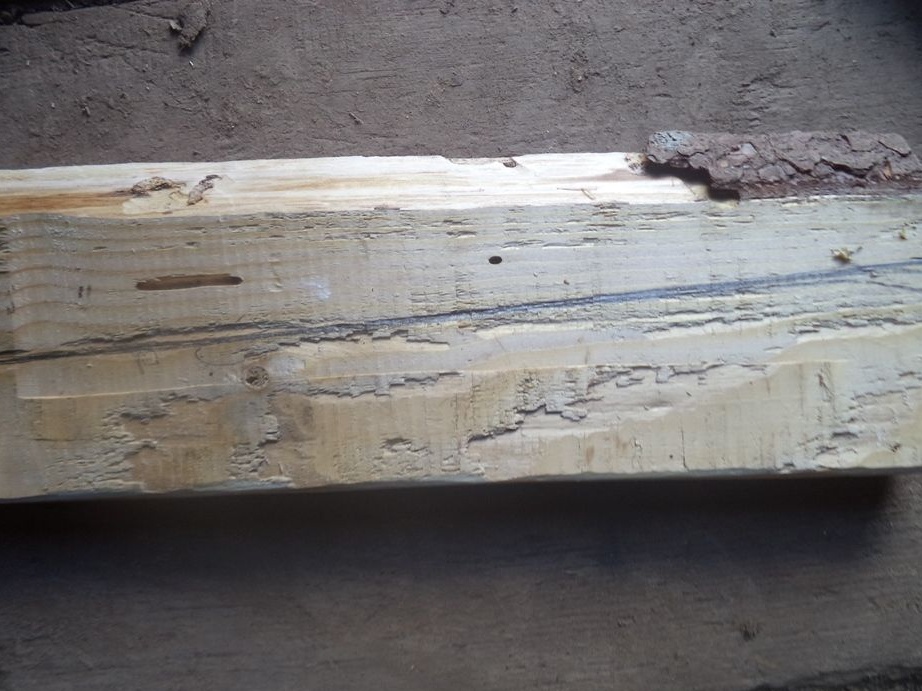
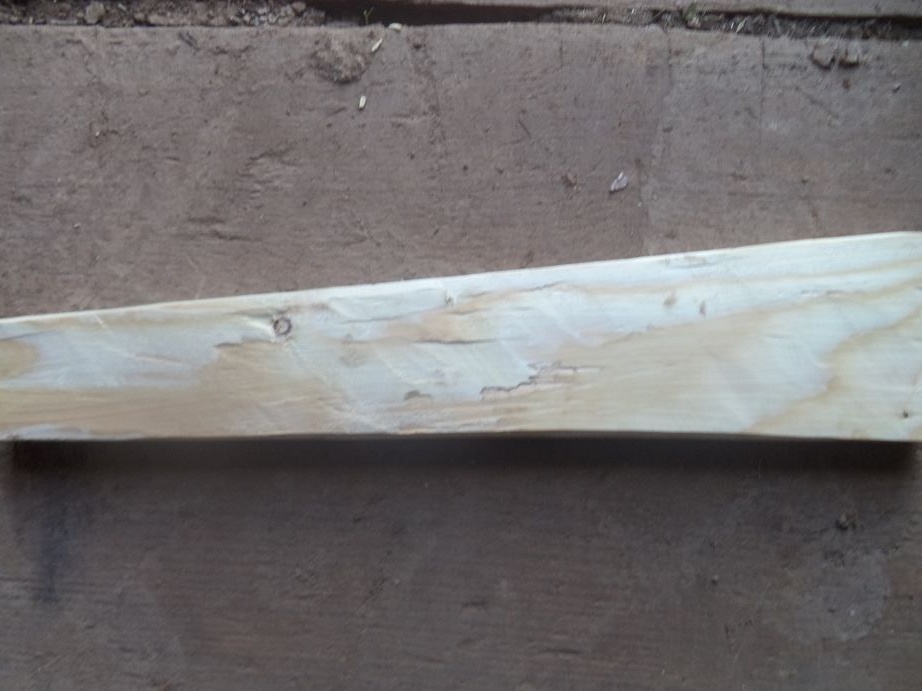
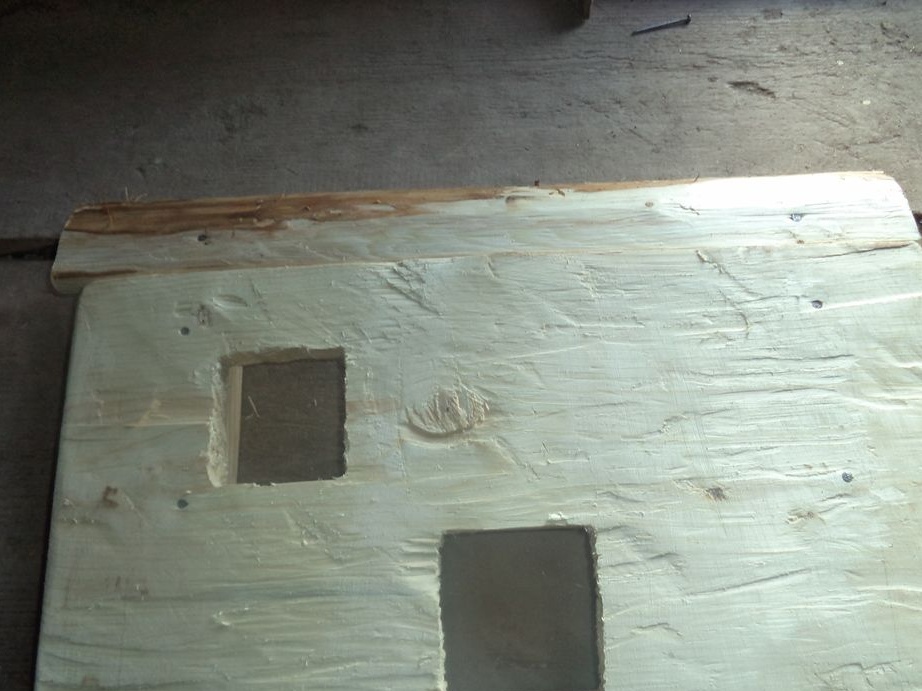
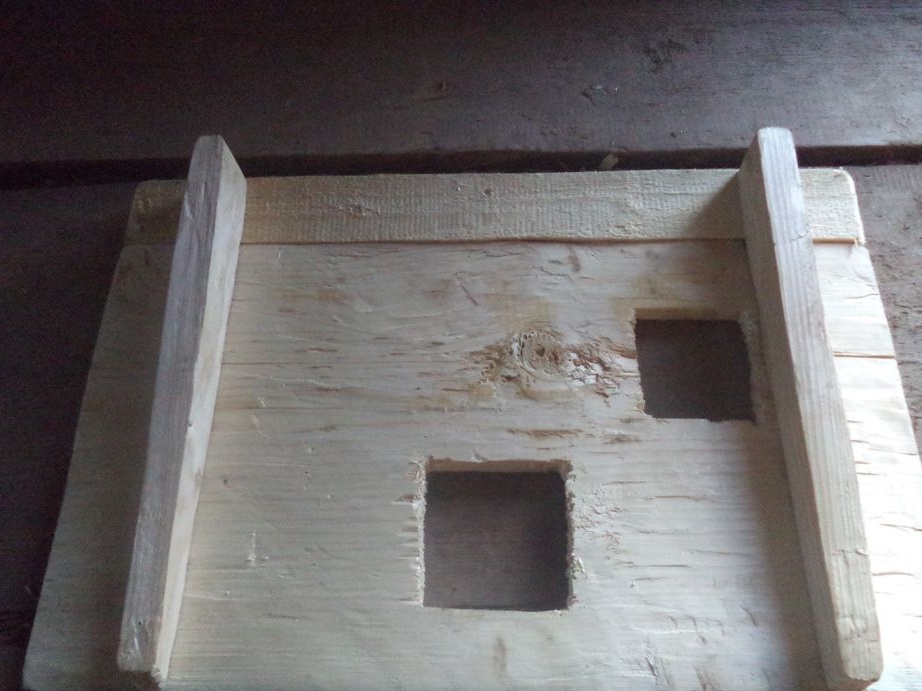
Now we take another wide board, cut it to size, plan it with a plane and sand it with sandpaper.
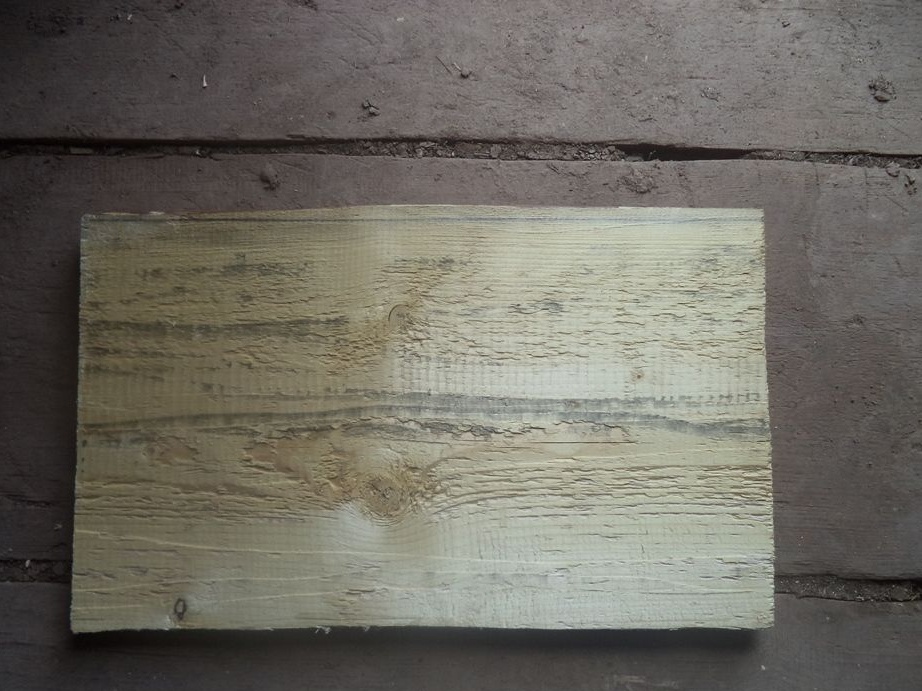
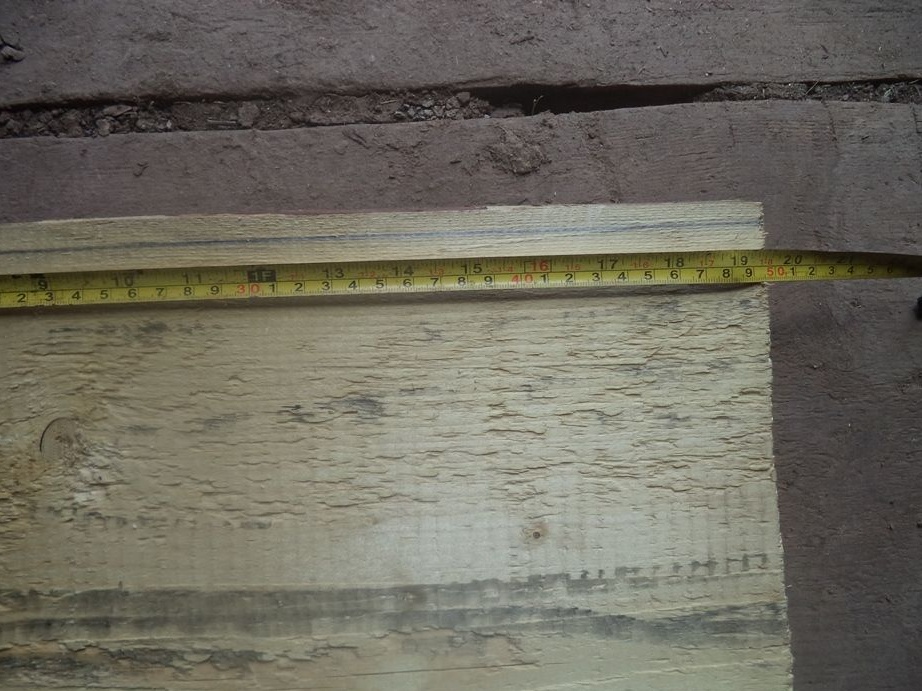
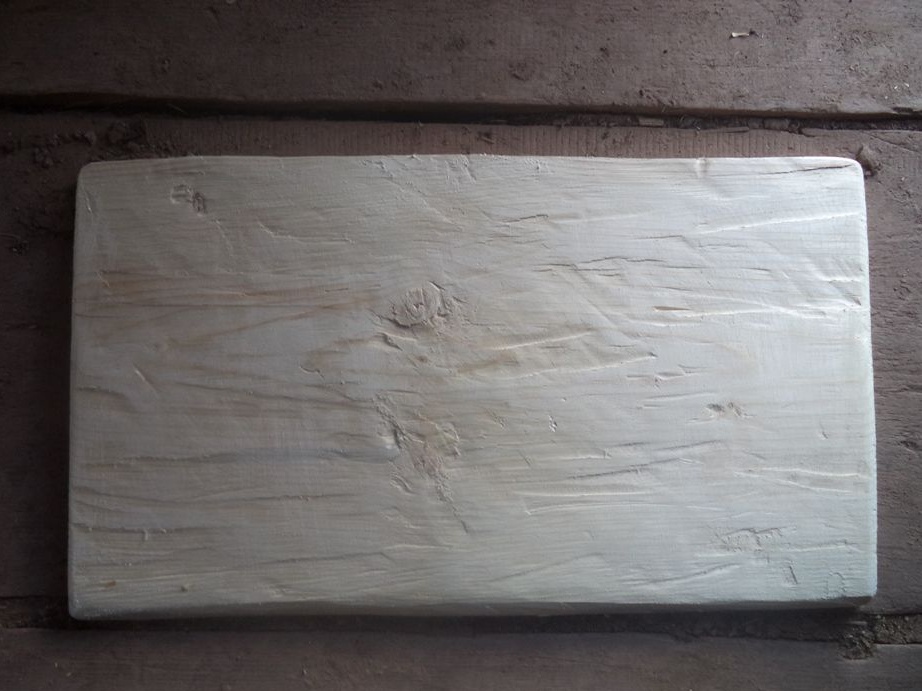
So that it doesn’t work like mine, I recommend taking a level board, no devils, since it’s very difficult to plan with them, and it’s not very nice and even, although nothing will be visible under the laptop.
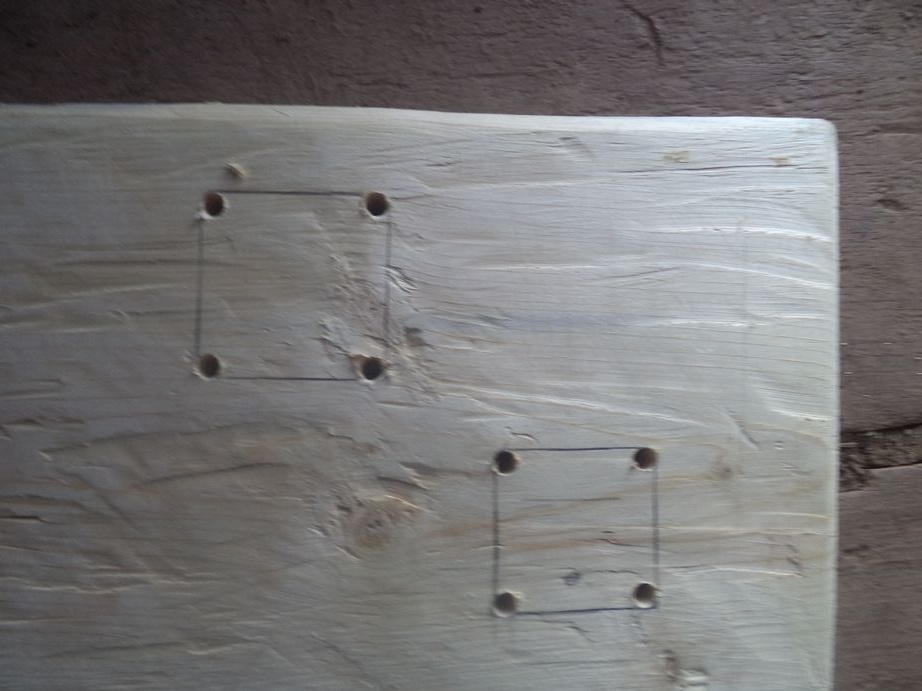
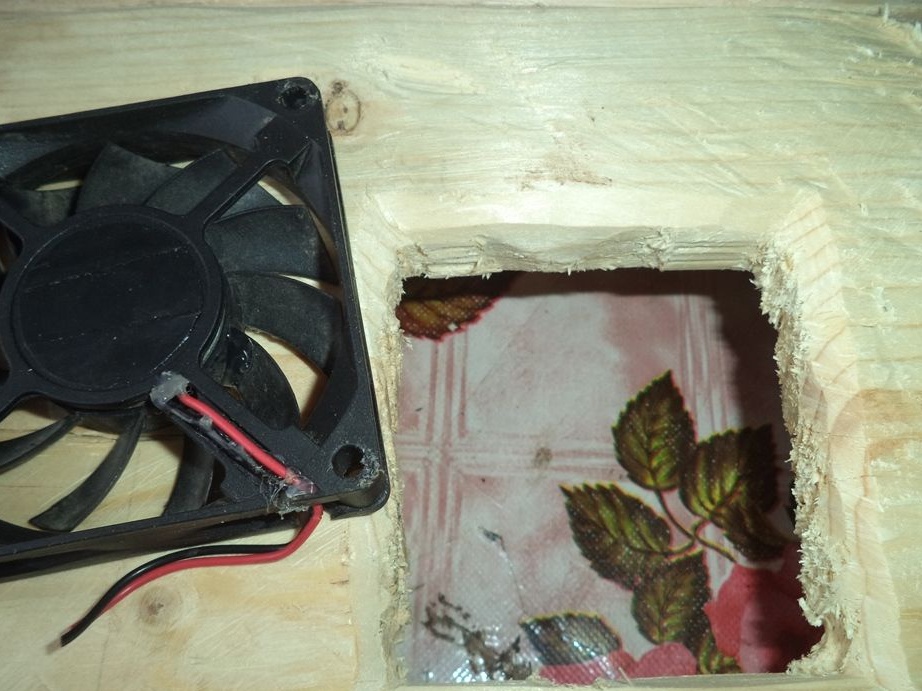
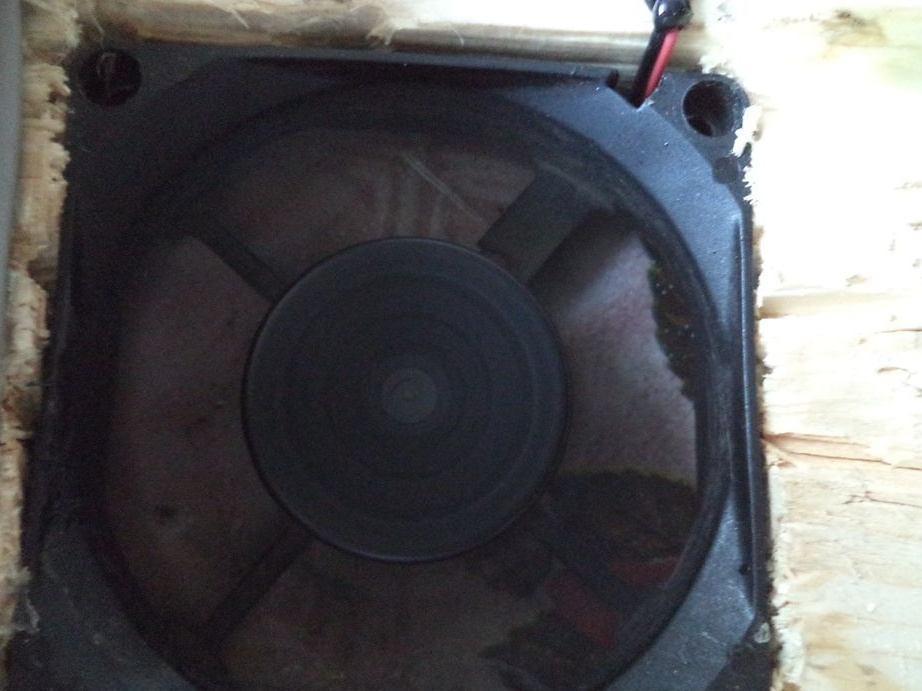
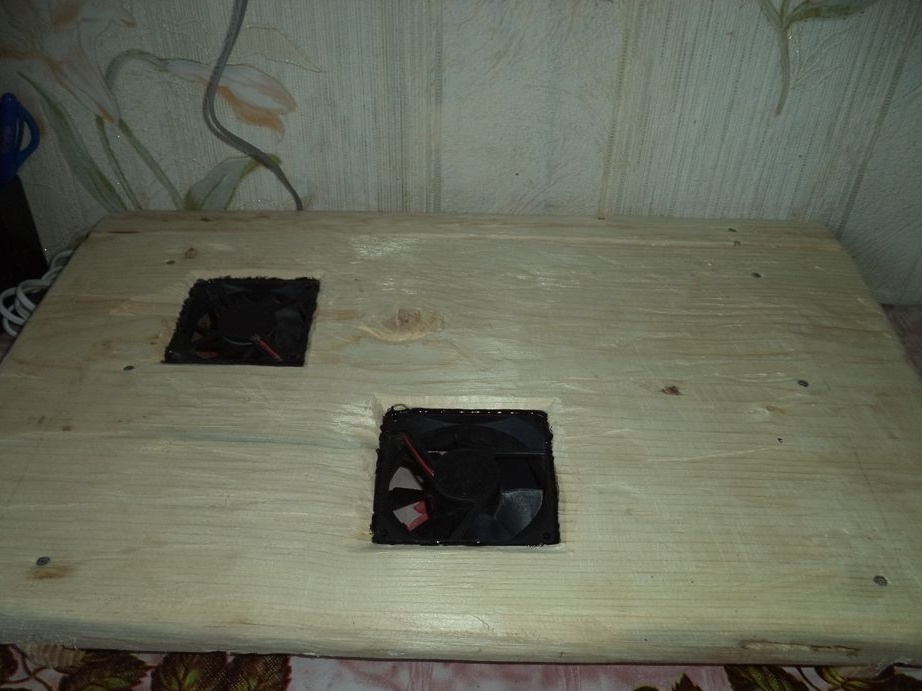
Now we need to make holes for our fans. To do this, take a simple pencil and draw drawings on the fan circuit on the board. But in order for them to correspond with the places of glaze under the laptop, otherwise the laptop will not cool well.
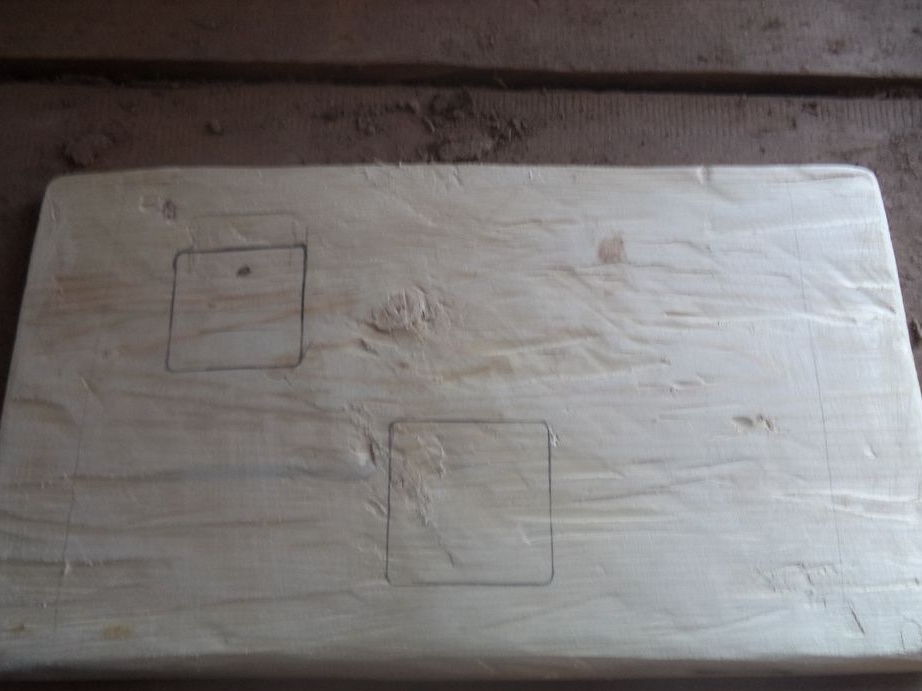
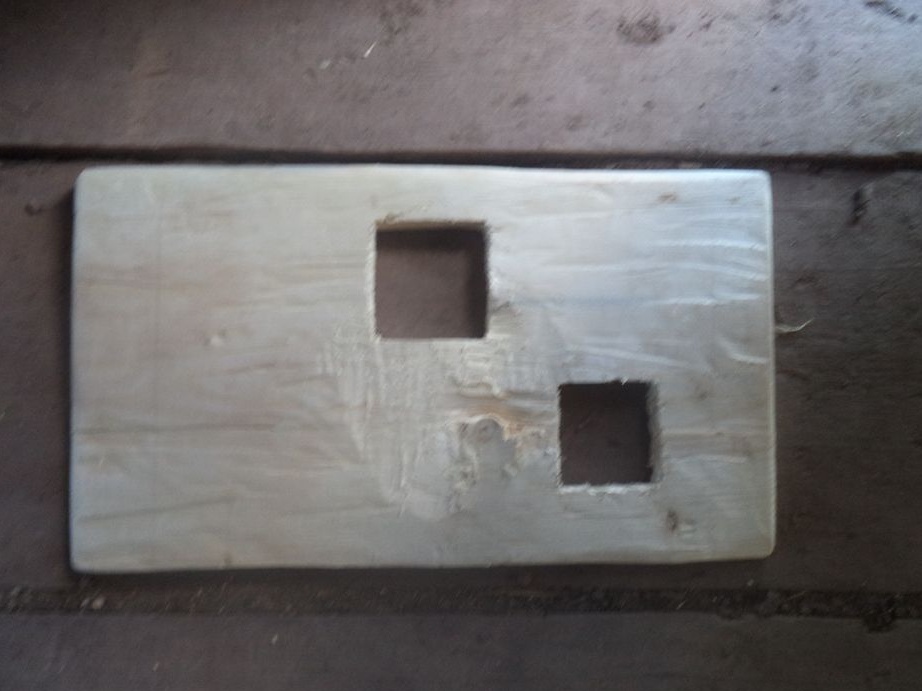
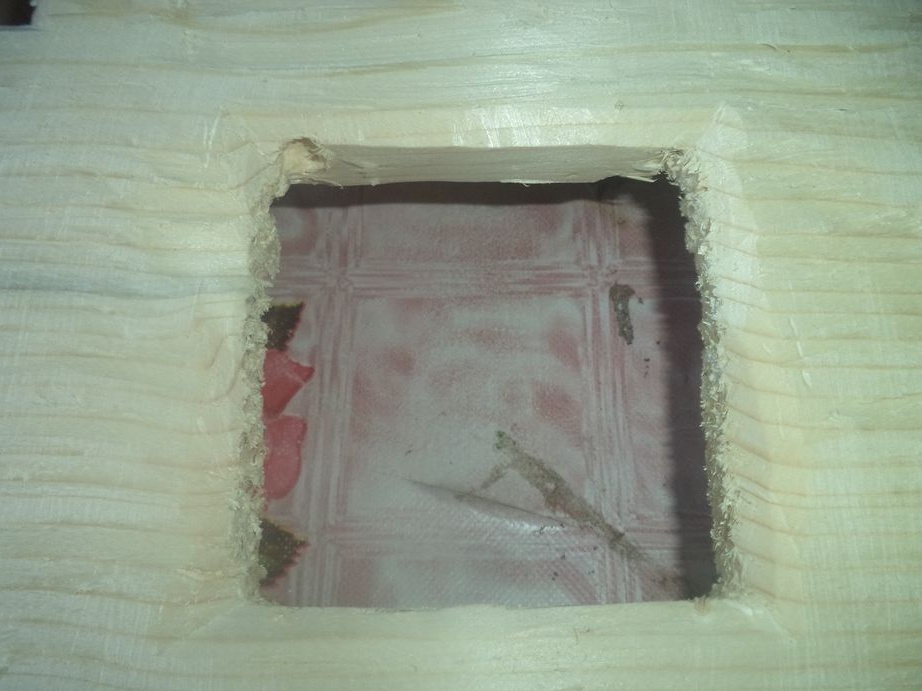
At the corners of the drawn squares, drill holes with an electric dremel and use a jigsaw to cut square holes along the lines.
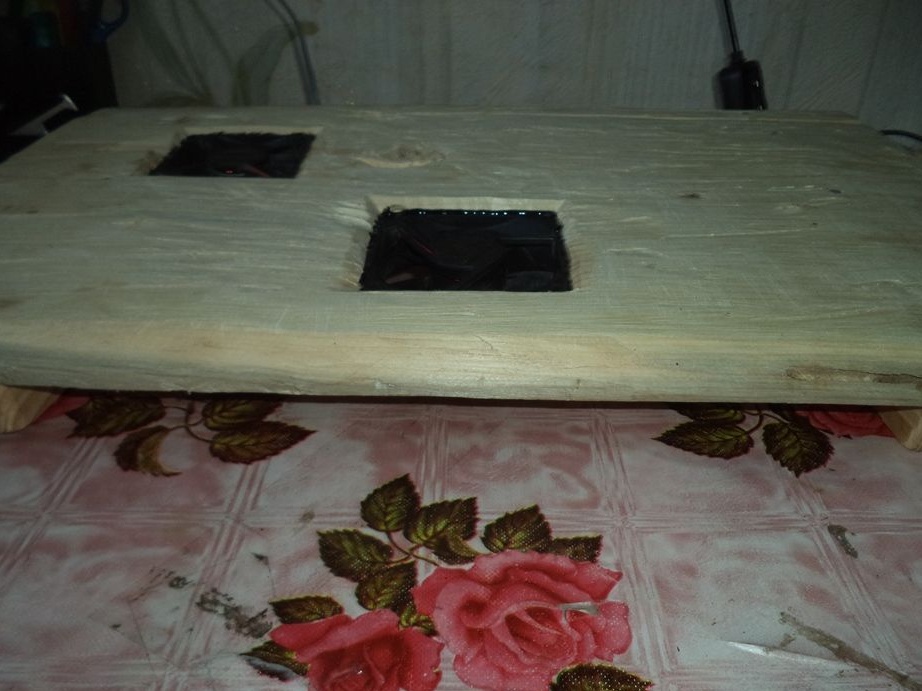
With the help of a hammer and nails we connect all the resulting details: the legs and the place of the laptop in one piece.
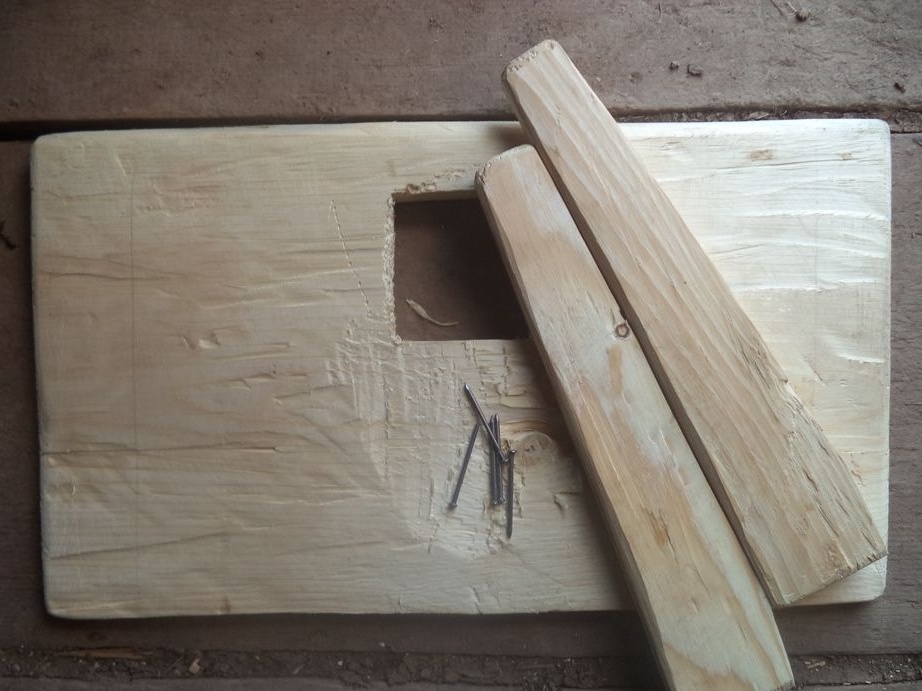
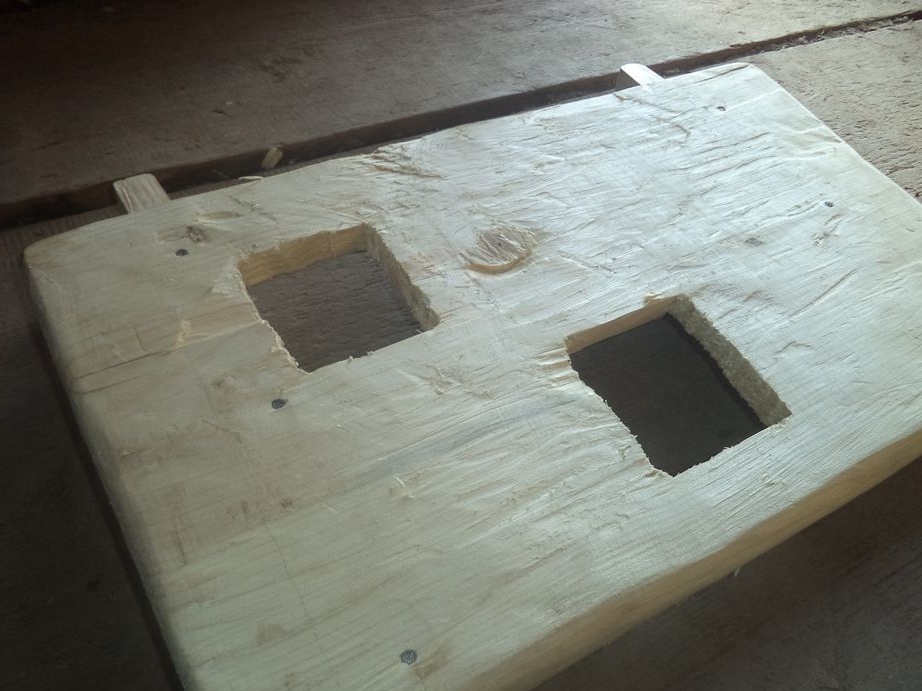
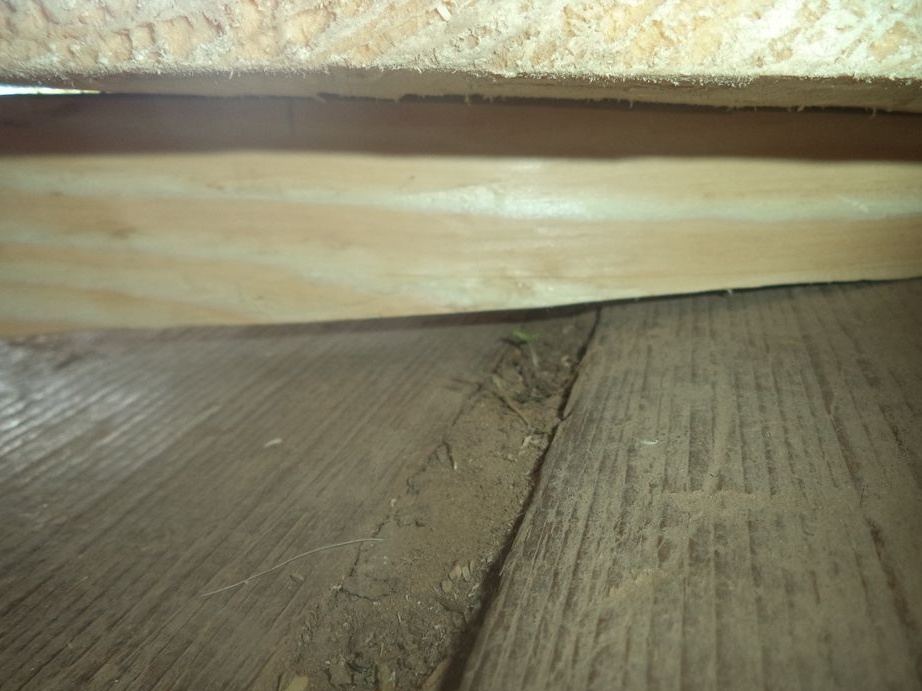
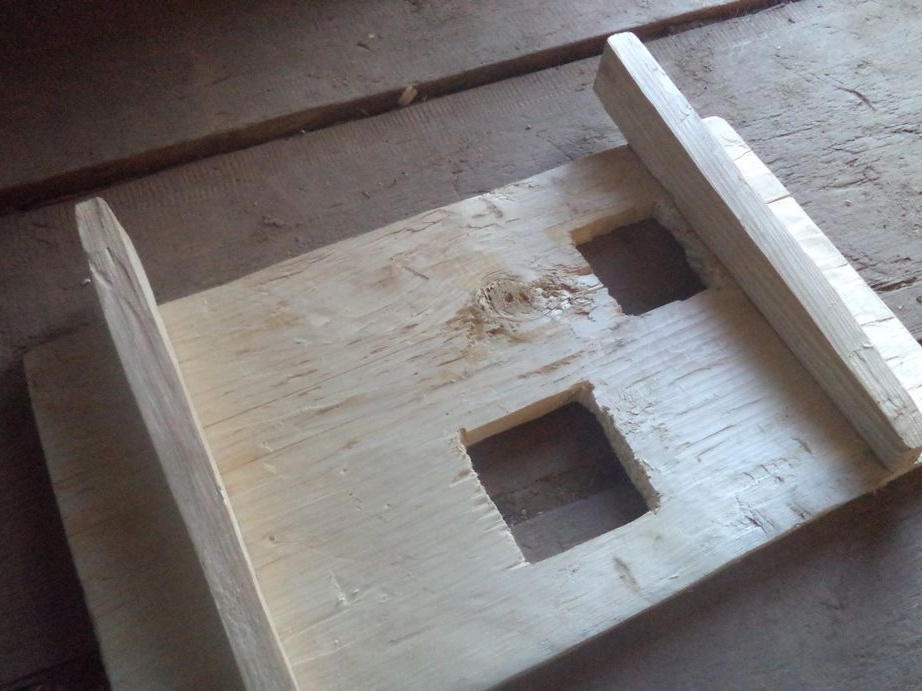
So that the legs were not visible and there was more space, we beat another plank.

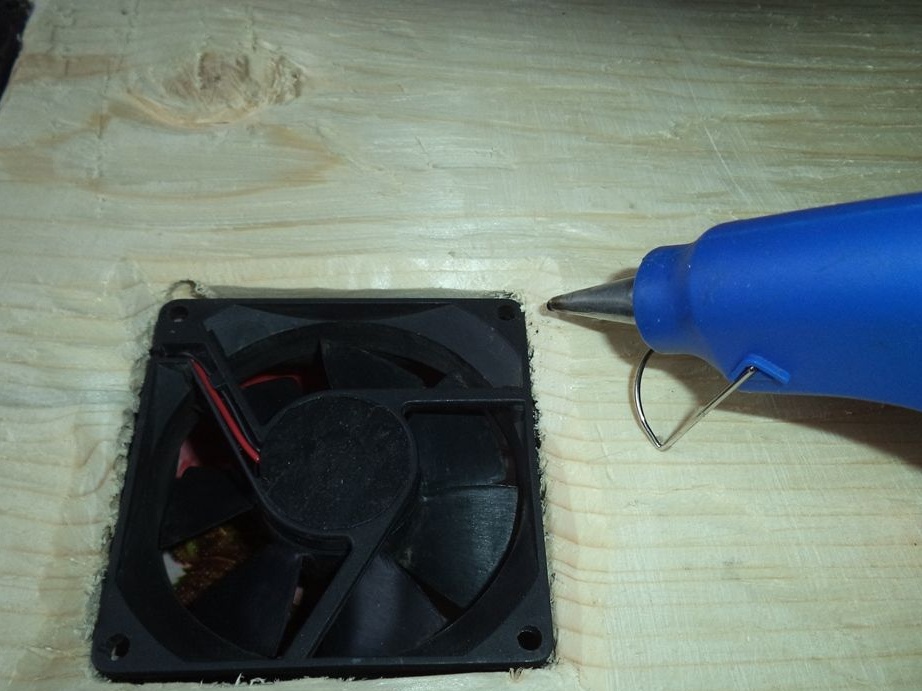
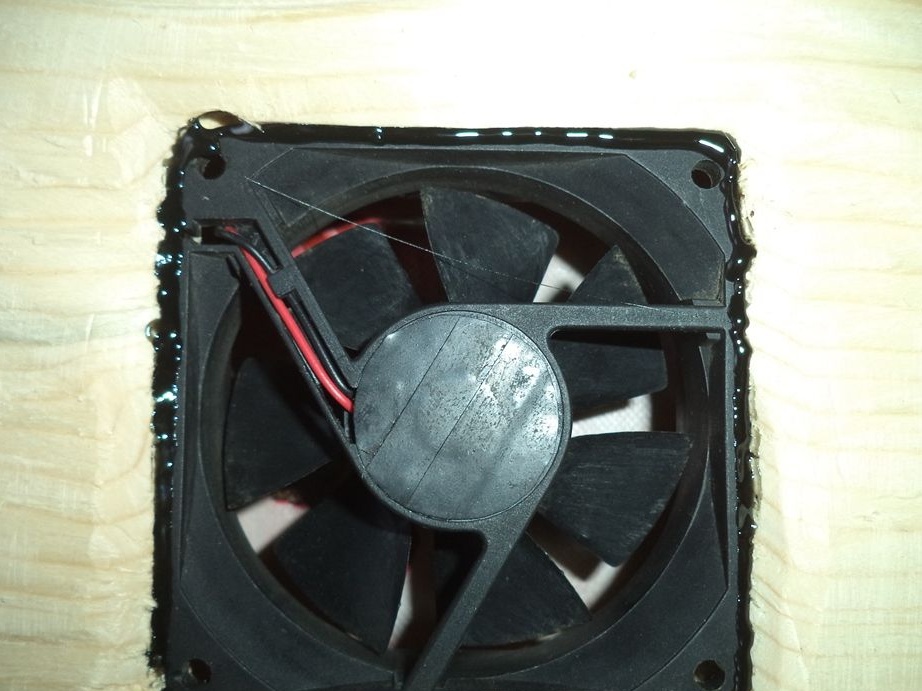
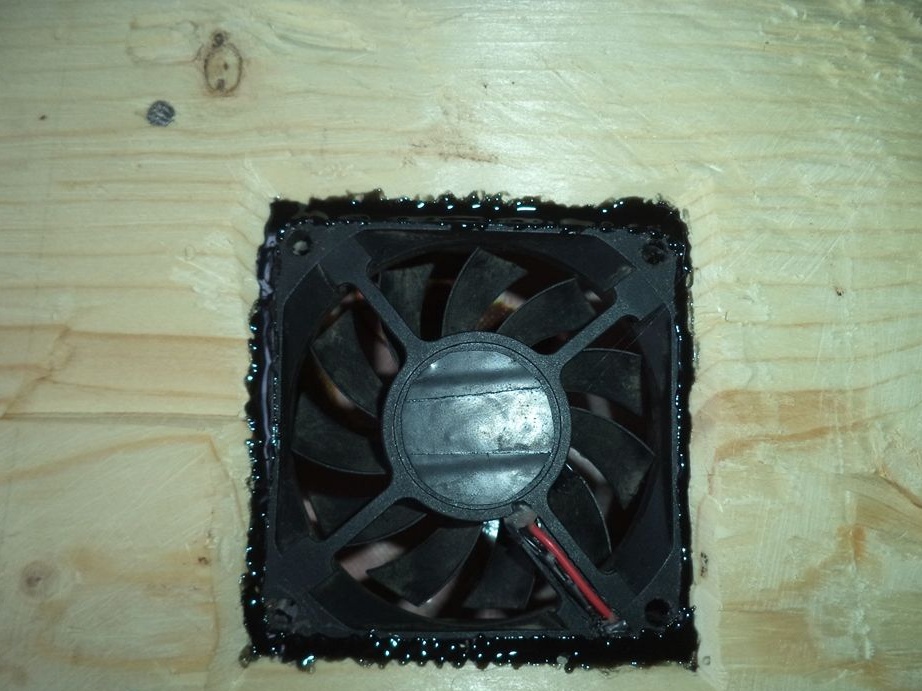
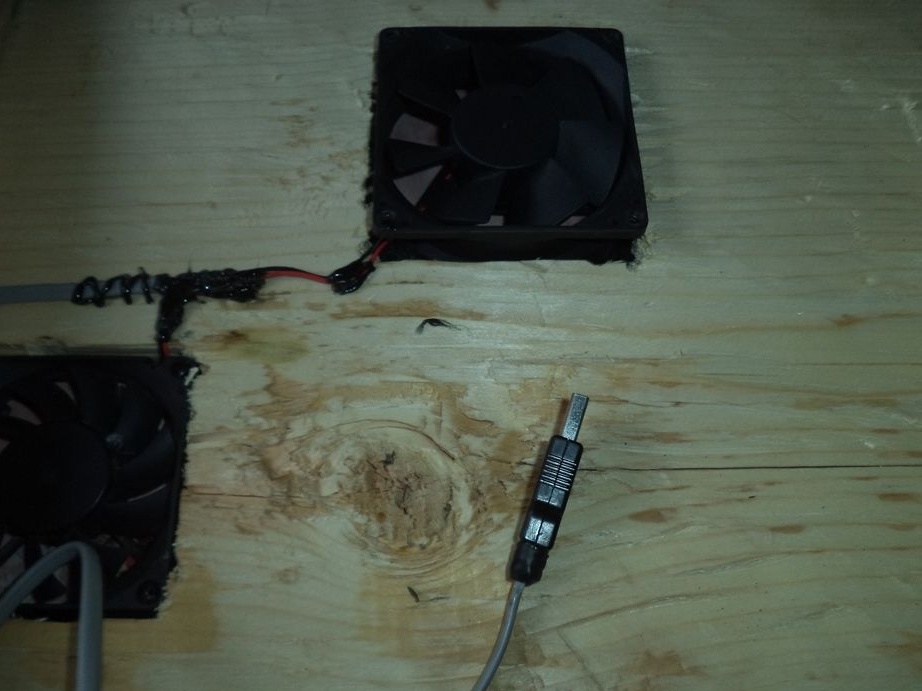
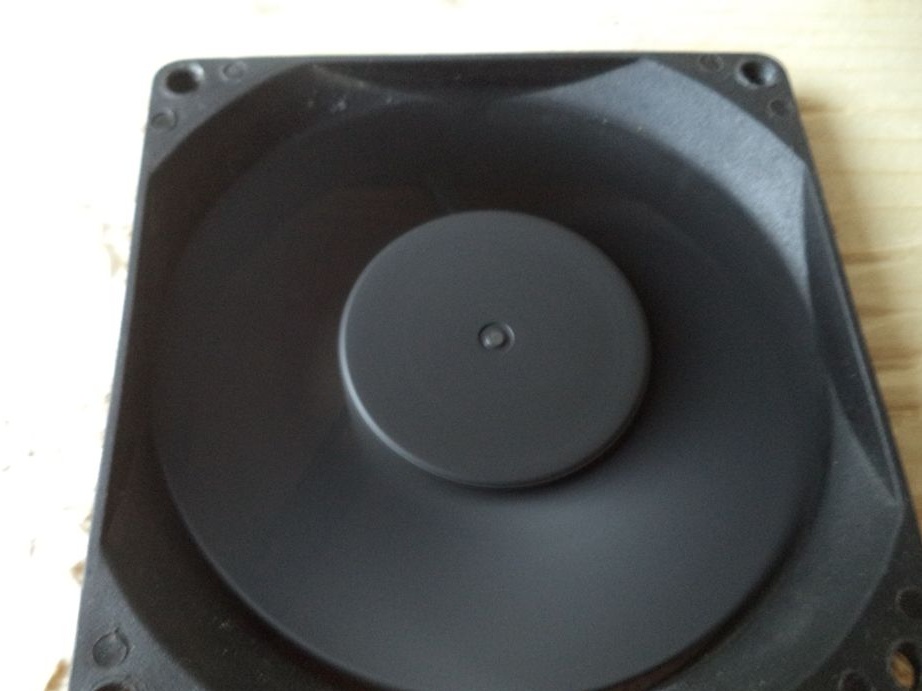
Now you need to put the fans in their places.
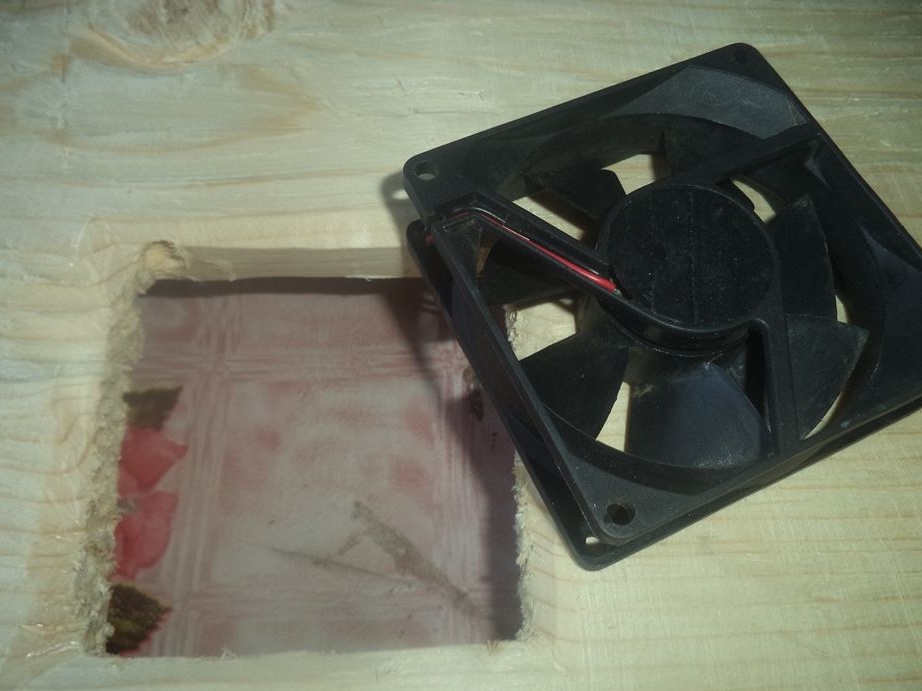
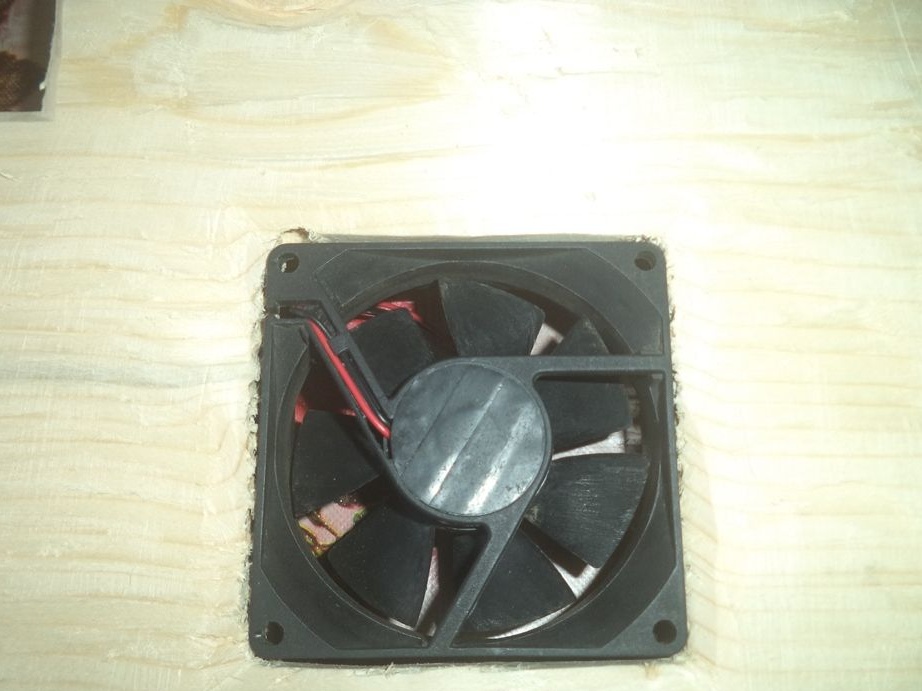
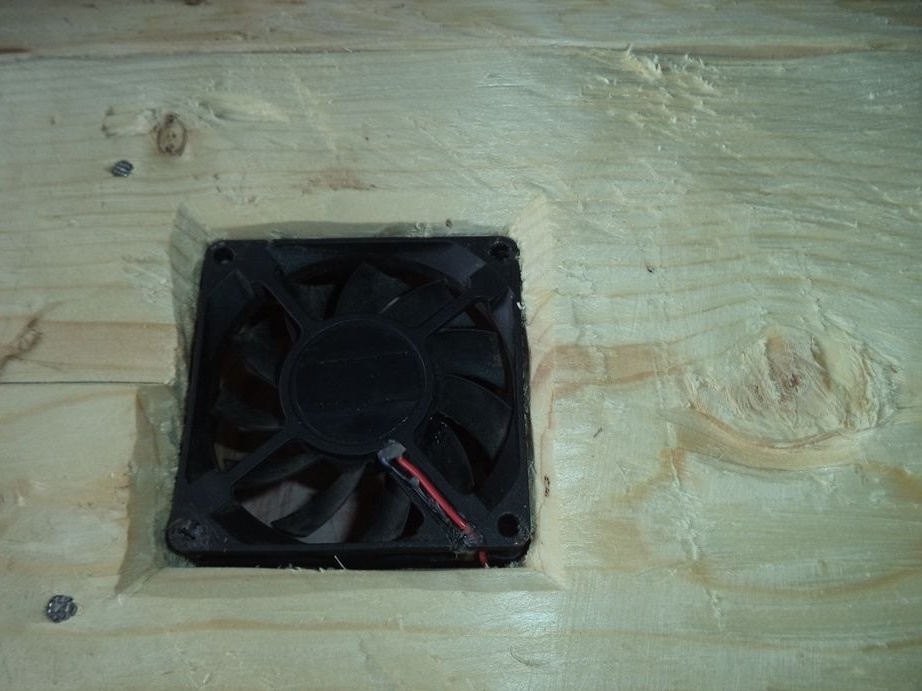
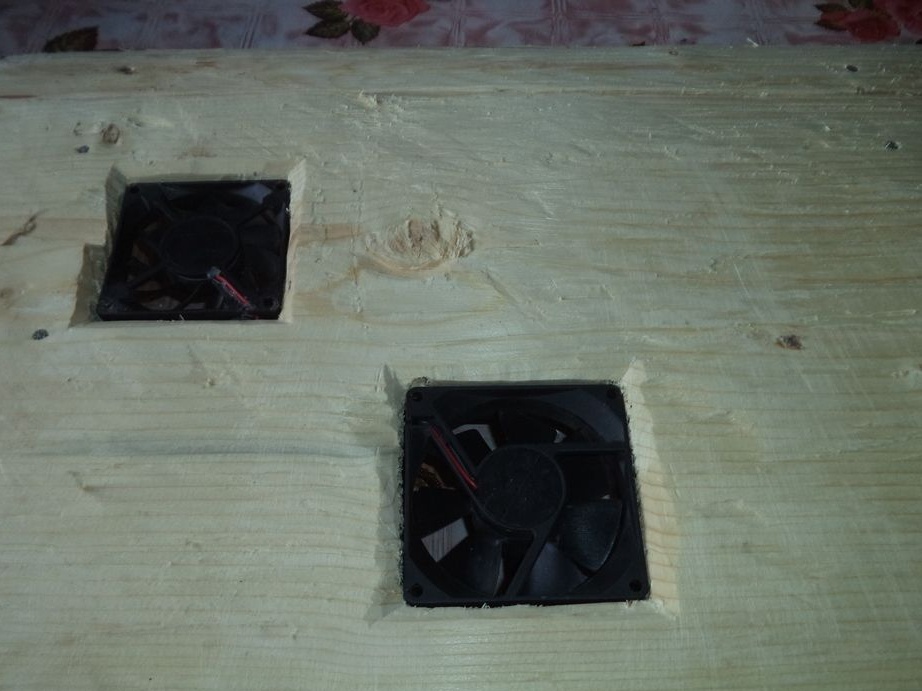
We fix them with hot glue so that they hold tight.
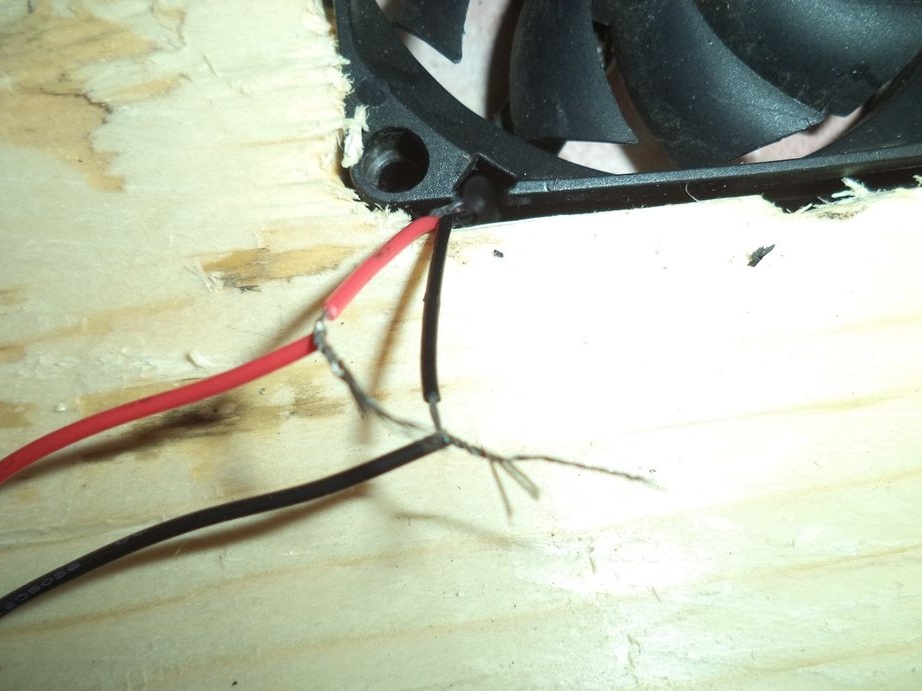
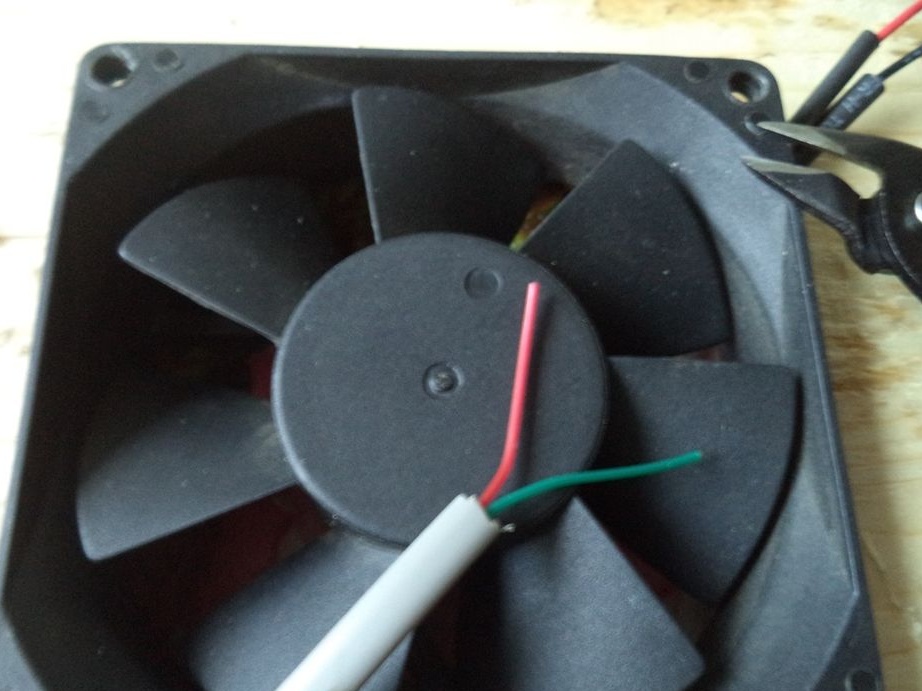
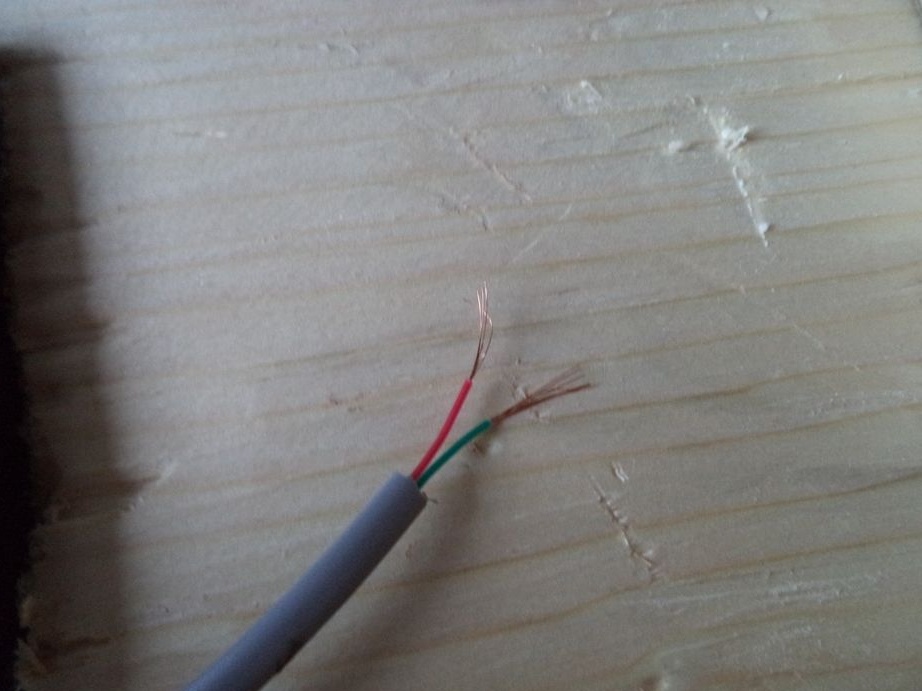
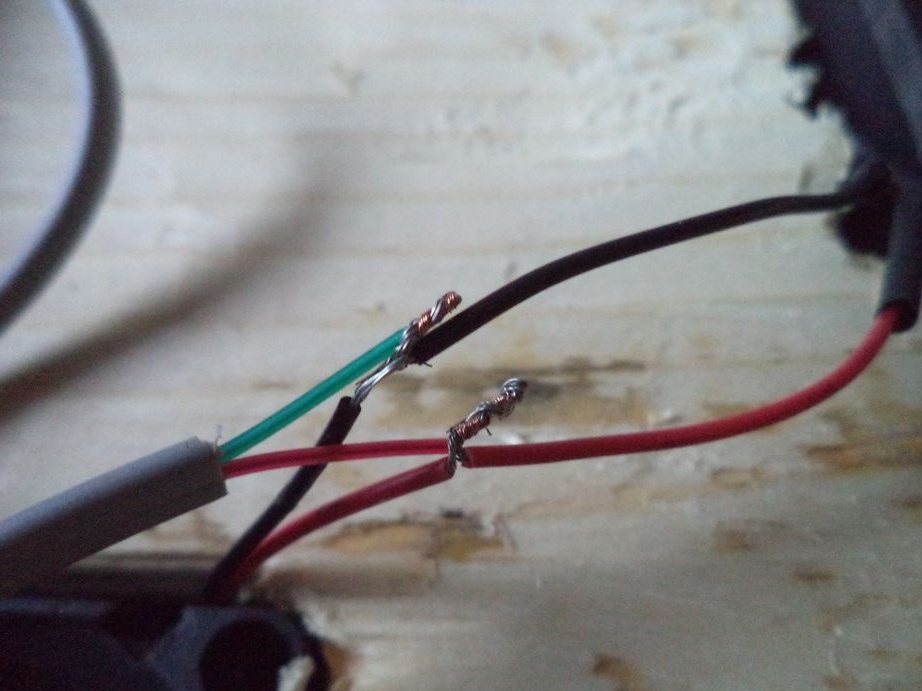
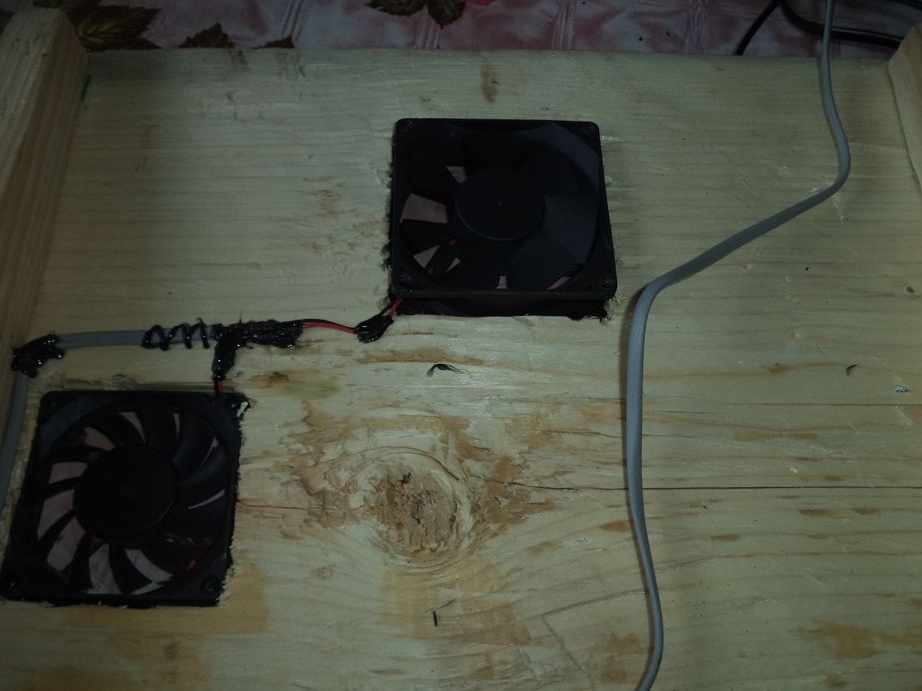
Now you need to solder the fans together and connect to the power.
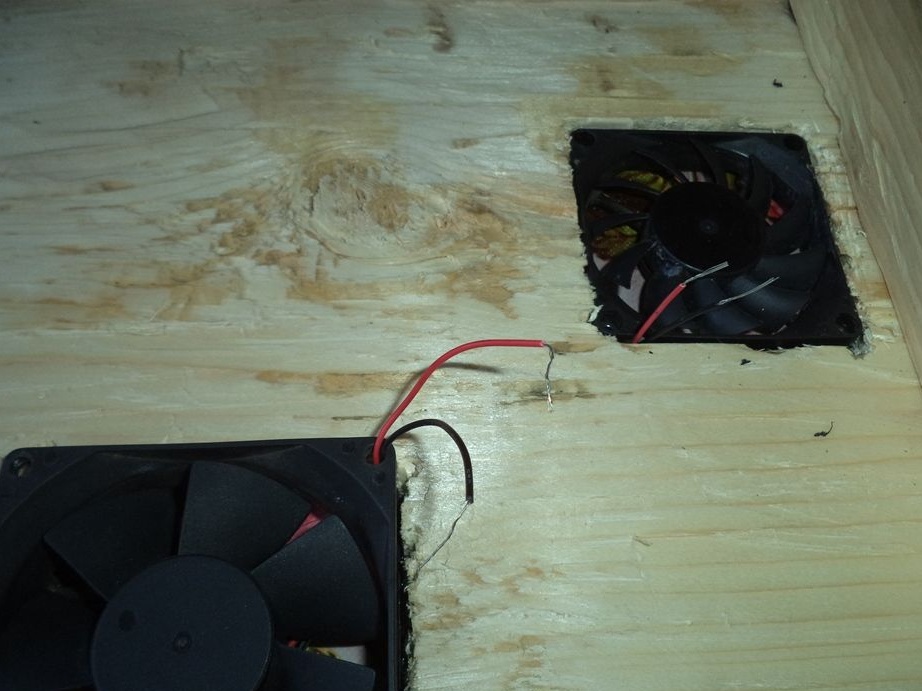
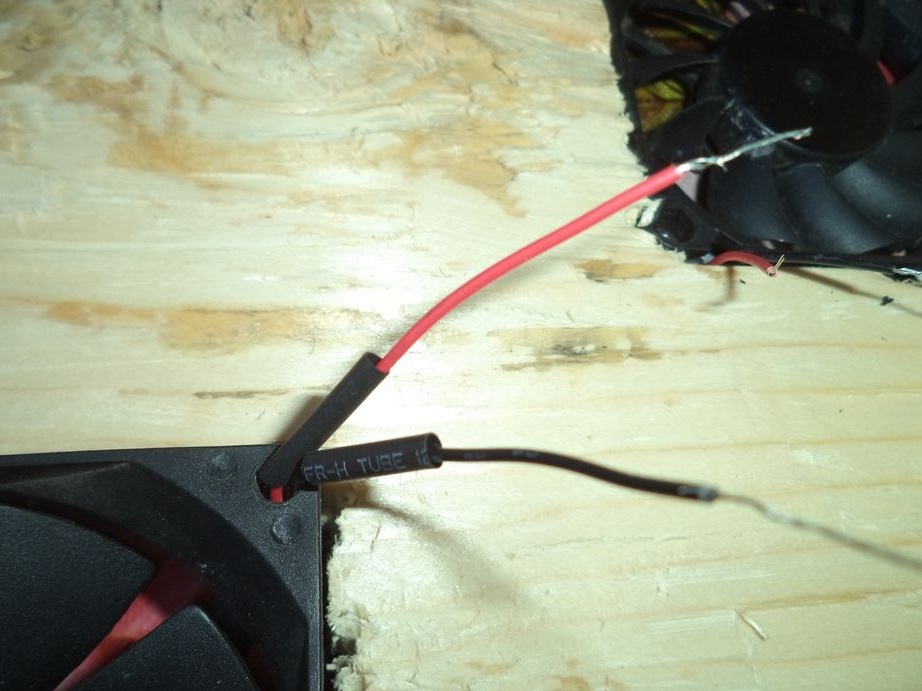
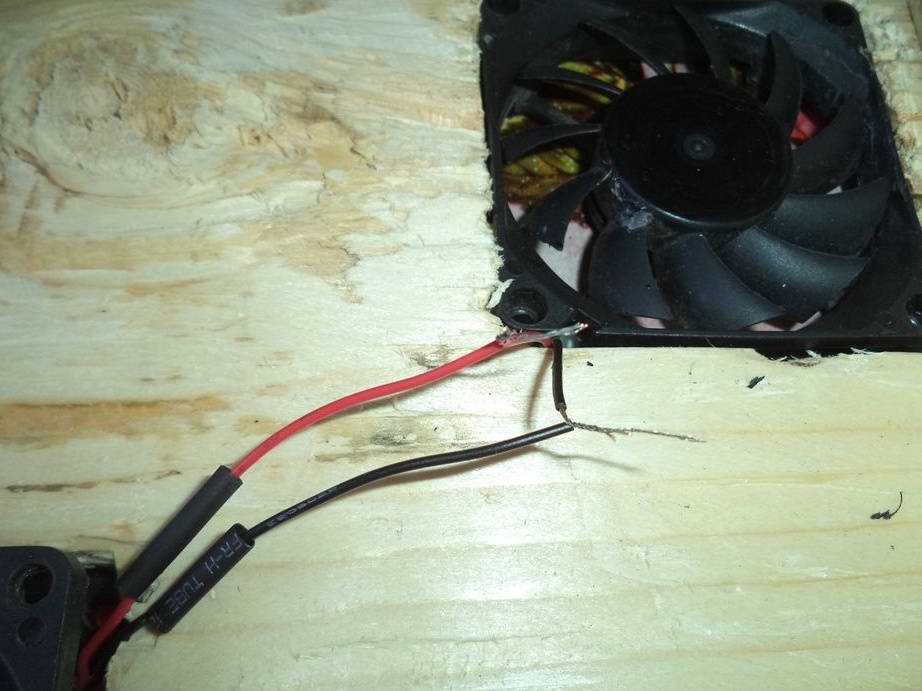
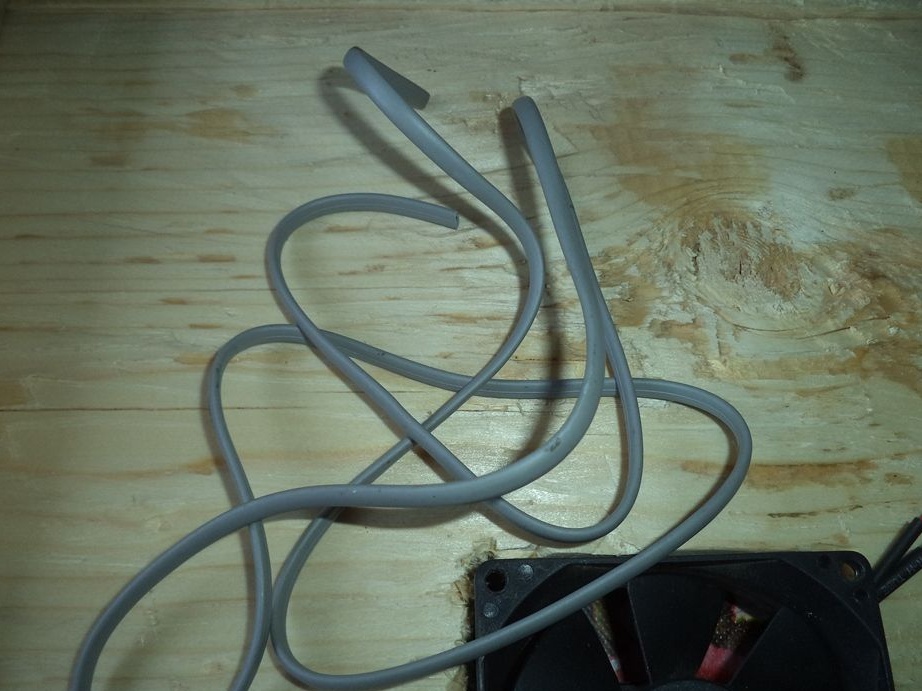
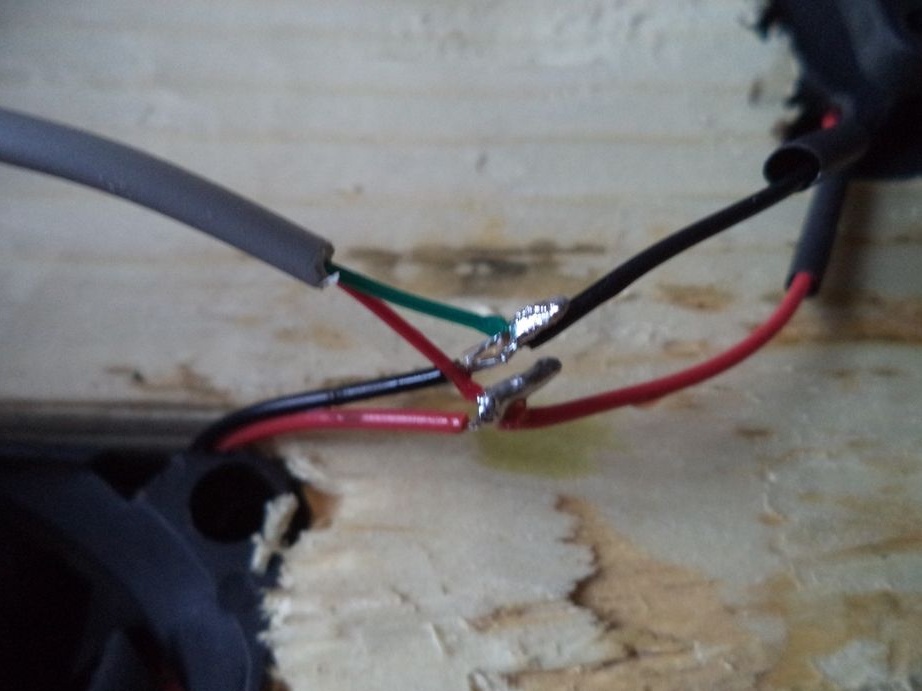
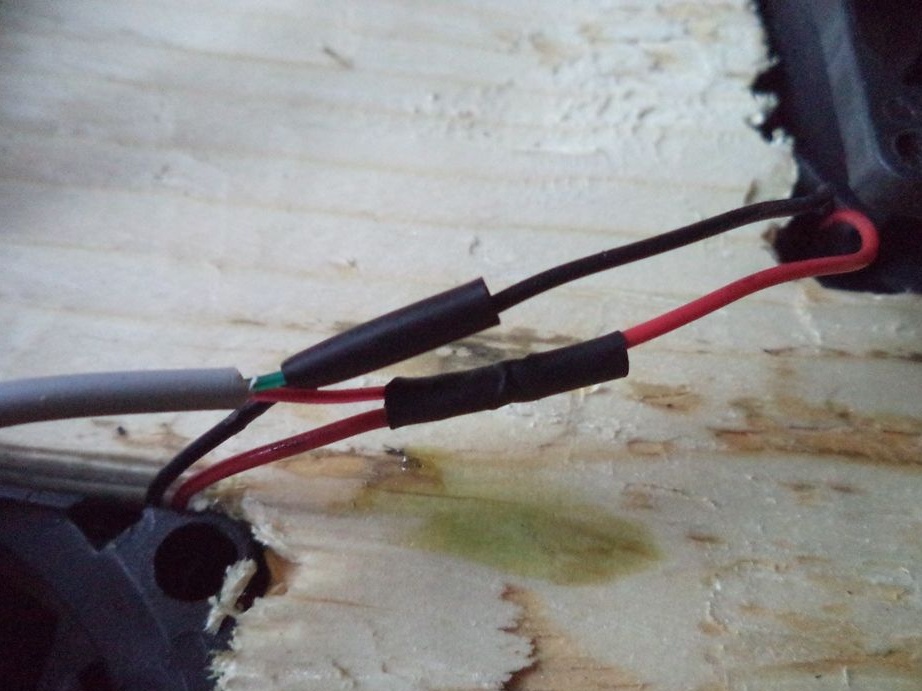
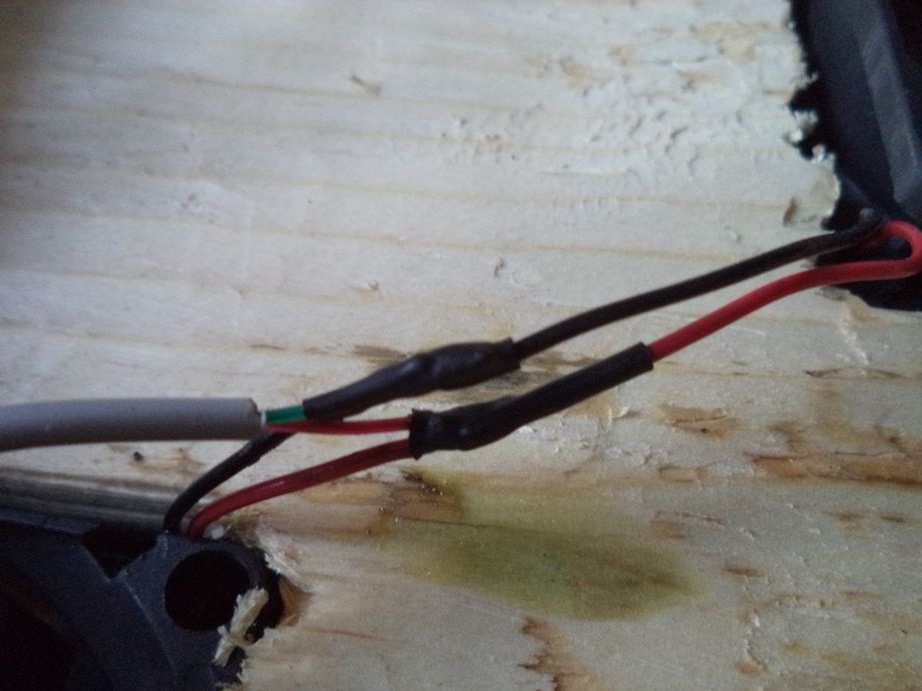
Using a glue gun, glue the wires to the stand itself.
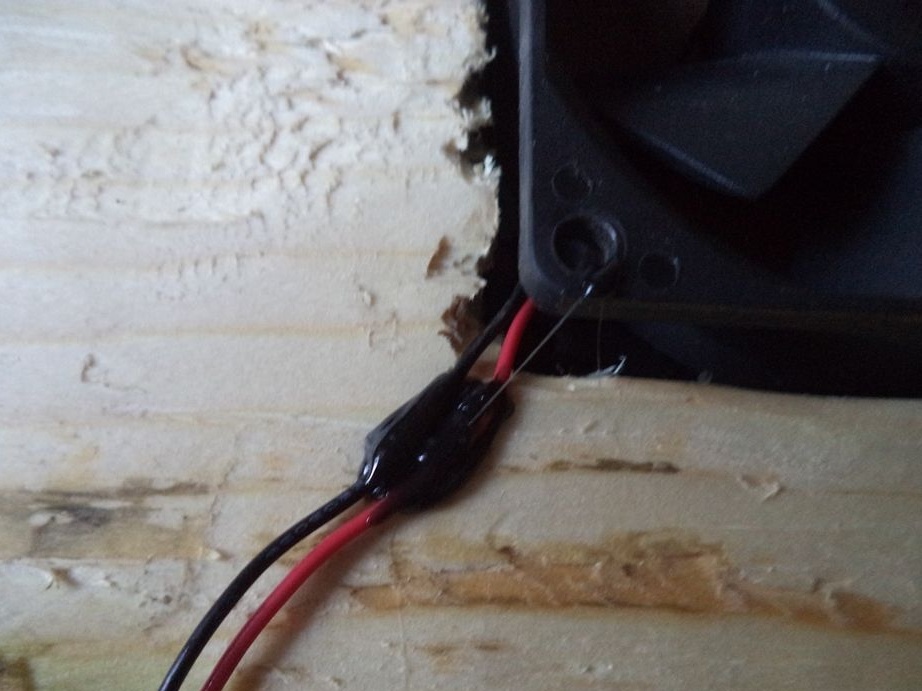
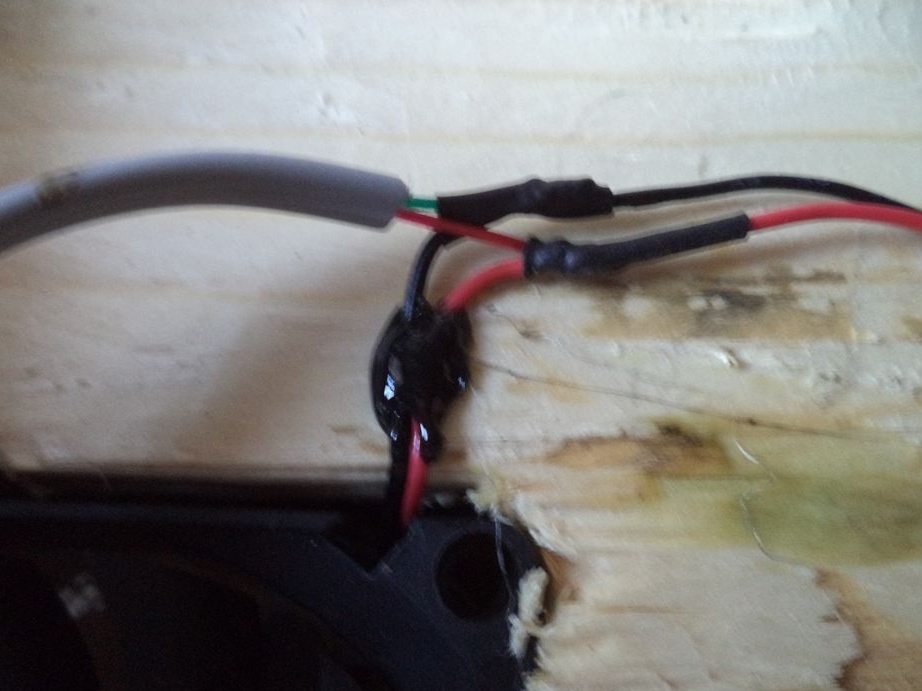
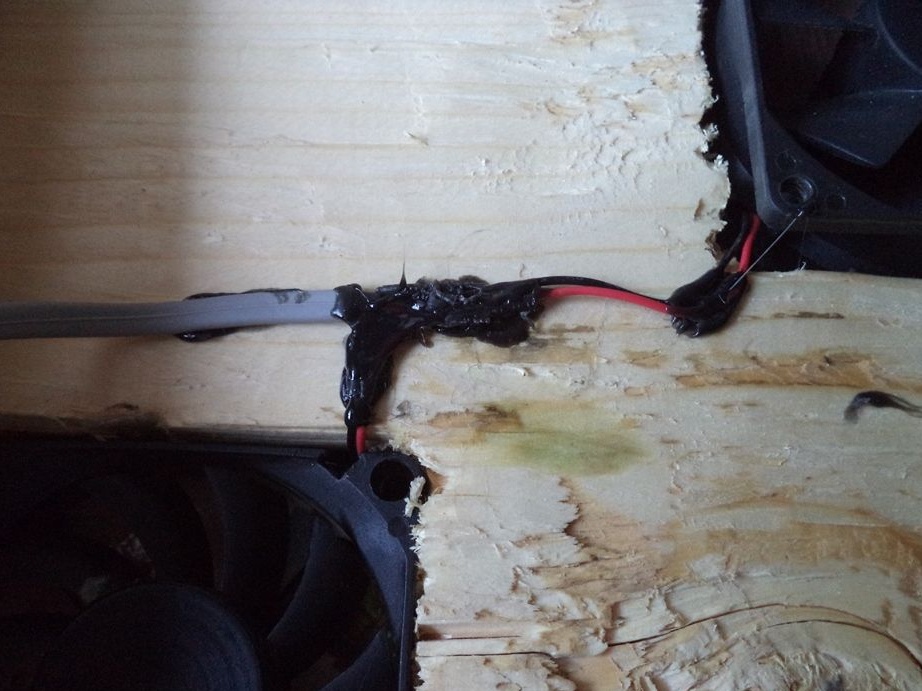
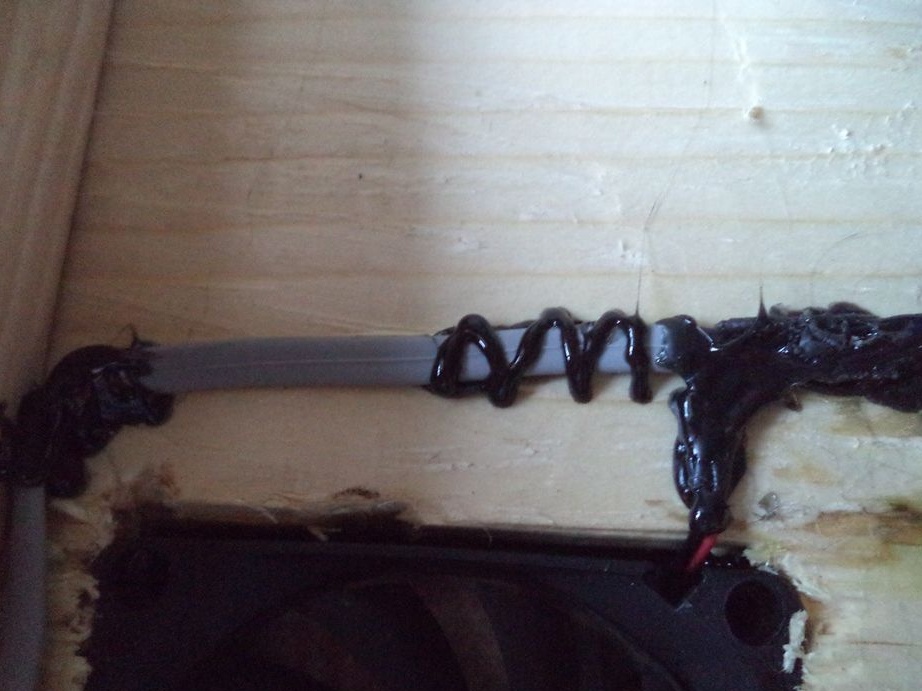
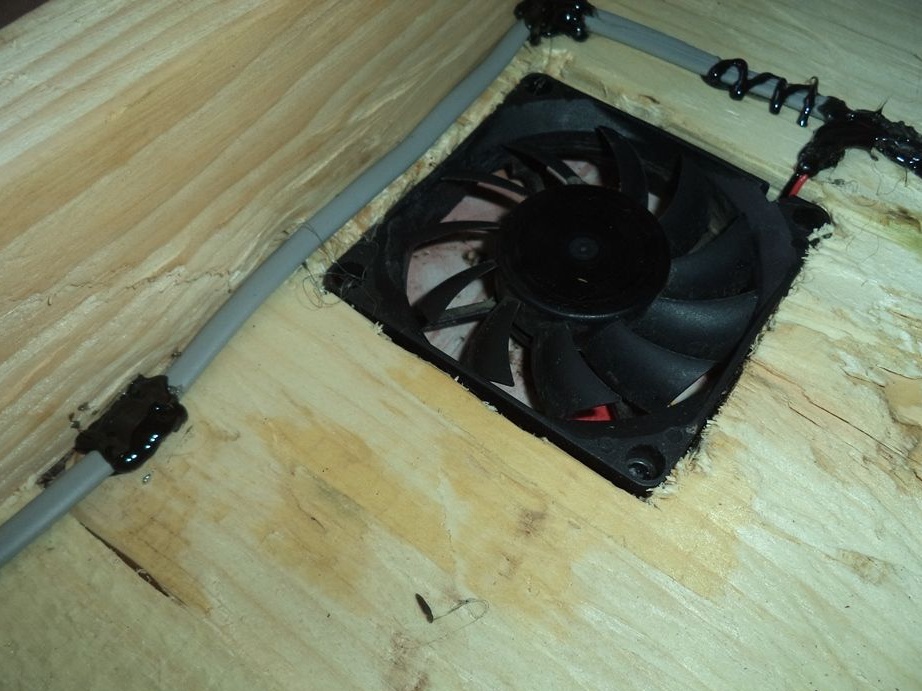
Now, using an electric soldering iron, we solder the usb connector to the wire, but again we do not confuse the polarity, otherwise the fans will not work.
That's all, the laptop stand with cooling function is ready, you just have to test it.
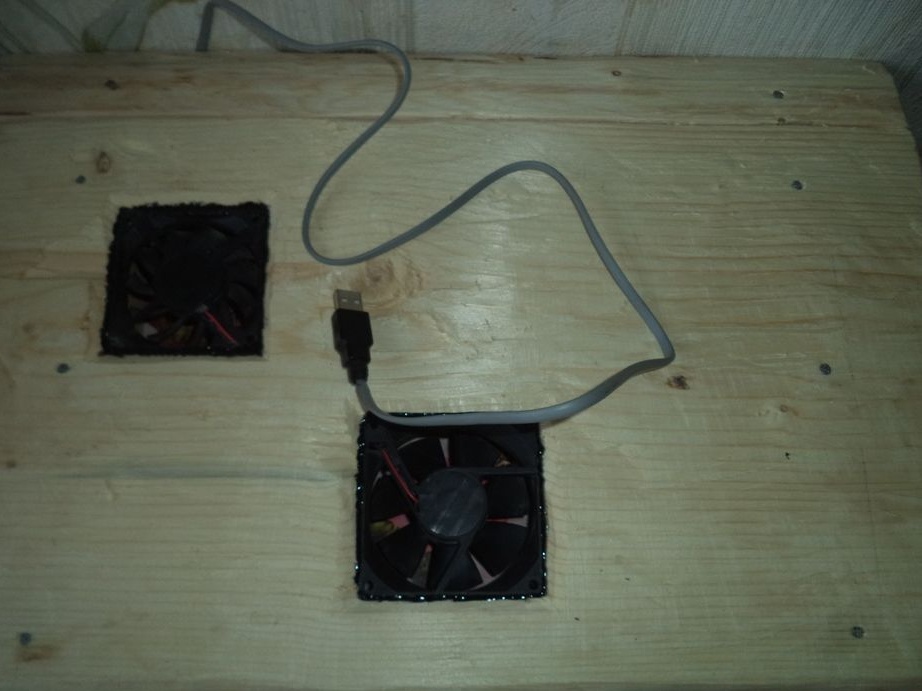
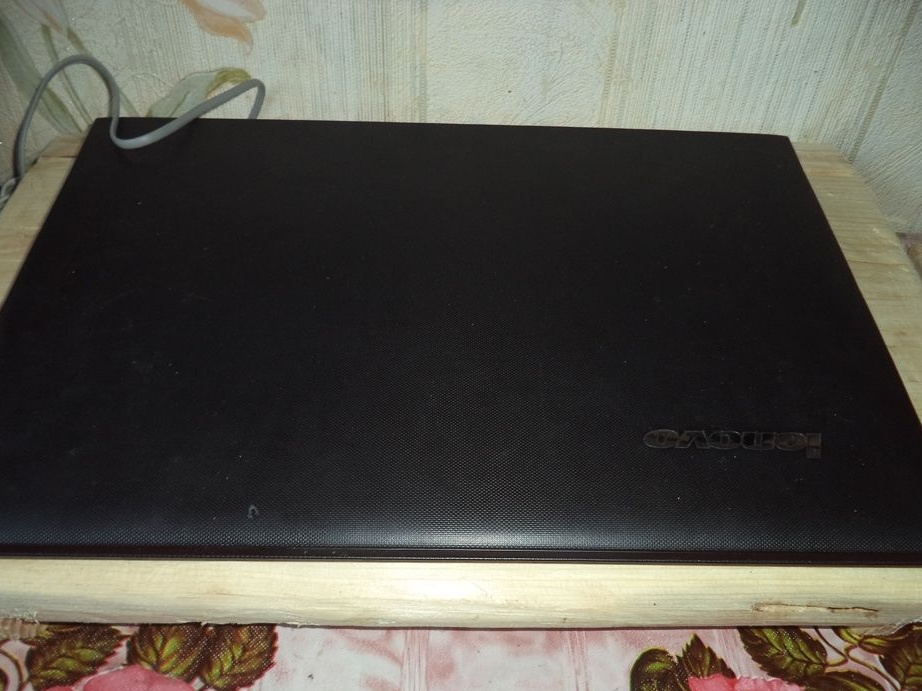
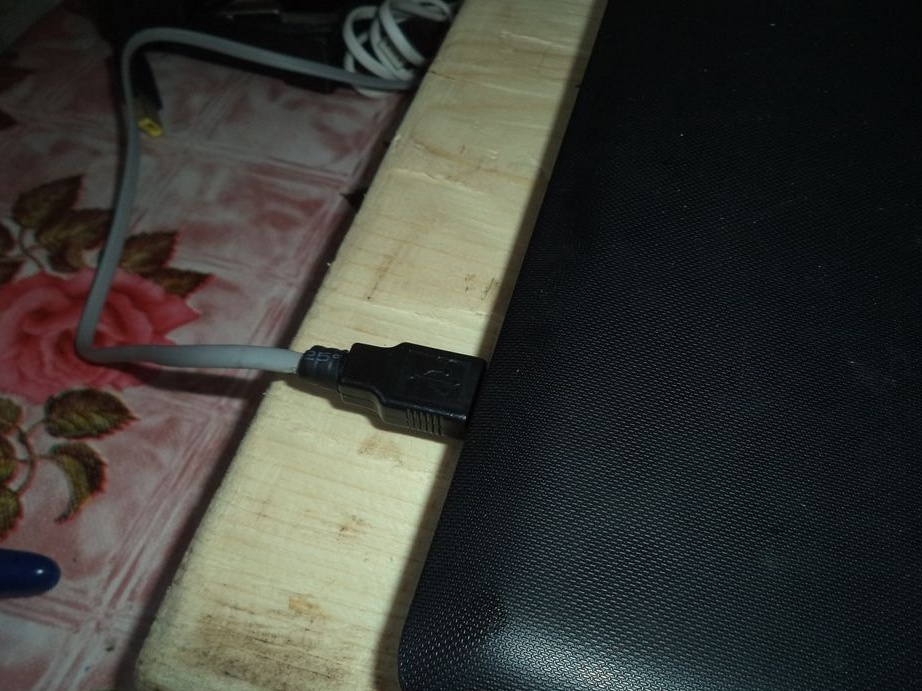
Although the fans are both designed for 12 V, they work perfectly together from the 5 V usb port of the laptop, they blow quite enough, the laptop no longer heats up, but remains the same and works much better, because it does not heat up anymore.