To do this, you will need:
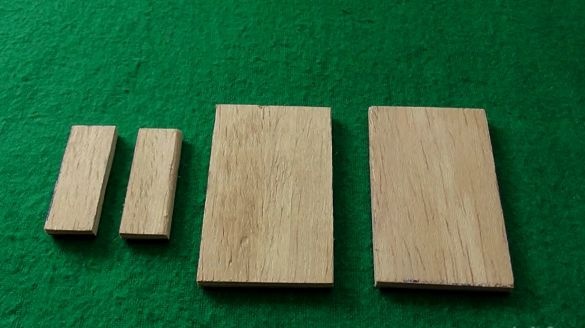
1. Four small planks. Their sizes depend on the sizes of the components listed below.
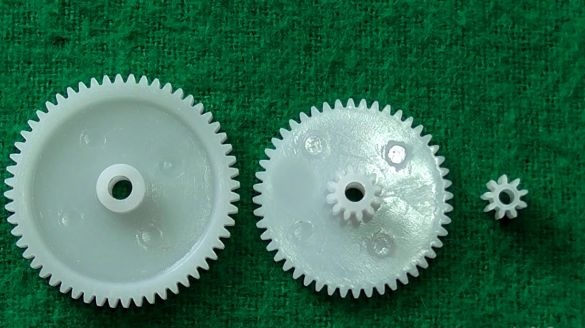
2. Several gears. The higher their total transmission coefficient, the better.
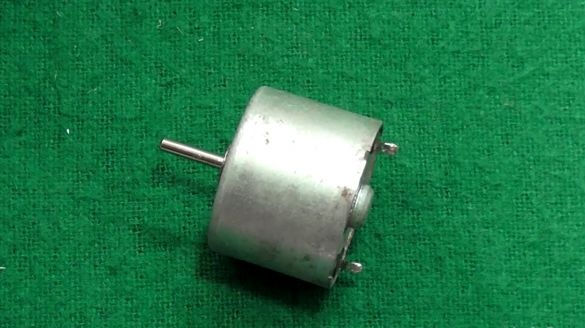
3.Small brush motor
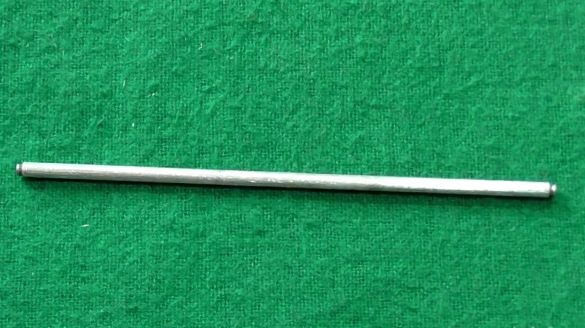
4. A metal pin suitable for the diameter of the opening of the locking gear.
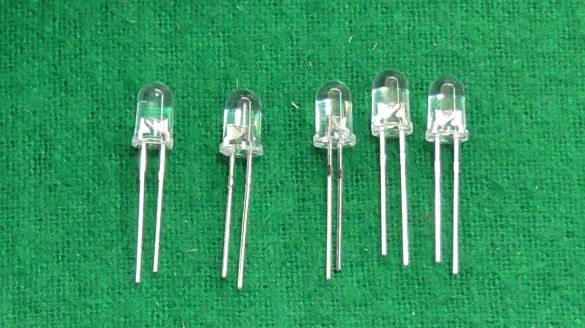
5. Several low-power LEDs.
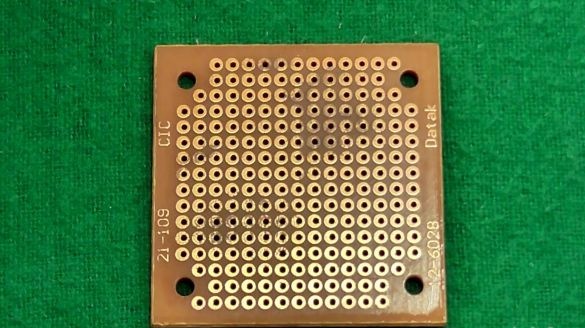
6. Small breadboard.
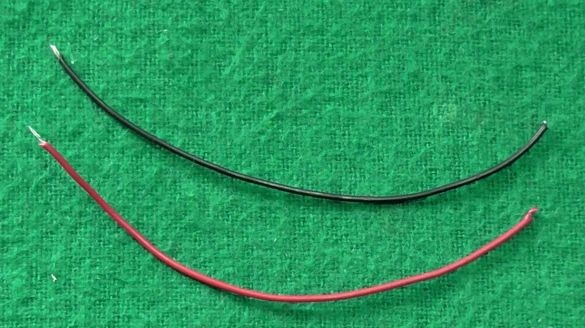
7. Two short wires.
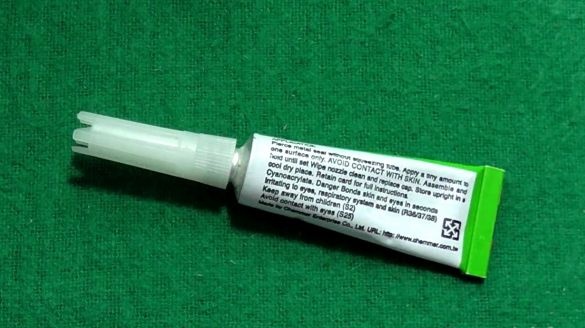
8. Second glue.
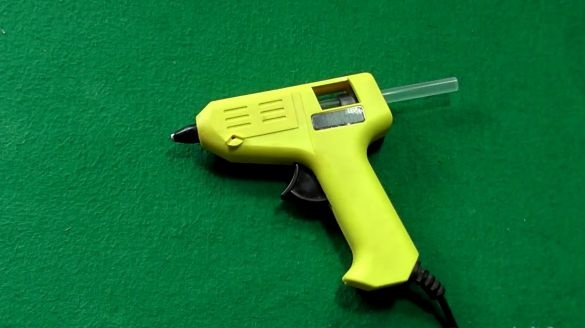
9. Hot melt adhesive.
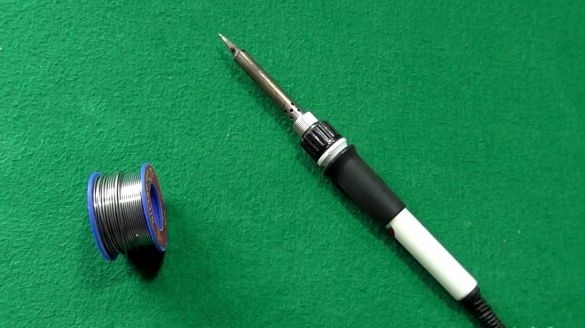
10. Soldering iron and solder.
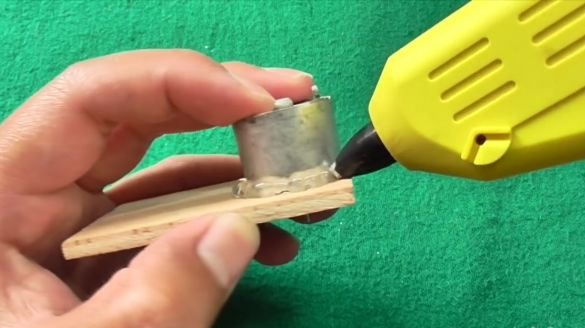
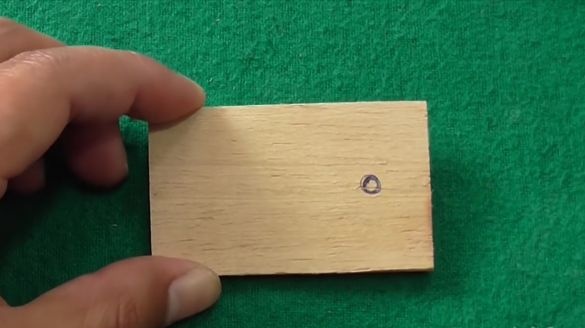
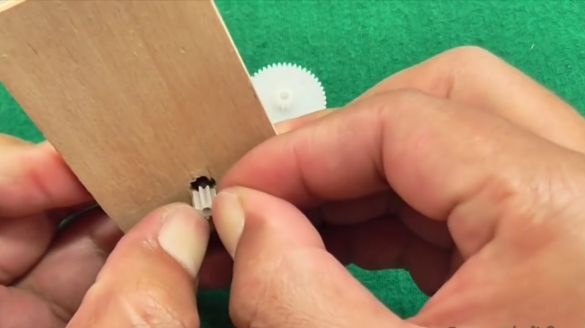
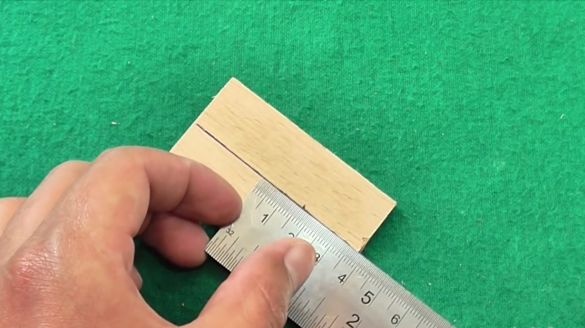
The assembly process begins with the installation of the motor. To do this, a hole for the shaft is marked and drilled, and the motor itself is fixed using hot-melt adhesive.
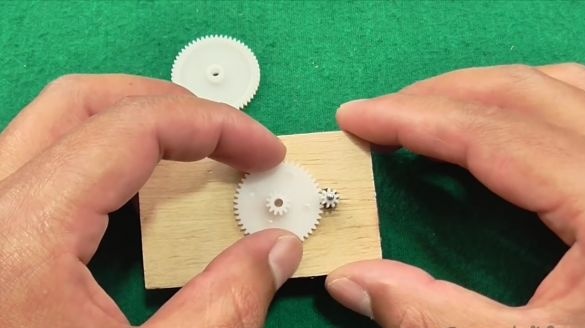
Then you need to put on a small gear on the motor and try on one of the large ones.
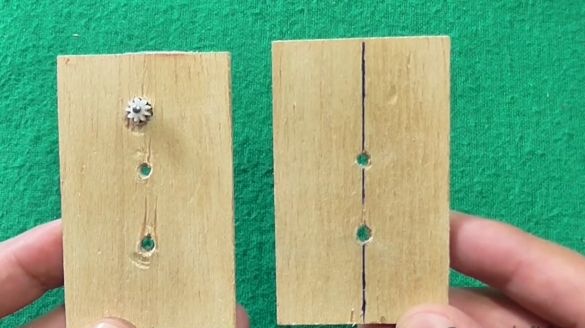
The hole can be marked with an awl and temporarily fixed with a trimmed nail.
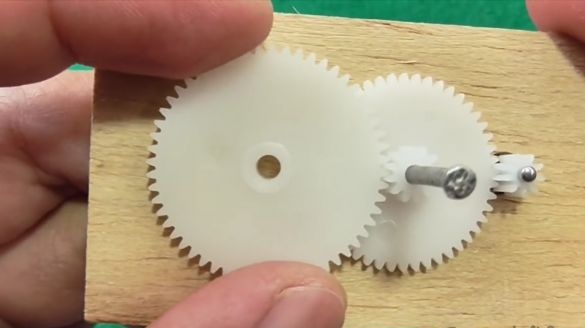
Try on the second gear and repeat the procedure.
Now you need to duplicate the holes for the gears on the second plank.
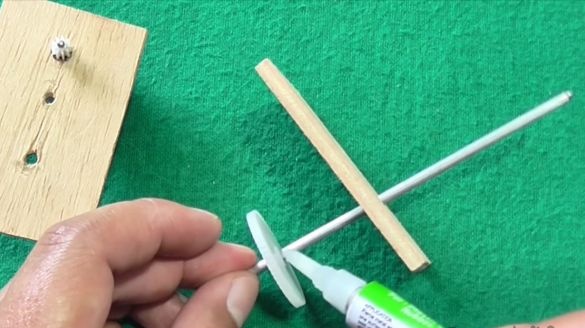
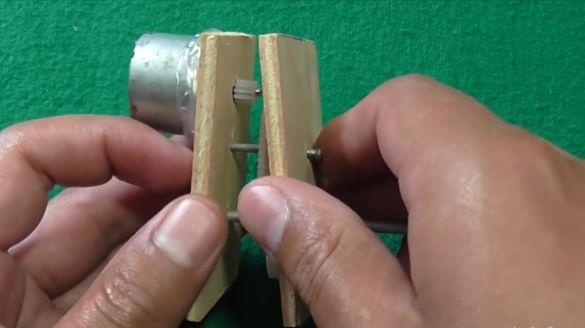
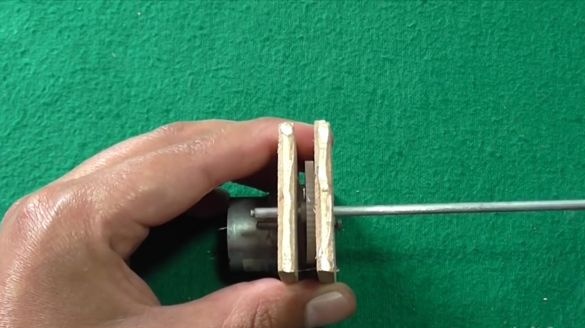
At this stage, a metal pin is glued to the locking gear and the resulting gearbox can be assembled using hot-melt adhesive and two small bars.
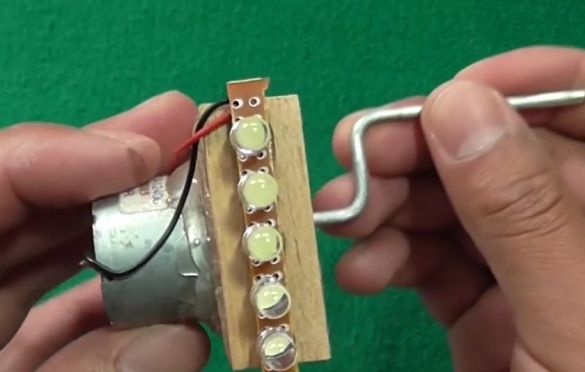
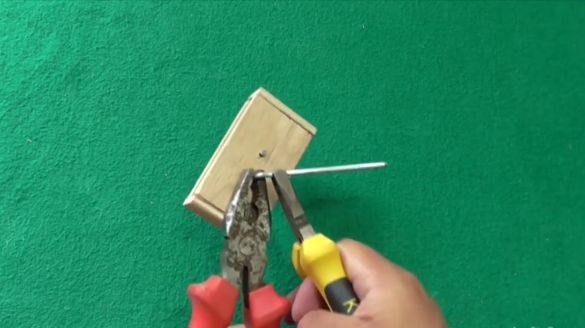
The rod must be bent into a more convenient handle shape.
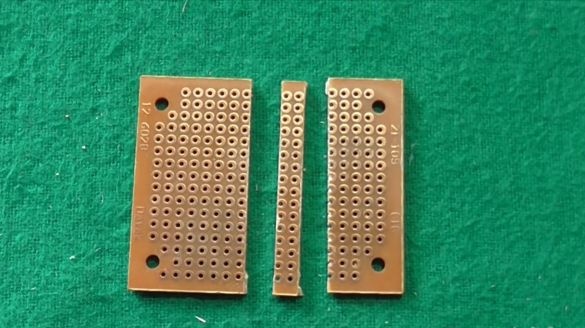
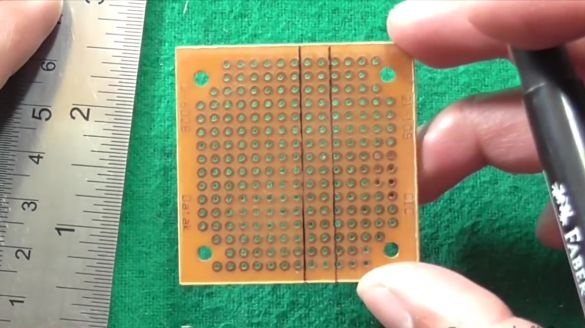
On the breadboard, you need to mark and cut off two tracks.
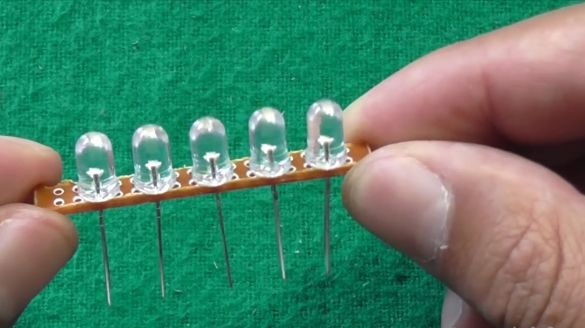
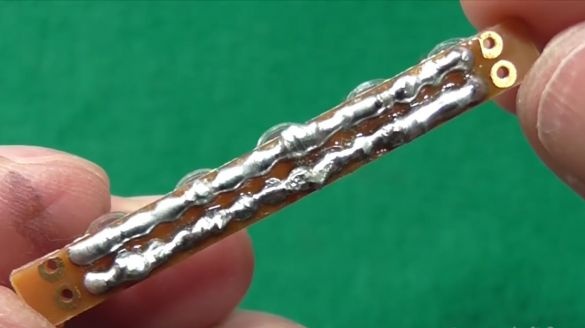
LEDs are arranged in one row. Cathodes on the one hand, anodes on the opposite. The legs of the LEDs are shortened and soldered together.
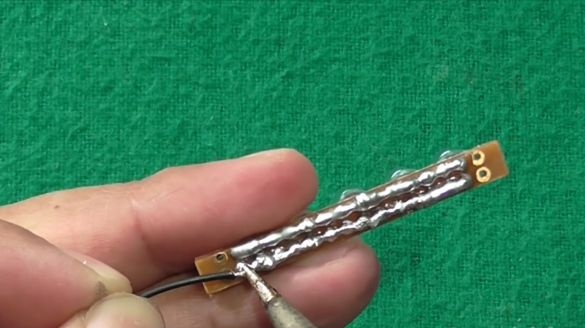
The wires are soldered to the resulting assembly according to the conclusions of the LEDs.
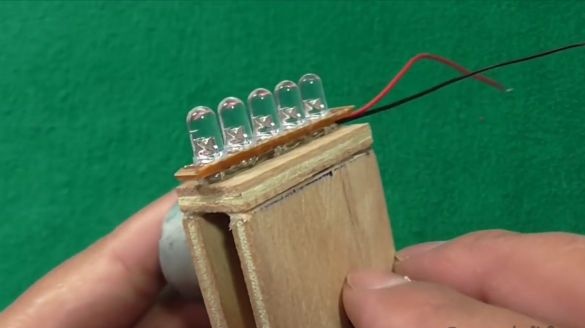
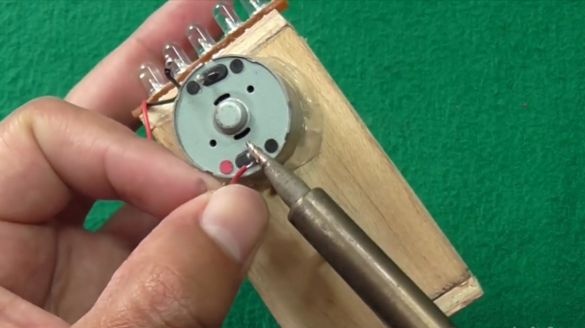
This design is fixed near the motor to hot glue. The wires are soldered to the corresponding conclusions. “Plus” is indicated by a red circle, “minus” by black.
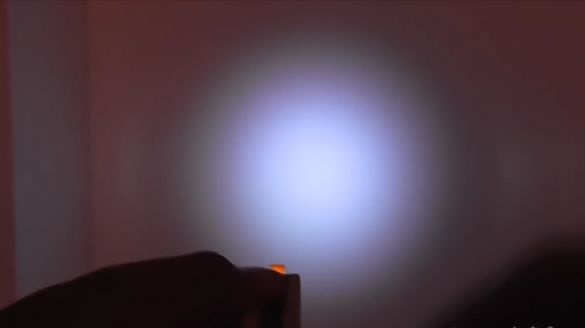
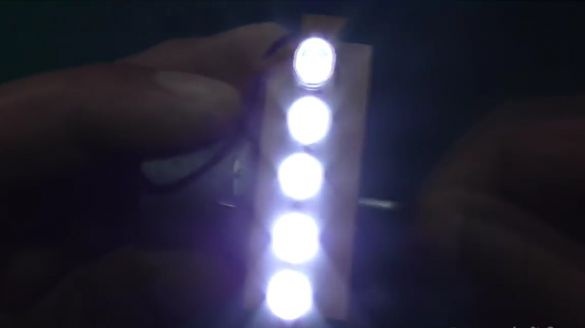
On this assembly is completed and the flashlight can be tested.
Apparently, it shines quite brightly. If desired, you can add a couple of LEDs, because they consume very little current. If you put a more powerful motor and apply a stabilization board, then a portable charger will come out. Everyone is likely to be able to find their application for this simple design.I can only recommend the author’s video for this homemade.
Good luck to everyone!

