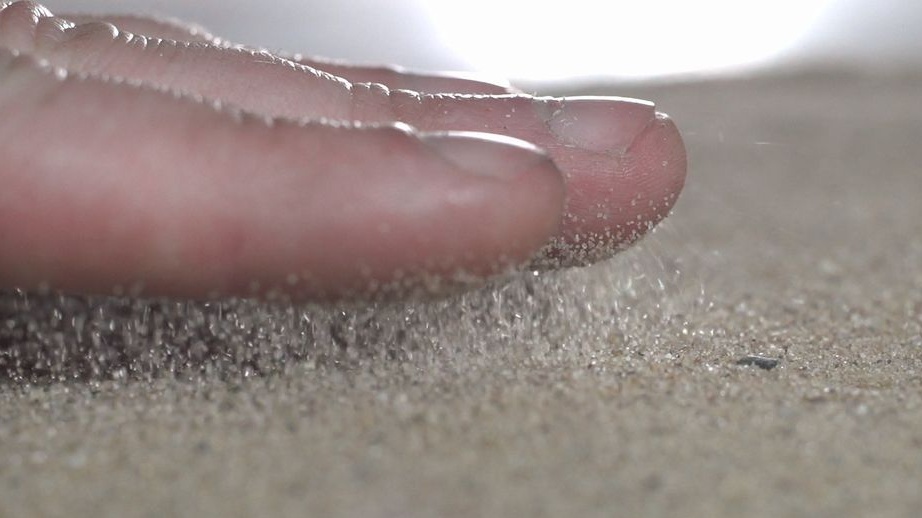
In this article, we will look at how to make a static voltage generator. With it, you can conduct various experiments, arrange pranks for friends, show tricks and so on. Static voltage can distort a stream of water, attract various objects, for example, sand, they can charge pieces of paper and much more.
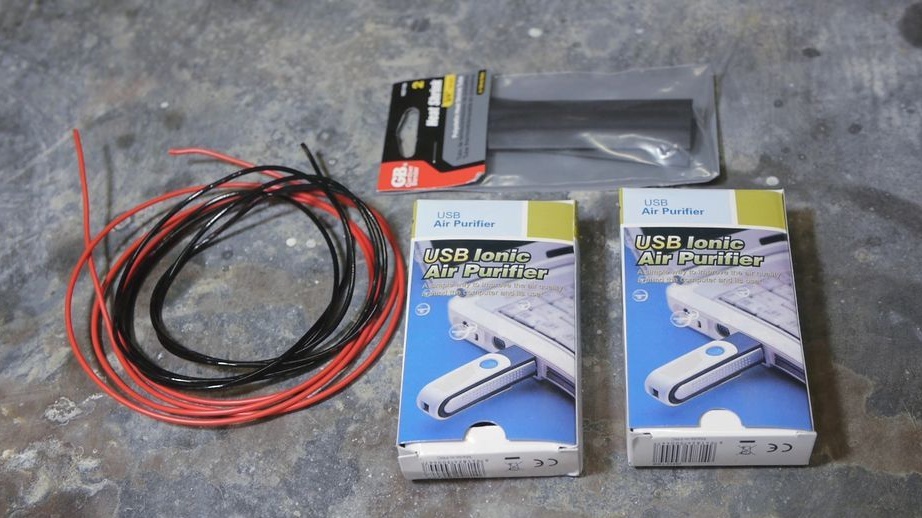
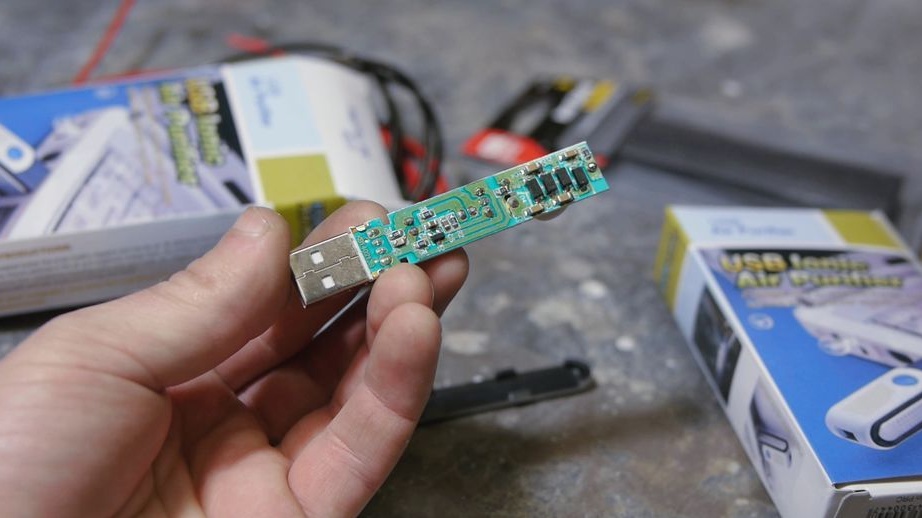
As the main element for homemade The author decided to use a USB air ionizer.
Materials and tools for homemade:
- USB air ionizer;
- heat-shrink tubing;
- wire in isolation;
- hot glue;
- soldering iron with solder;
- three 1.5 V batteries;
- electrical tape.
Homemade manufacturing process:
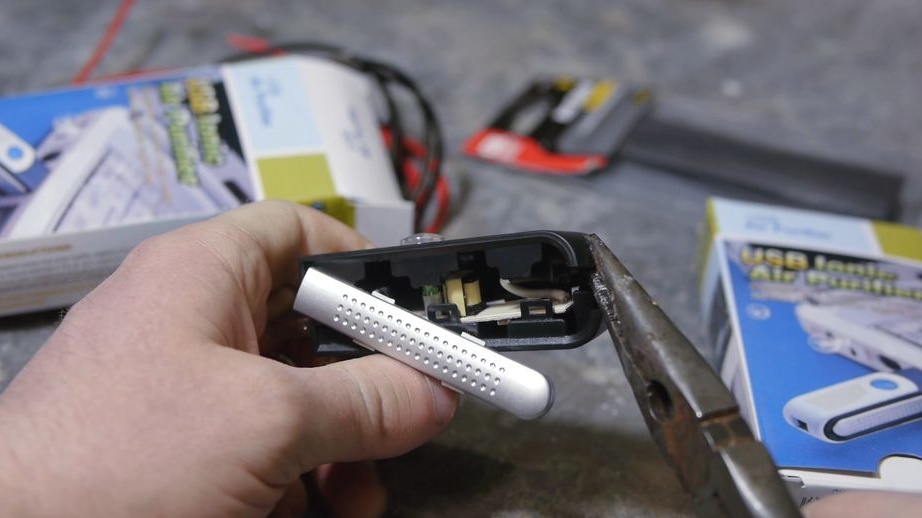
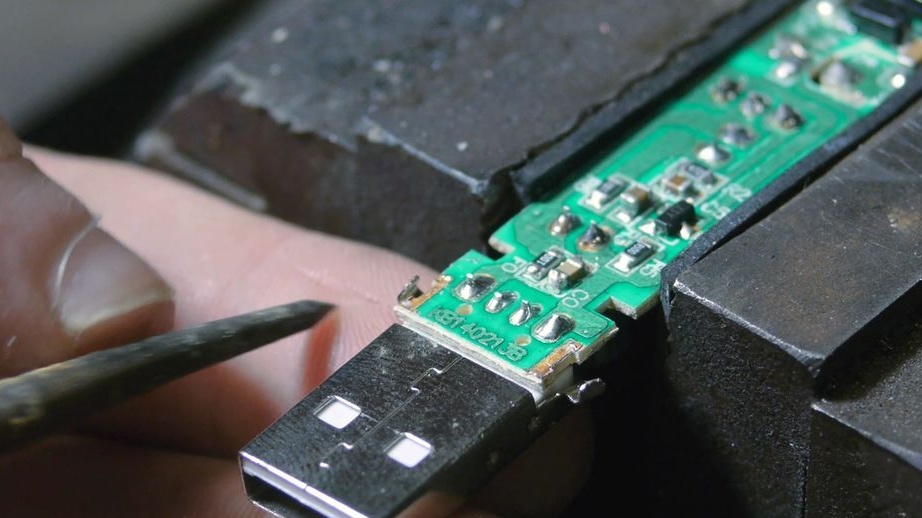
Step one. We disassemble the ionizer
First you need to disassemble the ionizer. According to the author, this is done very simply. You need to use a needle or a knife blade to split the plastic halves of the ionizer. Sometimes before this you need to unscrew a couple of screws that tighten the case.
According to the author, such fixtures generally do not interact well with a computer, so he does not recommend connecting USB-ionizers directly to a laptop or computer. An extension cord is best used.

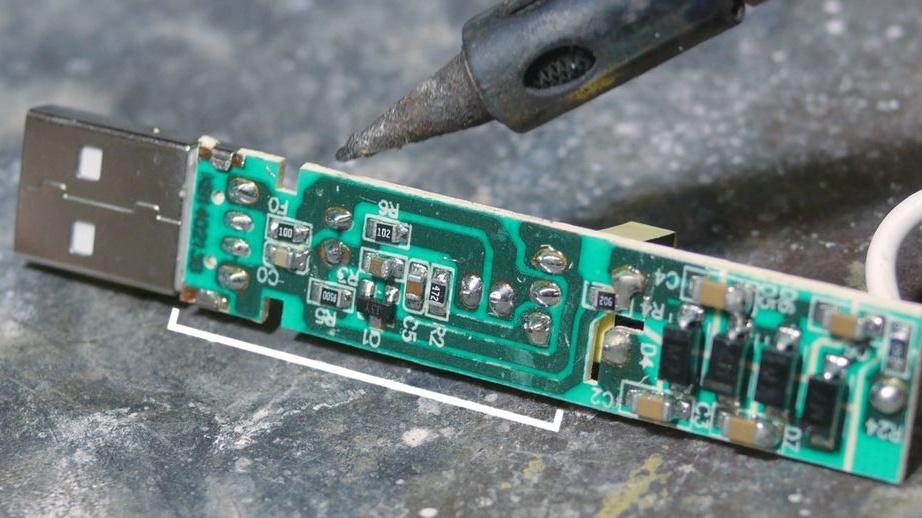
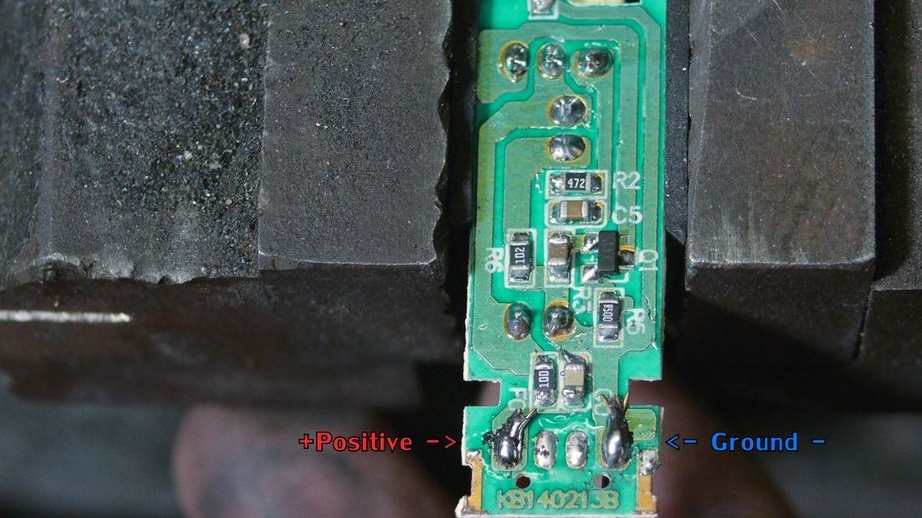
Conventionally, the converter circuit can be divided into two parts. One half of the circuitry, the one closest to USB, converts direct current from the USB port to alternating current. Further, this alternating current enters the second half of the device, passing through a miniature transformer.
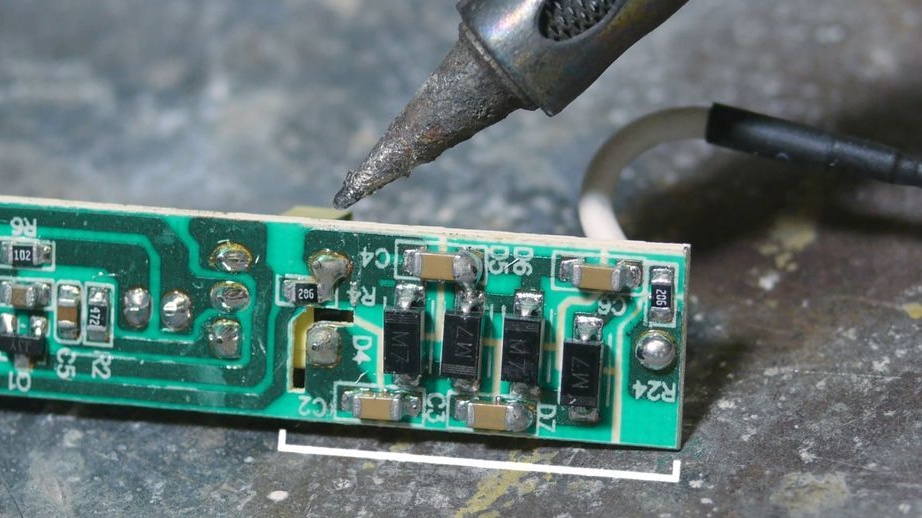
In the second half, there are four voltage multipliers, which are connected in series. As a result, a high voltage is generated, which is supplied to the white wire. In principle, this circuit is almost ready to create static voltage, but the author remakes it to work on batteries.
Step Two Add input and output wires
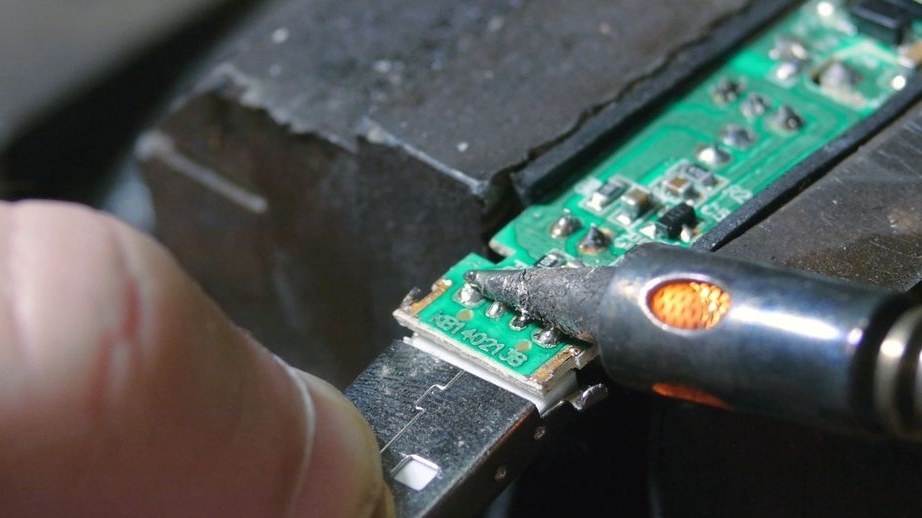
Now the author is finalizing the device for himself. The first step is to remove the USB connector. To do this, bend the two plates with which the port is attached to the board, and then touch the four contacts of the connector with the soldering iron. Well, or solder one at a time, gradually bending the connector from the board.
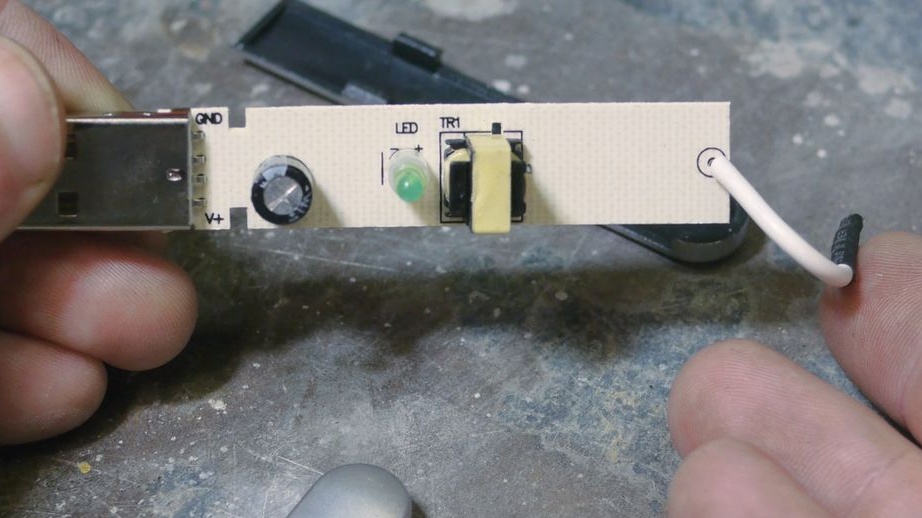
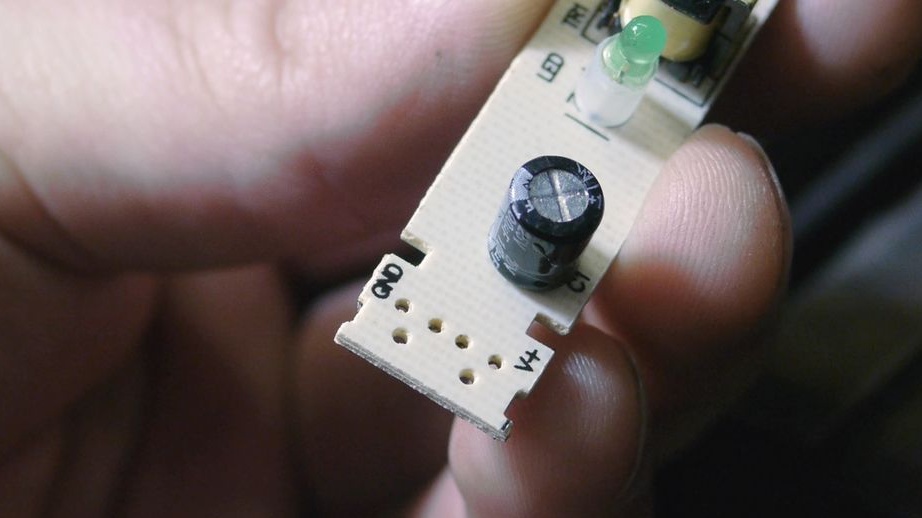
Turning the board over, you can see the marking, which allows you to determine which contacts to connect the power to. These are the designations V + and GND (ground, minus). To each contact you need to solder the wires, with the help of them the battery will already be connected.

The author also removed the white outgoing wire and soldered a longer one in its place.
Step ThreeIsolate the circuit
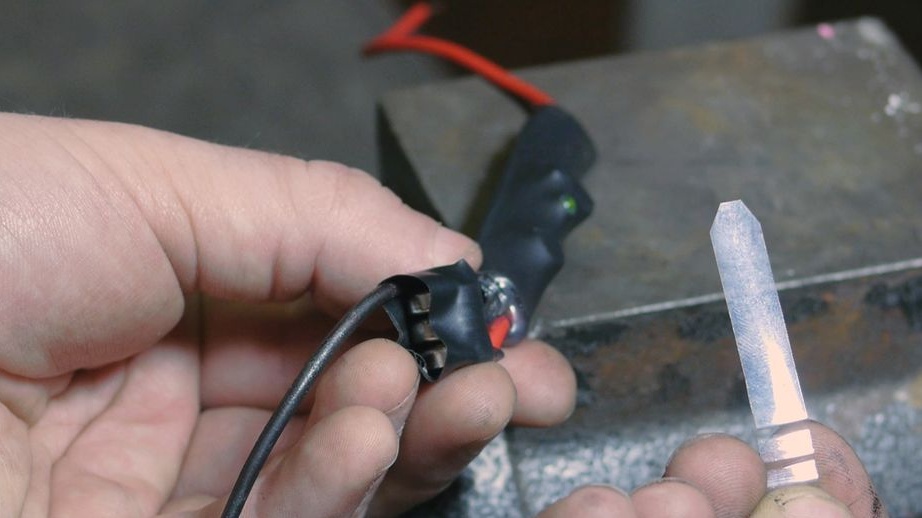
So that the board does not electric shock during operation or does not destroy itself, it must be well insulated. For this soldering spot, the author isolates with hot glue. In addition, hot glue additionally fixes the wires.
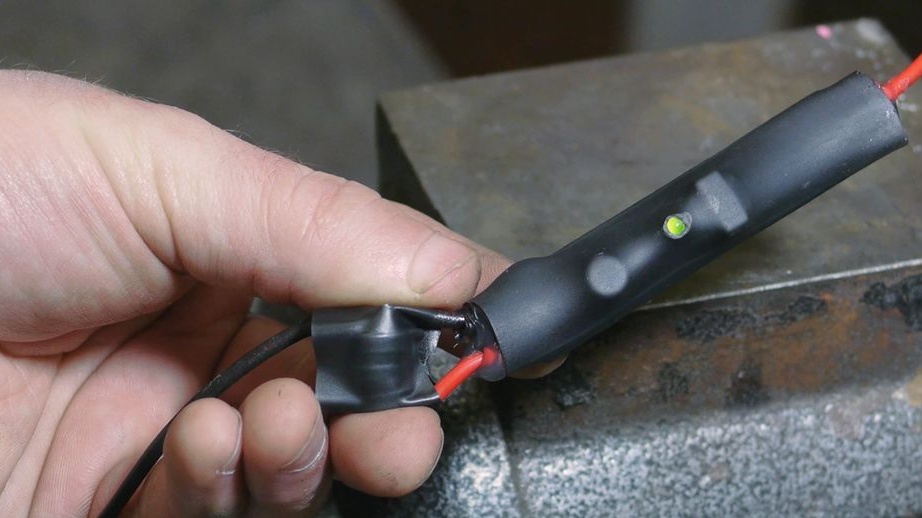
Next, the author takes a heat shrink tube and pulls it onto the board. After careful heating of the heat shrink by fire, it contracts, but holes remain at the edges. These holes are then filled with hot glue. The device is now well insulated.
There is also an LED on the board, it shows whether the device is working. In order for the LED to be visible, heat shrink carefully over it.
Step Four We connect the generator
Probably everyone knows that USB provides 5V power, however, most of the electronics connected to computers can operate within the lower voltage range. Since finding a battery that produces 5V is problematic, the author decided to use 4.5V instead of five, connecting 3 1.5 V batteries in series.
The battery connection scheme is such that the device is always on by default. To turn it off, you need to insert a piece of plastic or a piece of paper between the batteries, thereby opening the circuit. You can make a switch. A battery holds a piece of electrical tape. Even at this point, a long ground wire must be connected to the negative wire.
Step Five The final stage. Device testing
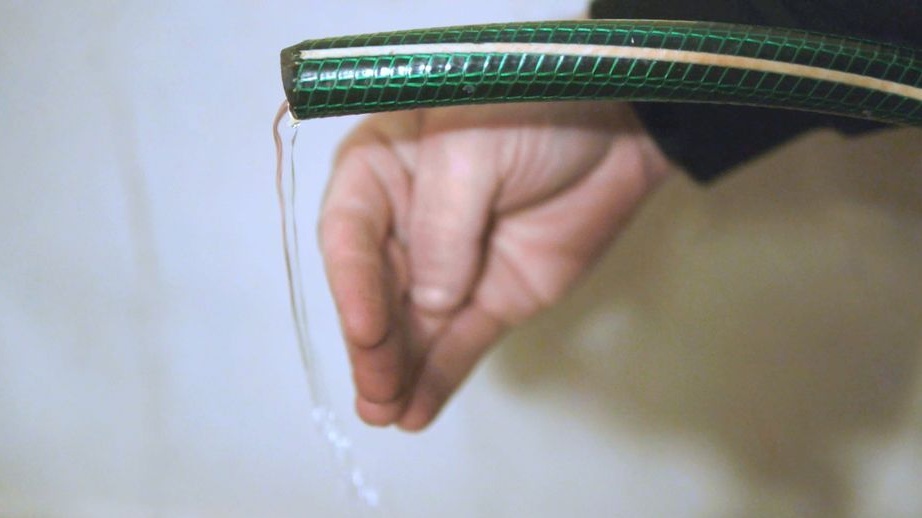
To turn on the device, you need to connect two cables. One cable connects to the human body (outgoing red), the second black is the earth, it connects to the object with which you need to interact. For example, the black wire can be connected to a water tap, and the red wire to itself, so you can deflect the flow of water with your finger.