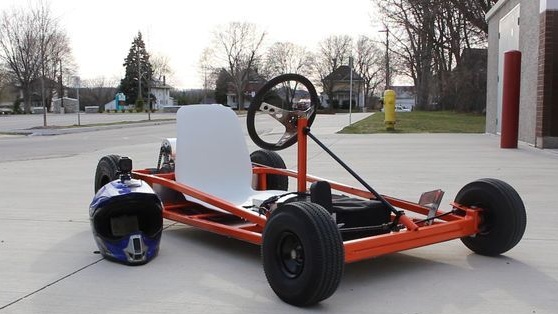
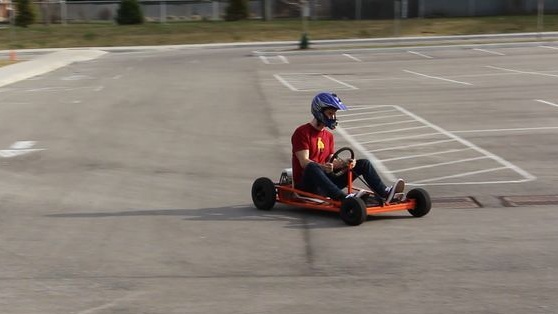
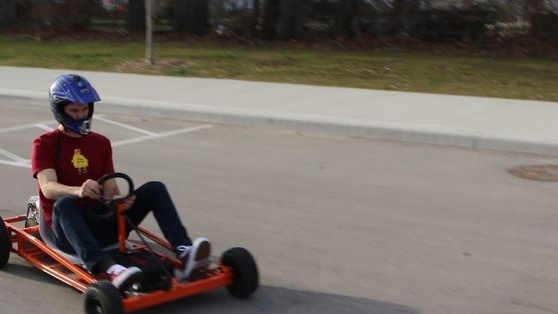
In this article, we will look at how you can do do it yourself electric karting based on old gasoline. Well, or by this principle, you can build electrocarting from scratch. According to the author, it was quite difficult to assemble it, the main difficulty was finding the necessary details. As a result, karting was collected and was able to reach speeds of up to 50 km / h, this is a fascinating and useful thing for city driving.
Materials and tools for homemade:
1. Old gas kart. He got the author for only $ 60 since he was inoperative.
2. The electric motor.
3. Battery.
4. The regulator for the engine.
5. Handle for engine control.
6. Welding.
7. The Bulgarian.
8. Wrenches, screwdrivers, pliers and more.
The process of making an electric card:
Step one. Dismantling an old map
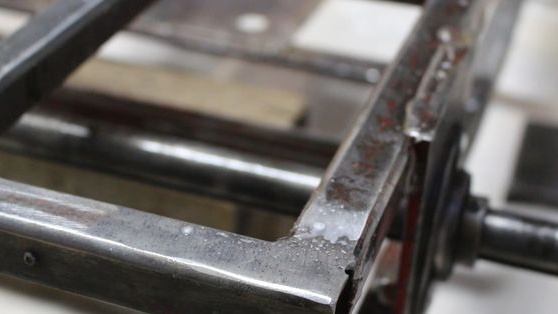
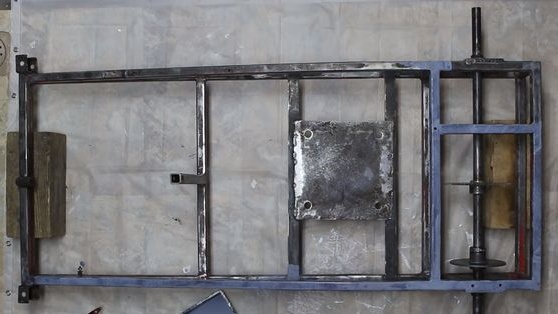
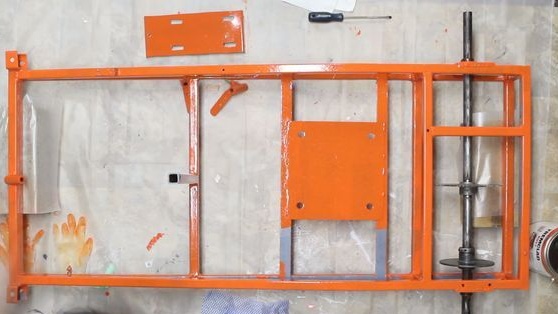
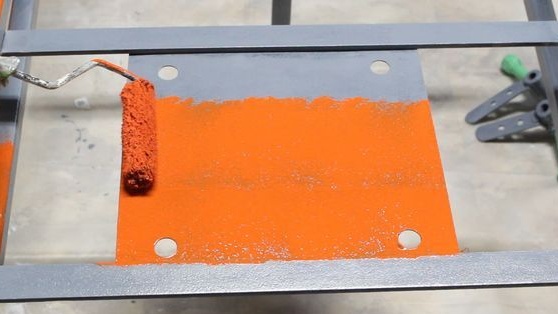
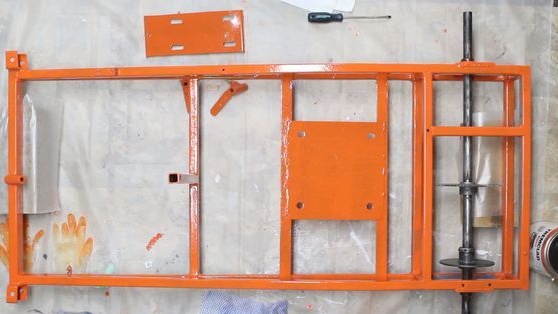
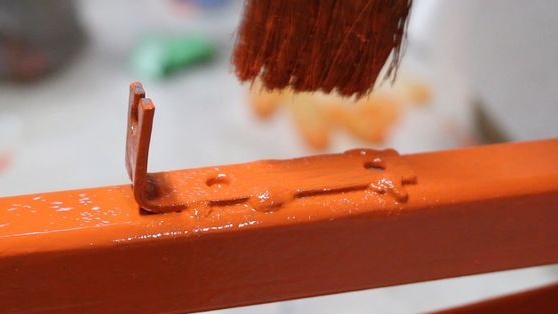
The first step is to take apart the old kart. You need to remove the gasoline engine and everything else that is not useful. It is necessary to inspect and clean the frame, as a result, the author then paints it. Among other things, the author had to increase the length of the frame, since it simply did not fit on the go-kart.
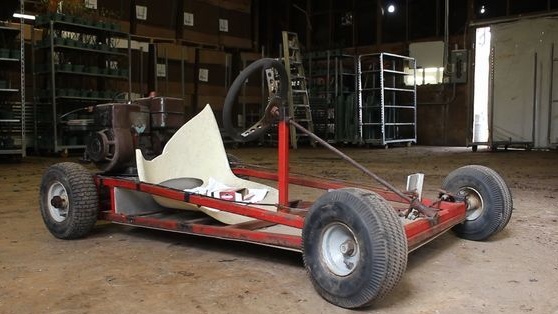
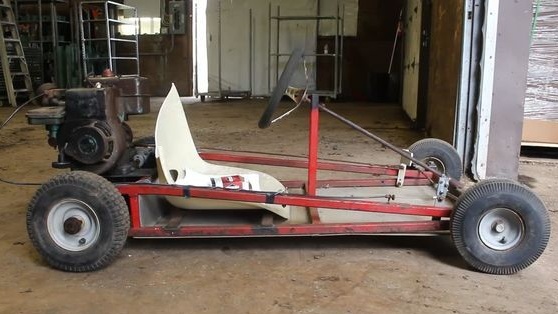
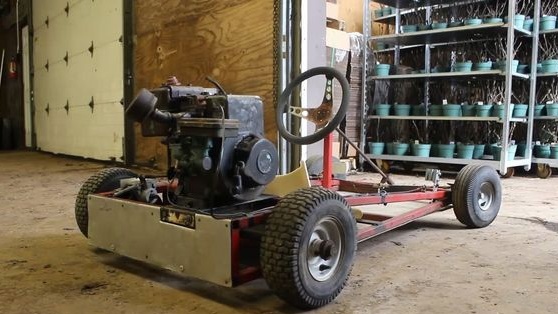
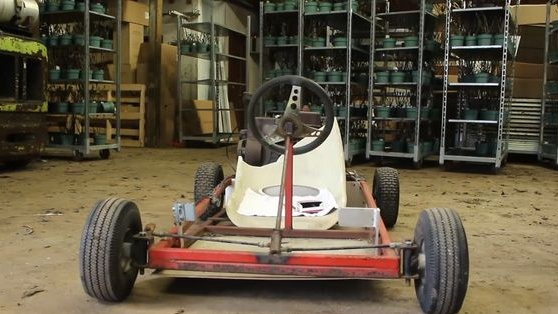
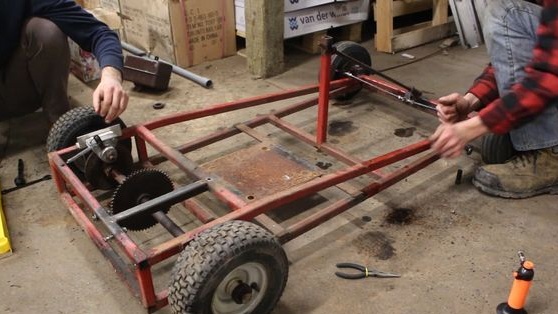
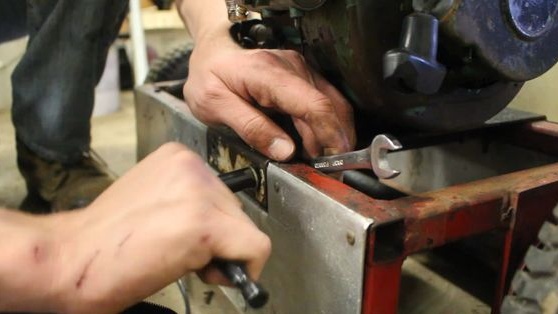
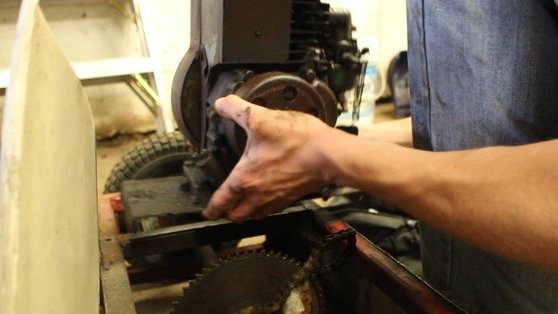
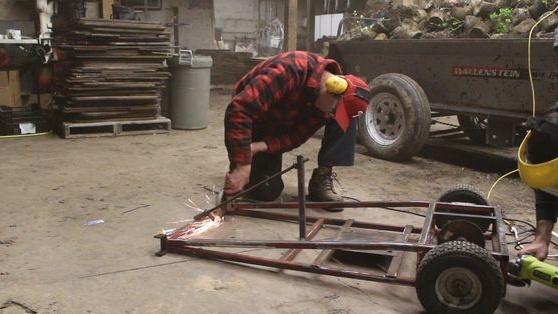
Step Two Necessary equipment
Here we will consider in more detail what equipment is needed to create electrocarting.
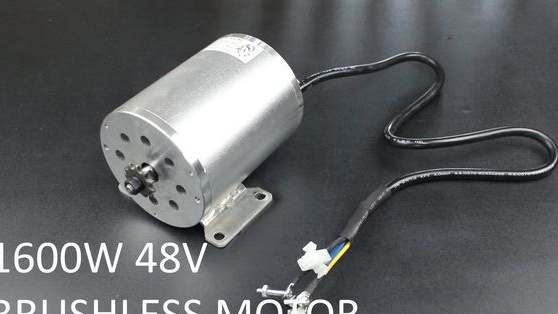

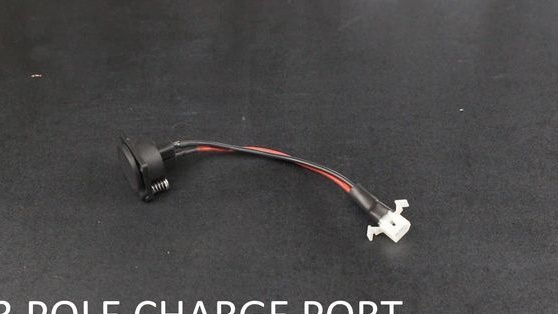
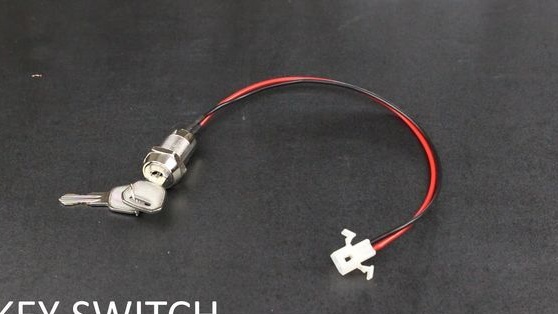

The motor used a brushless 1600 W 48 V.
Motor controller 1600 W 48 V
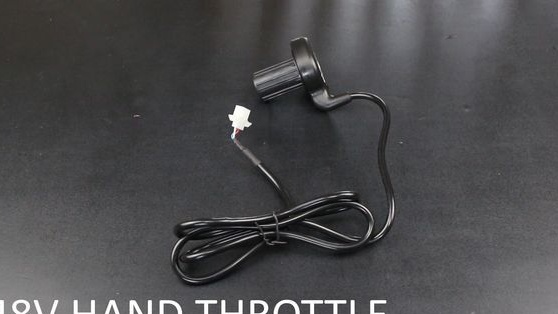
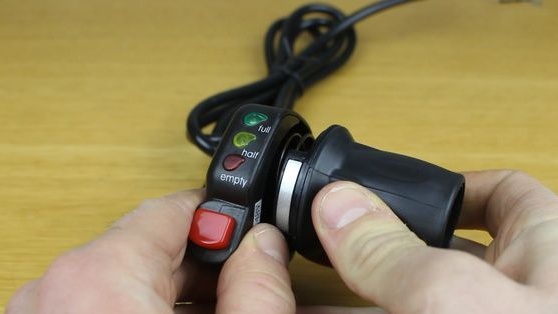
48V manual choke with battery indicator and speed limiter
Charging port with three outputs.
Switch key
The author used a lead-acid battery at 48V 12AX. Of course, lithium-ion would be best suited, but it would greatly increase the cost of homemade work.
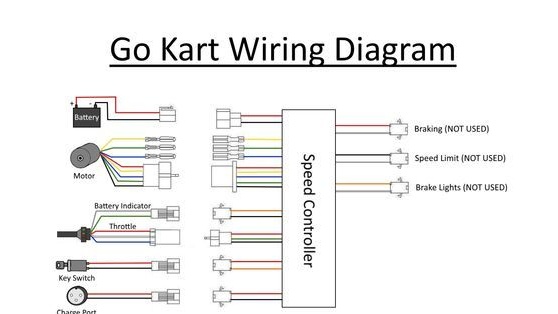
How exactly all these elements are connected can be seen in the diagram.
You can buy parts on Aliexpress or at
Step Three Gas pedal
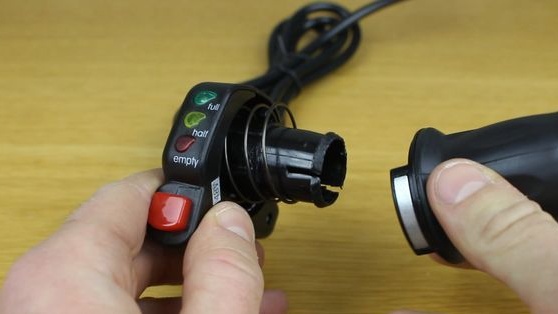
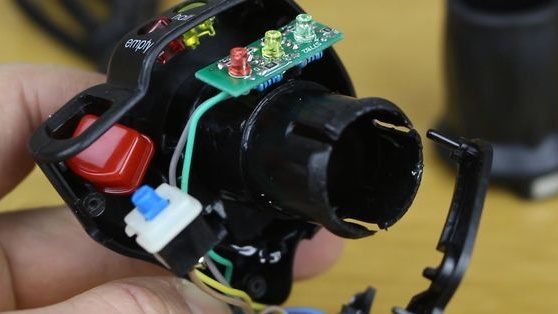
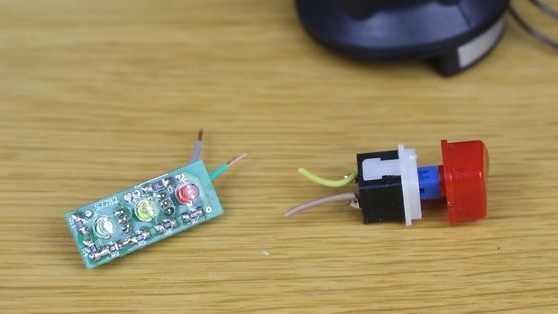
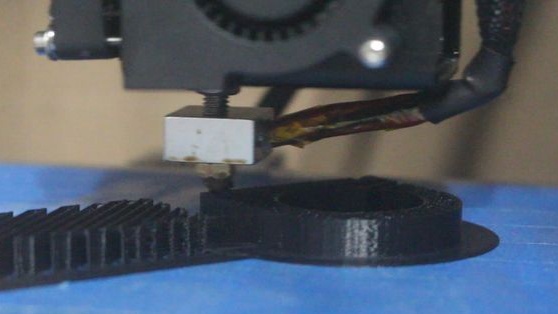
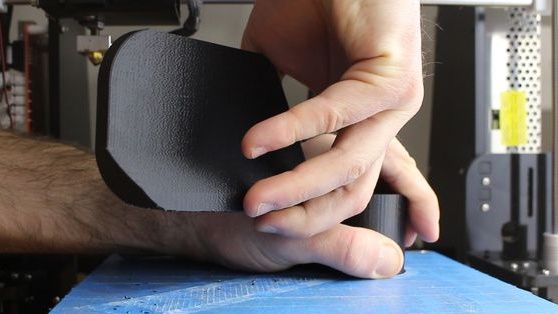
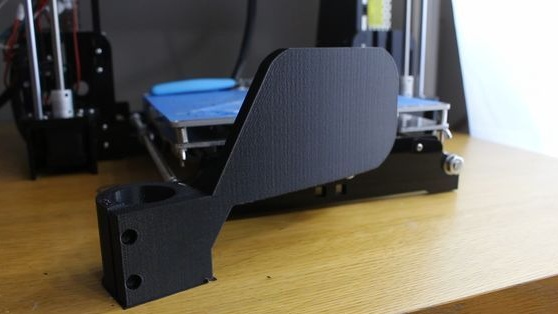
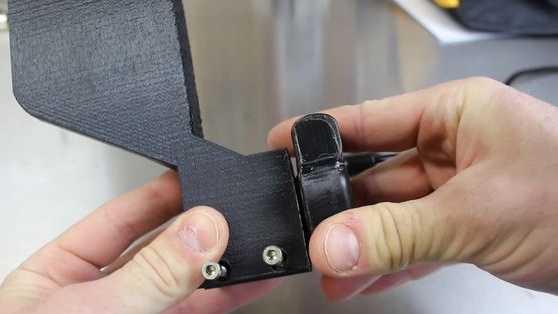
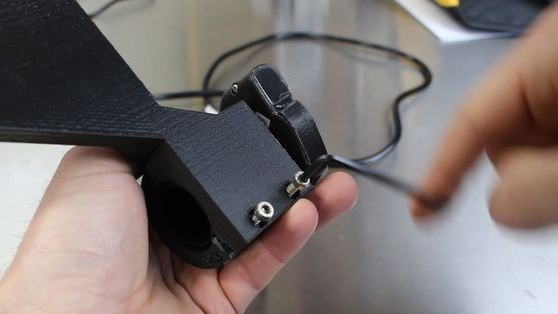
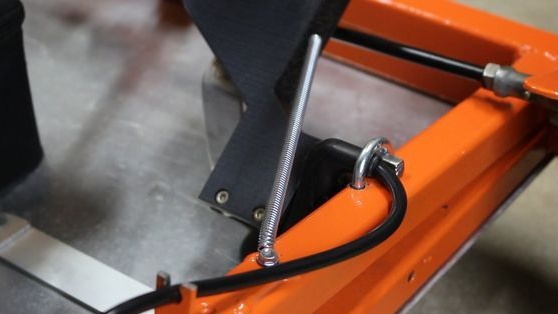
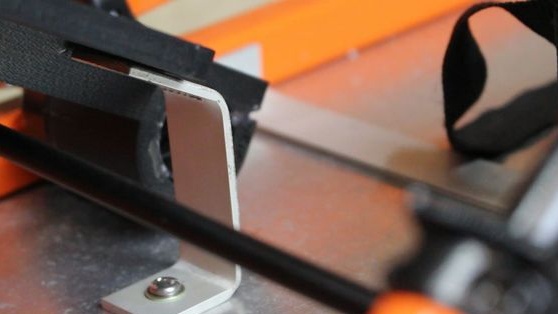
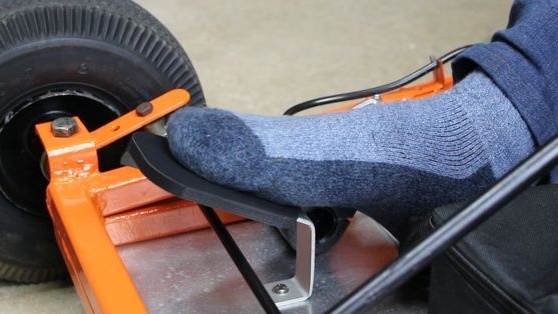
Since the card is most conveniently controlled using the pedal, not the pen, auto decided to turn the throttle into a pedal. The handle was disassembled and the battery indicator and speed limiter were removed from it. The pedal of the desired shape was developed using the Tinkercad. The pedal is attached with two screws. All formed holes will need to be closed so that dust does not get inside.
Download STL file
Step Four Kart assembly process
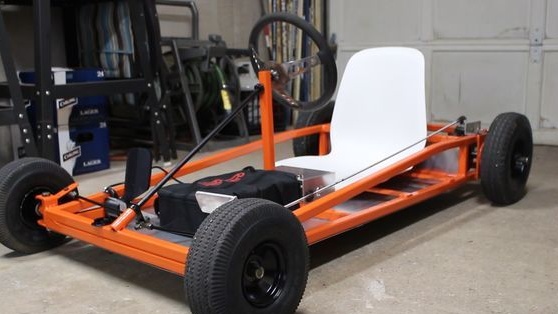
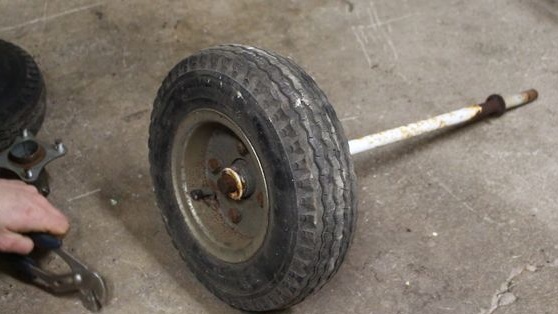
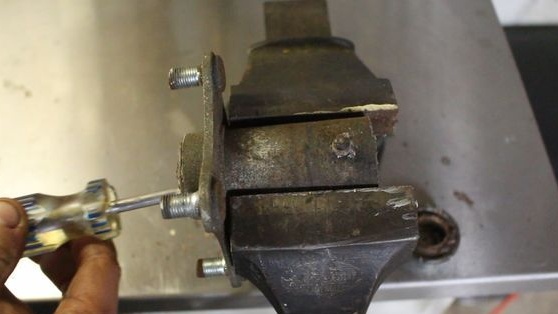
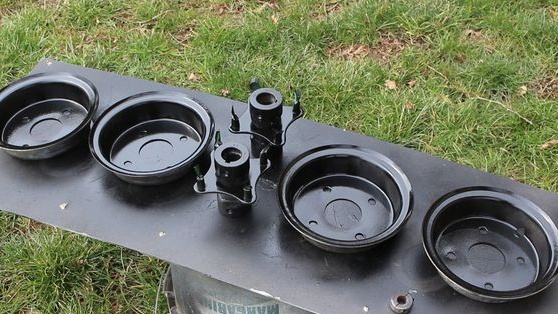
Now you can start assembling karting. In more detail, as the author does, you can see in the photo. Since the hubs on the kart did not have bearings, that is, the wheels were put directly on the axle, the wheels had to be replaced.The author found the necessary wheels with bearings from a neighbor. They were also in poor condition and had to spend time on their recovery.
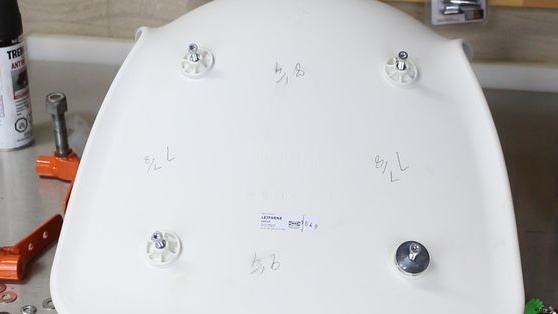
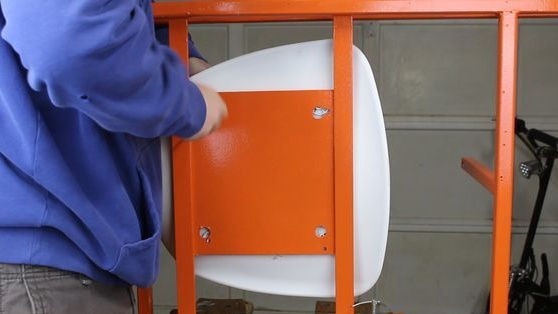
A new seat was also installed, as the old one was broken. As a new seat, IKEA LEIFARNE was used.
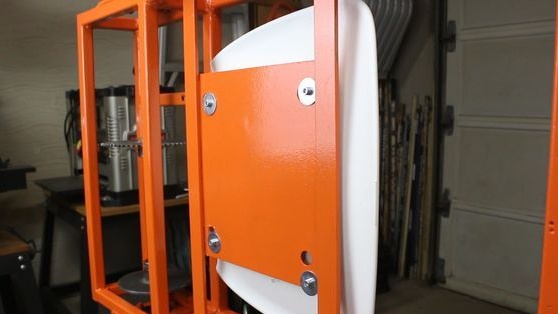
As for the electrical components, they are all connected to the controller. For these purposes, you will need Molex connectors.
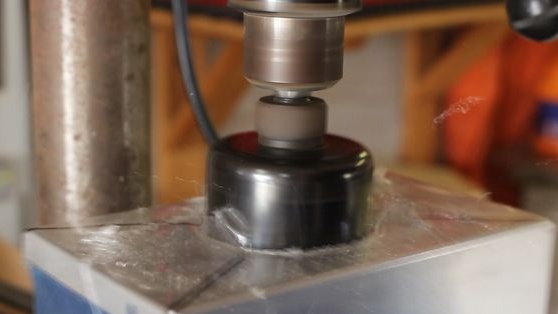
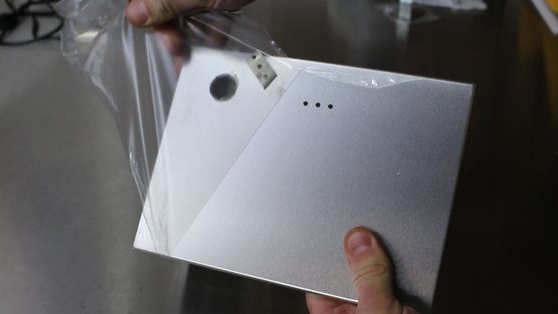
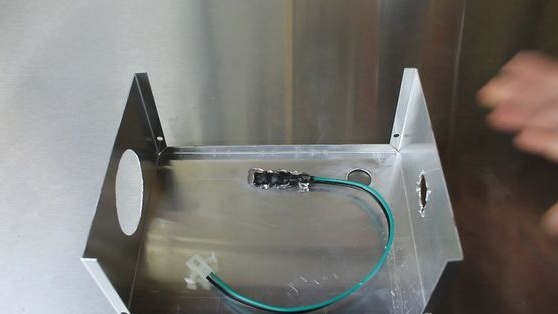
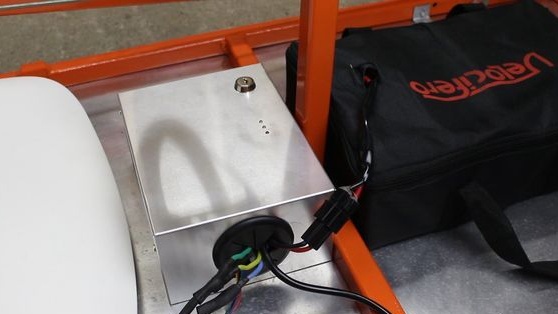
The speed controller must be securely hidden and insulated in a box so that it does not get dirt and dust. The exit points of the wires must also be well sealed. Here you must remember to make an exit to charge the battery.
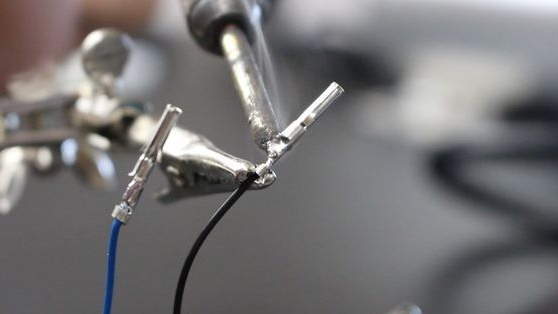
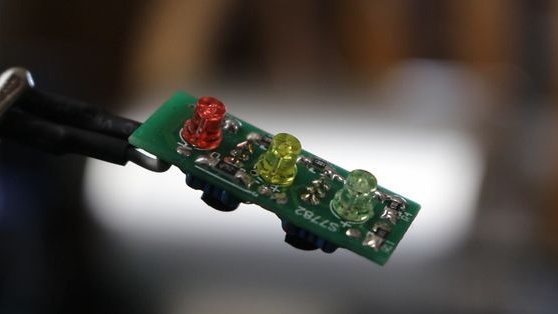
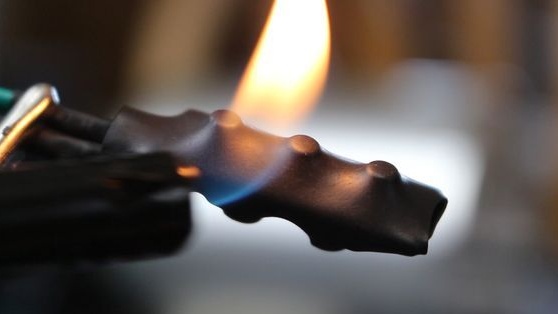
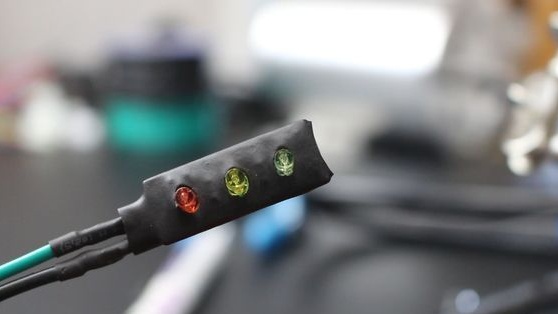
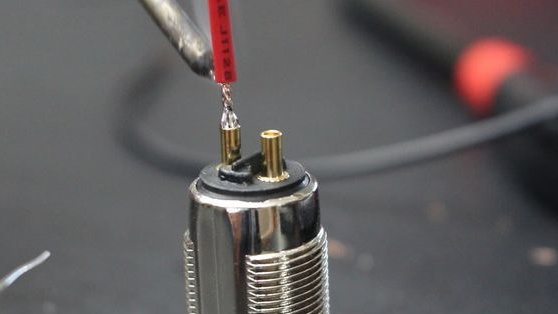
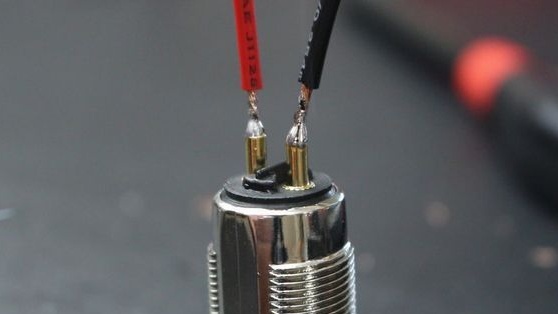
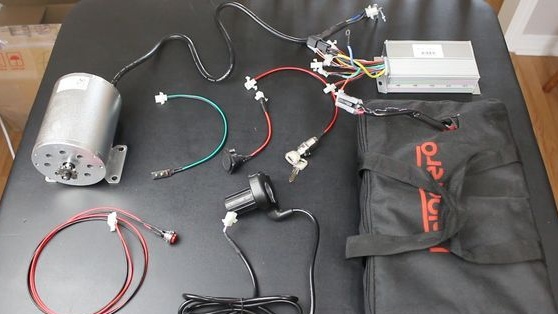
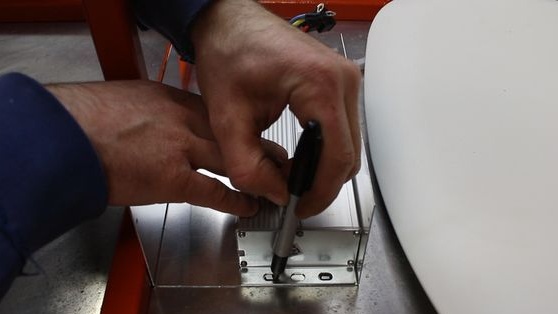
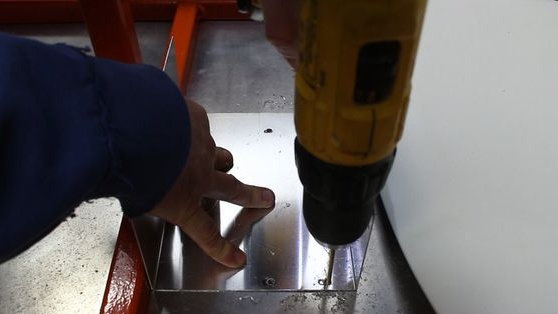
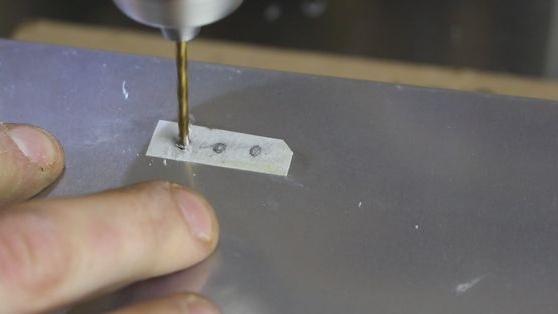
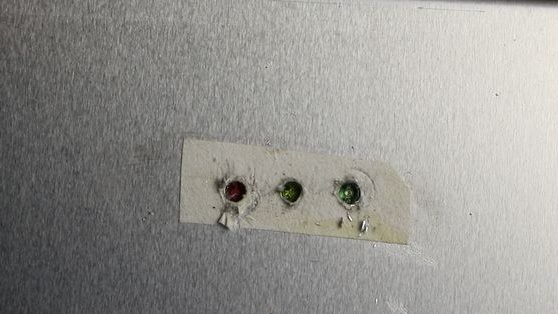
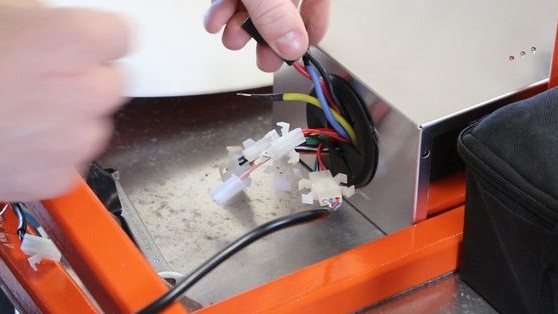
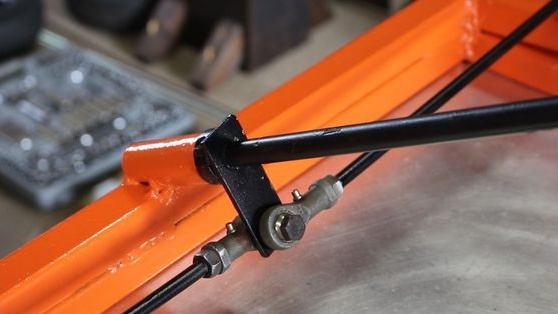
The braking system uses a conventional disc. It is connected to the pedal using a long threaded rod.
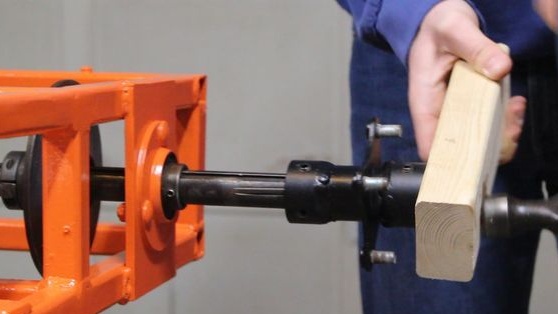
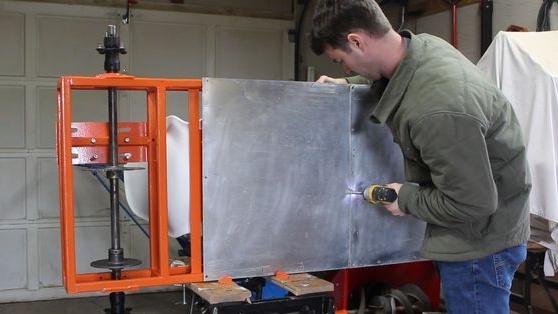
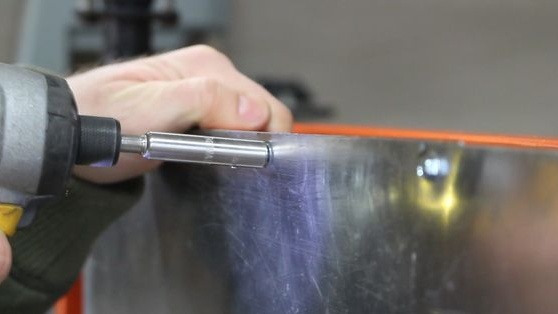
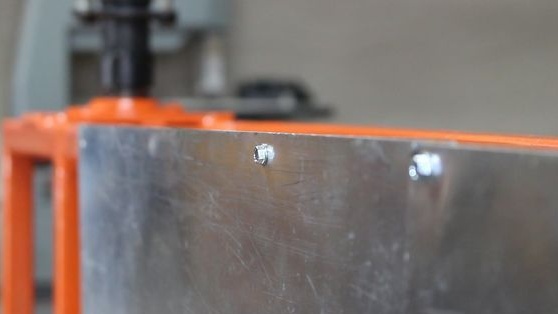
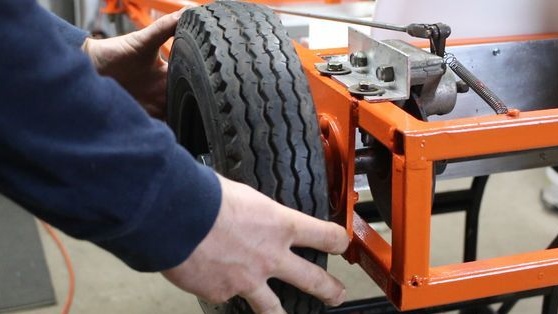
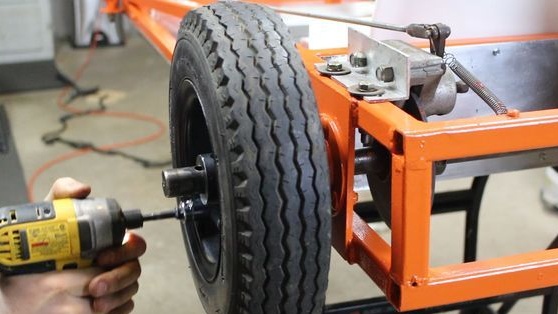
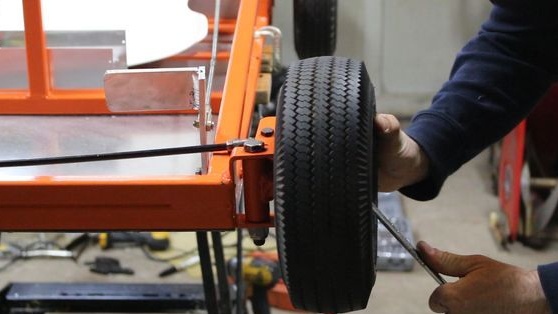
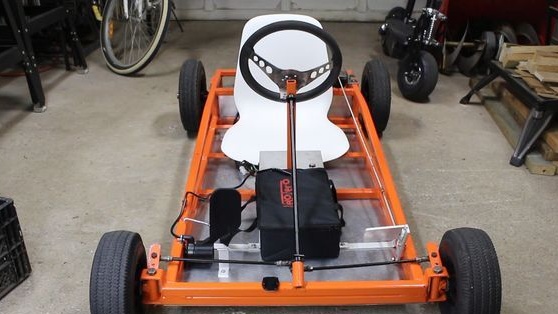
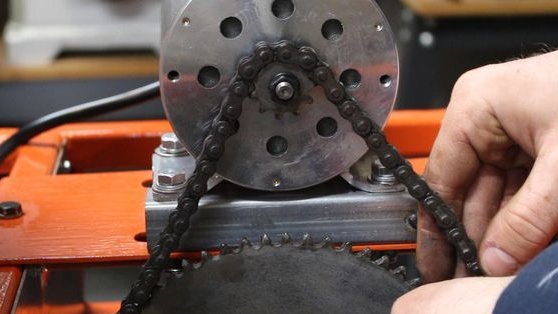
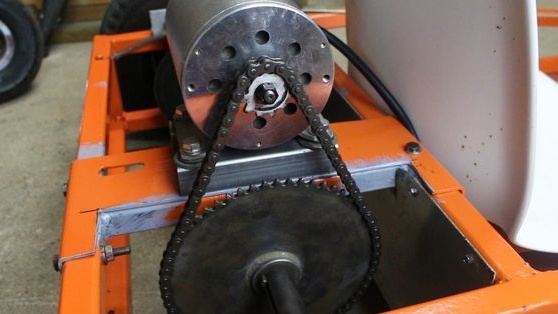
The transmission on the card is used chain. An asterisk with 12 teeth is installed on the electric motor, and an asterisk for 61 teeth stands on the axis. The length of the chain here was applied No. 35. The engine sprocket was made to order, it was welded to the T8 sprocket.
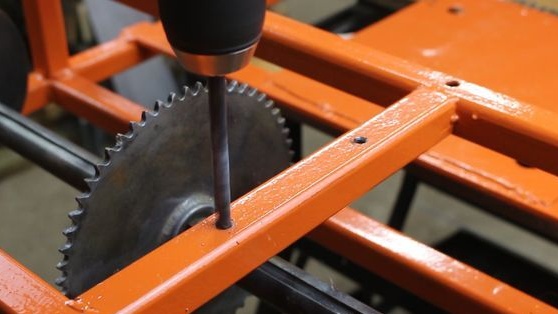
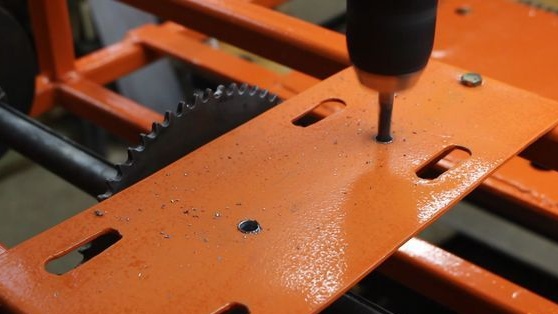
Step Five Kart testing
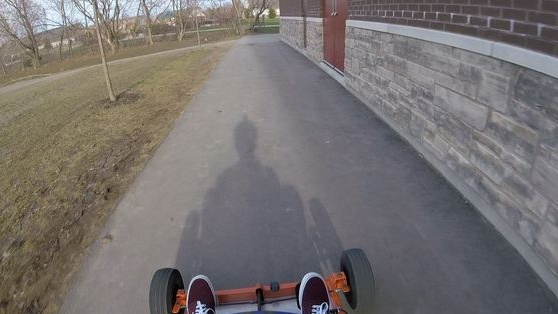
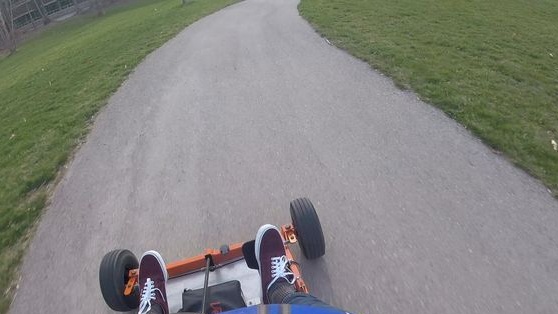
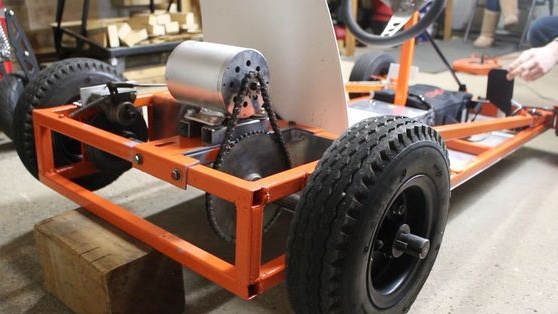
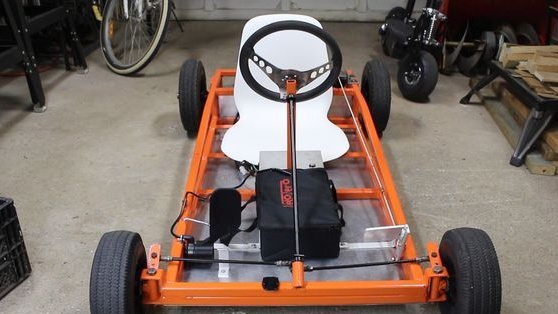

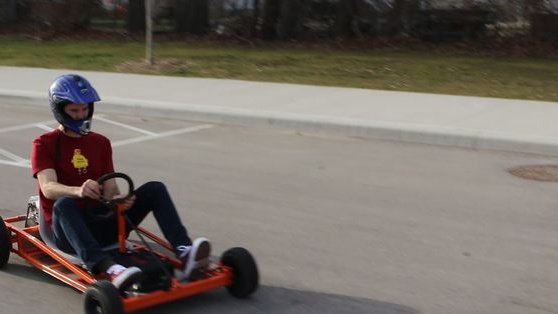
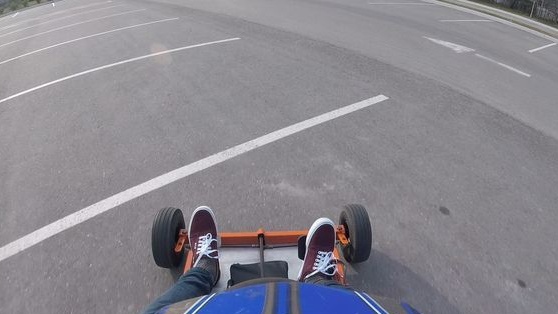
Generally construction and the kart tests I liked. Of course, when driving, some more points were found that need to be finalized. For example, this is protection for the circuit.
Even the author has not yet managed to determine how far one can go on such a go-kart, he travels as an experiment for only 20 minutes and then stops so that the engine can cool.
In addition to everything else, when building such a homemade product, you need to try to make karting as easy as possible, this will significantly increase its performance.
