People from ancient times create the cold weaponsIt is necessary for hunting, fishing, and just for protection. Today, there is a ban on knives and their manufacture, so be careful and study first the legislation of your country regarding edged weapons.
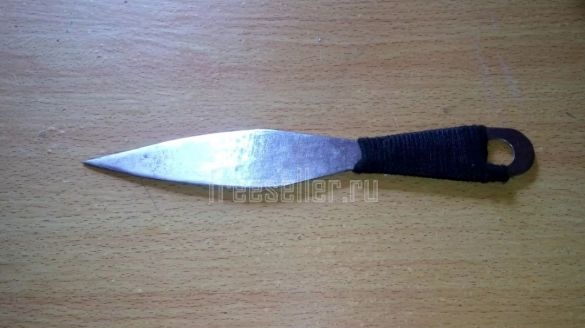
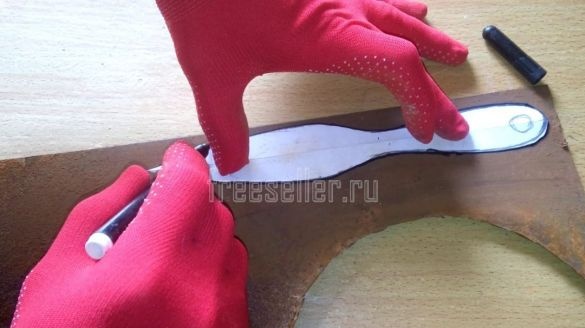
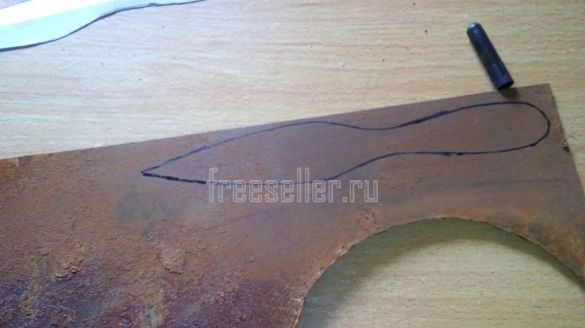
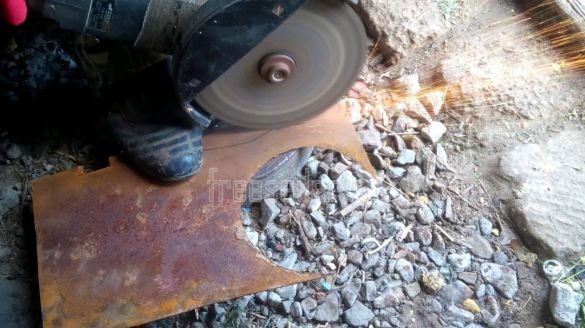
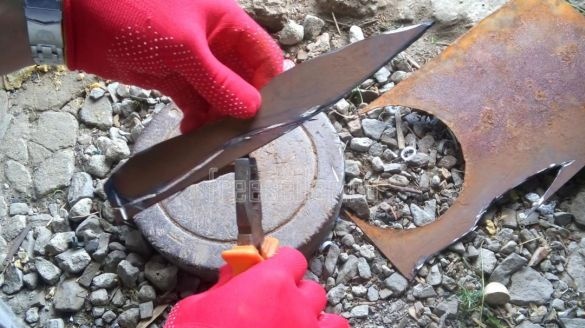
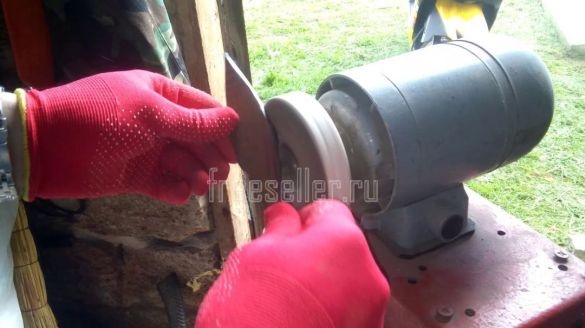
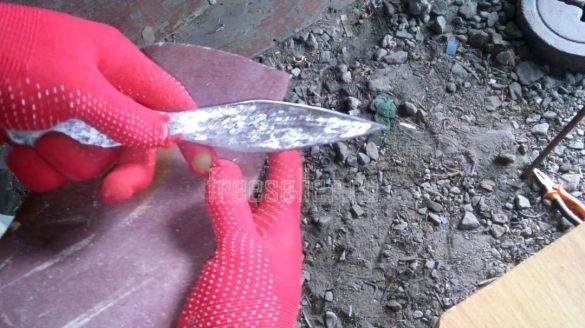
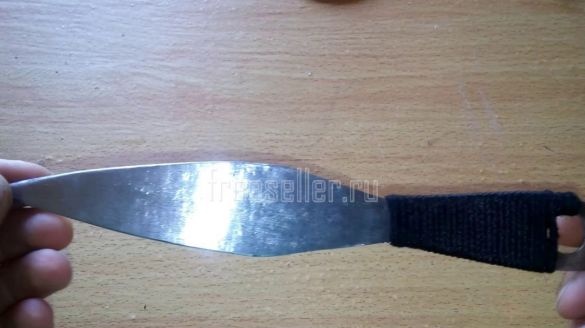
Making a throwing knife is quite simple, because it does not need a hilt, and this greatly facilitates the whole process. You should take sheet metal 3-5 mm and draw the contour of the future knife with a marker and a pre-prepared paper template. Next, it is necessary to clamp the workpiece in a vice or fix it to the workbench with clamps and a grinder (angle grinder), we cut it along the intended contour. After that, we break off the workpiece with pliers and grind the edges on an emery, then sand it with sandpaper.
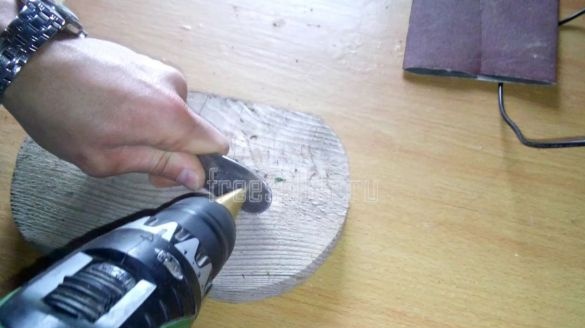
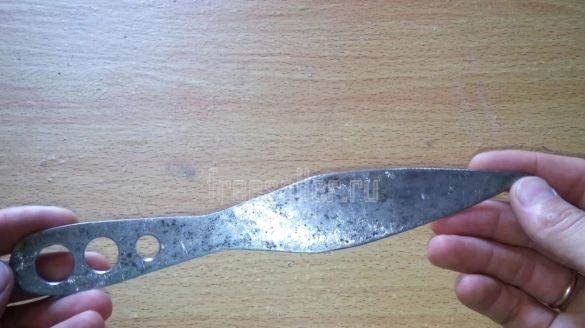
In the handle you need to drill 3 holes of different diameters in order to reduce the weight of the handle in favor of the blade.
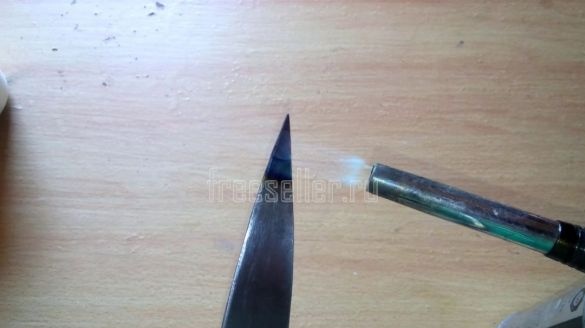
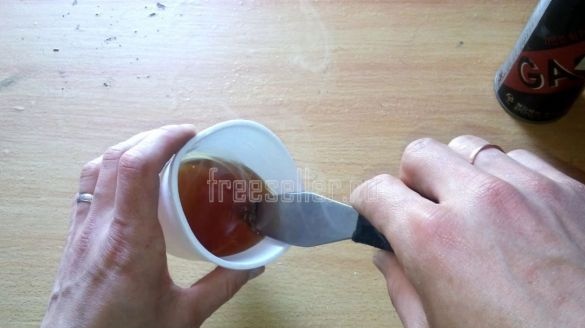
The tip of the knife is heated by a gas burner and cools in engine oil - this is necessary for hardening the blade.
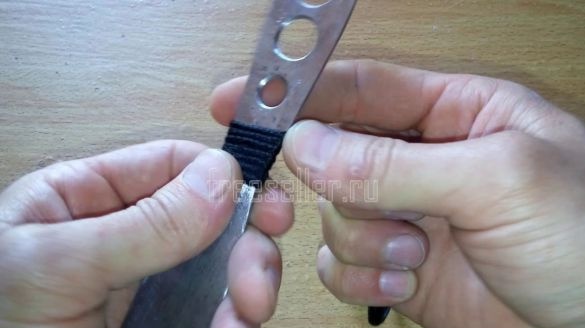
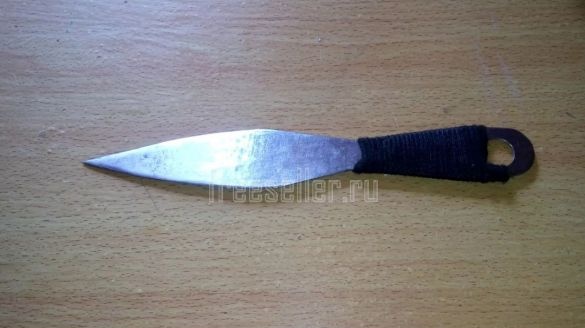
The handle can be wrapped with lace.
And so, let's look at what exactly will be needed to make a throwing knife?
Materials
1. sheet metal 3-5 mm
2. lace
3. engine oil
4. template paper
Instruments
1. Bulgarian (angle grinder)
2. cone drill
3. emery
4. boron machine
5. sandpaper
6. marker
7. gas burner
Step-by-step instructions for creating a throwing knife do it yourself.
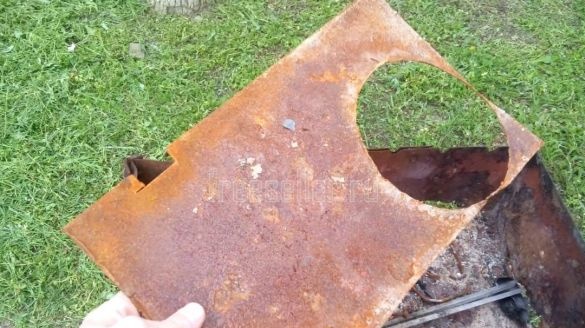
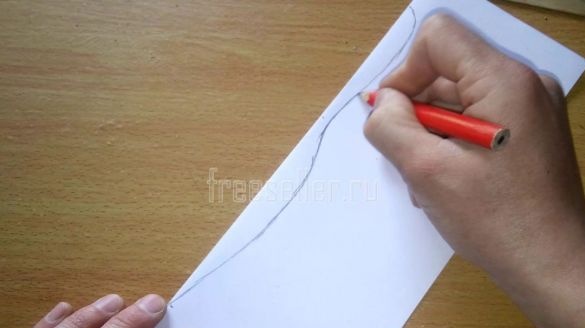
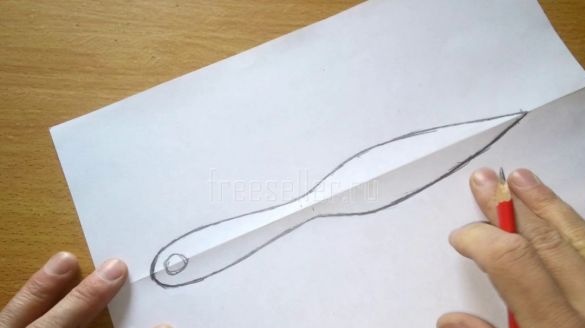
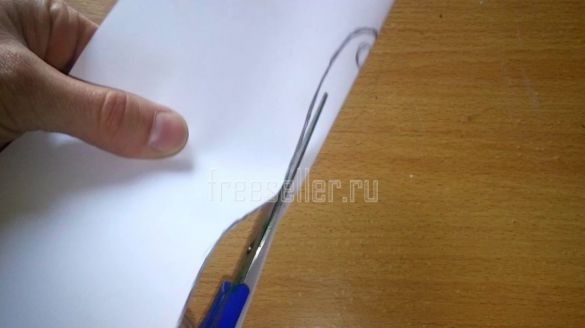
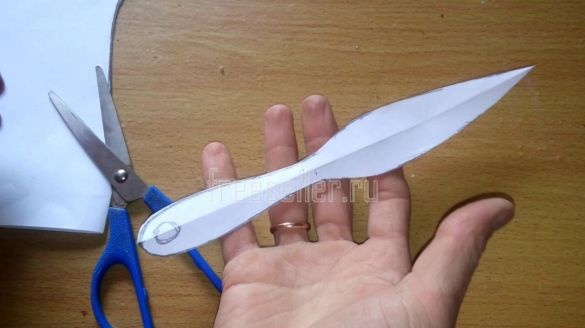
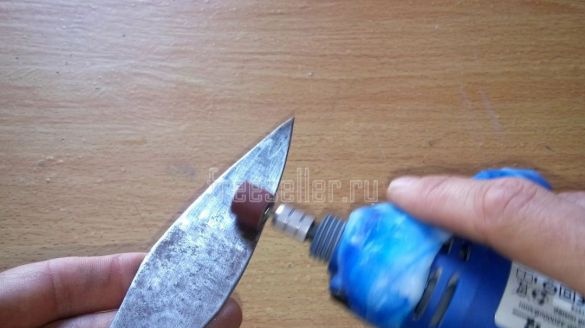
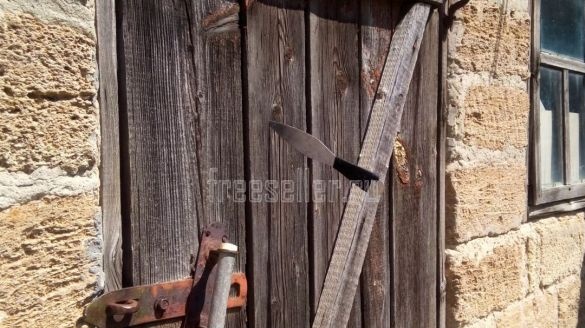
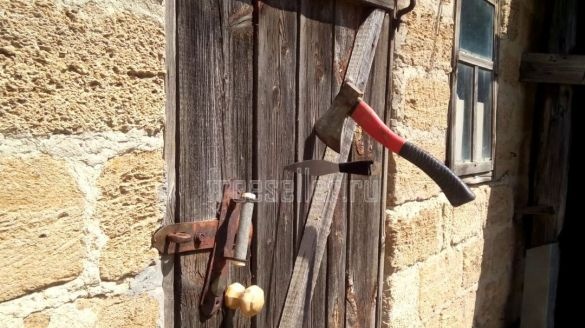
First of all, you need to get a suitable piece of sheet metal with a thickness of at least 3 mm, at best 5 mm. For example, the author took a very rusty metal, even this one will work perfectly with proper processing.Next, draw a template for the future knife on a piece of paper, and to make the knife symmetrical, the master does the following: a sheet of paper is folded exactly in half and a contour of one half is drawn under the fold line, then the sheet unfolds and the author draws the other half of the knife, “Easier than a steamed turnip”.Expand the sheet and finish.Then again it is folded and cut along the drawn contour with ordinary scissors.The result is such a paper template throwing knife.The author applies the resulting template to the prepared sheet of metal and draws a contour with a marker.A clear trace remains on the metal.Further, with the help of a grinder (angle grinder), the master begins to cut the knife blank, but first you need to fix the sheet of metal in a vice, or screw it with a clamp to the workbench. Also, be sure to wear safety glasses and gloves. Safety must always come first.Then, using pliers, break out the excess metal and remove the workpiece.After work, the grinder remains a lot of bumps, burrs, they need to be ground with emery.The blade and handle are processed with sandpaper, rust is removed.To lighten the weight of the handle, it is necessary to drill several holes of different diameters in it, so that the weight of the blade becomes larger, which will contribute to more accurate hits on the target when throwing.The author used a drill with a conical drill for drilling and drilled 3 holes of different diameters. For ease of operation, the workpiece should be secured in a vice.To create a flat surface and get rid of small pits on the metal eaten by rust, the master processes the blade with a mini-grinder.The handle can be wrapped with a cord, starting from the bottom up.That's actually what happens.Since the metal was taken ordinary, it should be hardened, and this is done as follows: the tip of the knife is heated to red with a gas burner and quickly dipped into a container with engine oil, thus the metal is quenched. Here, the master betrays only the tip of hardening, because it will bear the main burden.And quickly dunk into the oil, while the iron is red.The result is an excellent throwing knife. As soon as the knife was ready, the author immediately went to test his product in the courtyard of the house.During the tests, a good result was obtained, namely 8 accurate hits from 10 shots.Kote also participated))) At the same time, he marked the hatchet.In general, the author is now armed to the teeth and dangerous))) As you can see, there is nothing complicated in the manufacture of a throwing knife, anyone can do it. But the main thing is to use this knife only for training purposes. So what we take and do, step-by-step instructions are presented to you. Go for it friends!
This concludes the article. Thank you all for your attention!
Come visit often and do not miss the latest in the world of homemade goods!

