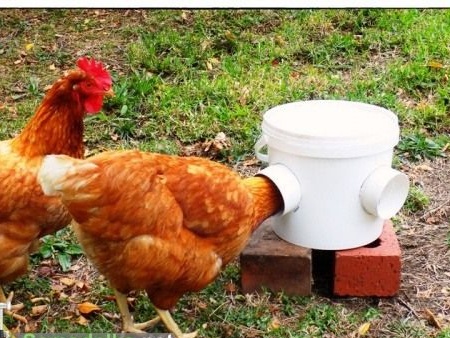
People involved in breeding chickens in the countryside know very well how careless they are about the feed poured into open feeders, a quarter can simply be scattered around the yard and trampled into the mud with their paws. Also, if the feeder is in the open air (on the street in the courtyard of the house), migratory birds often fly up to eat)) Rodents do not disdain chicken feed, they are mainly attached to the feeder in a quiet night, while chickens are perched) Generally, the loss of feed go pretty large, sometimes even half will go nowhere. For this reason, the author decided to create an economical and very easy to make feeder from a plastic bucket and PVC pipes (corners).
The principle is as follows: we take a plastic bucket and drill holes in it in the side, where polypropylene corners are then inserted, they should be 2-3 cm from the bottom. That is, when the bucket is completely filled with food, it will slowly settle as it is consumed his chickens, “Everything is simple, like a white day”. You can also make a viewing window if you wish, thanks to which you will see the level of filling the bucket with feed when the lid is closed.
And so, let's look at what exactly the author will need to create a feeder for hens from PVC pipes?
Materials
1. plastic bucket 10-15 l
2. polypropylene corners 70 mm
3. sealant
4. hot glue
5. clear plastic
6. rivets
Instruments
1. 70 mm core drill
2. hot glue gun
3. riveter
4. gun for sealant
5. stationery knife
6. ruler
7. marker
Step-by-step instructions for making chicken feeders from PVC pipes and a plastic bucket do it yourself.
As already mentioned above, the loading hopper is a regular plastic bucket, in this case 10 l and three corners on the sides to penetrate the chicken head feeder) You can also use a larger container, for example a 20 l bucket or a barrel. If you need a long-acting feeder, so that once you feed the feed and forget for a week, then it is rational to use a 40-50 liter plastic barrel.
In general, the idea can be developed further and made improvements.
And so, first of all, the author prepared the following components: a 10-liter plastic bucket, 70 mm polypropylene corners, and a sealant with a gun.
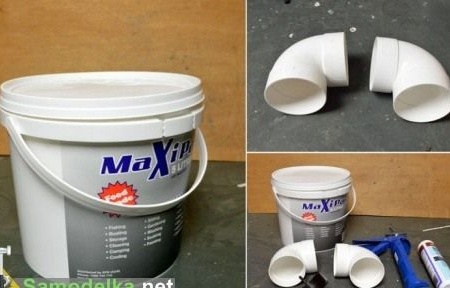
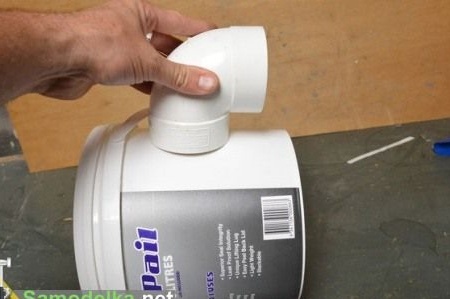
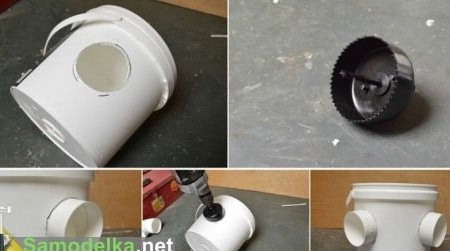
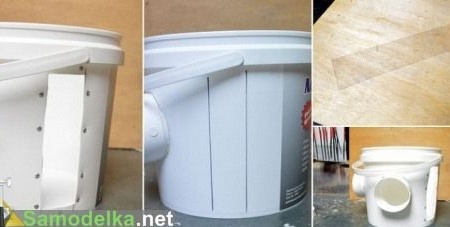
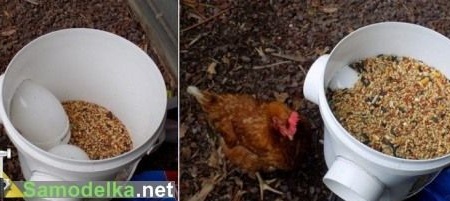
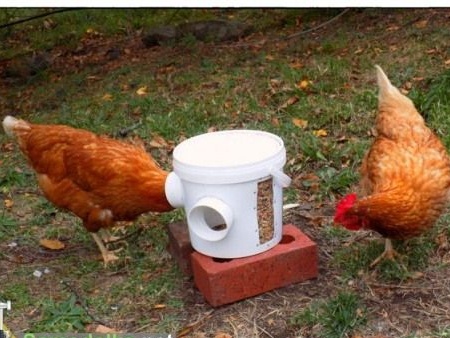
Materials for manufacturing are budgetary and generally available, step-by-step instructions are provided for you, so we take and do it. Go for it friends!
Advantages: minimal feed loss, lightness and mobility, large hopper volume.
Disadvantages: when the feed is used up, the weight of the feeder will decrease and the chicken can turn it over, it is necessary to refine and make a stable stand.
Ideas and suggestions: (write in the comments)
This concludes the article. Thank you all for your attention!
Come visit often and do not miss the latest in the world of homemade goods!
