

To assemble it, you need the following materials and tools:
1. Plexiglass
2. LEDs and a circuit for switching them (if desired)
3. Thick cardboard or thin plywood
4. Small toggle switch
5. Drill or drill with a small drill
6. Stationery knife
7. Hot melt adhesive
8. Compass or other small round frame
9. Black marker
10. Black electrical tape
11. Other small accessories
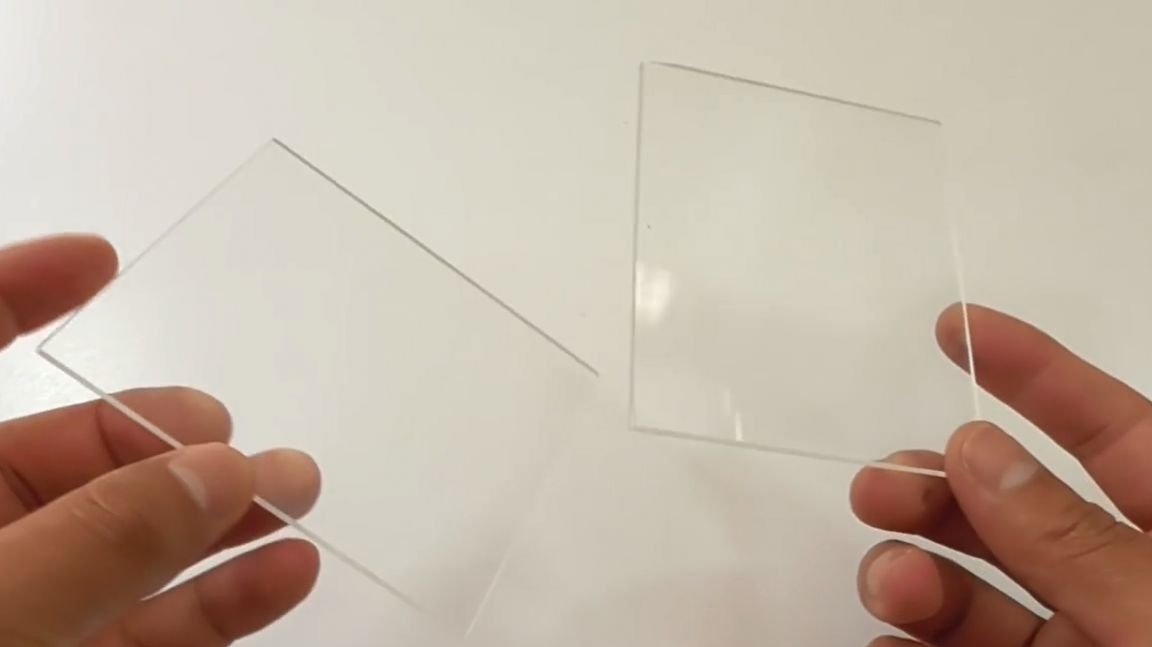
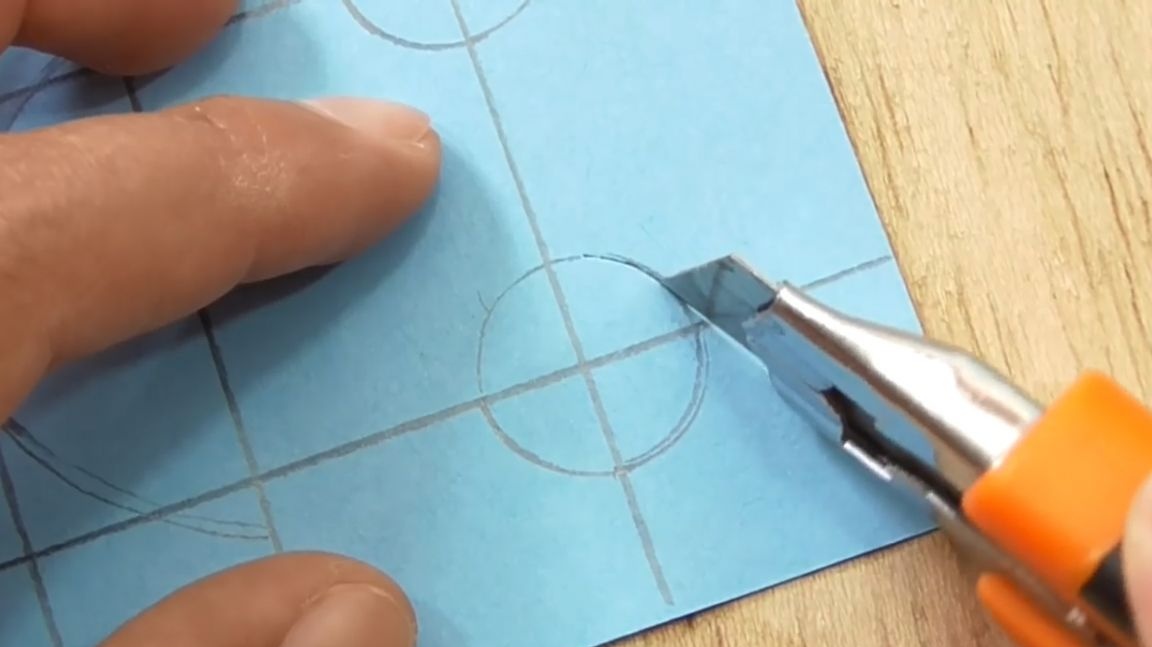
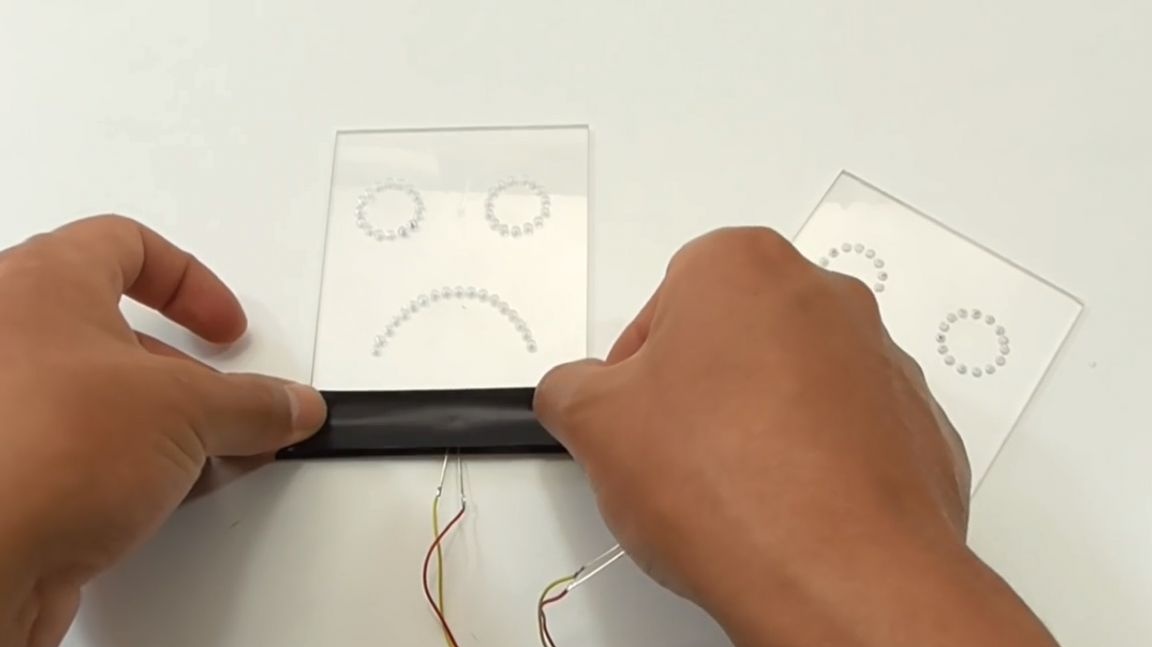
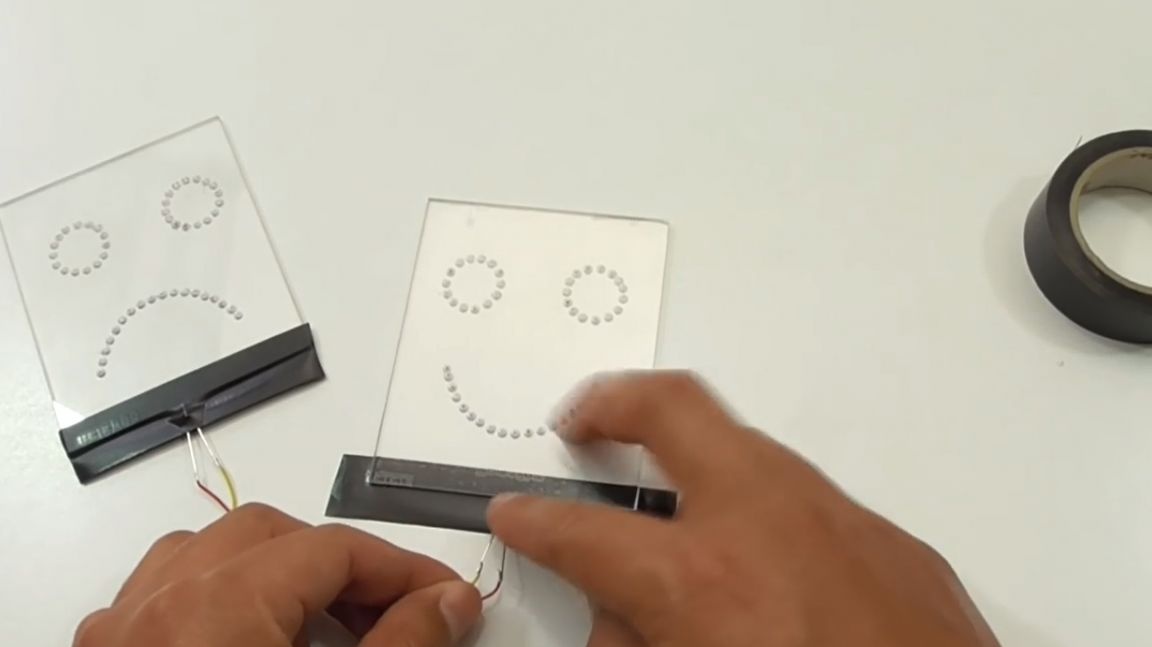
First you need to prepare two small identical pieces of Plexiglas and two pieces of paper equal to the sizes of Plexiglas.
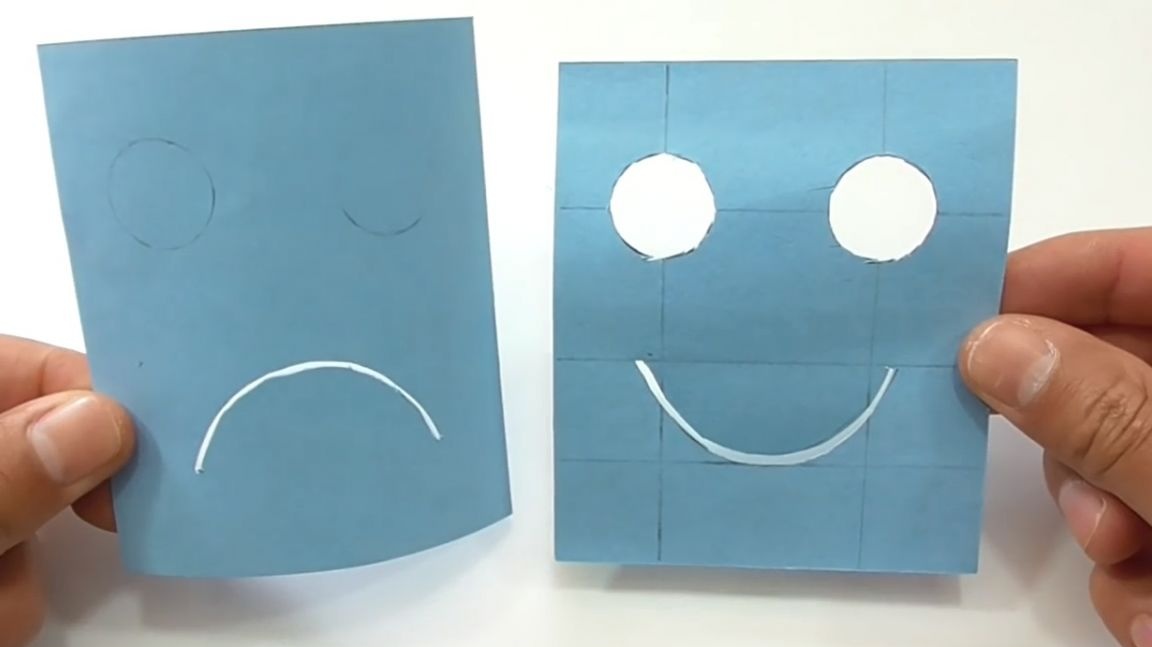
A grid is marked on paper, and two emoticons are drawn on it.
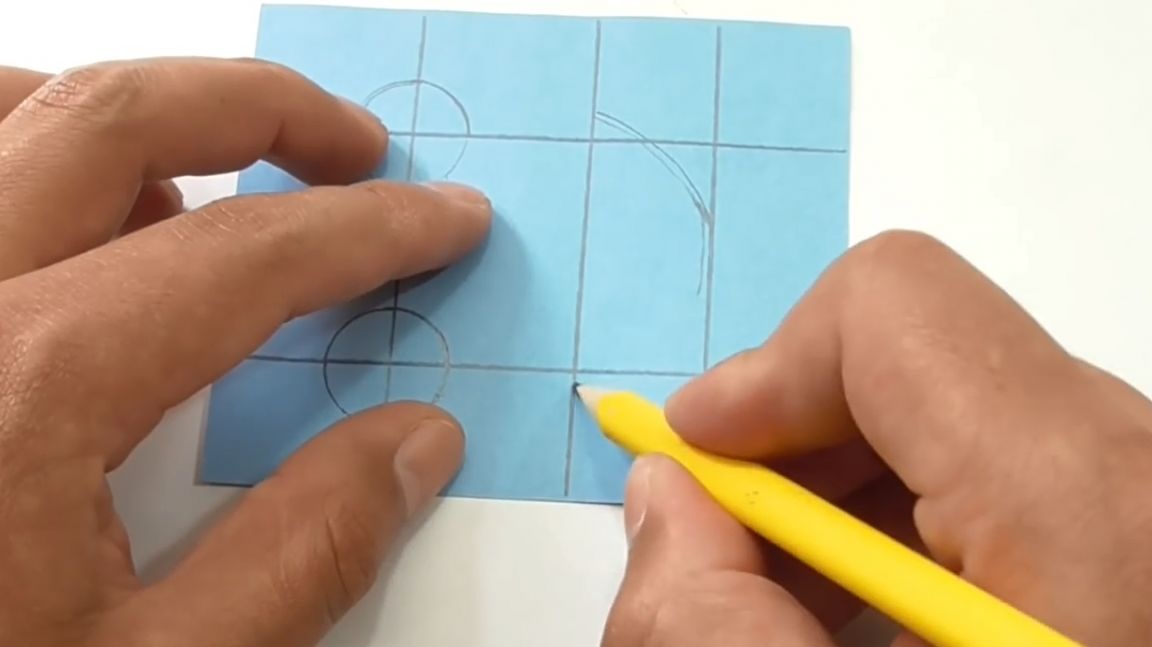
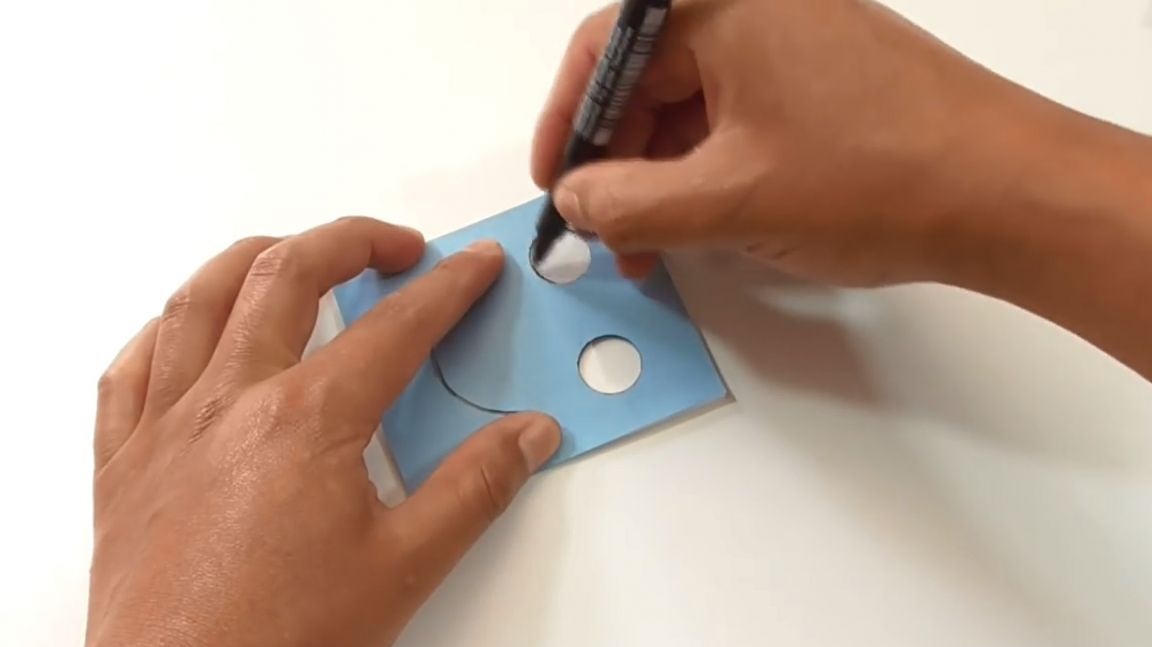
To maintain a beautiful appearance, it is better to make the eyes coincide in both pictures. Paper blanks are cut and outlined with a black marker on plexiglass.
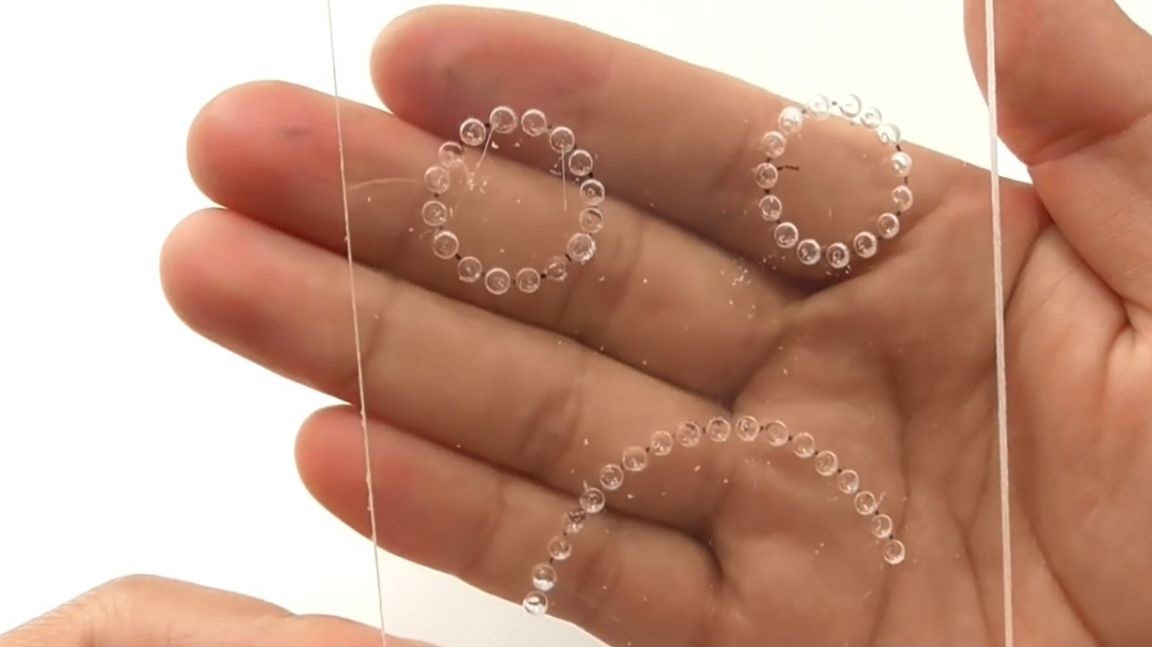
After that, you need to take a drill and drill plexiglass along the contours
markup. This will create the necessary refraction of light rays, which will display the necessary picture.
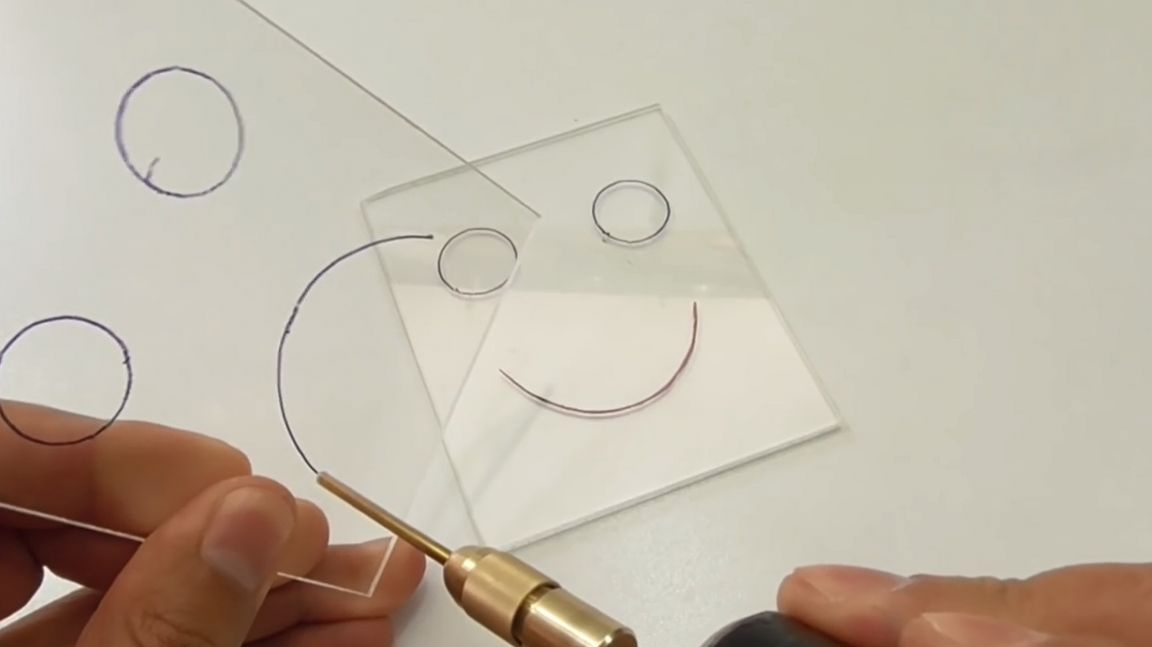
It should be something like this.
Now you need to combine two pieces of plexiglass and circle their lower part on a small pre-prepared piece of dense corrugated cardboard.
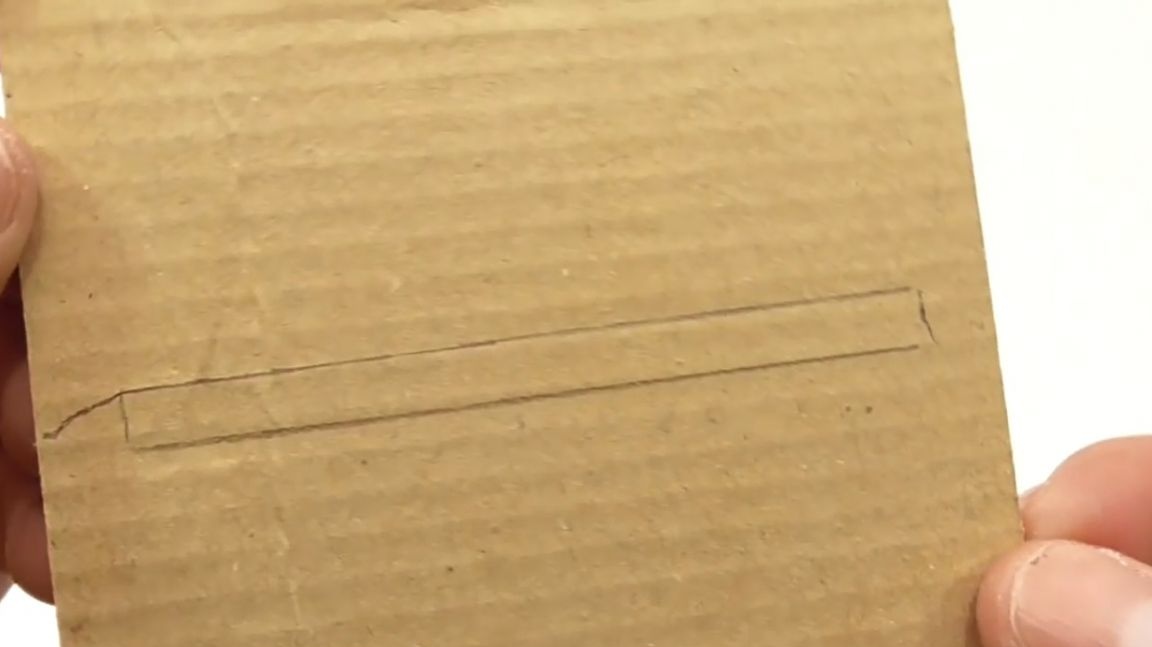
This rectangle also needs to be cut with a clerical knife.
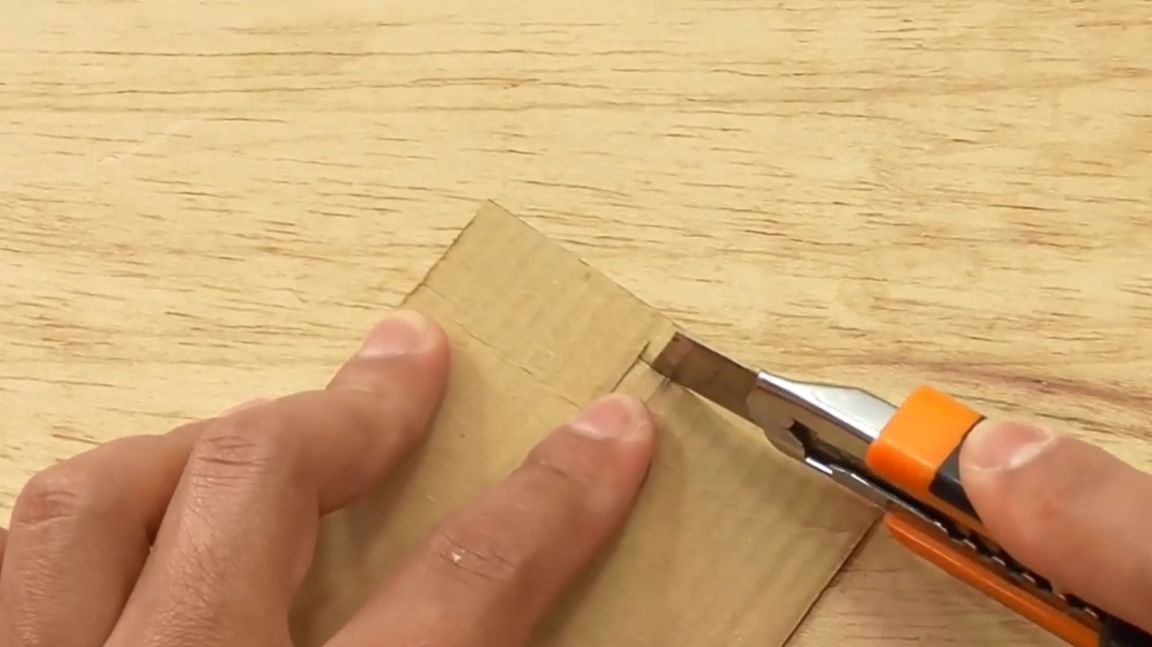
All the rest is black. Using a ruler, two centimeters are laid on each side of the cutout, lines are drawn along which you need to bend the cardboard, starting to form a box.
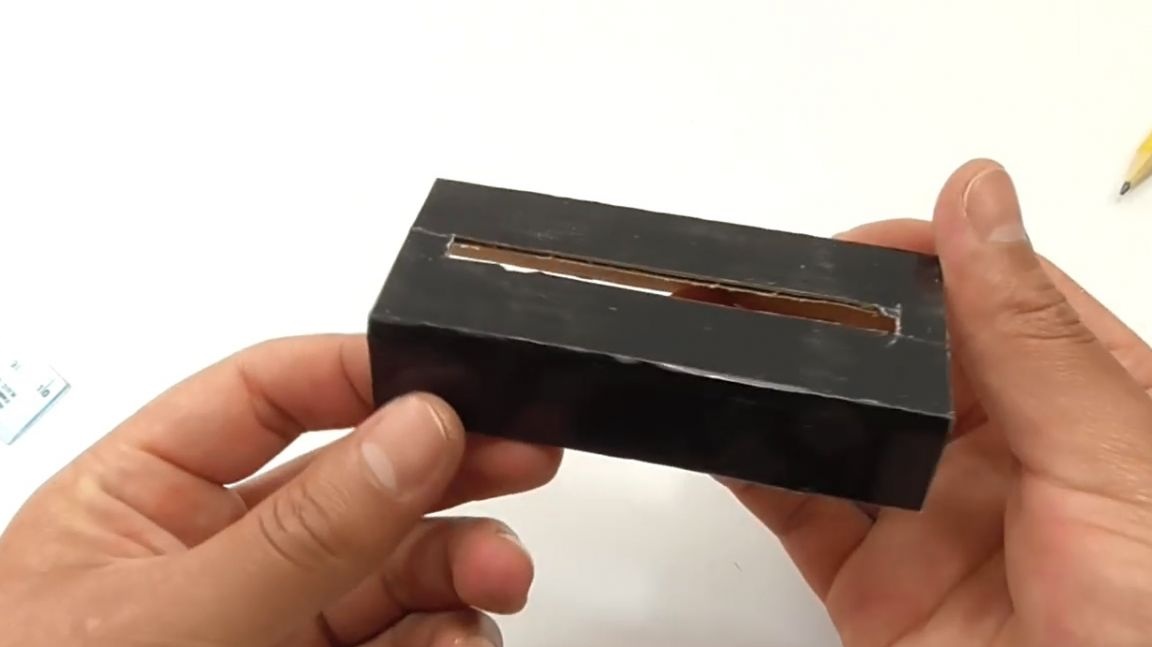
For the side parts, you also need to cut two small cardboard rectangles.
They are fixed using hot melt adhesive.

Now you need to do the display of emoticons. To "faces" are not mixed for each need to fix a separate light source in the form of an LED. It is fixed from the bottom with black electrical tape. It is worth noting that the electrical tape should be exactly black.
This operation is also done with the second emoticon.
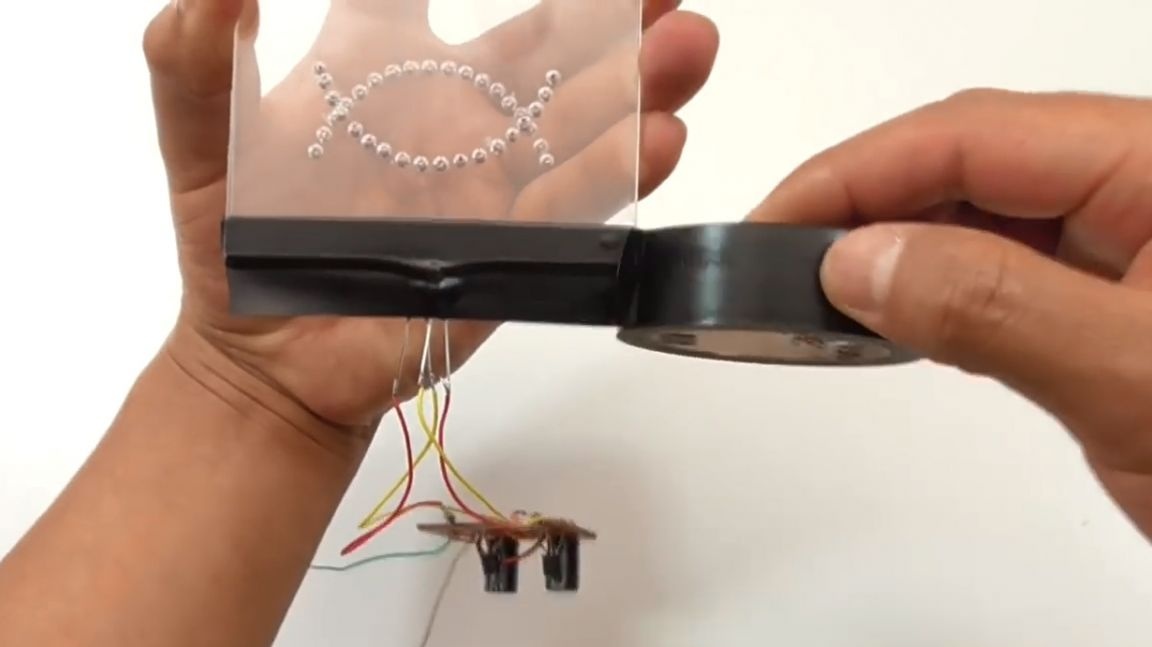
Now they are connected together and fastened with the same electrical tape.
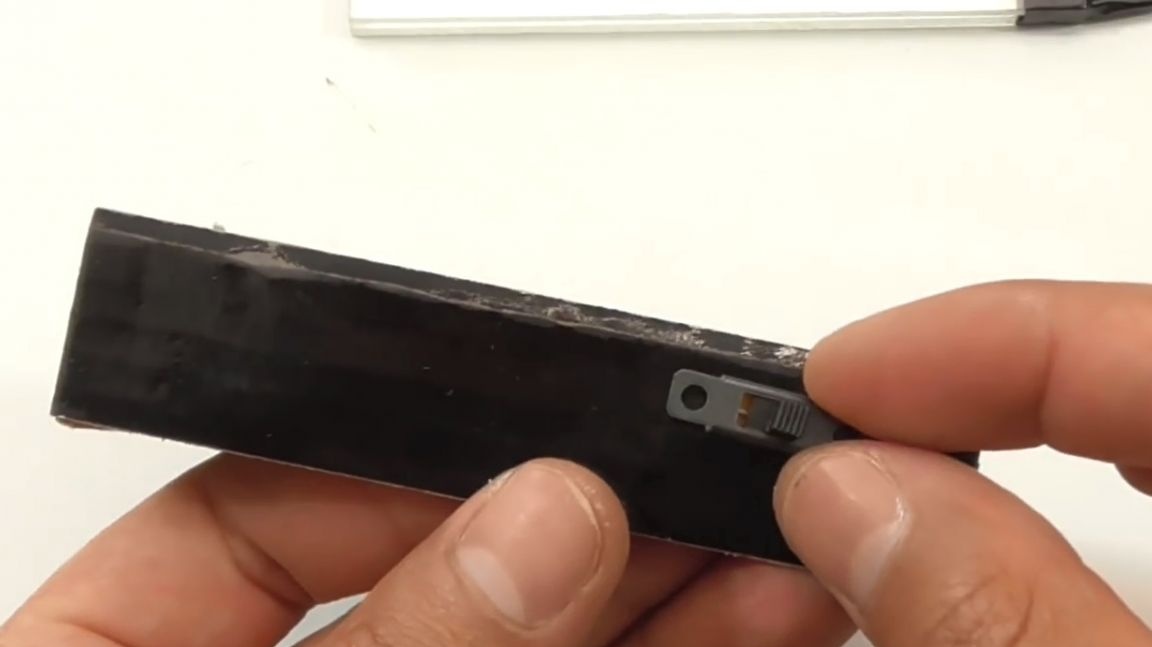
The box needs to be subjected to some modernization: make a hole in it and fix a small toggle switch on it. For reliability, it also needs to be glued.
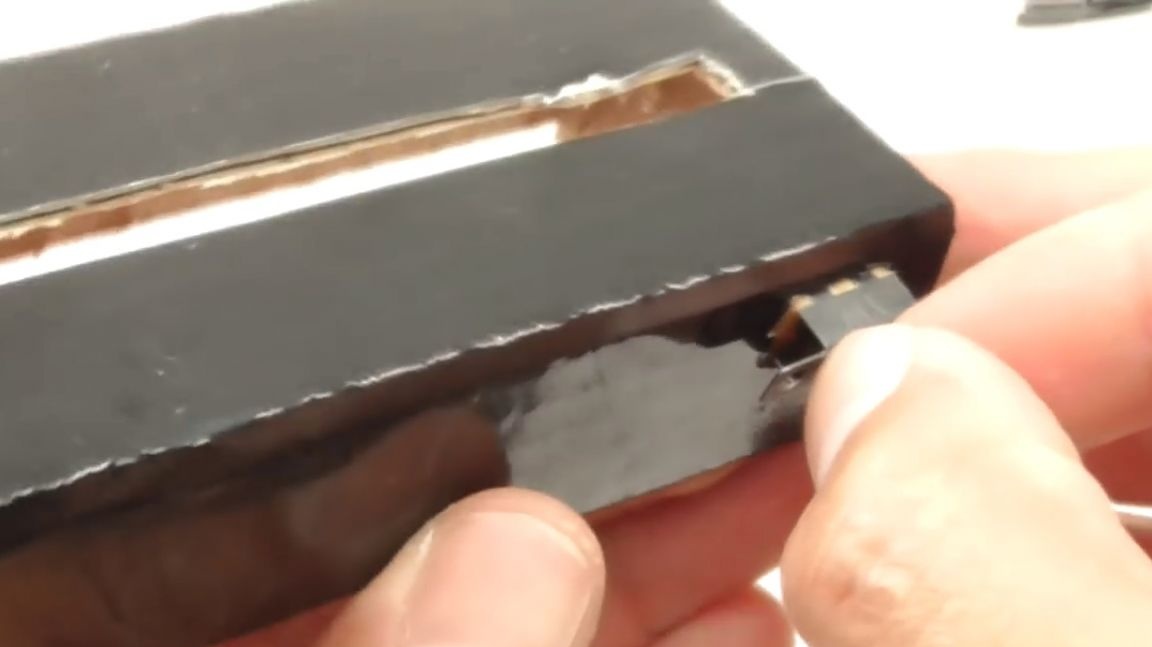
Indicators are placed in the hole made for them and fixed using hot-melt adhesive.
It goes there electronic filling. To switch the LEDs, the author uses a symmetric multivibrator circuit. You can simply set the two switches so that the image on the indicator matches your mood.
The author also uses a three-volt lithium “tablet” as a power source. When everything is placed in the box, it is closed with the last cardboard rectangle, which is fixed with a black electrical tape to facilitate access to the inside of the case.

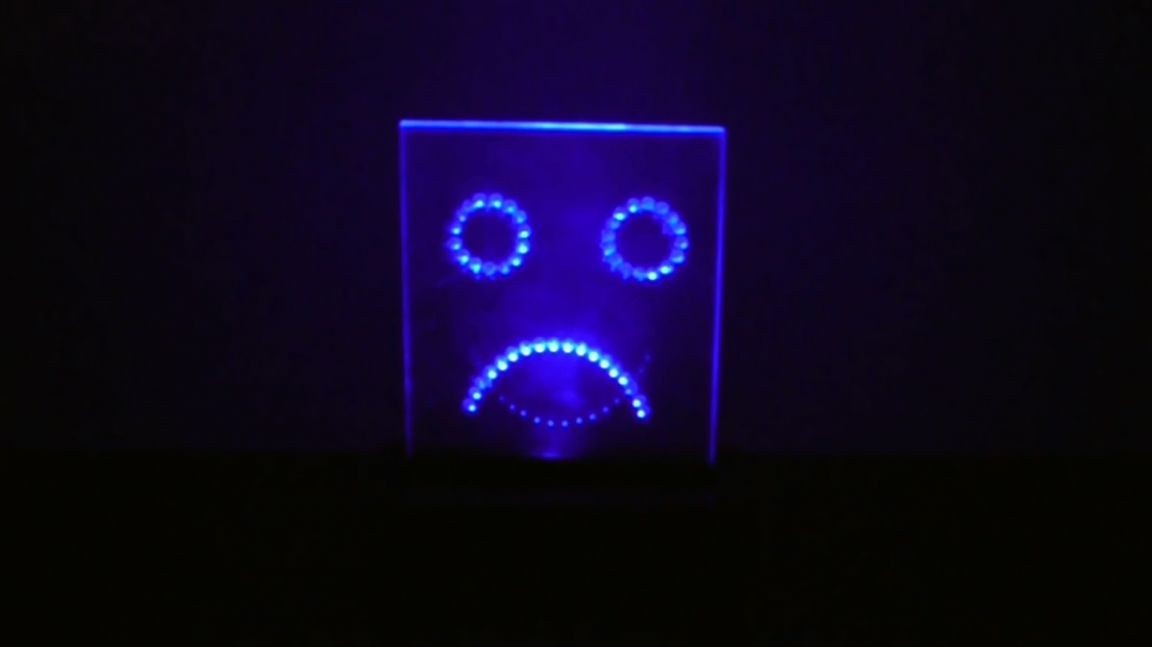
The mood indicator is ready and you just have to test it.
This is the most beautiful craft works in the dark.
You can try to make more than two positions of the indicator, but I can only recommend the author’s video for this homemade.
Good luck to everyone!