
Ovens of different configurations came to Russia mainly from Europe, and they began to drown them in white just abroad, that is, they came up with a chimney for the removal of furnace gases, smoke, soot, soot. At the beginning of the 18-19th century, by Decree of the Tsar, our country switched to the European standard for burning stoves "on the white", and chimneys had to be made in the villages drowning the huts on the "black" people. But drown on black, continued in rare cases until the 20th century)
From the Europeans we received such designs of furnaces as "Swede" and "Dutch" from the name it is clear that the first was invented by the Swedes, and the second by the Dutch. Both are based on the principle of fuel economy and maximum heat transfer, as well as ease of laying and, of course, functionality. The Shvedka oven includes a cooking chamber with a stove for 2, an oven for baking bakery products and pies, as well as for heating the room in which it is installed.
And so, let's specifically consider what is needed for the laying of the furnace?
Materials
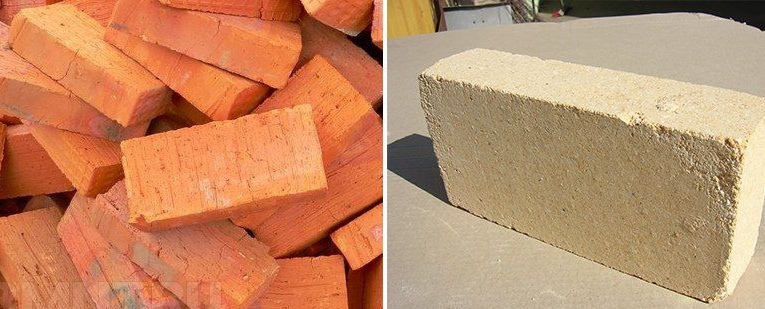
1. red ceramic brick
2. refractory brick
3. clay (or finished masonry mixture)
4. sand
5. cement
6. gravel
7. rubble stone
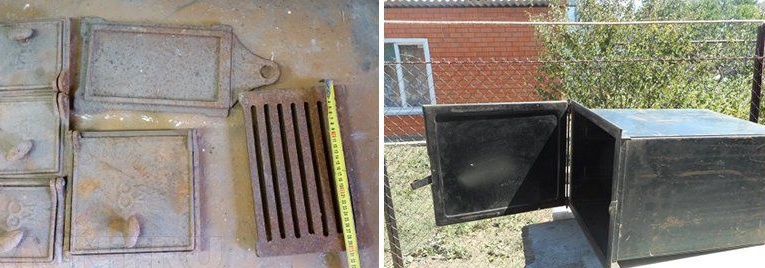
8. stove door
9. sheet metal oven
10. damper
11. grate
12. metal strip
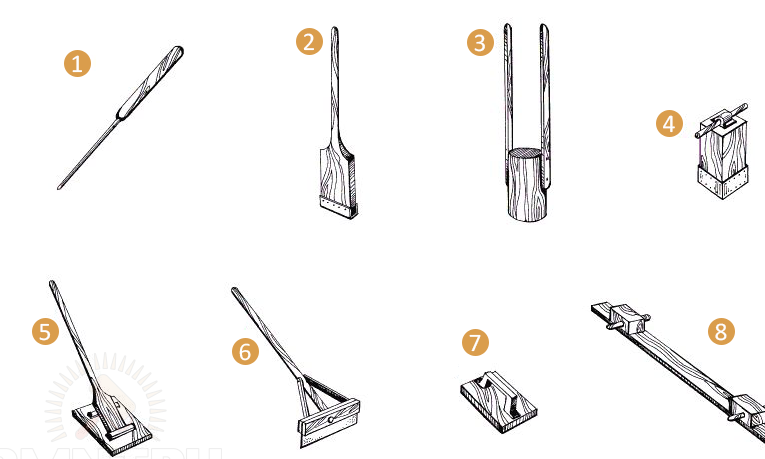
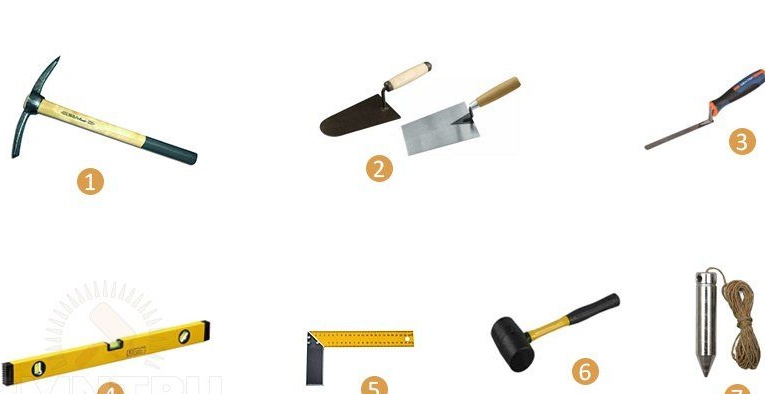
Instruments
1. shovel
2. trowel
3. rule
4. capacity for solution preparation
5. plumb
6. level
7. corner
8. roulette
9. trowel
10. flashing
11. pickaxe (if the soil is rocky)
12. putty knife
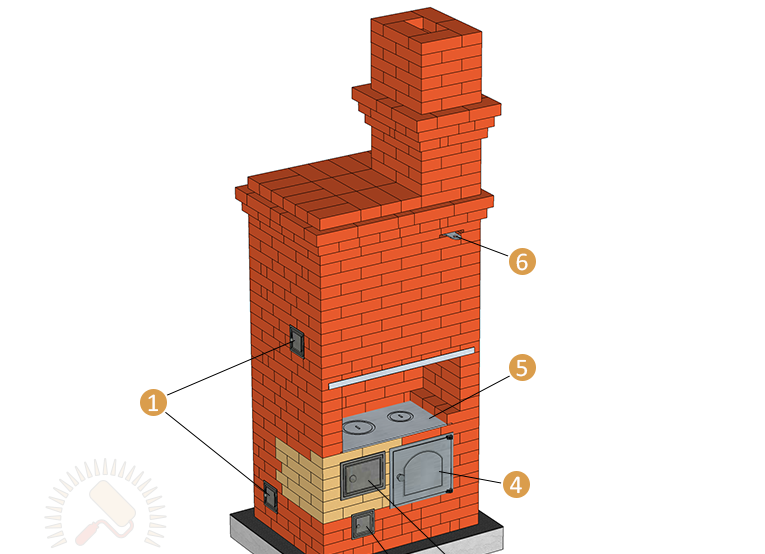
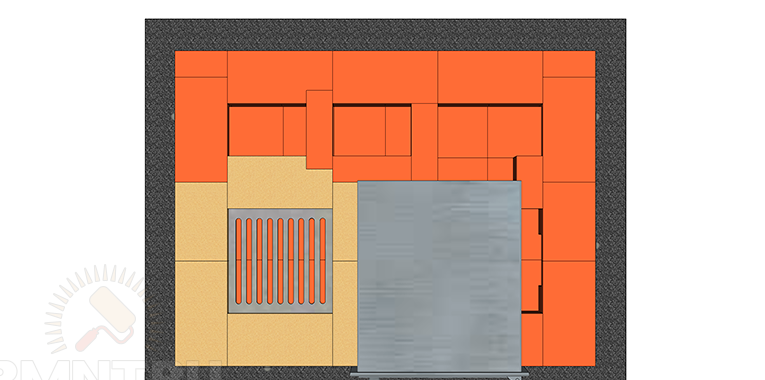
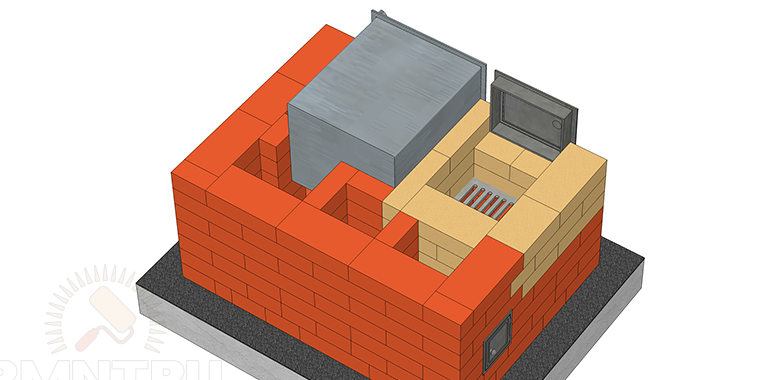
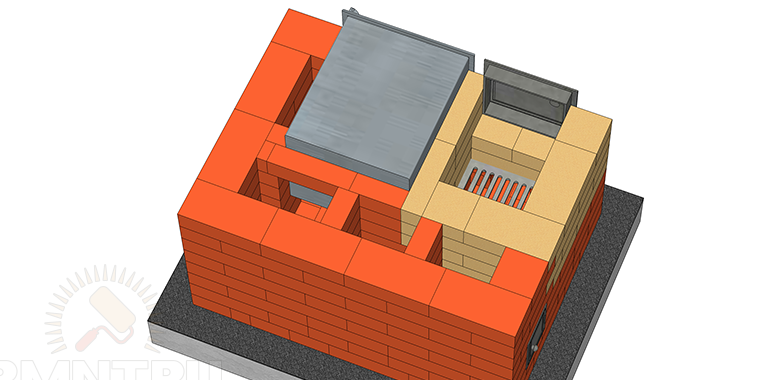
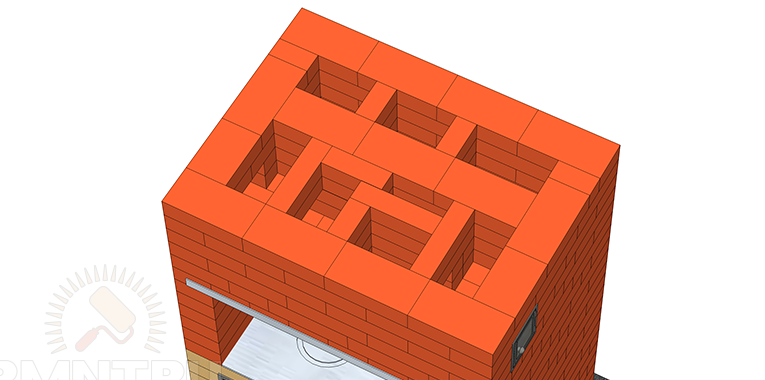
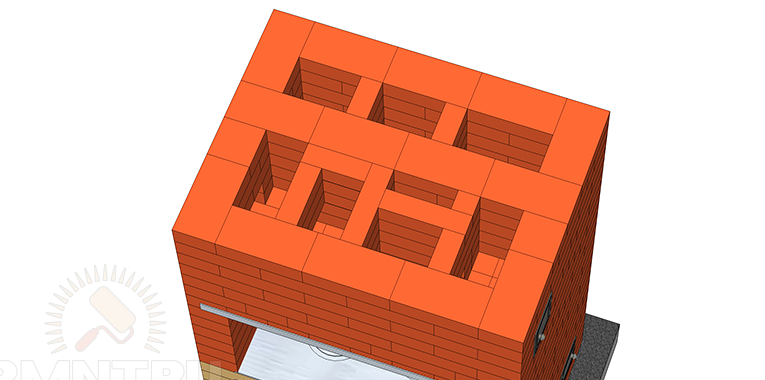
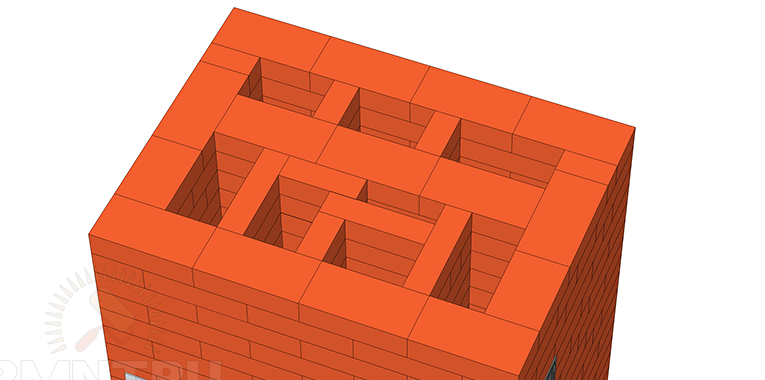
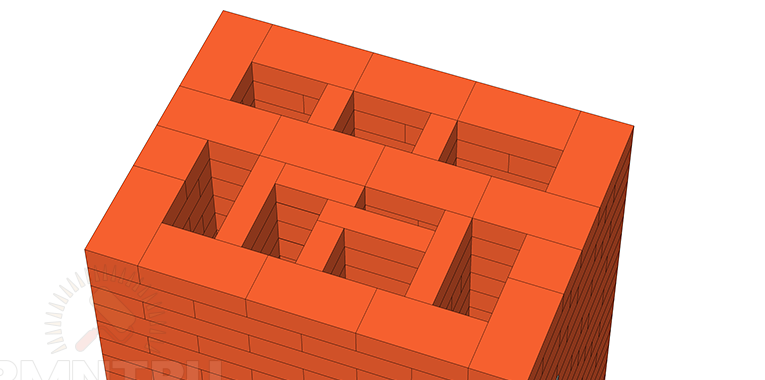
Step-by-step instructions for laying the Shvedka oven with your own hands and ordering.
This type of furnace is very economical in terms of building material, namely, according to the author, its creation will require only 500 bricks without taking into account the pipe. On the laying of the pipe, you can also save a little by using a used red brick, the price for it is usually half less than the new one, and the thrifty owner always has a solid pile of used brick in the yard, assembled over several years by brick)
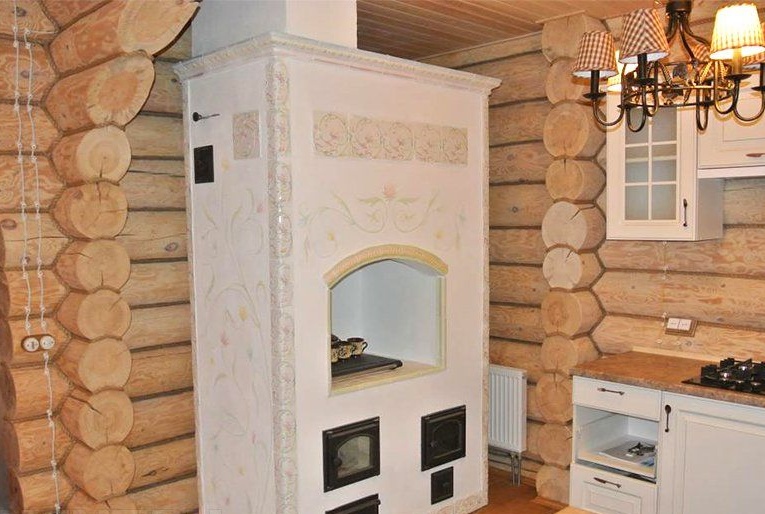
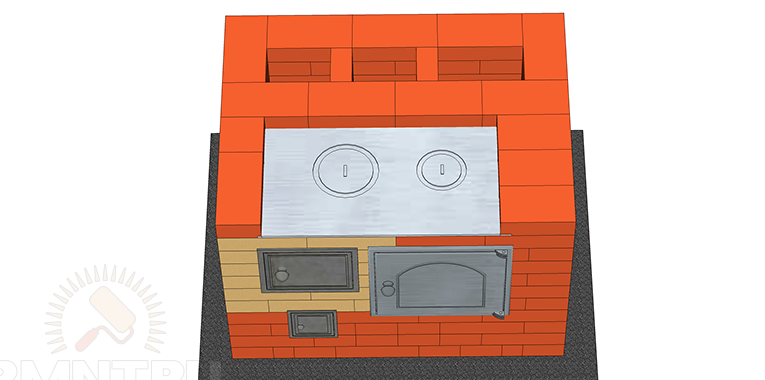
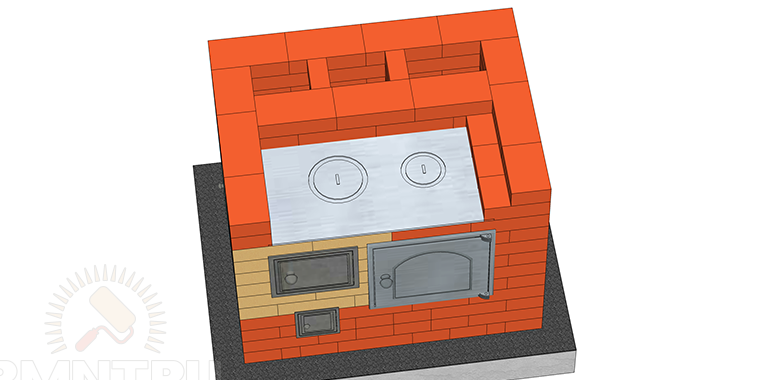
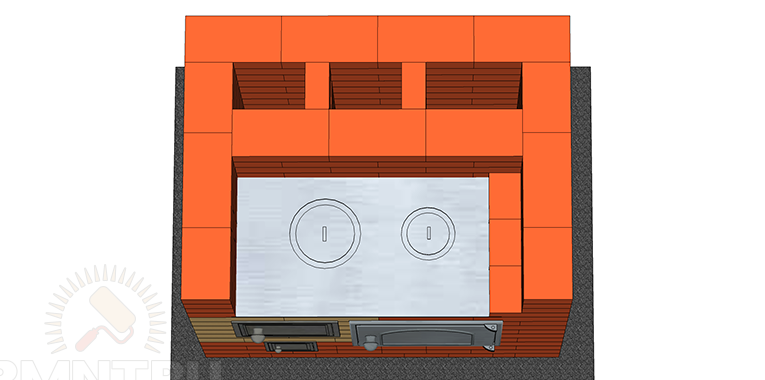
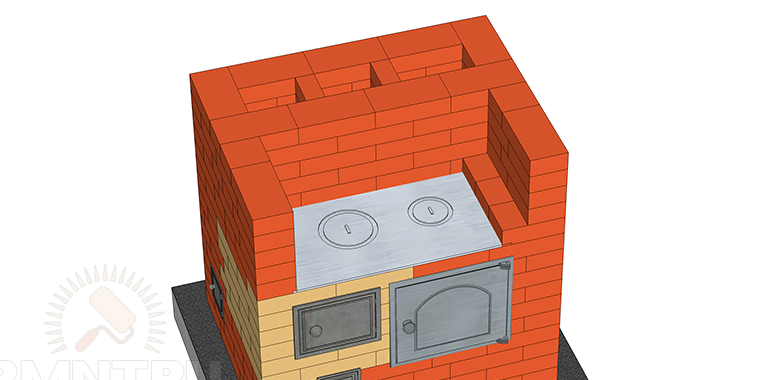
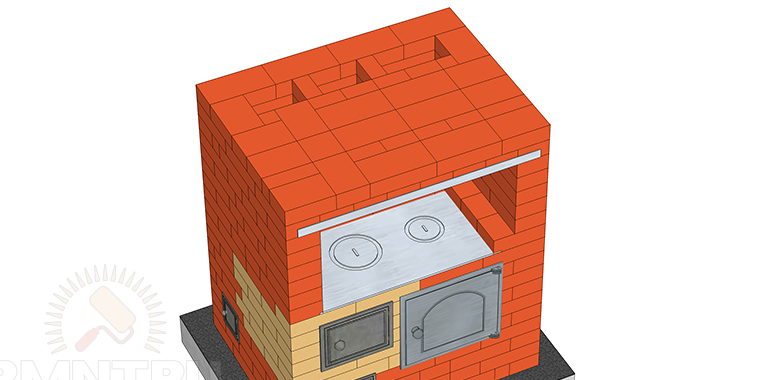
The oven includes a cooking chamber with a stove for 2 burners, as well as an oven for baking bread and pies, in general, with its small size, the oven is quite functional and carries additional utility benefits in addition to heating the room.
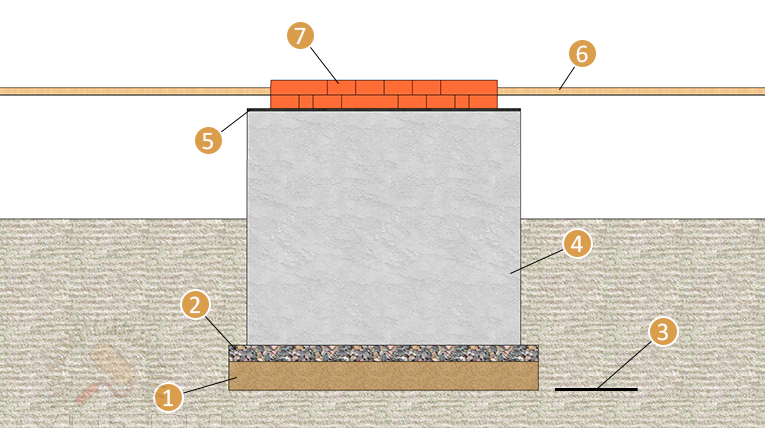
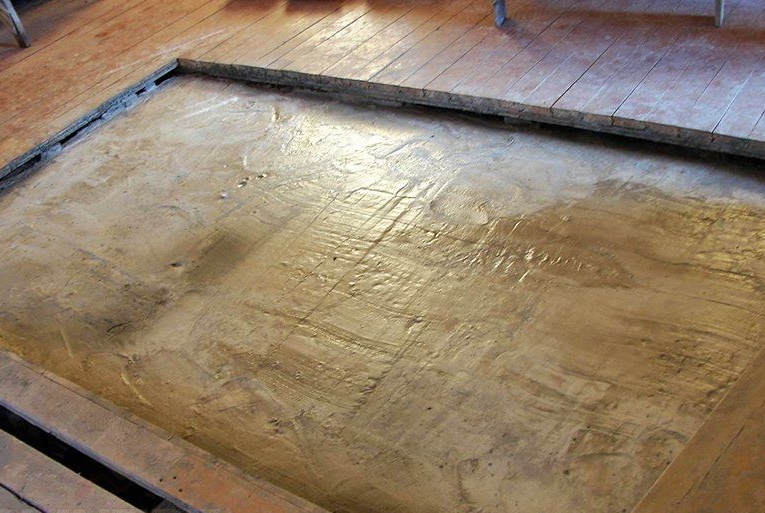
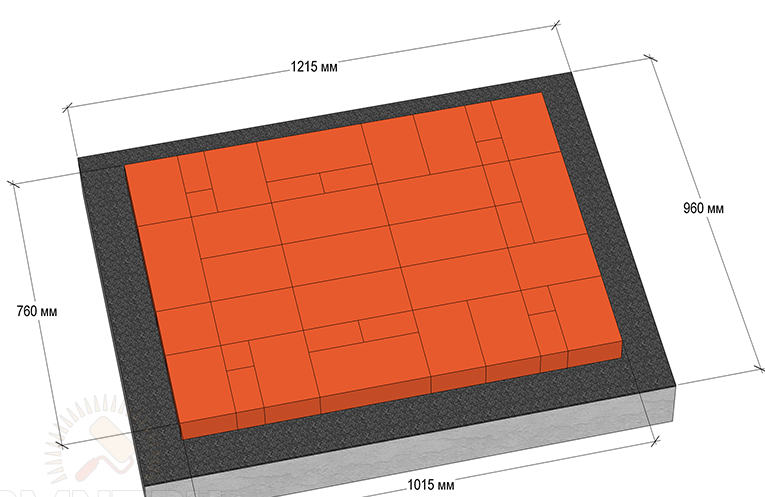
The furnace itself has significant weight and pressure on the ground, so a foundation is mandatory, it is best to fill it at the stages of building a house, so that it is easier to remove the soil, if the house is already built, you will have to carefully drop a hole under the foundation and remove it in buckets land to the street.
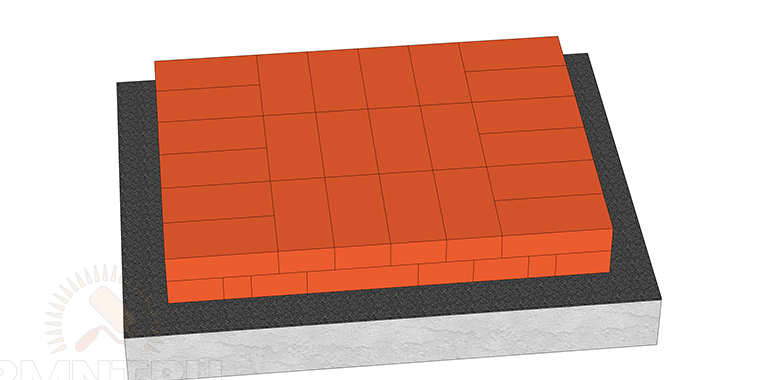
You also need to know the features of the soil on your site, the level of groundwater and whether there is a quicksand. The deepening is mainly done by 50 cm, and then the formwork is built, so that it is 5 cm lower than the floor level. The solution is prepared on the basis of cement grade not lower than M-400 and sand with a filler in the form of gravel and rubble stone. The composition is one part of cement, 2 parts of sand and 4 parts of crushed stone. All this fills the formwork to the very top and is rammed so that air bubbles come out, and the solution evenly fills all the cavities and cracks. After everything is ready, a chemical reaction and cement hardening will begin, so that this happens evenly, it is necessary to periodically wet the surface with water, so the cement will become more durable.
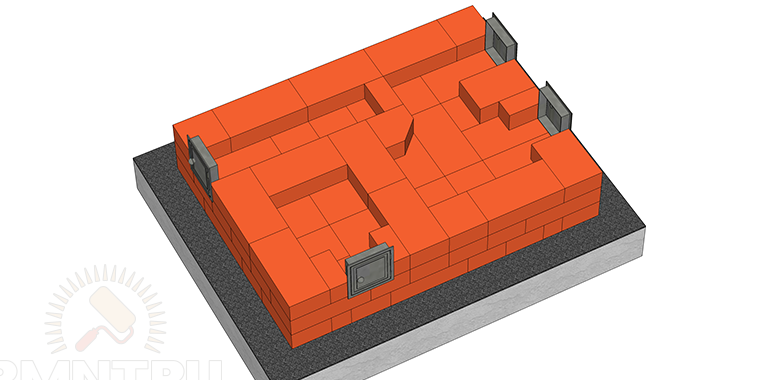
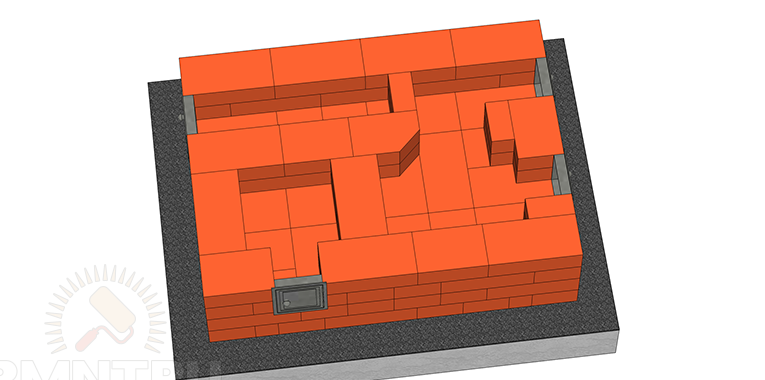
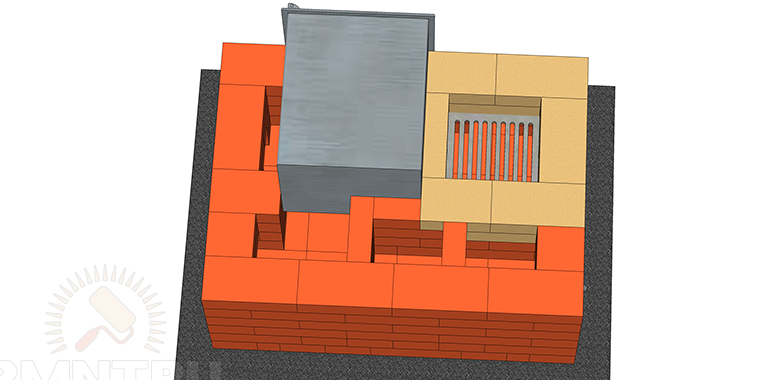
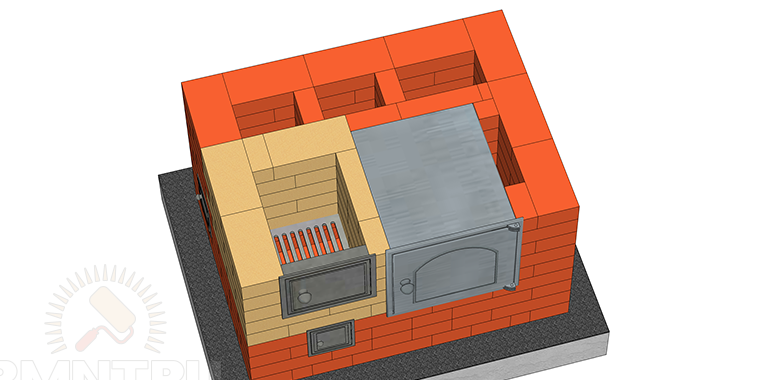
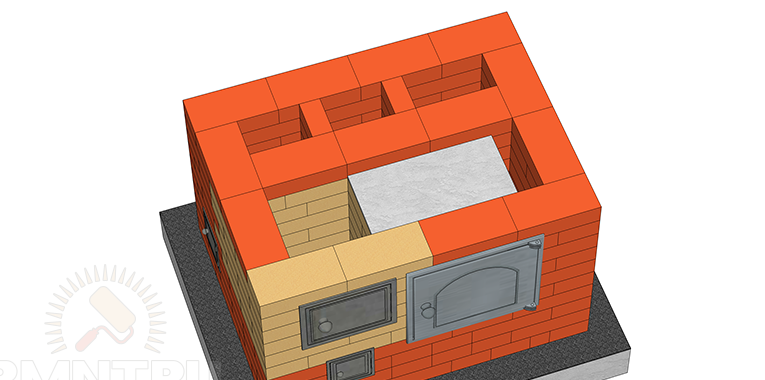
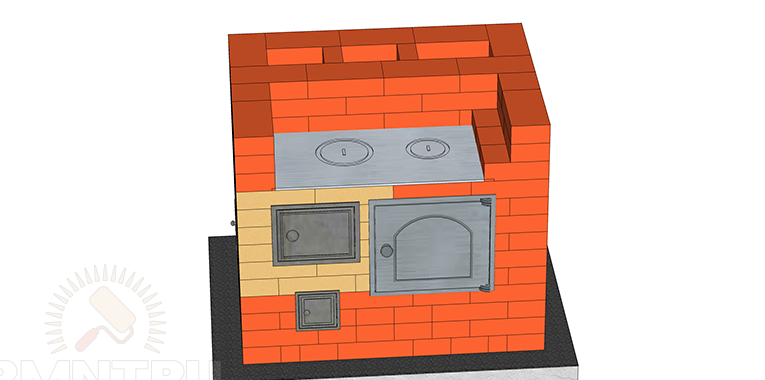
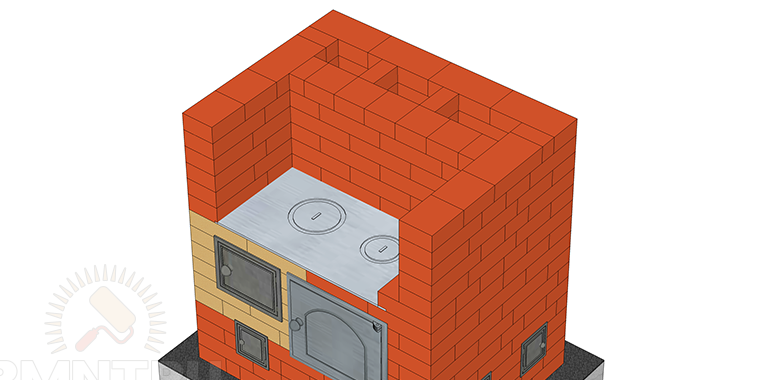
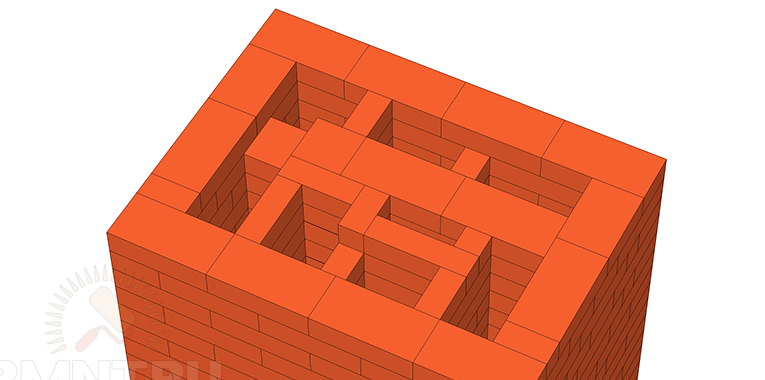
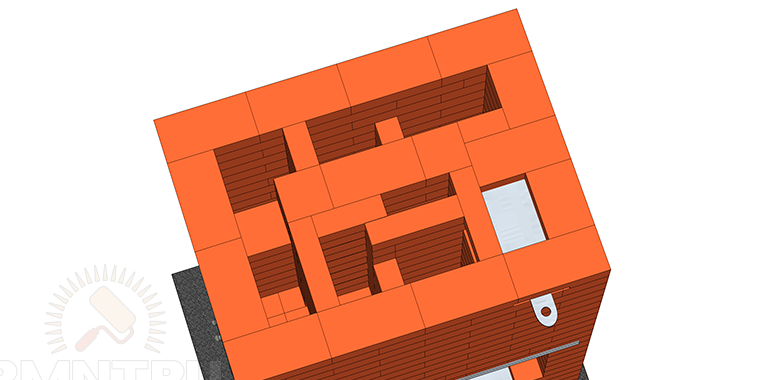
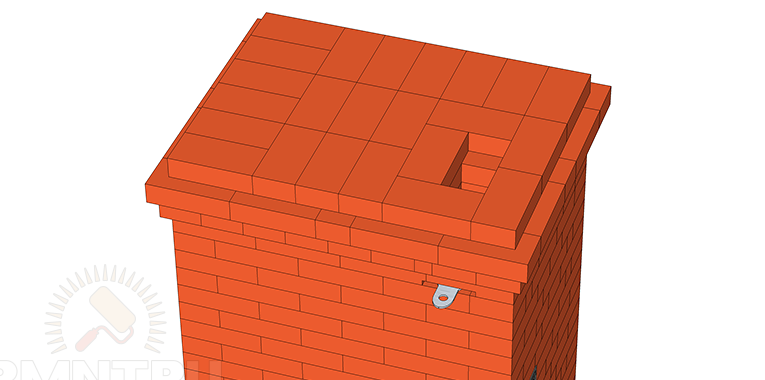
Overlapping the cooking chamber is done as follows, namely, a corner and a metal strip of 4-5 mm are laid.


Having such a wonderful stove in a private house, you can not worry that your electricity or gas will be turned off, your house will always be warm, light, cooked lunch and a hot kettle. In addition to all of the above, the Shvedka stove looks rather statically and will give your interior more surroundings.
This concludes the article. Thank you all for your attention!
Come visit often and do not miss the latest in the world of homemade goods!