

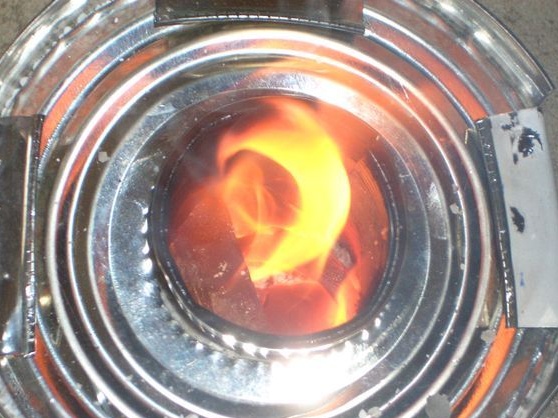
Today we look at how you can do do it yourself a small stove made of improvised materials. The peculiarity of rocket furnaces is that they form a flame with a high temperature. The advantage is that with this approach, the fuel burns as efficiently as possible, and its requirements are not very high (even not very dry burns).
Well, of course, in such an oven you can quickly heat water for tea, fry fried eggs and so on. As a basis for homemade The author used cans.
Materials and tools for homemade:
- four cans of different sizes (one large and two smaller);
- scissors for metal;
- insulation material (clay, earth, sand, etc. are suitable);
- pliers;
- hammer and nail;
- felt-tip pen, gloves and more.
The process of manufacturing a rocket stove:
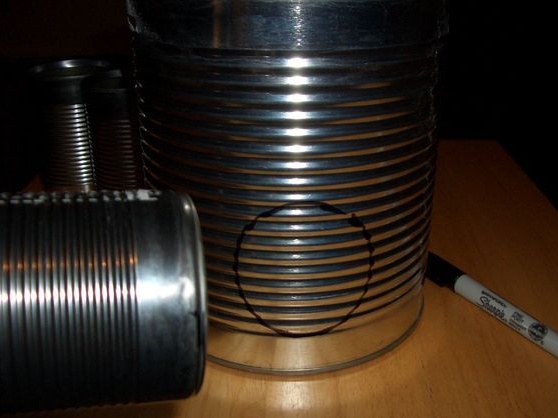
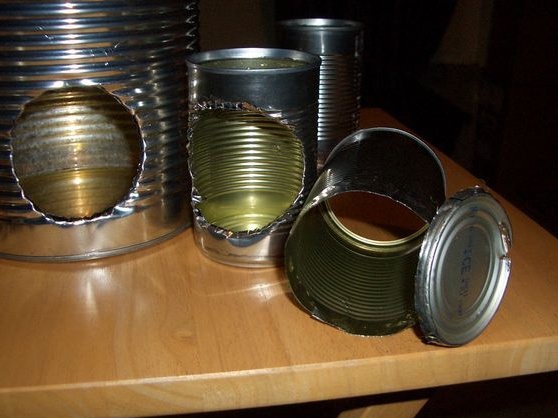
Step one. Cut a hole in a big jar
First you need to take two cans and clean them of paper, stickers, and also food debris, otherwise when you start the stove it all starts to smoke and smell unpleasant. Next, you need to take a jar of a smaller diameter and determine in place on a large jar under it. The author’s place is located a little higher from the bottom of a large can for convenience. Next you need to circle a circle with a felt-tip pen around a smaller can.
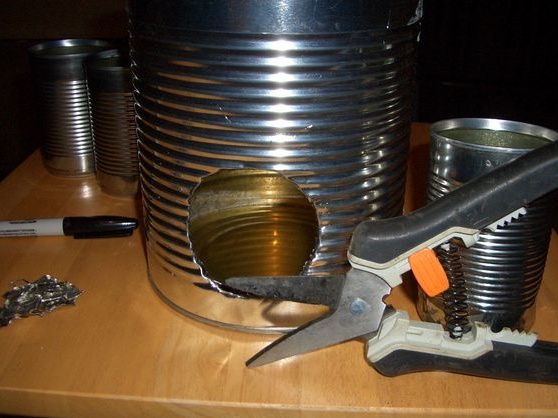
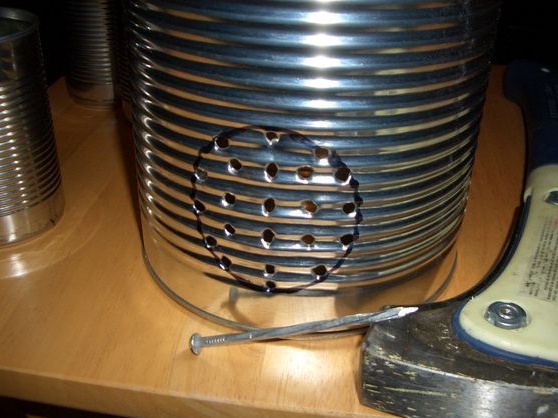
After that, you need a nail and a hammer, with the help of them you need to make holes in the drawn circle, then you can cut out this circle with them, you will need scissors for metal. You need to cut it out carefully and slowly, since too large a hole is not good. As a result, there will be sharp edges on the cut hole, they need to be bent inward using pliers. Thanks to this approach, a small jar will hold on tightly than if these edges were simply grind off.
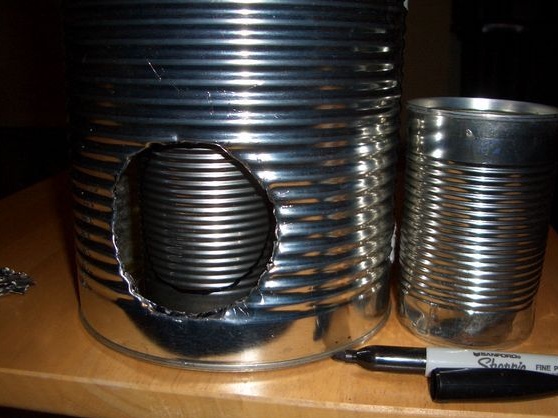
Step Two We prepare a small jar
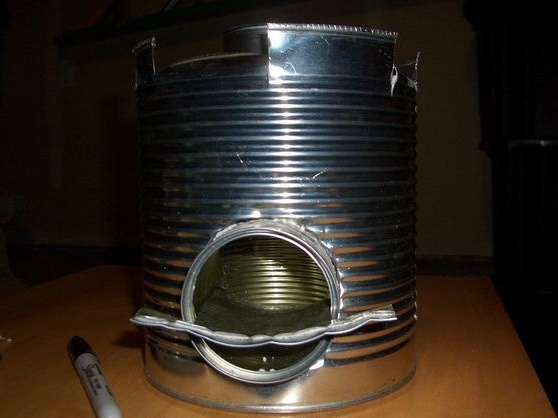
Now you need a second jar of smaller diameter, a hole will also need to be made in it. This element will be part of the furnace tube. The hole must be cut in the side of such a diameter so that a third can fit into it. The author cut a hole using the method above, that is, a hammer, a nail and scissors for metal. The pointed edges are also sharpened inward.

Step Three We cut the third can
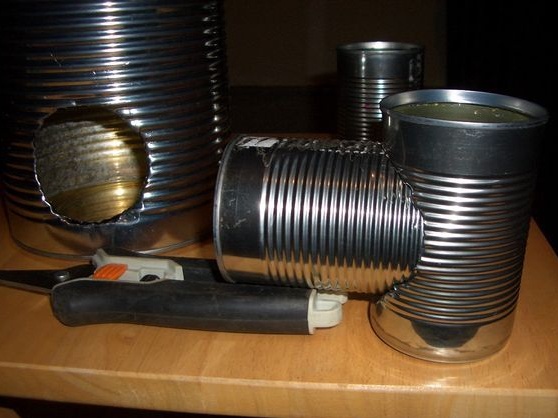
In the third bank, you need to cut the bottom, it will work like a firebox in this design. Next, one small jar is inserted into another, as seen in the photo. As a result, this "T" - shaped design is inserted into the body of a large can.
The easiest way is to cut the bottom in the jar, using a can opener. Although this is not shown in the photo, the installed structure in a large jar, it is better to fix it with a bolt and nut, drilling a hole through the bottoms.
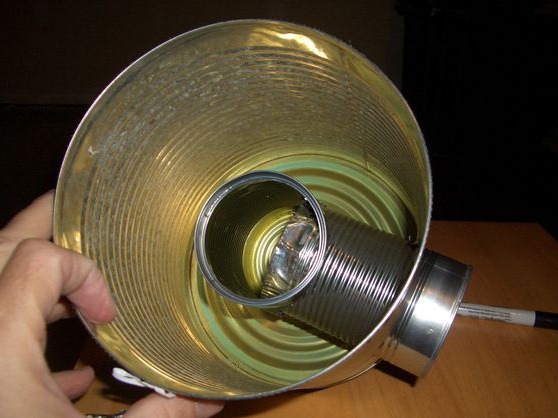
Step Four Building chimney
To make a chimney, you will need another jar of small diameter. She needs to cut off the bottom, and then cut along. As a result, the manufactured pipe should be inserted into the “T” -shaped structure. It is important not to make a mistake with the height of the pipe. It should be such that smoke can escape from the chimney when a pan or pan is placed on top of a large jar. The upper part of a large can acts as a support for dishes. The gap between the pipe and the dishes should be about 0.5-1 cm. Well, it all depends on the size of the furnace, firebox and so on.

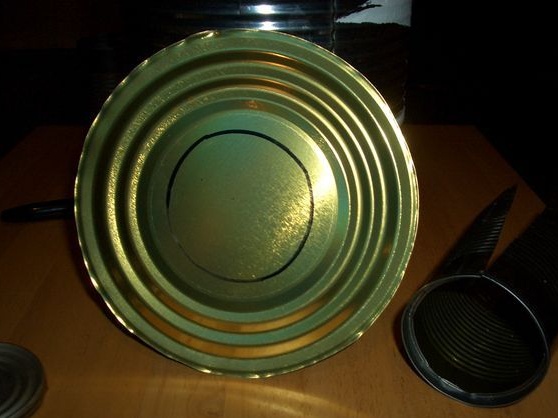
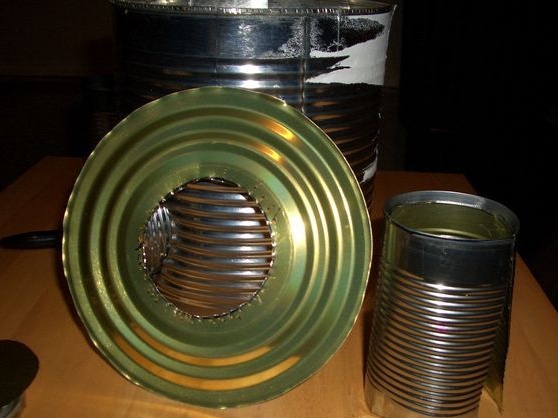
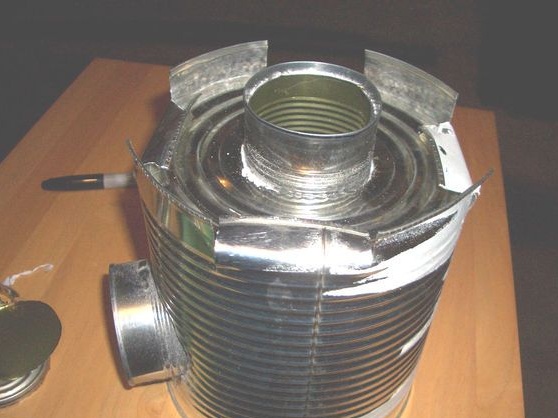
Step Five Top cover of the furnace. Chimney mount
To make the upper part of the furnace, you will need a cut out cover from a large can. In it you need to make a hole in the center with a diameter such as the diameter of the chimney. Further along the upper contour of a large can, you need to make incisions as in the photo. Then the formed plates from above through one can be bent inward. They will hold the lid. And the remaining flat plates are needed to hold the dishes. As a result, windows are also formed through which smoke will escape.
Step Six Furnace insulation
In order for the stove to be exactly rocket, you need to insulate the chimney and the furnace. As a result, the fuel during combustion will significantly increase the temperature inside the furnace, and this will lead to more and more active combustion.
The author used perlite as an insulator, since for him it was not difficult to find. Still for these purposes clay, sand, ash, earth and more are suitable.

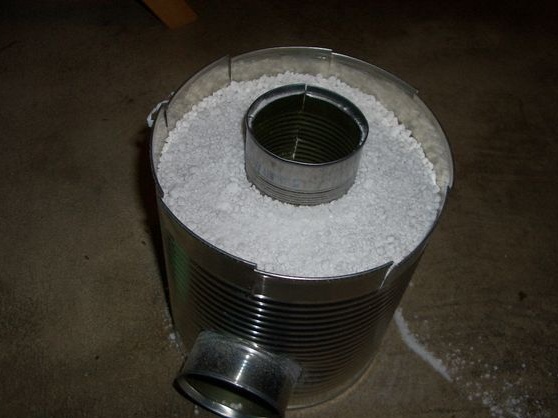
The insulator in the jar should be poured gradually, periodically tapping the jar on the table. This will fill all the empty niches in the stove. Well, then the lid is placed on top, and the upper plates are bent through one to fix the lid.
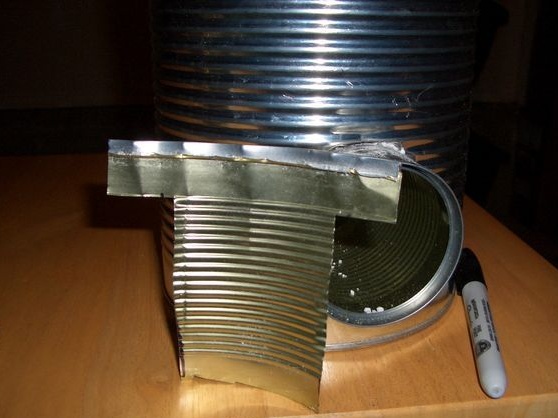
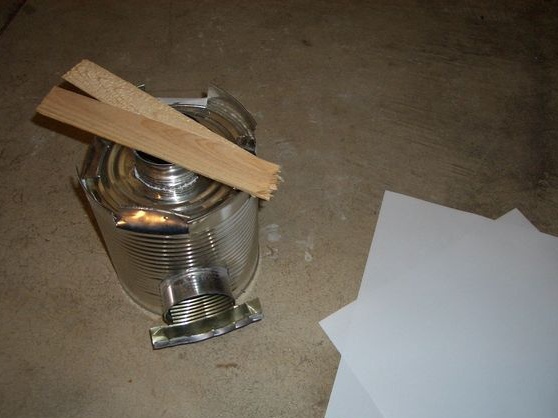
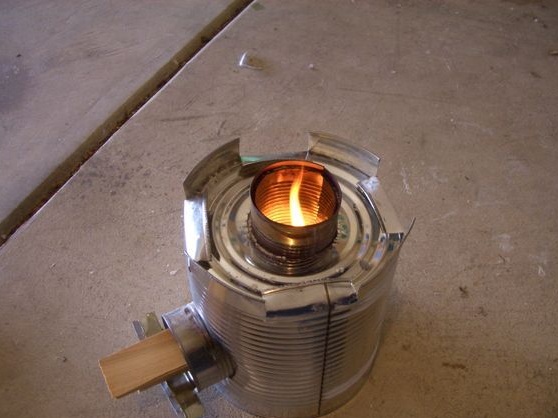
Seventh step. Fuel shelf
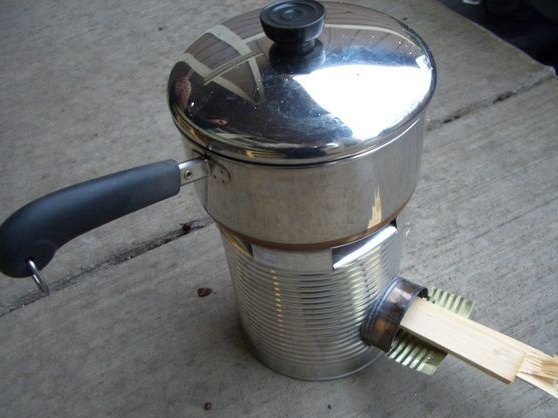
To make it convenient to heat the stove, you can make a simple fuel shelf. This shelf is also made of a can. The shape of the shelf should be cut out in the form of the letter "T". How exactly can be seen in the photo.
Step Eight. Completion and test
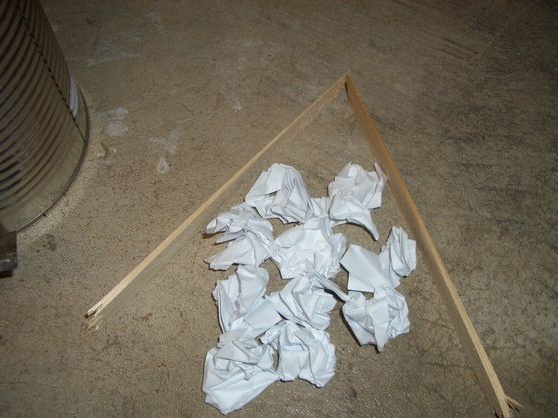
That's all, now the oven is ready for testing. Chips, sticks, paper, and more can be used as fuel. After warming up, combustion is very effective, and even raw sticks will burn here.
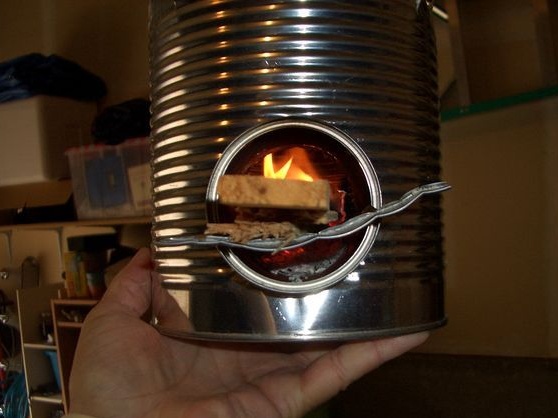
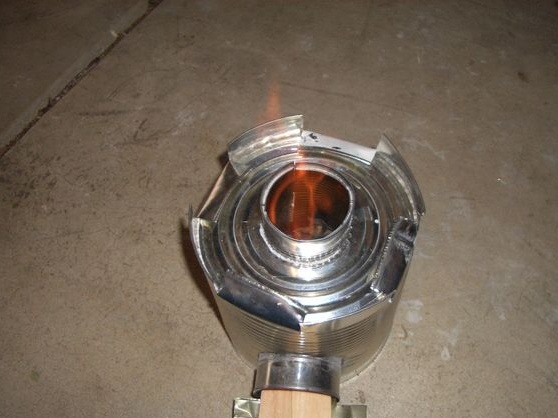
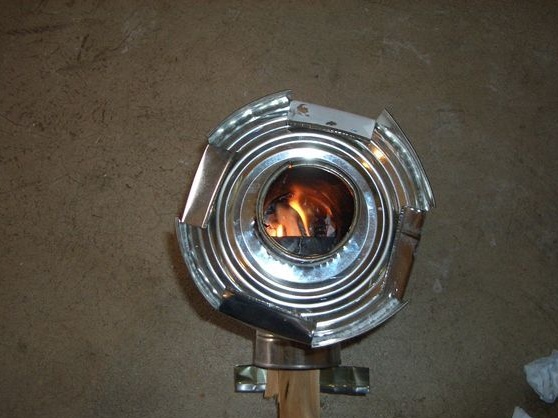
It is important to note that at first the stove is not hot outside, but after a short work it is very hot, so you can not touch it with your bare hands, otherwise you can get a severe burn. For a more efficient ignition, you can put a little paper in the chimney, this will immediately create good traction.


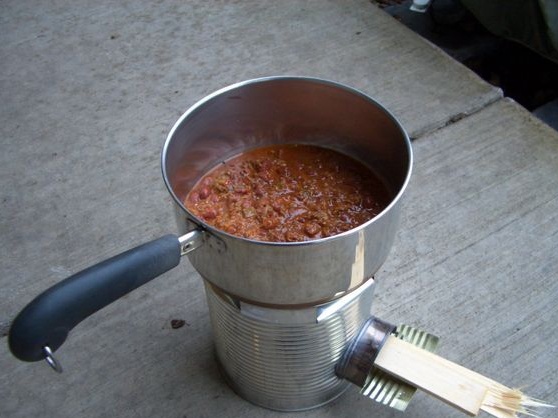
As an experiment, the author prepared Chile. According to him, the furnace works very well and is quite economical. You can assemble such an oven in an hour, having the necessary tools and materials at hand. It is important to use gloves when working, as the edges of the can openings are very sharp and can be easily injured.