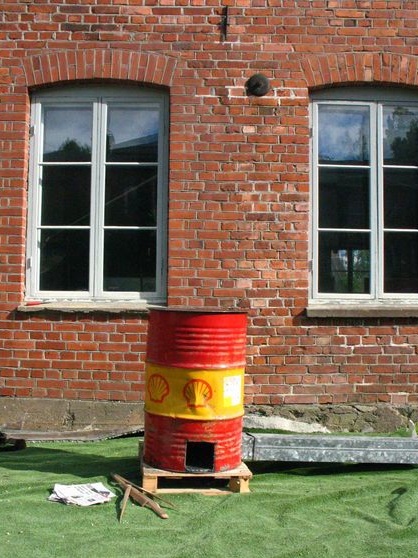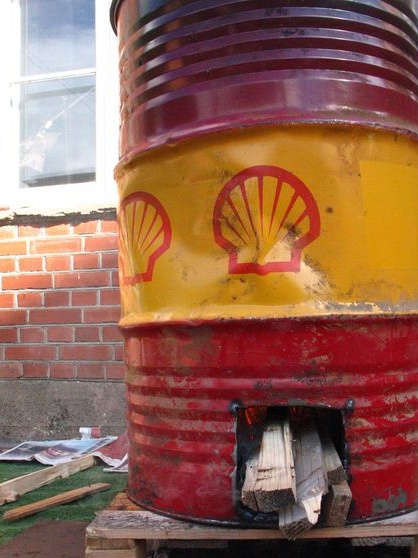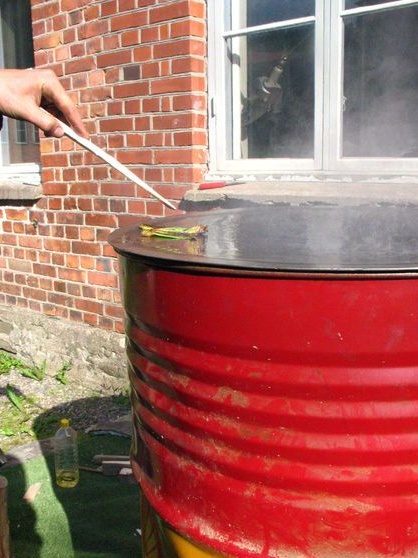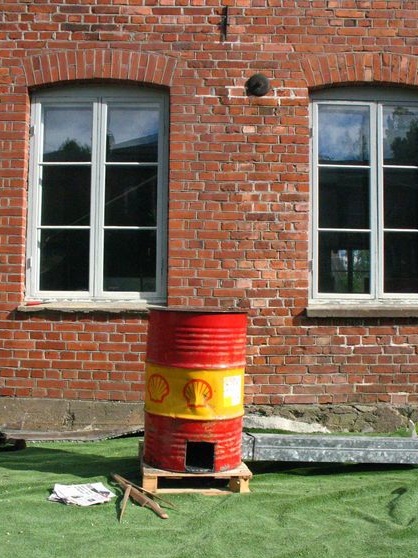
The instruction is devoted to creating an outdoor rocket-type furnace from a large steel barrel. Such an oven will not let you freeze in nature, and it also has a cooking surface on which you can fry fish, potatoes and other vegetables.
The barrel was used from under the engine oil, the drawback here is that it had to be washed and scrubbed for a very long time to completely remove the oil. In addition, for sure such a barrel will also have to be properly burned before building ovens.
Materials and tools for homemade:
- steel barrel;
- coolant;
- metal cutting tool (grinder);
- welding;
- steel pipe of large diameter (wall thickness of at least 2-3 mm);
- a piece of steel pipe to create insulation around the furnace;
- a piece of steel sheet to create a lid (frying surface);
- pieces of metal to create pens, legs and so on;
- hammer, drill and other tools.
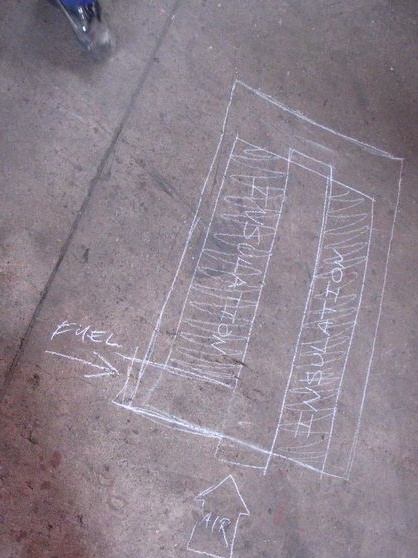
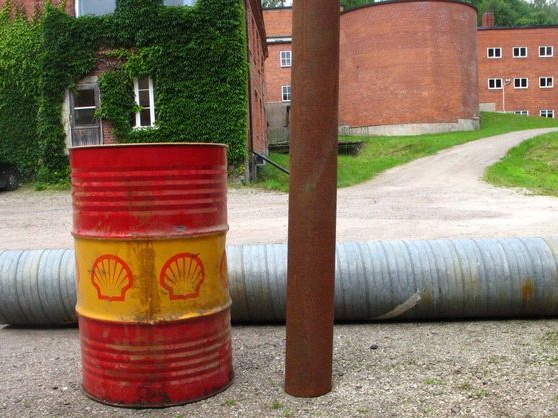
The process of manufacturing the stove:
Step one. Barrel preparation
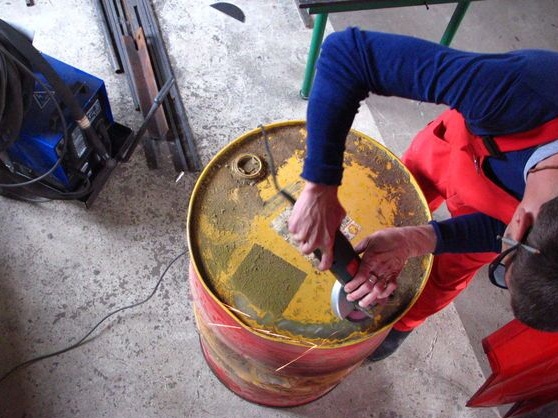
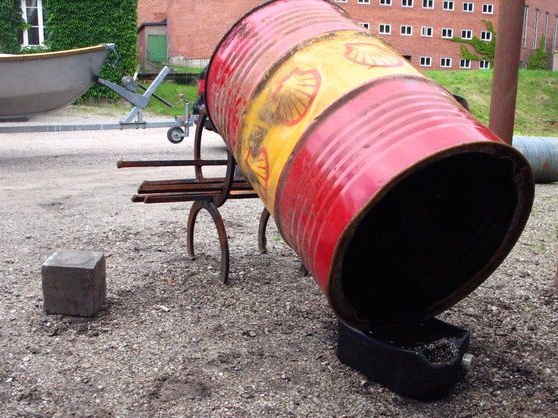
The author began with the preparation of the barrel. First, you need to cut off the lid from it and then drain the remaining oil or what was in it. Then you need to clean the barrel well, because when you start the oven it will heat up very much and as a result the remaining oil will start to smoke very much. Even from the barrel you need to remove all the stickers and even the paint, as it will surely burn in the process.
Step Two The manufacture of a combustion chamber
The combustion chamber is the most important element in a rocket furnace, it is its heart. A very high temperature is formed inside it during combustion, so the walls of the combustion chamber must be thick enough so that the metal does not burn out.
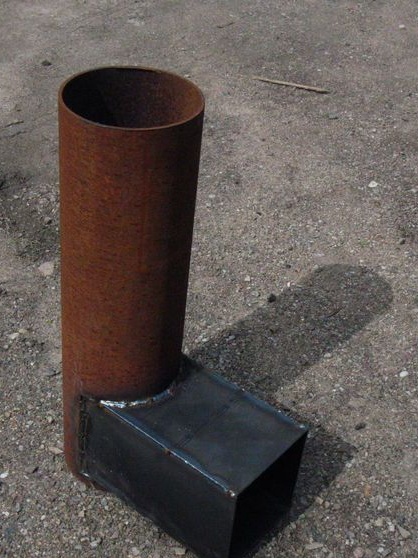
The combustion chamber can be made in two ways. In the first method, two pipes are taken, in one a hole is made under the other, then they are inserted into each other and welded.
Two more pipes can be cut at an angle of 45about and weld, as a result, an “L” - shaped bend is formed.
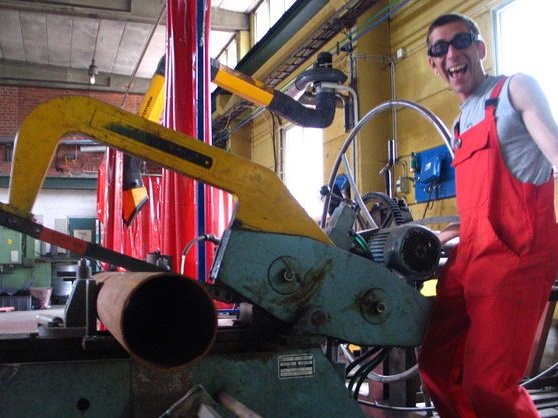
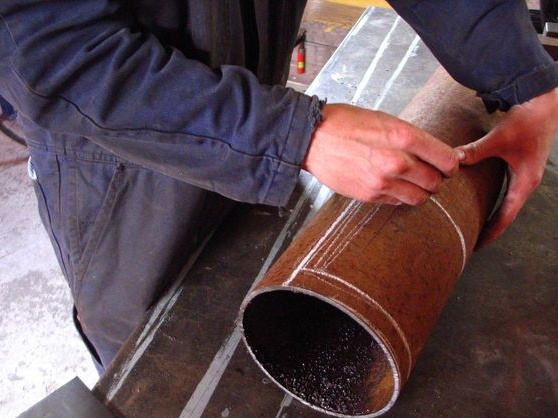
In the second case, sheet metal is needed, a square-shaped firebox is made from it. This firebox is welded into a pre-cut hole in the pipe.
Among other things, it is important to note that in the combustion chamber must have a shelf for fuel. It is needed so that the air that is needed for efficient combustion can enter the stove.
Step Three Combustion chamber insulation
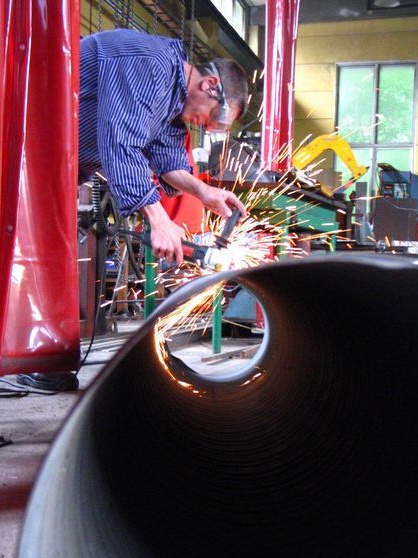
So that the combustion chamber can heat up well and burn firewood, it must be insulated. For these purposes, you will need another piece of large diameter pipe, which must be inserted into the main large barrel.Also in the pipe you will need to make a hole through which the firebox will pass. For reliability, the insulating chamber can be welded to the bottom of the main barrel. The height of the insulating pipe should be the same as the height of the furnace.
Step Four Chimney
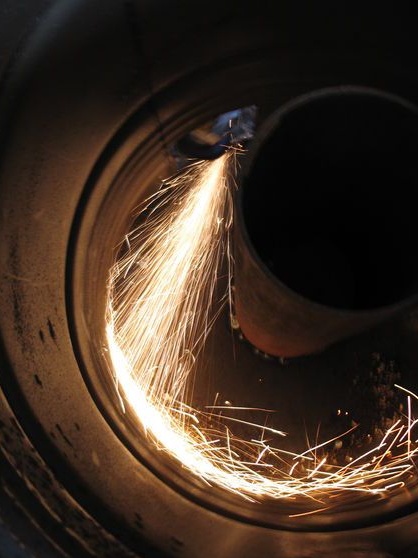
According to the author, the fuel burns so efficiently that practically no smoke comes from the chimney, only hot CO is formed2. The author brought the chimney horizontally from the back of the barrel. If necessary, a detachable pipe can be attached to the barrel if fastened under it. The length of such a pipe can be up to 1 meter. But, according to the author, an additional pipe height is not needed here, since the draft in the stove is normal.
Step Five Insulation / coolant
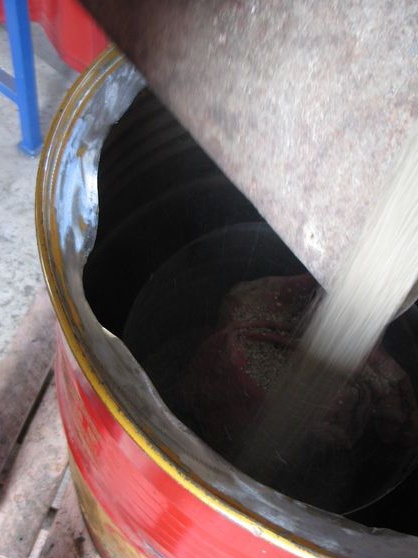
From the instructions it remains not entirely clear whether an insulator or a coolant is needed for the stove. Most likely, it will be necessary to use a coolant, as dishes will be prepared on such an oven, and it will be much longer to warm at the same time. Dense rocks are suitable for such purposes, it can be crushed stone, pieces of brick, tiles, vermiculite and more.
Step Six Testing
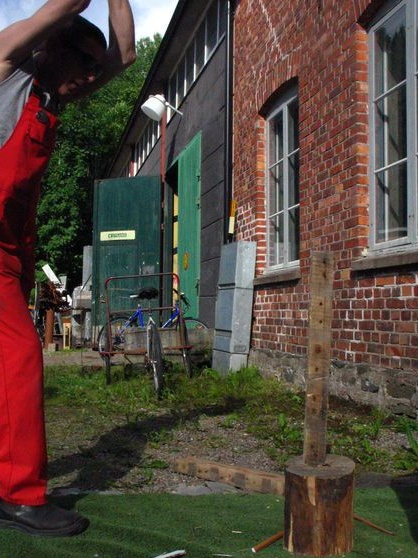
That's all, the oven is ready for testing. You can chop wood and do the first kindling. For the first time, it is advisable to simply soak the stove so well to see how it works, and even to burn the remaining pollution. Well, then you can already cook on it. The frying surface is on top, it is made of a metal plate. Unfortunately, the author did not post a photo of which coating is on top of the plate.
