
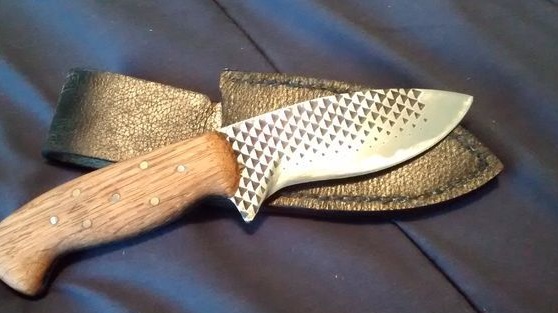
As you know, metalworking tools are made of very strong steel, and then they are also well tempered. Today we will consider homemade, which is made from a rasp, that is, a file with large cloves. Such a knife can be presented as a unique gift or even sold. It has excellent cutting qualities and has a respectable appearance.
Materials and tools for homemade:
- old rasp;
- pre-prepared knife design;
- grinder;
- burner for heating steel;
- vise;
- preferably sharpened;
- drill or drilling machine;
- vinegar (for metal cleaning);
- epoxy;
- wood to create a pen;
- two steel pins (for the handle);
- sandpaper and more.
The process of making a knife:
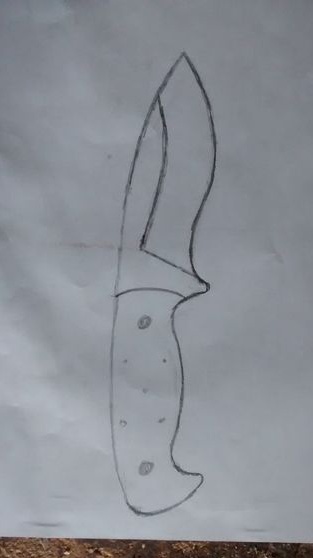
Step one. Knife design
First of all, you need to create or find a knife design, it must be applied on paper. According to the author, good shots of mono knives are found on Pinterest.
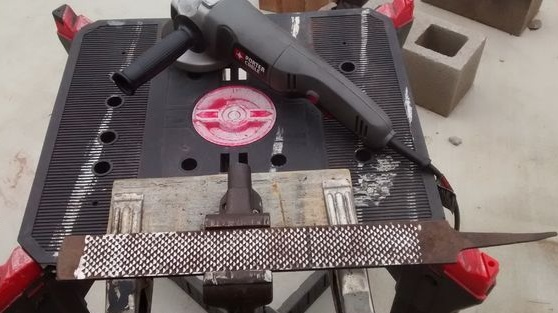
Step Two Material preparation
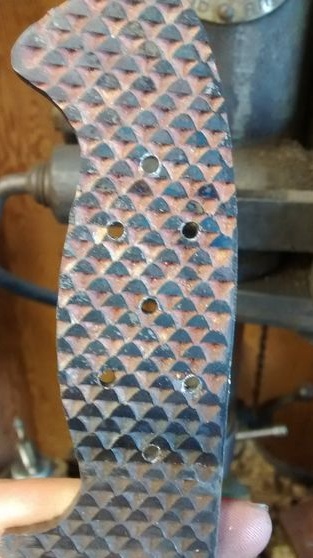
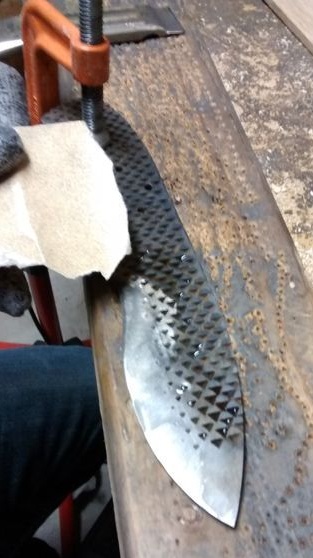
The material we have is an old file. It needs to be thoroughly cleaned of rust, a grinder with a steel brush or an edged cutting wheel is suitable for such purposes.

All such home-made products are made according to one principle, first the knife is cut directly with the blade, and then it can be hardened. But since the file steel is already already perfectly hardened, it is not necessary to re-heat it here. The work is carried out with already hardened steel. The only thing you need is just to warm the file well (up to about 200 degrees) to remove dirt from it. For such purposes, a household oven is also suitable.
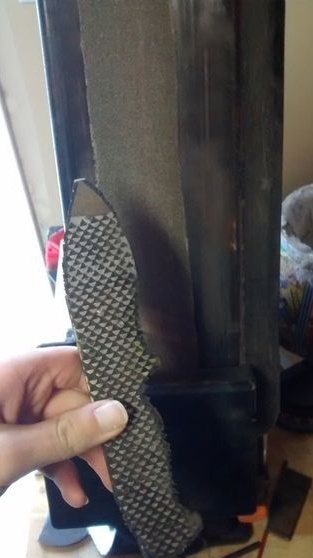
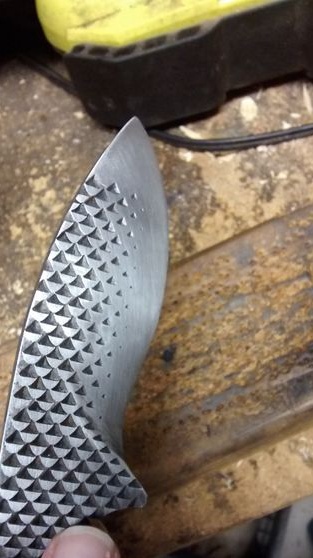
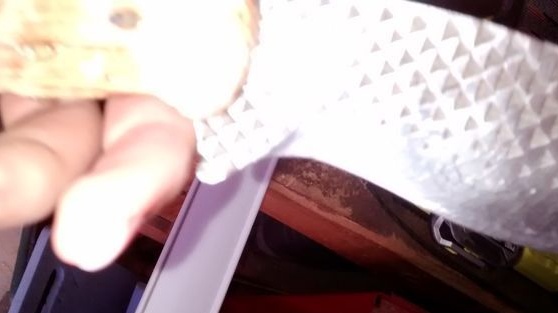
Even at this stage, the author makes the teeth of the file smooth and cuts out the basic shape of the knife.
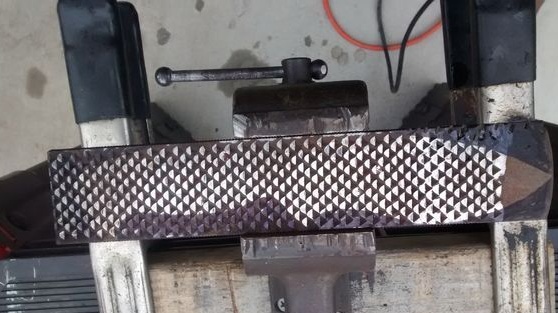
Step Three Creating a basic knife profile
To create a profile, the author used a belt sander. In general, when making a knife, it is important to ensure that the metal does not overheat, otherwise it will immediately lose hardening and such homemade work will become meaningless.
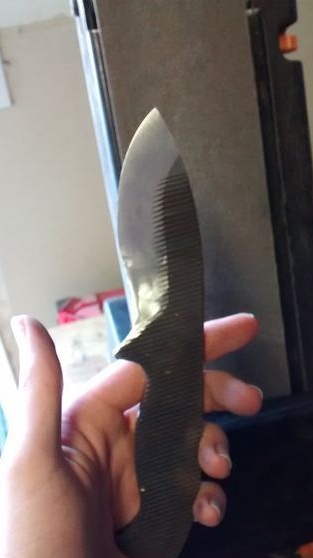
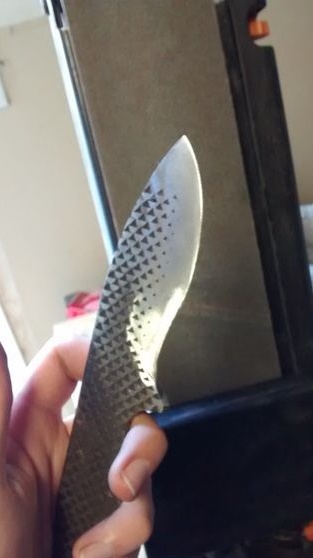
Step Four Knife bevel
The author also makes the necessary bevel of the knife with the help of a grinding machine. It is necessary to hold the knife at the right angle to the tape for a while without overheating the steel. Then a similar thing is done on the other side. You can make a bevel using other methods, using a grinder and so on.
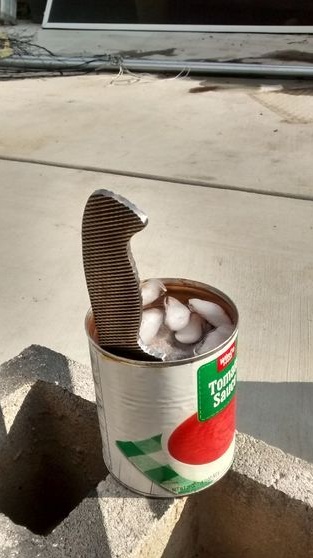
Step Five Soften the handle and drill holes
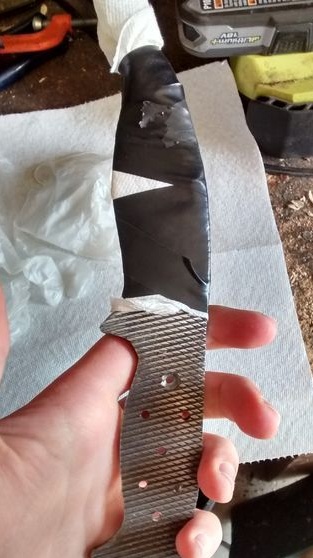
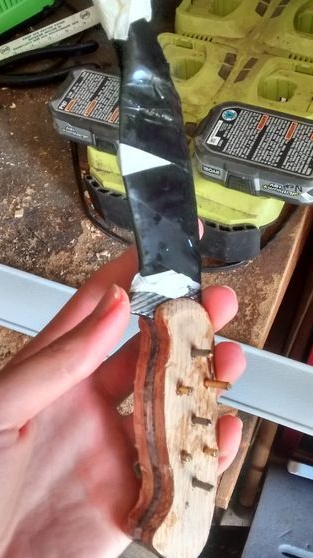
Just so, drilling holes in the hardened metal will not work, first you need to "let go" of it. For such purposes, you will need a torch (blowtorch), which will allow the metal to heat up to red.So that we do not accidentally “let go” the blade of a knife, it must be placed in a container of water. After heating the handle, it must be allowed to cool gradually.
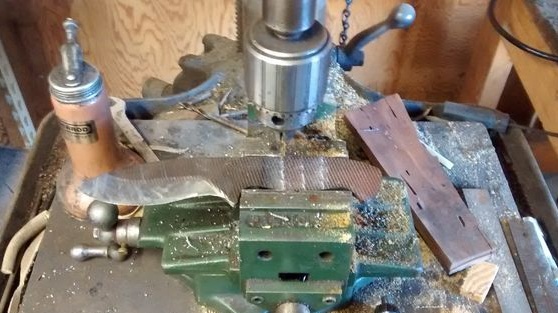
That's all, when the metal cools down, you can drill holes for fixing the handle. The author has a lot of such holes, but in fact it is not necessary, two are enough. Drilling such things is convenient with a drilling machine.
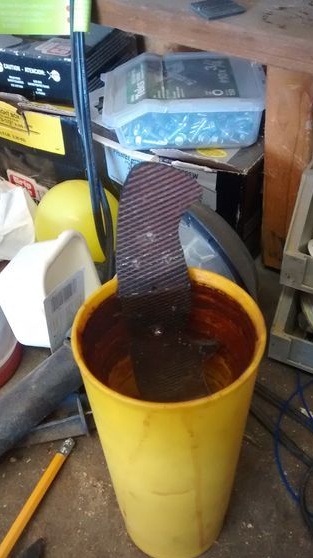
Step Six We clean the metal of the knife
After immersion in water, the knife will become rusty, and certainly long before that enough rust has deposited on it. To remove it, the knife must be lowered into a container of vinegar. But you should not keep steel in vinegar for more than an hour, as the acid will leave holes in the metal, which will be very difficult to remove.
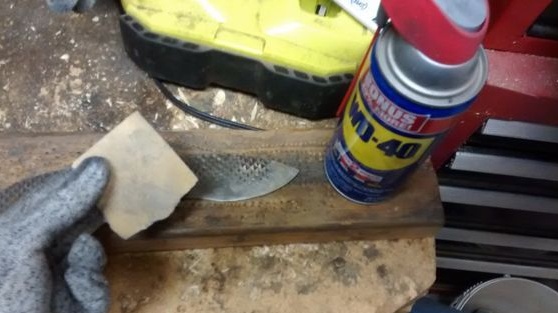

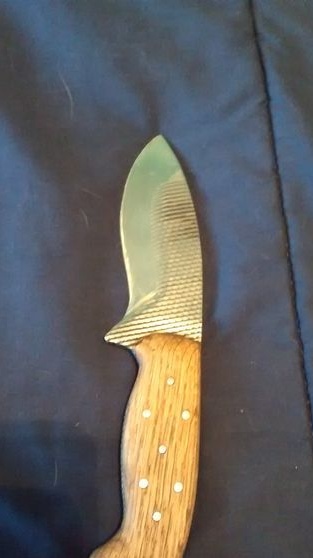
Further, after vinegar, the knife will have a gray color, it must be polished, bring the metal to a shine. For such purposes, fine sandpaper and WD-40 will be needed.
Seventh step. Preparing materials and creating pens
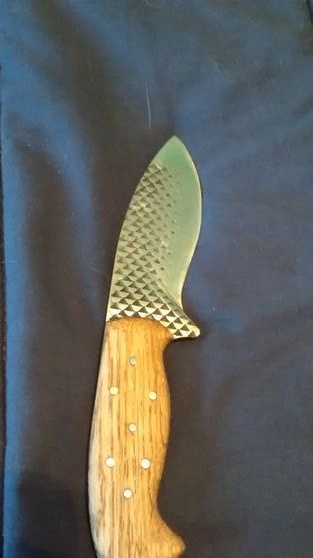
The author makes a pen out of wood. You can think for yourself and look for wood with a beautiful pattern. You can make a pen from hard rock, for example, oak, so that it lasts longer.
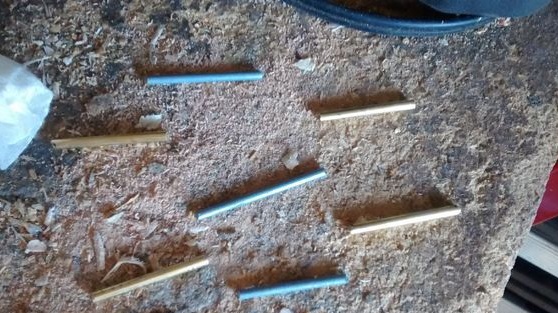
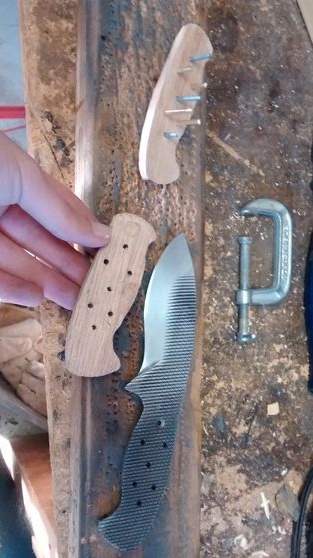

In addition, you will need metal pins that will hold the handle. In addition, they give her beauty. These pins can be made of various materials - copper, steel, aluminum, etc. The main thing is that the pins fit the diameter of the holes.
When all the parts have been prepared, the handle can be assembled. First, you need to wrap the blade with a rag or paper towel so as not to cover it with glue. Well, then an epoxy is taken, applied to one half of the handle with pins and pressed to the knife. Then a similar procedure is carried out with the other half.
In conclusion, the handle is well clamped in a vice or other fixture and is in this state until the epoxy is completely frozen.
Step Eight. Handle revision
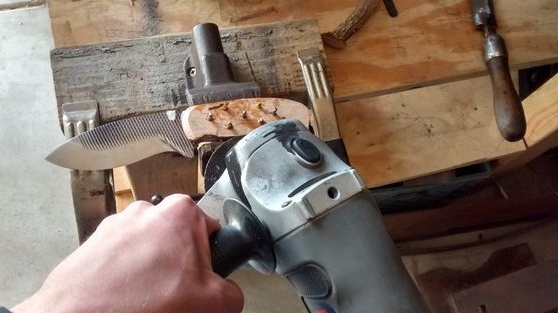
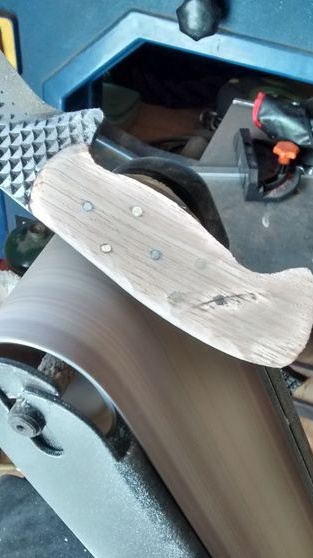
When the glue dries, the knife can be taken out of the vice, at this stage you need to polish the handle well, make it even, smooth, remove the remnants of the dried glue. First, you need to carefully grind the protruding pins with a grinder, and then handle the handle on a belt grinder.


Step Nine. Final stage
At the end, the author impregnates the pen with mineral oil. But for such purposes, you can use dyes and other types of impregnation.
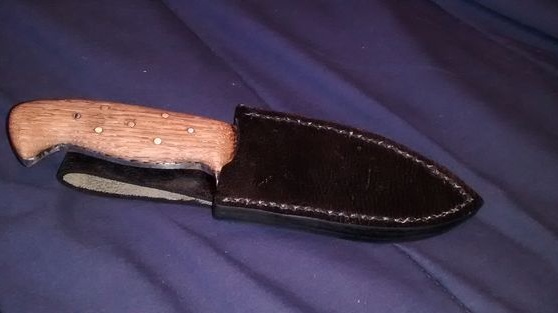
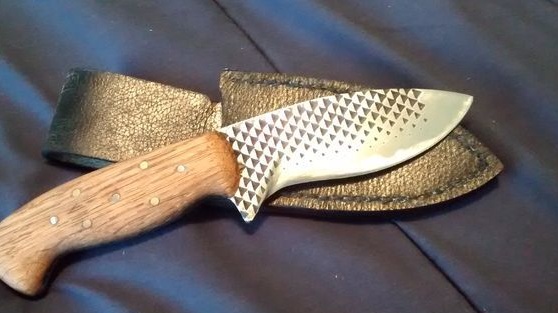
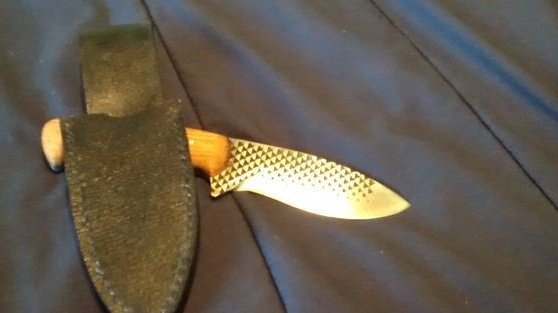

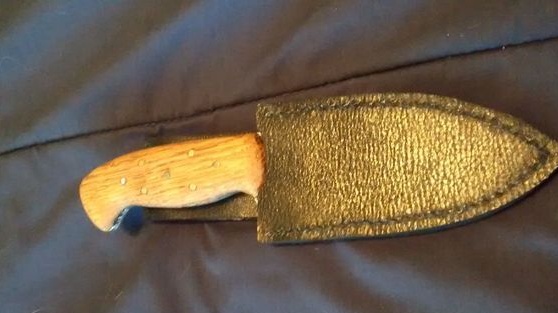
In addition, the author also made a sheath for his knife, but this process, alas, he did not capture in the photo.