The production of wooden utensils has long passed into the category of exotic activities. And if earlier in almost every village one could find masters of turning art, nowadays only a few skills are possessed by such rare skills.
At this rate, the production of wooden utensils in home conditions will soon sink into oblivion, but you must admit, I would not want to allow this to happen.
True, there are several methods for producing dishes without using a lathe. They are universally used also on an industrial scale.
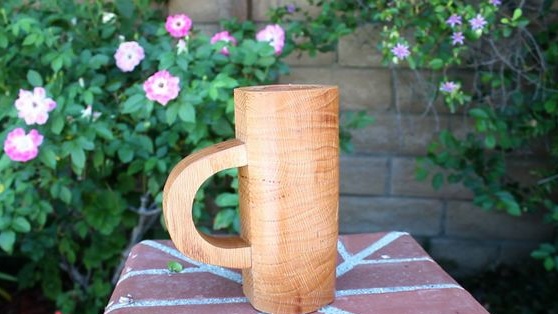
The author of this workshop will introduce us to one of these methods. He made a mug from an old shelf, which his friend was glad to get rid of. Read about how to repeat his experience.
In the meantime, let’s decide what materials and tools you need to do it yourself make a beer mug without using a lathe.
1. Materials:
- natural wood trim or wooden board;
- safe wood glue, applicable for the production of food products;
- water-based wood varnish with a durable waterproof coating or oil;
- glue for processing the inside of the mug, intended also for the manufacture of dishes.
2. Tools:
- any of the available tools for sawing wood: miter saw, circular saw, chainsaw, jigsaw or conventional hand saw for wood;
- belt sander;
- a drill with a mill equal to the diameter of the circle;
- a grinder with a grinding disc designed for working with wood;
- clamps;
- sandpaper;
- fabric to remove excess glue;
- ruler-square;
- a pencil;
- a pair of patterns corresponding to the outer and inner diameter of the circle.
Step One: Material Selection
The author used an old wall shelf, which he got for free from a friend. Presumably it was made from Mahogany, so the output could count on a rich and original wood texture.
He had to plan the wood-treated surface of the oil, since it would prevent the parts from gluing together. Moreover, the origin of the oil is all doubtful for food purposes.
For work, you will need a solid board of more or less valuable wood species. Timber cuttings left over from previous work are also suitable.The main thing is that they were slightly larger than the final diameter of the beer mug.
Pay particular attention to the degree of wood drying. In the production of such small products, this parameter is almost key.
The tree should not be raw. It also should not be overdried, since in this case cracks form on the surface.
Avoid areas with knots. They are very difficult to process and they generally have completely different properties than the body of wood.
It will not be superfluous to pay attention to the smell of the material. Since you will drink beer from a mug, you probably would like to enjoy its aroma. Too strong a tree smell will interrupt it.
Step Two: Material Pretreatment and Parts Production
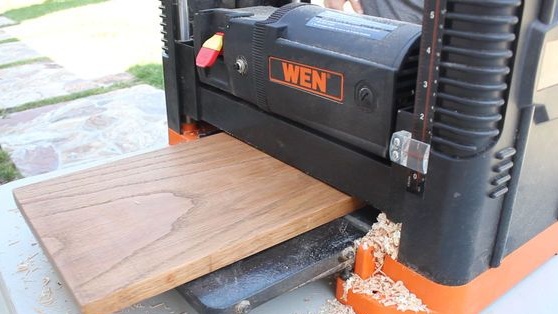
All parts made by you for gluing should be perfectly even and smooth. Therefore, carefully plan the boards and grind them using a belt grinder.
The use of an angle grinder can provoke the appearance of recesses on the surface, and this prevents the normal bonding of parts.
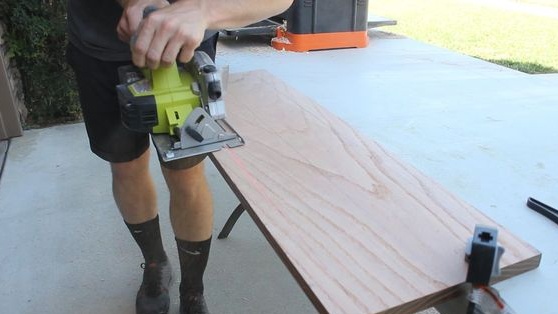
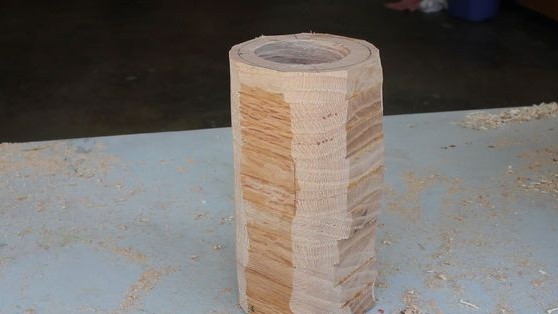
The author got a wide board, which he spread into three strips and sawed each of them into squares.
The sides of the parts should only slightly exceed the outside diameter of the beer mug. If you leave too much, you will have to grind the workpiece for a long time. Therefore, pay a little attention to measurements.
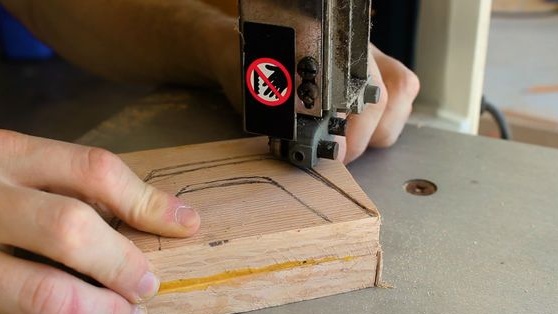
Sawing of parts can be carried out with any tool, including a manual hacksaw. Flat edges are not so important, although they will facilitate the grinding process.
So, prepare the details in such a quantity that they are enough for the height of the mug. Clean them from dust and proceed to the next step.

Step Three: Bonding the Workpiece
If you carefully processed the material, there should be no problems with gluing.
Pay particular attention to the choice of glue. Do not forget that you are working with dishes that come in contact with food.
Particularly malicious glue composition can easily lead to poisoning, so consult a specialist regarding the composition.
Also, the glue must have exceptional waterproof properties, since the mug must constantly be washed.
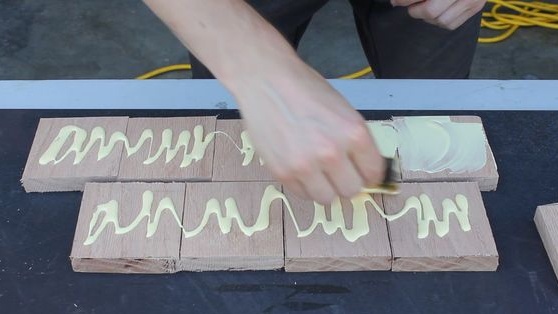
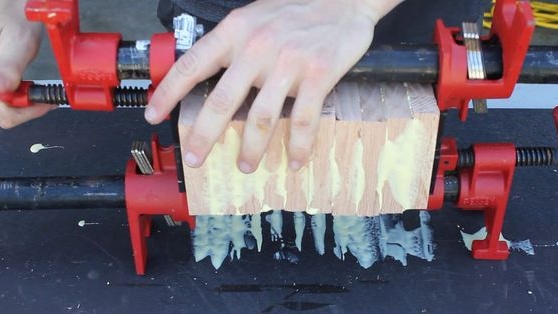
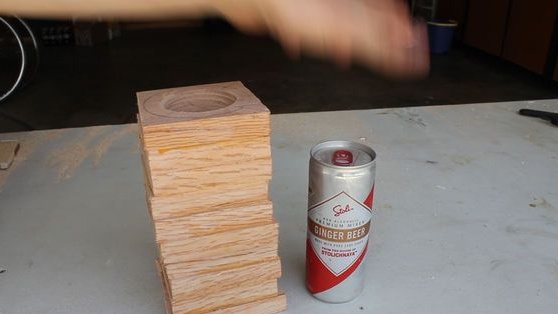
Apply glue to each part and carefully distribute it on the surface of the tree. Gather the squares together and securely fix with clamps.
Excess glue should come out without forming too thick seams. Remove them with a damp, lint-free cloth and leave the workpiece to dry completely at room temperature.
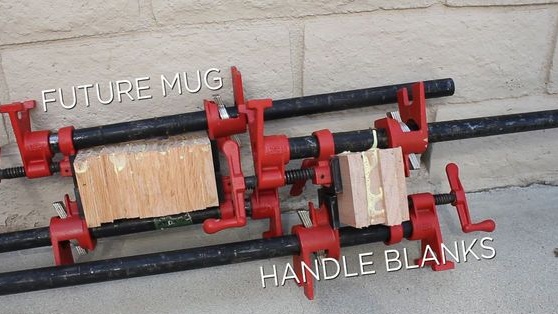
According to the described principle, make a blank for the handle of the mug.
Fourth step: making the inner cavity of the cup
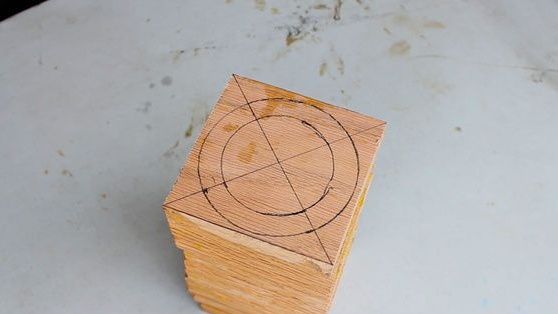
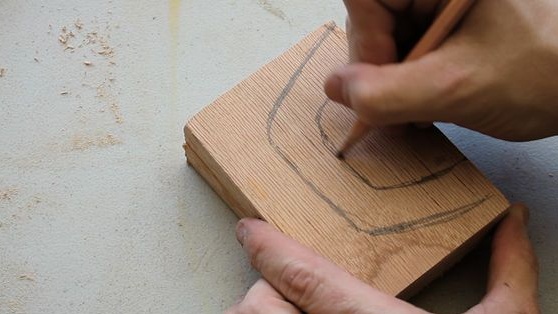
At your fingertips you should have two patterns that would correspond to the outer and inner diameter of the circle. Use cups and glasses as a pattern to get a perfectly even circle.
Mark up on the workpiece as shown in the photo below.
The author determined the center of the workpiece by crossing the two diagonal lines, after which he used the compass to draw two circles.
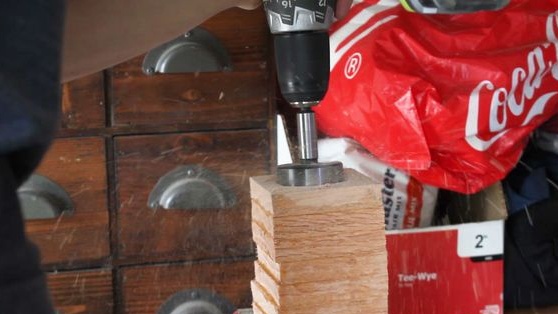
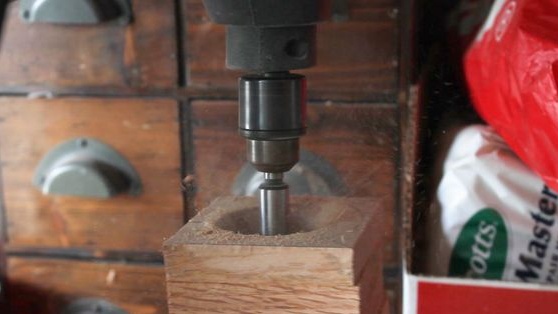
Proceed to cutting the cavity. For this, the author used an electric drill with a mill of a suitable diameter.
Do not take a small cutter, because no matter how hard you try, you will not be able to process the walls fairly smoothly.
The author recommends at least one workout. He assures that this work is not as simple as it might seem at first glance.
Before you start cutting the cavity, securely fix the workpiece so that it does not have the ability to move to the side or vibrate, otherwise all work will go down the drain.
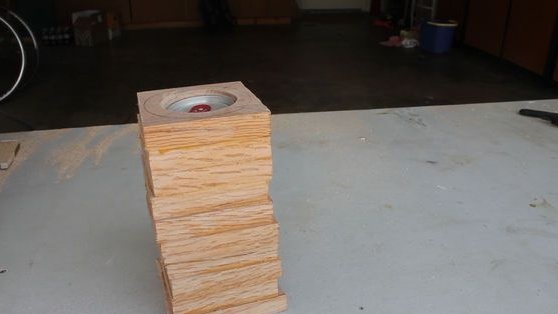
Make a hole, leaving the bottom plane, and proceed to form a circle.
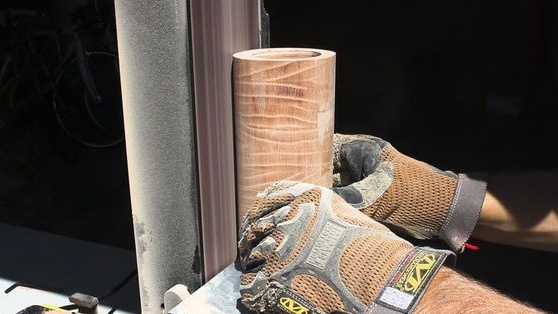
Step Five: Shape the Mug
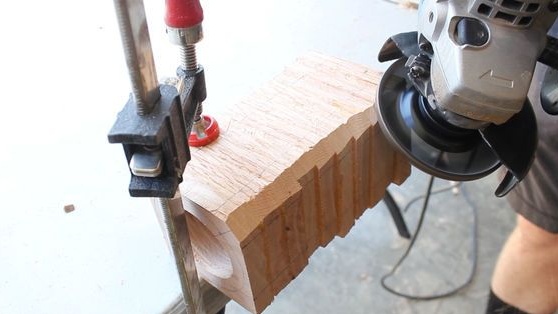
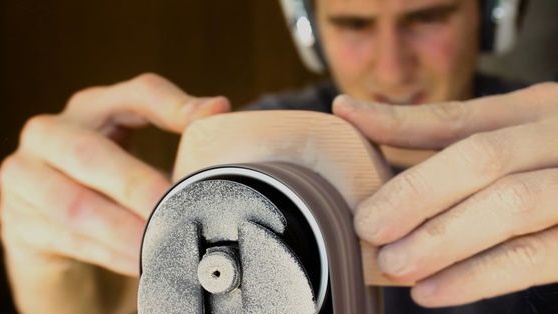
The author assures that there are a lot of ways to cope with this task. The whole point is to remove as much as possible all excess material before finishing grinding the mug on the belt sander.
He used a grinder with a suitable grinding wheel for working with wood.
Firmly fasten the workpiece and carry out this initial rough grinding before proceeding to the next step.
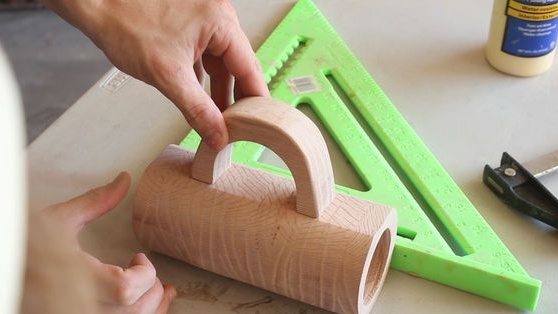
Step Six: Handle Making
Draw a pen on paper and transfer it to the workpiece. Cut the handle, giving it the desired shape.

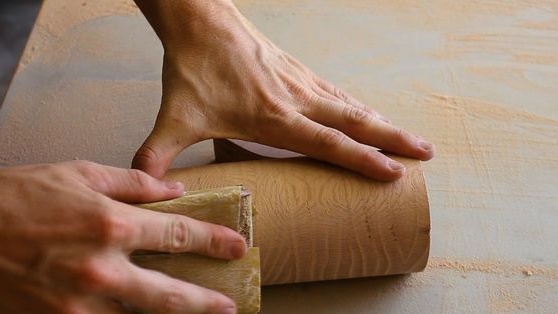
Seventh step: finishing grinding
Initially, the author used a grinding belt machine. This allowed him to achieve perfectly vertical vertically aligned faces.
Remove the area of the tree where the handle will be located at the mug. It should be flat.
The author carried out the final grinding manually. He polished all surfaces of the mug and pen dryly, then moistened the wood and repeated the procedure.
Use fine sandpaper until the surface is perfectly smooth to the touch.

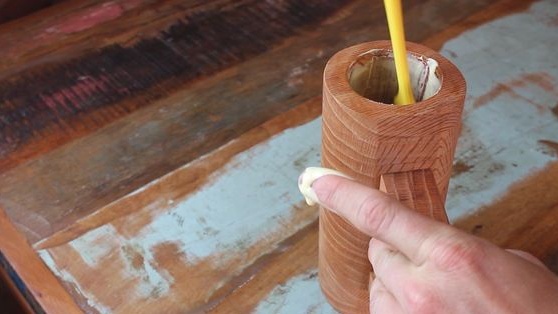
Step Eight: Fasten the handle
The surfaces to be glued must be perfectly flat and fit snugly together.
Put glue on the handle and carefully press it to the place designated in advance. If the pressure on the handle was sufficient, the handle will hold reinforced concrete. So the author himself assures.


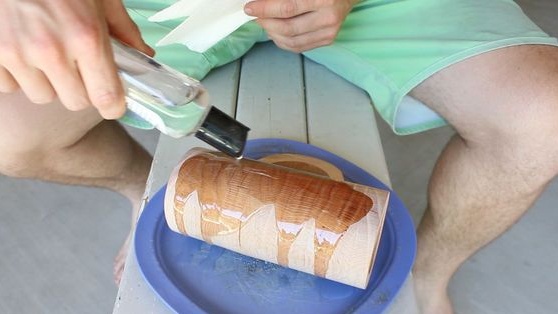
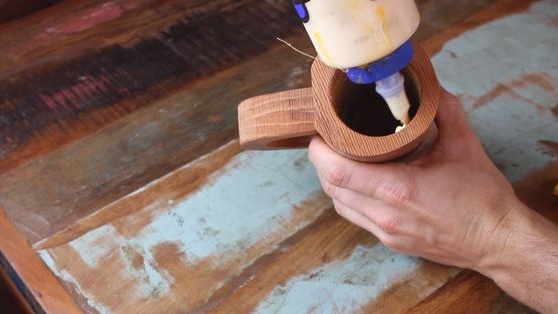
Step Nine: Finish
Outside, the author processed the mug with mineral oil. You can also use odorless natural oils or water-based varnish.
Inside, the author used glue with a completely harmless composition. He applied several thin layers to the surface of the tree to protect it from moisture.
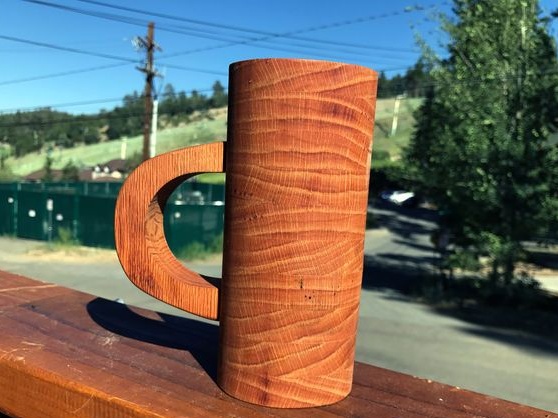
Mineral oil favorably emphasized the color and texture of wood, and the glue did an excellent job. Therefore, the experiment can be considered successful. Feel free to take it into service!