
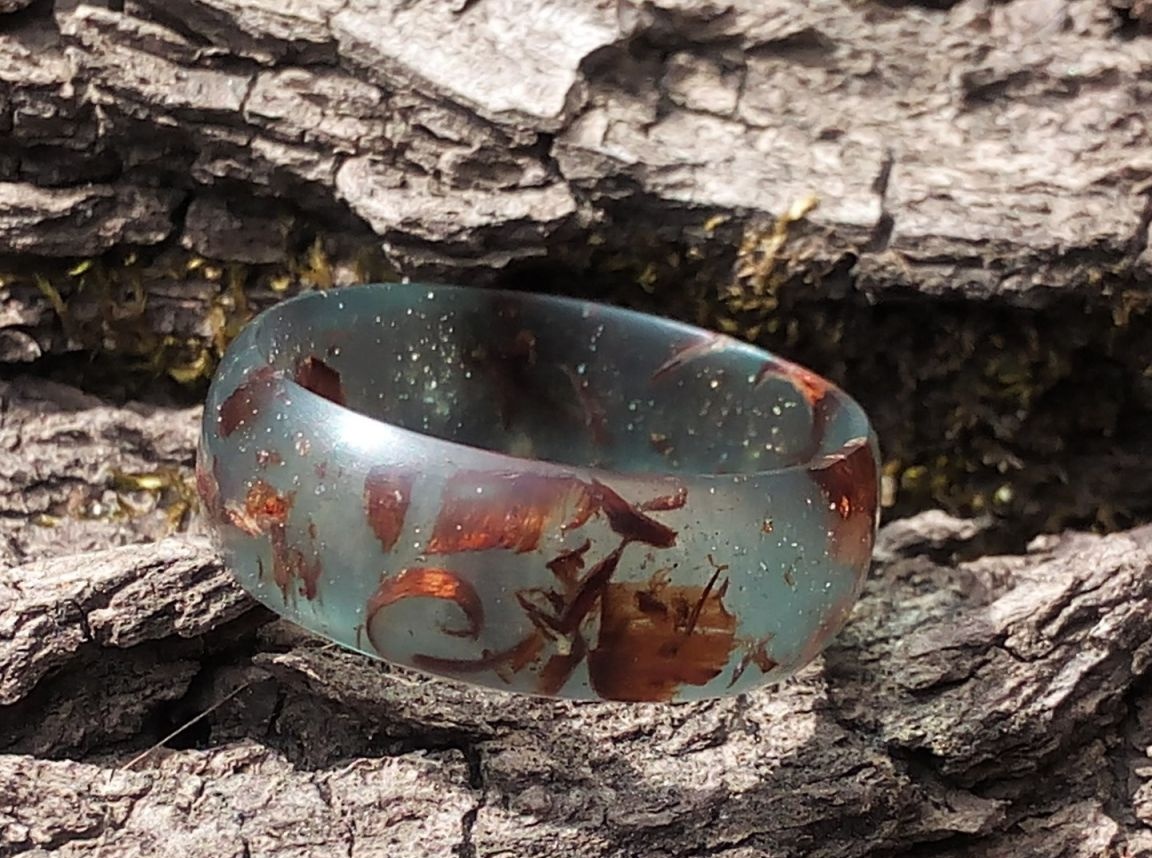
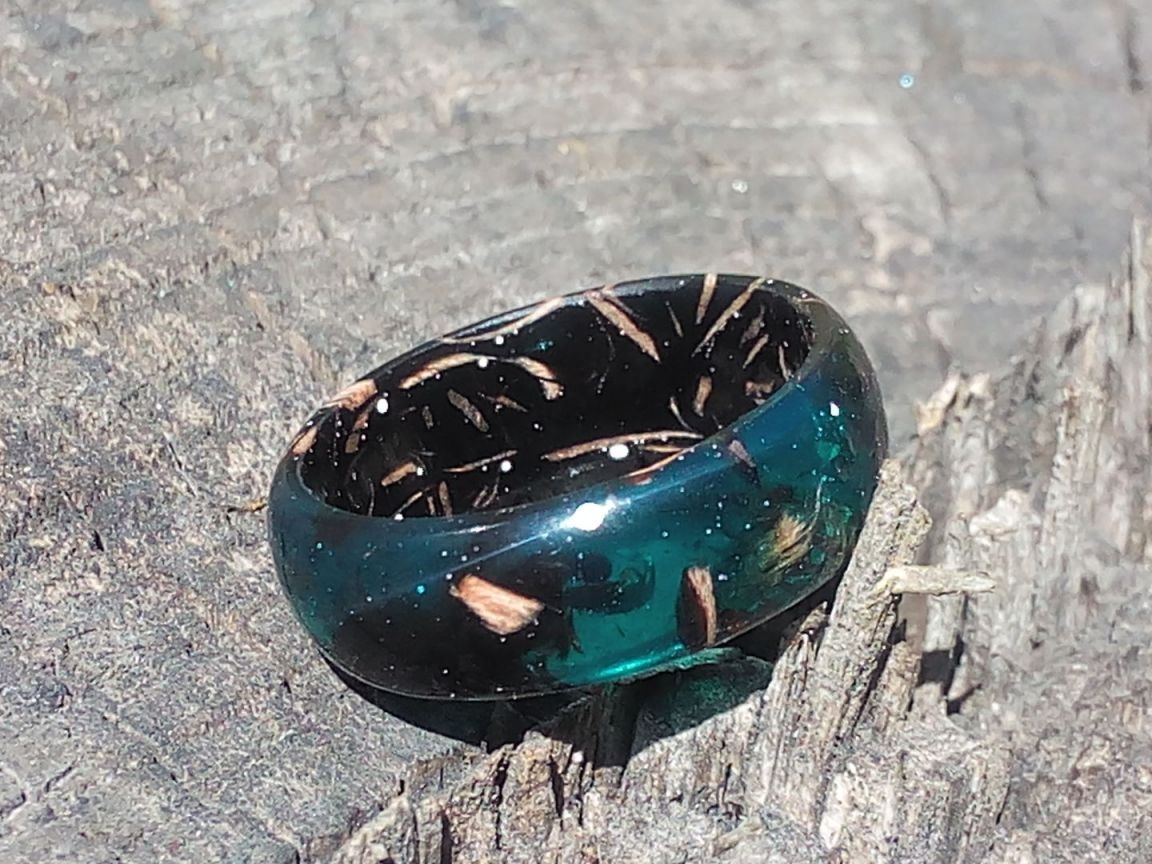
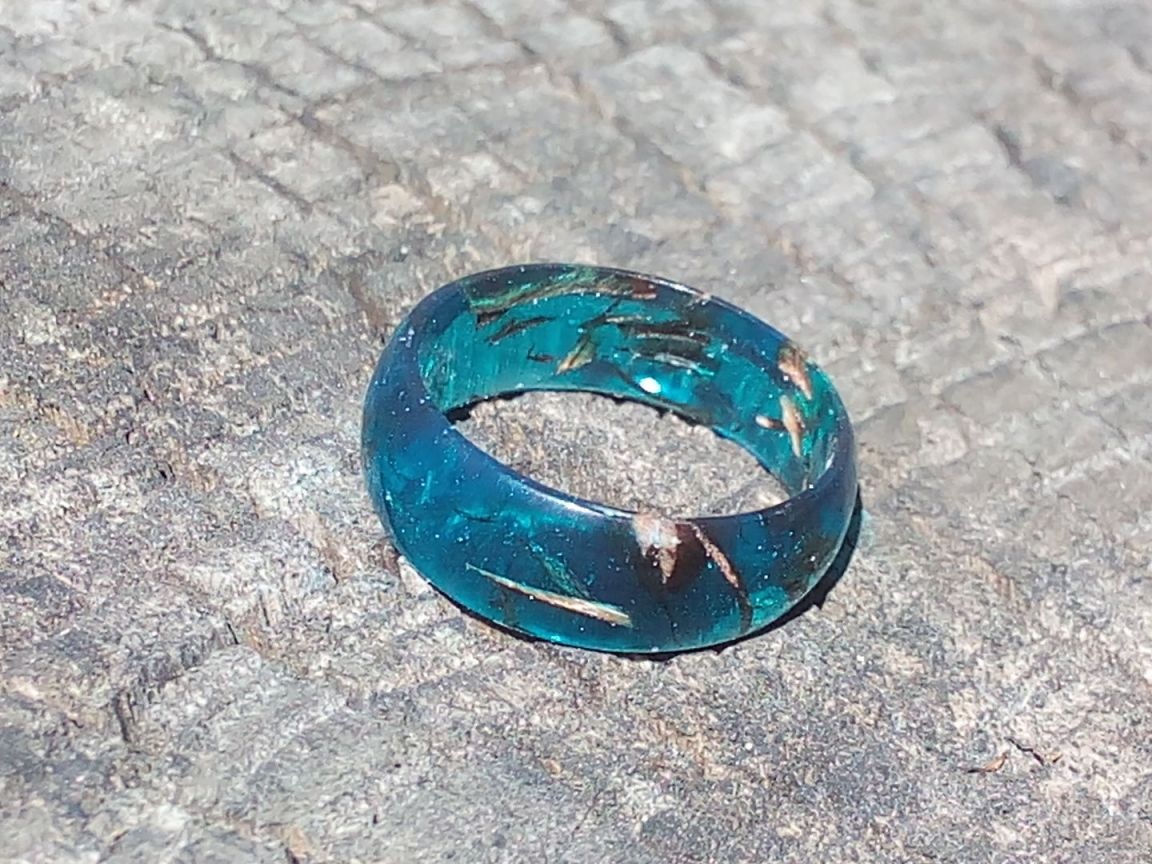
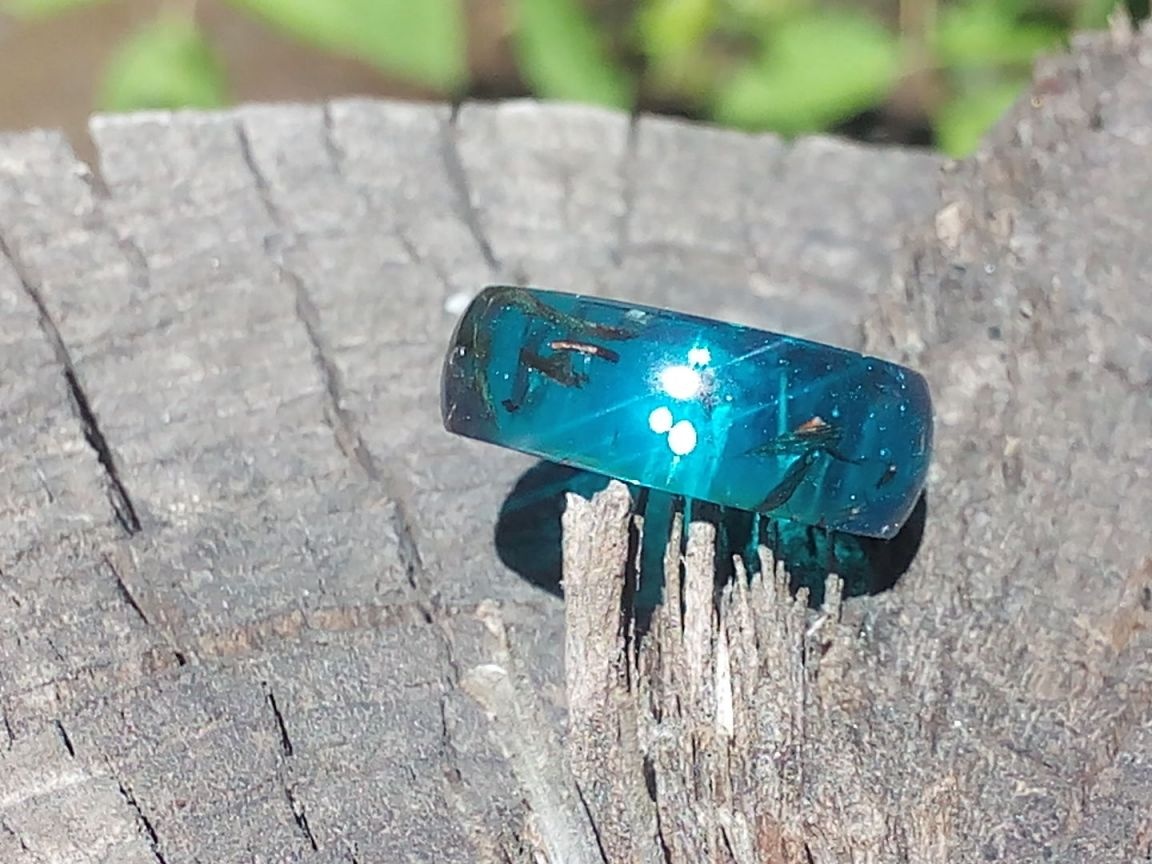
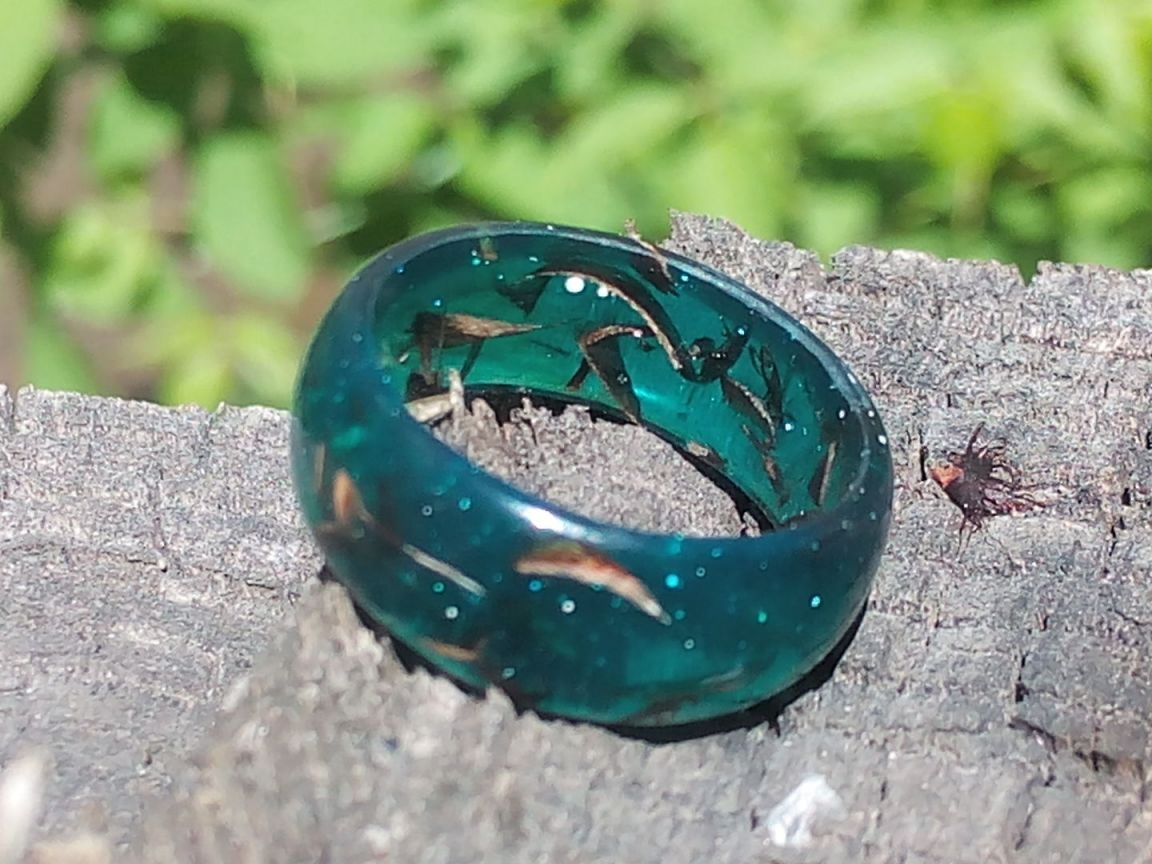
Today, fashionable rings made of epoxy are quite popular, they have a various shape, as well as various additives and fillers, as well as any color can be given to the resin. You can put shavings, sparkles in the blank, or fill in some kind of insect; everything is very beautiful and interesting, and most importantly unique, which in our difficult time is in the first place.
Despite the apparent complexity, the whole technology is quite simple and understandable, you just need to get a little deeper into the process and you yourself can make a dozen rings of different sizes)))
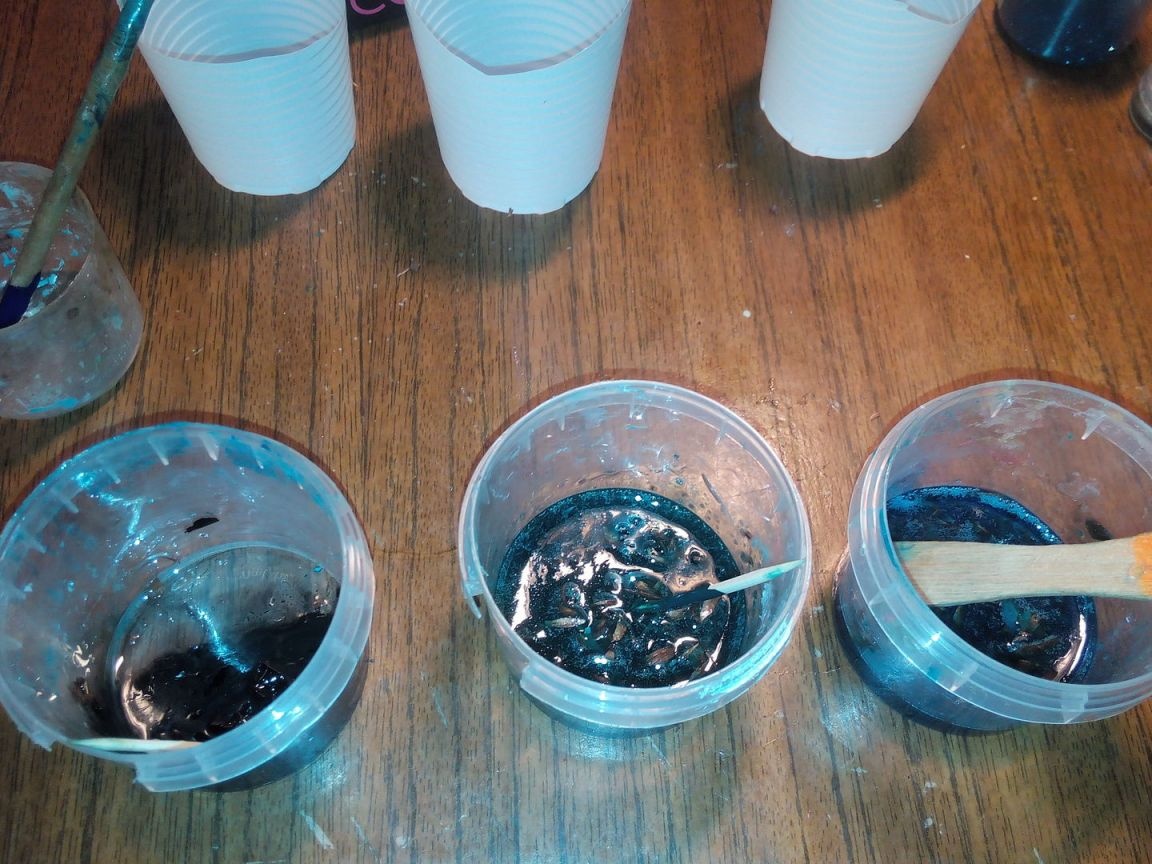
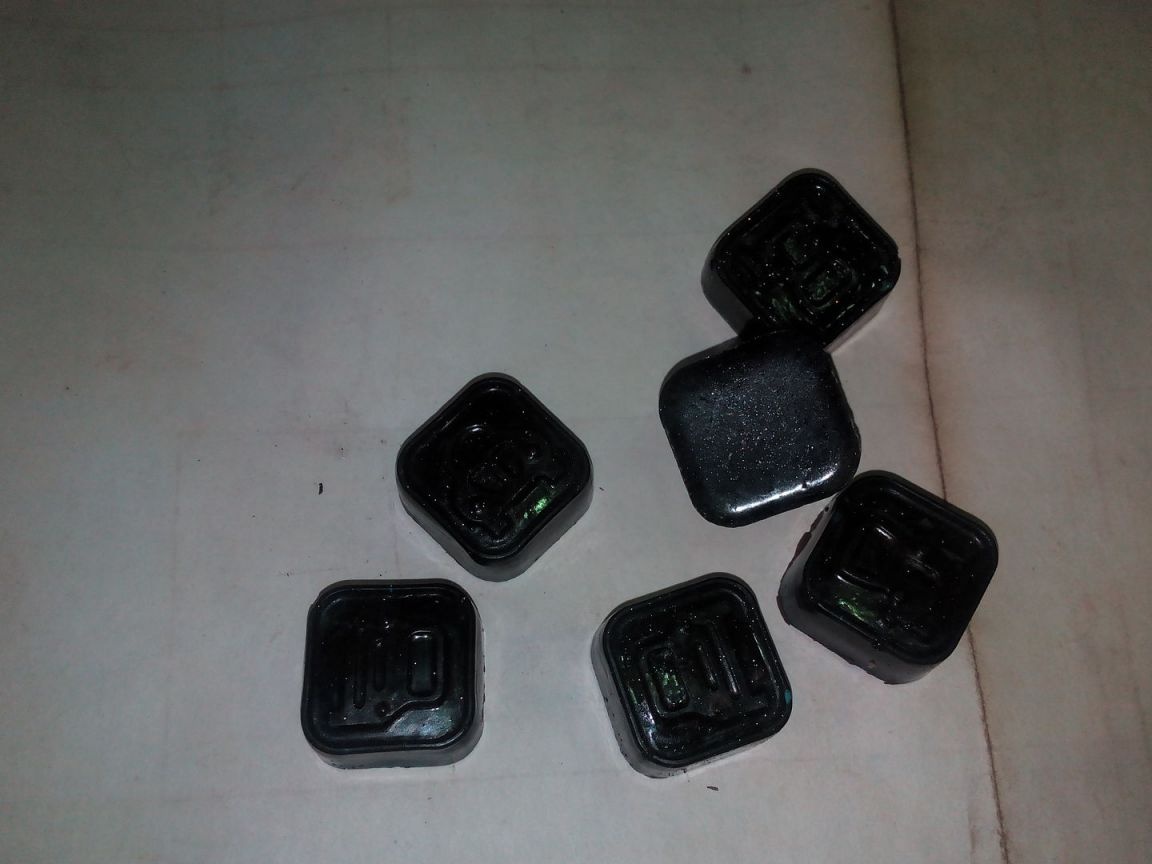
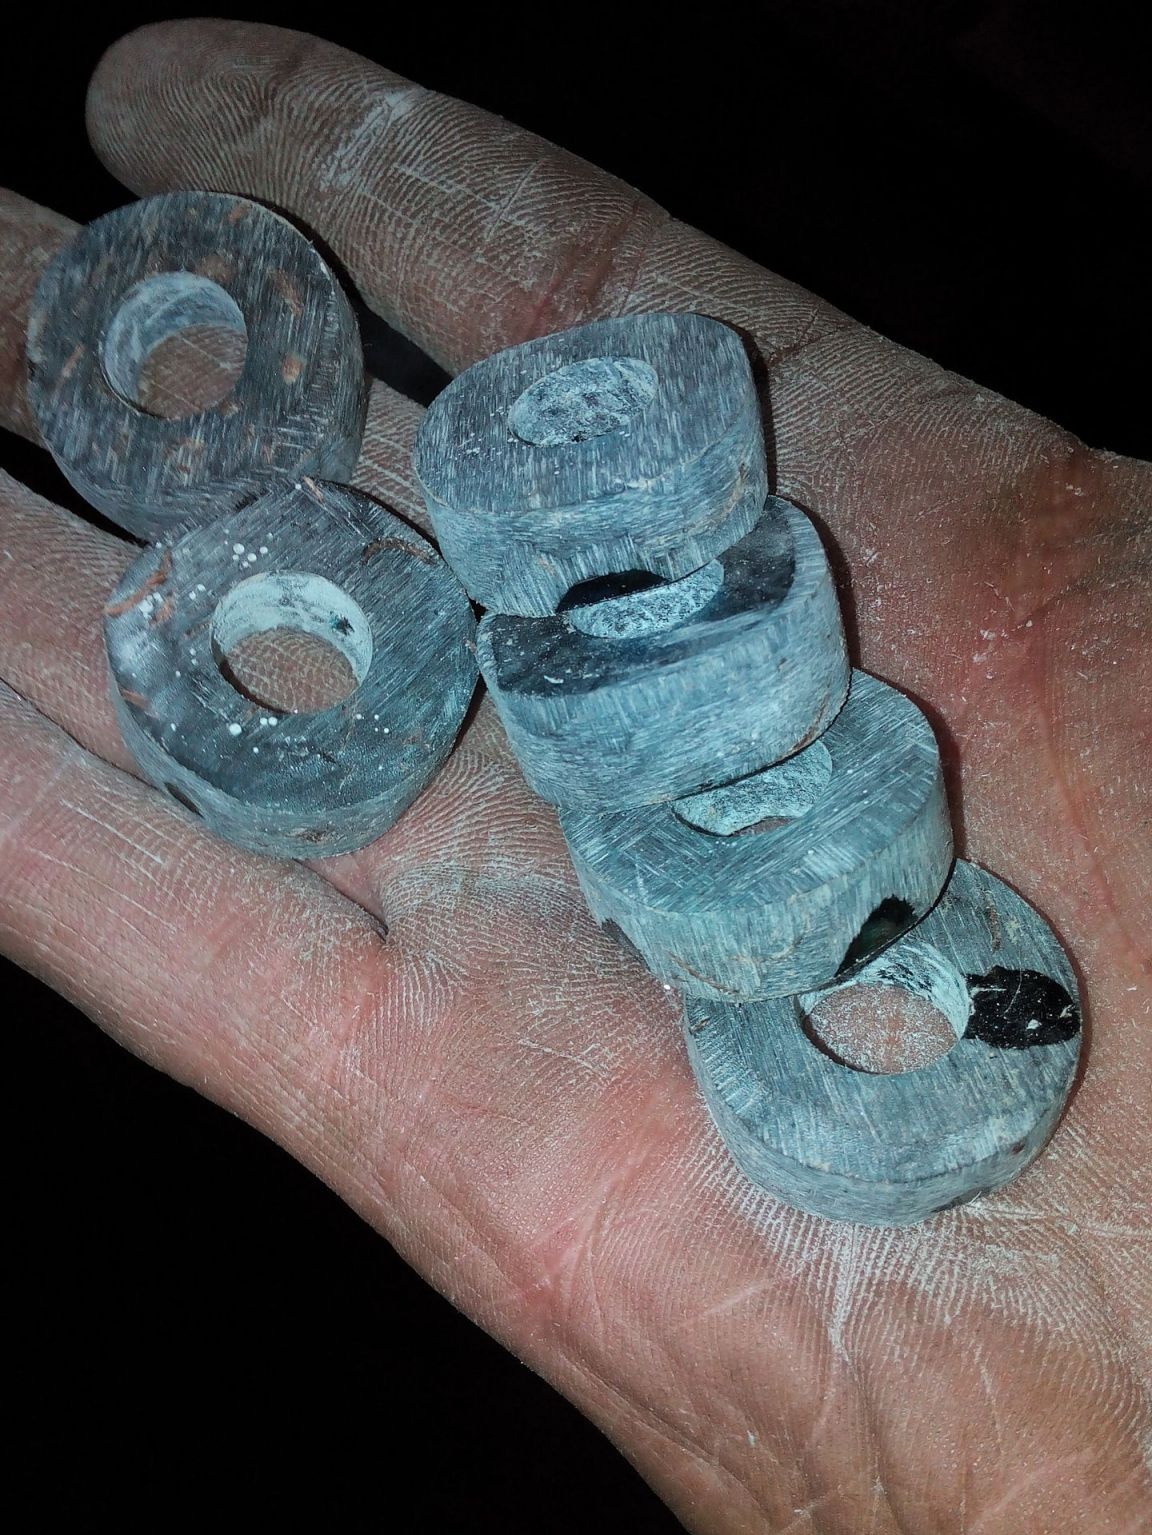
The base is epoxy resin and hardener in a ratio of 10/1, glitter and wood chips are added. First, the required amount of resin is poured into the container, then sparkles are added to it and everything is thoroughly mixed, then the chips and again mixed. Epoxy resin is painted with color, you should add a little bit at the tip of the toothpick, stirring to catch the desired color. The hardener is added last of all in a ratio of 1/10 of the total resin fraction, that is, for example 10 grams of resin and 1 gram of hardener, everything is mixed very carefully.
So, let's look at what exactly is needed to make an epoxy ring?
Materials
1. epoxy resin
2. hardener
3. sequins
4. wood shavings
5. color
Instruments
1. capacity for solution preparation (plastic cups)
2. silicone mold
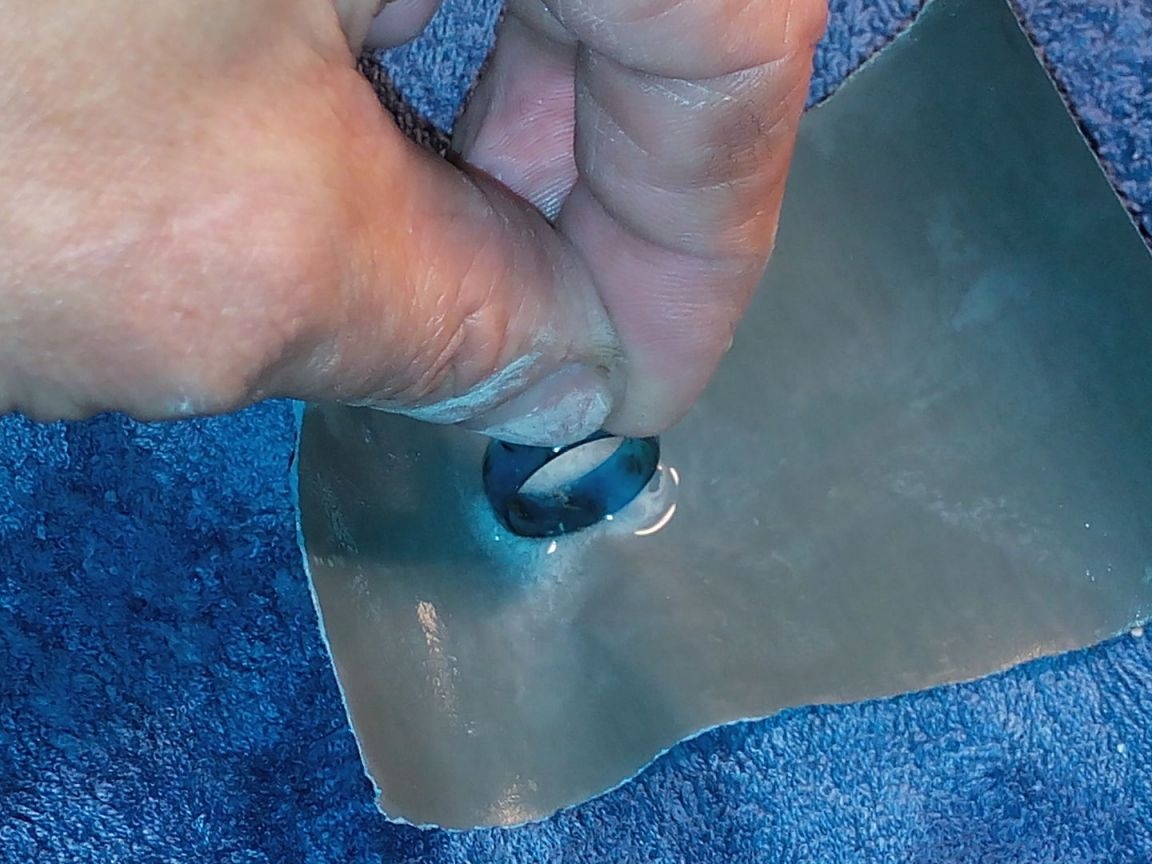
3. emery
4. pliers
5. drill
6. round file
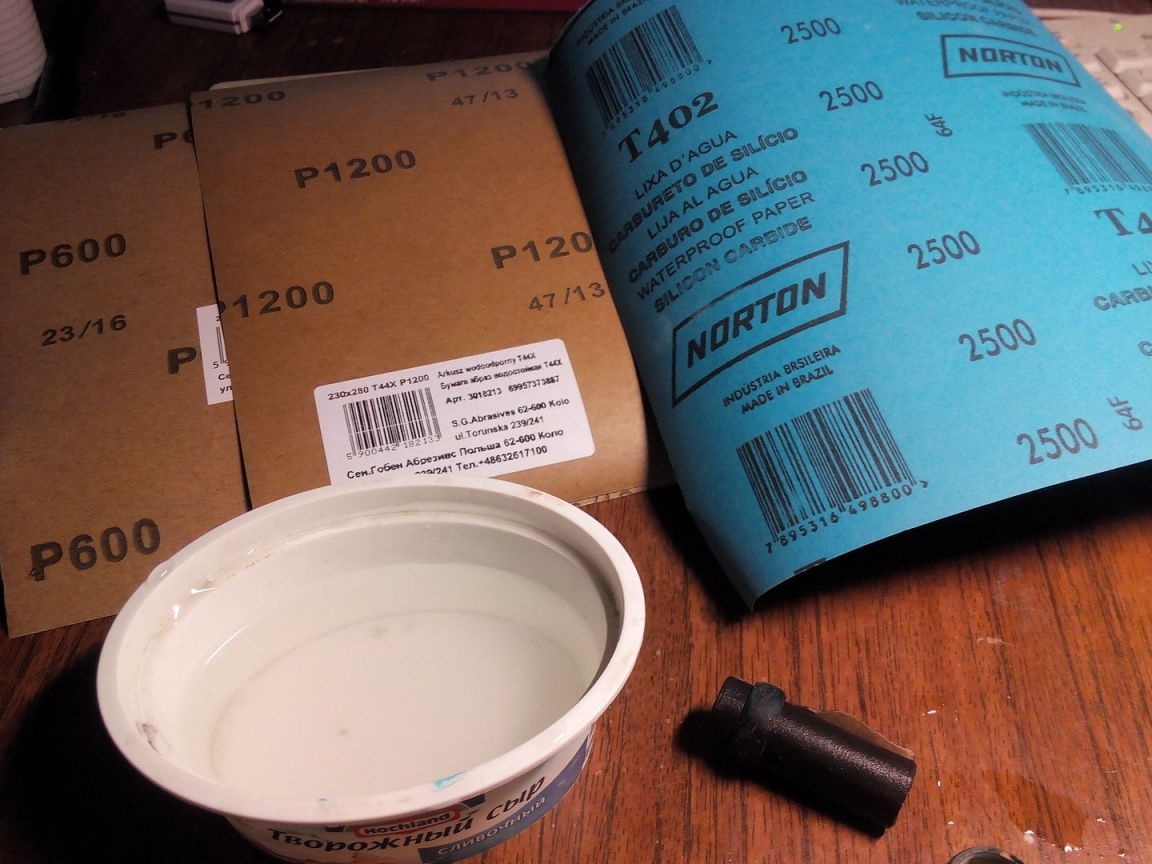
7. waterproof sandpaper with grain 600/1200/2500 grid
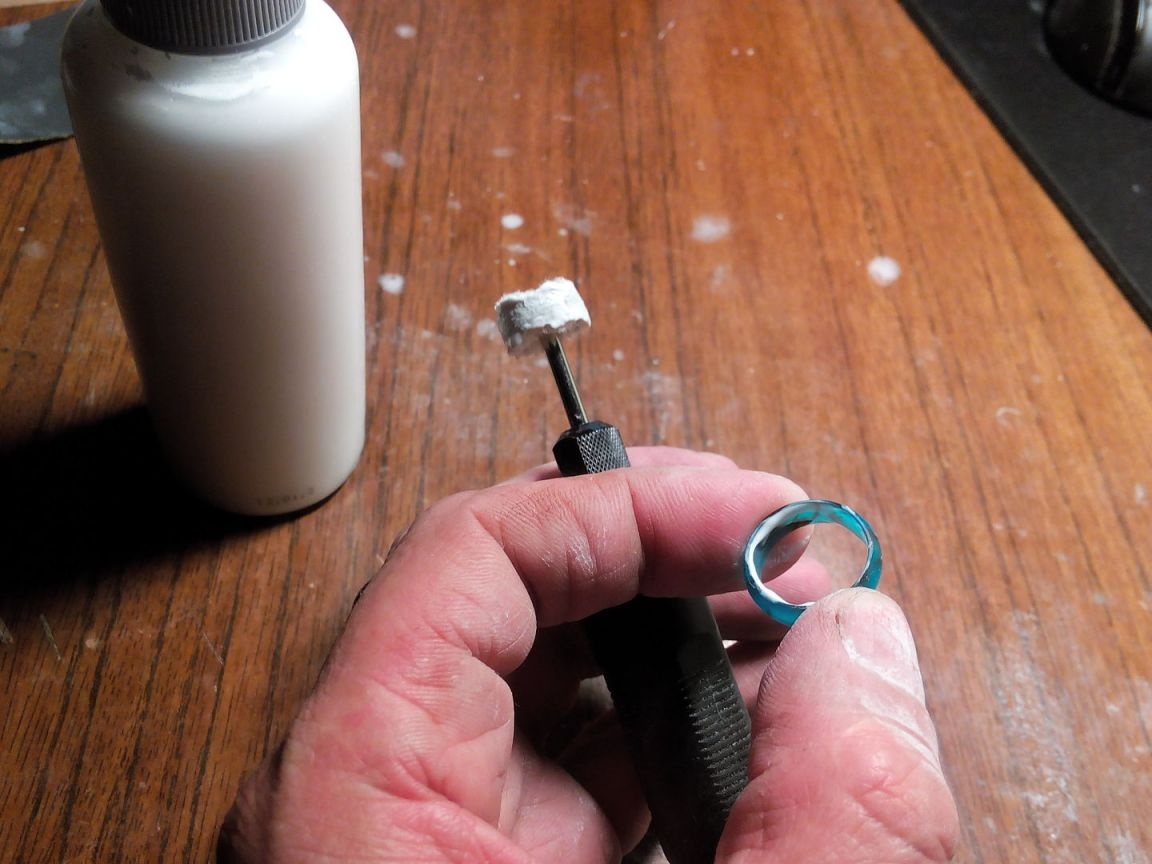
8. mini grinder
9. vernier caliper
Step-by-step instructions for making an epoxy ring do it yourself.
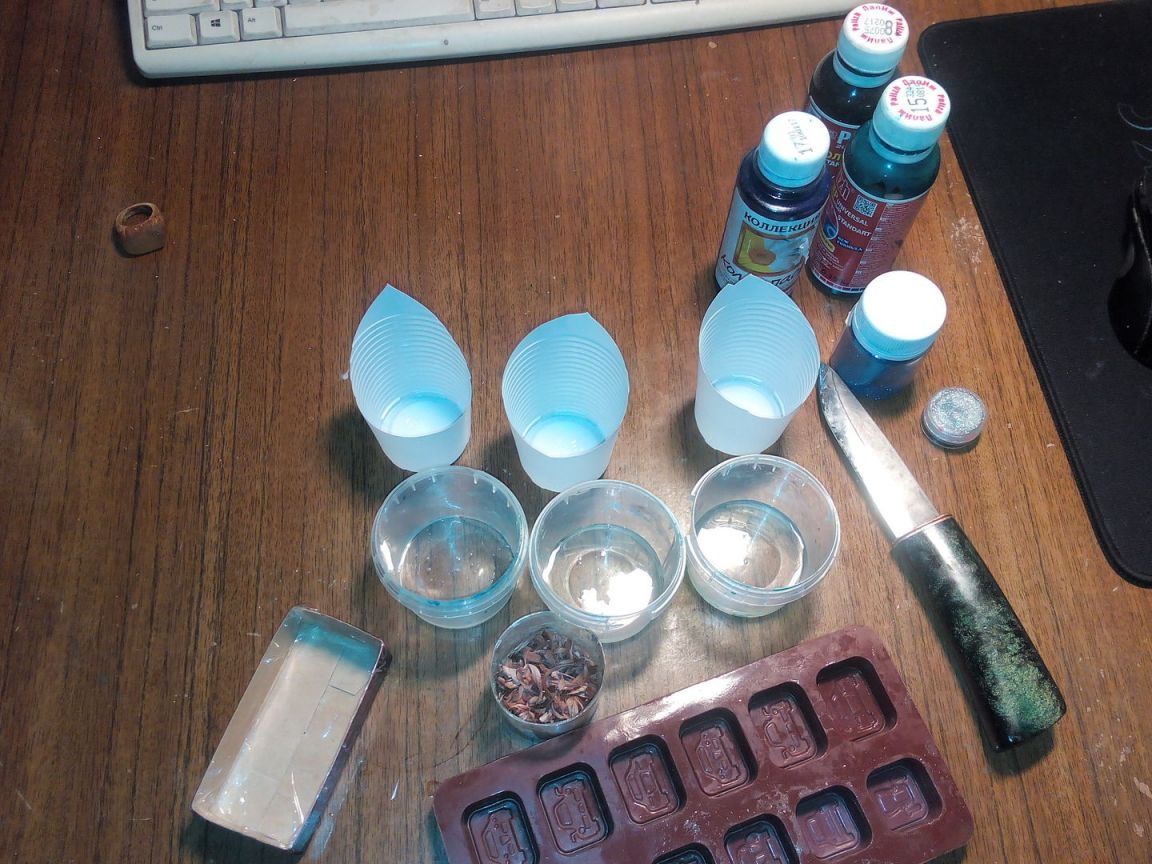
First of all, you should prepare all the components so that everything is at hand during the work, you also need to wear latex or mica gloves, because the resin is very sticky and the hardener is aggressive if you get on exposed skin, you can get burned, so safety before Total. A respirator is also a mandatory safety measure against tar and hardener vapors, in small quantities it is certainly not so scary, but still ..
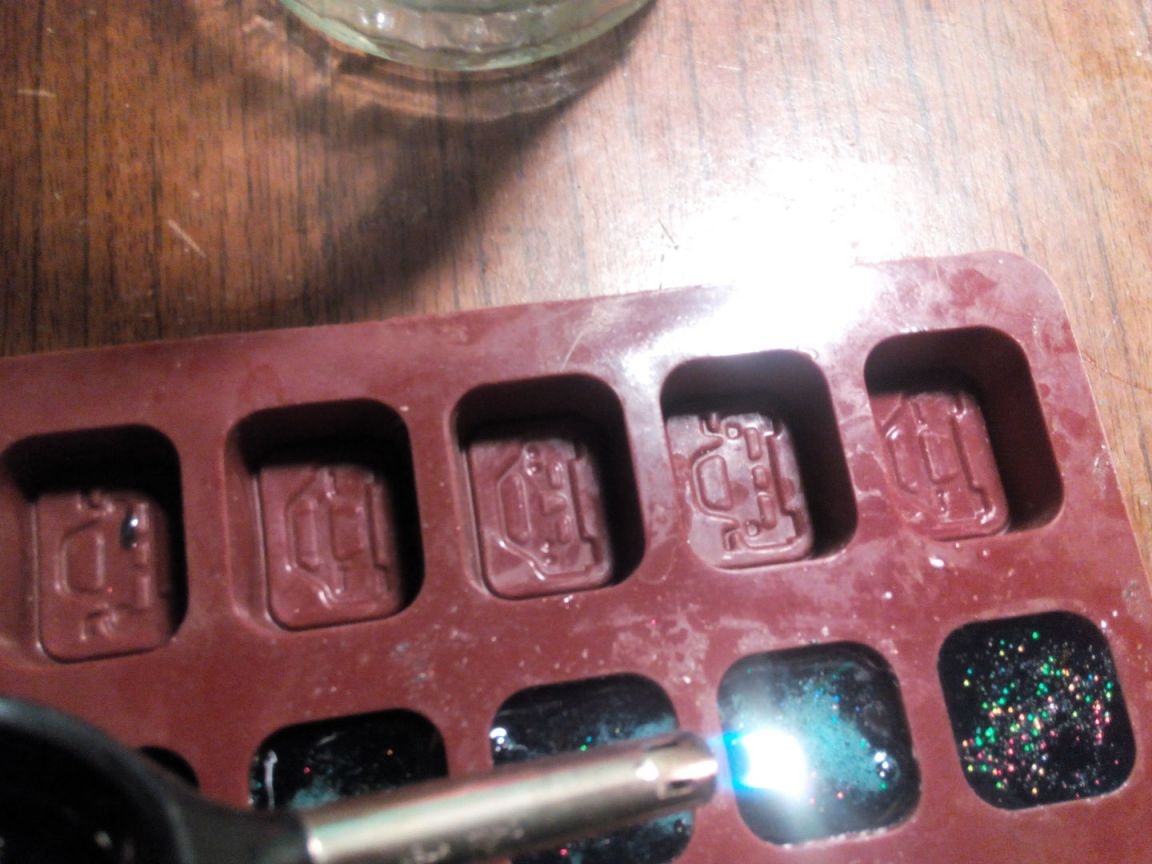
It’s best to use a silicone mold to fill in the workpieces, because it’s very easy to remove the flooded figures later and there’s nothing to stick to, the shape can also be made of paper and glued with adhesive tape inside, which is also a good option for starting work)
It is advisable to spread mica or a simple package on the table so that drops of resin, color and hardener do not stain the surface of the table.
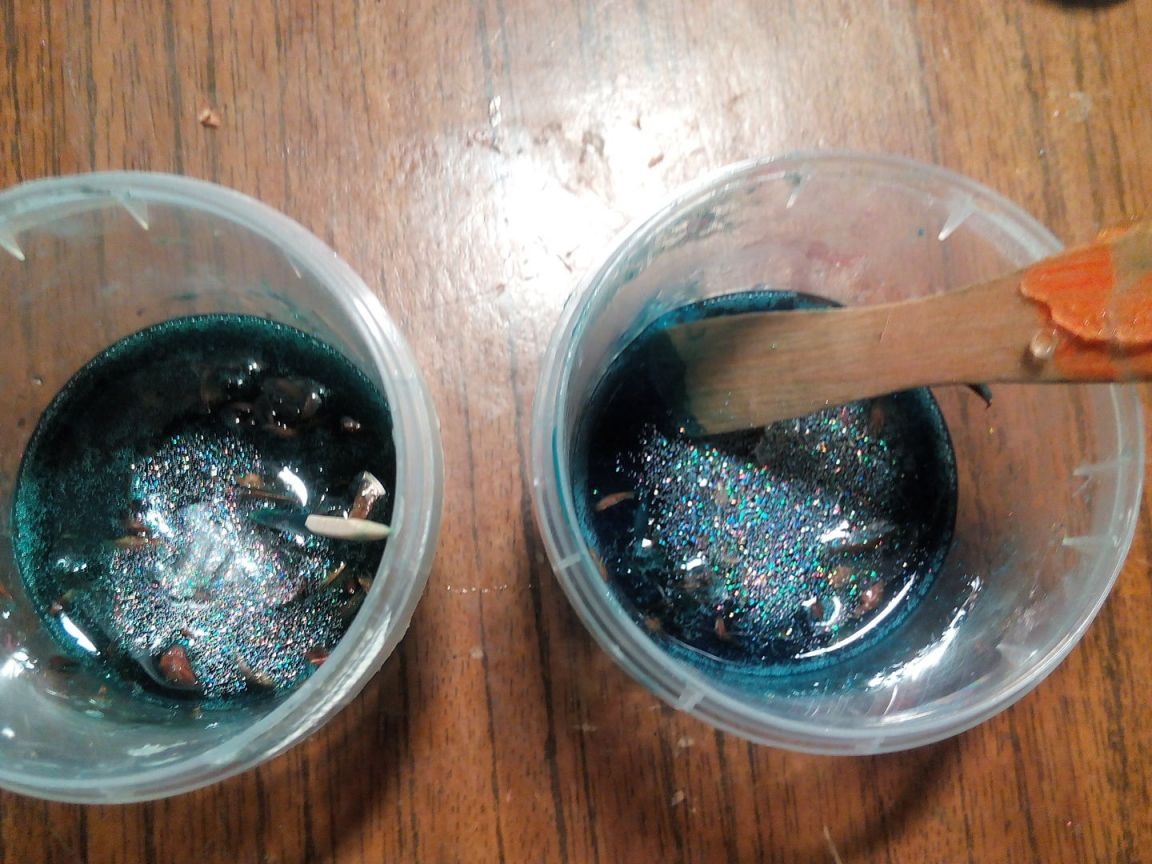
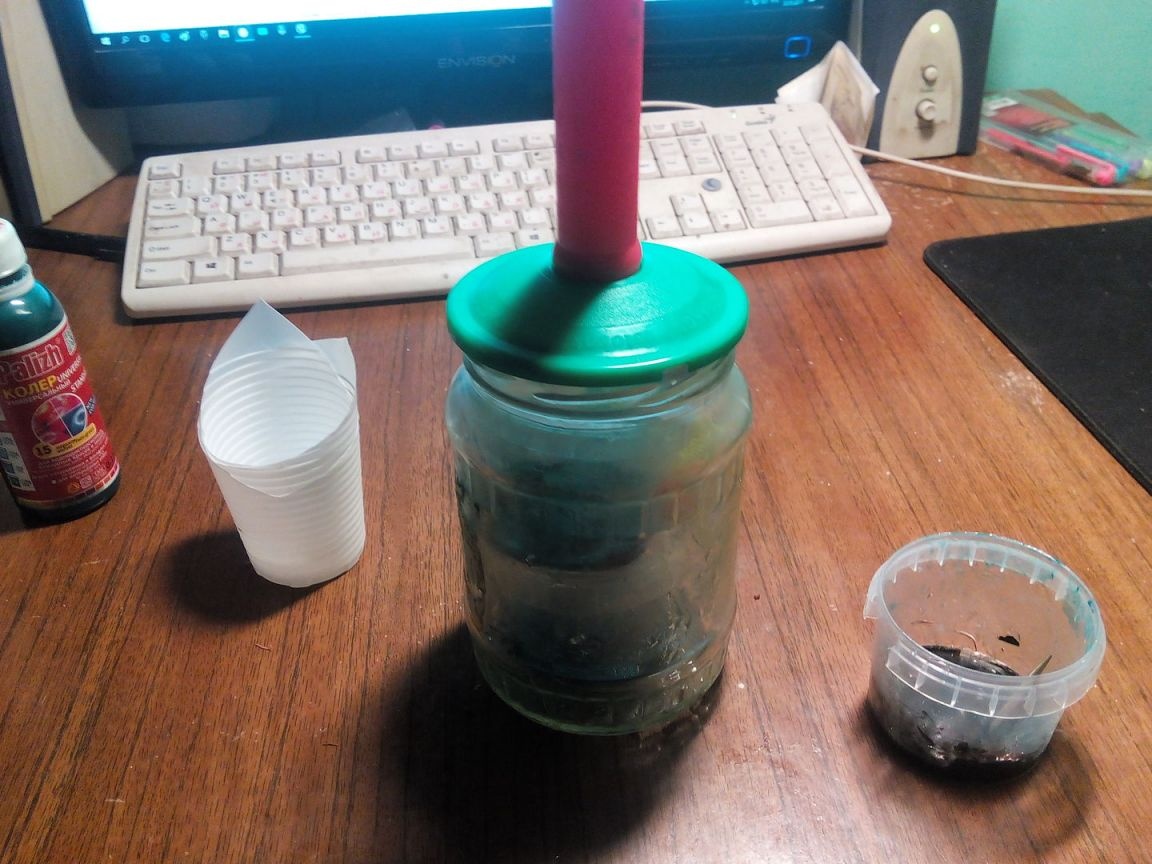
Further important! It is necessary to expel air bubbles from the solution, and this the author does with the help of a home-made vacuum installation. That is, a glass of resin is placed in a jar and air is pumped out within 10 minutes. Additionally, the resin can be heated in a water bath up to 50-60aboutFROM
thus it will become even more elastic and air bubbles will come out much faster.
This concludes the article. Thank you all for your attention!
Come visit often and do not miss the latest in the world of homemade goods!